
The Blooms and Bliss Suite of products in the new Stampin’ Up! annual catalog are amazing. The colors and flowers are so soft and whimsical and are a favorite new product of mine! If you would like to browse the catalog on-line, please follow this link. If you would like to turn the actual pages of the catalog (much better IMO), please shoot me an email with your snail mail address and I will get one right out to you.
The Details:
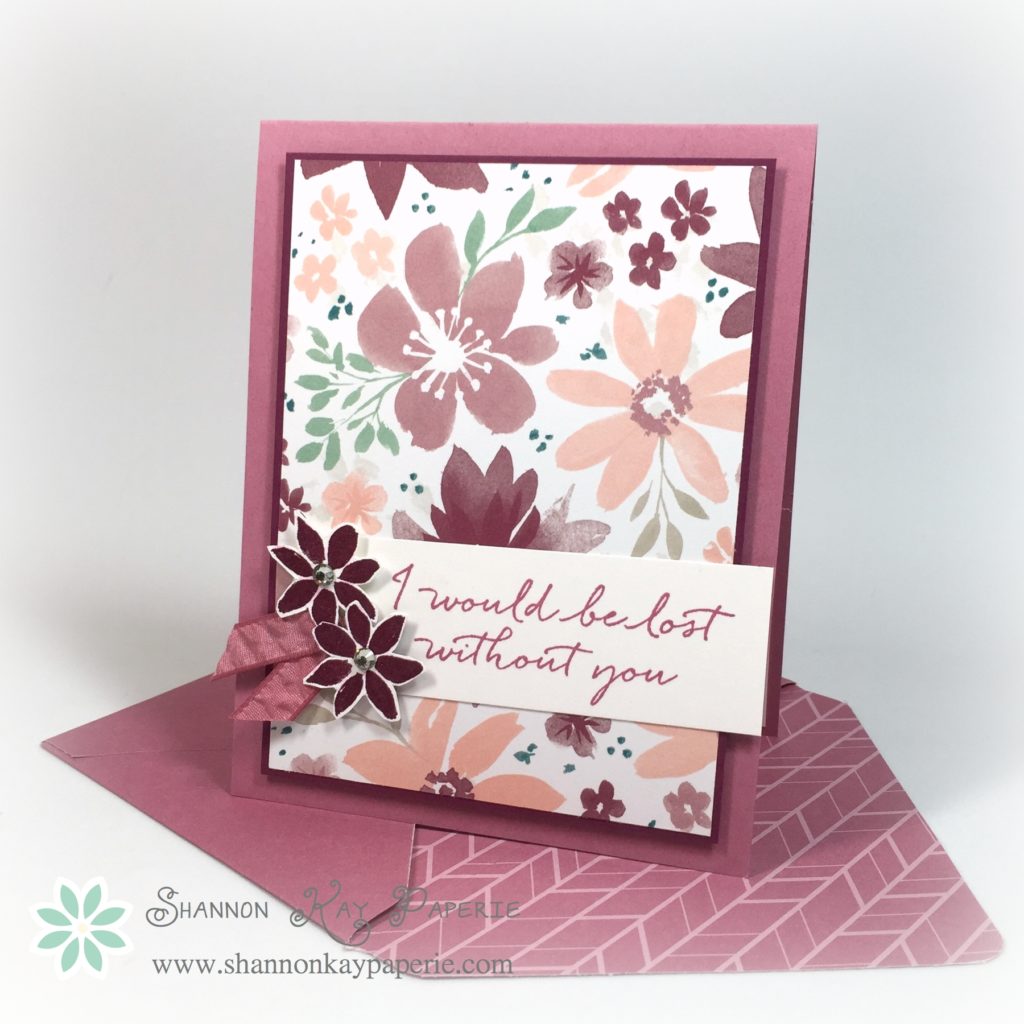
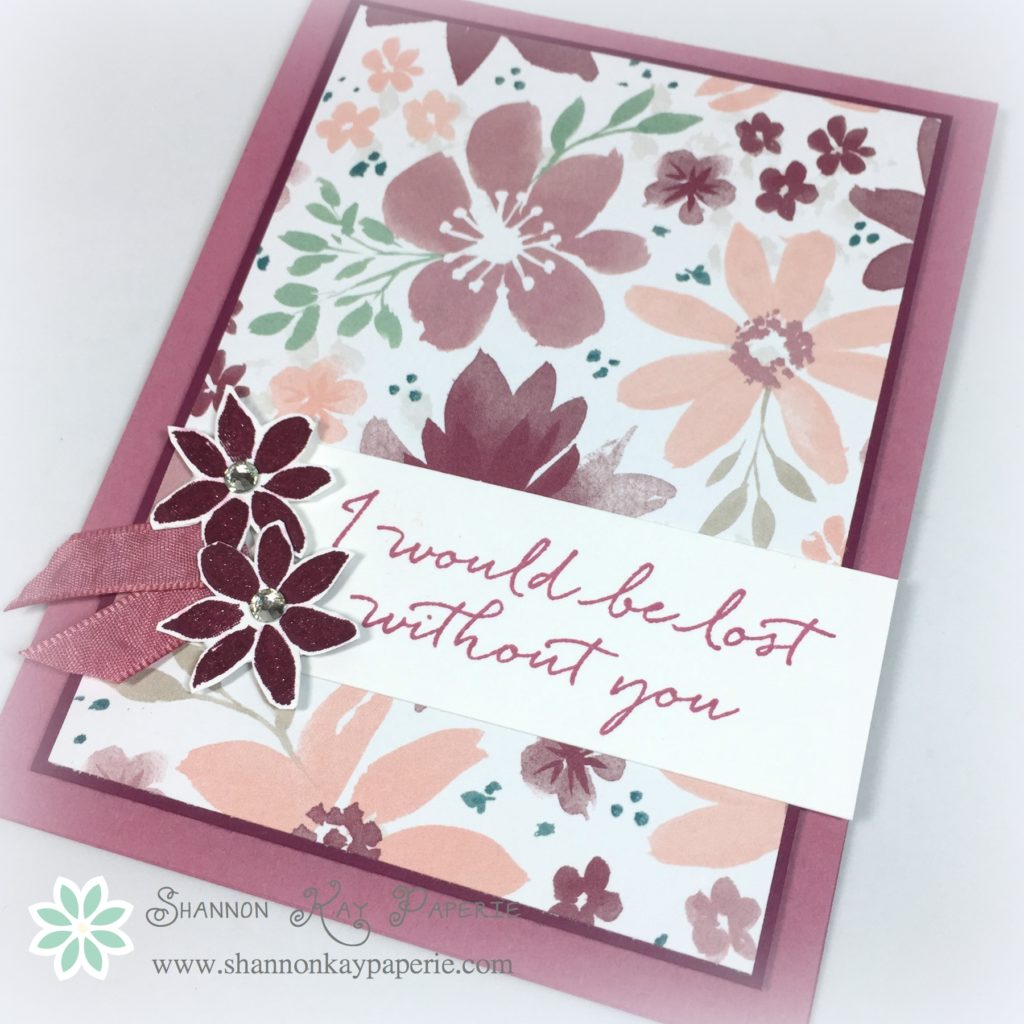
- Let the beautiful paper do the work for you! I began with a 8 1/2″ x 5 1/2″ card base in new new Sweet Sugarplum card stock (Isn’t it yummy?!?), scored at 5 1/2″ and then added a layer of Rich Razzleberry card stock cut to 5″ x 3 3/4″. I just wanted a peek of the Rich Razzleberry showing, show I trimmed 4 7/8″ x 3 5/8″ piece of the new Blooms & Bliss Designer Series Paper to layer on top.
- Simple is always good. I trimmed a 3 1/2″ x 1 1/4″ piece of Thick Whisper White card stock and used Sweet Sugarplum ink to stamp this sentiment from the (also new) Blooms & Wishes stamp set. I used my Banner Punch to quickly add a banner to the left end and adhered it to my DSP layer with SNAIL.
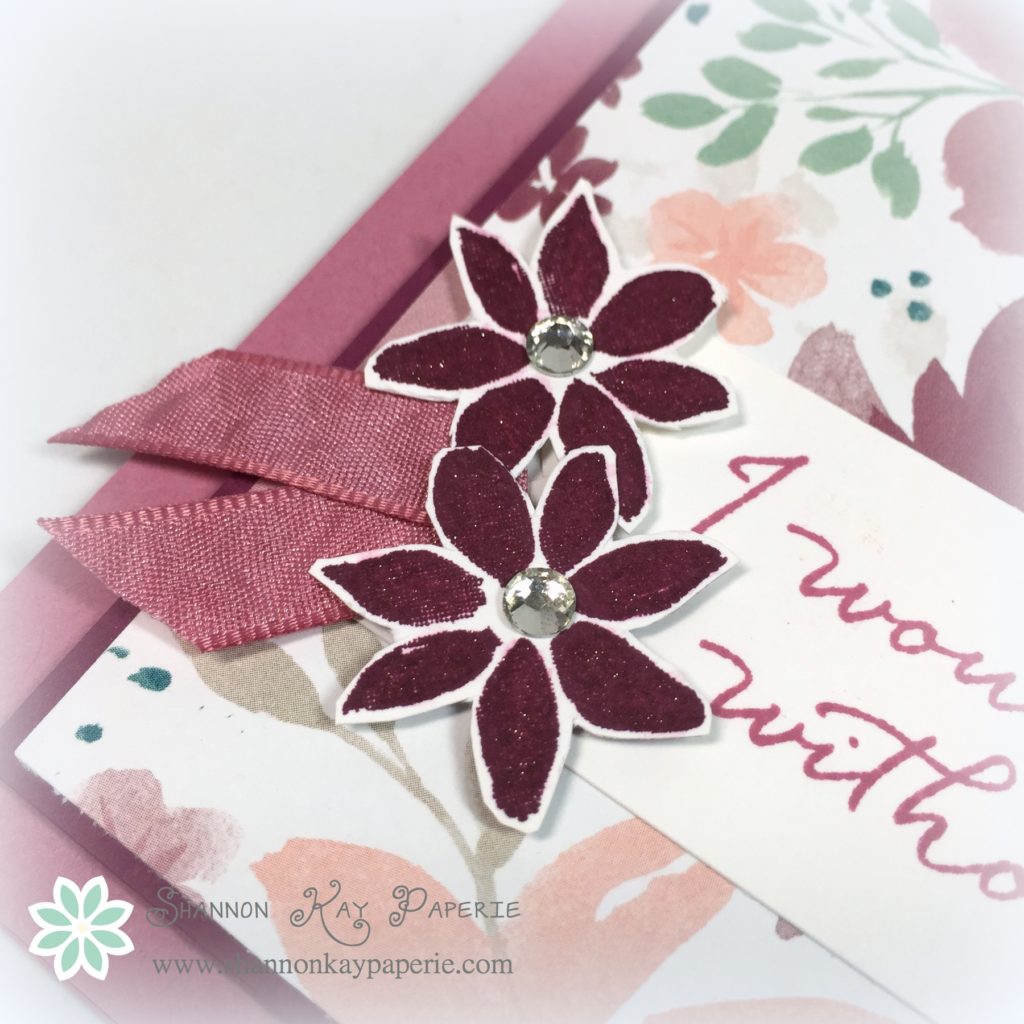
- Sparkling embellishments! I stamped this tiny bloom from the Blooms & Wishes Stamp Set in Rich Razzleberry and quickly snipped the flowers out with my paper snips. I added a Stampin’ Dimensional to the back of each and adhered both of them to the end of my sentiment banner (promptly covering up the effect of the banner…oh well!). Once adhered, I added a simple Rhinestone Basic Jewel to the center of each and added more sparkle with the Wink of Stella Glitter Brush. I snipped off a short length of the coordinating 3/8″ Ruched Ribbon, folded it in half and adhered it to itself with a glue dot, added a glue dot to the back and slipped it under the flowers!
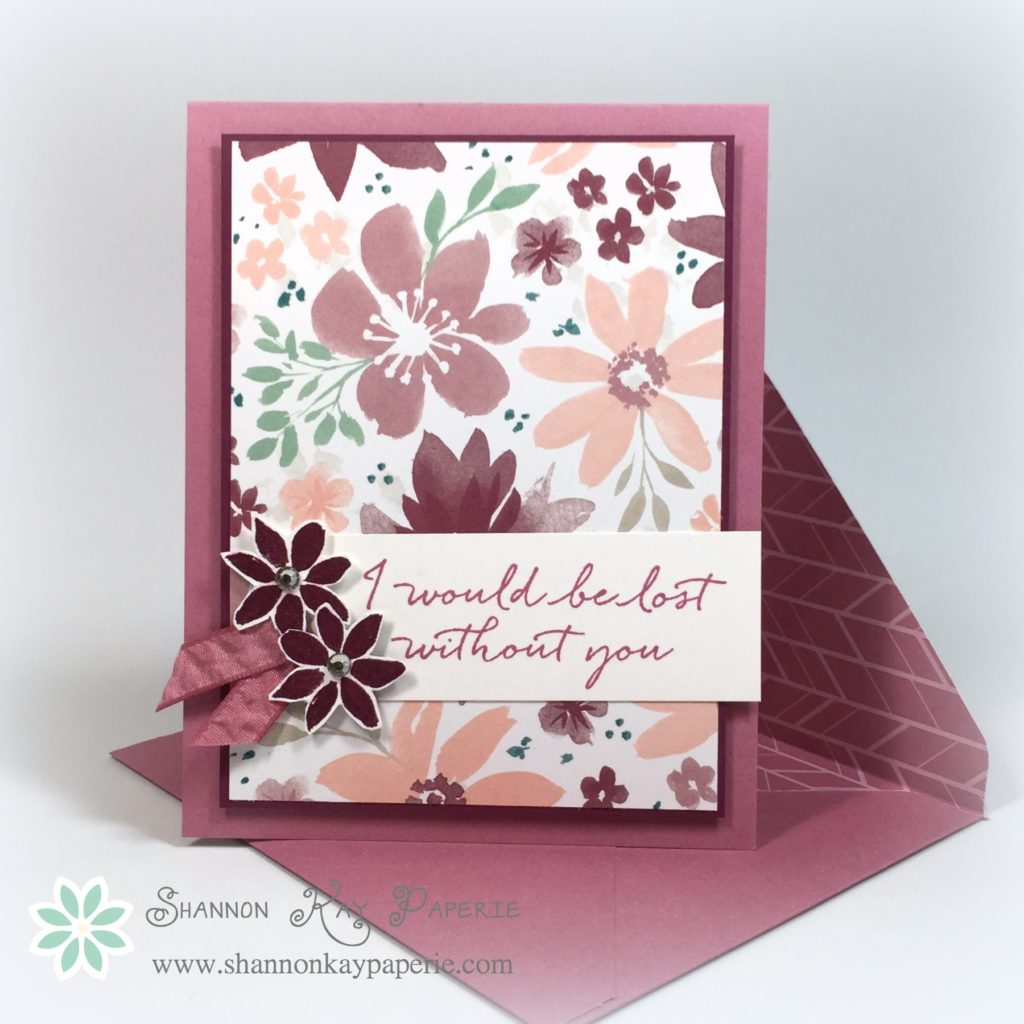
- I was very sad to see the Envelope Liner Dies retire. But…Stampin’ Up! has come out with packs of the thin envelope paper in the beautiful 2015-17 and 2016-18 In-Colors so I added them both to my first order. I used the Envelope Punch Board to quickly create a perfectly coordinated envelope! A great feature of this new envelope paper is that there is pattern paper on one side and solid color on the other, perfect for a easily addressed envelope with a pretty liner!
I truly, truly am very excited with all of the new products and look forward to sharing them with you!
Thank you for stopping by today!


Love the colors in your card today. Thanks for the tip about the envelope paper. I did not see it in the new catalog.
LOVE your combination of colors! Beautiful card!
Very nice! DSP sure takes the guesswork out of color combination, doesn’t it? Thanks for the inspiration.
If you are interested in topic: earn online philippines x-japan tour – you should read
about Bucksflooder first