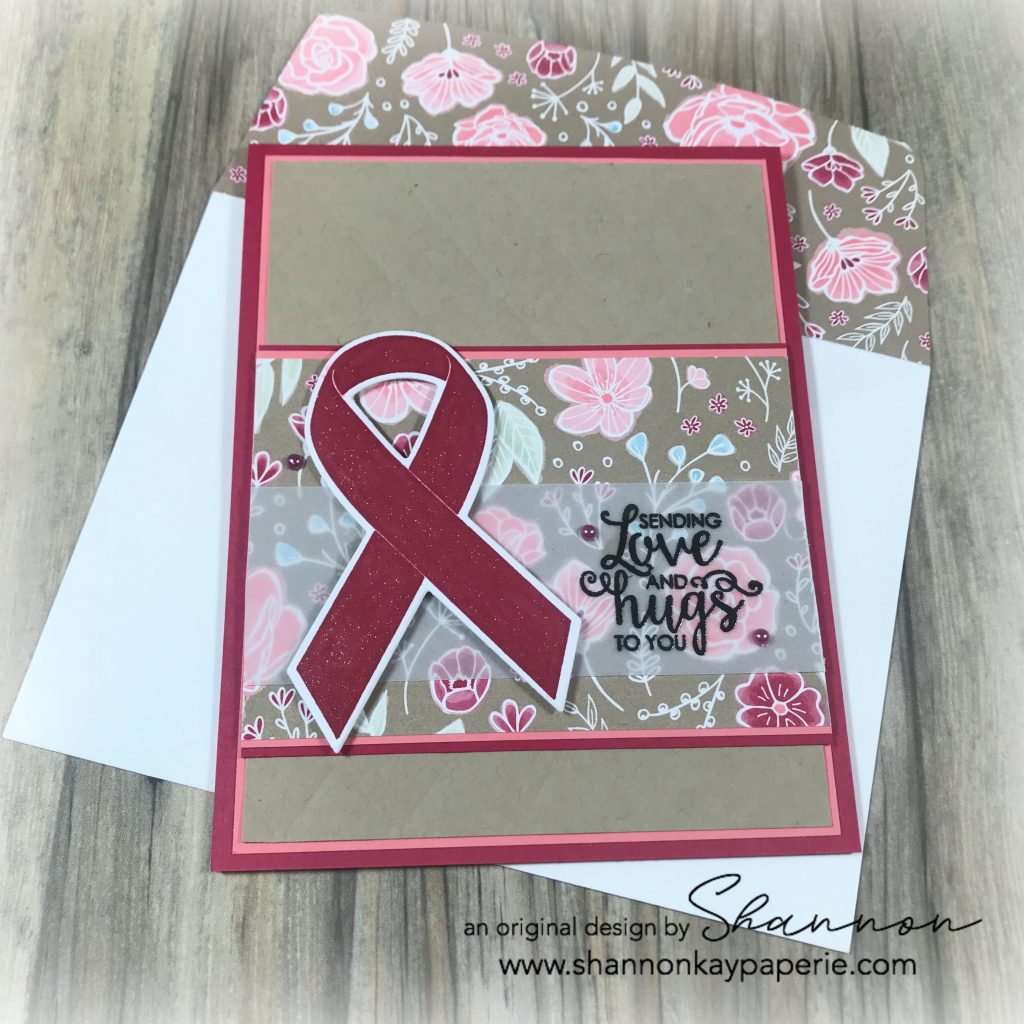
Love and Hugs – Freshly Made Sketches 372

Stampin-Up-Ribbon-of-Courage-Love-and-Friendship-Card-Idea-Shannon-Jaramillo-stampinup-SU

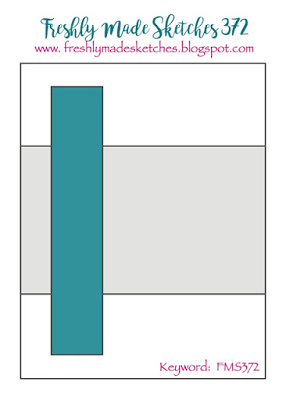
Greetings and salutations!! I have been quiet on the blogging front while I reorganize my creative space. There’s just something about the new year that makes me want to clean up and clean out! I took a break from organizing and saw the latest Freshly Made Sketches challenge sketch on Facebook. It inspired to push my project aside for the evening and play along!

Measurements:

  • Lovely Lipstick Card Base 4 1/4″ x 11″ scored at 5 1/2″
  • Flirty Flamingo Card Stock Layer 4″ x 5 1/4″
  • Crumb Cake Card Stock Layer 3 7/8″ x 5 1/8″
  • Lovely Lipstick Card Stock 4″ x 3″
  • Flirty Flamingo Card Stock Layer 4″ x 2 7/8″
  • DSP Layer 4″ x 2 3/4″
  • Vellum Layer 4″ x 1 3/8″

Details:

  • I began my design with the long rectangle element. In looking over my stamps I saw the Ribbon of Courage stamp set and thought that would do nicely. Bonus: I have not inked this set up until now! (Shout out to Patty Bennett who collaborated with Stampin’ Up! on the design of this stamp set and coordinating dies after she reached $1,000,000 in lifetime sales!)
  • The All My Love DSP was at the front of my new DSP bin so I paired this lovely pattern up with Lovely Lipstick, Flirty Flamingo and Crumb Cake card stock.
  • The Crumb Cake piece has been run through the Big Shot with the Tufted Dynamic Embossing Folder. It’s hard to see so I probably should have run it through twice (oops!).
Stampin-Up-Ribbon-of-Courage-Love-and-Friendship-Card-Ideas-Shannon-Jaramillo-stampinup-SU

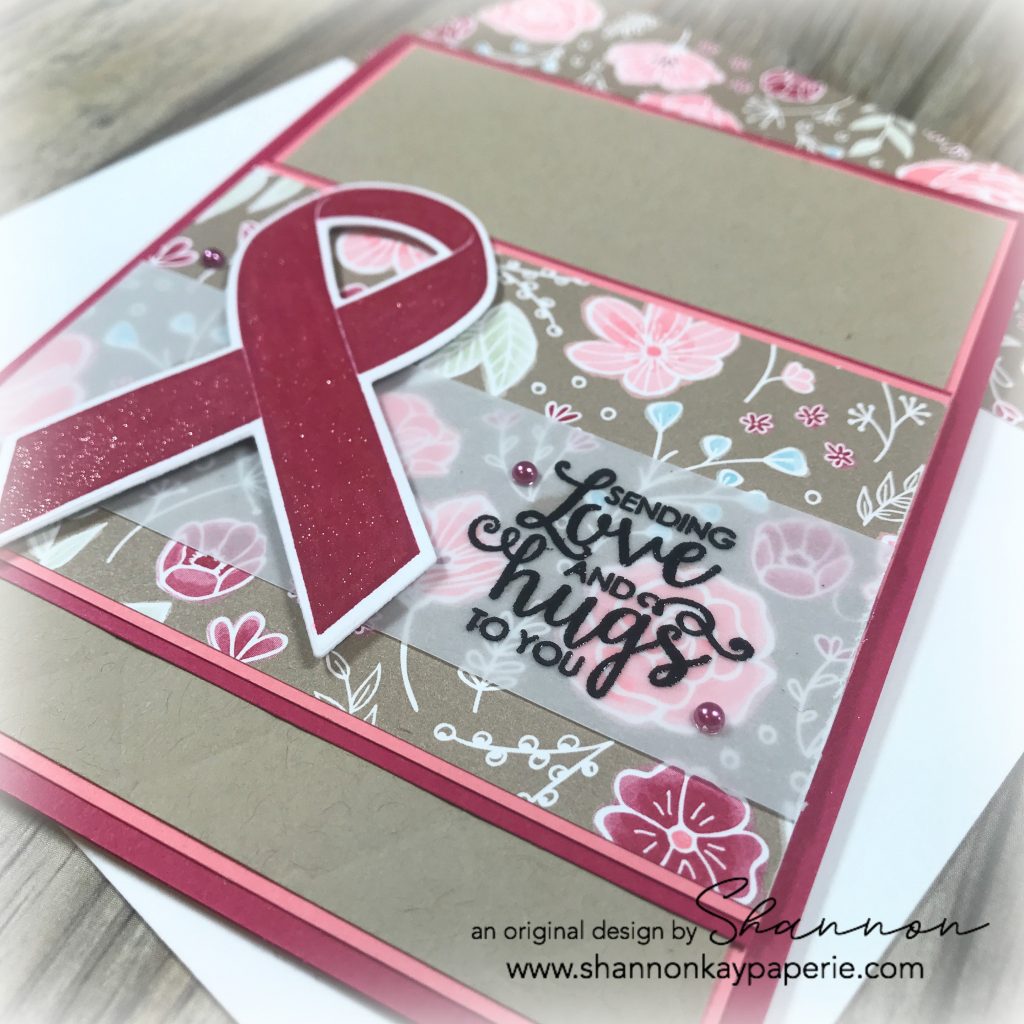
  • I stamped this darling sentiment onto vellum with Versamark ink, sprinkled on Black Embossing Powder, and then set the powder with my heat gun. (so pretty!) I secured the vellum to the DSP with a big glue dot under the ribbon die and used a bit of Ranger Multi Medium Matte fine tip glue to carefully apply a small amount of glue to the back of the embossed sentiment. It’s kind of a sneaky way to get the vellum stuck down without the glue showing!
  • I popped the ribbon die up with Stampin’ Dimensionals, adhered it to the card front and then went a little crazy with the Wink of Stella 🙂 Note: Use care with Wink of Stella on any shade of red, the color can bleed into the white space!
  • A few artisan pearls to help draw the eye to the sentiment and of course one more off to the left to create a visual triangle.
Stampin-Up-Ribbon-of-Courage-Love-and-Friendship-Cards-Idea-Shannon-Jaramillo-stampinup-SU

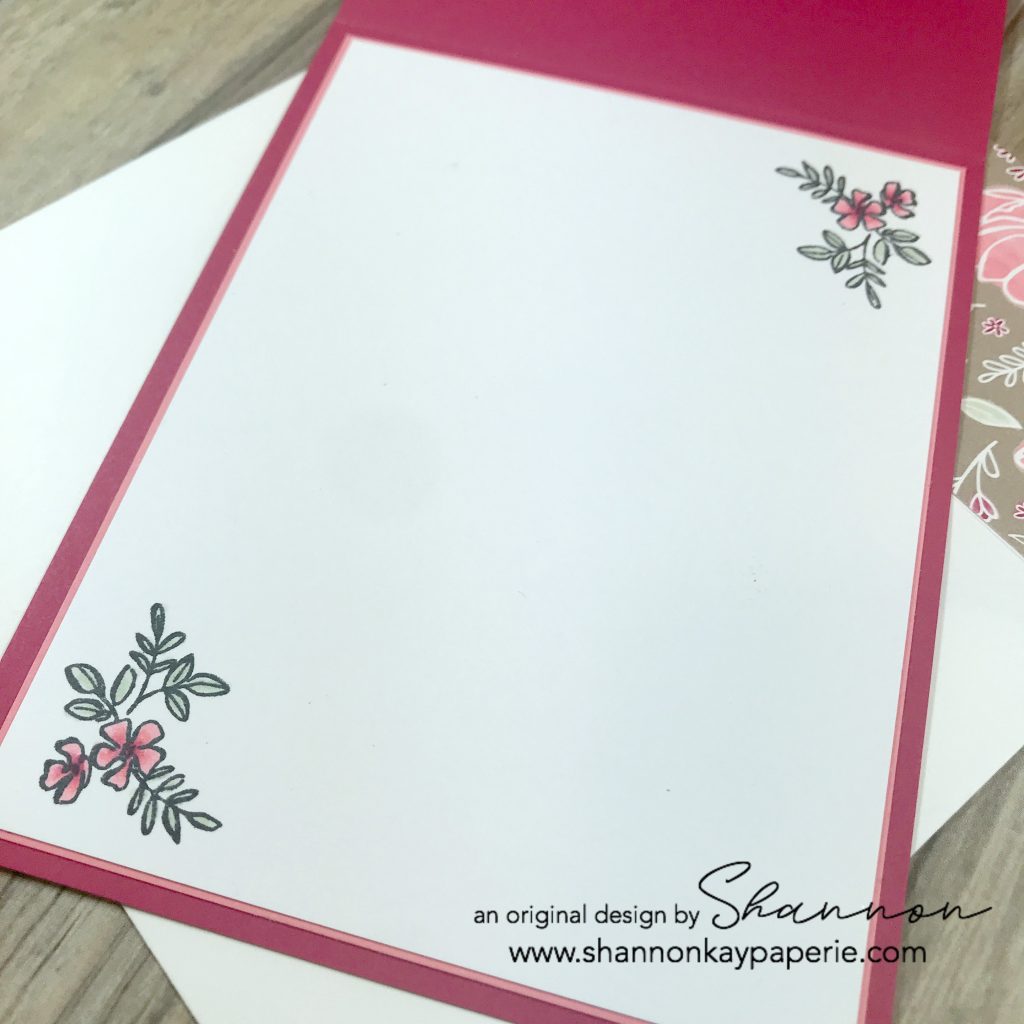
  • Lastly, here is the inside of the card. I layered white card stock onto Flirty Flamingo and used Tuxedo Black Memento Ink to add two lovely little flower accents from the Make a Difference stamp set. I used both shades of Flirty Flamingo, Lovely Lipstick and Sea Foam Green Stampin’ Blends to color them in. SO STINKIN’ CUTE!!
  • As always, I’ve covered the envelope flap with the same pretty DSP. My motto is to leave no space unadorned!! 🙂

Thank you for stopping by today!!

Supplies (all Stampin’ Up! unless otherwise noted):

Card Stock: Crumb Cake, Flirty Flamingo, Lovely Lipstick; and Stamper’s Select White by Papertrey Ink

DSP: All My Love

Specialty Paper: Vellum

Ink: Tuxedo Black Memento, Versamark

Stamps: Ribbon of Courage and Make a Difference

Dies: Support Ribbon Framelits

Tools: Big Shot; Embossing Buddy, Black Embossing Powder, Heat Tool, Stampin’ Blends

Embellishments: Artisan Pearls; Wink of Stella

Other: Whisper White Envelope

It’s A Beautiful Day – Pals February 2018 Blog Hop

Welcome to the Pals Feburary 2018 Blog Hop! Our theme this month is “Case the Catty”. The Stampin’ Pretty Pals will copy or remake projects from any of the current Stampin’ Up! catalogs and brochures. After all, who doesn’t CASE (Copy and Share Everything) once in a while. You may be just starting or hopped over from another Pal. In either case you’ll find the line-up toward the end of my post to help you move along.

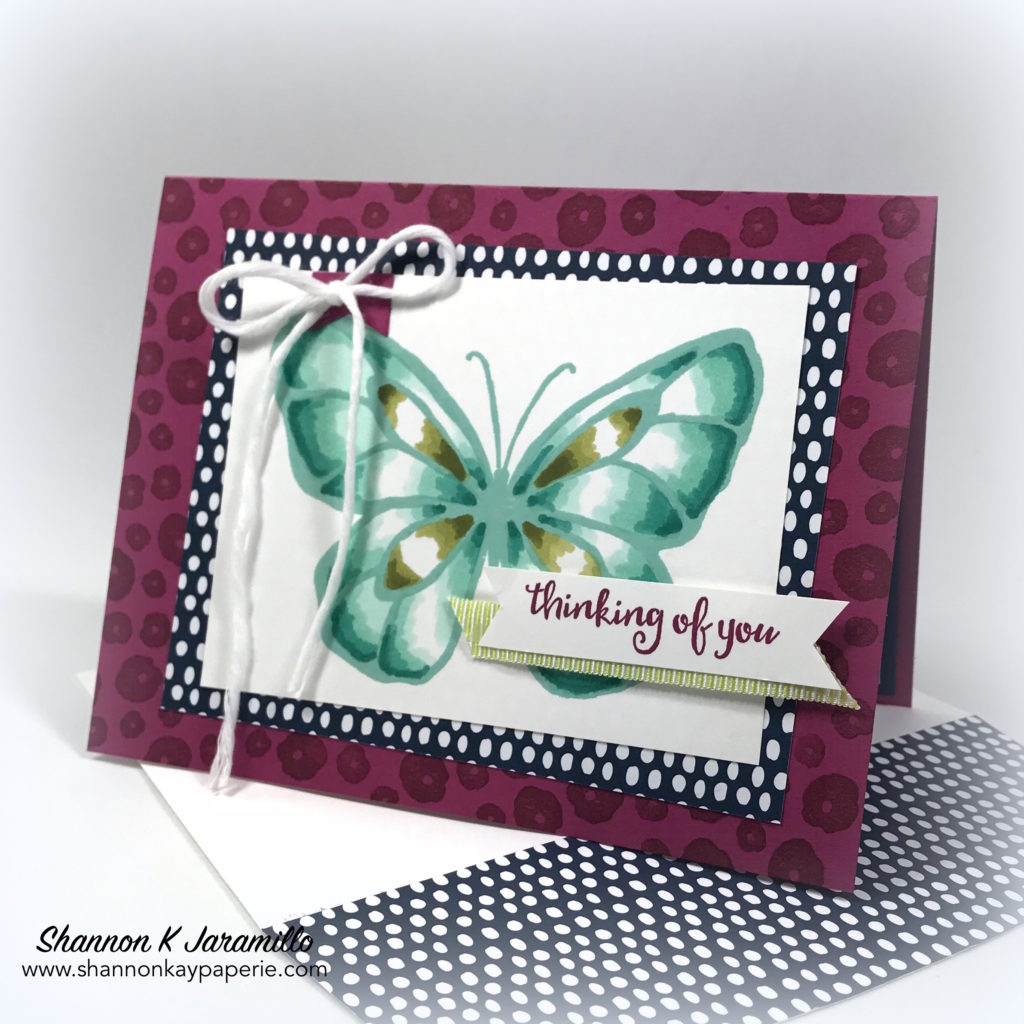
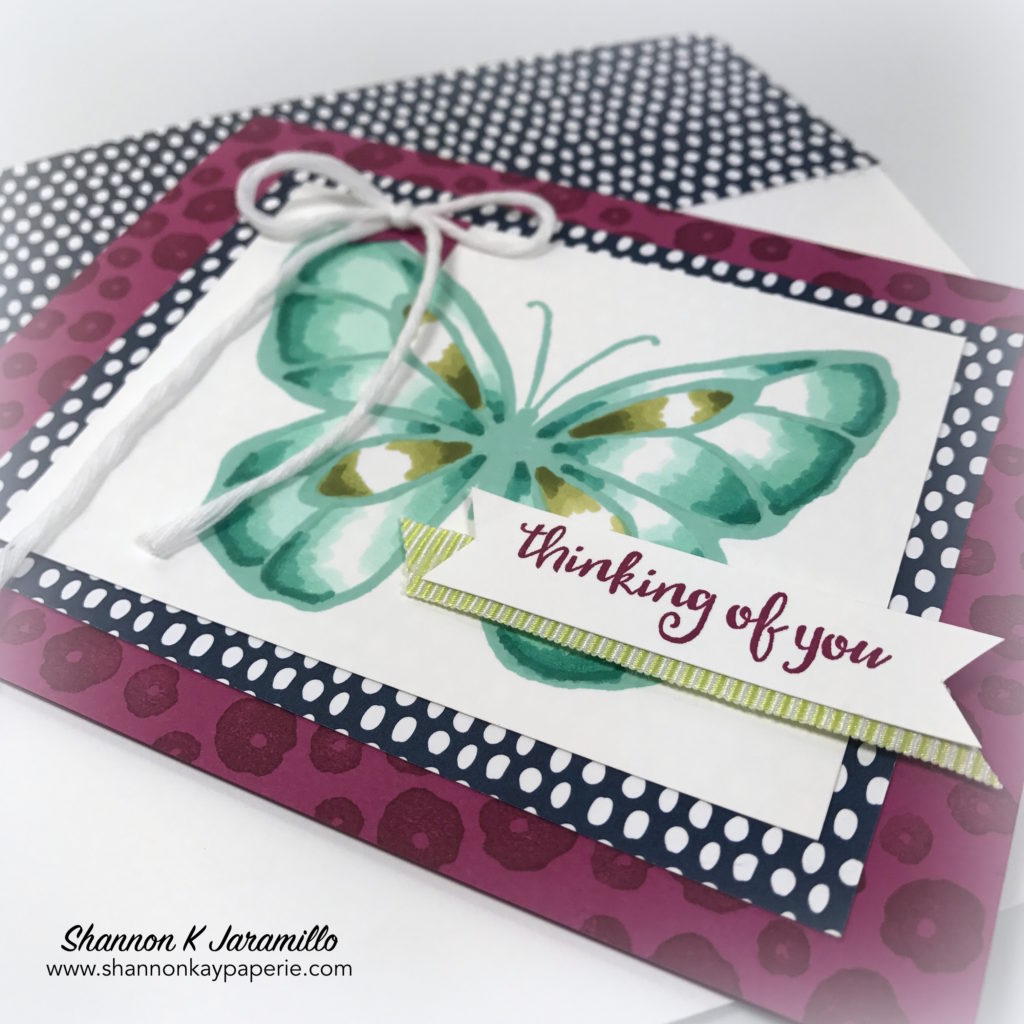
Stampin-Up-Beautiful-Day-Thinking-of-You-Card-Ideas-Shannon-Jaramillo-stampinup

There are so many pretty projects in the Stampin’ Up! Catalogs that the hardest part of this challenge was trying to narrow it down to just one! I finally decided on this project because a. it’s gorgeous and b. the colors are ones I would never think to pair up!

Measurements:

  • Card Base 5 1/2″ x 8 1/2″, scored at 4 1/4″
  • 1st Layer 4 1/2″ x 3 1/2″
  • 2nd Layer 4″ x 3″

Details:

  • The first step for me was to figure out the measurements of the layers, which I’ve included so you don’t have to!
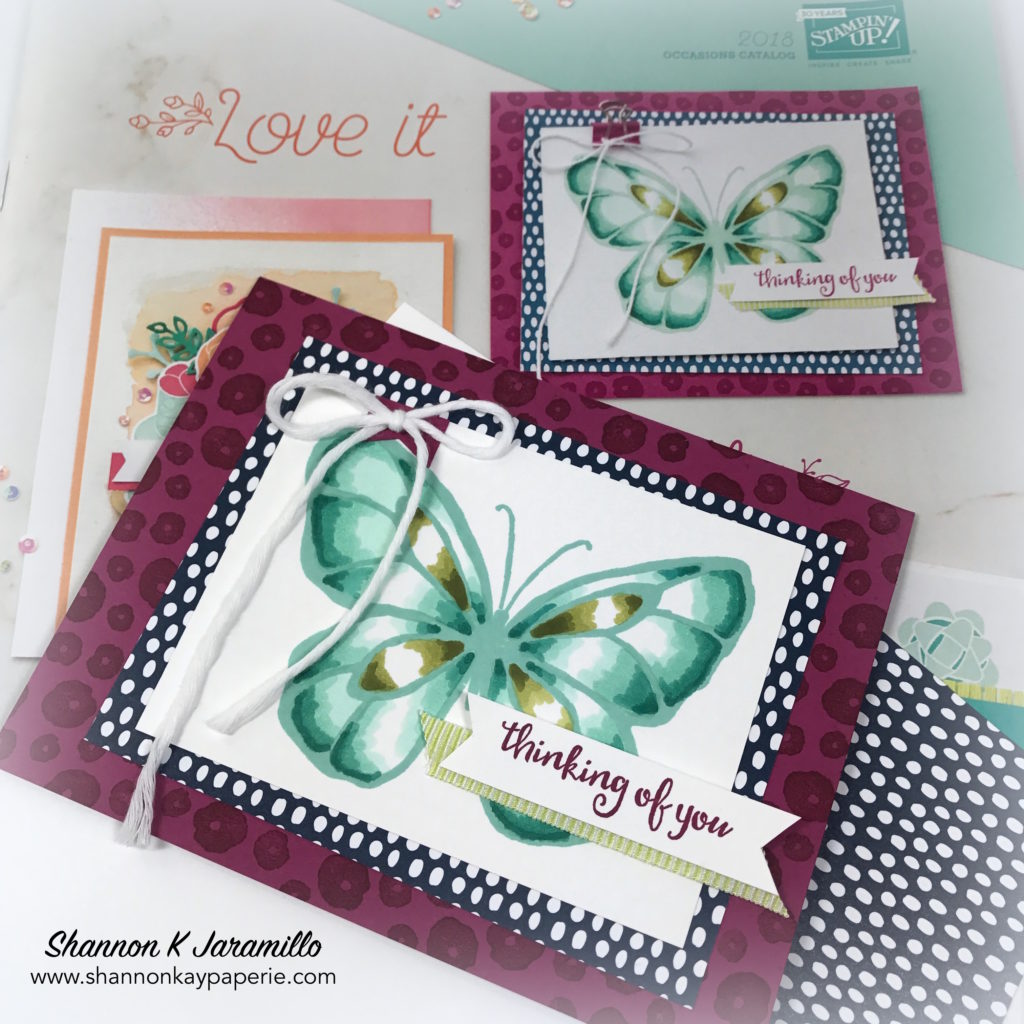
  • Then I jumped right in and stamped the butterfly image from Stampin’ Up!’s Beautiful Day stamp set in Pool Party. The coloring with the Stampin’ Blends took a few tries (okay, more than a few) to work out. There are four colors of blue used, Light and Dark Pool Party and Light and Dark Coastal Cabana. I followed the example one the cover of the Occasions Catalog closely and discovered a few tips:
    • They didn’t really blend the layers, they just laid them down one on top of the other, lightest to darkest.
    • Let each layer of color dry before applying the next layer to keep that definition between the shades.
    • I was hesitant to really put the ink down at first as it seemed so dark and contrasted so much…it doesn’t look that way when the ink dries and it looks much better if you are liberal with the ink. So really lay those colors down!

Stampin-Up-Beautiful-Day-Thinking-of-You-Cards-Ideas-Shannon-Jaramillo-stampinup

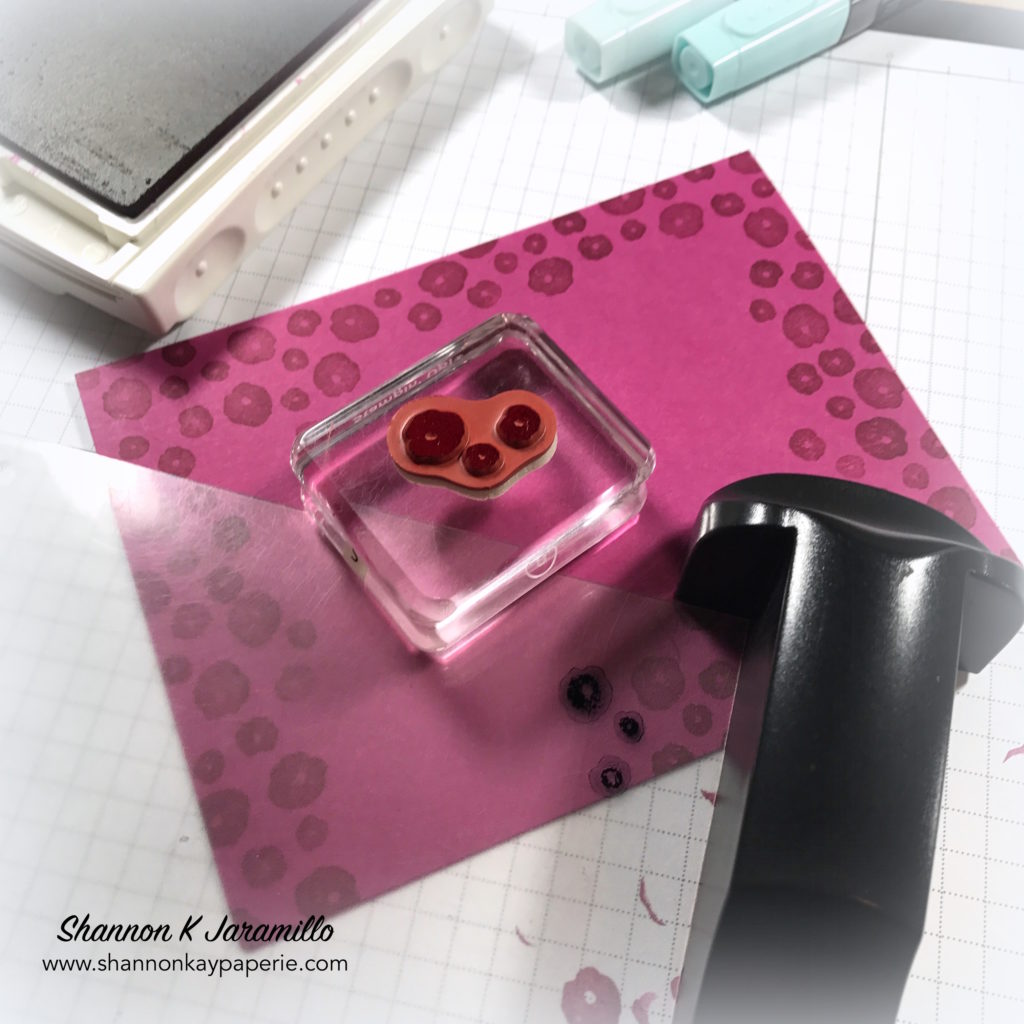
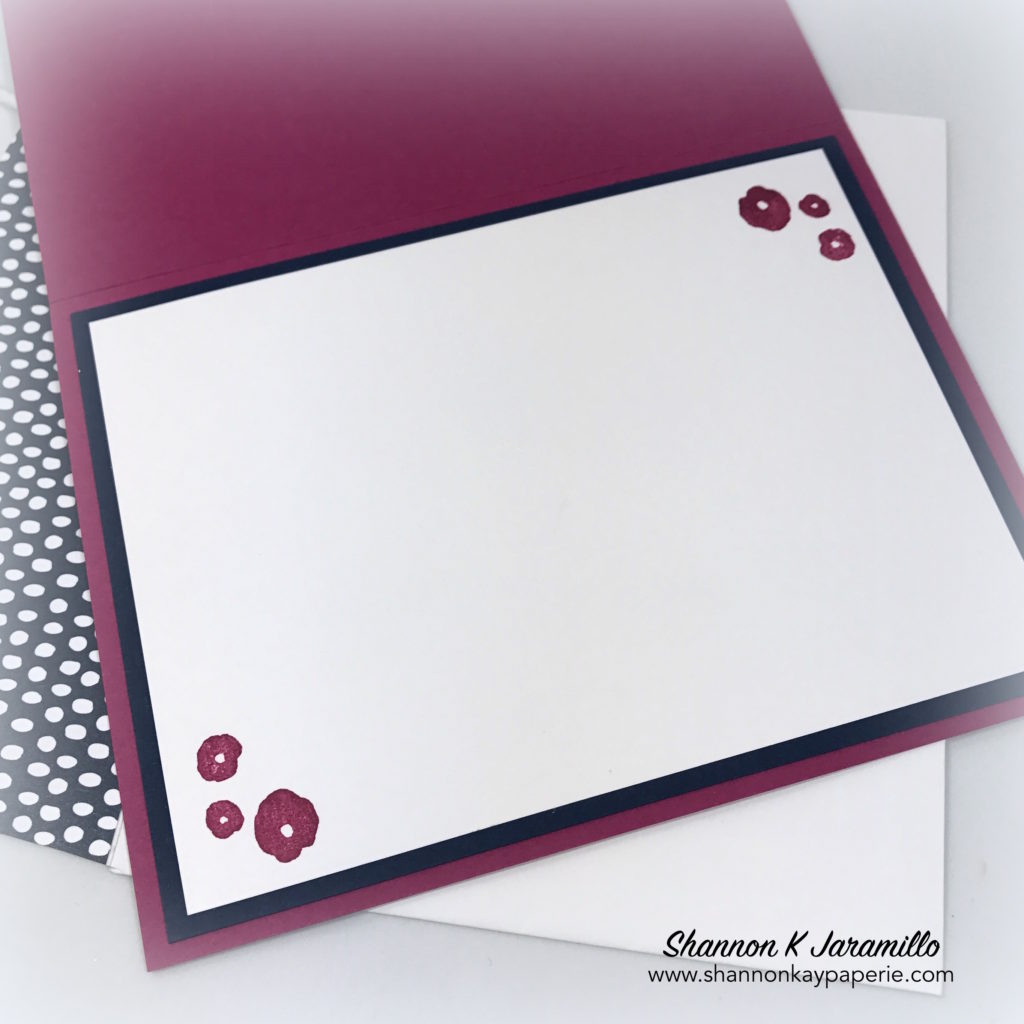
  • Once the butterfly was colored, I moved on to stamp all the little flowers in Berry Burst. I’ve never thought to stamp around the edges of my card base before but WOW! I love the effect! One teeny tiny stamp sure can pack a punch!
  • I had a discussion recently with a stamping friend who didn’t own either a Stamparatus or any other type of stamp positioning tool and the merits of both the Stamparatus and the Stamp-A-Ma-Jig. I believe that both tools are valuable to have. The Stamparatus is perfect for making sure you get a great stamped image and perfect placement but it doesn’t work well in applications like stamping this border of flowers around the edges of the card stock. The reason? You can’t turn the stamp to mix up the placement. With the Stamp-A-Ma-Jig, you can. You can turn the plastic sheet that the image is stamped on all different ways to come up with a fun pattern and still get perfect placement.

Stampin-Up-Beautiful-Day-Love-and-Friendship-Card-Ideas-Shannon-Jaramillo-stampinup

Stampin-Up-Beautiful-Day-Thinking-of-You-Cards-Idea-Shannon-Jaramillo-stampinup

  • A tiny hand cut banner topped off with a Whisper White Baker’s Twine bow and a stamped and snipped sentiment banner layered with a pretty piece of Lemon Lime Twist 3/8″ Mini Striped Ribbon finish off this project beautifully.
  • Today I left the inside blank for a personalized message, just added some color and a few flowers.

Stampin-Up-Beautiful-Day-Love-and-Friendship-Card-Idea-Shannon-Jaramillo-stampinup

Thank you so much for hopping with the Stampin’ Pretty Pals today. Please take a minute to mark your calendar for our next hop on March 14, 2018. Now hop along using the Blog Hop Line-up below. Don’t forget to leave us a comment. We really like that.

Blog Hop Line-up:

  1. Mary Fish at Stampin’ Pretty
  2. Debbie Mageed at Secret Stamper
  3. Su Mohr at Aromas and Art
  4. Jennifer Michalski at Stamping Serenity
  5. Beth McCullough at Stamping Mom
  6. Rachael at Bluebonnet Stampin
  7. Lisa Ann Bernard at Queen B Creations
  8. Peggy Noe at Pretty Paper Cards
  9. Stesha Bloodhart at Stampin’ Hoot!
  10. Jackie Beers at BlueLineStamping
  11. Shannon Jaramillo at Shannon Kay Paperie
  12. Rosanne Mulhern at Heartfelt Stamping
  13. Jennifer Spiller at Westside Paper Creations
  14. Linda Suarez at All Night Stamping
  15. Pamela Sadler at Apron of Love
  16. Corinne Blake at The Creative Compendium
  17. Wendy Klein at DogGone Delightful Stampin’
  18. Julie DiMatteo at The Paper Pixie
  19. Tricia Chuba at ButterDish Designs
  20. Sara Hicks Stuart at Sentiments by Sara

Blessings!

Supplies:

Card Stock: Berry Burst, Night of Navy and Whisper White by Stampin’ Up!

Pattern Paper: Tutti Fruitti 6 x 6 Designer Series Paper by Stampin’ Up!

Ink: Pool Party and Berry Burst by Stampin’ Up!

Stamps:  Beautiful Day by Stampin’ Up!

Dies:  None

Tools: Stamp-A-Ma-Jig and Stampin’ Trimmer by Stampin’ Up!

Embellishments: Lemon Lime Twist 3/8″ Mini Striped Ribbon and Whisper White Baker’s Twine by Stampin’ Up!

Other: Medium Whisper White Envelope by Stampin’ Up!
Floral Feel Better – Freshly Made Sketches 319

Concord-&-9th-Hello-Lovely-Get-Well-Card-Ideas-Shannon-Jaramillo

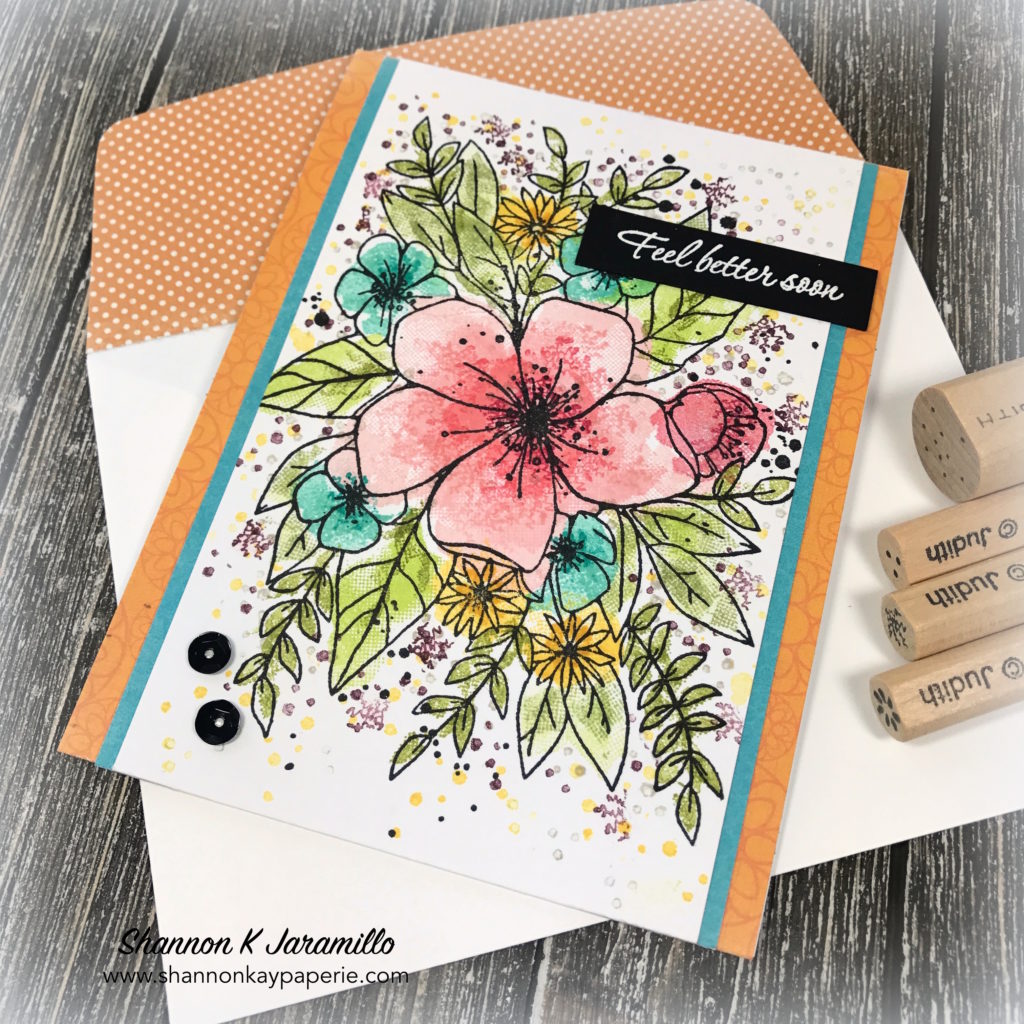
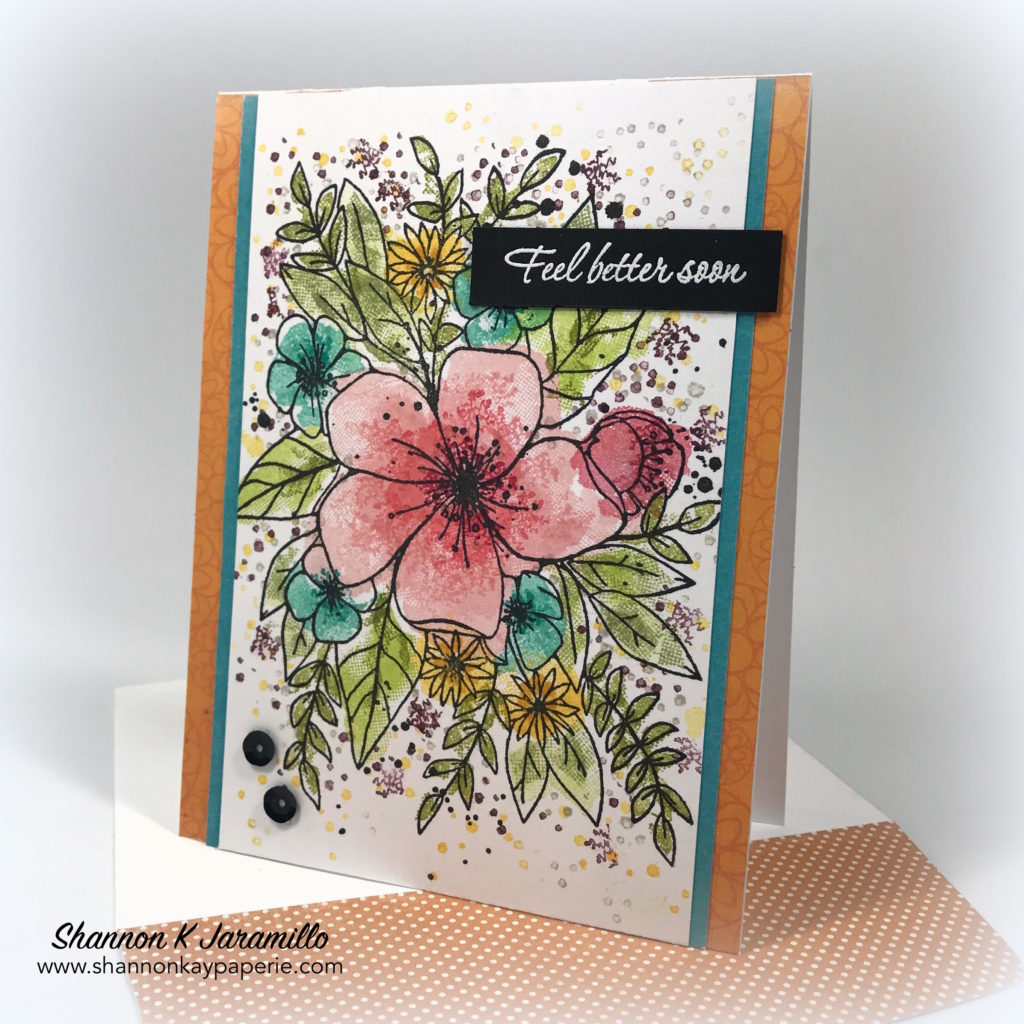
Hello my stamping friends! I woke up today with the Santa Ana winds blowing again (yuck) but also to a perfectly clear bright blue sky and that was the inspiration for today’s card. The sun just fills me up with ‘happy’ and so I poured it out onto my card.

Measurements:

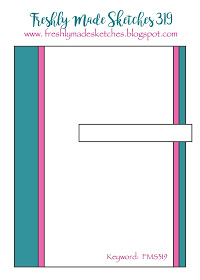
  • Card Base 4 1/2″ x 11″, scored at 5 1/2″
  • White Panel 3 1/2″ x 5 1/2″
  • Orange Layer 1″ x 5 1/2″
  • Blue Layer 1/2″ x 5 1/2″

Details:

  • I broke out a new-to-me stamp set and had fun playing not with alcohol markers, but with good old Stampin’ Up! foam ink pads! LOTS of them!!
  • The ‘Hello Lovely’ stamp set is made by Concord & 9th, a stamp company I had not really noticed until now (Thanks Michelle). I love that it is a large image, and really open to personalization. I think I could make a hundred cards with it, all different.
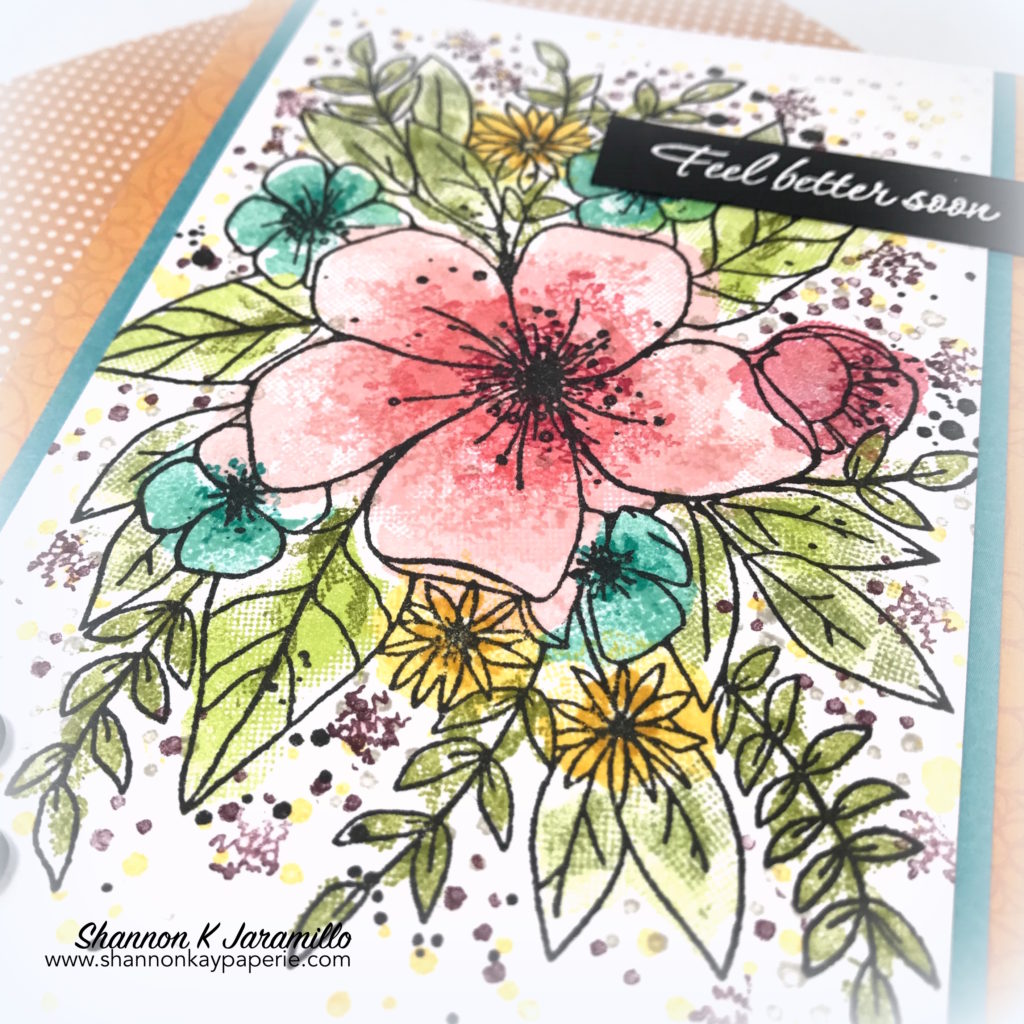
  • Besides the large image, there are lots of watercolor type images to fill in the flowers. The large blossom has three stamps for the interior color. So I stamped the largest image in Powder Pink, the next largest in Blushing Bride, and the smallest in Flirty Flamingo.

Concord-&-9th-Hello-Lovely-Get-Well-Cards-Idea-Shannon-Jaramillo

  • The smaller pink bud was stamped in Flirty Flamingo with Rose Red accents, The blue ones are Coastal Cabana with Bermuda Bay centers and the the daisies are stamped in Daffodil Delight with Crushed Curry centers.
  • The largest leaves are stamped in Lemon Lime Twist, the medium leaves are stamped in Pear Pizzazz, and the little leaves are Lucky Limeade.
  • Once I was done I decided everything needed more depth of color so I pulled out a bunch of pencil type stamps that I purchased from ‘Stamps by Judith’ (which are featured on the main photo) and went to town. I added lots of Powder Pink, Flirty Flamingo and Rose Red squiggles to the main flower. I adore the addition of Rose Red to the center of it.
  • The Hello Lovely stamp set comes with an ink splotch stamp so with some masking, I added Daffodil Delight ink spots all around the stamped image. That wasn’t enough so I added more in Sahara Sand.
  • Still wasn’t enough so I added a three dot pencil stamp all over in Crushed Curry and Fresh Fig. I still wanted ‘more’ so I used the squiggle stamp again in Fresh Fig. The touch of purple makes my bouquet complete 🙂

Concord-&-9th-Hello-Lovely-Get-Well-Card-Idea-Shannon-Jaramillo

  • I found some patterned paper that went well with my colors in a 6 x 6 paper pad by My Mind’s Eye, appropriately called ‘Happier’
  • I fussed with the sentiment for a bit until I found this one by PTI. I tried in on vellum first, nope. Then tried it on white card stock, nope. The third time was just right, stamped in Versamark Ink on Basic Black card stock and heat embossed with Ranger white embossing powder. I placed it flat onto my card rather than popped up as I wanted the card to be very mailable.
  • I felt everything was a bit off balance with all the black to the upper right so I added black sequins to the opposite corner. It feels balanced now!
  • I couldn’t just stop, so I added shimmer to ALL of the flowers…so sparkly!

And that’s it! I left the inside blank to leave room for lots of writing space.

I want to thank the Freshly Made Sketches for my layout this week, a perfect blank canvas to decorate!

I’m also playing along with Concord & 9th‘s challenge to use your first (or closest to first) C9 set! How fun is that!

Thank you so much for visiting me! Making cards is a wonderful way to wind down and the process makes me happy so I’m always delighted to share with, and hear from, those who share this passion!

Blessings to you.

Supplies:

Card Stock: Stamper’s Select White by Papertrey Ink, Basic Black by Stampin’ Up!

Pattern Paper: Happy by My Mind’s Eye

Ink: Versamark Onyx Black;  Powder Pink, Blushing Bride, Flirty Flamingo, Rose Red, Costal Cabana, Bermuda Bay, Daffodil Delight, Crushed Curry, Lemon Lime Twist, Pear Pizzazz, Lucky Limeade, Sahara Sand and Fresh Fig by Stampin’ Up!

Stamps:  Hello Lovely by Concord & 9th, Inside & Out: Healing Touch by Papertrey Ink

Dies:  Envelope Liner Die (retired) by Stampin’ Up!

Tools: Heat Embossing Tool and Embossing Buddy by Stampin’ Up!; White Embossing Powder by Ranger

Embellishments:  generic black sequins and Wink of Stella

Other: Medium Whisper White Envelope by Stampin’ Up!
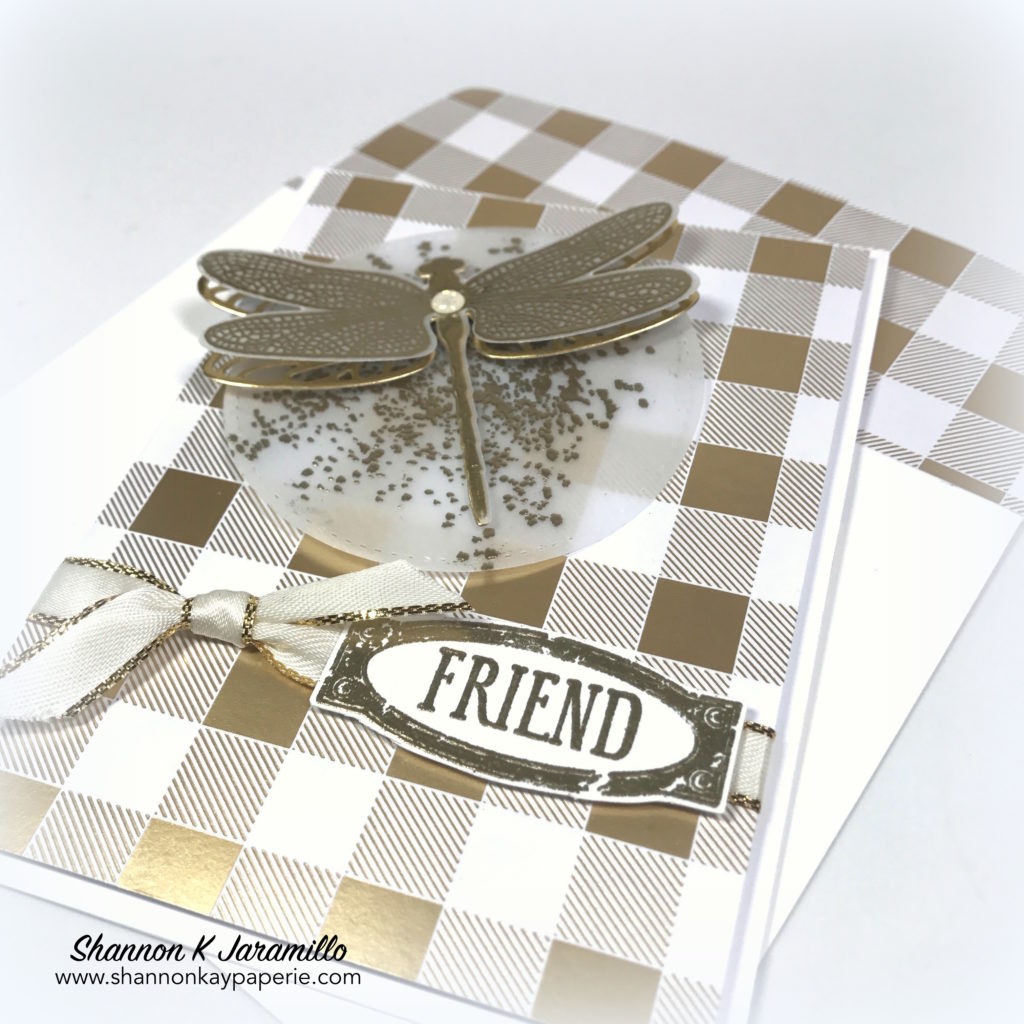
Dragonfly Dreams Friendship Card – Tic Tac Toe Challenge #19

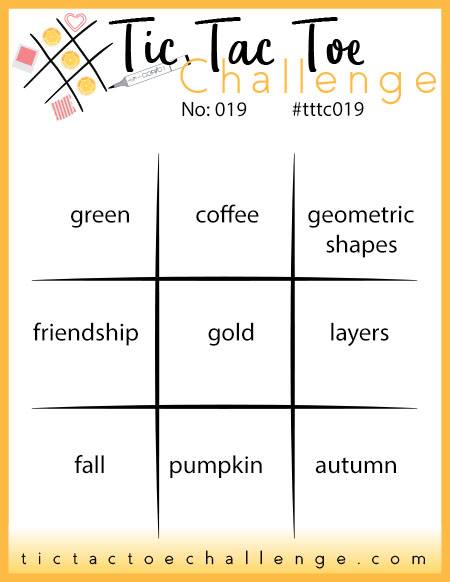
Welcome to a brand new Tic Tac Toe challenge! This week’s board comes to us courtesy of Felicita and is sure to provide inspiration!

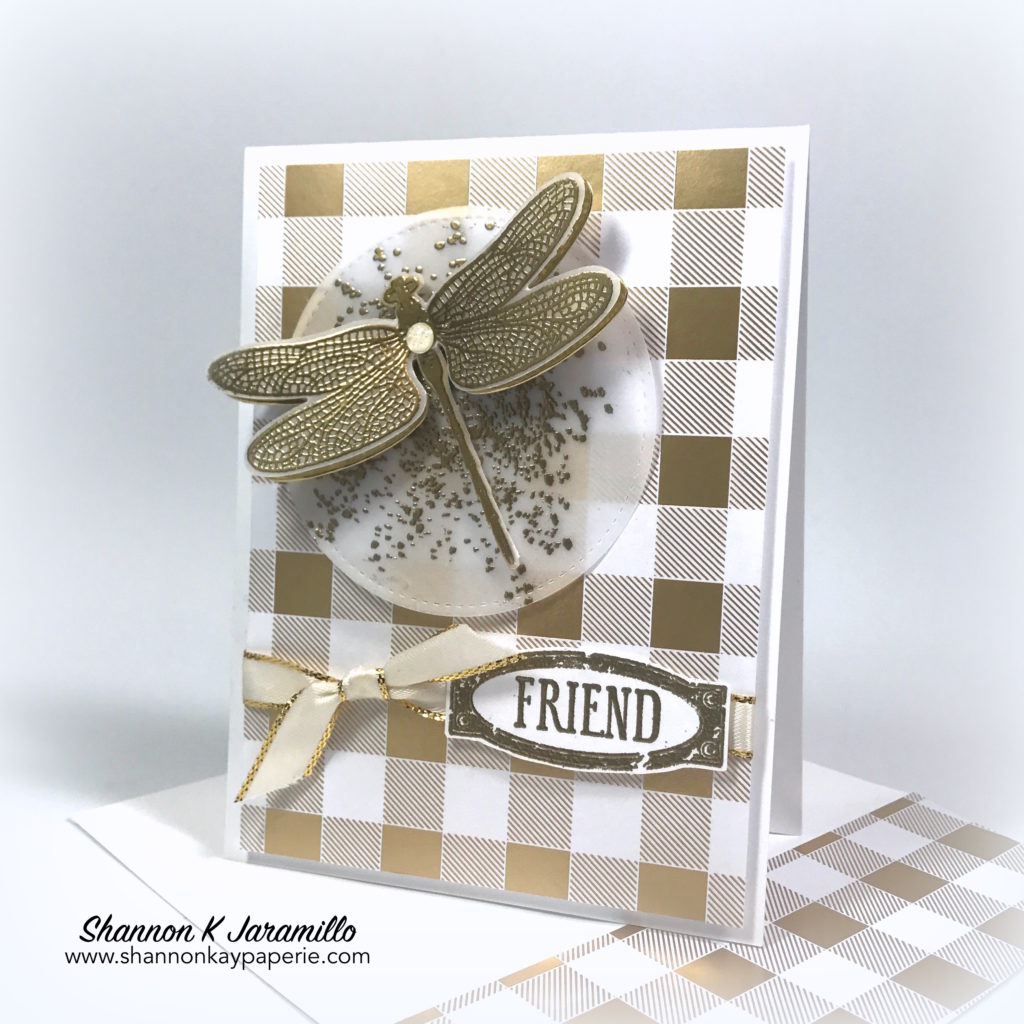
This week I decided to choose the middle row across; friendship, gold, layers. What will you choose?

Stampin-Up-Dragonfly-Dreams-Friendship-Card-Idea-Shannon-Jaramillo-stampinup

Details:

  • This dreamy paper is from the Year of Cheer Specialty Designer Series Paper pack. I love when paper can be multi-functional. This DSP is actually holiday paper but this gorgeous plaid can be used all year round! I layered a 4″ x 5 1/4″ piece of DSP over the card base and used Stampin’ Dimensionals to add depth and give me a little extra space to attach a piece of Gold 3/8″ Metallic-Edge Ribbon.
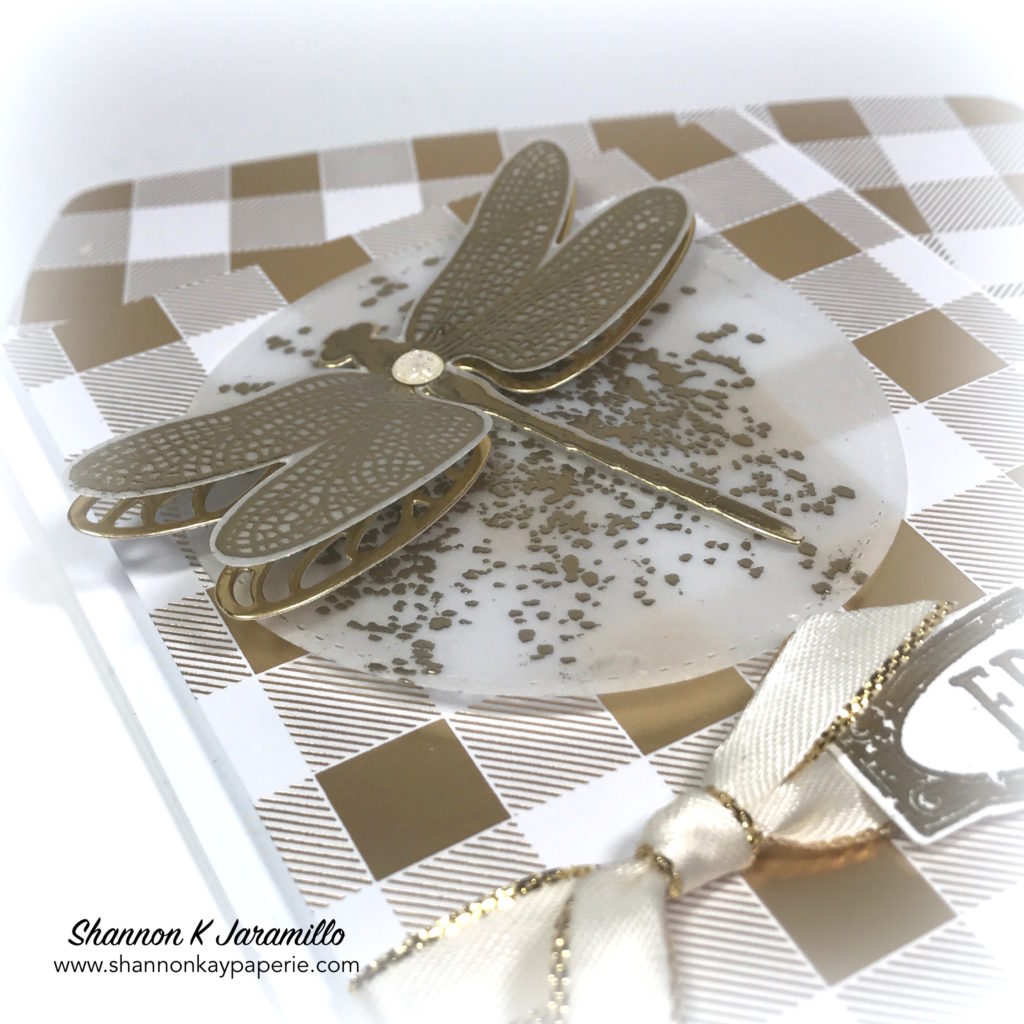
  • I ran a piece of Vellum Cardstock through the Big Shot and the largest circle from the Stitched Shapes Framelits Dies. I then stamped the circle with a background splatter stamp from the Touches of Texture stamp set using Versamark Ink. I heat set it carefully with Gold Embossing Powder, using tweezers to hold the vellum for me so as to not burn fingers!
  • The dragonfly from the Dragonfly Dreams stamp set was stamped in Versamark Ink and heat set with Gold Embossing Powder and then run through the Big Shot with the coordinating Detailed Dragonfly Thinlits Dies.

Stampin-Up-Dragonfly-Dreams-Friendship-Cards-Idea-Shannon-Jaramillo-stampinup

  • A second dragonfly was die cut using a different die from the Detailed Dragonfly Thinlits Dies and Gold Foil Sheets. Can you see it peeking out from underneath? Just another layer of gold…it’s so amazingly pretty in person!
  • I glued the two dragonfly dies together with the Fine-Tip Glue Pen and then popped them up off the circle of vellum using the edges of a sheet of Stampin’ Dimensionals. By using the edges I was able to snip some long thin lines of adhesive along the body and wings of the dragonfly and keep them hidden. I popped the vellum circle up off the DSP using stripes of Stampin’ Dimensionals as well.
  • I had a wrinkle in the dragonfly’s body from not gluing the layers together properly but a single Glitter Enamel Dot in the very palest shade of Crushed Curry covered that easily and adds more sparkle!

Stampin-Up-Dragonfly-Dreams-Friendship-Card-Ideas-Shannon-Jaramillo-stampinup

  • The frame for the sentiment and the sentiment can be found in the Awesomely Artistic stamp set. I stamped both in Versamark Ink and heat set with Gold Embossing Powder. I then quickly snipped the framed sentiment with Paper Snips and attached it to my card with Stampin’ Dimensionals (a stampin’ girl’s best friend!)
  • I adhered a 2 1/4″ x 6″ strip of matching DSP to my envelope by running SNAIL adhesive along the outside edges of the envelope flap, gently pressing the DSP to adhere it, and snipping off the extra with my Paper Snips, using the edge of the envelope flap as my guide. An easy way to dress up an envelope!

Thank you so much for stopping by today, please pop over and see more inspiration from the rest of the Tic Tac Toe design team and I hope you have a chance to play along with us this week!

Blessings!

Supplies:

Card Stock: Stamper’s Select White by Papertrey Ink

Pattern Paper: Year of Cheer Specialty Designer Series Paper by Stampin’ Up!

Specialty Paper: Gold Foil Sheets and Vellum Cardstock by Stampin’ Up!

Ink: Versamark Ink

Stamps:  Awesomely Artistic, Dragonfly Dreams and Touches of Texture by Stampin’ Up!

Dies:  Stitched Shapes Framelits Dies, Detailed Dragonfly Thinlits Dies and Envelope Liner Die (retired) by Stampin’ Up!

Tools: Embossing Buddy, Heat Tool and Gold Embossing Powder by Stampin’ Up!; MISTI by My Sweet Petunia (for the sentiment)

Embellishments:  Gold 3/8″ Metallic-Edge Ribbon and Glitter Enamel Dots by Stampin’ Up!

Other: Medium Whisper White Envelope by Stampin’ Up!
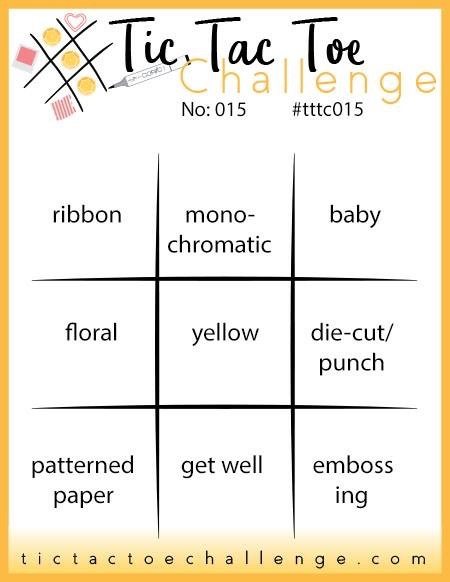
 

Pretty Poppies Healing Wishes – Tic Tac Toe Challenge #15

Good Morning! It’s Thursday and that means a new challenge from the Tic Tac Toe design team! This week’s board was designed by Rosanne Mulhern, one of my favorite clean and simple designers!

There are so many fun options to choose from that I couldn’t make a decision, so…I tried to use them all! I managed all but two – baby and embossing:

MFT-Stamps-Pretty-Poppies-Get-Well-Card-Idea-Shannon-Jaramillo

Measurements:

  • I don’t have any measurements today other than the standard card base 4 1/4″ x 11″, scored at 5 1/2″. The other layers were created using a die.

Details:

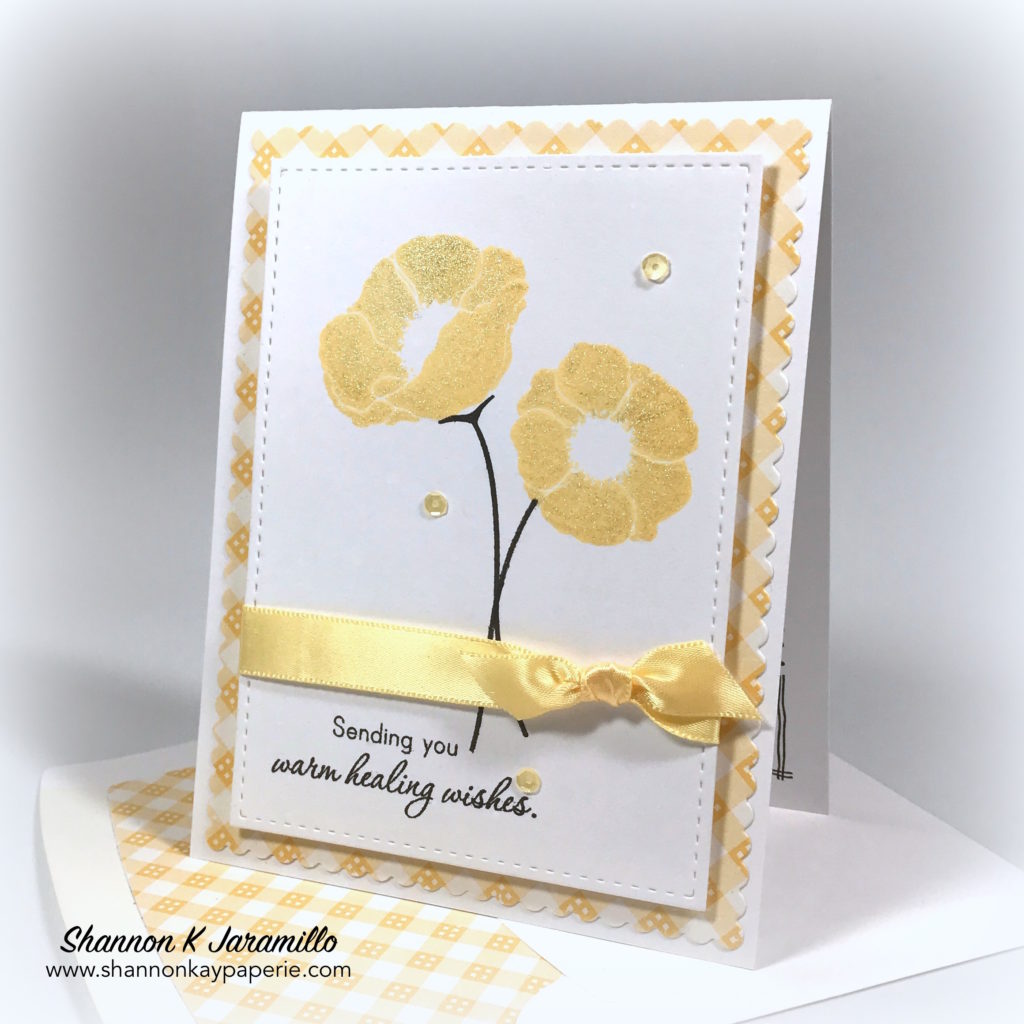
  • I loved the idea of monochromatic and yellow is one of my favorite colors I dug around in my stash until I found this bright and cheery 12″ x 12″ pattern from Echo Park. I love that the scale of the design works for both scrapbooking and card making.
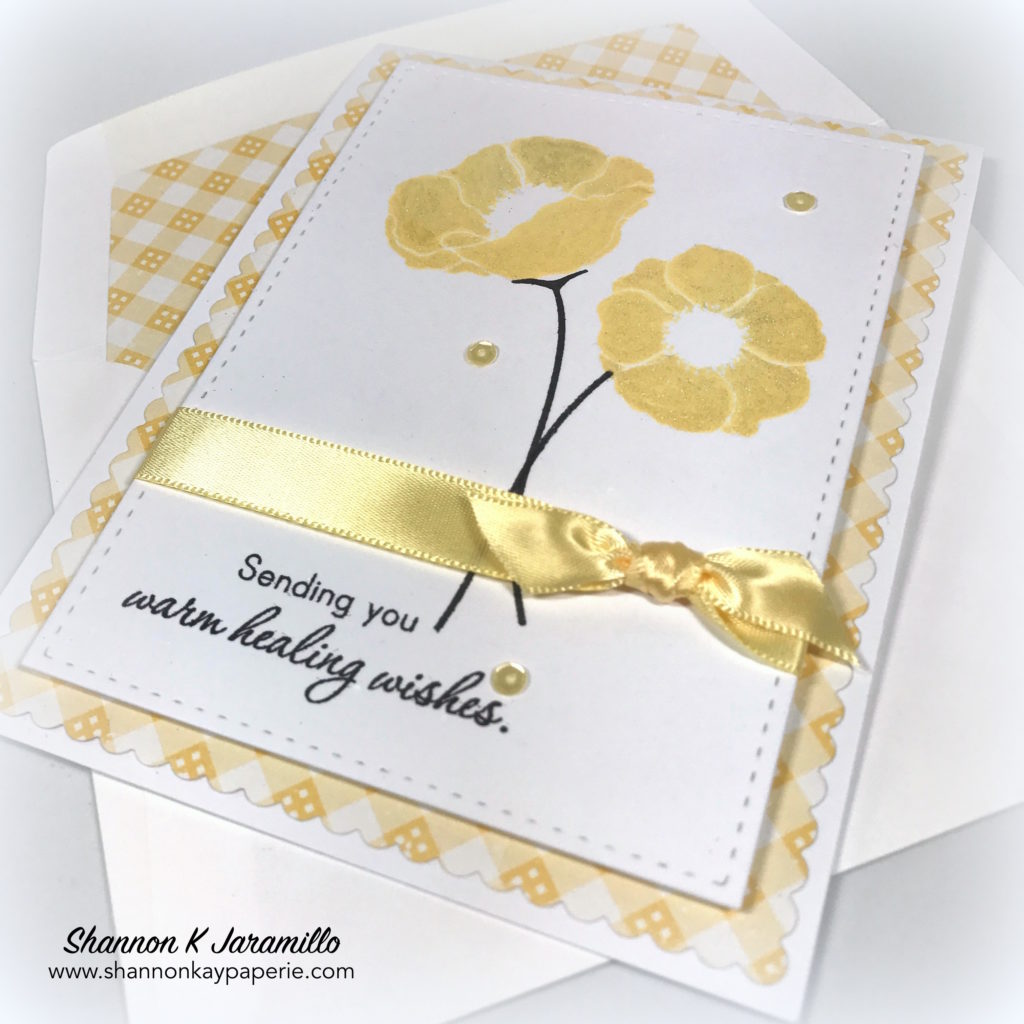
  • The Mama Elephant Femme Frames die set is a staple in my stash. It creates the lovely scalloped edge on the bottom layer and a pretty stitched edge on the top layer…and best of all…no measuring! It’s done for you!

MFT-Stamps-Pretty-Poppies-Get-Well-Card-Ideas-Shannon-Jaramillo

  • This stamp set, Pretty Poppies, was on the clearance rack over at MFT Stamps so I scooped it up for a steal! My Lemon Tart ink pad from PTI was a close match to the yellow in the paper and it has a matching ribbon! I had to stamp the poppies about 5 times to get the depth of color I wanted and then I applied Wink of Stella liberally. The stems and sentiment were stamped in Smokey Shadow ink. It’s a dark grey, but not quite black, for a softer feel.
  • This sweet mixed font sentiment is from the Inside & Out: Healing Touch stamp set by PTI. I set it off wish Lemon Tart satin ribbon and Lemon Meringue sequins from Pretty Pink Posh.

MFT-Stamps-Pretty-Poppies-Get-Well-Cards-Idea-Shannon-Jaramillo

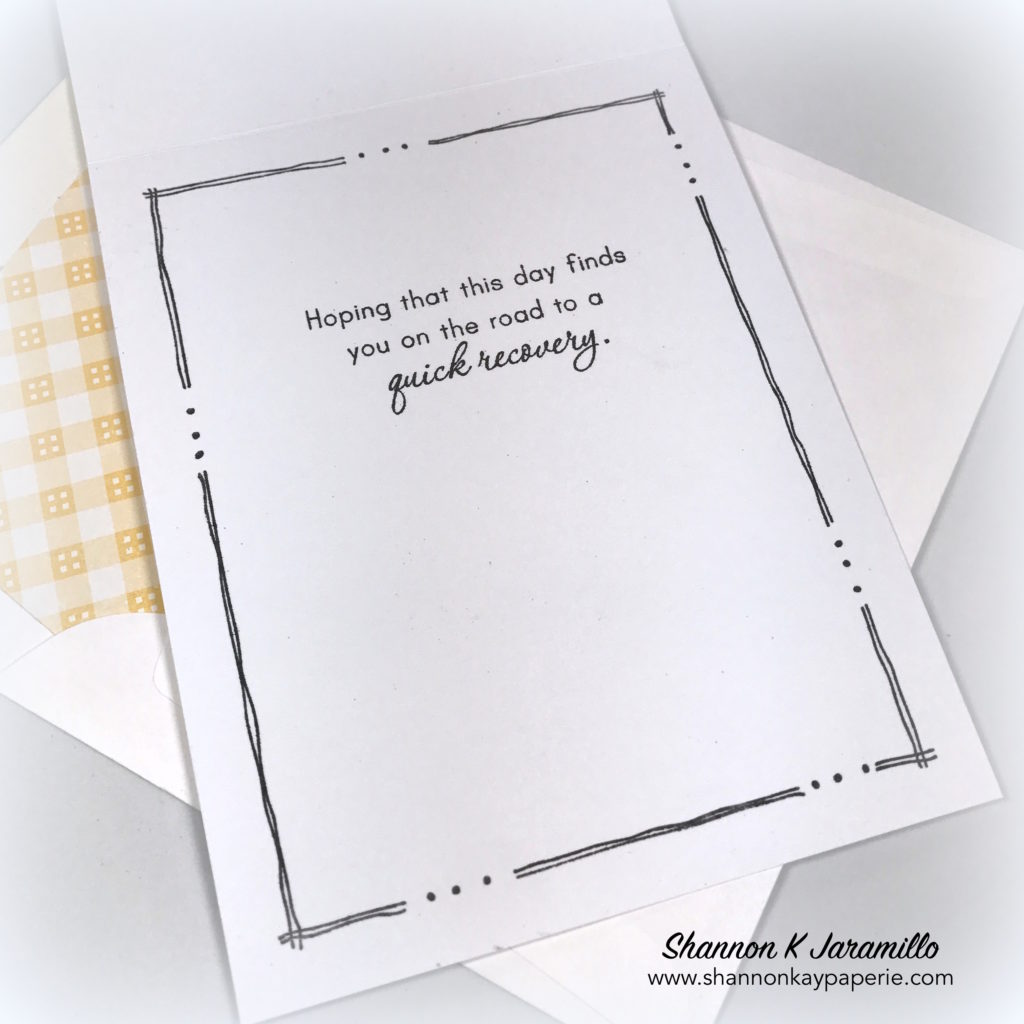
  • Love the inside sentiment as well and isn’t the border too cute?? It’s a border stamp by Rubbernecker Stamps…a craft show discovery!

Thank you so much for taking a peek at my project for the Tic Tac Toe design team this week and please stop by to see what the rest of the design team has for you! I hope you are inspired to play along!

Supplies:

Card Stock: Stamper’s Select White by Papertrey Ink

Pattern Paper: Hello Summer “Banners” by Echo Park

Ink: Lemon Tart and Smokey Shadow by Papertrey Ink

Stamps:  Pretty Poppies by MFT Stamps; Inside & Out: Healing Touch by Papertrey Ink; and Freehand Border large by Rubbernecker Stamps

Dies:  Femme Frames by Mama Elephant; Envelope Liner Die (retired) by Stampin’ Up!

Tools: Big Shot; MISTI by My Sweet Petunia

Embellishments: Lemon Tart 1/2″ Satin Ribbon by Papertrey Ink; Lemon Meringue Sequins by Pretty Pink Posh and Wink of Stella

Other: Medium Whisper White Envelope by Stampin’ Up!