Candy Cane Season – CASEing Christmas

Stampin-Up-Candy-Cane-Season-Holiday-Christmas-Card-Idea-Shannon-Jaramillo-stampinup-SU

What exactly is ‘CASEing’? It’s an acronym that stands for ‘Copy and Share Everything’. If you struggle to come up with card layouts – stop! Card making is supposed to be FUN so let’s make it fun! Google the name of the stop set you want to use and scroll through the images until you find one you like and copy it! There is no shame in it! Or, scroll through Pinterest until you find something interesting and copy it! Or use it as a jumping off point for whatever it triggers in your head! I tend to save a photo of cards that inspire me and then scroll back through the photos for inspiration. DO IT!! My only caveat is that if you put your card out onto the web, please be sure to credit the original designer. That’s just proper etiquette. So, go for it!

Measurements:

  • White Card Base 4 1/4″ x 11″ scored at 5 1/2″
  • Shaded Spruce Card Stock Layer 5 1/8″ x 3 7/8″
  • White Stamped Layer 5″ x 3 3/4″

Details:

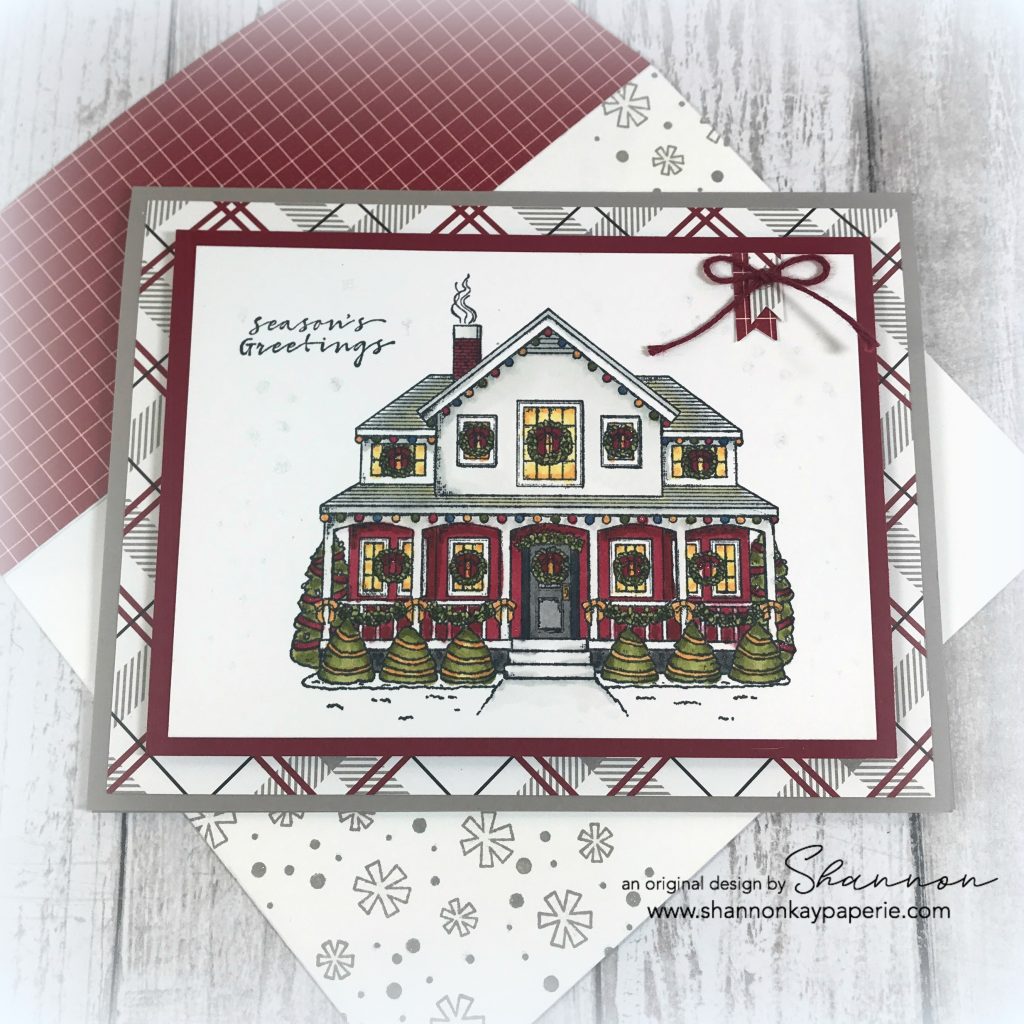
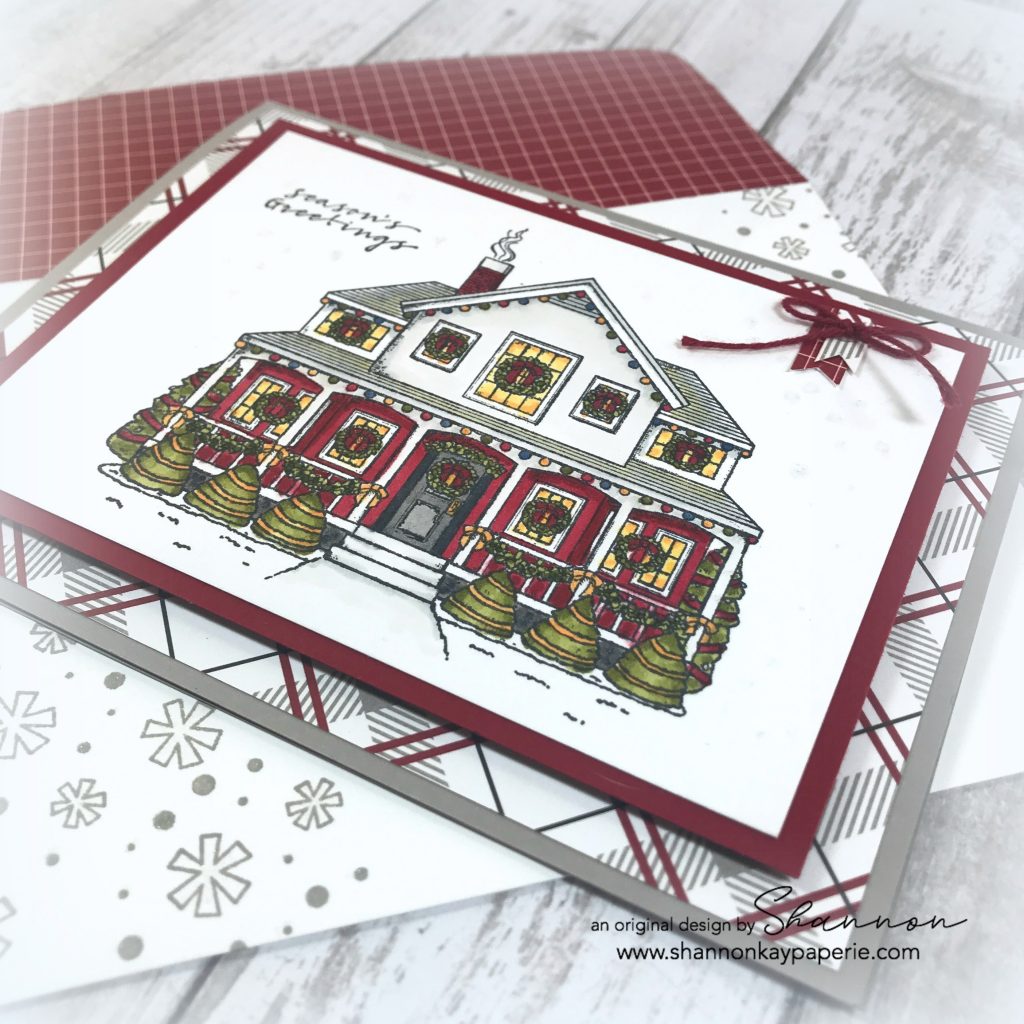
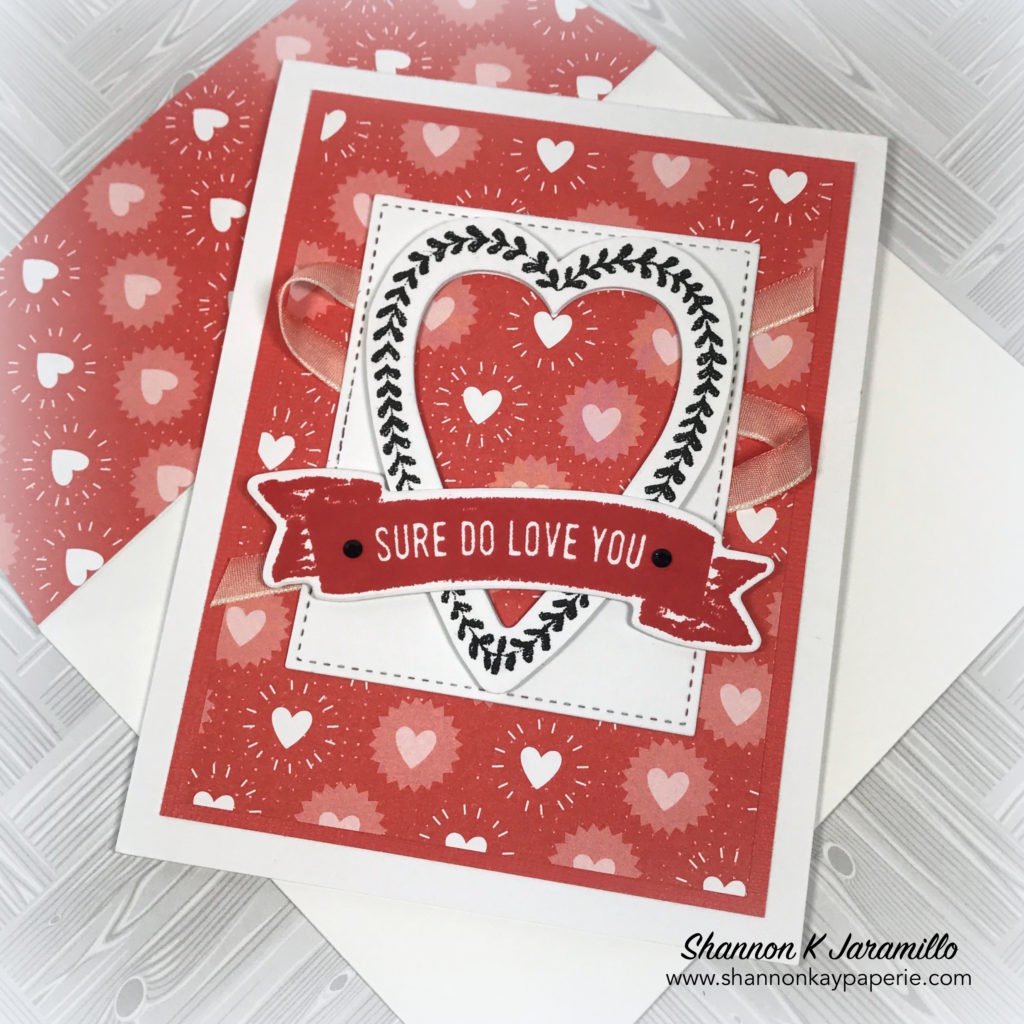
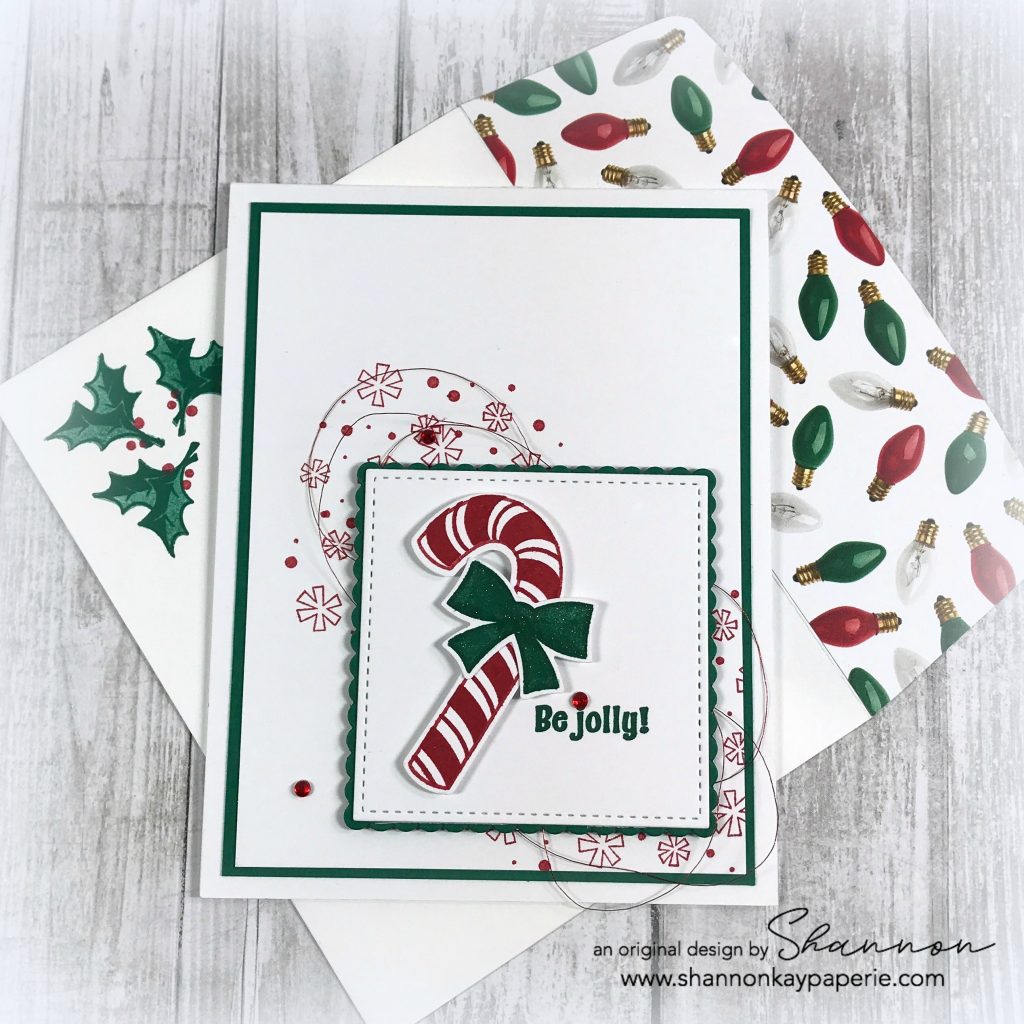
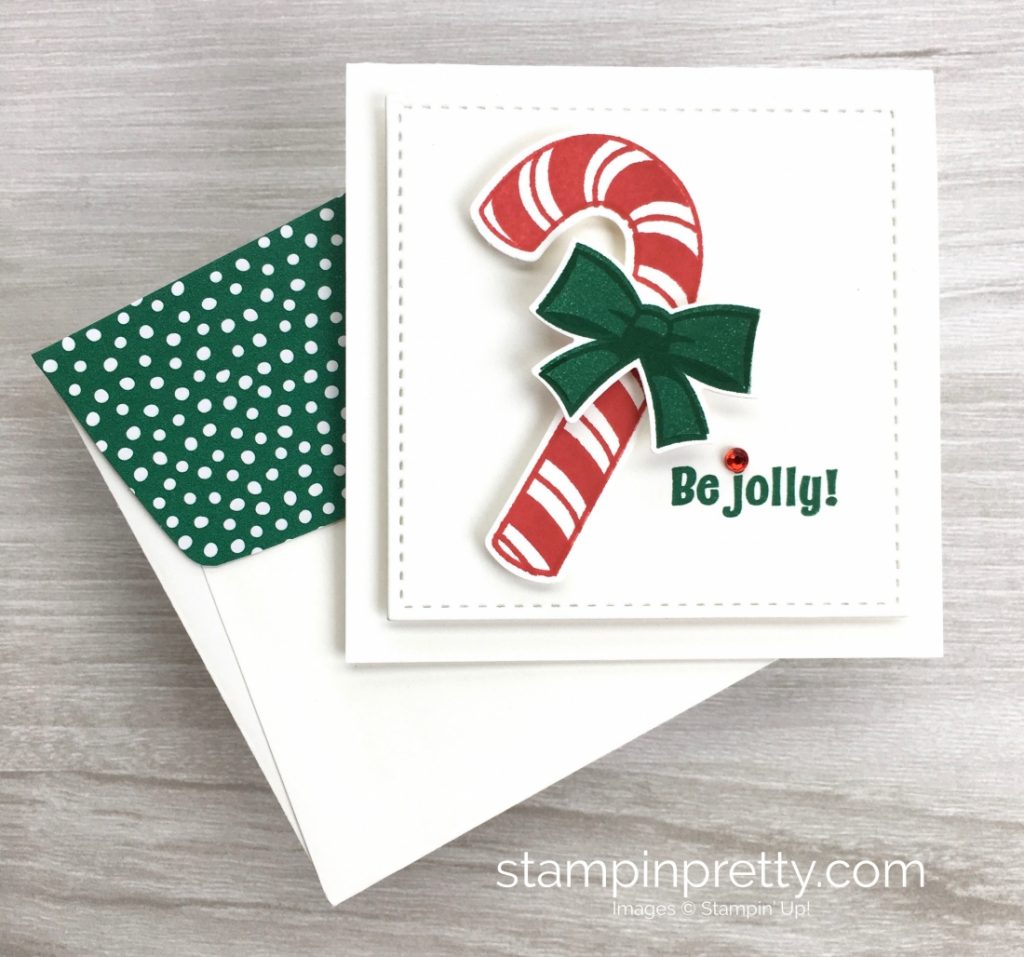
  • I adore the crisp and clean look of Mary Fish’s card (shown below) using the Candy Cane Season stamp set and couldn’t wait to recreate it. It’s perfect! I did however, want to make it in the A2 size rather than a gift tag size

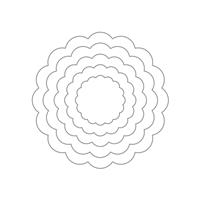
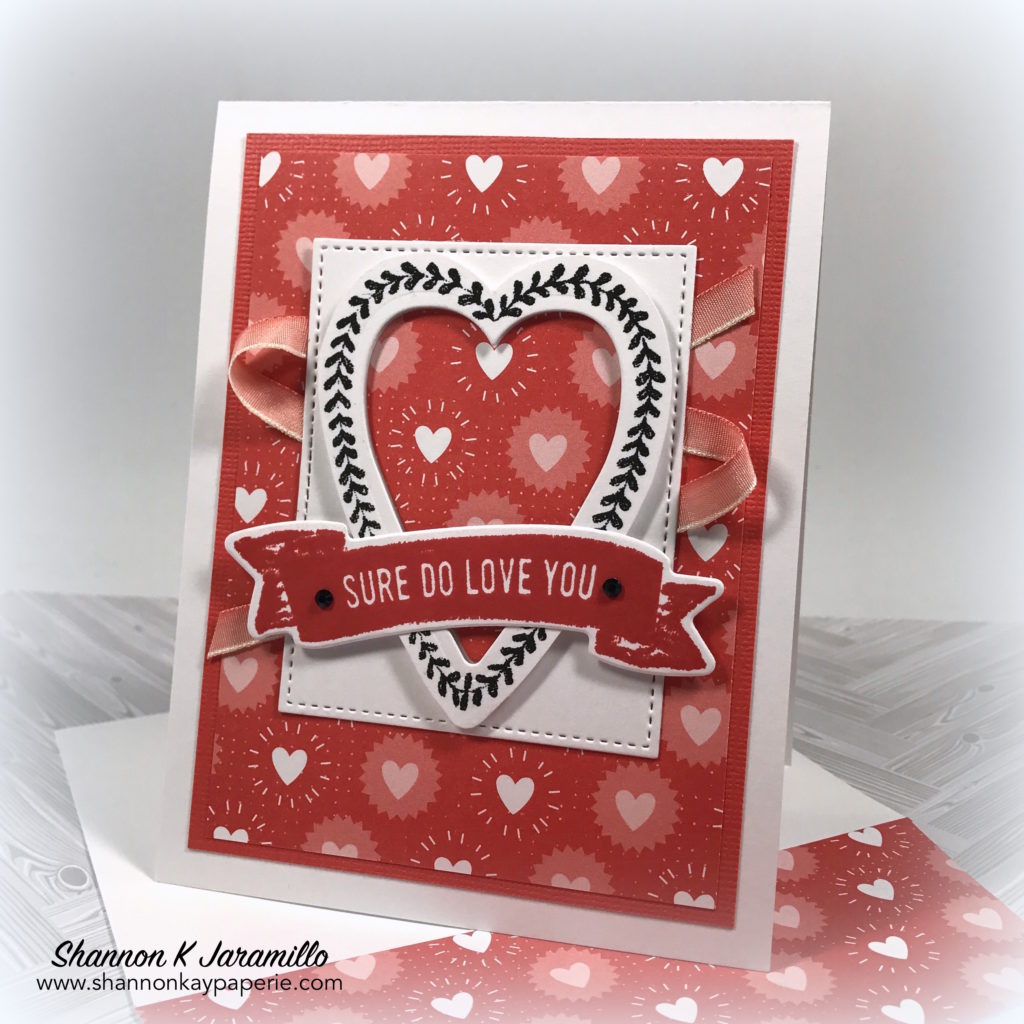
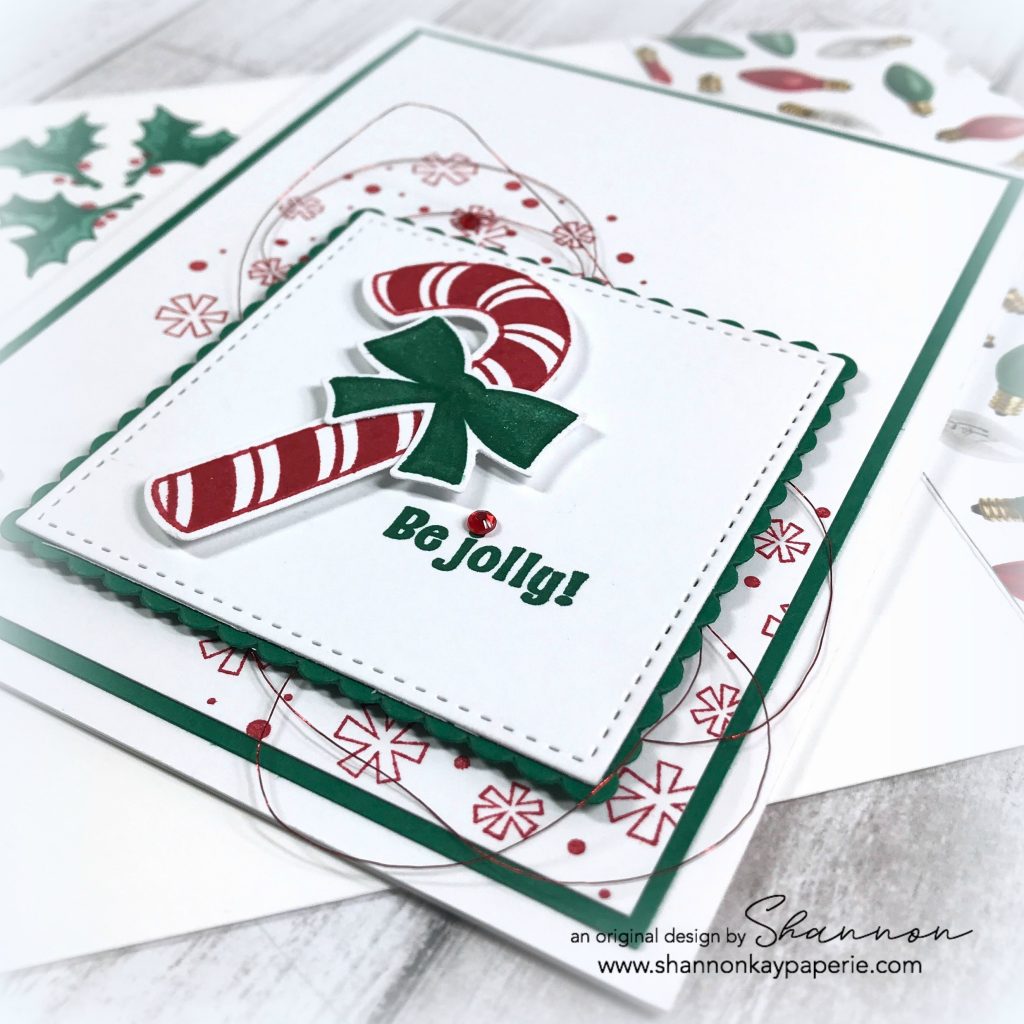
  • Because I knew that I would be adding layers, I went ahead and added a scalloped square behind the stitched layer to add definition.
  • The candy cane and bow were SOOO easy to stamp and then punch out with the coordinating punch!!

Stampin-Up-Candy-Cane-Season-Holiday-Christmas-Cards-Ideas-Shannon-Jaramillo-stampinup-SU

  • I then pulled out a darling retro snowflake stamp from the same stamp set (totally reminds me of Frosty the Snowman) and my retired Stamp-A-Ma-Jig (which BTW is currently on the clearance rack at Stampin’ Up’s online store if you want to pop over and grab one) and added some carefully placed snowflakes. And, in my world, snowflakes can be red 😉
  • I added more Shaded Spruce behind the white stamped panel for extra ‘pop’ and then attached some retired red thread to the stitched square and popped everything up with Stampin’ Dimensionals! I think it’s so fun!
  • I made a boo-boo when stamping my red snowflakes and overlapped some, but not to panic!, I just added another red rhinestone to that spot and the rhinestone takes all the attention away from the mistake! Of course I had to add another red rhinestone to create a visual triangle!

Stampin-Up-Candy-Cane-Season-Holiday-Christmas-Cards-Idea-Shannon-Jaramillo-stampinup-SU

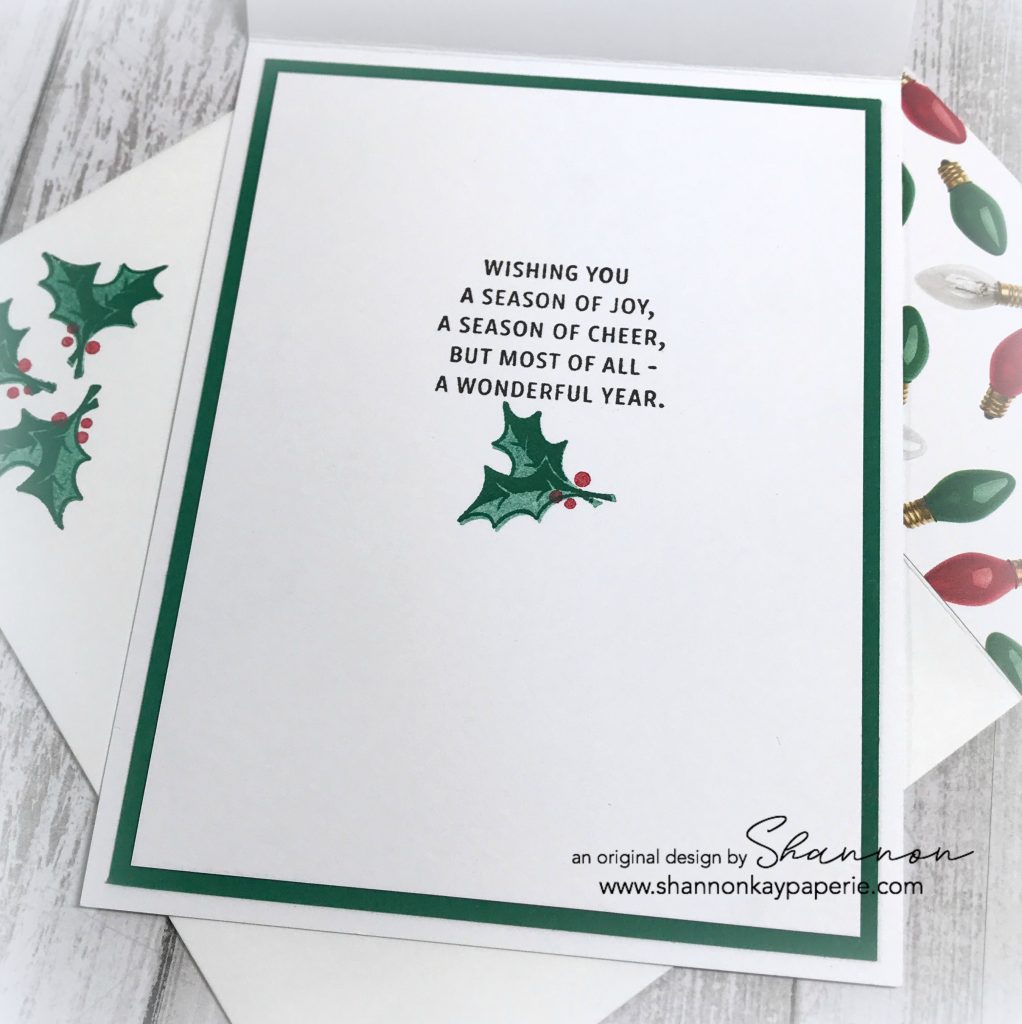
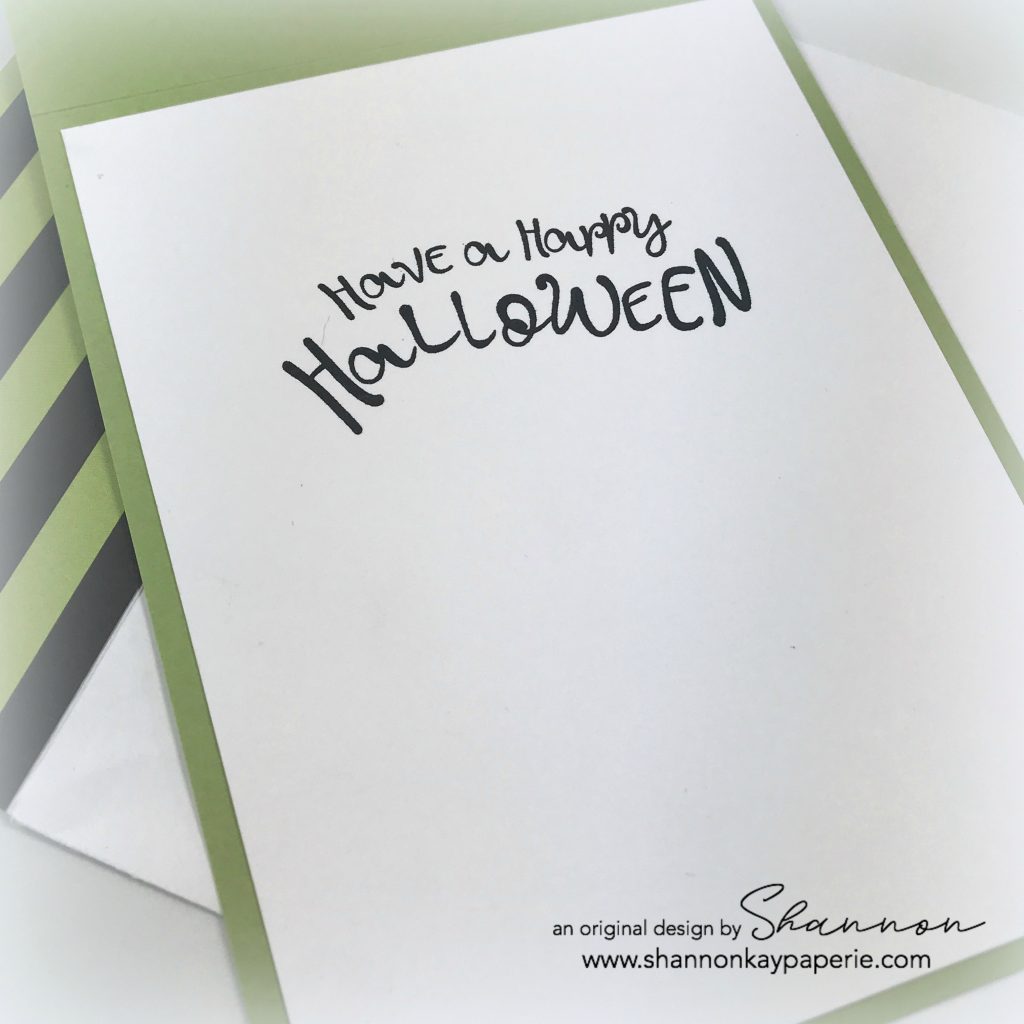
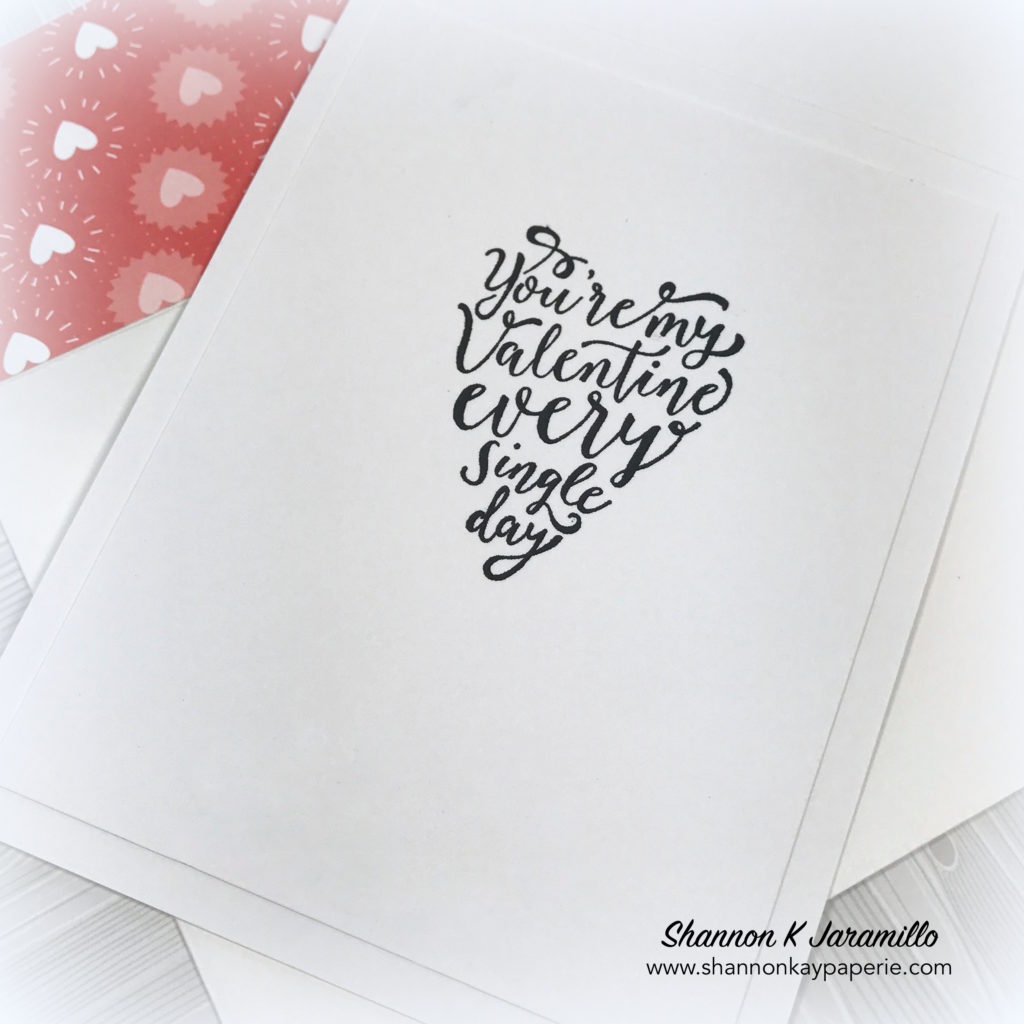
  • A bit of decorating on the inside and the envelope and this one’s ready to go!

I think would be an easy card to mass produce and will probably do so to get ahead for next year (yeah, right, don’t we say that every year?!? haha)

My Christmas shopping is pretty easy now the my kids are grown and I don’t have grand babies yet so I’m just stamping away over here!!

Have a wonderful rest of your week with all that that entails at this time of the year and I am looking forward to sharing new products with you after the holiday!

Blessings!

Supplies (all Stampin’ Up! unless otherwise noted):

Card Stock: Shaded Spruce and Stamper’s Select White by Papertrey Ink
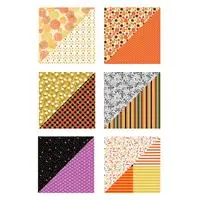
DSP: All is Bright

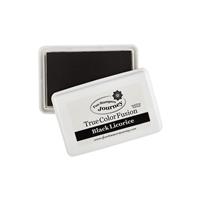
Ink: Shaded Spruce, Real Red and Versafine Onyx Black

Stamps: Candy Cane Season and Snowflake Sentiments (inside greeting)

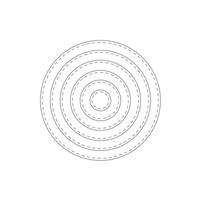
Dies:  Stitched Shapes and Layering Squares Framelits; retired Envelope Liner Die

Tools: Candy Cane Builder Punch; Stampin’ Trimmer

Embellishments: Red Rhinestone Basic Jewels

Other: Whisper White Envelope

I’ll Be Home for Christmas…

Stampin-Up-I'll-Be-Home-Holiday-Card-Idea-Shannon-Jaramillo-stampinup-SU

Isn’t this the quintessential “I’ll be Home for Christmas” house? I would LOVE to live there! Sadly, I live in Southern California so this is as close to this type of Christmas as I’ll get:)

Measurements:

  • Gray Granite Card Base 5 1/2″ x 8 1/2″ scored at 4 1/4″
  • DSP Layer 5 1/4″ x 4″
  • Cherry Cobbler Layer 4 3/4″ x 3 1/2″
  • Stamped Layer 4 1/2″ x 3 1/4″

Details:

  • I knew I wanted to color this image so I used Memento Tuxedo Black ink as that will not run when combined with alcohol markers
  • Then I jumped in, so excited to color this pretty image! But my coloring attempt was pitiful. Broke out new cardstock, stamped again and colored again. Still pitiful. At that point I knew I needed help so I googled this stamp set and found a colored image that really appealed to me so I stamped another clean image and tried again. This coloring attempt was MUCH better with all of the shadows included. I’m still learning how to add depth to my stamped images!

Stampin-Up-I'll-Be-Home-Holiday-Card-Ideas-Shannon-Jaramillo-stampinup-SU

  • I layered this lovely Christmas house image onto Cherry Cobbler card stock, added a layer of white fun foam to the back to add dimension, and then layered THAT on to a lovely pattern from the Festive Farmhouse DSP.  I think the card base in Gray Granite really ties everything together.
  • When stamping, I realized that I didn’t leave myself very much room for a sentiment (and the sentiment from this stamp set is AWESOME) so I dug through my stamp sets until I found this itty bitty sentiment in the Wishing You Well stamp set…perfect size!!
  • I stamped snowflakes from the retired White Christmas stamp set in Versamark ink to add just a bit of ‘snow’ to my image and then added Wink of Stella to the snowflakes but it’s very hard to see here.
  • I layered tiny banners and a Cherry Cobbler bakers twine bow to the right side of my card to add a bit of balance.

Stampin-Up-I'll-Be-Home-Holiday-Cards-Ideas-Shannon-Jaramillo-stampinup-SU

  • A sentiment from the Merry Christmas to All stamp set was used on the inside of my card and the snowflakes on the envelope are a stamp from the Candy Cane Season stamp set.

Are YOU ready for the holiday? I’m definitely NOT, but I will be very soon!!

Thank you for stopping by today, Blessings!

Supplies:

Card Stock: Gray Granite and Cherry Cobbler by Stampin’ Up! Stamper’s Select White by Papertrey Ink

DSP: Festive Farmhouse by Stampin’ Up!

Ink: Memento Tuxedo Black and Gray Granite

Stamps: I’ll Be Home, Wishing You Well, White Christmas (R), Merry Christmas to All, Candy Cane Season by Stampin’ Up!

Dies:  Envelope Liner Die (R) by Stampin’ Up!

Tools: Stampin’ Trimmer by Stampin’ Up!

Embellishments: Cherry Cobbler Twine from the Festive Farmhouse Cotton Twine bundle by Stampin’ Up!; Wink of Stella

Other: Whisper White Envelope by Stampin’ Up!

Toil & Trouble – Freshly Made Sketches 357

Stampin-Up-Halloween-Card-Idea-Shannon-Jaramillo-stampinup

Are you a fan of Halloween? I used to love everything scary. Now…not so much. I lean towards cute and cuddly Halloween these days and I thought this super cute DSP fit the bill nicely.

Measurements (bottom to top):

  • Basic Black Card Base 4 1/4″ x 11″ scored at 5 1/2″
  • Highland Heather Card Stock Layer 4″ x 5 1/4″
  • Whisper White Card Stock Layer 3 3/4″ x 5″
  • Pattern Paper Layer 3″ x 5″

Details:

  • This card is really easy to assemble.  I laid the DSP piece onto the 3 3/4″ x 5″ Whisper White layer, aligning it all the way to the right side. Next I stamped the sentiment 3 times onto a scrap piece of white card stock, using my stamping platform to  align the words perfectly. Next, I cut a 2″ x 6″ piece of Highland Heather card stock and used the Decorative Ribbon Border Punch to punch the pretty border. I then layered my sentiment strip onto the punched border and then laid the whole piece next to the edge of the DSP.

Stampin-Up-Halloween-Cards-Ideas-Shannon-Jaramillo-stampinup-su

  • I pulled out SU’s Black 3/8″ Glittered Organdy ribbon and tied a knot around the layers, popped the whole panel up onto Stampin’ Dimensionals and adhered it to the card base. That’s it! This would be a fun card to mass produce!
  • While we are on this picture I wanted to point out a boo boo. Normally I wouldn’t but I have a reason. Look at white card stock that the sentiment strip is stamped on. It’s a scrap of Papertrey Ink’s Stamper’s Select White card stock. Then look at the white cardstock to the left of that. That is Stampin’ Up’s Whisper White card stock. Can you see how crisp the PTI white is? It makes the SU white look yellow. Once I discovered that I have always used PTI Stamper’s Select White. It’s truly the brightest white I’ve ever come across.
  • Now I said I like cute and cuddly Halloween but I purchased a “share” of SU’s DSP and embellishments from the Holiday Catalog and included in that were some little tiny charms. That totally creeped me out. Really. But when I looked at the knot in this gorgeous ribbon, I knew the charm would be PERFECT there. Are you ready???

Stampin-Up-Halloween-Cards-Ideas-Shannon-Jaramillo-stampinup

  • Seriously! Eek!!!! Have you ever seen something so cute but also so creepy at the same time??? I only have one more charm left so I’ll have to use it up. Don’t want to go digging through embellishments and see that! I might pee my pants!!
  • I added some retired Black Rhinestone Jewels in between the repetition on the sentiment and I also randomly colored the purple ghosts with Wink of Stella – you can just make it out on the one above my water mark 🙂

So there you go. My super easy and mass producible Halloween card. Look through your stash and use up what you have to CASE this card! I’d love to see what you make!!

I apologize for the second blog post in one day but my Sunday post was done after the 8am deadline so it won’t hit until Monday and this one will hit on Monday as well, but I wanted to make the Freshly Made Sketches deadline and I’m sneaking in just under the wire 🙂

Thank you so much for visiting me and allowing me to share my art with you! XX

Supplies:

Card Stock: Basic Black, Highland Heather and Whisper White by Stampin’ Up!

DSP: Toil & Trouble by Stampin’ Up!

Ink: Versafine Onyx Black

Stamps: Best of Halloween by Stampin’ Up! (retired) and Happy Pumpkin by FSJ Stamps

Dies:  None

Tools: Decorative Ribbon Border Punch

Embellishments: Black 3/8 Glittered Organdy Ribbon; Spider Trinkets and Black Rhinestone Basic Jewels – All by Stampin’ Up!

Other: Whisper White Envelope by Stampin’ Up!

World Card Making Day

Hello there! In honor of world card making day, I spent a few hours in my studio playing with paper and ink 🙂

Fun-Stampers-Journey-Halloween-Card-Idea-Shannon-Jaramillo-funstampersjourney-FSJ

I chose a Halloween theme as it is the season for it and this witch’s hat makes me think of my favorite halloween movie – Hocus Pocus!

Measurements:

  • Lemongrass Card Base 4 1/4″ x 11″ scored at 5 1/2″
  • Black Licorice Layer 4″ x 5 1/4″
  • Whip Cream Layer 3 3/4″ x 5″
  • Pattern Paper Layer 3 3/4″ x 2″
  • Black Licorice Layer 3″ x 2″

Details:

  • Do you just LOVE this striped pattern paper? It just screams witchy-poo! This darling pattern is just one of many in the Fall-O-Ween Pattern Paper Pack from Fun Stampers Journey. I am so thrilled with their brilliant idea to combine Halloween and Fall into ONE paper pack – genius, right? I used another pattern on my last post…click here to see!
  • I ran a 3″ x 2″ piece of Black Licorice card stock through the die cutting machine together with the Tiny Dots embossing folder (which you can get for FREE with any $75 purchase!) and mounted it on to the pattern paper.
  • Next up is a Lemongrass scalloped circle which was cut using the Journey Scallops dies and a Whip Cream stitched circle, die cut using the Circle Around dies. A fun fact: The Circle Around dies have one die to add the stitching and another to cut the circle – how cool is that? You can stitch a circle right onto your card without cutting it out! (love button!)

Fun-Stampers-Journey-Halloween-Card-Ideas-Shannon-Jaramillo-funstampersjourney-FSJ

  • The darling witch hat and sentiment are from the Bad Witch ATS set and happens to have coordinating dies which (which witch? lol) you can purchase separately or in a bundle to save 10%. The best part of ATS sets is that they are small and specific so you don’t need to spend a fortune on stamps you will use just once a year – $17.00 will get you both stamps and dies!!
  • I added a little banner from the striped paper to keep to the sketch I am using for this card. My FSJ team FB page has a weekly challenge with the chance to win a free stamp set – wish me luck!

  • Last but not least, the inside of the card 🙂 I used the sentiment from another ATS set called Happy Pumpkin. It’s just toooo cute!

Fun-Stampers-Journey-Halloween-Cards-Ideas-Shannon-Jaramillo-funstampersjourney-FSJ

Thank you for visiting!


Will You Be My Valentine? – The Paper Players 379

Stampin-Up-Sure-Do-Love-You-Valentine-and-Love-Card-Idea-Shannon-Jaramillo-stampinup

A few days ago when I was pulling out possible designer series paper options for this card, this was one of the patterns I pulled out. I loved it as soon as I saw it, and since it fit perfectly with The Paper Players challenge this week, I set it aside to create with! It’s part of a bright and fun pack of Designer Series Paper called Bubbles & Fizz which is available for free with any $50 purchase during Sale-A-Bration!

Measurements:

  • Card Base 4 1/2″ x 11″, scored at 5 1/2″
  • Calypso Coral Layer 3 3/4″ x 5″
  • DSP Layer 3 1/2″ x 4 3/4″
  • White Layer 2 3/4″ x 3 1/2″

Details:

  • When I saw the Sure Do Love You stamp set in the catalog, I flipped right on by…wasn’t interested in more Valentine’s Day stamps. But on about my tenth pass through the catalog (do you do that too?), it caught my eye and I realized that the large heart was darling, oh! and then the banner, oh! and then what a cute saying in the other heart! Love button. And of course, if I purchase the Sure Do Love You bundle, I save 10%! That’s how we roll around here!

Stampin-Up-Sure-Do-Love-You-Valentine-and-Love-Card-Ideas-Shannon-Jaramillo-stampinup

  • If you look closely at the stamped heart, you will see that what appear to be connected petals are actually hearts…love button again! I stamped it with Memento Tuxedo Black ink and then die cut the middle out with the coordinating Lots to Love Box Framelits Dies. I snipped around the outside with my Paper Snips and popped it up onto a die cut rectangle.
  • The frame for the heart was created using largest square die in the Stitched Shapes Framelits Dies. How did I make a rectangle out of a square? I positioned the square die with one side hanging about a 1/2″ off the edge of the Magnetic Platform, cutting edge up, and secured it with a small piece of wash tape. I then laid the 2 3/4″ x 3 1/2″ piece of white card stock on top, lining the edges up straight and securing THAT with another piece of washi tape. I ran all of that through the Big Shot, stopping when I hit the edge of the magnetic platform, rolled it back through, lifted the card stock off the die, turned it around and laid it down just like I had previously, ran it through the Big Shot again and voila! a stitched rectangle!Stampin-Up-Sure-Do-Love-You-Valentine-and-Love-Cards-Idea-Shannon-Jaramillo-stampinup
  • The heart was popped up with Stampin’ Dimensionals and positioned on the frame, the sentiment stamped and die cut, a matching heart was cut with the heart die and laid into the center of the heart…I love the dimensional look it has…and then I positioned the sentiment on top!
  • A few posts ago I mentioned that I had “discovered” my Lemon Lime Twist Ombre Ribbon, well today I discovered my Calypso Coral Ombre Ribbon! lol I ran my adhesive across the back of the white rectangle layer and then randomly laid the ribbon out behind it, and adhered the whole thing to the card.
  • A few Black Rhinestones (retired) add a little bling and draw attention to the sentiment.

Stampin-Up-Sure-Do-Love-You-Valentine-and-Love-Cards-Ideas-Shannon-Jaramillo-stampinup

  • I kept the inside simple with this heart shaped sentiment. The shape and the sentiment itself are fabulous! As you can see, I added an additional layer of white card stock to the inside of the card. I have noticed that this layer of my cards tends to warp when displayed, probably because I add so much to the front, hopefully this additional layer will keep them from doing that!

Thank you Claire and The Paper Players for a sweet challenge this week! I sure enjoyed playing along!

Thank you for popping over to my little blog!

Blessings!

Supplies:

Card Stock: Stamper’s Select White by Papertrey Ink; Calypso Coral by Stampin’ Up!

Pattern Paper: Bubbles & Fizz Designer Series Paper by Stampin’ Up!

Ink: Memento Tuxedo Black; Calypso Coral by Stampin’ Up!

Stamps:  Sure Do Love You by Stampin’ Up!

Dies:  Lots to Love Box Framelits Dies by Stampin’ Up!

Tools: Big Shot and Stampin’ Trimmer by Stampin’ Up!

Embellishments: Calypso Coral 1/4″ Ombre Ribbon and Black Rhinestone Basic Jewels by Stampin’ Up!

Other: Medium Whisper White Envelope by Stampin’ Up!