Love and Hugs – Freshly Made Sketches 372

Stampin-Up-Ribbon-of-Courage-Love-and-Friendship-Card-Idea-Shannon-Jaramillo-stampinup-SU

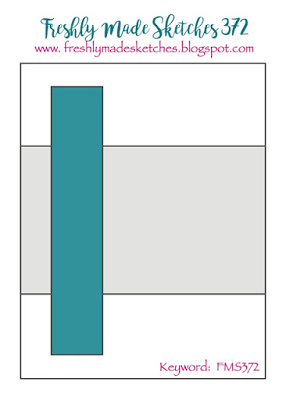
Greetings and salutations!! I have been quiet on the blogging front while I reorganize my creative space. There’s just something about the new year that makes me want to clean up and clean out! I took a break from organizing and saw the latest Freshly Made Sketches challenge sketch on Facebook. It inspired to push my project aside for the evening and play along!

Measurements:

  • Lovely Lipstick Card Base 4 1/4″ x 11″ scored at 5 1/2″
  • Flirty Flamingo Card Stock Layer 4″ x 5 1/4″
  • Crumb Cake Card Stock Layer 3 7/8″ x 5 1/8″
  • Lovely Lipstick Card Stock 4″ x 3″
  • Flirty Flamingo Card Stock Layer 4″ x 2 7/8″
  • DSP Layer 4″ x 2 3/4″
  • Vellum Layer 4″ x 1 3/8″

Details:

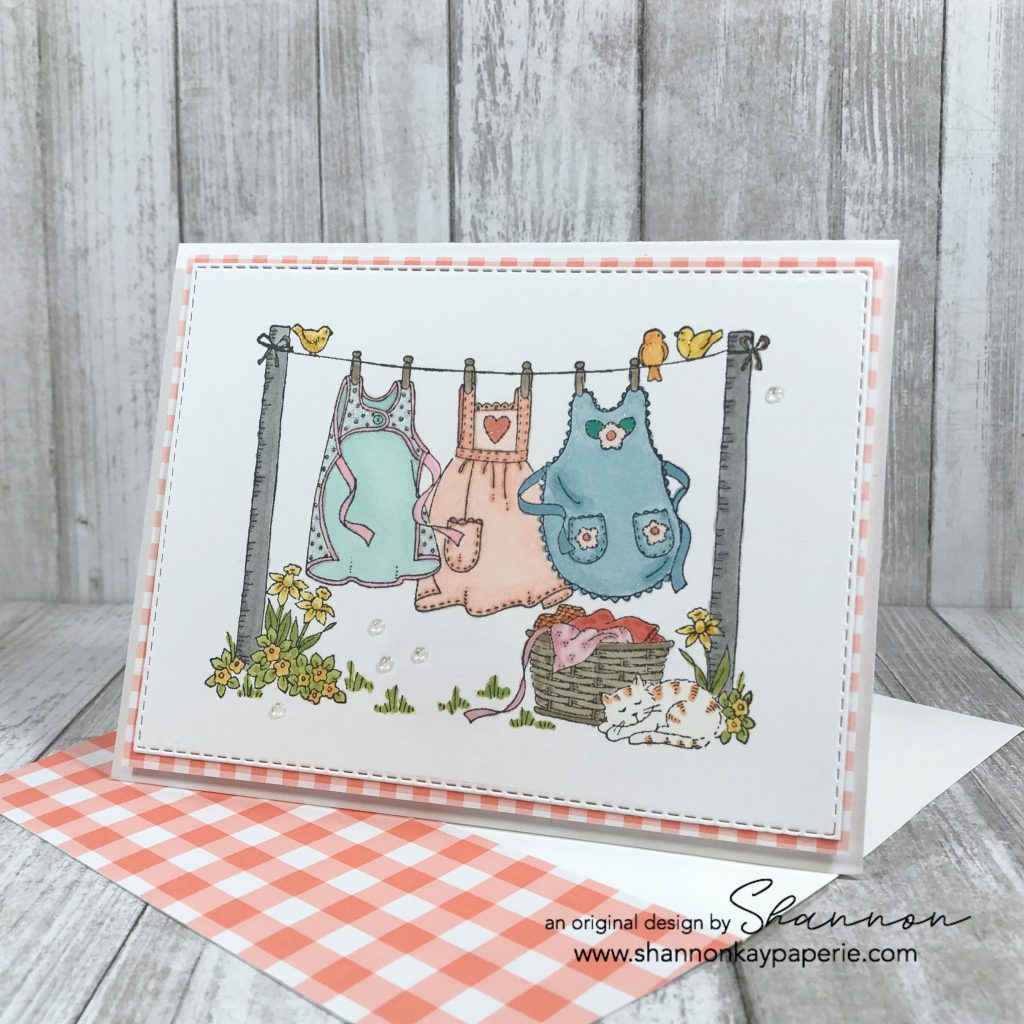
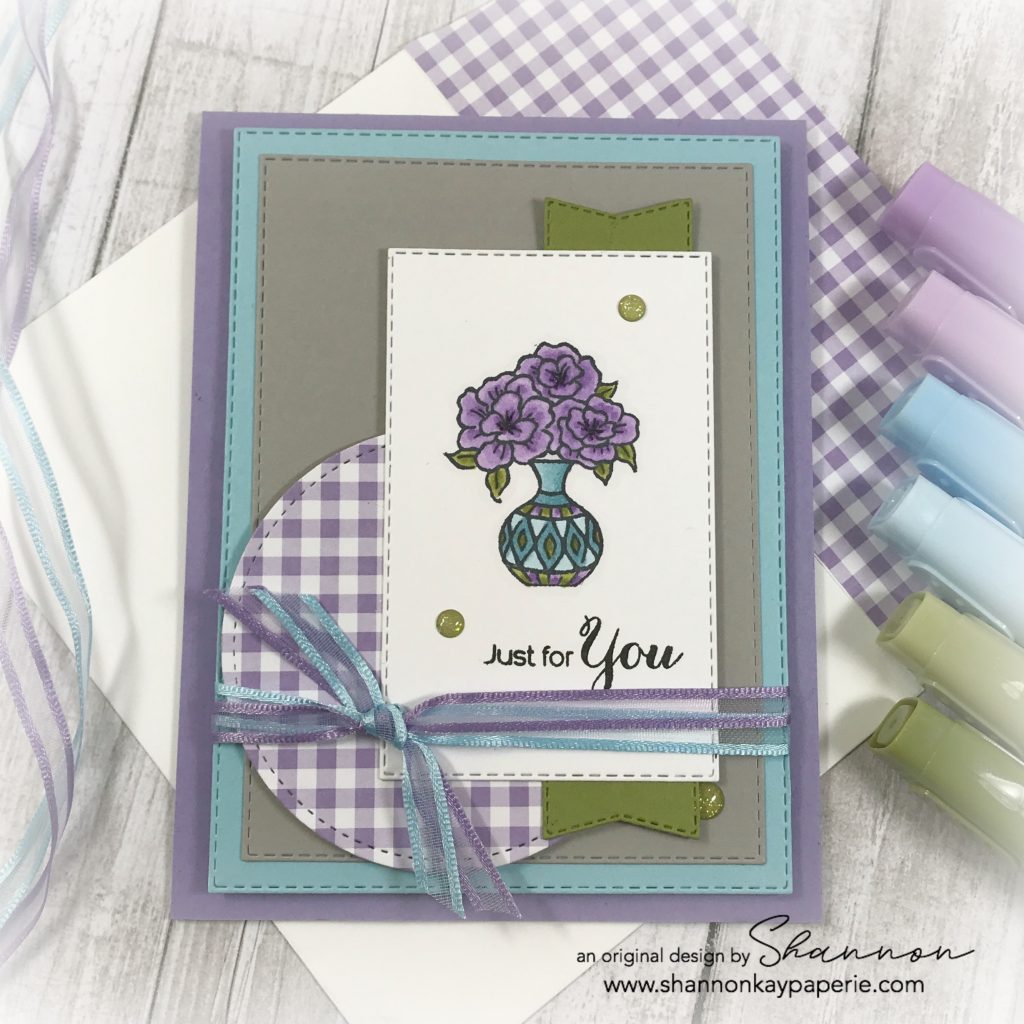
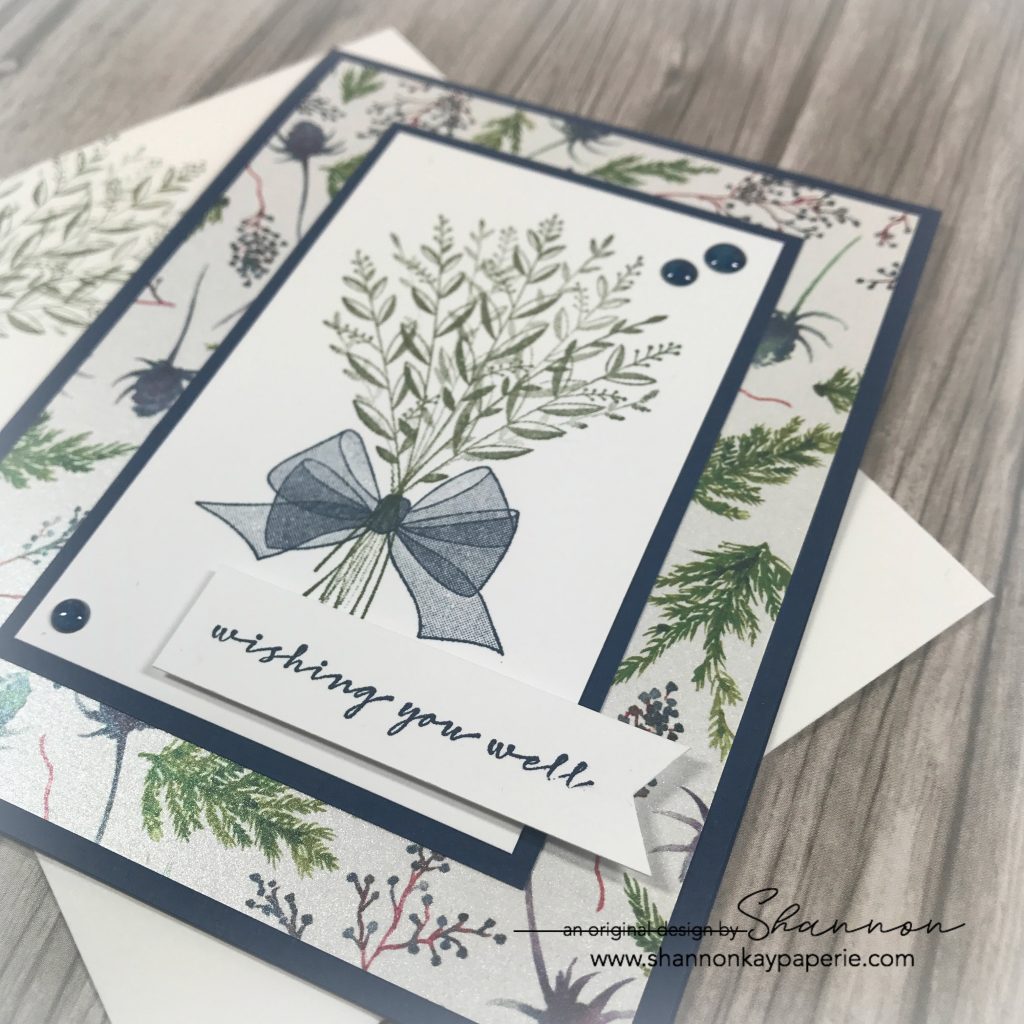
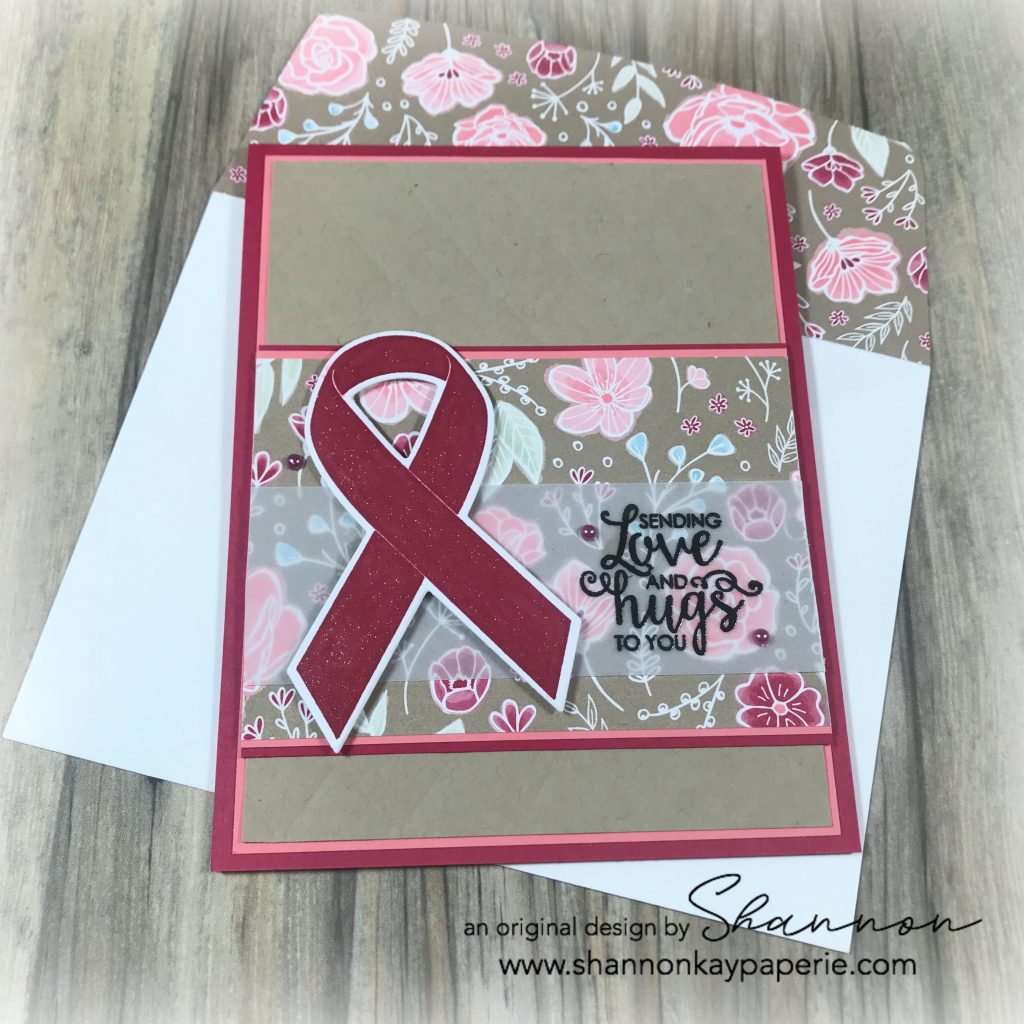
  • I began my design with the long rectangle element. In looking over my stamps I saw the Ribbon of Courage stamp set and thought that would do nicely. Bonus: I have not inked this set up until now! (Shout out to Patty Bennett who collaborated with Stampin’ Up! on the design of this stamp set and coordinating dies after she reached $1,000,000 in lifetime sales!)
  • The All My Love DSP was at the front of my new DSP bin so I paired this lovely pattern up with Lovely Lipstick, Flirty Flamingo and Crumb Cake card stock.
  • The Crumb Cake piece has been run through the Big Shot with the Tufted Dynamic Embossing Folder. It’s hard to see so I probably should have run it through twice (oops!).

Stampin-Up-Ribbon-of-Courage-Love-and-Friendship-Card-Ideas-Shannon-Jaramillo-stampinup-SU

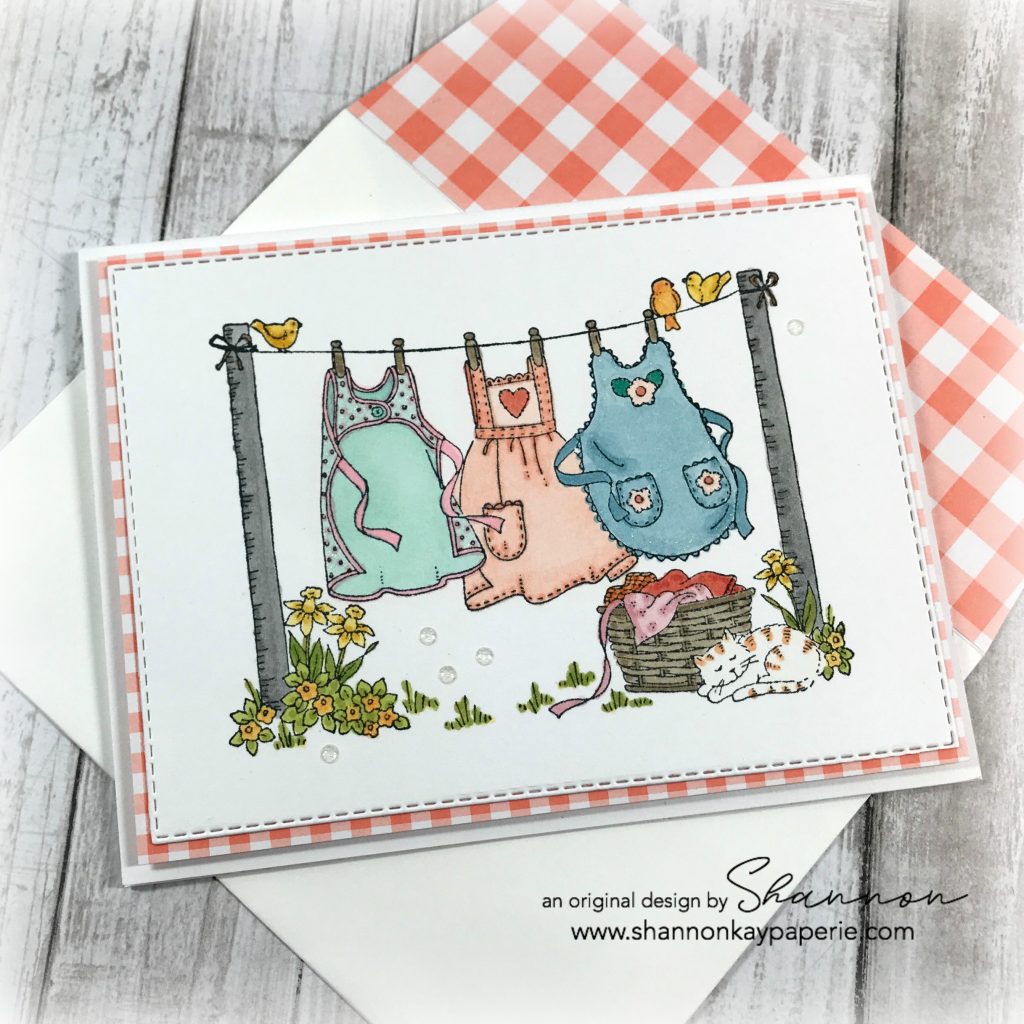
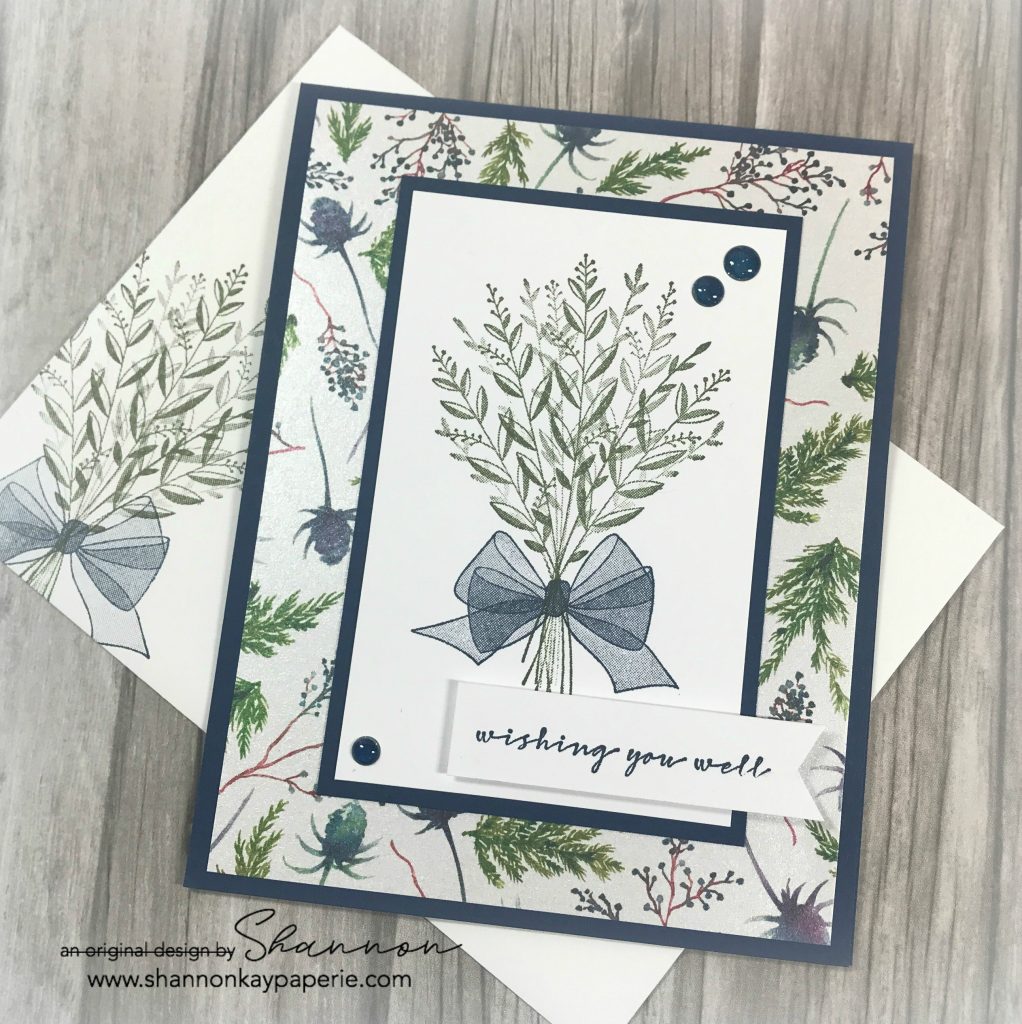
  • I stamped this darling sentiment onto vellum with Versamark ink, sprinkled on Black Embossing Powder, and then set the powder with my heat gun. (so pretty!) I secured the vellum to the DSP with a big glue dot under the ribbon die and used a bit of Ranger Multi Medium Matte fine tip glue to carefully apply a small amount of glue to the back of the embossed sentiment. It’s kind of a sneaky way to get the vellum stuck down without the glue showing!
  • I popped the ribbon die up with Stampin’ Dimensionals, adhered it to the card front and then went a little crazy with the Wink of Stella 🙂 Note: Use care with Wink of Stella on any shade of red, the color can bleed into the white space!
  • A few artisan pearls to help draw the eye to the sentiment and of course one more off to the left to create a visual triangle.

Stampin-Up-Ribbon-of-Courage-Love-and-Friendship-Cards-Idea-Shannon-Jaramillo-stampinup-SU

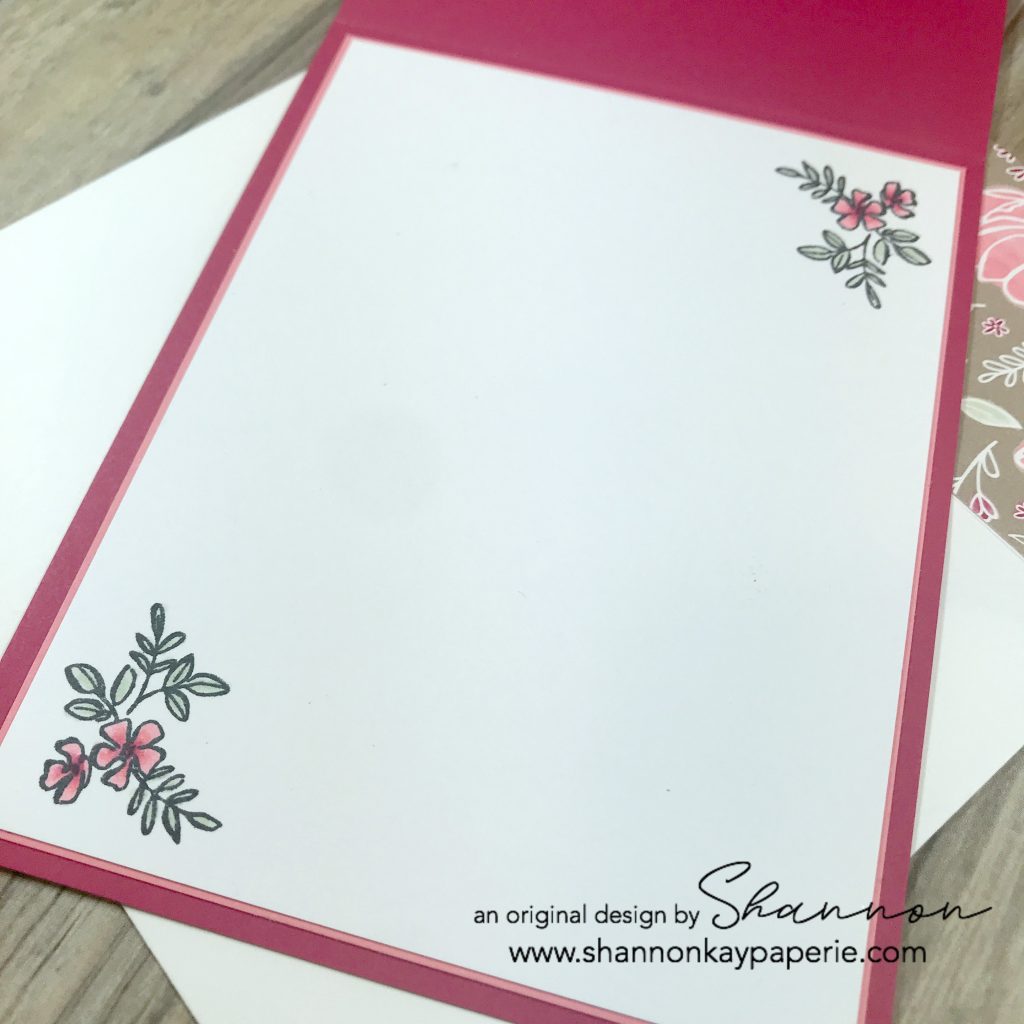
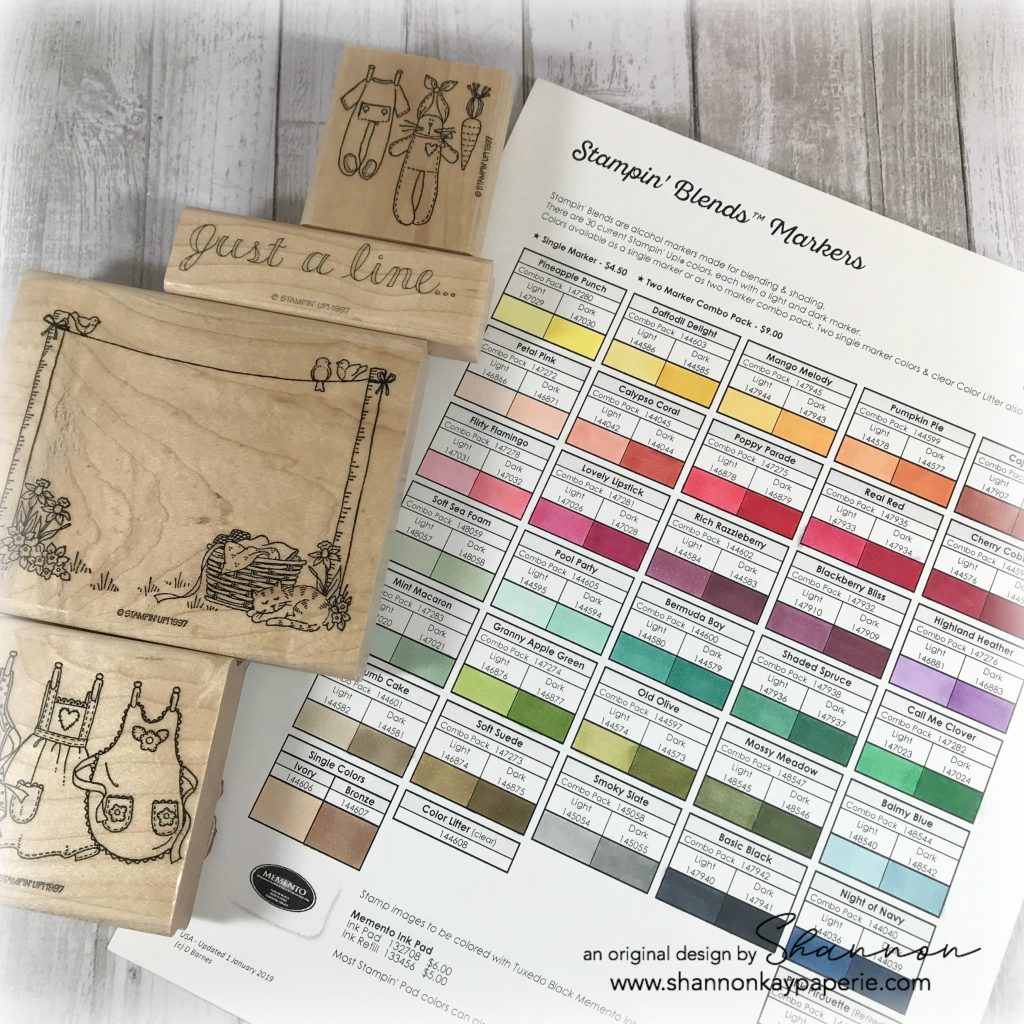
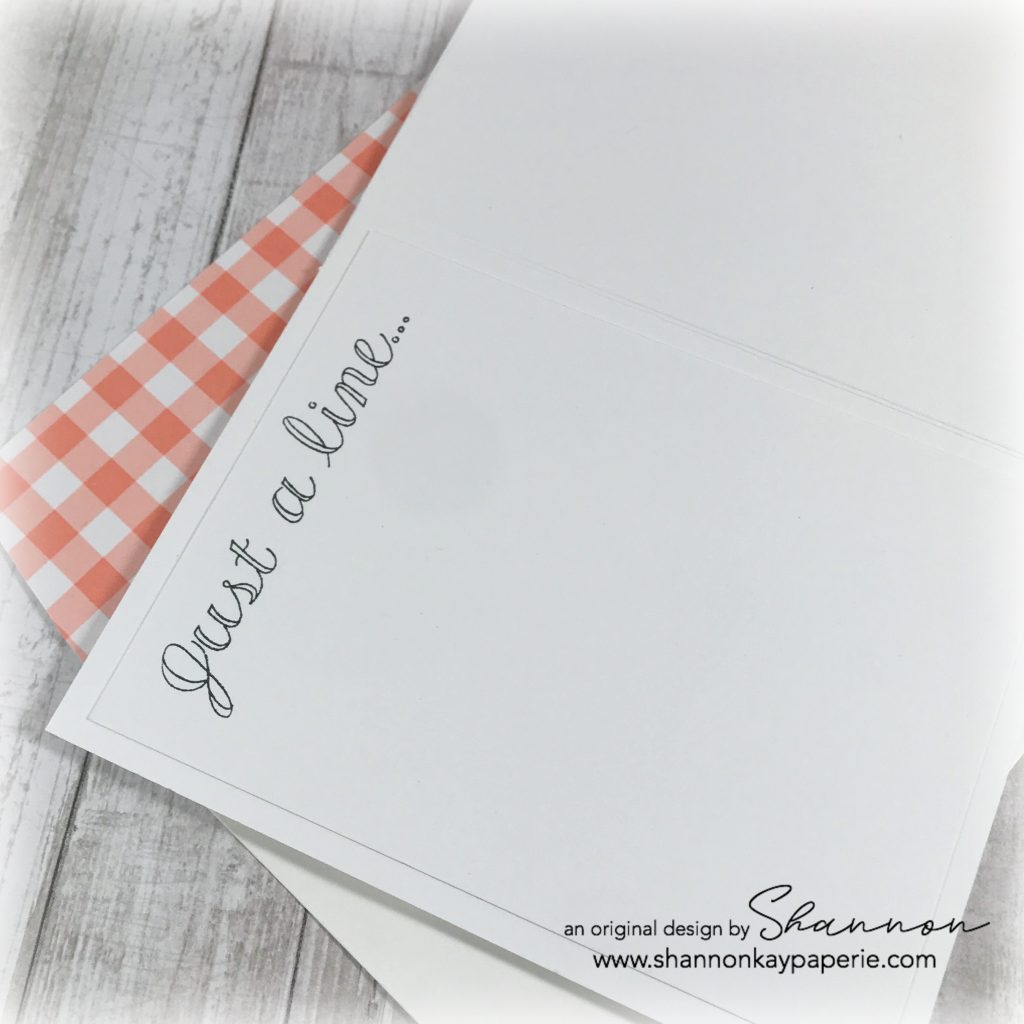
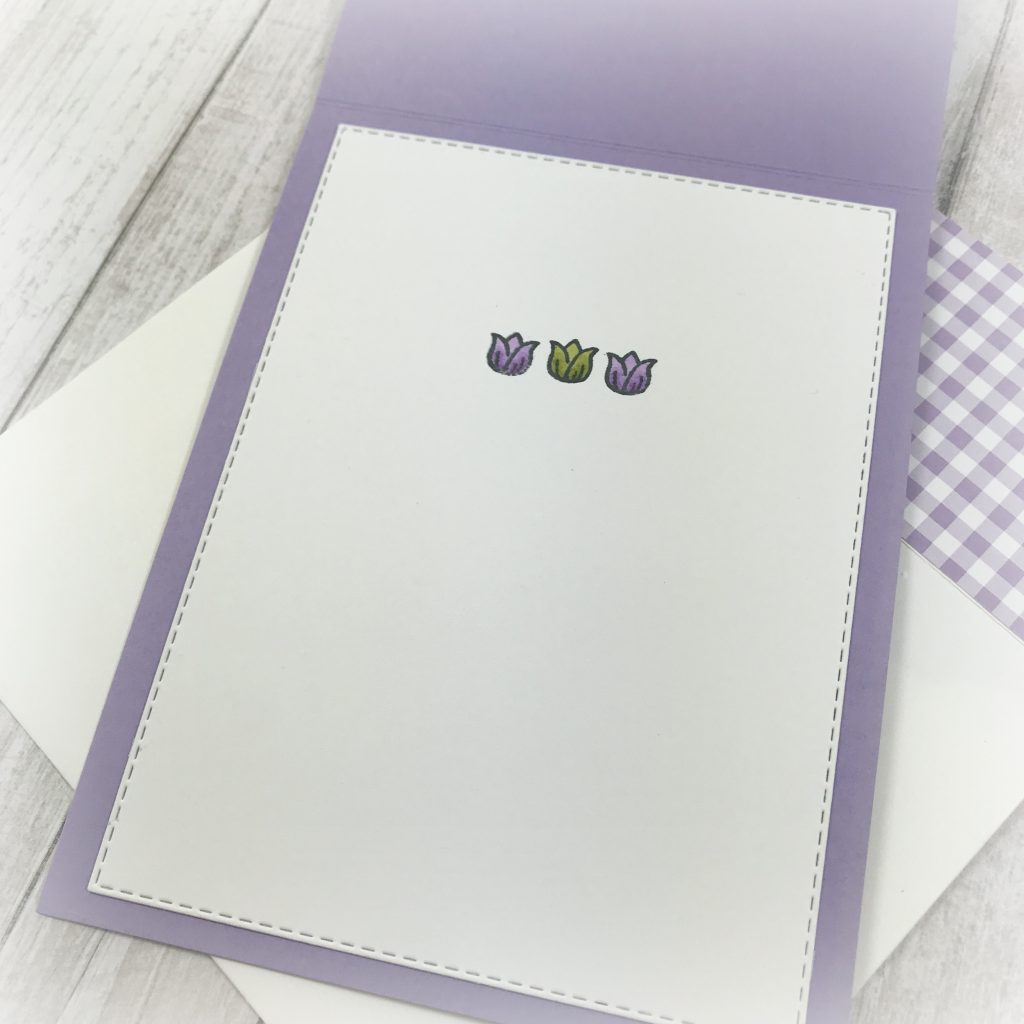
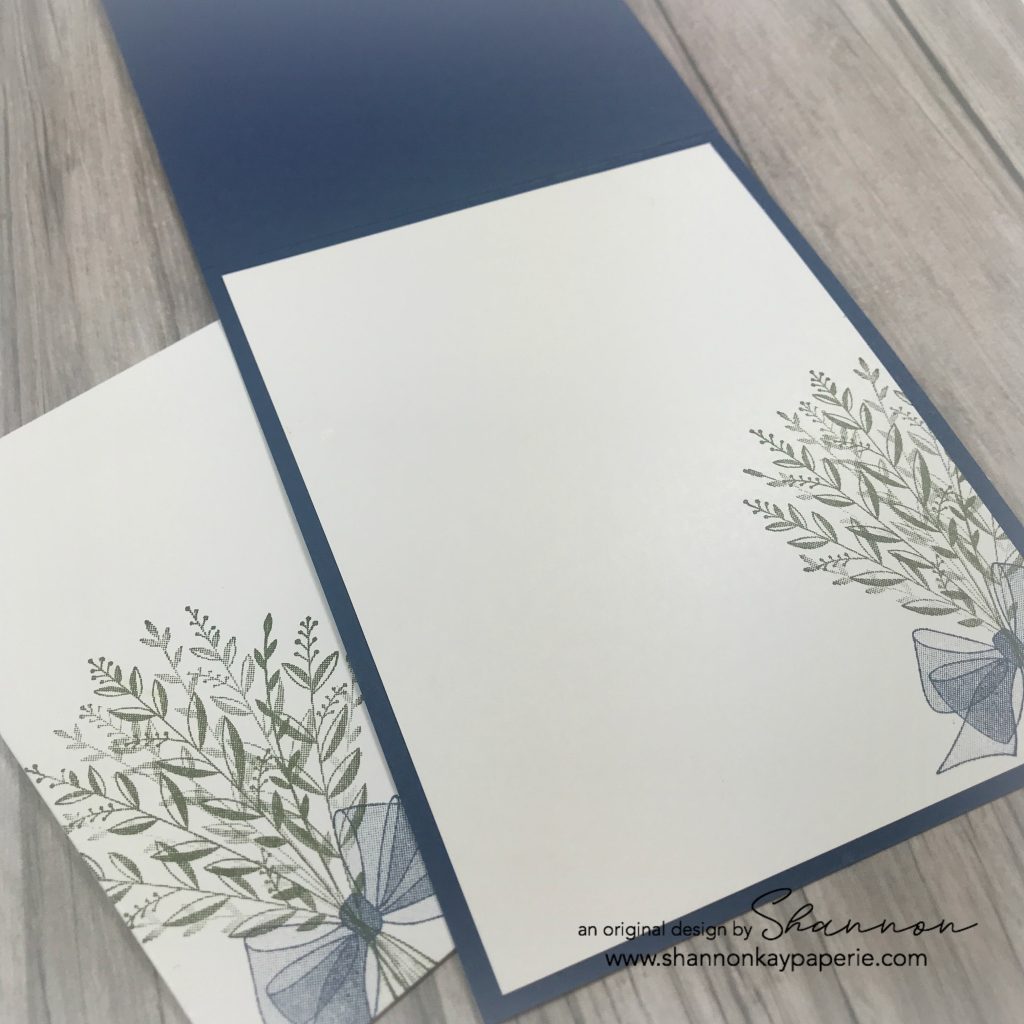
  • Lastly, here is the inside of the card. I layered white card stock onto Flirty Flamingo and used Tuxedo Black Memento Ink to add two lovely little flower accents from the Make a Difference stamp set. I used both shades of Flirty Flamingo, Lovely Lipstick and Sea Foam Green Stampin’ Blends to color them in. SO STINKIN’ CUTE!!
  • As always, I’ve covered the envelope flap with the same pretty DSP. My motto is to leave no space unadorned!! 🙂

Thank you for stopping by today!!

Supplies (all Stampin’ Up! unless otherwise noted):

Card Stock: Crumb Cake, Flirty Flamingo, Lovely Lipstick; and Stamper’s Select White by Papertrey Ink

DSP: All My Love

Specialty Paper: Vellum

Ink: Tuxedo Black Memento, Versamark

Stamps: Ribbon of Courage and Make a Difference

Dies: Support Ribbon Framelits

Tools: Big Shot; Embossing Buddy, Black Embossing Powder, Heat Tool, Stampin’ Blends

Embellishments: Artisan Pearls; Wink of Stella

Other: Whisper White Envelope

Everything Old is New Again…Just a Line

Stampin-Up-Just-A-Line-Love-and-Friendship-Card-Idea-Shannon-Jaramillo-stampinup-SU

This darling stamp is Stampin’ Up!, circa 1997. Isn’t it sweet? I found this set on-line a few weeks back and had to give it some love…it’s probably been sitting unused for quite awhile 🙁

As the stamps are wood mount, I used my Stamp-A-Ma-Jig to stamp two images in Memento Tuxedo Black and then added color with my Stampin’ Blends. Here are a few things that I wanted to share:

  • I had a few choices here. I could have just stamped the clothesline and left it empty, or I could have used the darling baby images at the top of the photo, or I could use the pinafores image (which obviously is what I did). There is also an image of a quilt which I forgot to add to my photo 🙂
  • Isn’t this Stampin’ Blends color chart AMAZING??? Sadly, it is not my creation. It was created by Diane Barnes and you can download a free copy here for yourself, if you would like. I really like seeing all of the colors like this, it makes it SO much easier to choose colors.

Stampin-Up-Just-A-Line-Love-and-Friendship-Card-Ideas-Shannon-Jaramillo-stampinup-SU

  • I also discovered that if you would like to use three colors to shade, you can! Light Calypso Coral is a wonderful darker shade for Light and Dark Petal Pink, and Light Bermuda Bay works well with Light and Dark Pool Party!
  • I used Light and Dark Daffodil Delight to color the daffodils and to color two of the birdies, and used Light and Dark Mango Melody for the third birdie.
  • I also discovered that coloring leaves with Daffodil Delight (quite by accident, I assure you) and then covering it with Granny Apple Green makes a unique shade of green! I then used Light Old Olive as an accent color for the leaves of the low flowers. The leaves of the daffodils were colored with both Light and Dark Old Olive.

Stampin-Up-Just-A-Line-Love-and-Friendship-Cards-Idea-Shannon-Jaramillo-stampinup-SU

  • The pinafores were colored (left to right) with Pool Park and Flirty Flamingo; Petal Pink; and Balmy Blue.
  • The laundry poles are Smoky Slate because I decided they were metal poles, and the laundry in the basket is Pirouette Pink; Pumpkin Pie; and Calypso Coral. The basket itself is Crumb Cake.
  • Mr. Kitty is colored after my own Buster…white with Light Pumpkin Pie stripes 🙂
  • I used the Rectangle Dies to trim my stamped panel out and then backed it with Grapefruit Grove Gingham Gala DSP. It’s funny to me that the Grapefruit Grove really compliments the Petal Pink pinafore nicely, when it isn’t even a color the I used!! I have no idea….

Stampin-Up-Just-A-Line-Love-and-Friendship-Cards-Ideas-Shannon-Jaramillo-stampinup-SU

  • This cute little sentiment was a sweet addition to the inside of the card while still leaving ample room for a personal note.

I hope you liked my card today! Please let me know if this set is new to you, or if you have it and my post was a walk down memory lane…  I love that Stampin’ Up! stamps never really go away, they just keep changing hands!

Blessings to you!

Vibrant Vases in Highland Heather

Stampin-Up-Vibrant-Vases-All-Occasion-Card-Ideas-Shannon-Jaramillo-stampinup-SU

Hello Friends and Happy Hump Day to You!! I whipped up this little card last night after having let the color combination sit on my craft table for almost a week! When moving into a new house or redecorating a room, I like to tell my husband that I have to let the walls “talk” to me before I can hang anything up. Do you do that too? It’s the same with this color combination, it had to percolate a little!

Measurements:

  • Highland Heather Card Base 4 1/4″ x 11″ scored at 5 1/2″
  • Balmy Blue Stitched Layer 3 3/4″ x 5 1/8″
  • Gray Granite Stitched Layer 3 3/8″ x 4 3/4″
  • Gingham Gala Stitched Circle Layer 2 7/8″
  • Stamped White Card Stock 2 1/4″ x 3 1/2″

Details:

  • I knew when I sat down to create that I wanted to use the new Vibrant Vases stamp set and the Gingham Gala 6″ x 6″ DSP, both of which are in the new Occasions Catalog and are available now. And purple was a foregone conclusion as it is my favorite color. I don’t decorate with it or wear it, but when choosing plants or flowers, I always seem to pick purple!! Definitely a child of the 80’s and influenced by Prince, lol
  • I stamped the vase and flower posy in Tuxedo Black Memento Ink because I knew I wanted to color it in with Stampin’ Blends. I used both Light and Dark Highland Heather to color and shade the flowers, then Light and Dark Old Olive for the leaves, and then I added Light and Dark Balmy Blue to the mix for the vase. Note: This set does have coordinated stamps to color the flower and vase outline, I just wanted to play with my markers 🙂

  • I used my Gorgeous Grape Stampin’ Write Marker to add a bit of detail to the flower centers, as well as a bit of Wink of Stella.
  • I’m really enjoying playing with all of Stampin’ Up’s stitched dies, they add such a nice touch, but this card can easily be made without them (I’ve provided the measurements above) and would still look beautiful.
  • I just played around with the colors and layers to come up with my layout and couldn’t decide if I should use Balmy Blue or Highland Heather ribbon, so…used both!! These adorable ribbons are available as a free gift with any $50 purchase. The Organdy Ribbon Combo Pack includes 5 spools of ribbon: Balmy Blue, Daffodil Delight, Grapefruit Grove, Highland Heather and Lemon Lime Twist.
  • Retired Old Olive Glittery Enamel Dots add a nice detail (love them) and after sleeping overnight, I came back in and added the Old Olive Banner die cut with a banner die from the just retired Farmhouse Framelits Dies. I trimmed the banner in half and then trimmed quite a bit off to leave just a bit peeking out.

Stampin-Up-Vibrant-Vases-All-Occasion-Cards-Idea-Shannon-Jaramillo-stampinup-SU

  • The interior is quite simple today, just a trio of Mary’s tulips to brighten it up!

For those who don’t “know” who “Mary” is, she is Mary Fish, my Stampin’ Up! up-line, mentor, and friend. For reaching the $1,000,000 sales goal, she was invited to participate and influence the creation of a stamp set, which is Varied Vases in the Annual Catalog.  It coordinates with the Vase Builder Punch as well as this new set from the Occasions Catalog, Vibrant Vases. The tulip is her signature logo so I can never see one without thinking of her 🙂

Thank you so much for stopping by, I hope you’ve enjoyed seeing a prelude to Spring with my card today!

Blessings to You!

Supplies (all Stampin’ Up! unless otherwise noted):

Card Stock: Balmy Blue, Gray Granite, Highland Heather and Old Olive; and Stamper’s Select White by Papertrey Ink

DSP: Gingham Gala 6″ x 6″

Ink: Tuxedo Black Memento

Stamps: Vibrant Vases

Dies: Stitched Shapes Framelits Dies, Rectangle Stitched Framelits Dies; Farmhouse Framelits Dies (retired)

Tools: Big Shot; Stampin’ Blends; Gorgeous Grape Stampin’ Write Marker

Embellishments: Organdy Ribbon Combo Pack (SAB Freebie); Glitter Enamel Dots (retired); Wink of Stella

Other: Whisper White Envelope

Wishing You Well in the New Year

Stampin-Up-Wishing-You-Well-Love-and-Friendship-Card-Idea-Shannon-Jaramillo-stampinup-SU

Hello and Happy New Year!! I hope the new year is everything you wish it to be!! As I’m sure you can relate to if you are reading this, I love shopping for craft supplies. I ALSO love organizing those crafting supplies (!), but I feel that last year I dedicated too much time to those other two pursuits and not enough time to the actual creation of projects snd certainly not enough time sending out handmade kindness so here’s to a new year and a new focus!!

Measurements:

  • Night of Navy Card Base 4 1/4″ x 11″ scored at 5 1/2″
  • DSP Layer 4″ x 5 1/4″
  • Smaller Night of Navy Layer 2 3/4″ x 4 1/8″
  • Stamped White Card Stock 2 5/8″ x 4″

Details:

  • Today’s project is a direct CASE of a card designed by a UK demonstrator, Sam Hammond. I thought this card was drop dead gorgeous and had to sit down and re-create it immediately.
  • In Sam’s photo, the card stock looked to me to be the new Blueberry Bushel, but, is in fact Night of Navy, picking up on the colors from the also drop dead gorgeous Frosted Floral Designer DSP. I LOVE that she used a holiday design for a non-holiday card!

Stampin-Up-Wishing-You-Well-Love-and-Friendship-Card-Ideas-Shannon-Jaramillo-stampinup-SU

  • This delightful bouquet and bow are from the Wishing You Well stamp set in the 2018 Holiday catalog. You can still purchase it through tomorrow January 2, 2019, so if you haven’t snapped this one up, you still have time!! It’s a fabulous year round stamp set! And that bow!!!!! It is not a two-step stamp, it stamps JUST like that on the first try!
  • The shimmery dots are actually from my retired Enamel Dots collection. They started out as a different color (pale yellow I believe) and I colored them with my Night of Navy Stampin’ Blends! How cool is that!!

Stampin-Up-Wishing-You-Well-Love-and-Friendship-Cards-Idea-Shannon-Jaramillo-stampinup-SU

  • A peek at the inside and the envelope – quick, easy and gorgeous!! (I’ve used that word a lot today with this card, lol) What a great card to have on hand!!

The benefits of CASEing other designer’s work are three-fold for me. One, I get to make a card without any design work just because it’s gorgeous and it gives me a mental break. Two, I try things that I wouldn’t normally do and that helps to increase my skill level as a card maker. And three, because often times, CASEing someone else’s work sparks my own creativity! That is what happened with this card and I will share what it inspired with my next post.

Until then, stay warm, happy and healthy in this squeaky new year!

Blessings,

Supplies (all Stampin’ Up! unless otherwise noted):

Card Stock: Night of Navy and Stamper’s Select White by Papertrey Ink

DSP: Frosted Floral Specialty

Ink: Night of Navy and Mossy Meadow

Stamps: Wishing You Well

Dies:  None

Tools: Stampin’ Trimmer

Embellishments: Glitter Enamel Dots, retired

Other: Whisper White Envelope

Turning My Thoughts Toward Fall…

Yesterday was the 1st of September and seeing all of the “Fall” photos in my FB and Instagram feeds inspired me to give some of my fall themed stamps some love. We don’t really get “Fall” here in Southern California. We get hot, we get windy, and we get fires, but actual “Autumn” things, not so much. So we create our fall with fake decorations! I will be pulling mine out this next week but in the meantime, here’s a taste of fall:

Stampin-Up-Sunflower-Serenade-Love-&-Friendship-Card-Idea-Shannon-Jaramillo-stampinup

What do you think? I think it’s yummy and is inspiring me to go with a sunflower fall motif this year!

Measurements:

  • PTI Rustic White Card Base 4 1/4″ x 11″ scored at 5 1/2″
  • PTI Rustic White Layer 4″ x 5 1/4″
  • Soft Suede Layer 2 3/4″ x 5″
  • Old Olive Layer 2 1/2″ x 4 3/4″
  • PTI Rustic White Stamped Layer 2 1/4″ x 4 1/2″

Details:

  • I came across this Stampin’ Up! stamp set a few months ago on one of the FB resale groups I belong to and I was SO HAPPY to be able to claim it! The set is called “Sunflower Serenade” and it’s SU circa 2001. It’s 17 years old but the design is timeless!
  • I first stamped the image with Tuxedo Black Memento Ink and then used the Stampin’ Blends to color everything in. I like to layer color so I won’t lie to you, I colored this image probably five times, making mistakes along the way. But I didn’t worry about it too much as I’m learning the in’s and out’s of the Stampin’ Blends.
  • After all of my redos, I settled on using the Light Daffodil Delight Stampin’ Blends Marker and then followed it up with a layer of Dark Daffodil Delight. I learned to apply the light color and then wait for it to dry before applying the darker color, AND to not get too close to the edge! I kept having the ink bleed out because there was too much and the Color Lifter couldn’t push it back in because everything was still wet. It is important to note that I am NOT using Whisper White card stock. I’m sure I would not have had so many issues if I had used the proper paper, but Whisper White is too yellow of a white for me. So Papertrey Stampers’ Select or Papertrey Rustic White are my go to’s.

Stampin-Up-Sunflower-Serenade-Love-&-Friendship-Card-Ideas-Shannon-Jaramillo-stampinup

  • Something else that I tried and was very pleased with was that I colored all of the flowers, stems, and leaves with the Light Daffodil Delight color and then went over it with a coat of Light Old Olive. I love how the color turned out, the yellow and green work so well together!
  • I also used my Old Olive Stampin’ Write marker to define the leaf details and used Light Crumb Cake, Dark Crumb Cake and the the Bronze Stampin’ Blends for the flower centers. Probably overkill, but I think they look pretty 🙂
  • Did you see all of the shine on the flowers? I used Journey Glaze on them, just like I used on my last card, and I adore how it turned out! They REALLY pop!

Stampin-Up-Sunflower-Serenade-Love-&-Friendship-Cards-Ideas-Shannon-Jaramillo-stampinup

  • I have a tendency to keep adding “things” until I get the balance right. For this card I added Soft Suede ribbon (probably long retired) and Old Olive ribbon which was current as of last year. Then I went through my paper stash to find this adorable pattern in the “Moroccan” DSP pack from a few years back and die cut a stitched circle out of it to layer behind my stamped panel.
  • It still wasn’t enough so I pulled out my trusty Linen Thread, made a pretty bow and then topped it off with a long retired Soft Suede button. Yum!!

Stampin-Up-Sunflower-Serenade-Love-&-Friendship-Card-Idea-Shannon-Jaramillo-stampinup

  • As you can see, I had trouble stopping so I continued on and stamped and colored the envelope too. I should mention that I did add two of my “oops” pieces of cardstock in the envelope to protect the back side of the envelope from bleed thru from the markers. And of course, a pretty envelope flap!
  • But what about the inside? Yep, I decorated it as well but kept it simple:

Stampin-Up-Sunflower-Serenade-Love-and-Friendship-Card-Idea-Shannon-Jaramillo-stampinup

  • The little bumblebee is from the same stamp set but the sentiment is from a different set. It’s a very old set as well, I just don’t know the name of it at the moment. I think the bumblebee steals the show 🙂

So there you have it. I truly enjoyed creating this little card, I hope you’ve enjoyed seeing it.

Here is a look at the entire stamp set:

Stampin-Up-Sunflower-Serenade-Love-and-Friendship-Card-Ideas-Shannon-Jaramillo-stampinup

And if you are wondering, I’ve realized that I value the freedom of not worrying about which company something came from and just create what my heart thinks is pretty. I just want to enjoy the process and I love hearing your comments, they really encourage me so thank you for taking the time to comment when you do, I appreciate you!

Thank you,