Hello there my friends! During this past year I took a detour to reorganize the way I store my Stampin’ Up! dies and ended up reorganizing my whole storage system. Nuts, right?!? That’s just who I am. I could decide to clean up the placemat drawer in my kitchen and end up with all the cupboards opens and stuff flying everywhere! Still, I didn’t expect it to take me as long as it has and I’m still not quite there yet. It occurred to me to share the process with you but, being a linear person at heart, the thought of starting at the beginning with my story had me quaking in my flip flops!
Fast forward to today as I was thinking about creating a post but did not have a new card to share, and it hit me.
I realized that because I don’t know where to start with sharing my organization process that I’m NOT starting at all!
I want to start so I thought I would take some photos as I worked and start sharing, beginning with today’s work, even though it’s not at the beginning. And so my idea for an organizing series was born!
So…today’s post doesn’t have a pretty card for you so if that’s what you need today, keep moving! lol!
For those who are still reading, I will warn you that this post is picture heavy. With that, grab your coffee or Diet Coke (!) and get comfy!!

I recently received some stamps that needed to be filed away. I like consistency and must have every stamp I own stored in the same packaging. Depending on the stamp manufacturer this process can be quite simple or…it can feel like I may never finish! The group I worked with today is fairly labor intensive. Papertrey Ink has a line of budget friendly stamp sets (which I love), but because they are budget friendly, they do not come with the stamp index (in more expensive PTI stamp sets, they come with a sticker that you have to adhere to the clear acetate yourself) and I am NOT a fan of dumping a clear stamp set into an Avery Elle storage sleeve – the images are hard to see and I know I won’t even bother. So I take the time to stamp a stamp index.
I start with Neenah Solor White Classic Crest cardstock and trim it to fit in the AE sleeve (5 3/8″ x 7 3/8″). I insert the card index into my MISTI and then lay a see thru grid template over the top (see it here). Now I am ready to lay the stamp set out in preparation for stamping. Photopolymer stamps can be sticky little buggers so I keep my craft knife handy and use it to guide a stamp into place, or to poke the stamp (gently of course) to keep it in place while I remove my fingers. That’s what I’ve done here:

Once everything is the way I want it, I put the MISTI’s lid down on top of the stamps and gently press to adhere the stamps to the lid. My MISTI may face a different direction than you are used to seeing, but I am left handed and left to right is what works for me – it’s like closing a book 🙂

I’ve mentioned that photopolymer stamps are sticky so I don’t worry about my grid, I just open the lid and then gently peel the grid off of the stamps:

Next I lay a clear template (trimmed to fit) over my soon-to-be stamp index. I want to test out the layout I’ve created to make sure it’s what I want:

Using Memento Tuxedo Black ink, I cover the stamps with ink. It doesn’t need to be perfect, just stamped enough that I can make any adjustments I want to my layout:
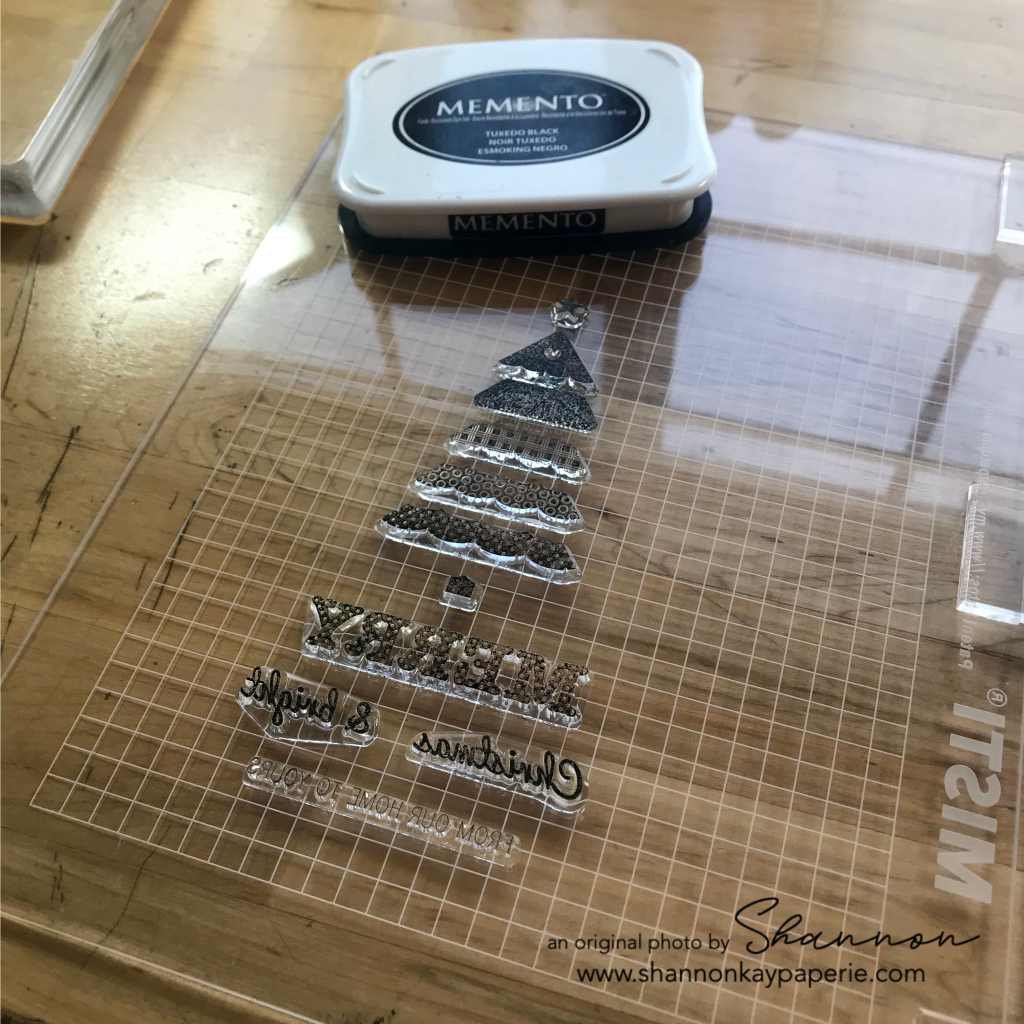
Again, I close the lid and gently press:
And again, I don’t worry about the template sticking to the stamps, I just lift the lid and then gently pull the template off:

Now I have a guide so I can see exactly how things are going to look on my finished project. For demonstration only, I have shifted the card stock in the image below to show one change I might make. Once I am satisfied, I slip magnets under the template so the card stock doesn’t shift during stamping. Disclaimer about the magnets – BE CAREFUL!! Please keep them away from each other, they are very strong magnets but very fragile too, as demonstrated by the remains of a whole magnet used here (!). Also, those broken edges are SHARP so I don’t recommend using the broken pieces. I do because, well, just because. I probably shouldn’t so, kids, don’t try this at home 🙂
I might also peel a stamp up and shift it slightly to straighten it out (using the grid template helps with that issue). I’m happy with the way everything looks so now I can stamp!
 I use Versafine Onyx Black ink for everything but images that will be colored with alcohol markers. As you can see from the photo, the color of the black is very intense and make a gorgeous impression:

I close the lid and press gently…but wait!! I have found that pressing down with my fingers can lead to using excess force and make fine images and sentiments look squished (for lack of a more professional term) and I HATE to start over so I accidentally came across a solution that has worked very well for me.

I discovered that covering the lid of the stamping tool with a large clear block and then pressing down on the block rather than the lid creates a much cleaner impression:
And voila! I love it – it’s looks so pretty!! Note: I DO lift the lid of the MISTI very carefully. I lift it just a smidge and put a finger down on the card stock to help keep it from shifting, just in case I need/want to stamp a second time. 
The next step needs to be done QUICKLY if you are like me and HATE stained photopolymer stamps. So let’s see what the next step is!! CLEAN YOUR STAMPS!! Don’t wait!! I have found that the combination of Hero Arts Ultra Clean stamp cleaner and a microfiber cloth, if used right after stamping, will remove ALL of the ink. Pinky swear. Even shades of red, but you have to be Speedy Gonzales with the red.

See?!? I promise, it works!! And I’m not even charging for this fabulous tip!! LOL!!
Squirrel moment: I use Memento Tuxedo Black when stamping on my clear template because it can sit on the template for an extended period of time and I will still be able to wipe the template clean with just a baby wipe. If I use Versafine Onyx Black on the template, I have to clean it off right away to keep it from staining and that defeats the purpose of using the template in the first place.
Once my stamps were clean I went back to my stamp index and noted that the tree trunk needed more ink. I removed all of the stamps below the one I needed to stamp again so that I couldn’t possibly get ink on another stamp by mistake and mess everything up.
And here you have it! A beautiful stamp index so I can see what’s inside the sleeve without having to dig. I store both the stamp set and the coordinating die together behind the stamp index with the die facing outward so that 1. I can see it easily and 2. so that the die can’t damage the stamp set. You might not see a die on the magnet card below and you would be correct. This die was on back order when I purchased the stamp set so I’m waiting for the in-stock notification so I can purchase it. Once it come in I can easily pull the sleeve out and add it.
This many sets finished:

And this many sets to go! Whew! I can do it!!
If you are still with me, THANK YOU!! I hope you found something here that sparks something in you that will help you with your own organizing!
For sticking with me through this LONGGGG post, here’s a sneak peek at the subject of an upcoming post:

Oh My Stars, this little guy is too cute. T.O.O. C.U.T.E. He’s actually a spare, I used a different color combination on the final card but I saved him because I think needs to have a permanent home on a different card. To be determined, lol.
Again, thank you for visiting me. I would love to have your thoughts/comments on this post!!
See You Soon!


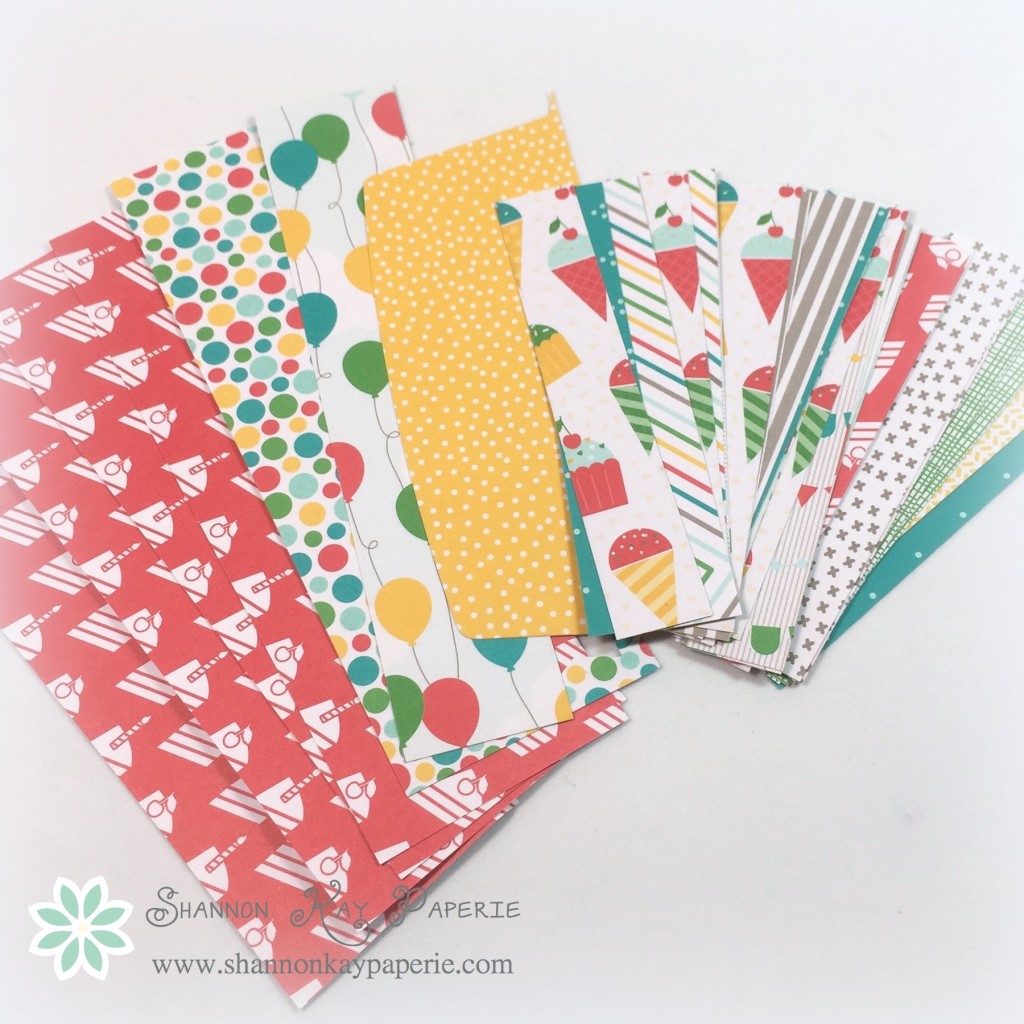
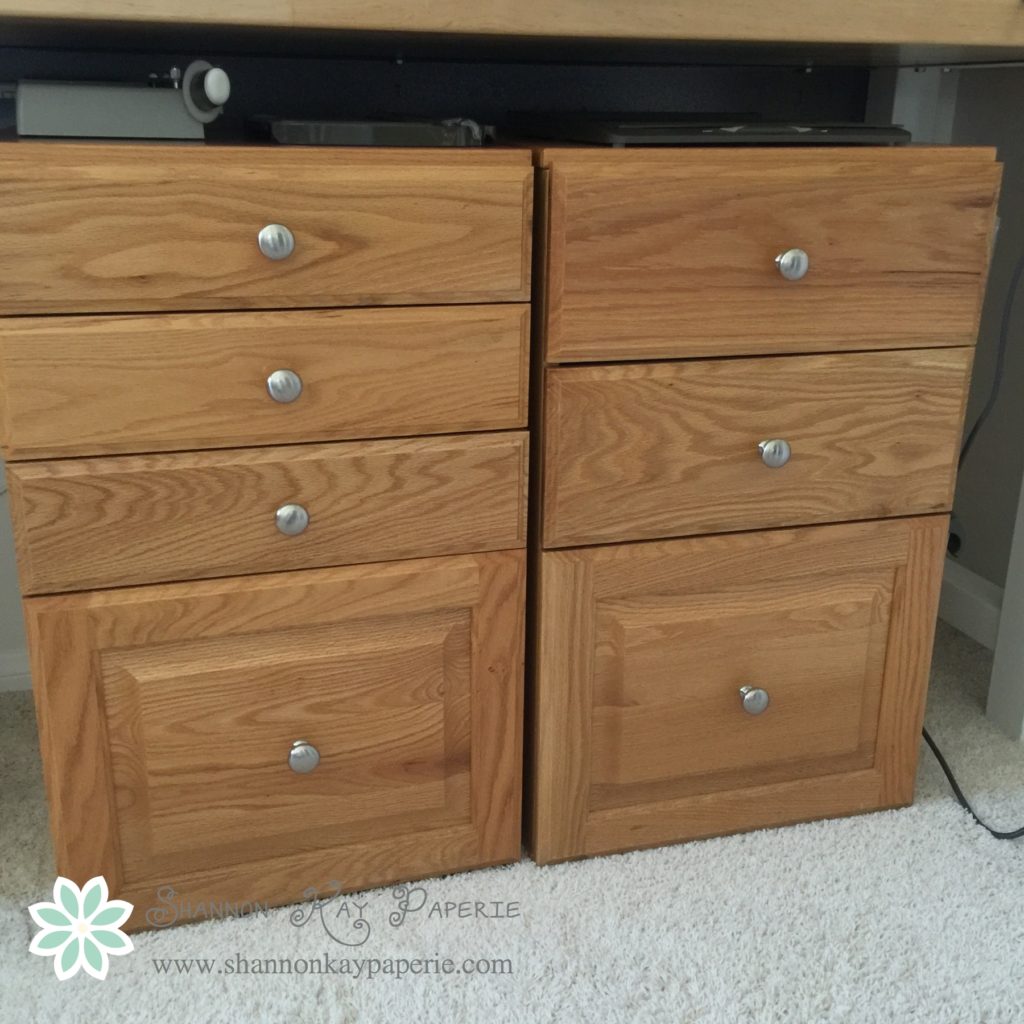
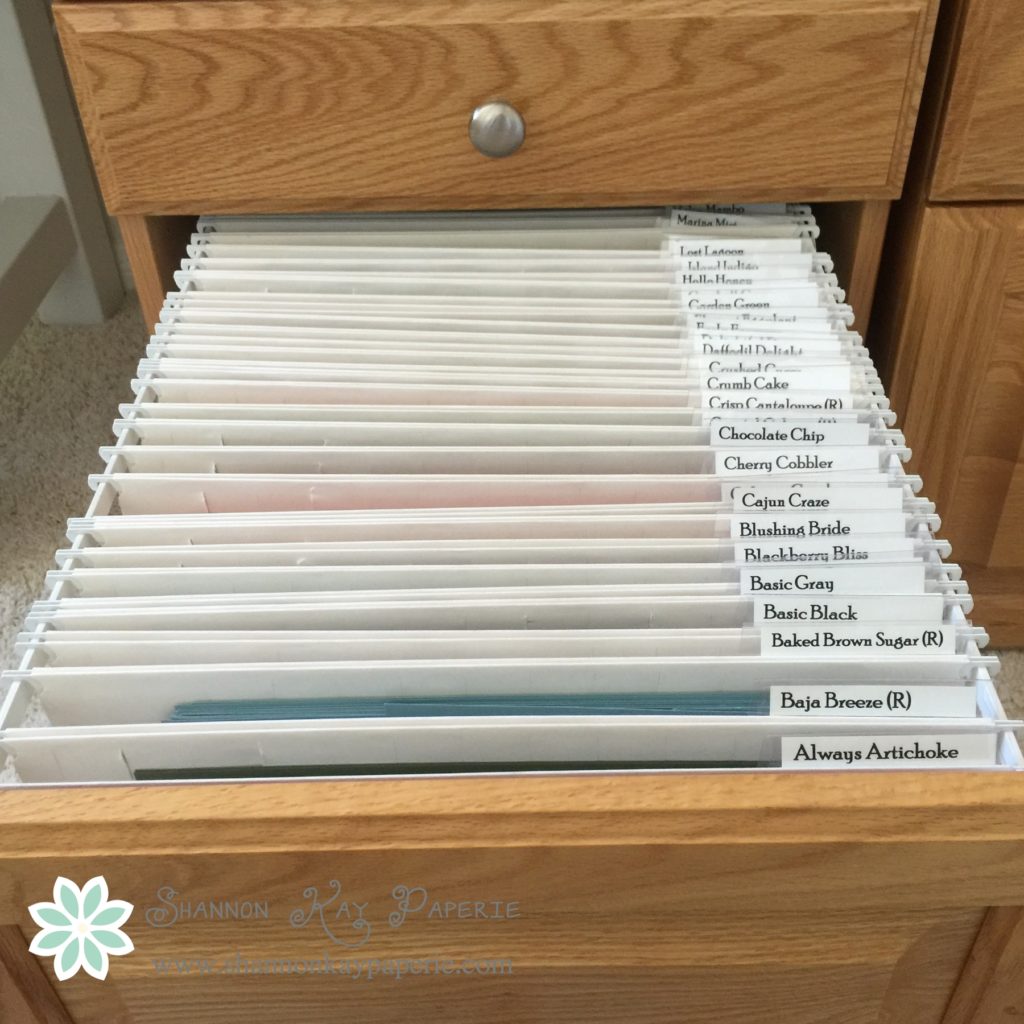
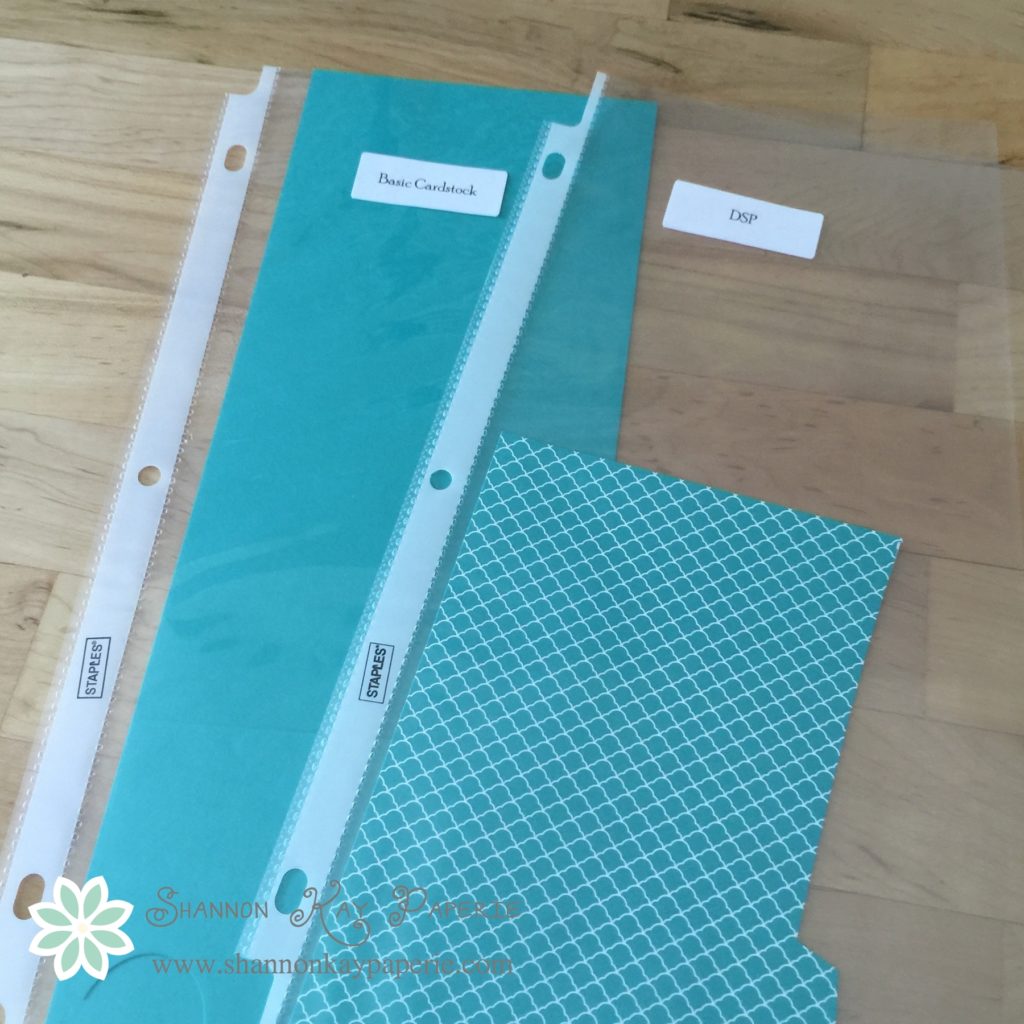
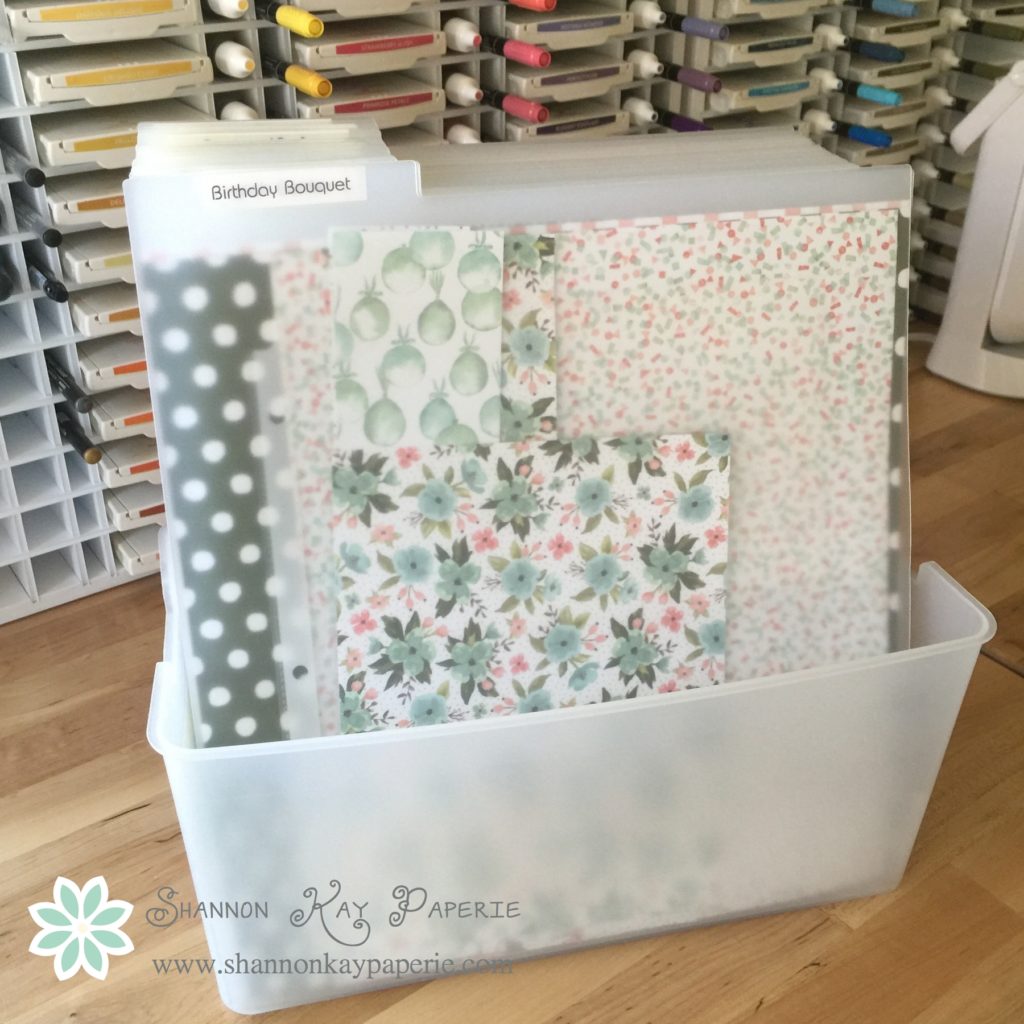
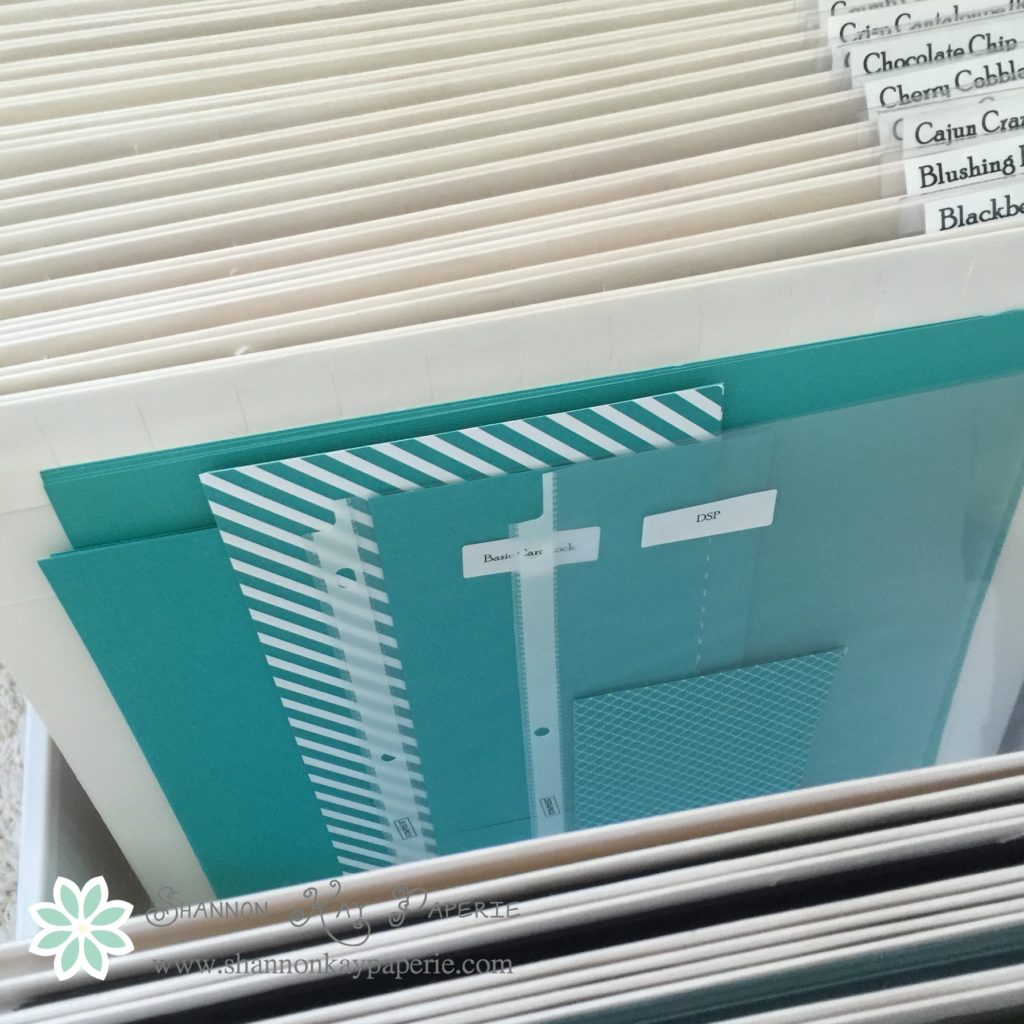 I keep my 12 x 12 and my 81/2 x 11 card stock together in here as well as any 12 x 12 coordinating DSP if I have any. I tend to purchase the DSP in a group buy so I end up with 6 x 12 pieces of DSP. I store those, along with any DSP scraps, inside inexpensive sheet protectors. Ditto with my card stock scraps: