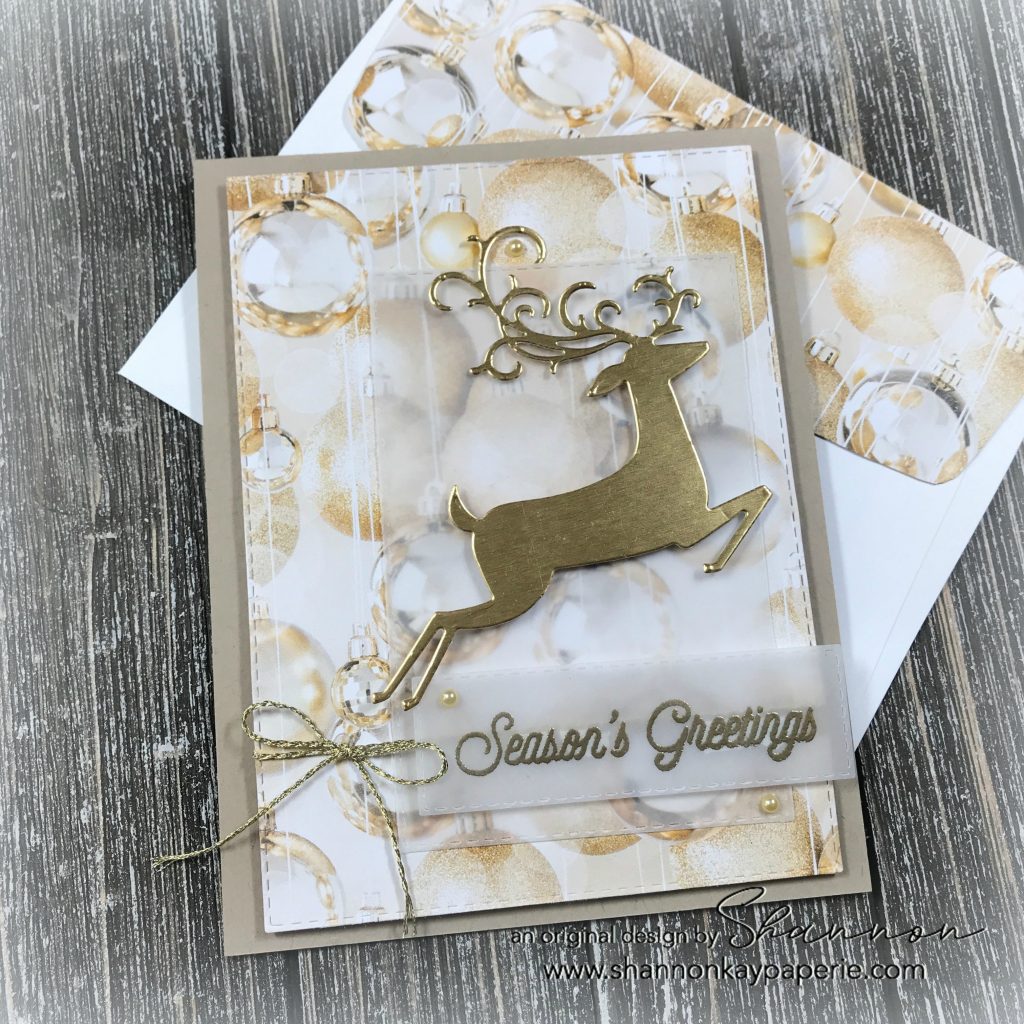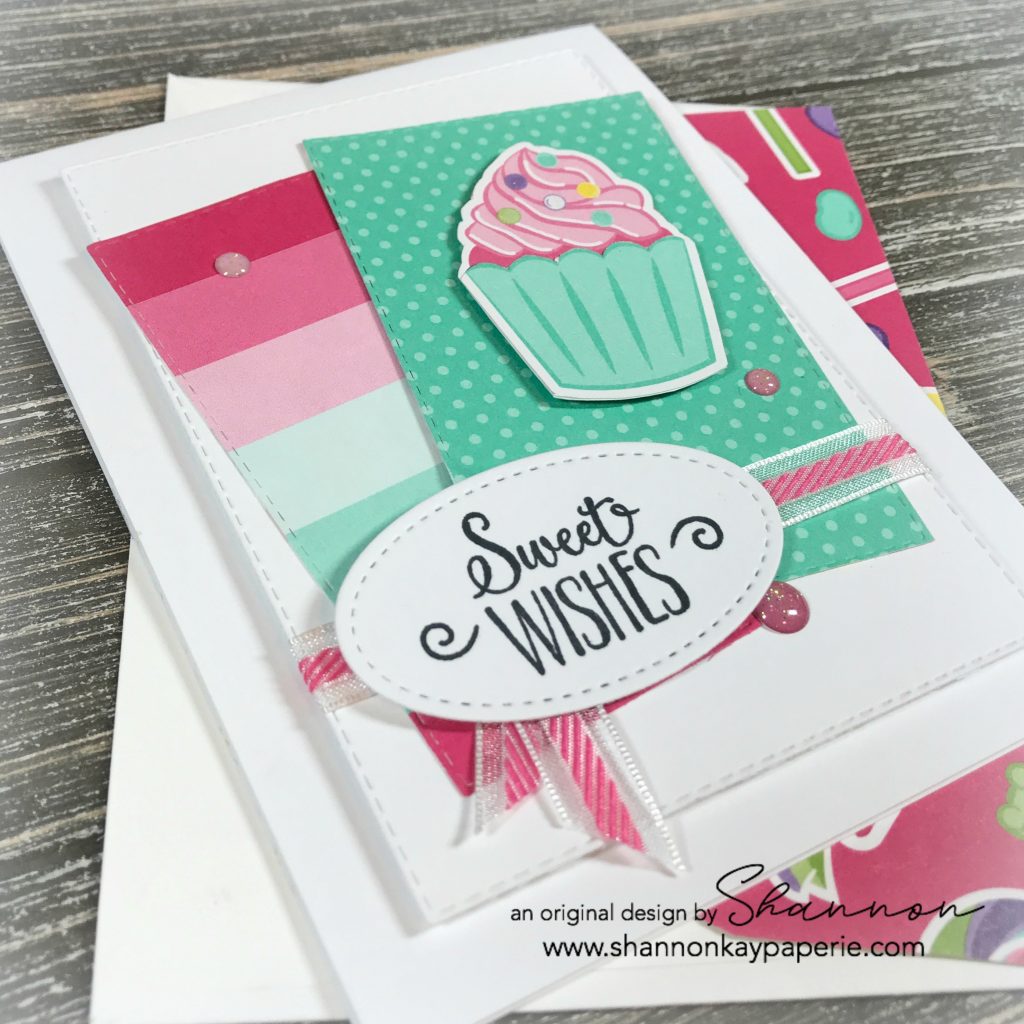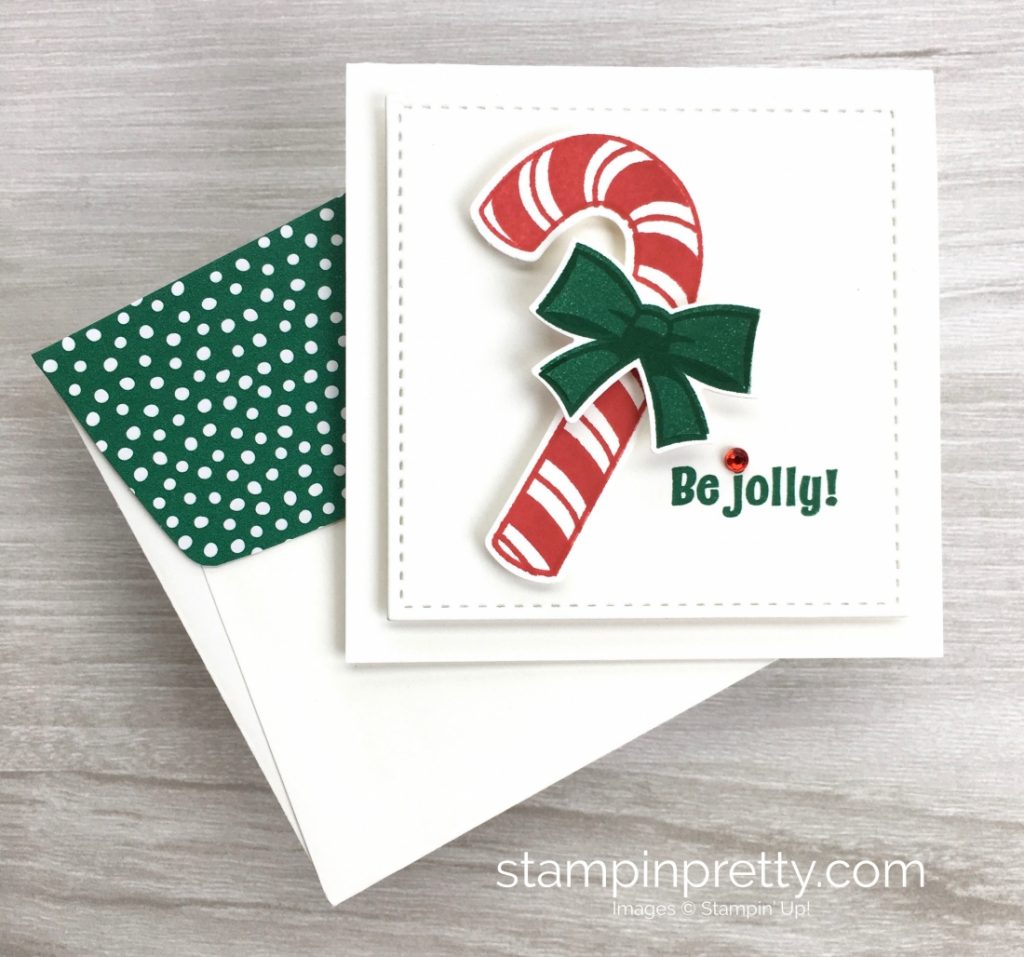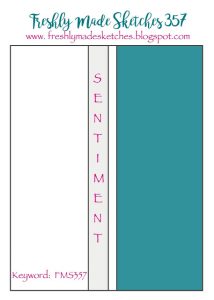
Need to use up some DSP? This sweet layout can help with that, and the design can easily be translated to any card you need to make in the moment!
Measurements:
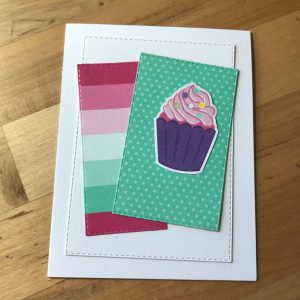
- Crumb Cake Card Base 4 1/4″ x 11″ scored at 5 1/2″
- White Card Stock Layer 3 7/8″ x 5 1/8″
- DSP Layer 3 3/4″ x 4 7/8″
Details:
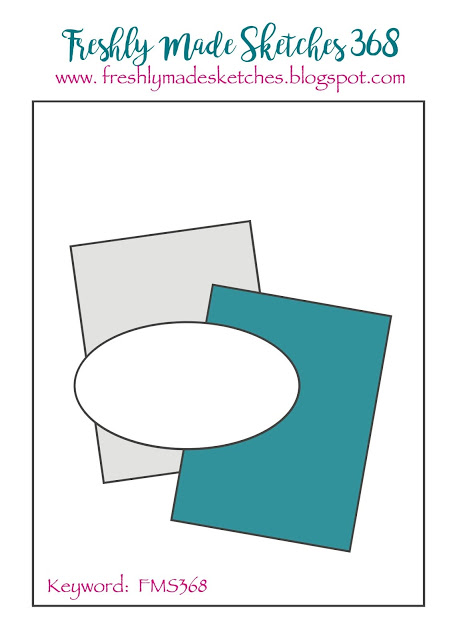
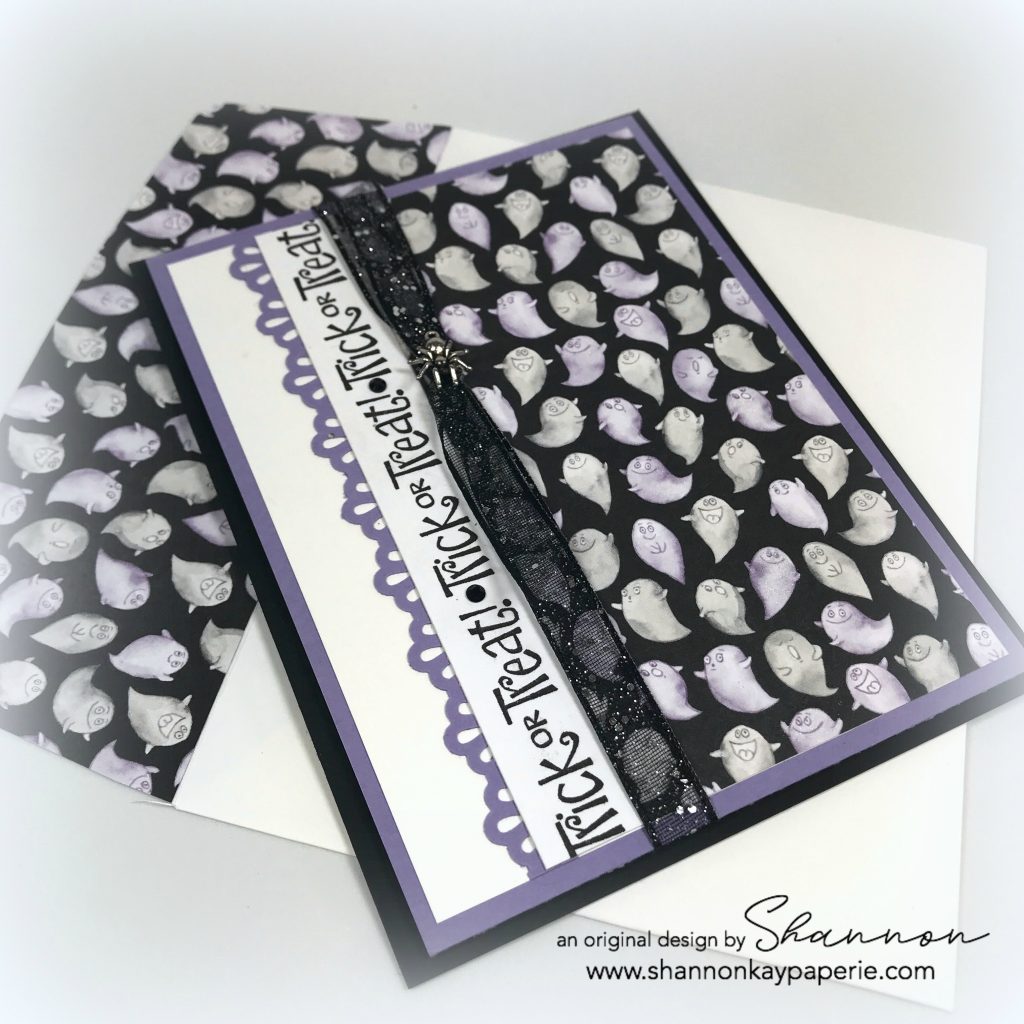
- CASEing cards has helped me keep my sanity this holiday season! Today’s design was case’d from Britney Vanderlaan, I just changed up the sentiment and the embellishments!
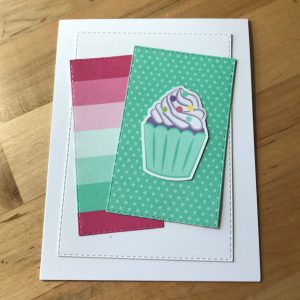
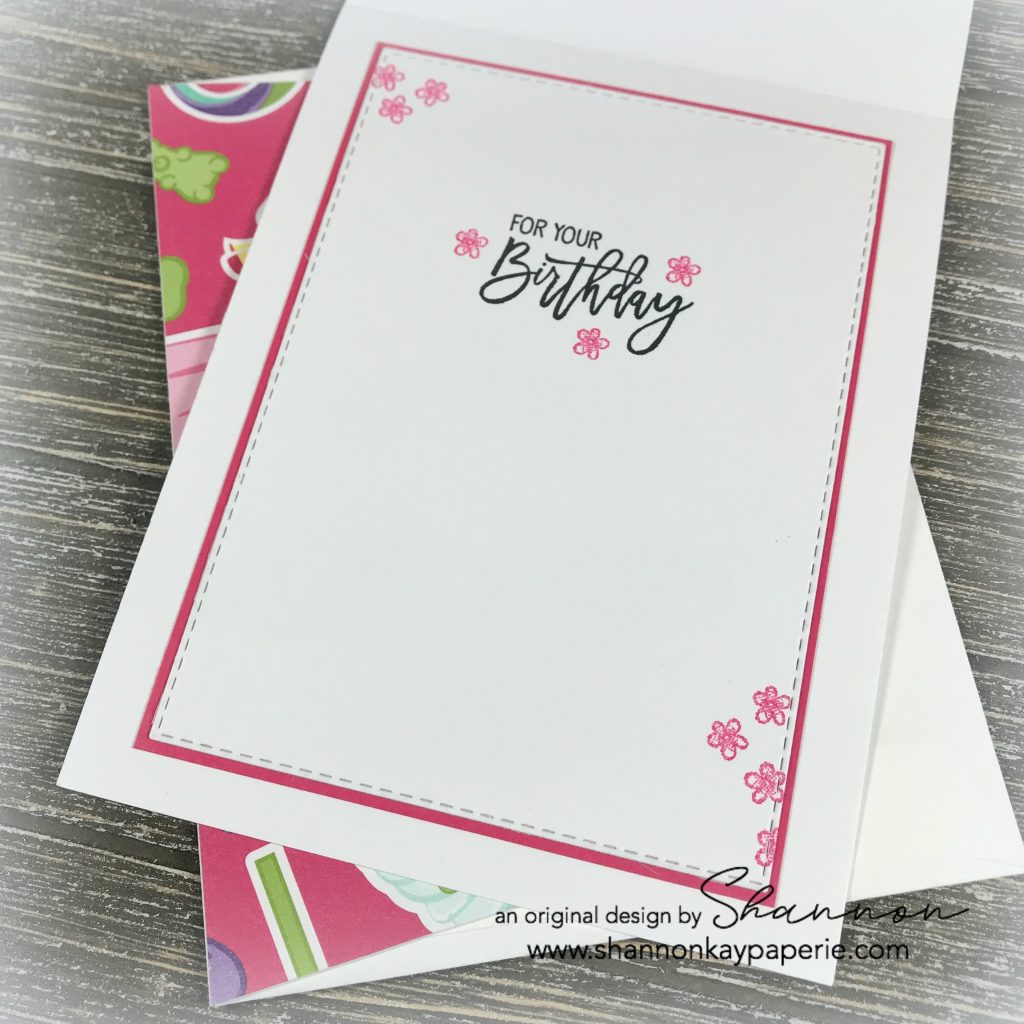
- I tend to forget to use big banners on my cards, that’s another benefit of looking at other designers’ cards! These wide banners really ground the sentiment from Farmhouse Christmas, which is still available through Jan 3, 2019 so grab it if you like it!
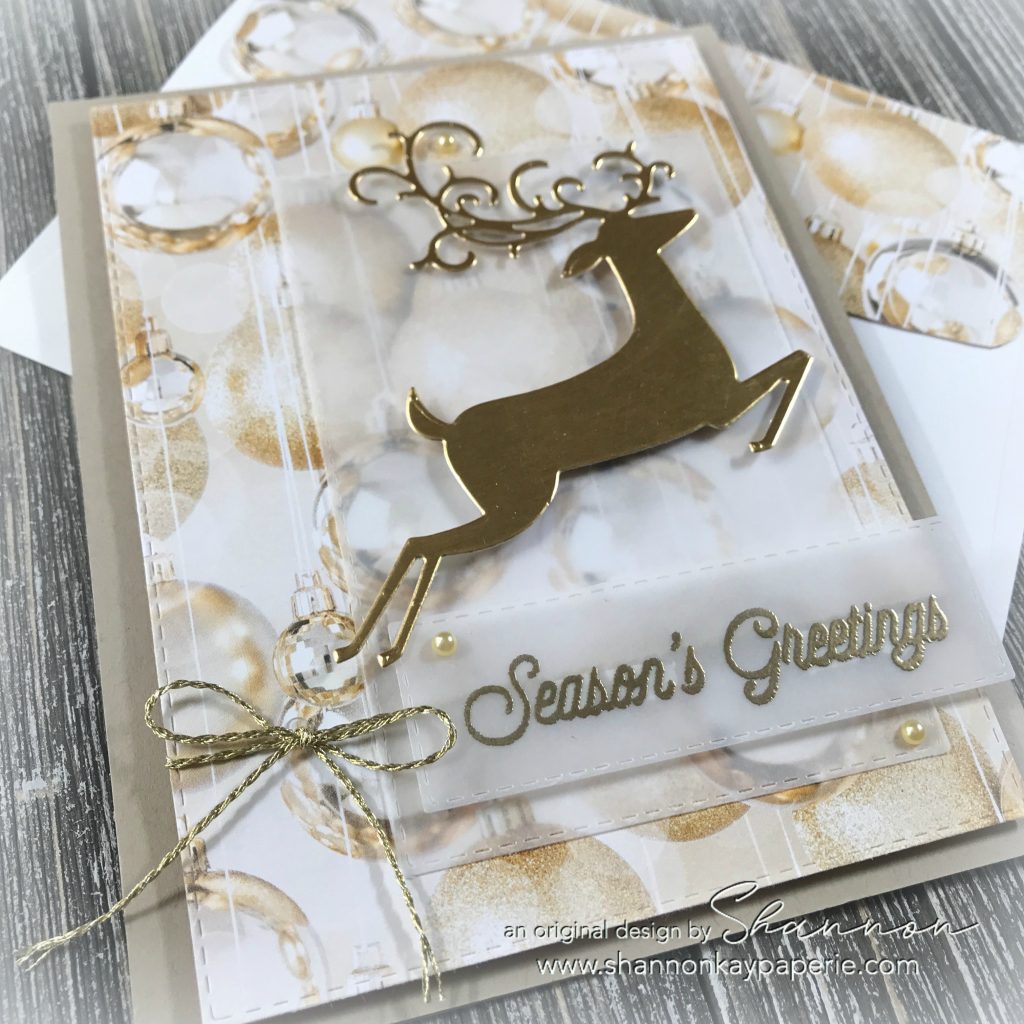
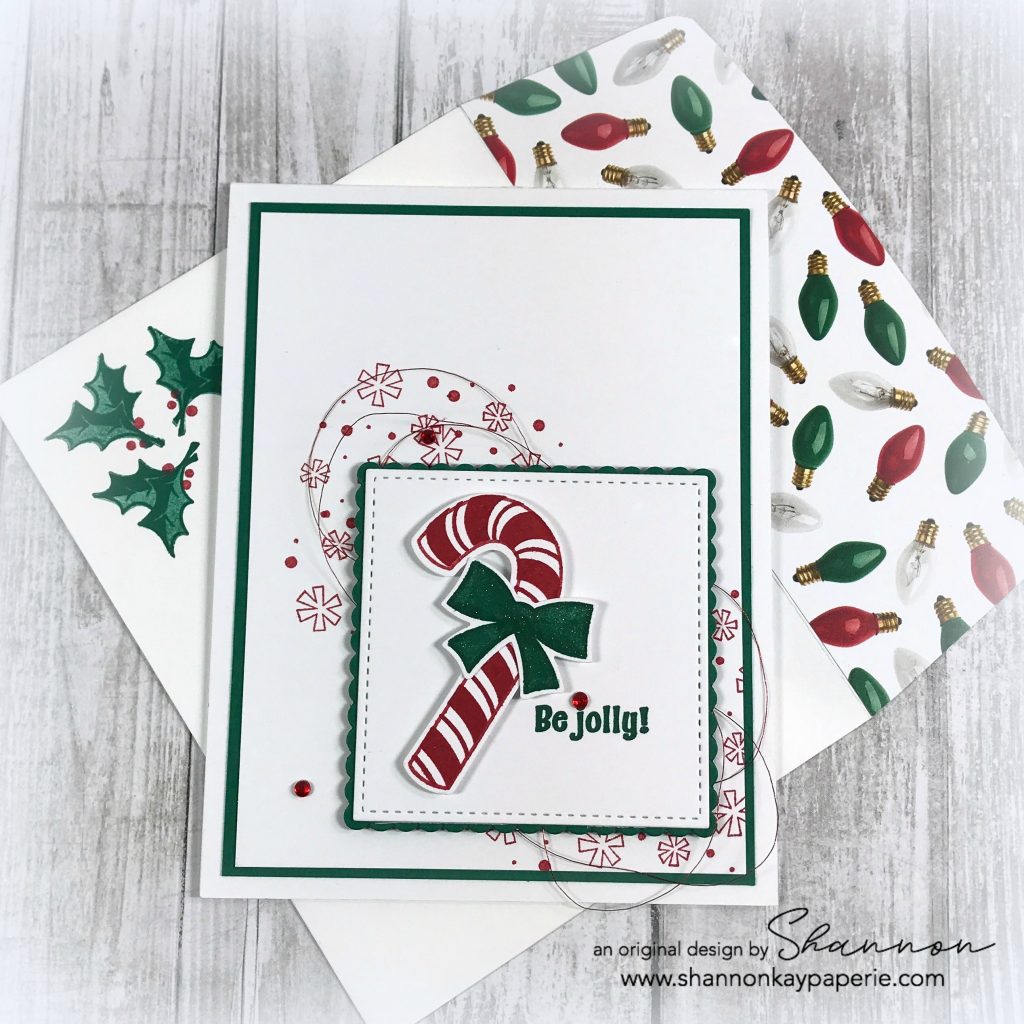
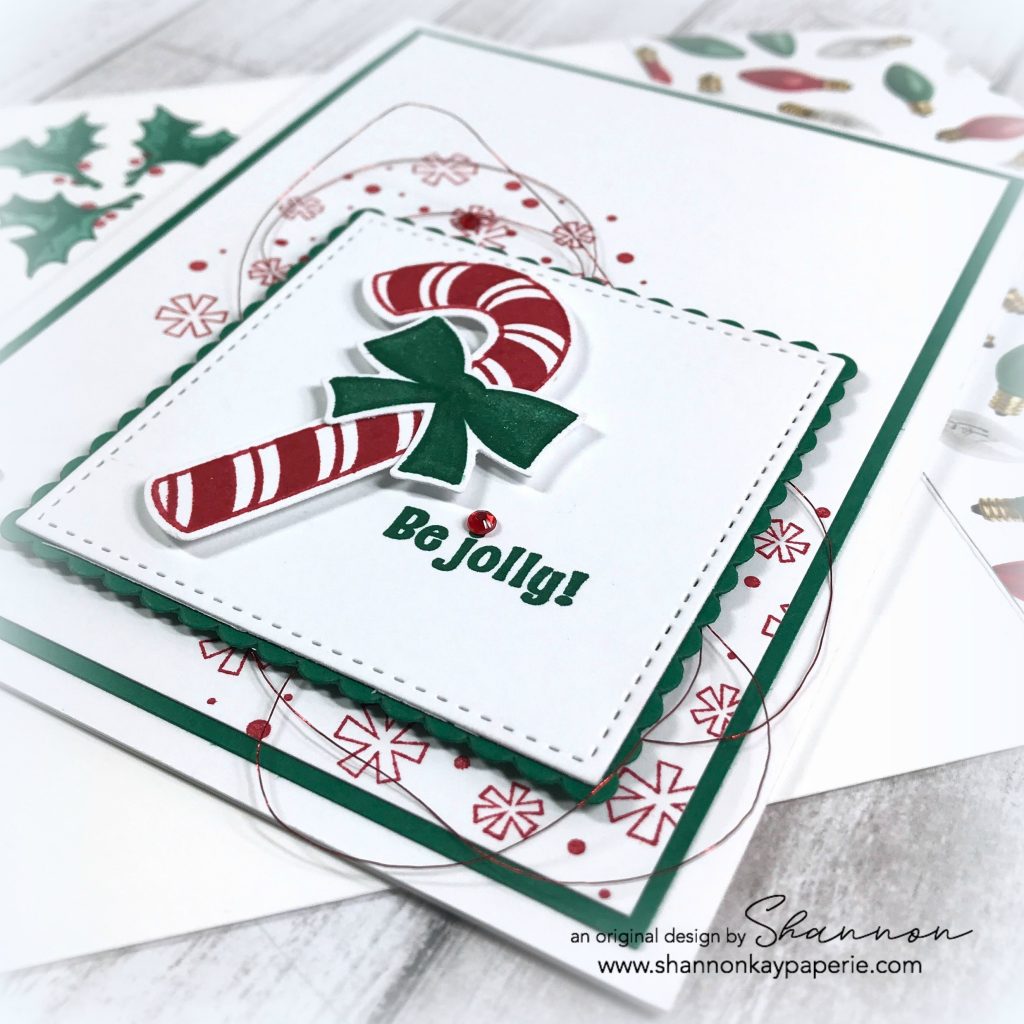
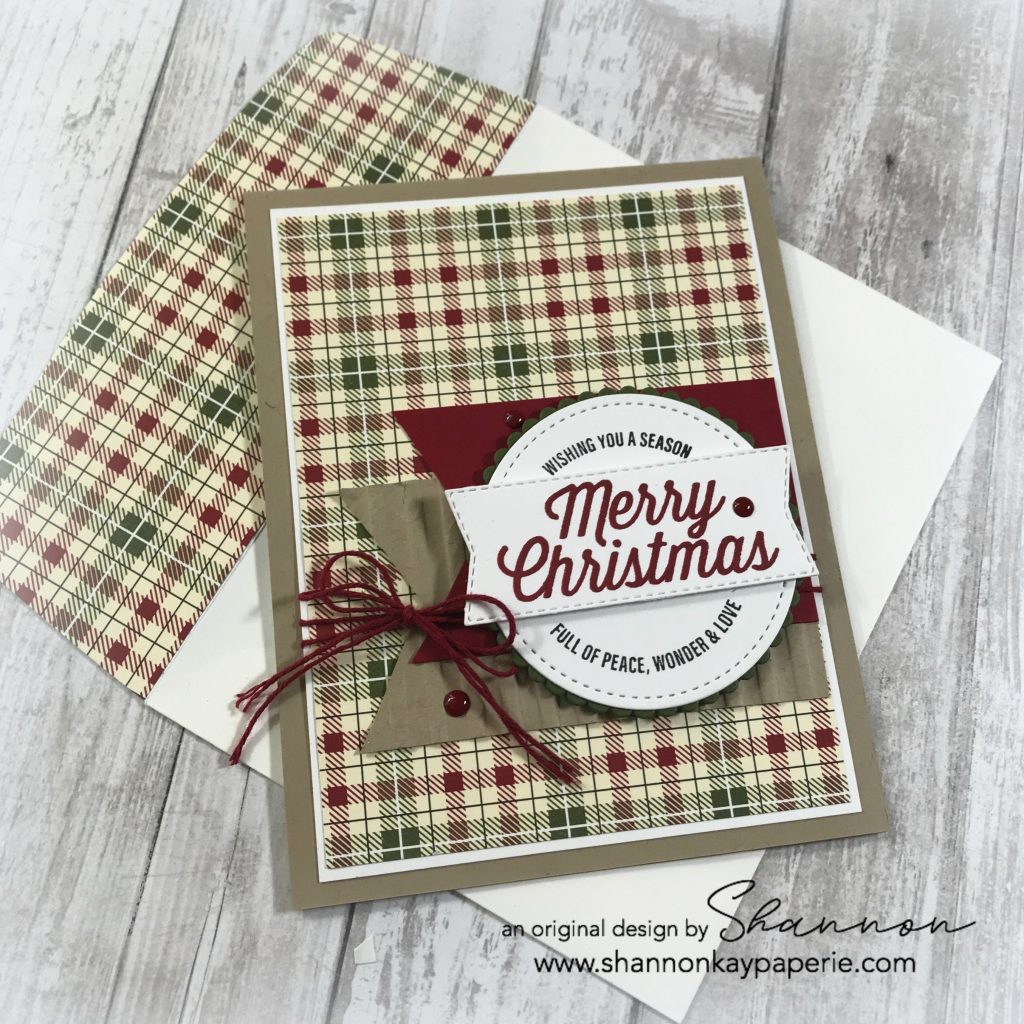
- Can you see the texture on the Crumb Cake banner? That’s the Corrugated embossing folder – SO awesome for a rustic look!
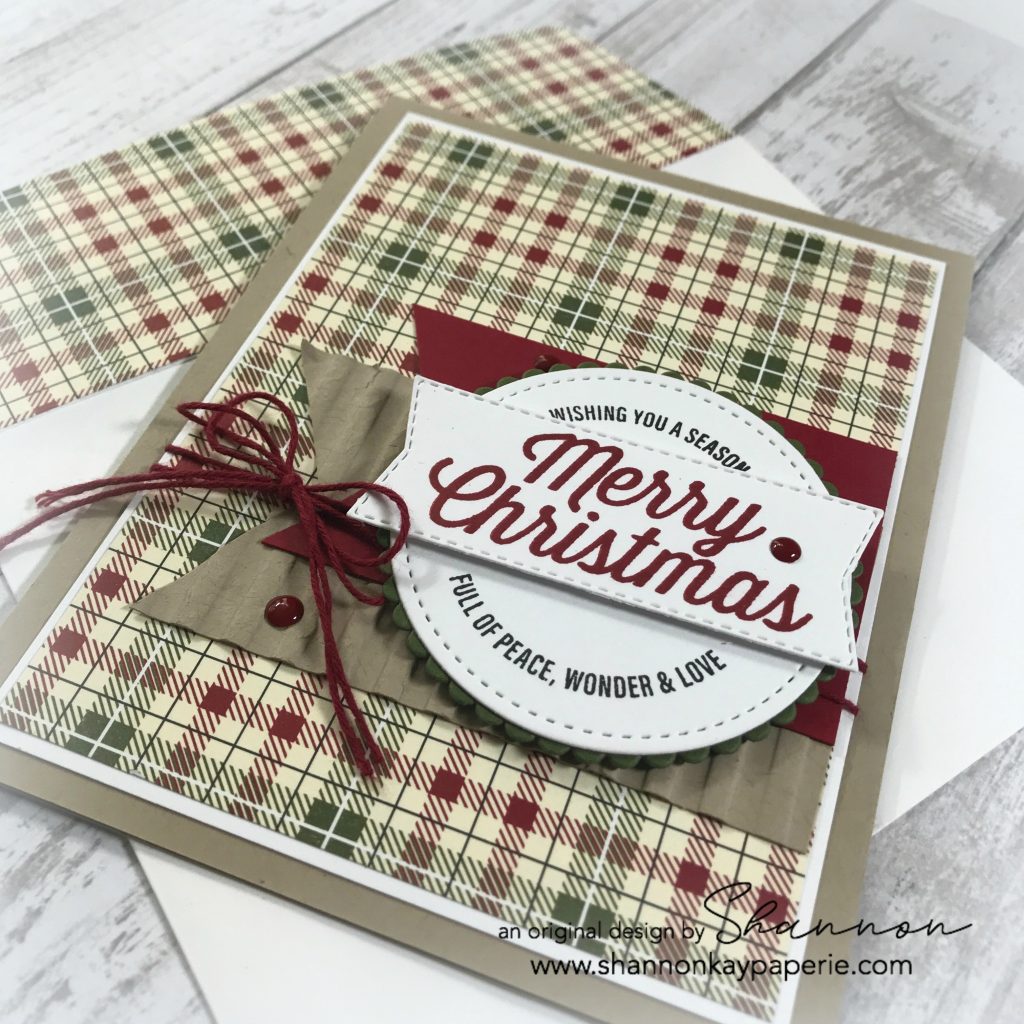
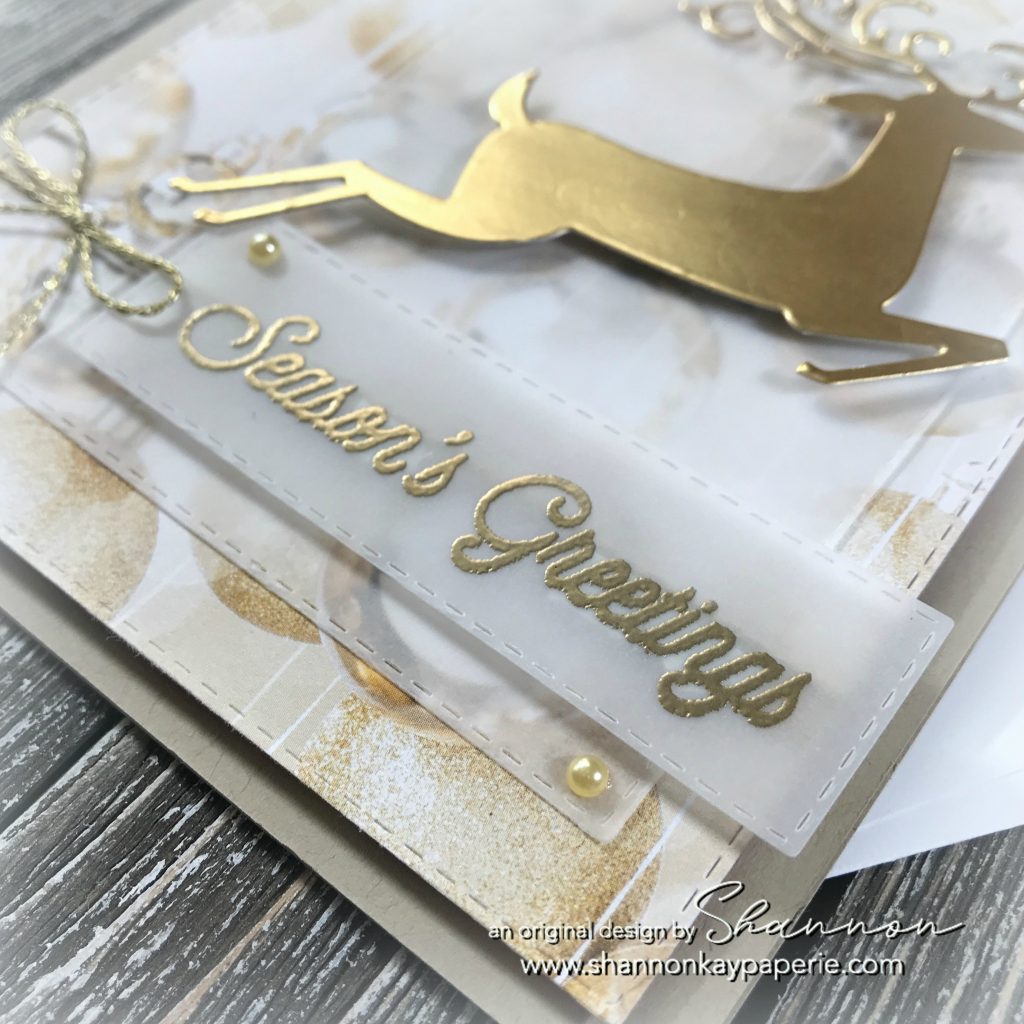
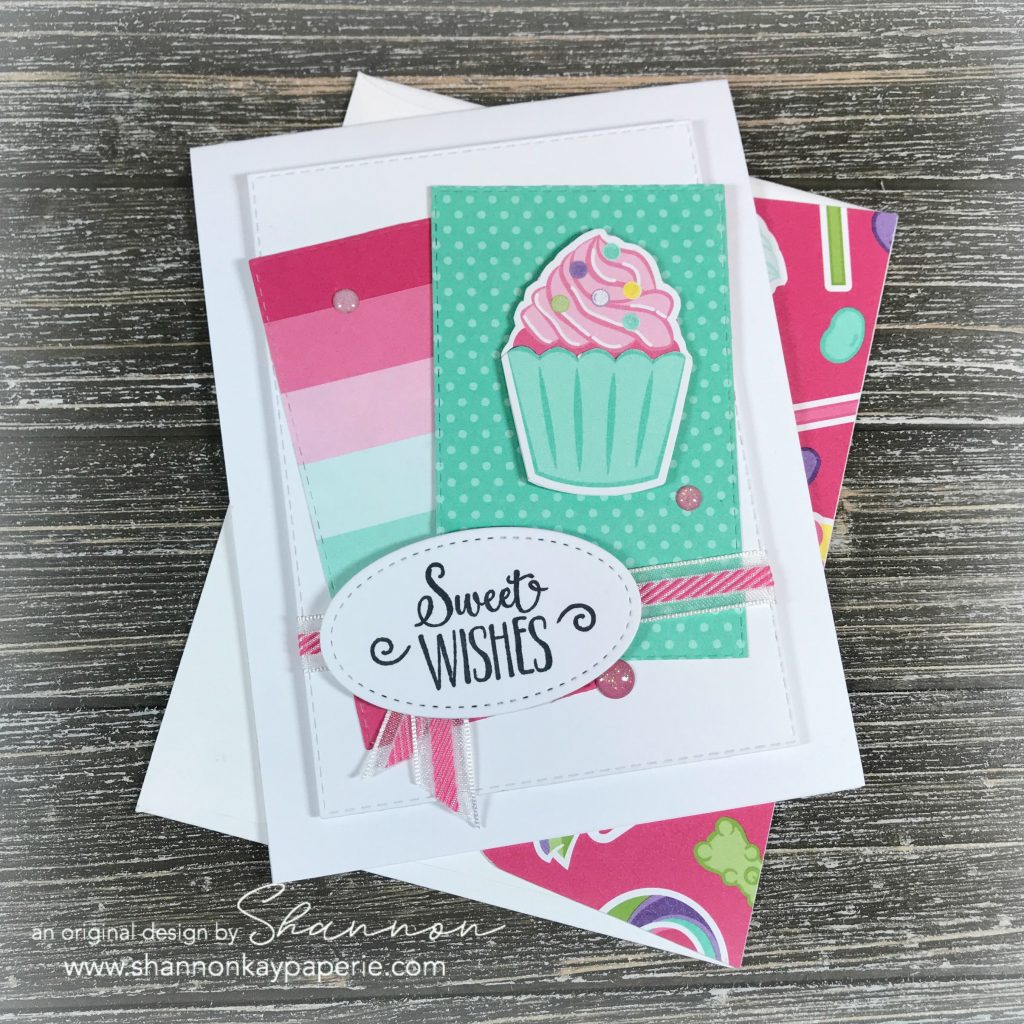
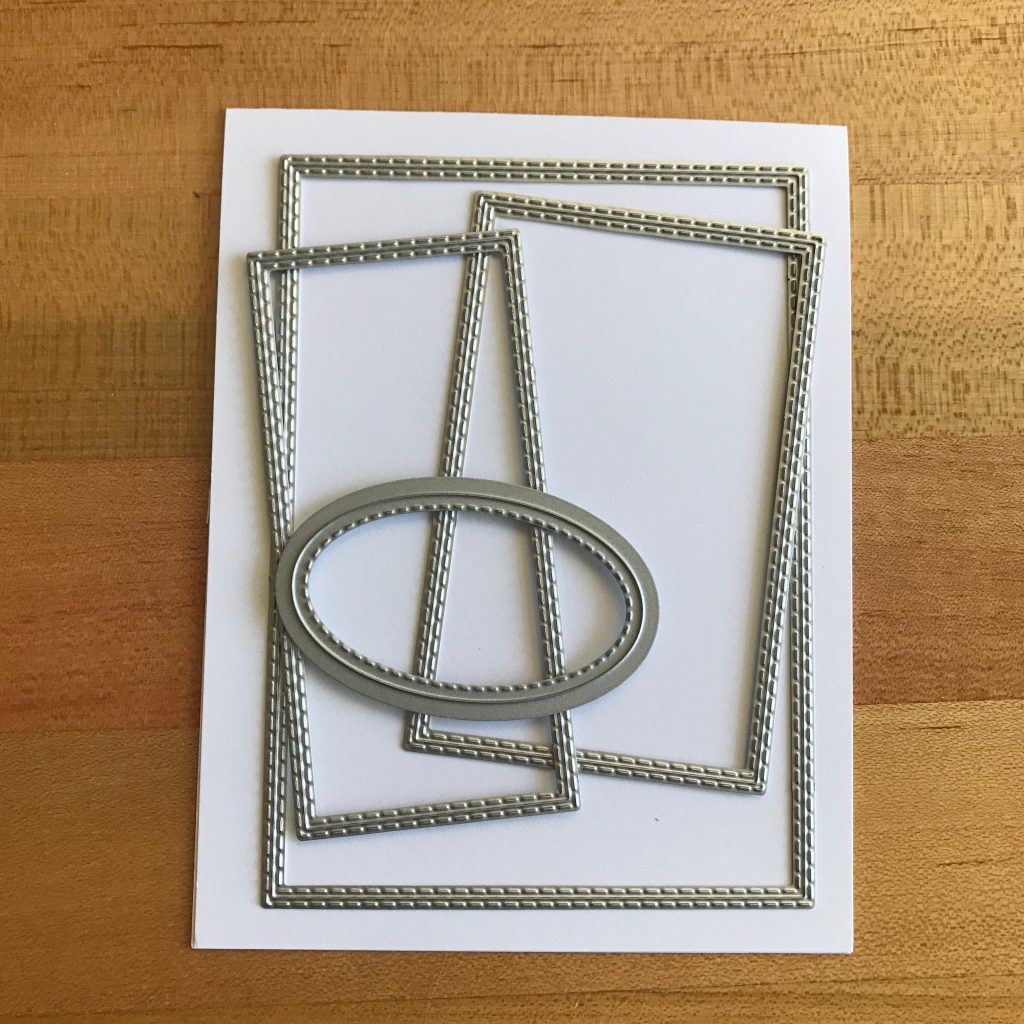
- This darling sentiment was stamped in black and then die cut using the Stitched Shapes Framelits Dies and the coordinating scalloped circle in Mossy Meadow was die cut using the Layering Circles Framelits Dies. I really like how just a hint of the scallop shows up, creating a subtle bit of depth 🙂
- I stamped the sentiment again in Cherry Cobbler and the stitched banner die from the coordinating Farmhouse Framelits Dies was used to create the banner. I then layered it on top of the circle die with Stampin’ Dimensionals. Super Cute!
- A bit of Festive Farmhouse Cotton Twine in Cherry Cobbler was used to tie a double bow. Hint: I cut two short pieces of the twine, laid them across the card front, adhered the tails to the back of the card stock, and then used two other lengths of twine to tie the bow onto the front of the card.
- The finishing touch was 3 retired Cherry Cobbler enamel shapes – I love how things I’ve purchased in the past coordinate so easily with current product – that keeps me coming back for more!! 🙂
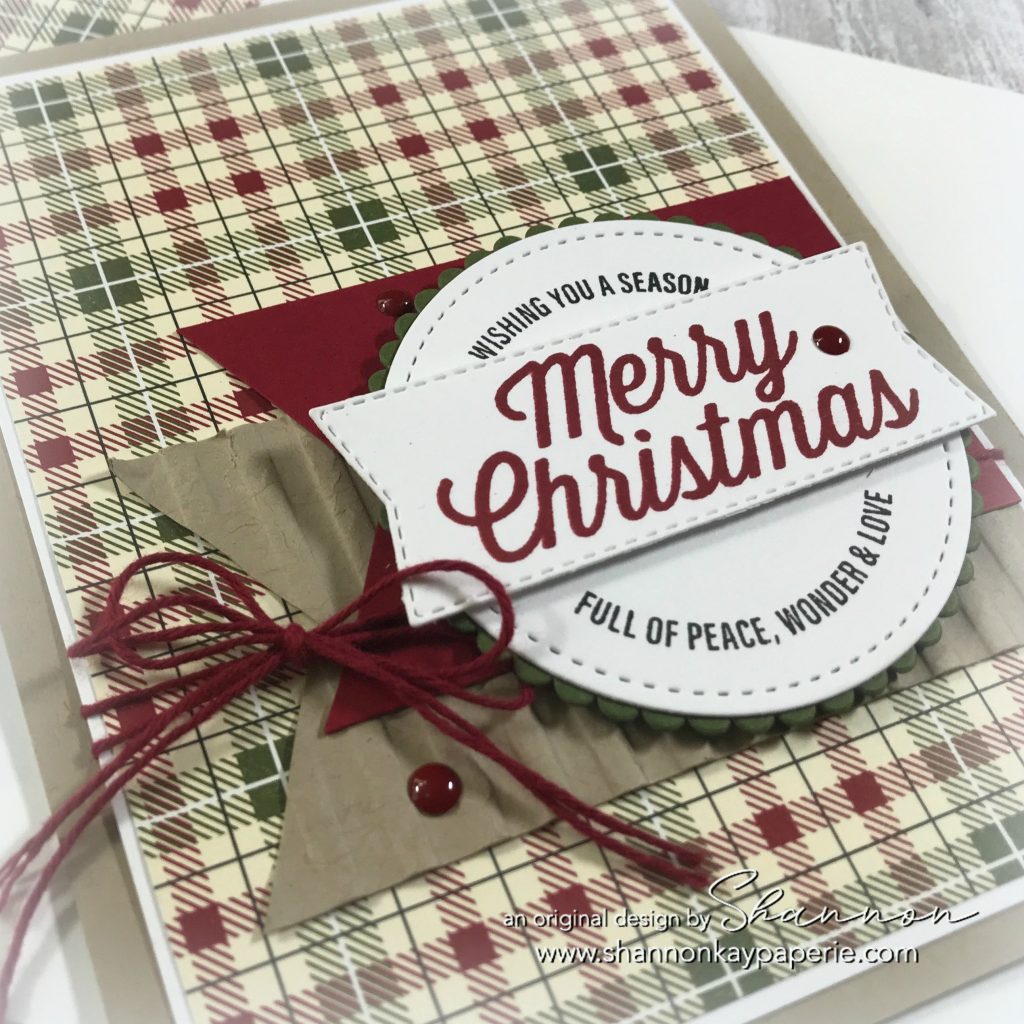
One more close up, just because I’m so tickled with how this came out! I think the colors are GORGEOUS!! Plaid, twine, stitching and corrugated paper – yum!
Thank you for visiting me today and hope you have time to be crafty, if not now, soon!!
Blessings,
Supplies (all Stampin’ Up! unless otherwise noted):
Card Stock: Crumb Cake, Mossy Meadow, and Cherry Cobbler; Stamper’s Select White by Papertrey Ink
DSP: Festive Farmhouse
Ink: Cherry Cobbler and Versafine Onyx Black
Stamps: Farmhouse Christmas
Dies: Stitched Shapes Framelits Dies, Layering Circles Framelits Dies, Farmhouse Framelits Dies
Tools: Big Shot
Embellishments: Cherry Cobbler Enamel Shapes (retired) and Cherry Cobbler Festive Farmhouse Cotton Twine
Other: Whisper White Envelope