Sending Shamrocks – Freshly Made Sketches 426

Fun-Stampers-Journey-Storybook-Creations-Thinking-of-You-Card-Ideas-Shannon-Jaramillo-stampinup-SU

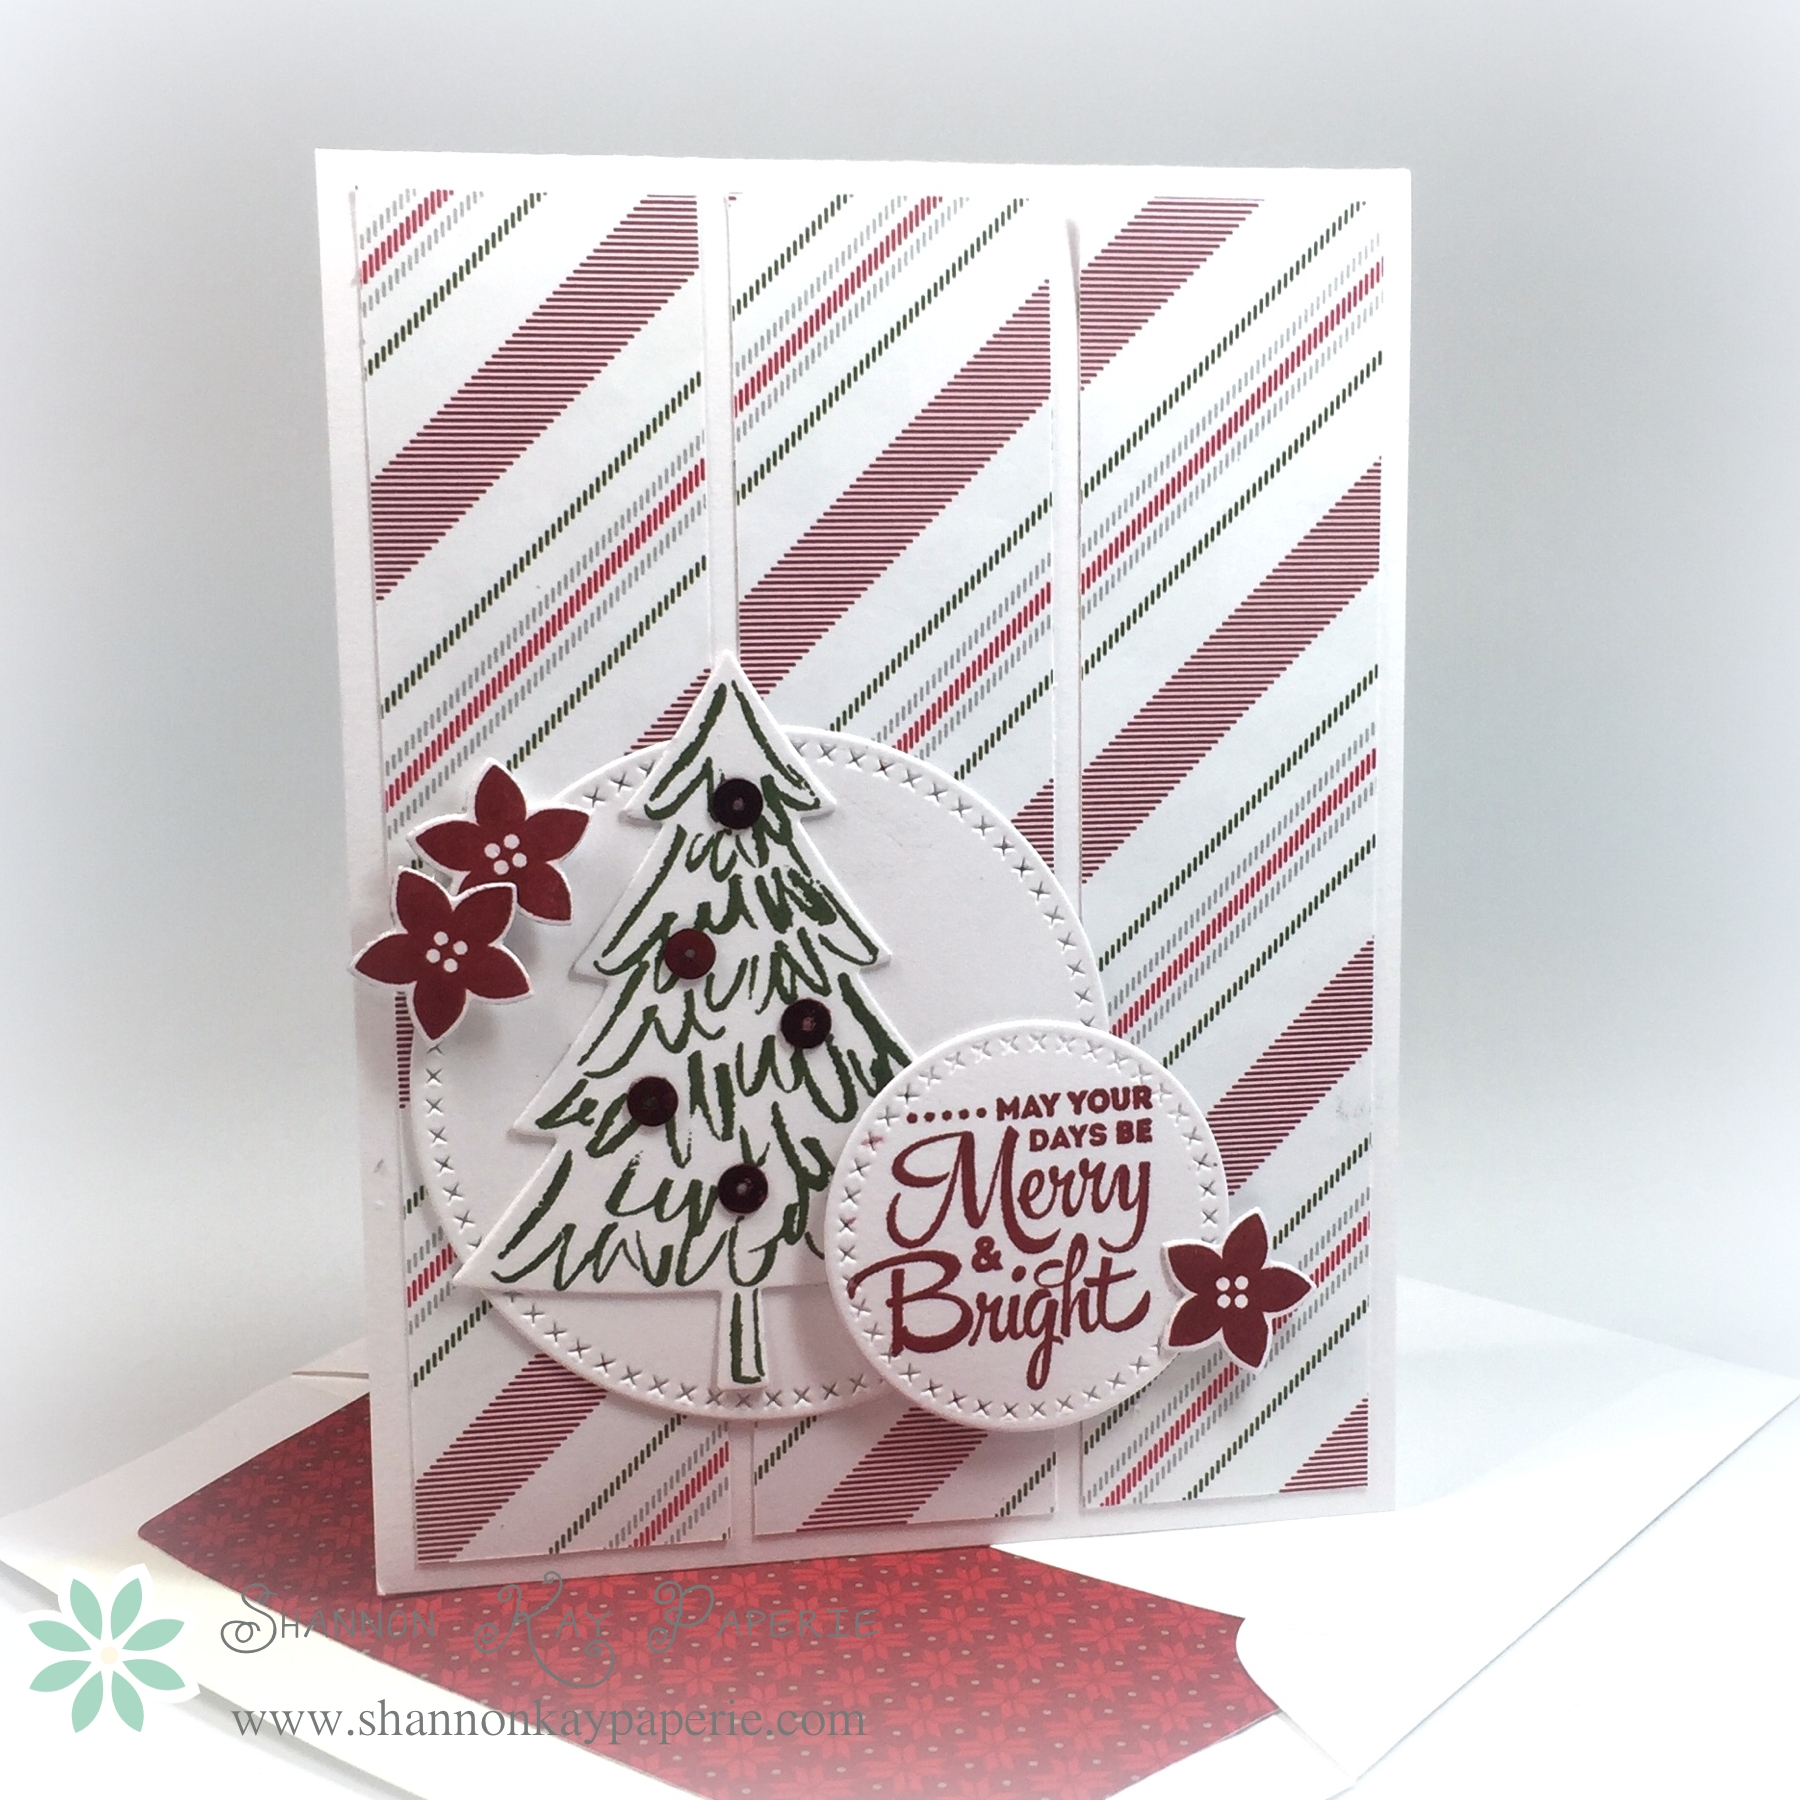
I have realized that St. Patrick’s Day is almost here so I dove into my very small but very sweet stash of stamps for aforesaid occasion and put them to work!!

Measurements:

  • White Card Base 4 1/4″ x 11″ scored at 5 1/2″
  • Layer of Pear Pizzazz Card Stock  4″ x 5 1/4″
  • Layer of  Balmy Blue Cardstock3 7/8″ x 5 1/8″
  • Strip of DSP 1 1/4″ x 4 1/4″

Details:

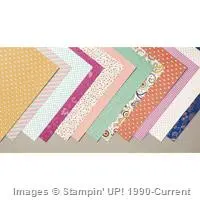
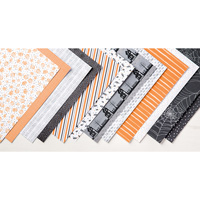
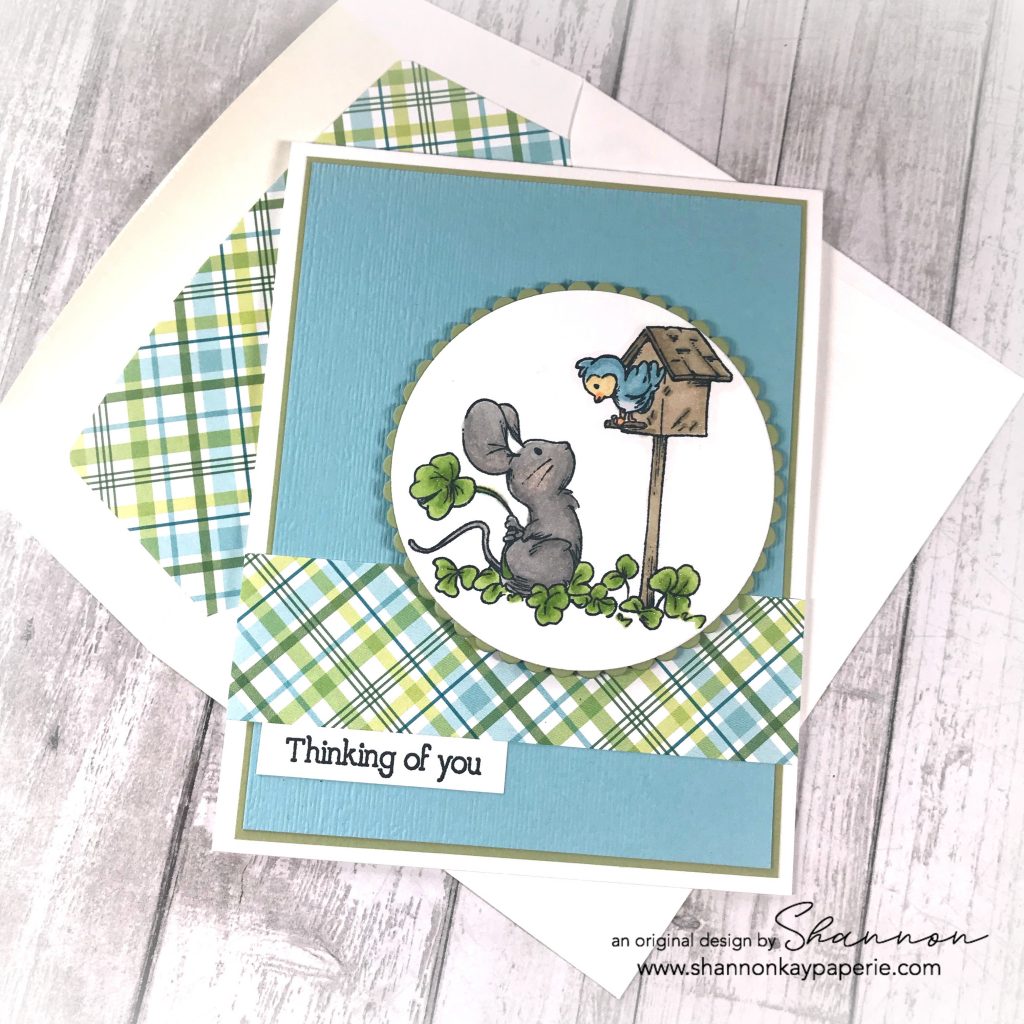
  • I must confess that the traditional shade of green used for St. Patrick’s Day is probably my least favorite shade of all greens. {shudder} so I found a delightful combination of greens and blues in this pretty paper Plaid Patterns – Merry & Bright by MFT Stamps. Christmas paper of all things!!

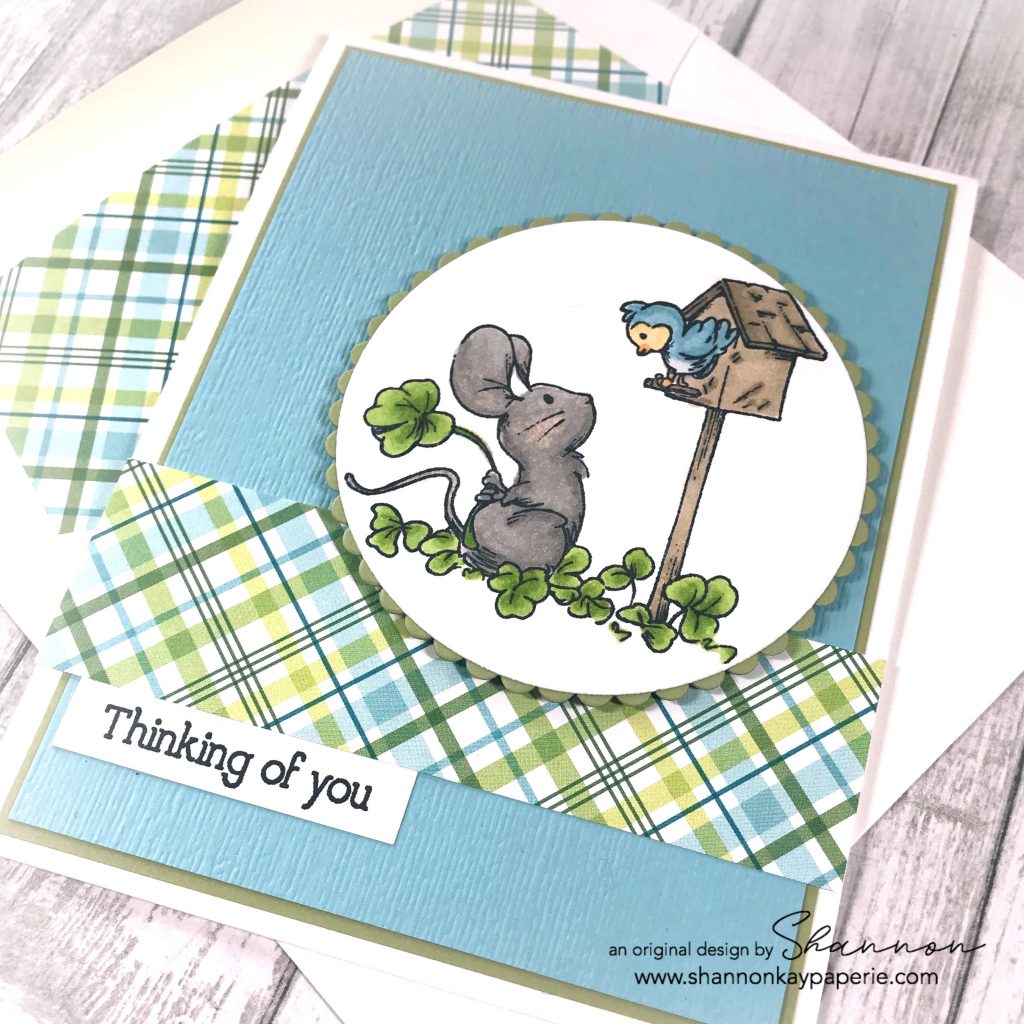
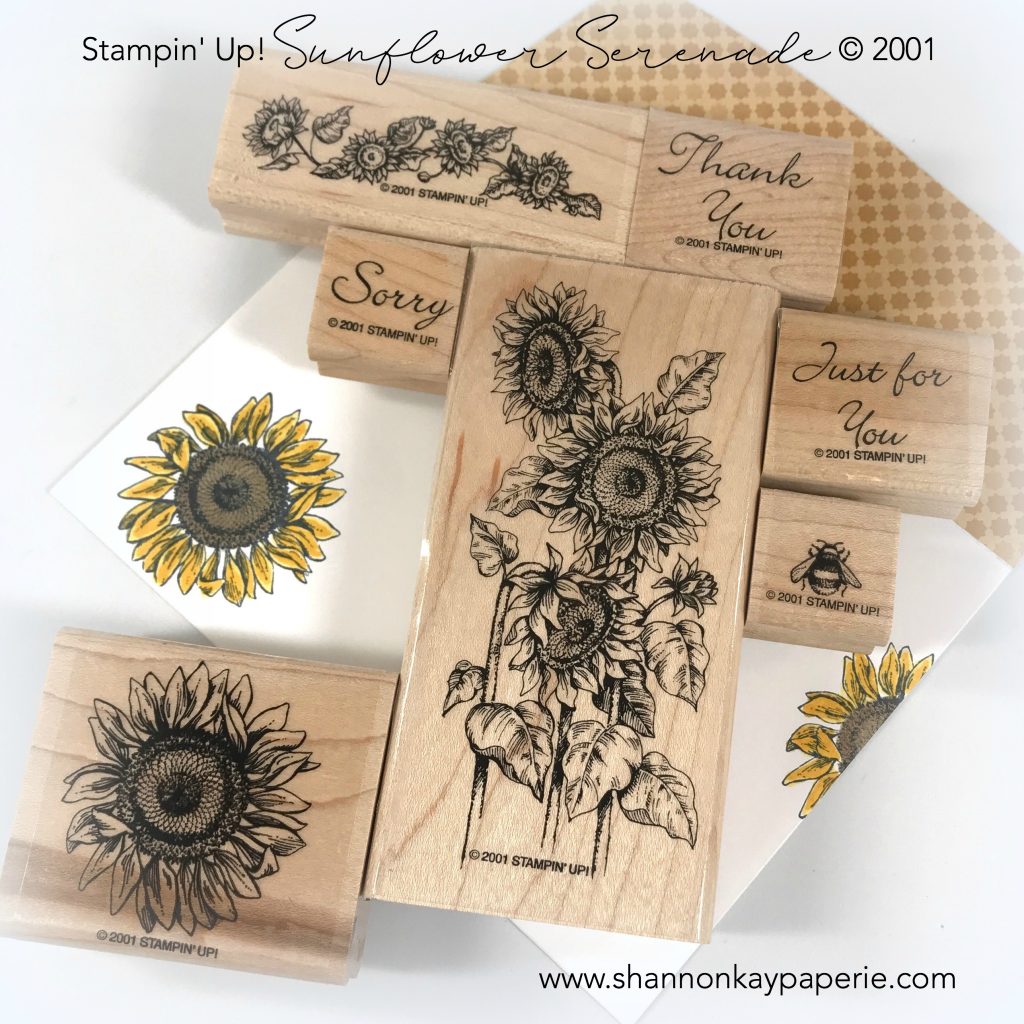
  • I took my lead from the colors in the paper and used Granny Apple Green and Balmy Blue Stampin’ Blends to color this darling image by Fun stampers Journey.
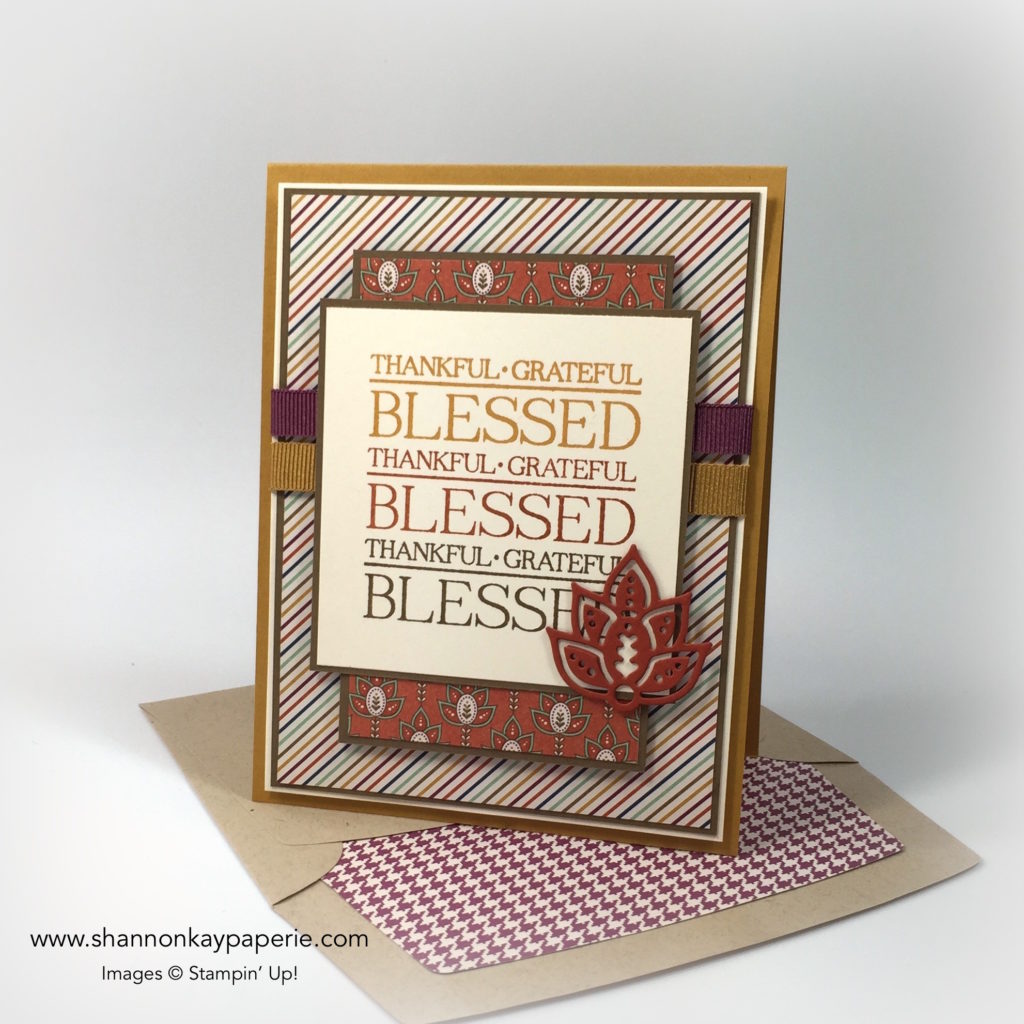
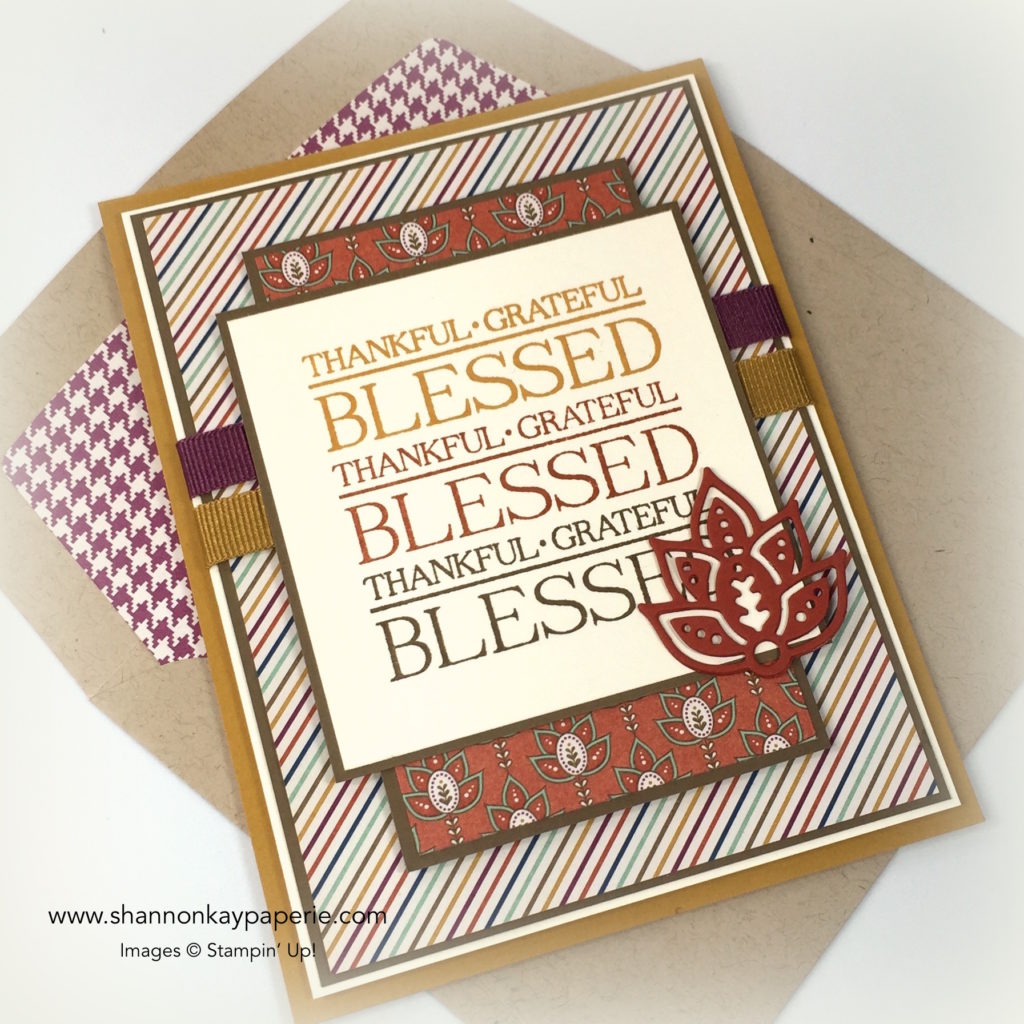
  • I layered a piece of Balmy Blue card stock embossed with the Subtle embossing folder over a slightly larger piece of Pear Pizzazz card stock and then set the whole thing on top of a white card base.
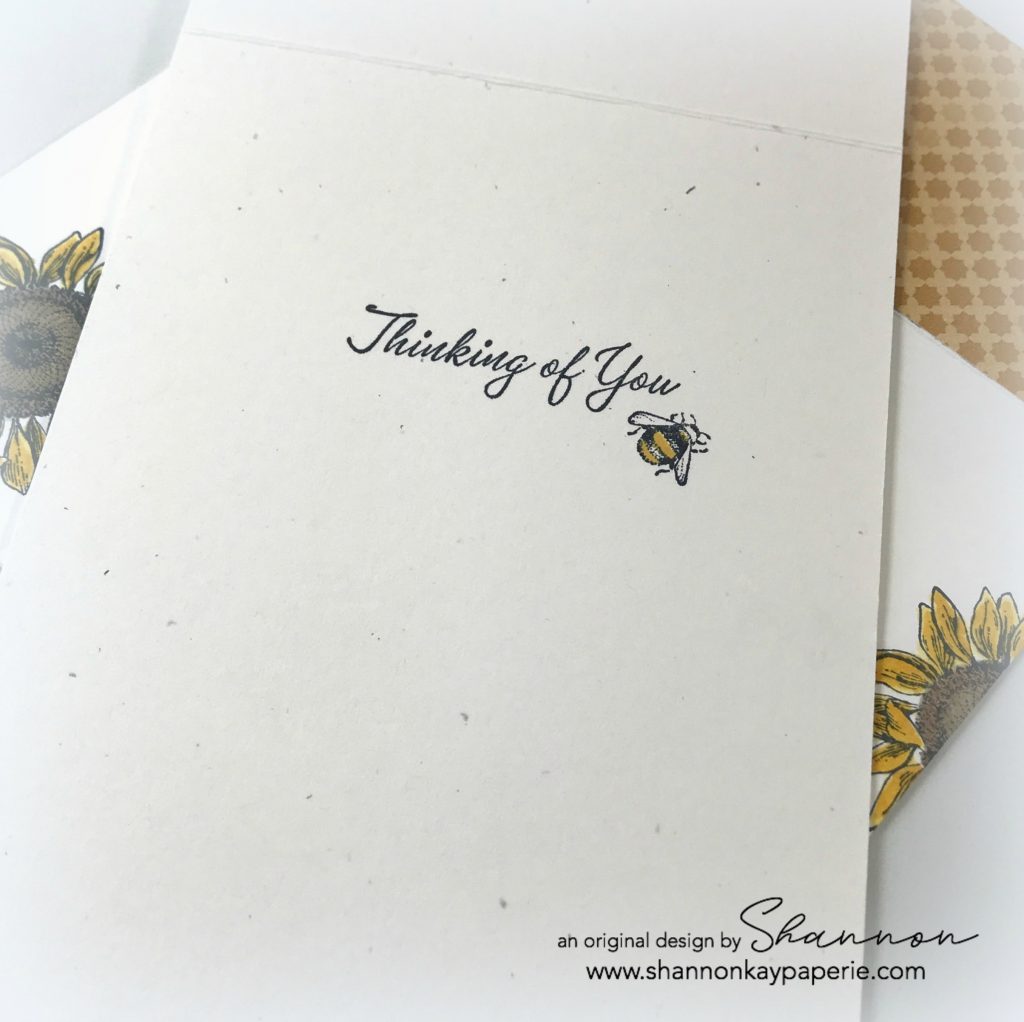
  • A simple sentiment from the same stamp set and a bit of Wink of Stella complete this simple but sweet card. I LOVE the hint of St. Patrick’s Day in it!

Fun-Stampers-Journey-Storybook-Creations-Thinking-of-You-Cards-Ideas-Shannon-Jaramillo-stampinup-SU

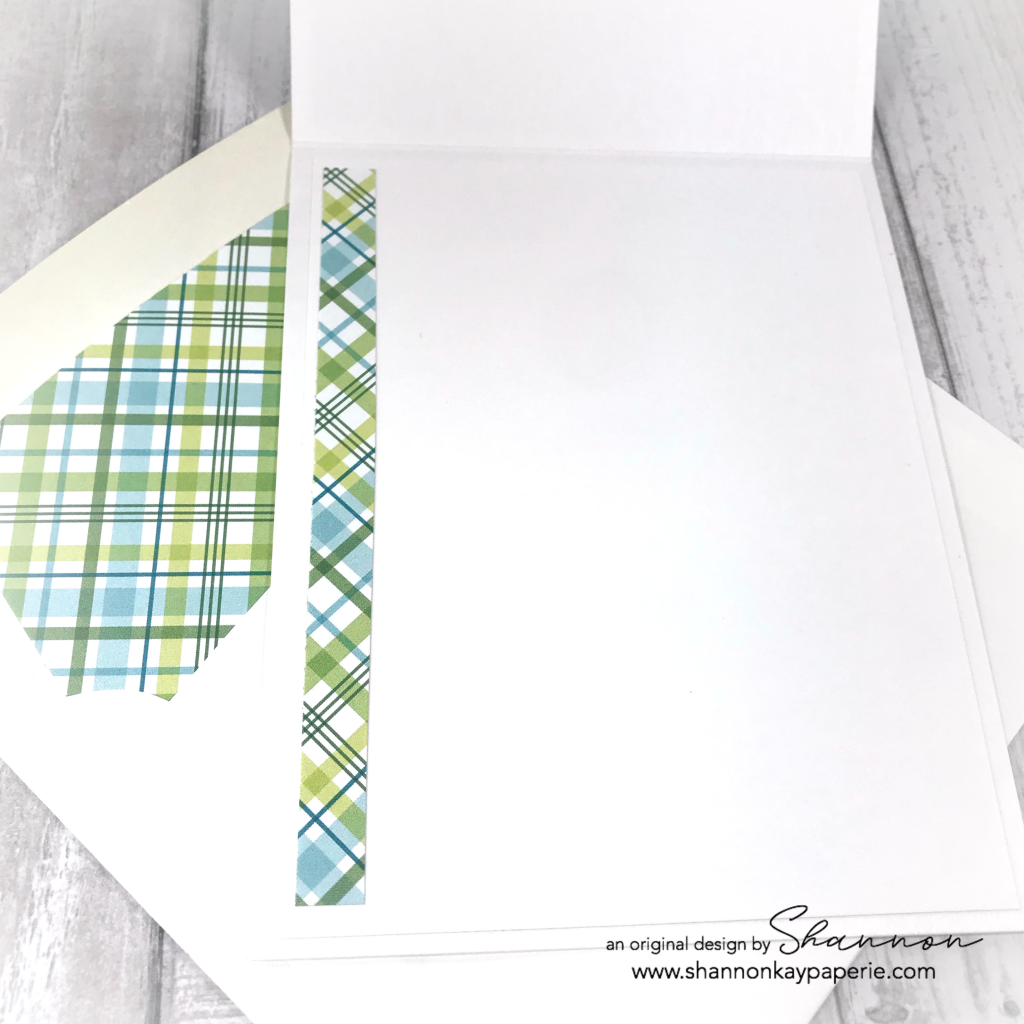
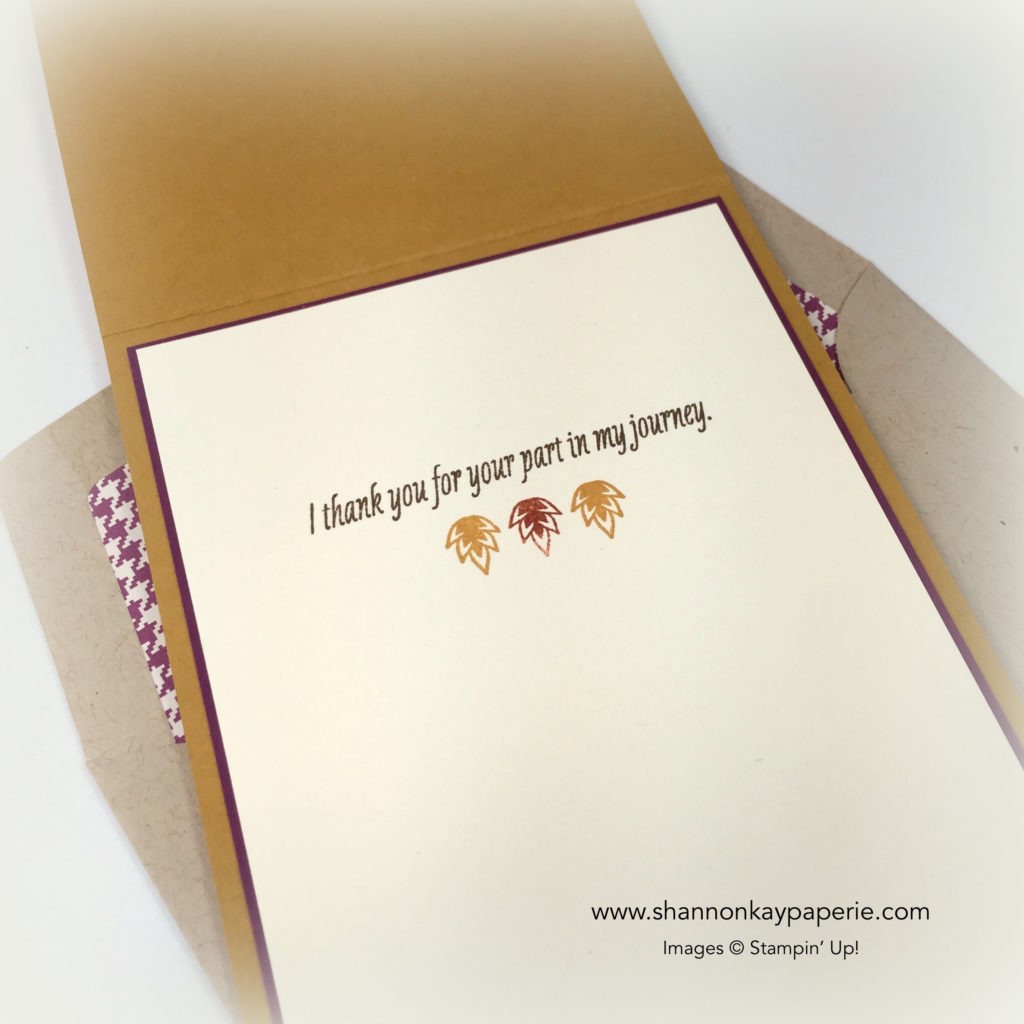
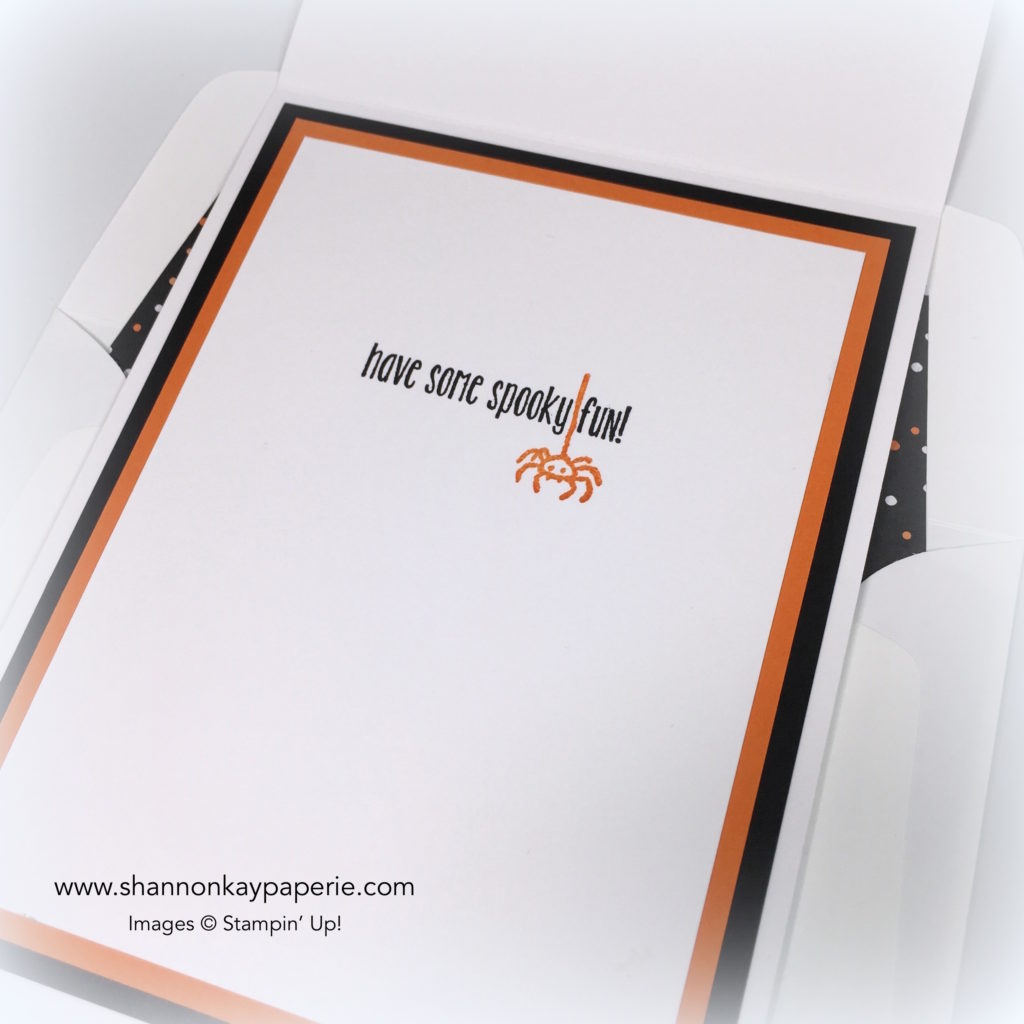
  • The inside is very simple as well, leaving me a large space to write my message. I’m going to pop this in the mail to my mom!

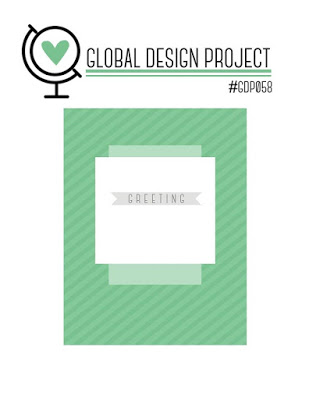
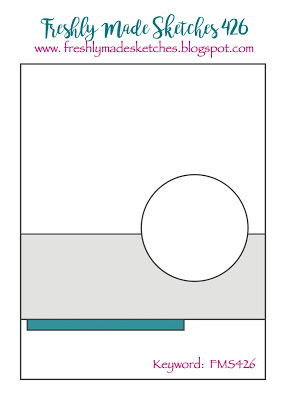
Huge thanks to the Freshly Made Sketches design team, and to Karren for this week’s LOVELY sketch! XX

Have a wonderful, socially distant day and I will see you soon!!

Blessings!!

Supplies (all Stampin’ Up! unless otherwise noted):

Card Stock: Pear Pizzazz and Balmy Blue;  Neenah Solar White Classic Crest 80#

DSP: Plaid Patterns – Merry & Bright by MFT Stamps

Specialty Paper: None

Ink: Memento Tuxedo Black

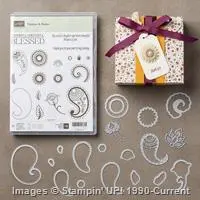
Stamps: Storybook Creations (retired) by Fun Stampers Journey

Alcohol Markers: Light & Dark Gray Granite & Light Petal Pink (mouse), Light & Dark Granny Apple Green (shamrocks), Light & Dark Crumb Cake & Light Petal Pink (birdhouse), Light & Dark Balmy Blue, Light So Saffron, Light Pumpkin Pie (bird)

Dies: Layering Circle Dies

Tools: Big Shot, Stampin’ Trimmer (both retired)

Embellishments: Wink of Stella 

Other: Whisper White Envelope

Turning My Thoughts Toward Fall…

Yesterday was the 1st of September and seeing all of the “Fall” photos in my FB and Instagram feeds inspired me to give some of my fall themed stamps some love. We don’t really get “Fall” here in Southern California. We get hot, we get windy, and we get fires, but actual “Autumn” things, not so much. So we create our fall with fake decorations! I will be pulling mine out this next week but in the meantime, here’s a taste of fall:

Stampin-Up-Sunflower-Serenade-Love-&-Friendship-Card-Idea-Shannon-Jaramillo-stampinup

What do you think? I think it’s yummy and is inspiring me to go with a sunflower fall motif this year!

Measurements:

  • PTI Rustic White Card Base 4 1/4″ x 11″ scored at 5 1/2″
  • PTI Rustic White Layer 4″ x 5 1/4″
  • Soft Suede Layer 2 3/4″ x 5″
  • Old Olive Layer 2 1/2″ x 4 3/4″
  • PTI Rustic White Stamped Layer 2 1/4″ x 4 1/2″

Details:

  • I came across this Stampin’ Up! stamp set a few months ago on one of the FB resale groups I belong to and I was SO HAPPY to be able to claim it! The set is called “Sunflower Serenade” and it’s SU circa 2001. It’s 17 years old but the design is timeless!
  • I first stamped the image with Tuxedo Black Memento Ink and then used the Stampin’ Blends to color everything in. I like to layer color so I won’t lie to you, I colored this image probably five times, making mistakes along the way. But I didn’t worry about it too much as I’m learning the in’s and out’s of the Stampin’ Blends.
  • After all of my redos, I settled on using the Light Daffodil Delight Stampin’ Blends Marker and then followed it up with a layer of Dark Daffodil Delight. I learned to apply the light color and then wait for it to dry before applying the darker color, AND to not get too close to the edge! I kept having the ink bleed out because there was too much and the Color Lifter couldn’t push it back in because everything was still wet. It is important to note that I am NOT using Whisper White card stock. I’m sure I would not have had so many issues if I had used the proper paper, but Whisper White is too yellow of a white for me. So Papertrey Stampers’ Select or Papertrey Rustic White are my go to’s.

Stampin-Up-Sunflower-Serenade-Love-&-Friendship-Card-Ideas-Shannon-Jaramillo-stampinup

  • Something else that I tried and was very pleased with was that I colored all of the flowers, stems, and leaves with the Light Daffodil Delight color and then went over it with a coat of Light Old Olive. I love how the color turned out, the yellow and green work so well together!
  • I also used my Old Olive Stampin’ Write marker to define the leaf details and used Light Crumb Cake, Dark Crumb Cake and the the Bronze Stampin’ Blends for the flower centers. Probably overkill, but I think they look pretty 🙂
  • Did you see all of the shine on the flowers? I used Journey Glaze on them, just like I used on my last card, and I adore how it turned out! They REALLY pop!

Stampin-Up-Sunflower-Serenade-Love-&-Friendship-Cards-Ideas-Shannon-Jaramillo-stampinup

  • I have a tendency to keep adding “things” until I get the balance right. For this card I added Soft Suede ribbon (probably long retired) and Old Olive ribbon which was current as of last year. Then I went through my paper stash to find this adorable pattern in the “Moroccan” DSP pack from a few years back and die cut a stitched circle out of it to layer behind my stamped panel.
  • It still wasn’t enough so I pulled out my trusty Linen Thread, made a pretty bow and then topped it off with a long retired Soft Suede button. Yum!!

Stampin-Up-Sunflower-Serenade-Love-&-Friendship-Card-Idea-Shannon-Jaramillo-stampinup

  • As you can see, I had trouble stopping so I continued on and stamped and colored the envelope too. I should mention that I did add two of my “oops” pieces of cardstock in the envelope to protect the back side of the envelope from bleed thru from the markers. And of course, a pretty envelope flap!
  • But what about the inside? Yep, I decorated it as well but kept it simple:

Stampin-Up-Sunflower-Serenade-Love-and-Friendship-Card-Idea-Shannon-Jaramillo-stampinup

  • The little bumblebee is from the same stamp set but the sentiment is from a different set. It’s a very old set as well, I just don’t know the name of it at the moment. I think the bumblebee steals the show 🙂

So there you have it. I truly enjoyed creating this little card, I hope you’ve enjoyed seeing it.

Here is a look at the entire stamp set:

Stampin-Up-Sunflower-Serenade-Love-and-Friendship-Card-Ideas-Shannon-Jaramillo-stampinup

And if you are wondering, I’ve realized that I value the freedom of not worrying about which company something came from and just create what my heart thinks is pretty. I just want to enjoy the process and I love hearing your comments, they really encourage me so thank you for taking the time to comment when you do, I appreciate you!

Thank you,

Petals & Paisleys & Posies – 30 Day Card Challenge, Day 17

Stampin Up Paisleys & Posies Thank You Card Idea - Shannon Jaramillo Stampinup

I’ve lived almost all of my life in Southern California and we DO NOT have fall. So I never understood all the cards with a fall color palette. Then I went to Missoula, Montana in October, and while the colors were not fully developed, I saw enough to understand how beautiful they are. And because of that, I finally ordered the Petals and Paisleys Specialty Designer Series Paper. It is AMAZING.

The Details:

  • Card layers:
    • Delightful Dijon case base cut at 4 1/4″ x 11″ and scored at 5 1/2″
    • Very Vanilla layer is cut to 4″ x 5 1/4″ and popped up on Stampin’ Dimensionals
    • Soft Suede layer is cut to 3 7/8″ x 5 1/8″
    • Designer Series Paper is cut to 3 3/4″ x 5″
    • Soft Suede is cut to 2 5/8″ x 4 1/8″ and popped up on Stampin’ Dimensionals
    • Designer Series Paper is cut to 2 1/2″ x 4″
    • Soft Suede Layer is cut to 3 1/8″ x 3 1/8″
    • Designer Series paper is cut to 3″ x 3″

Stampin Up Paisleys & Posies Thank You Cards Idea - Shannon Jaramillo Stampinup

  • I know there are a lot of layers (!) But I felt that every layer was necessary to do justice to the colors in the pattern paper. I originally did not have the Very Vanilla layer but when I layered the sentiment layer on top of the card, it was just too bright. The Very Vanilla in the Designer Series Paper is muted. So to compensate, I added the VV layer and now everything is balanced!
  • The sentiment from the Paisleys & Posies Photopolymer Stamp Set is so simple and graphic, it really plays off of the striped DSP nicely. I used my MISTI to stamp. I stamped the top image onto a piece of acetate, then set the acetate over my Very Vanilla piece of card stock. I lined the image up and stamped it in Delightful Dijon, then moved the Very Vanilla card stock up until I had the second image lined up. I removed the acetate, stamped the image in Cajun Craze and then repeated the process, stamping the last image in Soft Suede.

Stampin Up Paisleys & Posies Thank You Cards Ideas - Shannon Jaramillo Stampinup

  • I confess, I bought the Paisleys & Posies Bundle because of this leaf die. Isn’t is stunning in Cajun Craze? Jumps right off the card!! I die cut the leaf twice and then used my fine Tip Glue Pen to adhere the two layers together, as well as adhere the leaf to the card. Love, love, love it.
  • I played around with the ribbons, adding and subtracting the Rich Razzleberry ribbon. I hadn’t used it anywhere else on the card so wasn’t quite sure it fit, but in the end, I loved it and it had to stay.
  • I added Rich Razzleberry to the overall design by using the color in the envelope liner. I think the three patterns are fantastic together.

Stampin Up Petals & Paisleys Thank You Card Ideas - Shannon Jaramillo Stampinup

  • I also added Rich Razzleberry on the inside of the card as well. Soft Suede for the sentiment, Delightful Dijon and Cajun Craze for the leaves, which mimic the die cut leaf on the front.

I am OVER THE MOON for this card. The colors, the patterns, the stamps and dies, and the ribbons. WOW. What a great suite of products. And I almost didn’t buy them. Crazy.

Here is the view from my mom’s balcony in Missoula, Montana that changed the way I look at fall:

img_3470

I came across the layout I used here today in the current challenge from the Global Design Project challenge. I’m sneaking in under the wire but thankful to be able to play along!!

gdp058

Thank you for stopping by! I hope you have been inspired to get inky!!

Supplies:

Price: $110.00

Stampin’ Up!’s Spooky fun Halloween Treat – 30 Day Card Challenge, Day 16


Stampin Up Spooky Fun Halloween Card Ideas - Shannon Jaramillo Stampinup

Halloween has always been one of my favorite holidays; however, I am finding the older I get, the less scary and more fun Halloween needs to be!

I think this card fits that bill perfectly!

The Details:

  • Card Layers:
    • Whisper White Base cut to 4 1/4″ x 11″, scored at 5 1/2″
    • Pumpkin Pie card stock cut to 4″ x 5 1/4″ (popped up with Stampin’ Dimensionals)
    • Basic Black card stock cut to 3 3/4″ x 5″
    • Halloween Night Specialty Designer Series Paper cut to 3 1/2″ x 4 3/4″

Stampin Up Spooky Fun Halloween Card Idea - Shannon Jaramillo Stampinup


  • I LOVE these bold stripes!! So fun, cheerful, and absolutely NOT scary! I layered card stock underneath it to mimic the colors and used a quarter inch spacing between the layers to really play up the bold colors.
  • The Halloween Treat stamp set is a single set, PERFECT for treat bags and tags. Since that is the obvious use for it, I wanted to add it to a card instead. I stamped it, fussy cut it out, and popped it up onto Stampin’ Dimensionals.
  • The peeks of Halloween Night Baker’s Twine behind the sentiment are darling and really set off the double bow, attached to the project with a rolled up mini glue dot.

Stampin Up Spooky Fun Halloween Cards Ideas - Shannon Jaramillo Stampinup


  • I mimicked the colors again on the inside of the card and then used the Spooky Fun Stamp Set to add a fun (not scary) sentiment. I must say, I prefer orange spiders to black ones! Not scary at all!!
  • What do you think of the envelope liner?? Such beautiful patterns in this pack of paper!!

There you have it! Have a wonderful rest of your weekend and thank you so much for stopping by! Please let me know what you think, I SO love hearing from you!!

Supplies

Merry & Bright – The Paper Players 268

Before jumping into today’s post, I wanted to share my excitement at having my card chosen as the headliner last week with The Paper Players!! Thank you so much Nance!!

Merry & Bright - The Paper Players 268I am really enjoying the Designer Series Paper this year from Stampin’ Up!. The pattern I used for today’s card is muted yet bold, and is the perfect backdrop for the drop dead gorgeous stamped images. And yes, I used Perfect Pines again because, well…they’re PERFECT!!

A simple circle provides a nice separation from the patterned paper and allows the focus to be on the tree and the sentiment. The cross stitch is an added bonus detail 🙂

Merry & Bright - The Paper Players 268The pretty poinsettias add a nice pop of red and help balance the card. Hint: I use the MISTI to double stamp the poinsettias, resulting in a vivd stamped image.

The Paper Players sketch this week was the inspiration for my card:

pp268I found the three panels to be a challenge, I just couldn’t make the math work so I eventually just cut the panels to 1 1/4″ wide each and then trimmed them down until the fit (and matched). I’m still not sure how that worked out, but I’m glad it did!! Thank you so much for stopping by!!

Wishing you joy and blessings!

Products Used:

Cardstock: Thick Whisper White by Stampin’ Up!

Pattern Paper: Merry Moments Designer Series Paper Pack

Ink: Cherry Cobbler and Mossy Meadow by Stampin’ Up!

Stamps:  Peaceful Pines, Lots of Joy, and Wondrous Wreath by Stampin’ Up!

Dies: Peaceful Pines, Seasonal Frame Thinlit Dies, and Envelope Liner Die by Stampin’ Up!; Stitched Mats: Ovals by Lil ‘Inker.

Tools:  MISTI

Embellishments: Unknown source for red sequins