Stylized Birthday Greetings – Tic Tac Toe Challenge #3

Happy Thursday to you! Friday is just around the corner! When planning your crafty time this weekend I hope you will consider playing along with the Tic Tac Toe Challenge! I designed this week’s board so I can’t wait to see what you create with it!

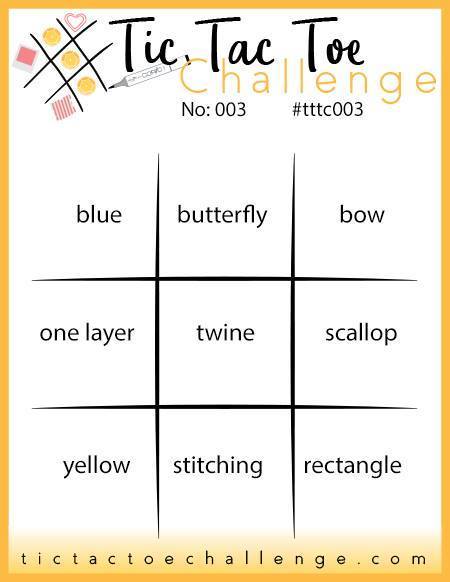
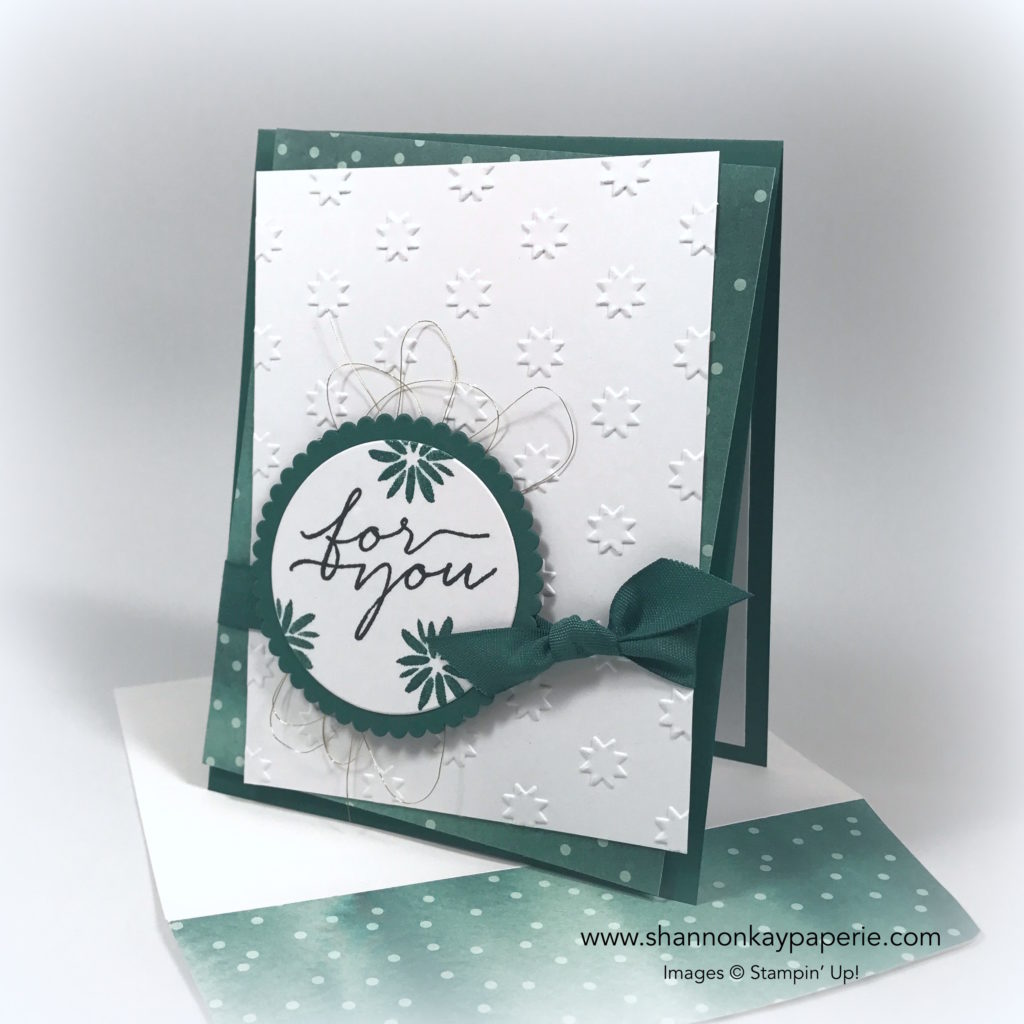
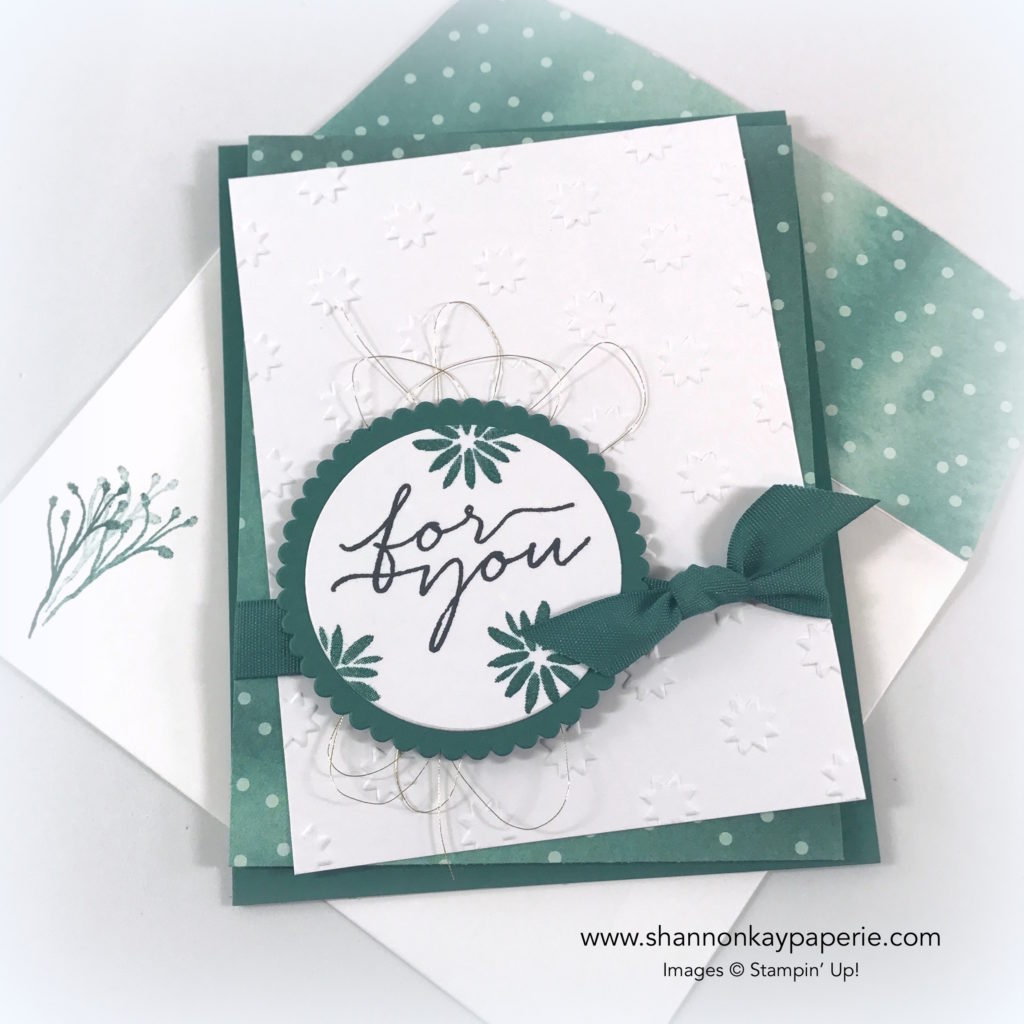
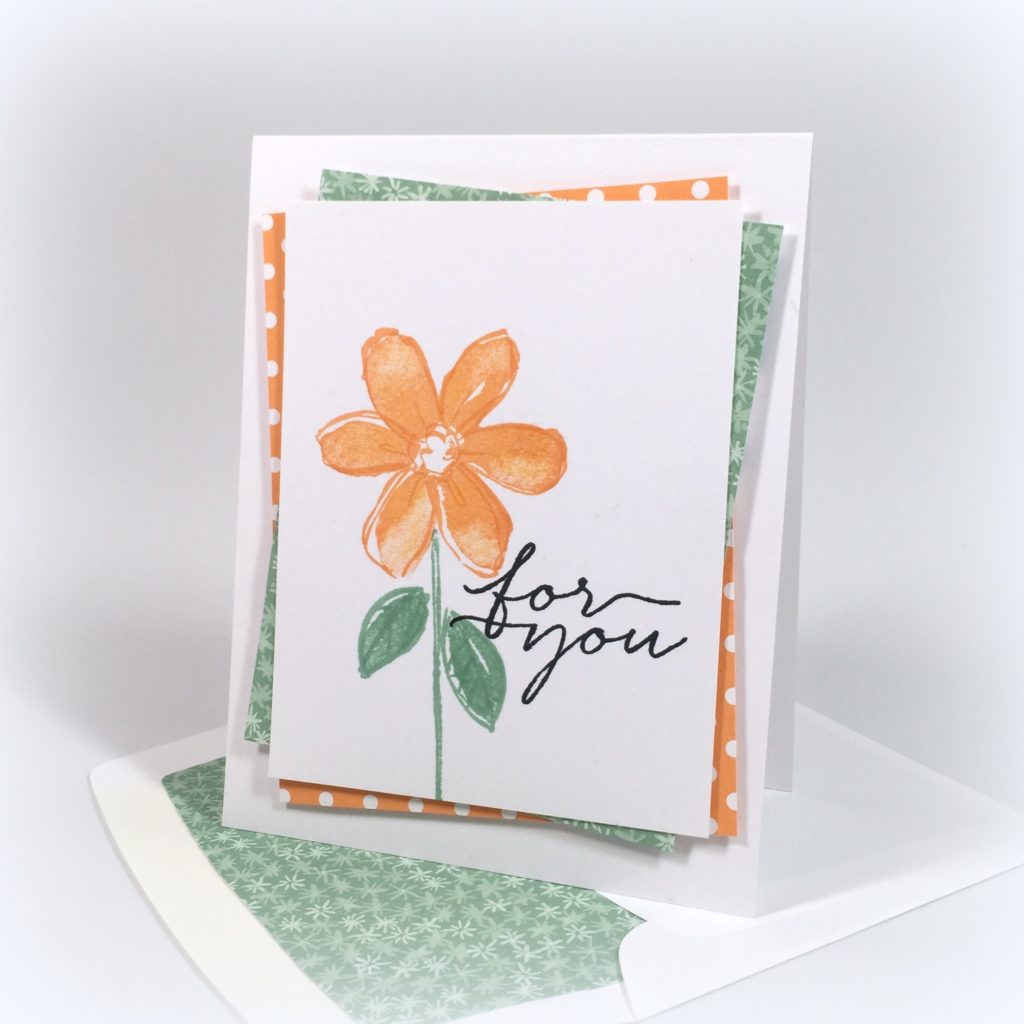
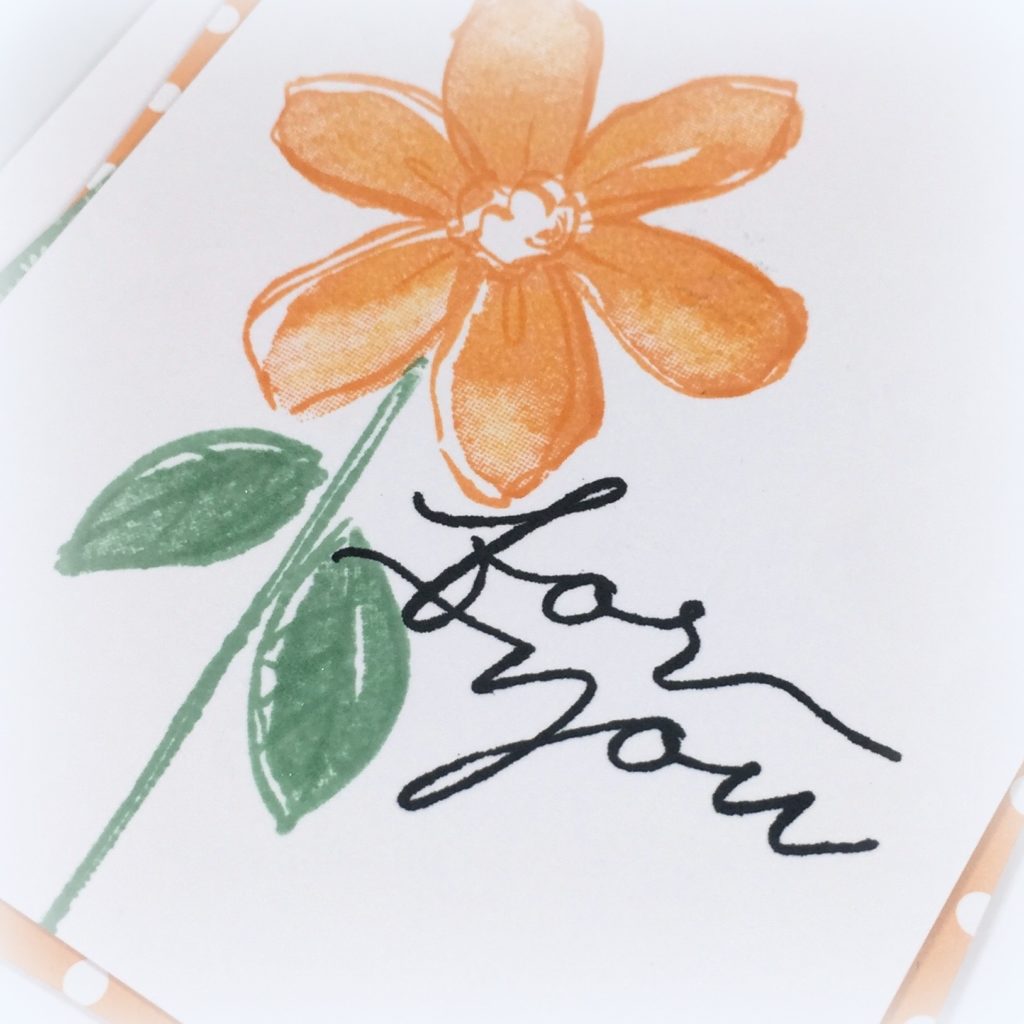
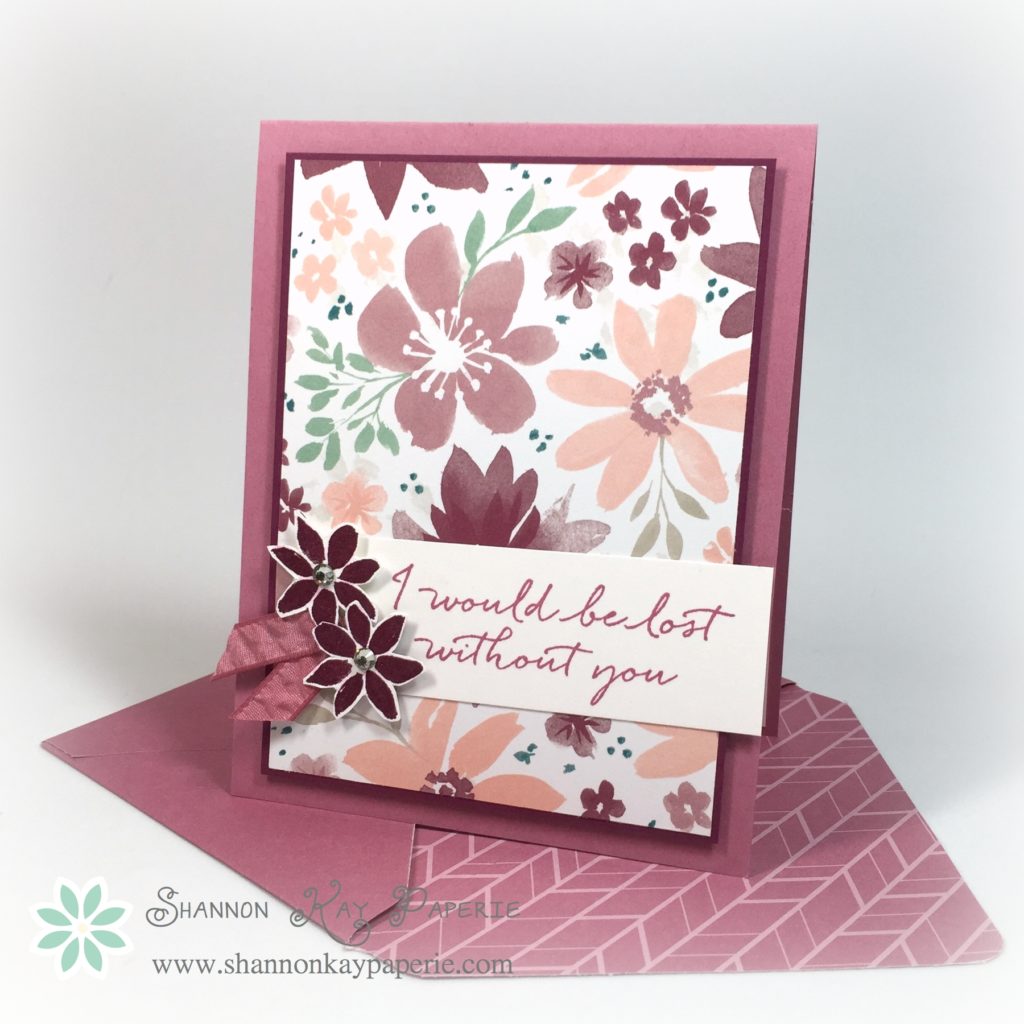
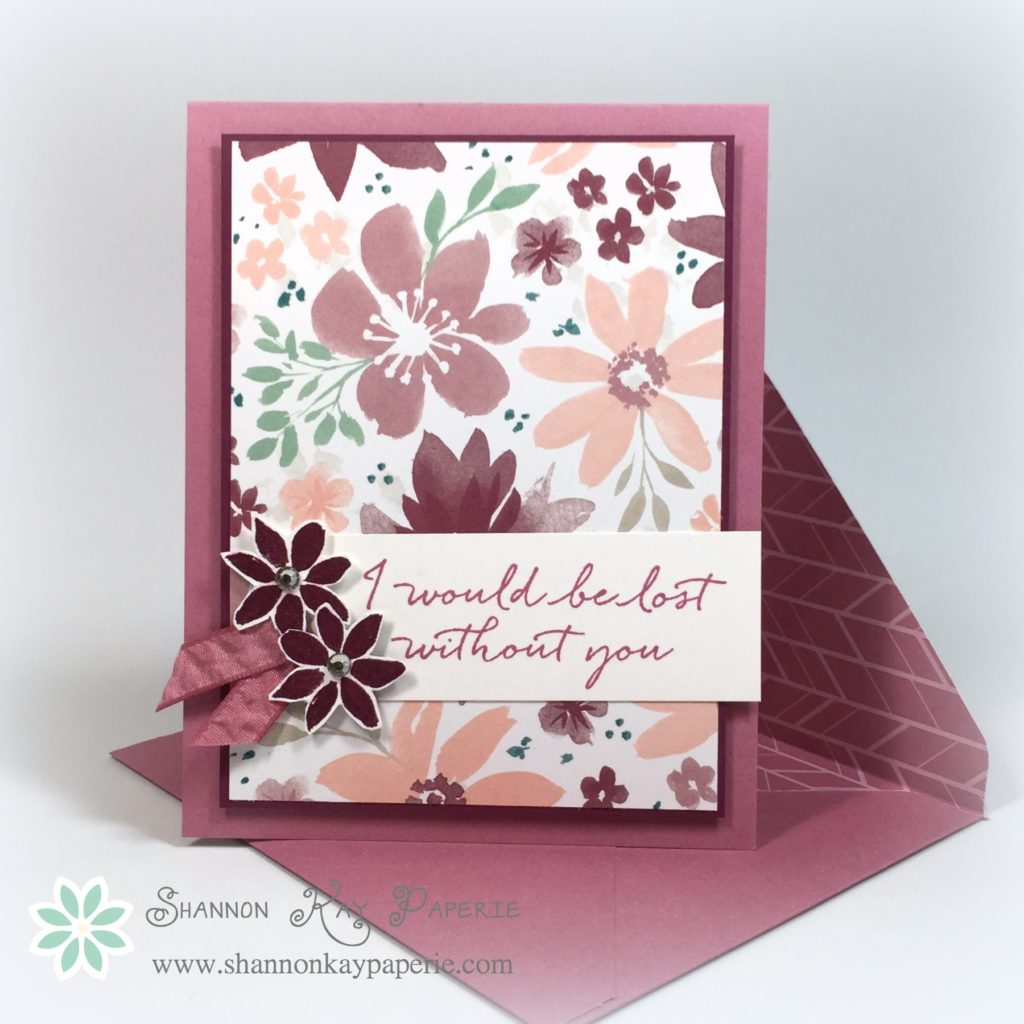
I had a hard time choosing a row because I love everything on the board! In the end I chose to use the far right column with the bow, scallop and rectangle. And here’s what I created with it:

Stampin-Up-Stylized-Birthday-Card-Idea-Shannon-Jaramillo-stampinup

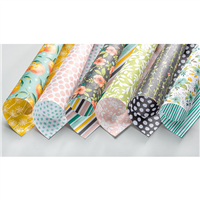
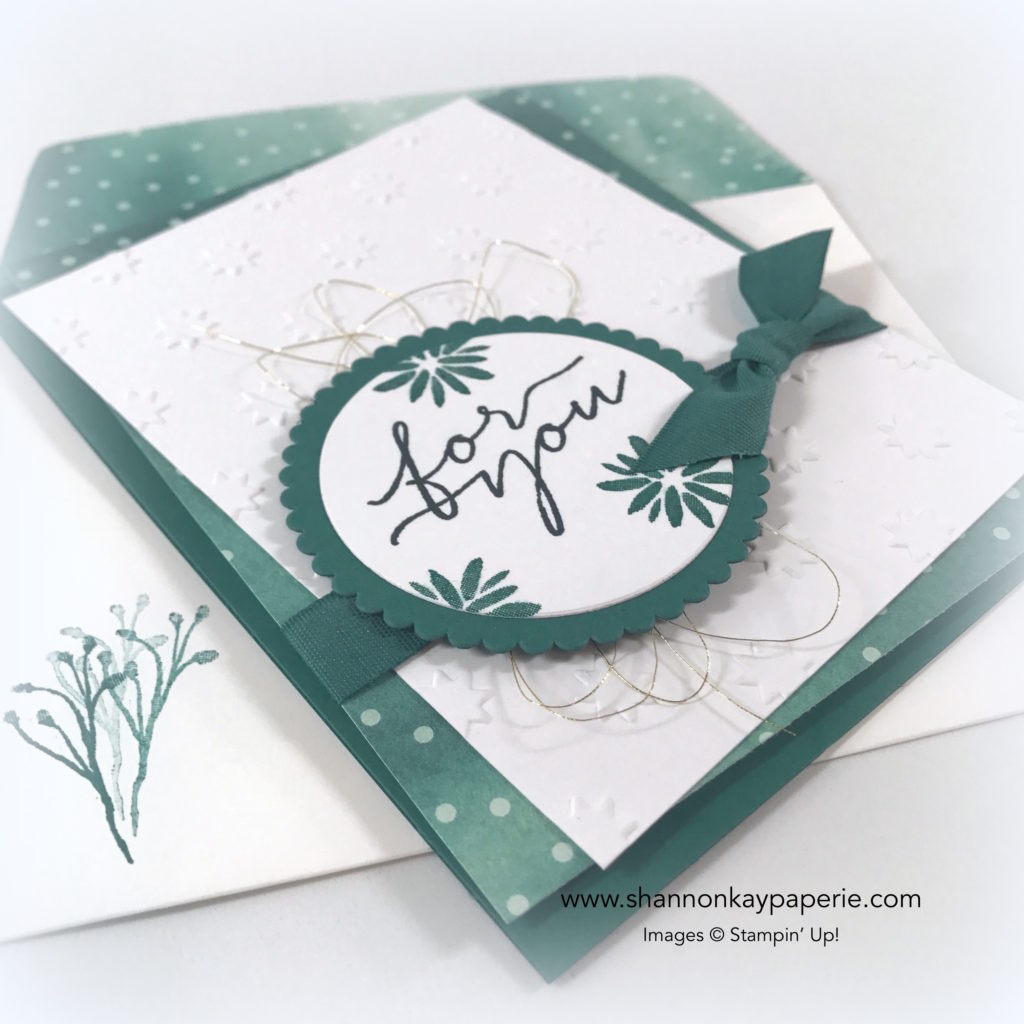
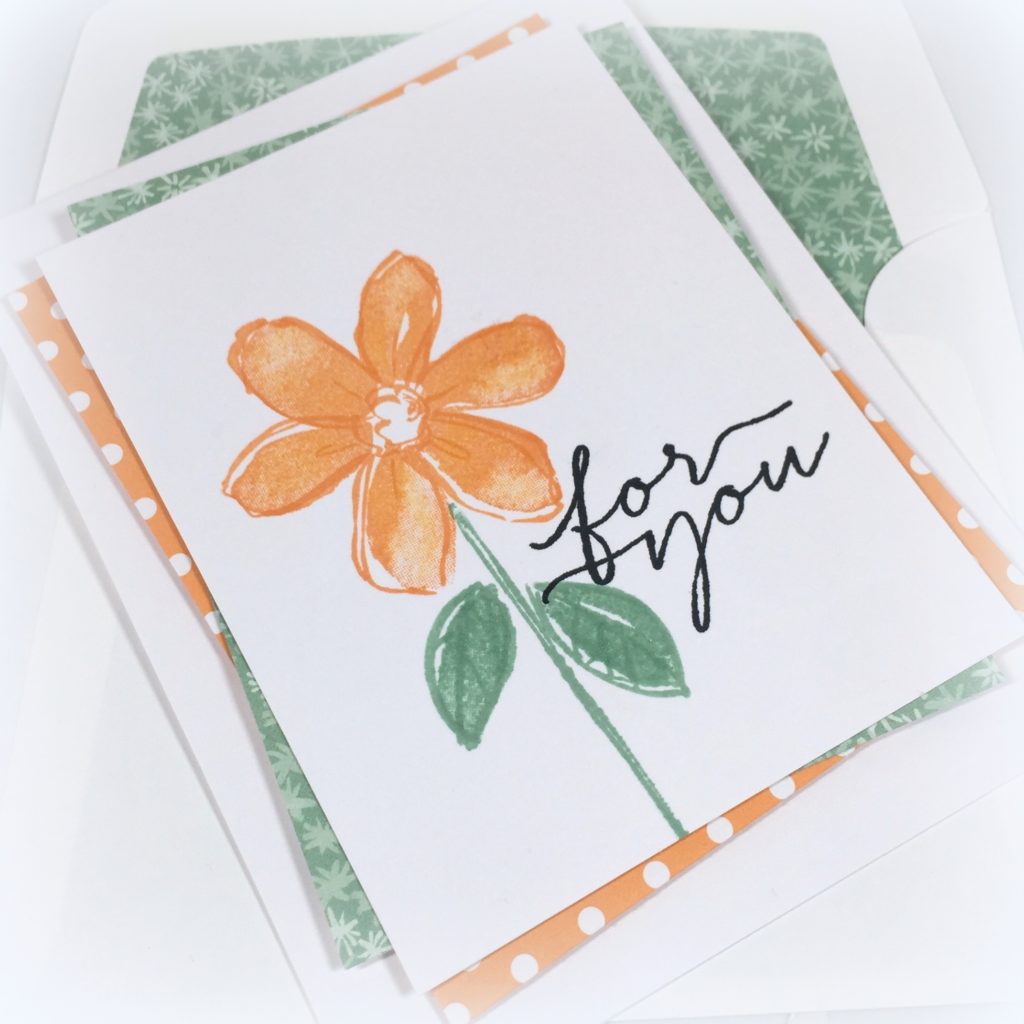
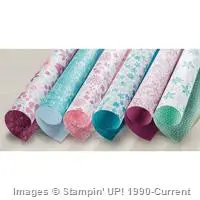
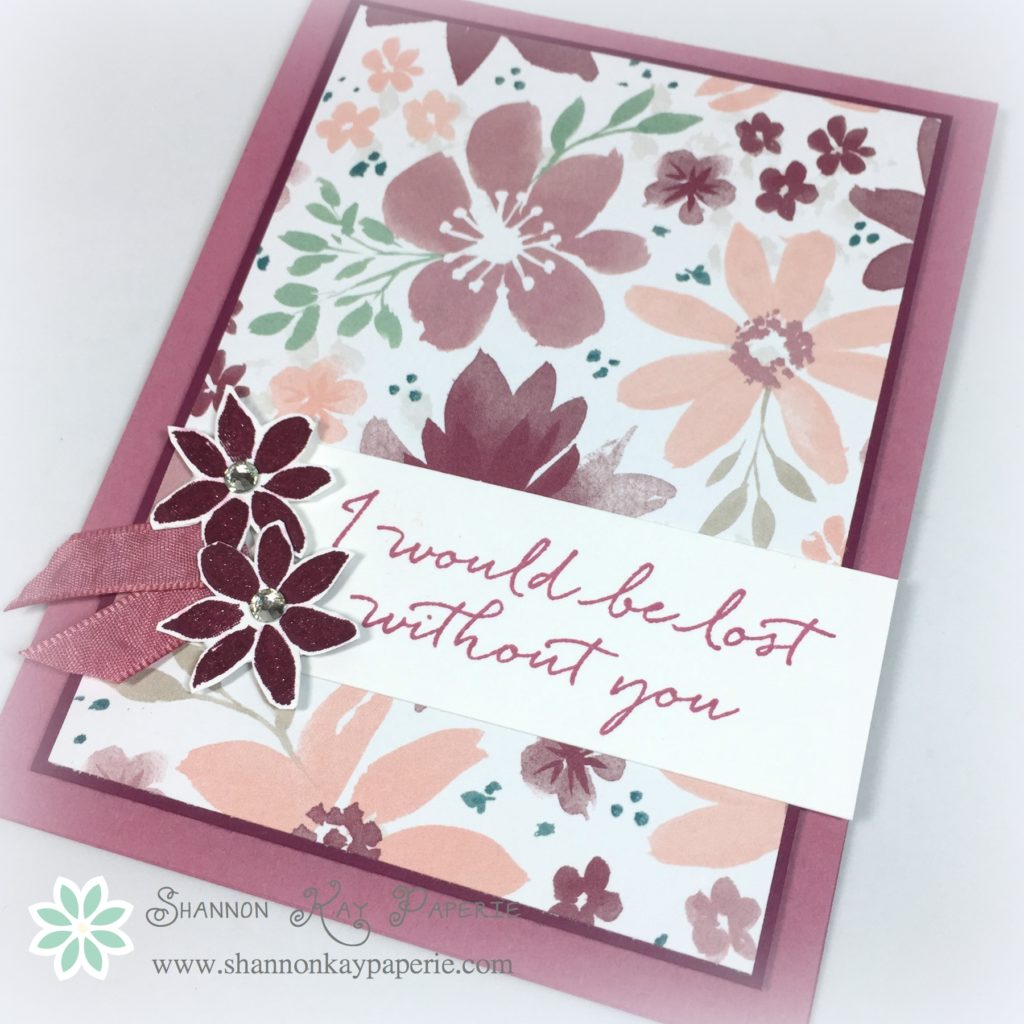
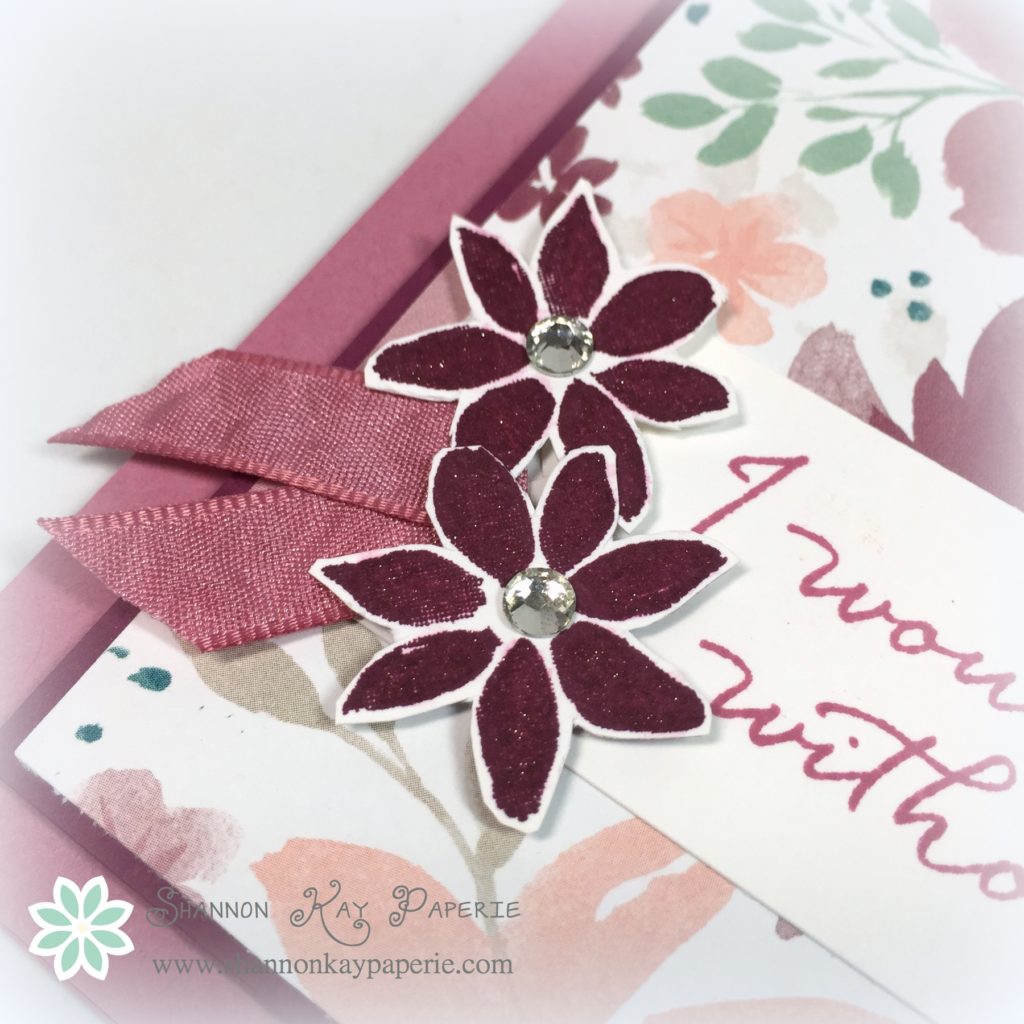
I really let the patterns from the Whole Lot of Lovely Designer Series Paper do all the heavy lifting on this super clean card!

Details:

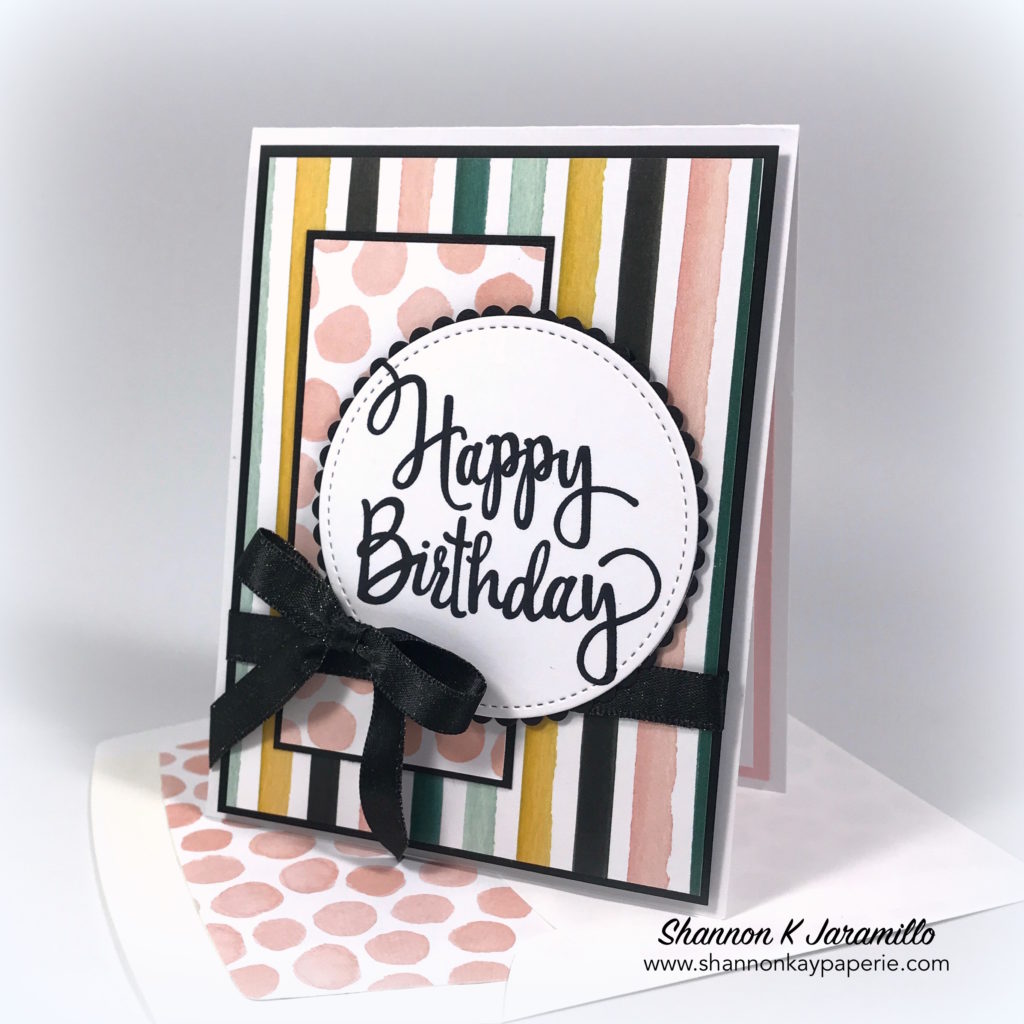
  • I jumped on my Pinterest Layouts board and quickly found a sketch with both a circle and a rectangle and then simply backed my circle with a scallop. Easy Peasy. Why reinvent the wheel?
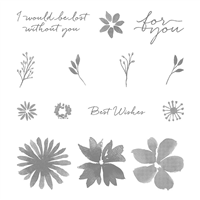
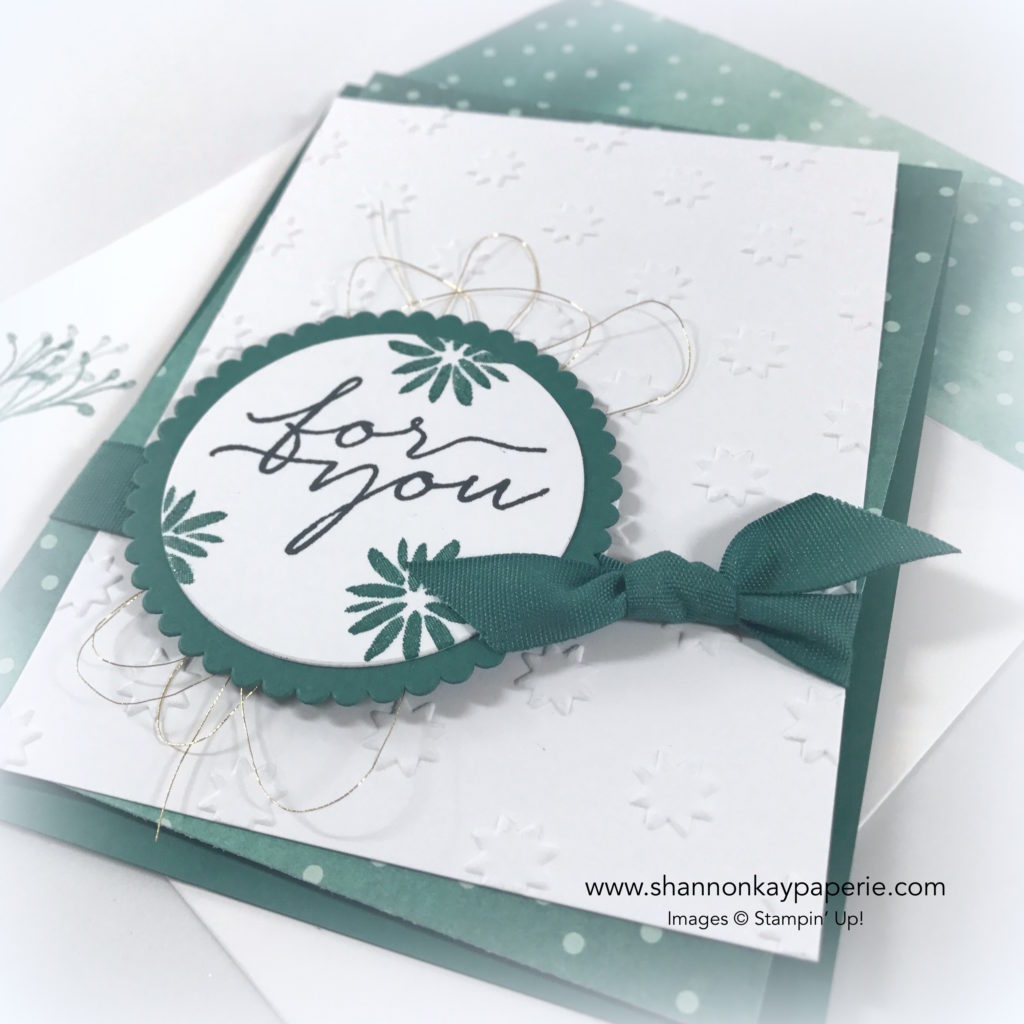
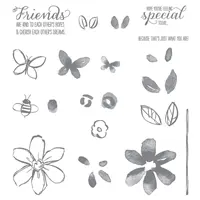
  • With such bold patterns I needed a bold stamp and Stylized Birthday fit the bill perfectly. Did you see that I snuck in another element from the board with the stitching on the circle?
  • Backing all the elements with black breaks up all of the bold patterns and makes them more pleasing to the eye

Stampin-Up-Stylized-Birthday-Card-Ideas-Shannon-Jaramillo-stampinup

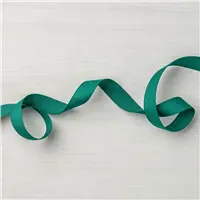
  • I used the 3/8″ Shimmer Ribbon in Pool Party on my last card and told you that it looked like it had been dipped in glitter. Here’s a close up of the same ribbon in Basic Black, can you see the sparkle? It’s so pretty in the picture here but even prettier in real life as it catches the light from the sun, so so very pretty.
  • Do you hate making bows? Do they make you crazy? Then please check out this video by fellow Pal Ann Schach. You will be making amazing bows in no time.

Stampin-Up-Stylized-Birthday-Cards-Ideas-Shannon-Jaramillo-stampinup

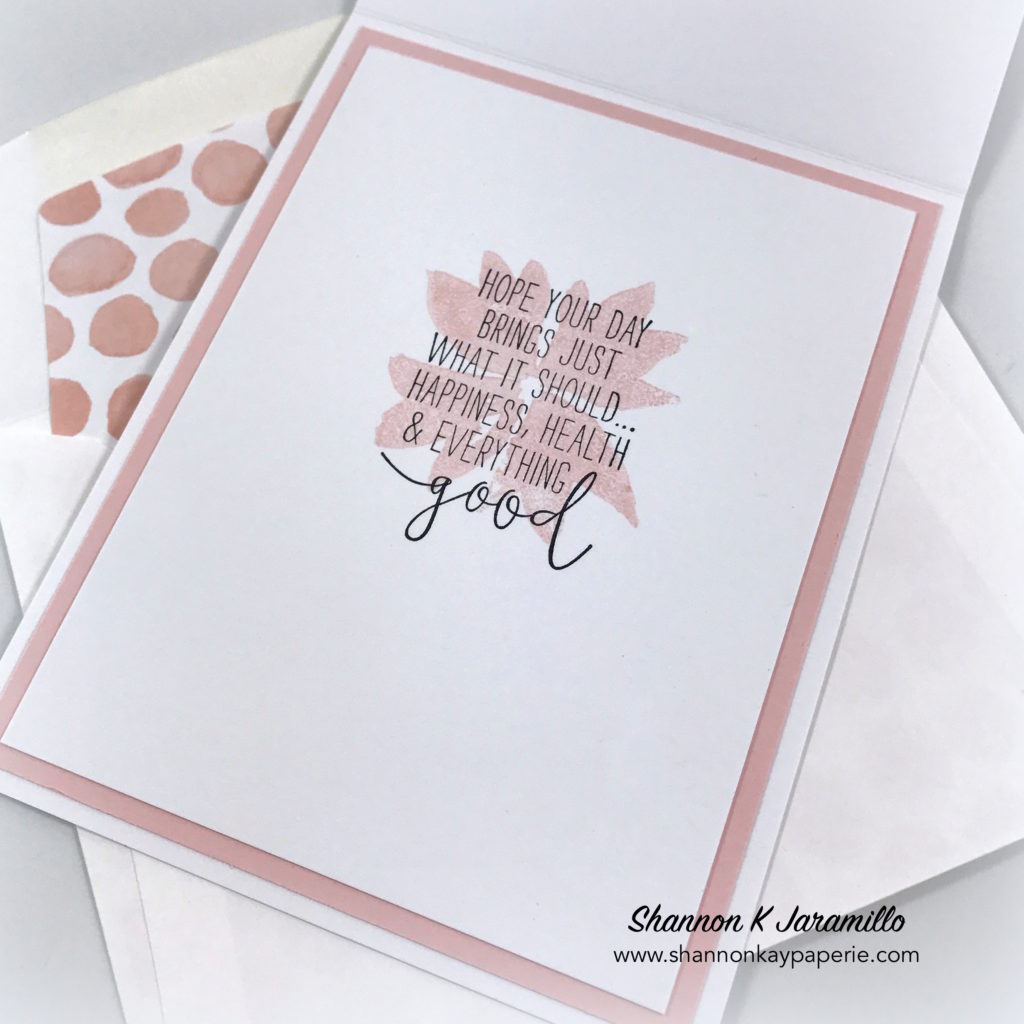
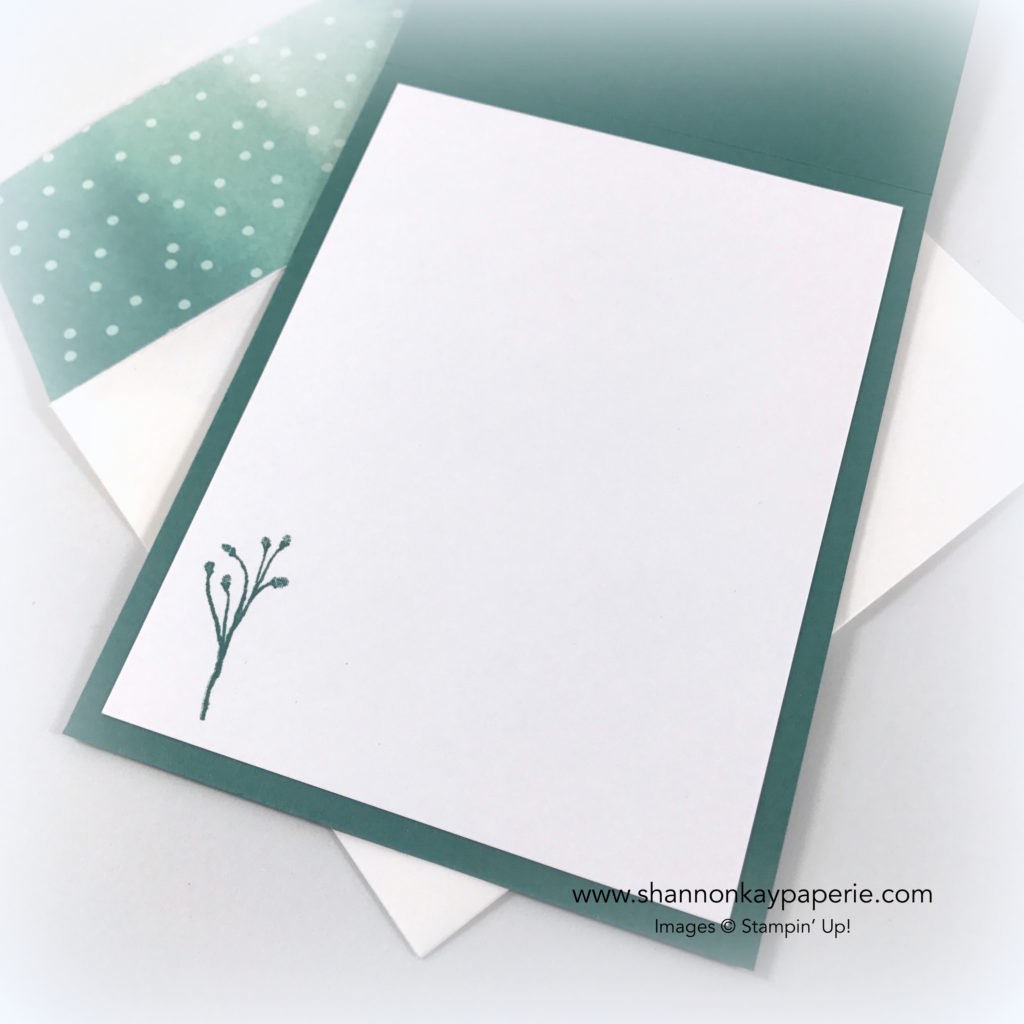
  • I added a flower stamped in Powder Pink underneath the sentiment on the inside of the card.

Please be sure to visit the Tic Tac Toe Challenge and see all of the inspiration from the rest of the design team! I hope to see you in the gallery!

Thank you for stopping by today!

Supplies:

Price: $110.00

Oh My Stars! Tranquil Tide and Other Wonders

Blooms-&-Wishes-Oh-My-Stars-Love-and-Friendship-Card-Idea-Shannon-Jaramillo-stampinup

I am really enjoying taking each of the new In-Colors for a test spin! Each time I use a new product I think it HAS to be my favorite! Until the next new product! lol

Dimensions:

  • Tranquil Tide card base cut to 4 1/4″ x 11″, scored at 5 1/2″
  • Delightful Daisy Designer Series paper cut to 4″ x 5 1/4″
  • Thick Whisper White card stock cut to 3 3/4″ x 5″

Blooms-&-Wishes-Oh-My-Stars-Love-and-Friendship-Card-Ideas-Shannon-Jaramillo-stampinup

Details:

  • I adore monochromatic cards. Choosing just one color really lets it shine. And hopefully this will give you a better idea of the rich deep color that is Tranquil Tide. In the words of Frenchie, “It’s Divoon!” (Please let me know if you get that reference :))
  • I cut the layer of Delightful Daisy Designer Series Paper to be a quarter inch larger than the Whisper White panel because I really wanted to show off the paper. And I love tilt-y angles!
  • This new Oh My Stars Embossing Folder is a great addition to my collection. The stars are a unique style and perfectly textured. A fabulous neutral backdrop for just about any stamp!

Blooms-&-Wishes-Oh-My-Stars-Love-and-Friendship-Cards-Ideas-Shannon-Jaramillo-stampinup

  • The sentiment and the floral stamps on both the sentiment layer as well as the envelope are from the Blooms & Wishes photopolymer stamp set. They are so sweet and delicate!
  • Am I getting better at my messy thread look? I hope so…practice makes perfect!

Blooms-&-Wishes-Oh-My-Stars-Love-and-Friendship-Cards-Idea-Shannon-Jaramillo-stampinup

  • And oh my ribbon!! This is a great blend to work with…and it comes in every new In-Color!

Blooms-&-Wishes-Oh-My-Stars-Love-and-Friendships-Cards-Ideas-Shannon-Jaramillo-stampinup

  • I kept the inside simple. Just one delicate stem. So sweet in this color!

Thank you for stopping by! I hope you’ve enjoyed this brief tour of Tranquil Tide!! Have a great day!!

Supplies:

My Blooming’ Garden – 30 Day Card Challenge, Day 12

**This is my second post today. Please scroll down to see Day 11 of the Card Challenge and please forgive me for posting twice as I am catching up on publishing my posts.**

Stampin Up Garden in Bloom Just Because Card Idea - Shannon Jaramillo Stampinup

Ummm, yum! I can’t STAND how darling this color combination is!! This card may look clean and simple but it actually took about two hours and lots and lots of do overs until I was happy with the outcome, but man oh man am I happy with it! Worth every piece of card stock!!

The Details:

  • Base is Thick Whisper White card stock, cut at 4 1/4″ x 11″and scored at 5 1/2″
  • The Peekaboo Peach Designer Series paper is from the 2016-2018 In Color Designer Series Paper Stack and is cut to 3 5/8″ x 4 5/8″
  • The Mint Macaroon Designer Series Paper is from the Blooms & Bliss Designer Series Paper and is cut to 3 1/2″ x 4 1/2″
  • The top layer is Thick Whisper White, cut to 3 1/2″ x 4 1/2″
  • I felt that the Peekaboo Peach layer didn’t have quite enough impact, so I trimmed it to a slightly larger size than the other two layers

Stampin Up Garden in Bloom Just Because Cards Ideas - Shannon Jaramillo Stampinup

  • This darling flower is from another 3 layer stamp set called Garden in Bloom. I only used 2 layers though, the outline and the filler. I tried adding in the detail stamp but it just didn’t work for me today, so I left it out on both the flower and the leaves
  • This color combination of Peekaboo Peach and mint Macaron just blows me away…I LOVE it!!! I started with Pear Pizzazz but it wasn’t working for me either. Did I mention I stamped this a zillion times before I was happy?
  • The sentiment is from Blooms & Wishes. This is the stamp set I started out with but just couldn’t make the flowers work for me today…so I changed the flowers but kept the sentiment. LOVE the font!!

Stampin Up Garden in Bloom Just Because Cards Idea - Shannon Jaramillo Stampinup

  • I tried adding Enamel Shapes. I tried adding Pearls. I tried adding Rhinestones. Nope. In the end I used only Wink of Stella. The card shimmers SO prettily! I wish I could capture it with my camera!

Super clean and simple. Super cheerful. I’m in love with the colors…what do yo think?

Supplies:

Blooms, Bliss, and Wishes!

Blooms & Bliss

The Blooms and Bliss Suite of products in the new Stampin’ Up! annual catalog are amazing. The colors and flowers are so soft and whimsical and are a favorite new product of mine! If you would like to browse the catalog on-line, please follow this link. If you would like to turn the actual pages of the catalog (much better IMO), please shoot me an email with your snail mail address and I will get one right out to you.

Blooms & Bliss

The Details:

  • Let the beautiful paper do the work for you! I began with a 8 1/2″ x 5 1/2″ card base in new new Sweet Sugarplum card stock (Isn’t it yummy?!?), scored at 5 1/2″ and then added a layer of Rich Razzleberry card stock cut to 5″ x 3 3/4″. I just wanted a peek of the Rich Razzleberry showing, show I trimmed  4 7/8″ x 3 5/8″ piece of the new Blooms & Bliss Designer Series Paper to layer on top.
  • Simple is always good. I trimmed a 3 1/2″ x 1 1/4″ piece of Thick Whisper White card stock and used Sweet Sugarplum ink to stamp this sentiment from the (also new) Blooms & Wishes stamp set. I used my Banner Punch to quickly add a banner to the left end and adhered it to my DSP layer with SNAIL.

Blooms & Bliss

  • Sparkling embellishments! I stamped this tiny bloom from the Blooms & Wishes Stamp Set in Rich Razzleberry and quickly snipped the flowers out with my paper snips. I added a Stampin’ Dimensional to the back of each and adhered both of them to the end of my sentiment banner (promptly covering up the effect of the banner…oh well!). Once adhered, I added a simple Rhinestone Basic Jewel to the center of each and added more sparkle with the Wink of Stella Glitter Brush. I snipped off a short length of the coordinating 3/8″ Ruched Ribbon, folded it in half and adhered it to itself with a glue dot, added a glue dot to the back and slipped it under the flowers!

Blooms & Bliss

  • I was very sad to see the Envelope Liner Dies retire. But…Stampin’ Up! has come out with packs of the thin envelope paper in the beautiful 2015-17 and 2016-18 In-Colors so I added them both to my first order. I used the Envelope Punch Board to quickly create a perfectly coordinated envelope! A great feature of this new envelope paper is that there is pattern paper on one side and solid color on the other, perfect for a easily addressed envelope with a pretty liner!

I truly, truly am very excited with all of the new products and look forward to sharing them with you!

Thank you for stopping by today!