Blue Skies Ahead

Fun-Stampers-Journey-Blue-Skies-Ahead-Graduation-Card-Idea-Shannon-Jaramillo-funstampersjourney-2

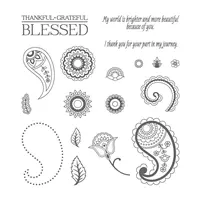
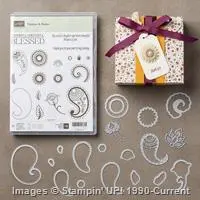
Hello again my crafty friends! It’s both the end of the FSJ catalog year (June 30th) and the lead up into the new catalog year (July 1st!) and the week after convention so I have SO much to share! In my efforts to create swaps for convention as well as reorganize my craft space I have not had a chance to play with many of products in the current Trends Mini Catalog, which is a shame as it has some absolutely darling products in it! One of my favorite stamp sets in the mini is called Blue Skies. It features the Blue Skies stamp set, the Blue Skies die set, and of course the Blue Skies Bundle which is both the stamp set and the die set at a savings of 10%! Yep, we love bundles!!

Measurements:

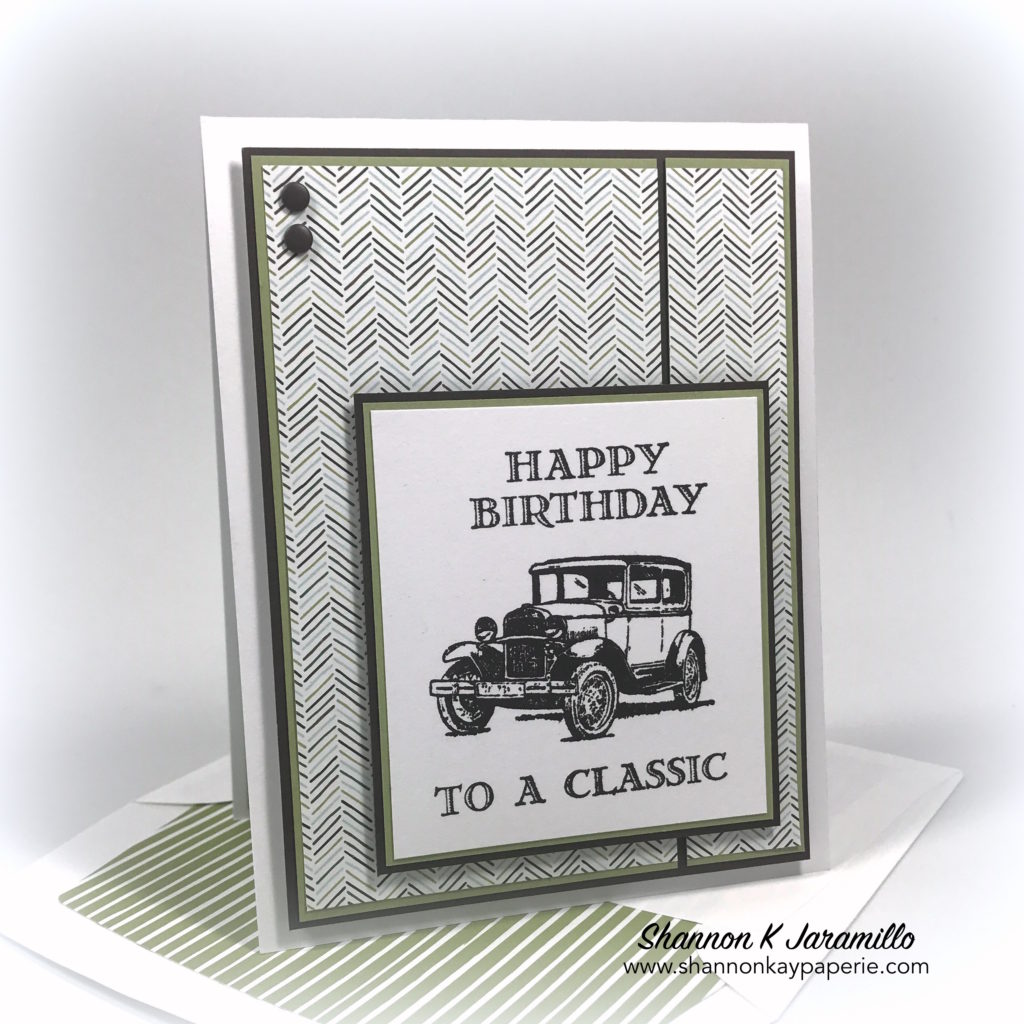
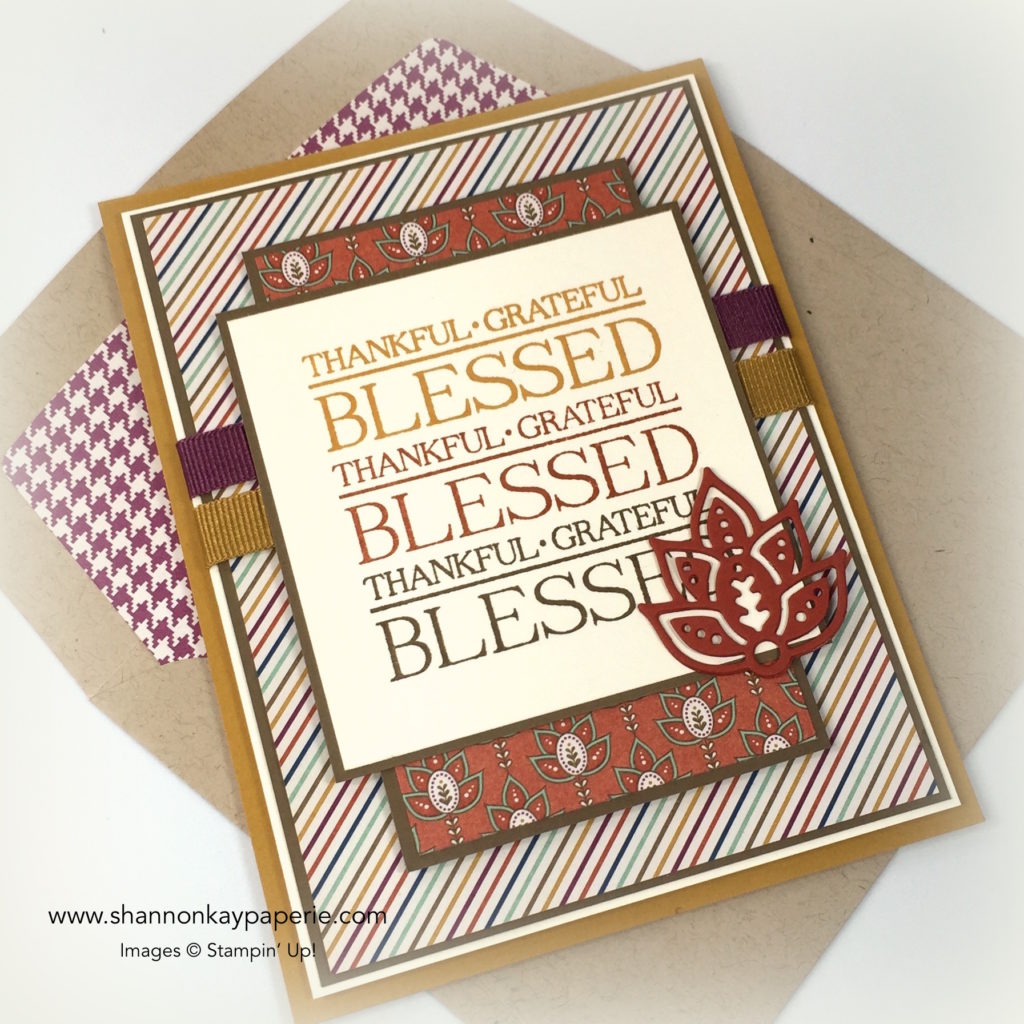
  • Card Base 4 1/2″ x 11″, scored at 5 1/2″
  • Stamped Image Layer 4″ x 5 1/4″

Details:

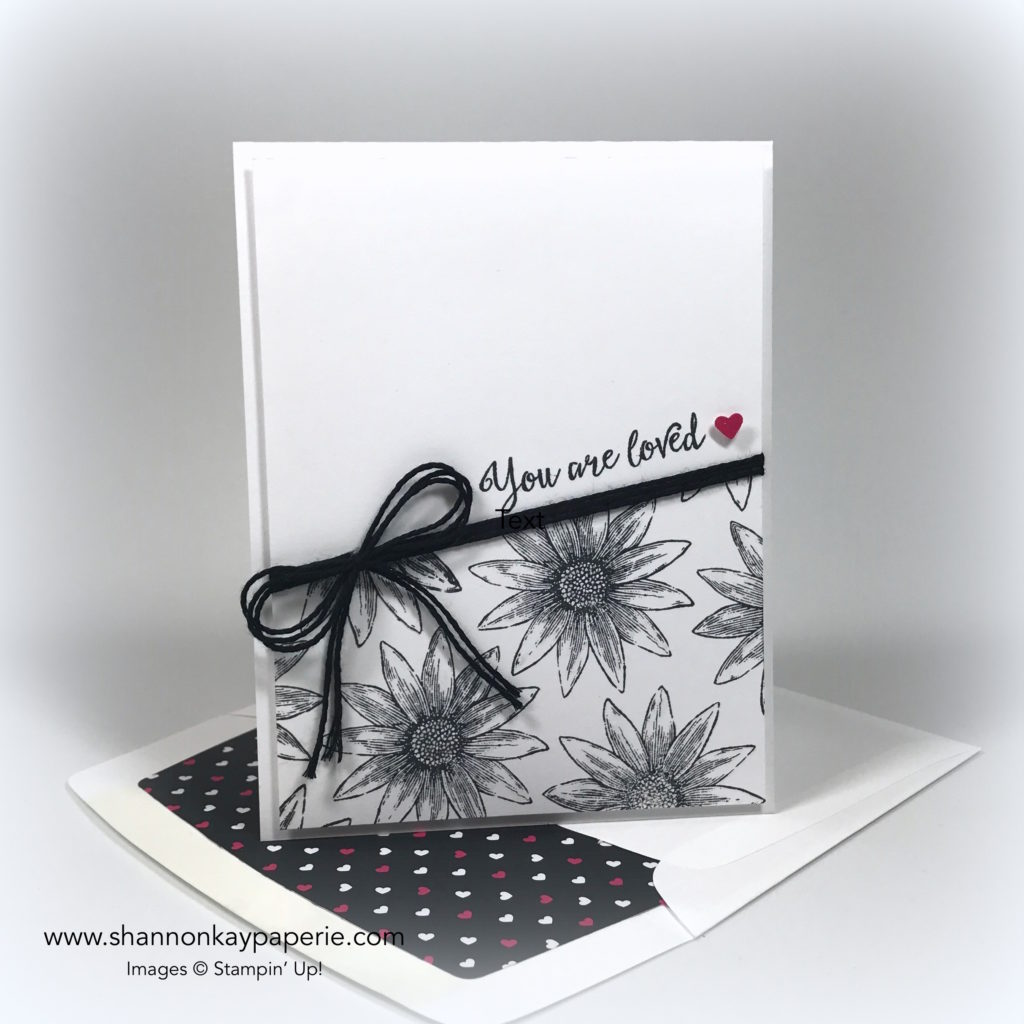
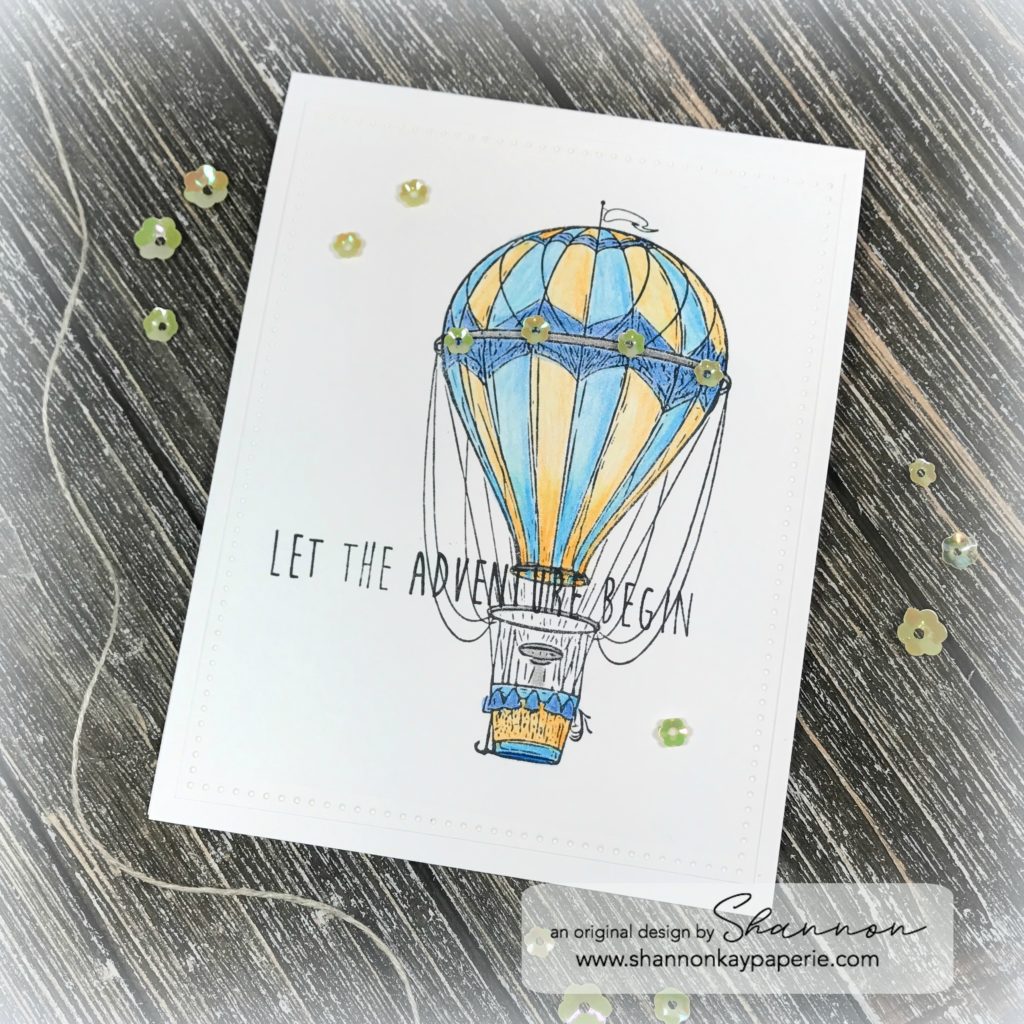
  • I wanted the focus of this card to be the gorgeous balloon stamp so I used a Whip Cream card base and then used the 5″ x 3 7/8″ Journey Rectangle Die to add a fun pierced edge to my stamped layer.
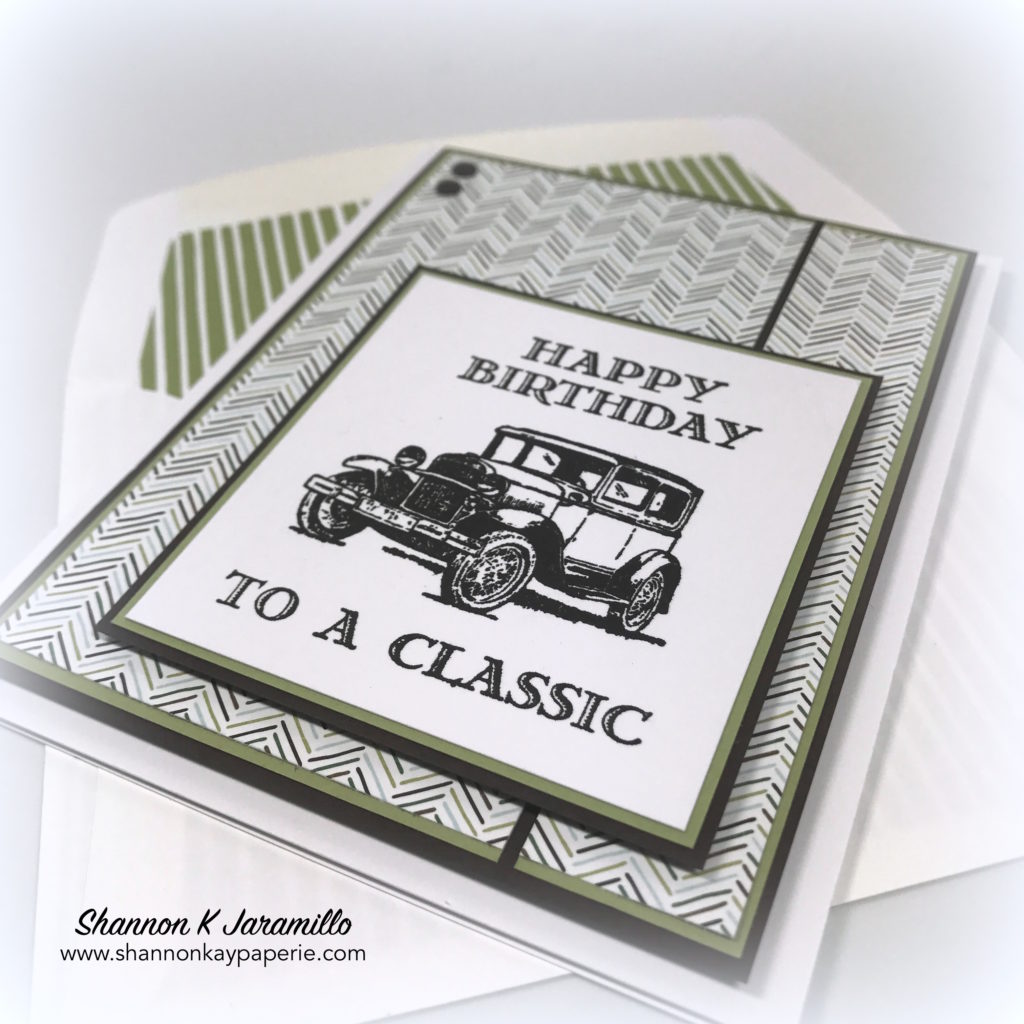
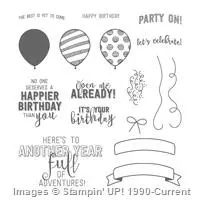
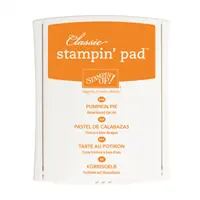
  • I stamped the balloon from the Blue Skies stamp set using Black Licorice True Color Fusion Ink Pad. The beauty of this ink pad, besides it’s nice vivid stamped color, is that it will work on any surface, including paper, wood, fabric, and acrylic, and becomes permanent when heat-set on non-paper materials. So no smearing or remembering which black ink pad to use with which coloring medium – you just need this one pad!
  • The coloring was done in a beautiful palette of colors from a challenge I was participating in, and colored with the Color Burst Colored Pencils. These colored pencils come in a metal tin, are numbered, and have all of the color combinations needed for matching all of the awesome FSJ colors! So cool!!

Journey-Color-Burst-Pencils-FSJ-Fun-Stampers-Journey-Shannon-Jaramillo-Colored-Pencils

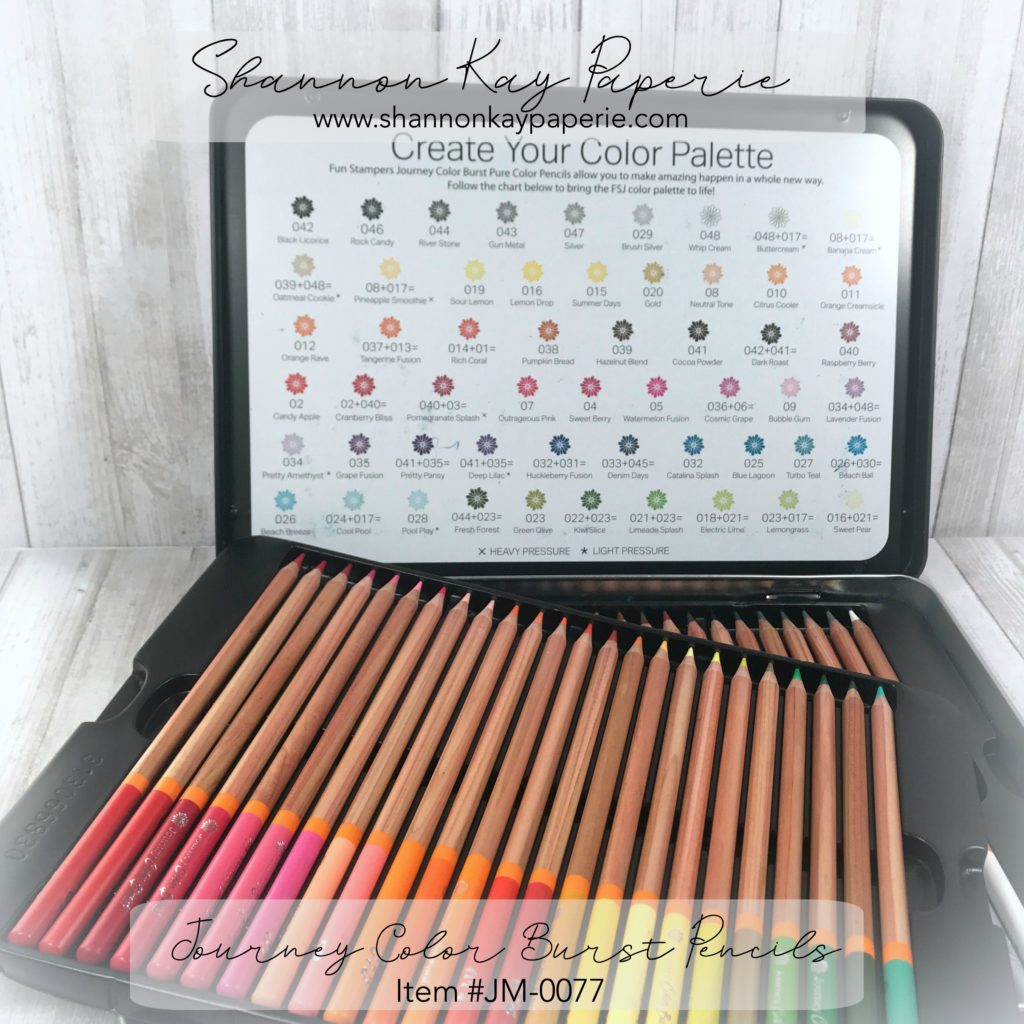
  • Now, I’m a novice colorer, but I am really pleased with how this turned out. I had some help from the Color Burst Blenders – they really did a great job of smoothly out those coloring lines!

Fun-Stampers-Journey-Blue-Skies-Ahead-Graduation-Card-Ideas-Shannon-Jaramillo-funstampersjourney

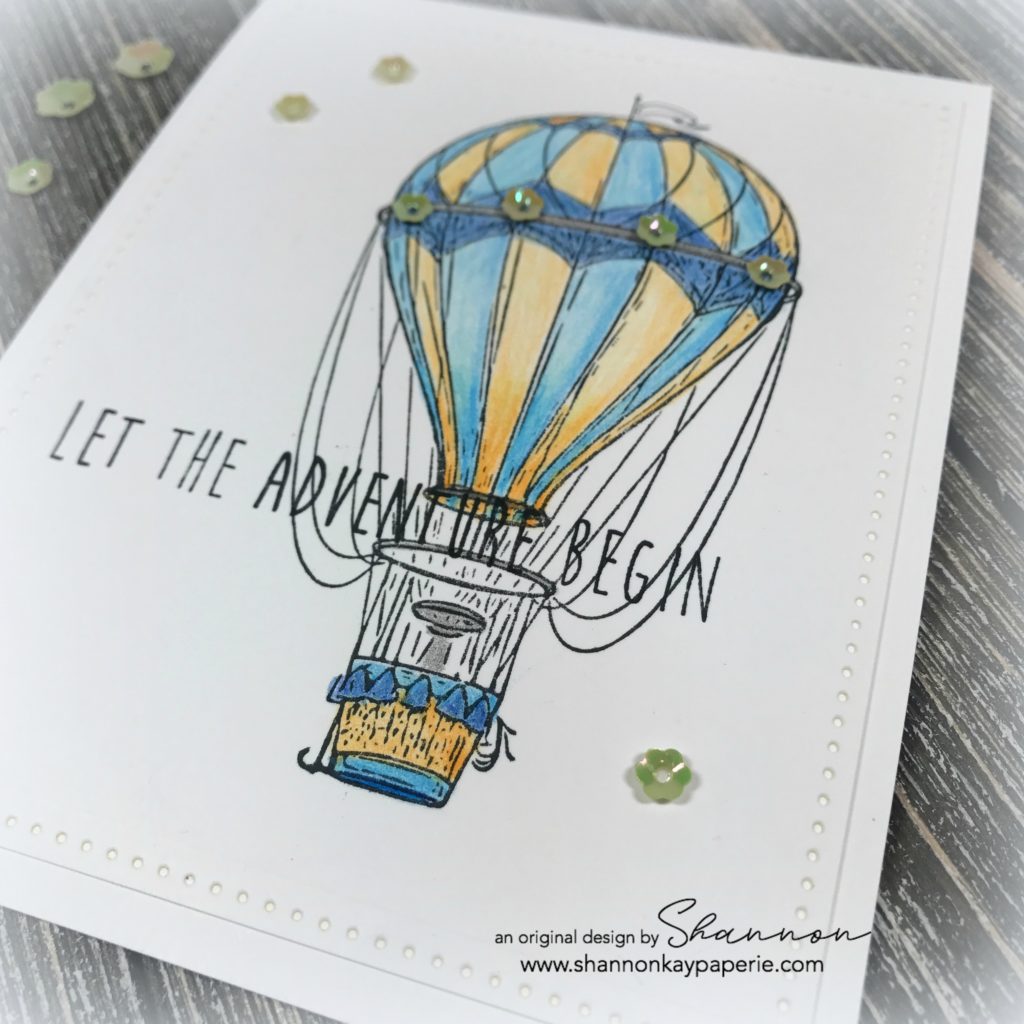
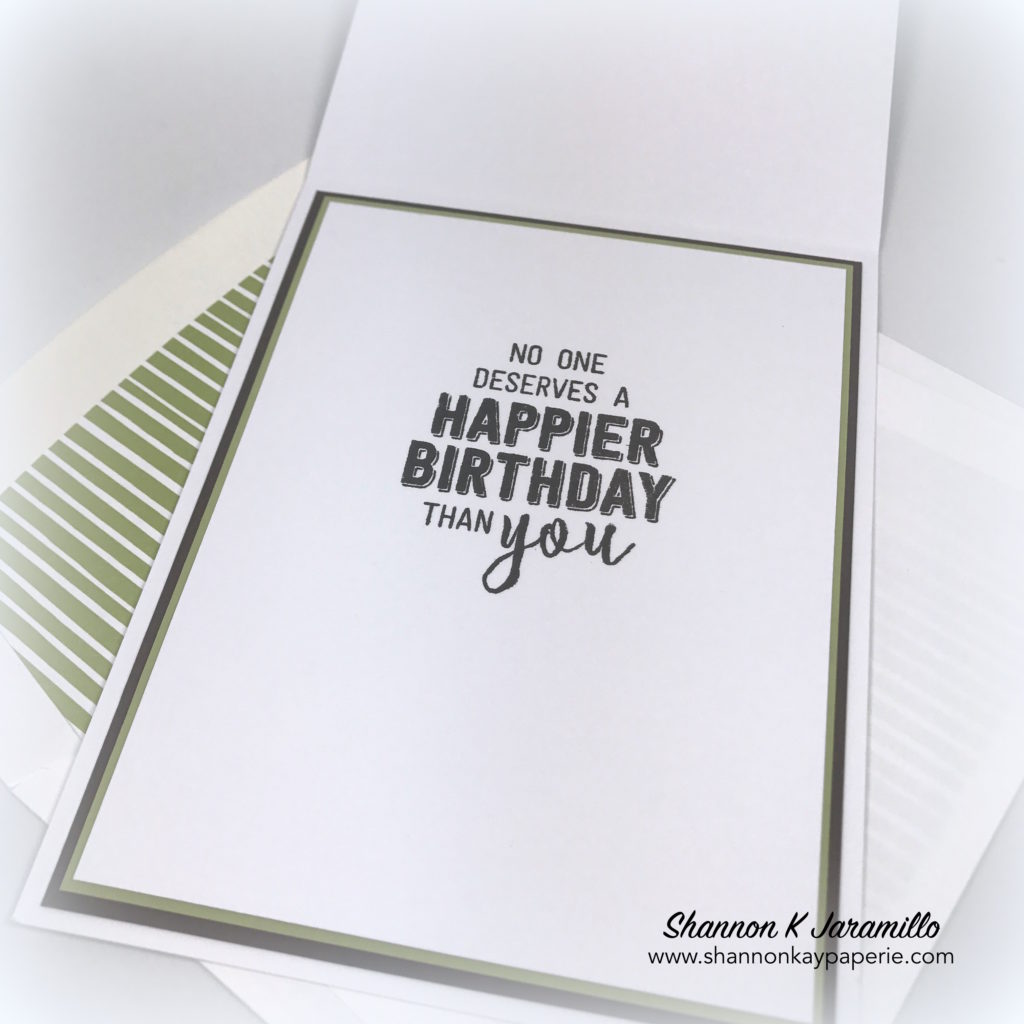
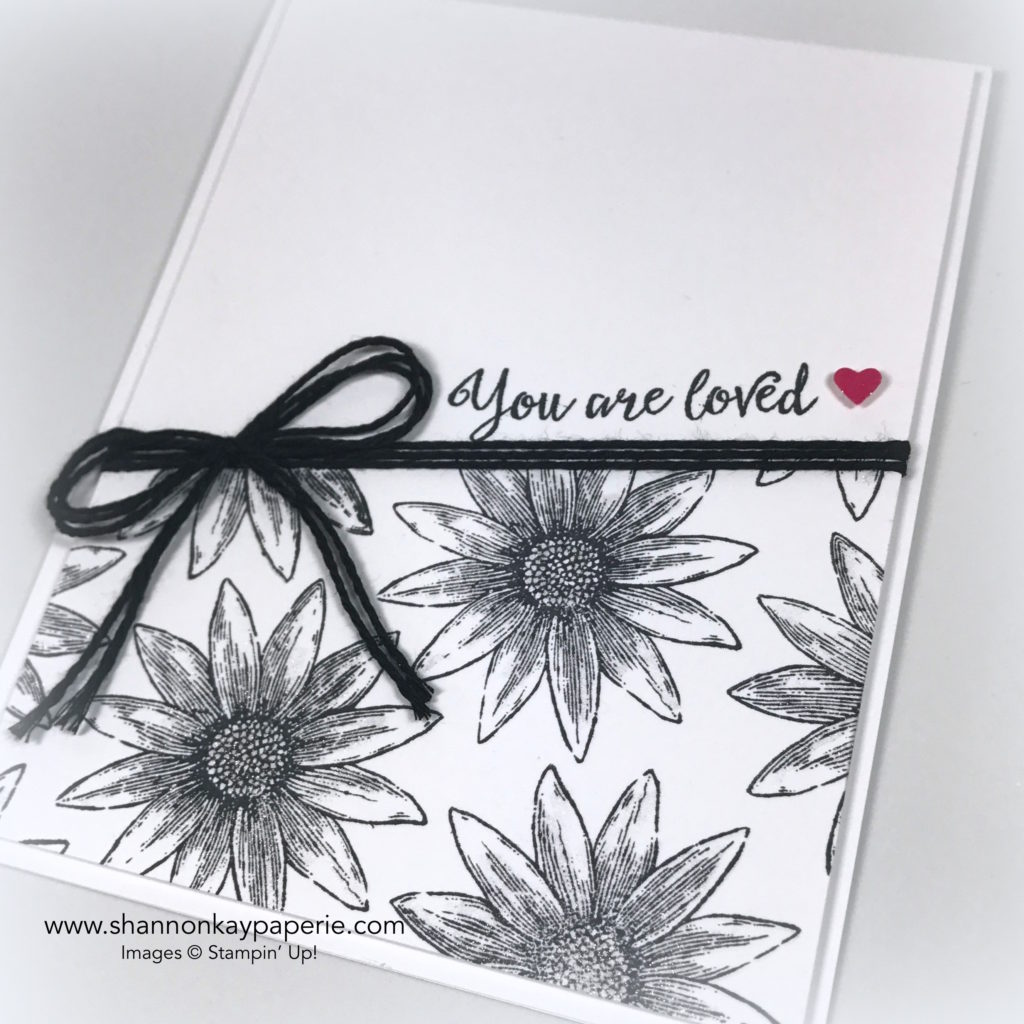
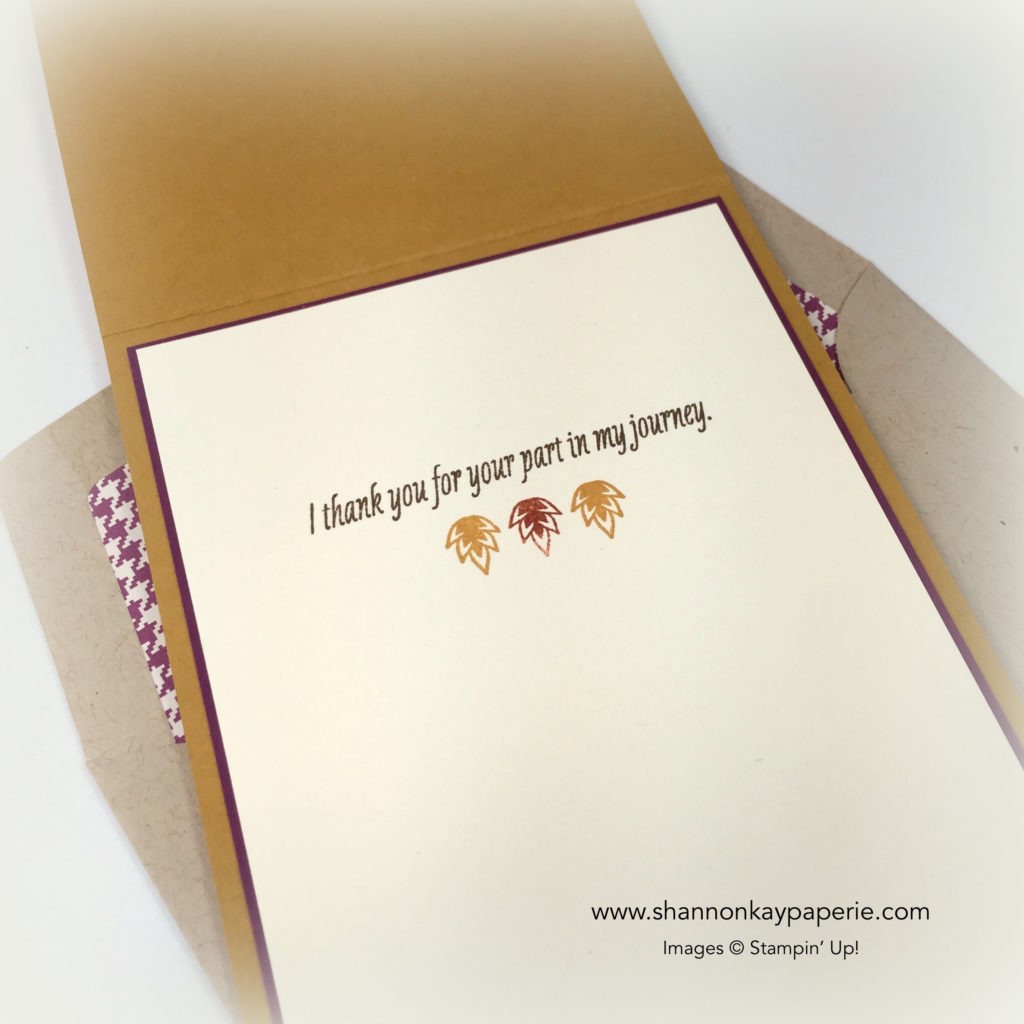
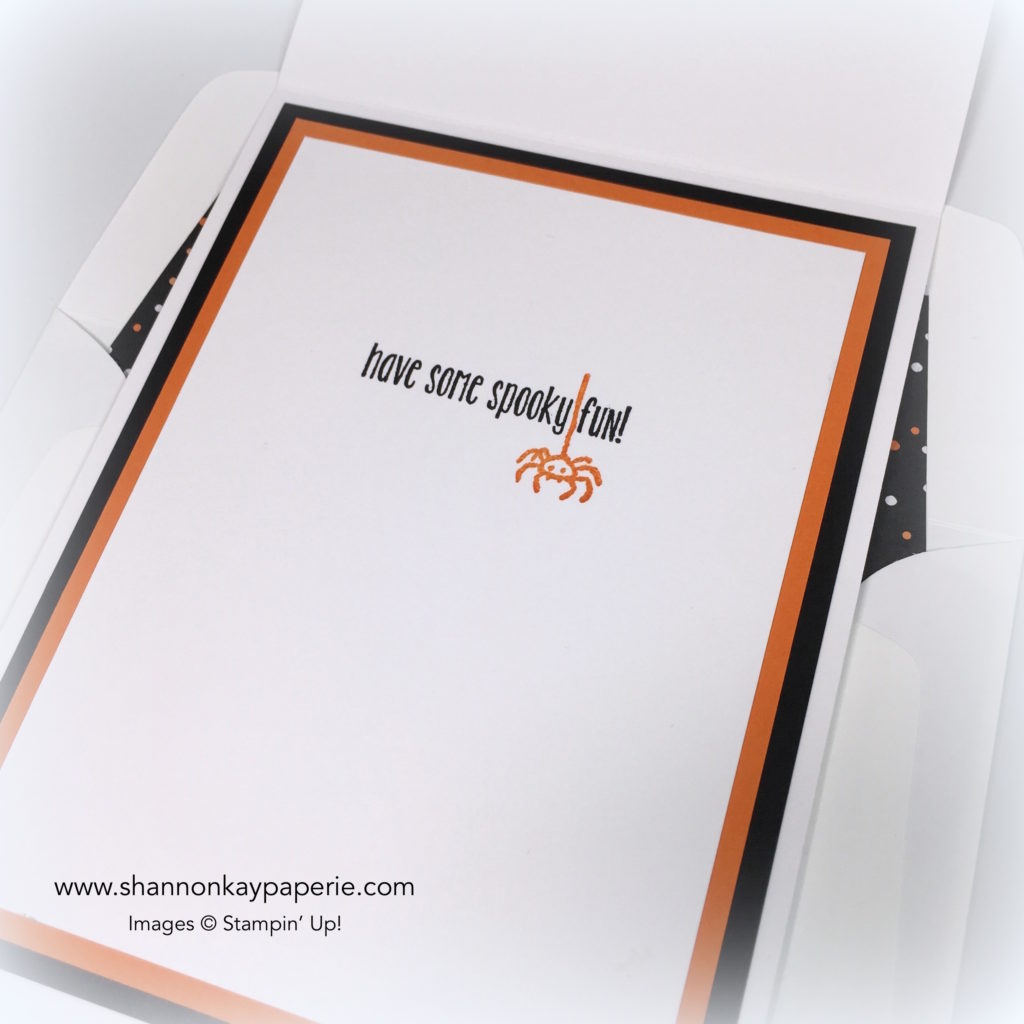
  • If you will notice, I offset the balloon stamp a bit to the right on my card stock panel to leave room for a sentiment. At some point during the creation of this card, I decided this would be a wonderful graduation card for my niece, who was graduating from college (so proud of her) so I pulled out the Begin Adventure ATS stamp and inked up this darling sentiment. Isn’t it just perfect for a graduation card? I love it and can’t wait to see where her adventure takes her! I offset the sentiment image to the left to balance my card out. Can you tell that the word ‘adventure’ in the sentiment is a bit bolder than the other words? I LOVE that extra touch!!!
  • And Of course I needed to add sparkle to my card in the form of Journey Sequins Bloom Time. But once I added my traditional 3 sequins, I went crazy and added more to the balloon – so pretty!
  • DON’T WAIT if you love this bundle! It will only be available through THIS Saturday, June 30th!!
  • The Inking the Way Journey Coach challenge was the inspiration for my colors today – so beautiful! I needed to use at least three of the colors so I focused on Huckleberry Fusion, Beach Ball and Summer Days 🙂

REMEMBER, if you would like to receive the NEW and AWESOME 2018-19 Fun Stampers Journey catalog, please email me with your address information! If you contact me by June 30th, I will send the catalog to you AT NO COST TO YOU. On July 1st, I will still be sending the catalogs free, but will be collecting a shipping charge of just $7.00.

Thank you so much for visiting my little blog and I hope to see you back! Don’t forget to subscribe so you can get peeks of amazing FSJ product delivered right to your in box!

Supplies: (All Fun Stampers Journey products unless noted differently below)

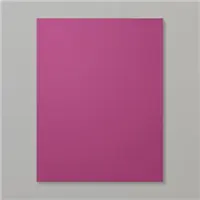
Card Stock: Whip Cream

Printed Paper: None

Ink: Black Licorice 

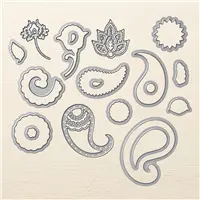
Stamps: Blue Skies Stamp Set, Blue Skies Bundle, Begin Adventure

Dies:  Journey Rectangles Die Set

Tools: Journey Blooms Paper Trimmer

Embellishments: Journey Sequins Bloom Time

Other: None

Happy Birthday to a Classic

Stampin-Up-Guy-Greetings-Masculine-Birthday-Card-Idea-Shannon-Jaramillo-stampinup

Today I wanted to share this fun birthday card I whipped up. Masculine cards can be tough but Stampin’ Up!’s new Coffee Break Designer Series Paper made this one easy!

Dimensions:

  • Thick Whisper White card base cut to 4 1/4″ x 11″, scored at 5 1/2″
  • Early Espresso card stock cut to 3 7/8″ x 5 1/8″
  • Pear Pizzazz card stock cut to 3 3/4″ x 5″
  • Coffee Break Designer Series Paper cut to 3 5/8″ x 4 7/8″
  • Early Espresso card stock cut to 2 15/16″ x 3 3/16″
  • Pear Pizzazz card stock cut to 2 7/8″ x 3 1/16″
  • Thick Whisper White card stock cut to 2 3/4″ x 3″

Stampin-Up-Guy-Greetings-Masculine-Birthday-Card-Ideas-Shannon-Jaramillo-stampinup

Details:

  • Guy Greetings is the star of this card! What a fantastic combination of fonts and images! Stamped here in Early Espresso they are the essence of cool and sophisticated. I used my MISTI to align the images and then used my Stampin’ Trimmer to trim the card stock down. I provided the dimensions for you, but really I just eye balled it to whatever looked good.
  • Coffee Break Designer Series paper isn’t just for coffee! The colors and clean lines lend themselves perfectly to any number of masculine themed cards! And you know I love to line my envelopes…isn’t the striped pattern of the envelope liner the perfect compliment to the card? Love it!
  • The combination of whites in the sentiment panel, the background of the designer series paper and then the card base keep the design of the card light and fresh.
  • I reached for my enamel shapes to tuck a few in the upper left hand corner, but alas, they are not available in the neutral palette, so I reached instead into my retired stash and pulled out some Early Espresso Candy Dots…love those things! They are the perfect accent! (I realize I’ve been saying that for about fours years now, but when it’s true, it’s true!)

Stampin-Up-Guy-Greetings-Masculine-Birthday-Cards-Idea-Shannon-Jaramillo-stampinup

  • I finished the inside off with coordinating card stock and a sentiment from the recently retired Balloon Adventures stamp set. It’s timeless!

This color combination is perfect for guy cards and one that I’ll go back to and use again!

Today’s card was inspired by THREE challenges! CAS(E) this Sketch provided the layout and The Paper Players and Stamp, Ink, Paper provided themes! I can’t usually juggle that many but for some reason I managed all three with one clean and layered card!

Thank you for stopping by and have a wonderful weekend doing whatever brings you joy!!

Supplies:

You are Loved – CAS(E) this Sketch #212

You Are Loved Card Ideas - Shannon Jaramillo Stampin Up

Since the Grateful Bunch stamp set was out on my crafting table still, I decided to use it again with today’s card. It’s never seen ink before, I’m sorry to say, so I’m thrilled to be able to utilize more of the stamps in the set!

The Details:

  • Thick Whisper White card base cut to 4 1/4″ x 11″, scored at 5 1/2″
  • Thick Whisper White card stock card stock cut to 4″ x 5 1/4″

The sketch over at the CAS(E) this Sketch challenge blog is the inspiration for my design:

  • I masked off the upper portion of the card with Post-It notes and then repeatedly stamped the beautiful large daisy, covering the bottom portion of the card.
  • I then stamped the sentiment at an angle and off to the right to leave room for a pretty bow. The MISTI helped with the placement of all of my stamps.
  • I wrapped Basic Black Baker’s Twine twice around the card and finished it off with a double bow. Using the additional layer, popped up with Stampin’ Dimensionals, allows me plenty of depth to wrap the twine.

You Are Loved Cards Ideas - Shannon Jaramillo Stampin Up

  • When I chose the paper for the envelope liner and saw the teeny Melon Mambo hearts, I knew I needed to add one to my card! I found the perfect size heart in the Cookie Cutter Builder Punch from the Holiday Catalog. Unfortunately, it’s retired now but I realized after the photos were complete that one of the Enamel Shapes would work perfectly as well!
  • I wasn’t able to capture the glimmer of the Wink of Stella that I added to the detail lines of the daisies as well as the little heart. They are SO sparkly!

There you have it! Super clean and simple today! See you next time!!

Products Used:

Card Stock: Thick Whisper White by Stampin’ Up!

Pattern Paper: Pop of Pink Specialty Designer Series Paper Stack by Stampin’ Up!

Ink: Tuxedo Black by Memento Ink

Stamps:   Grateful Bunch by Stampin’ Up!

Dies: Envelope Liner Framelit Dies(Retired) by Stampin’ Up!

Tools:  Big Shot, Cookie Cutter Builder Punch (Retired)

Embellishments: Basic Black Solid Baker’s Twine by Stampin’ Up!; Wink of Stella

Other – Whisper White Envelope and Glue Dots by Stampin’ Up!

Petals & Paisleys & Posies – 30 Day Card Challenge, Day 17

Stampin Up Paisleys & Posies Thank You Card Idea - Shannon Jaramillo Stampinup

I’ve lived almost all of my life in Southern California and we DO NOT have fall. So I never understood all the cards with a fall color palette. Then I went to Missoula, Montana in October, and while the colors were not fully developed, I saw enough to understand how beautiful they are. And because of that, I finally ordered the Petals and Paisleys Specialty Designer Series Paper. It is AMAZING.

The Details:

  • Card layers:
    • Delightful Dijon case base cut at 4 1/4″ x 11″ and scored at 5 1/2″
    • Very Vanilla layer is cut to 4″ x 5 1/4″ and popped up on Stampin’ Dimensionals
    • Soft Suede layer is cut to 3 7/8″ x 5 1/8″
    • Designer Series Paper is cut to 3 3/4″ x 5″
    • Soft Suede is cut to 2 5/8″ x 4 1/8″ and popped up on Stampin’ Dimensionals
    • Designer Series Paper is cut to 2 1/2″ x 4″
    • Soft Suede Layer is cut to 3 1/8″ x 3 1/8″
    • Designer Series paper is cut to 3″ x 3″

Stampin Up Paisleys & Posies Thank You Cards Idea - Shannon Jaramillo Stampinup

  • I know there are a lot of layers (!) But I felt that every layer was necessary to do justice to the colors in the pattern paper. I originally did not have the Very Vanilla layer but when I layered the sentiment layer on top of the card, it was just too bright. The Very Vanilla in the Designer Series Paper is muted. So to compensate, I added the VV layer and now everything is balanced!
  • The sentiment from the Paisleys & Posies Photopolymer Stamp Set is so simple and graphic, it really plays off of the striped DSP nicely. I used my MISTI to stamp. I stamped the top image onto a piece of acetate, then set the acetate over my Very Vanilla piece of card stock. I lined the image up and stamped it in Delightful Dijon, then moved the Very Vanilla card stock up until I had the second image lined up. I removed the acetate, stamped the image in Cajun Craze and then repeated the process, stamping the last image in Soft Suede.

Stampin Up Paisleys & Posies Thank You Cards Ideas - Shannon Jaramillo Stampinup

  • I confess, I bought the Paisleys & Posies Bundle because of this leaf die. Isn’t is stunning in Cajun Craze? Jumps right off the card!! I die cut the leaf twice and then used my fine Tip Glue Pen to adhere the two layers together, as well as adhere the leaf to the card. Love, love, love it.
  • I played around with the ribbons, adding and subtracting the Rich Razzleberry ribbon. I hadn’t used it anywhere else on the card so wasn’t quite sure it fit, but in the end, I loved it and it had to stay.
  • I added Rich Razzleberry to the overall design by using the color in the envelope liner. I think the three patterns are fantastic together.

Stampin Up Petals & Paisleys Thank You Card Ideas - Shannon Jaramillo Stampinup

  • I also added Rich Razzleberry on the inside of the card as well. Soft Suede for the sentiment, Delightful Dijon and Cajun Craze for the leaves, which mimic the die cut leaf on the front.

I am OVER THE MOON for this card. The colors, the patterns, the stamps and dies, and the ribbons. WOW. What a great suite of products. And I almost didn’t buy them. Crazy.

Here is the view from my mom’s balcony in Missoula, Montana that changed the way I look at fall:

img_3470

I came across the layout I used here today in the current challenge from the Global Design Project challenge. I’m sneaking in under the wire but thankful to be able to play along!!

gdp058

Thank you for stopping by! I hope you have been inspired to get inky!!

Supplies:

Price: $110.00

Stampin’ Up!’s Spooky fun Halloween Treat – 30 Day Card Challenge, Day 16


Stampin Up Spooky Fun Halloween Card Ideas - Shannon Jaramillo Stampinup

Halloween has always been one of my favorite holidays; however, I am finding the older I get, the less scary and more fun Halloween needs to be!

I think this card fits that bill perfectly!

The Details:

  • Card Layers:
    • Whisper White Base cut to 4 1/4″ x 11″, scored at 5 1/2″
    • Pumpkin Pie card stock cut to 4″ x 5 1/4″ (popped up with Stampin’ Dimensionals)
    • Basic Black card stock cut to 3 3/4″ x 5″
    • Halloween Night Specialty Designer Series Paper cut to 3 1/2″ x 4 3/4″

Stampin Up Spooky Fun Halloween Card Idea - Shannon Jaramillo Stampinup


  • I LOVE these bold stripes!! So fun, cheerful, and absolutely NOT scary! I layered card stock underneath it to mimic the colors and used a quarter inch spacing between the layers to really play up the bold colors.
  • The Halloween Treat stamp set is a single set, PERFECT for treat bags and tags. Since that is the obvious use for it, I wanted to add it to a card instead. I stamped it, fussy cut it out, and popped it up onto Stampin’ Dimensionals.
  • The peeks of Halloween Night Baker’s Twine behind the sentiment are darling and really set off the double bow, attached to the project with a rolled up mini glue dot.

Stampin Up Spooky Fun Halloween Cards Ideas - Shannon Jaramillo Stampinup


  • I mimicked the colors again on the inside of the card and then used the Spooky Fun Stamp Set to add a fun (not scary) sentiment. I must say, I prefer orange spiders to black ones! Not scary at all!!
  • What do you think of the envelope liner?? Such beautiful patterns in this pack of paper!!

There you have it! Have a wonderful rest of your weekend and thank you so much for stopping by! Please let me know what you think, I SO love hearing from you!!

Supplies