Oh My Gostrich! – Freshly Made Sketches 423

MFT-Stamps-Oh-My-Gostrich-Birthday-Card-Idea-Shannon-Jaramillo-stampinup-SU

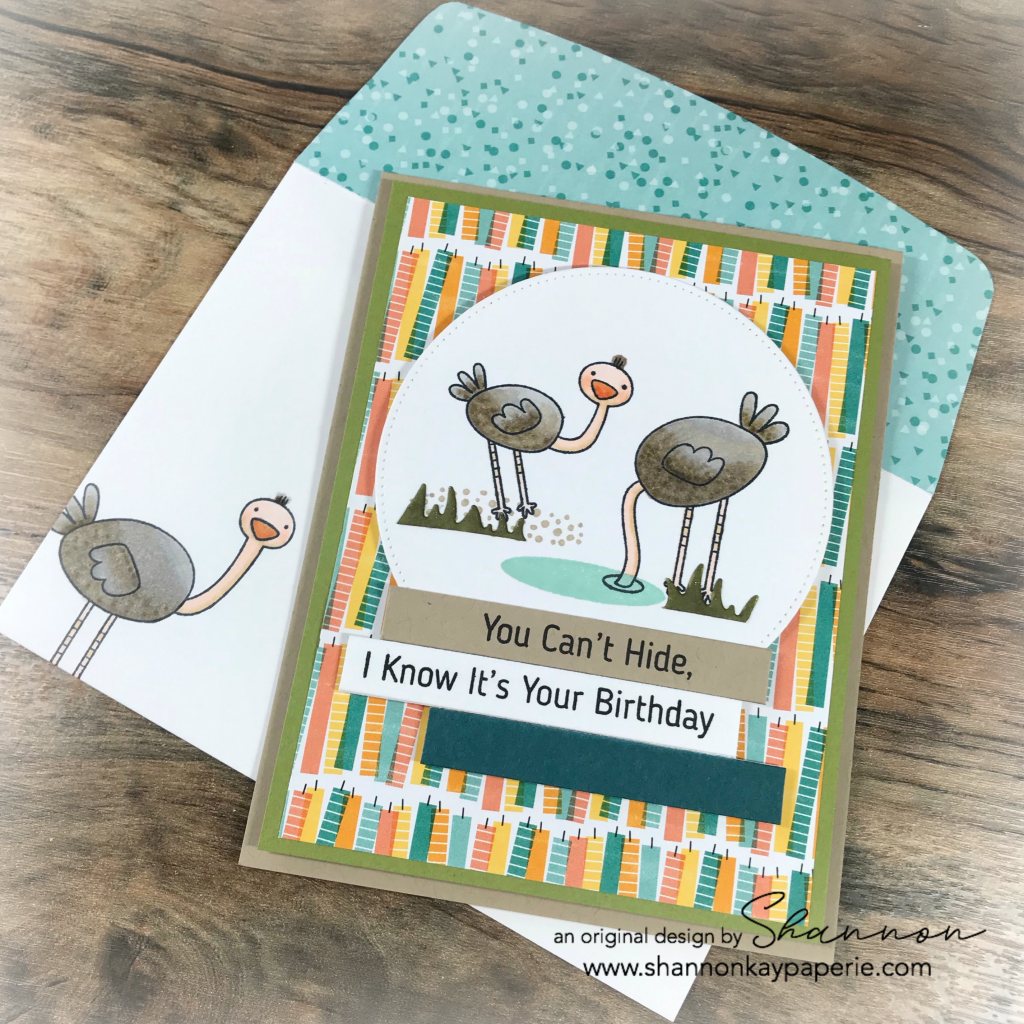
Whattttt??? Is this the CUTEST little guy ever?!! So cute, he needs a name! Stanley! That’s it! I spent ALL day yesterday going through some family old papers and my brain was pretty fried so when I saw this darling stamp set with Stanley and his ADORABLE perky little face, I knew he was the perfect choice to shake off the melancholy.

Measurements:

  • Crumb Cake Card Base 4 1/4″ x 11″ scored at 5 1/2″
  • Layer of Old Olive Card Stock  4″ x 5 1/4″
  • Birthday Bonanza DSP 3 3/4″ x 5″

MFT-Stamps-Oh-My-Gostrich-Birthday-Card-Ideas-Shannon-Jaramillo-stampinup-SU

Details:

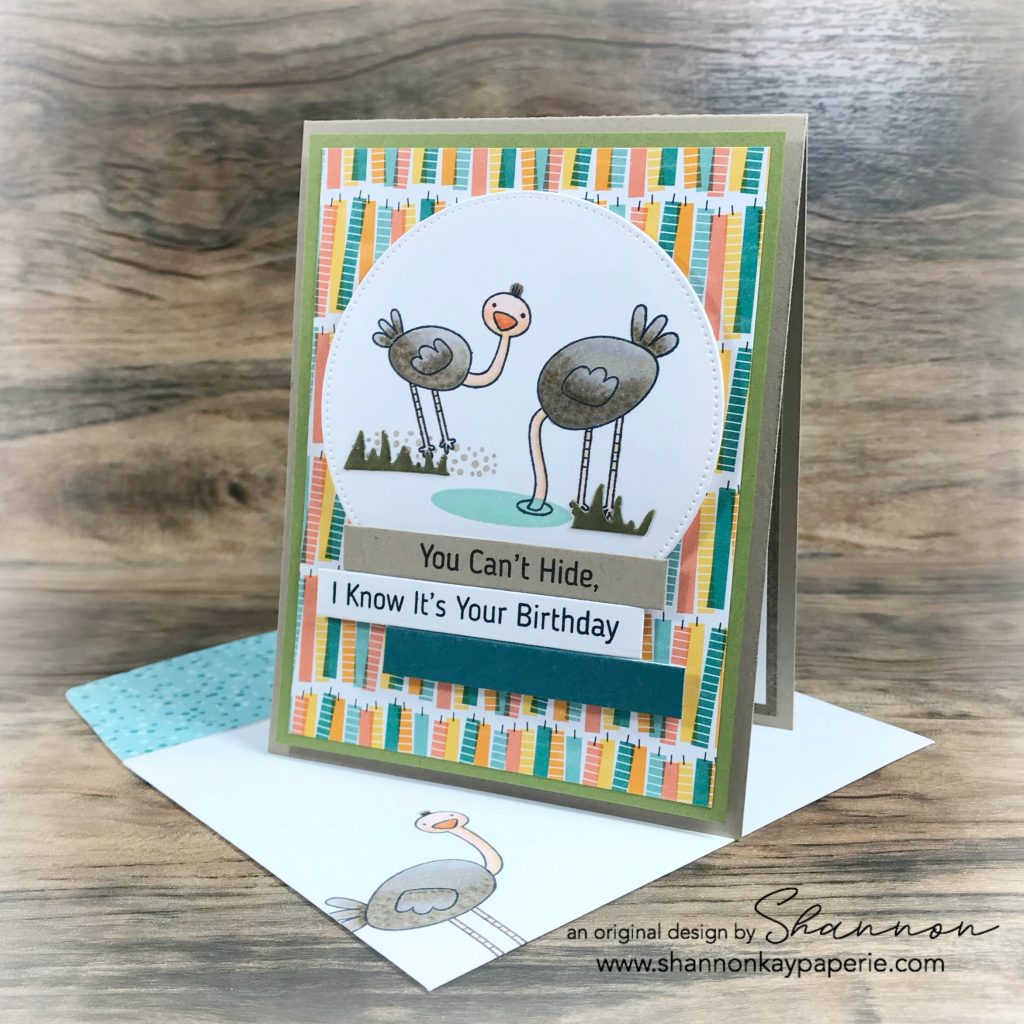
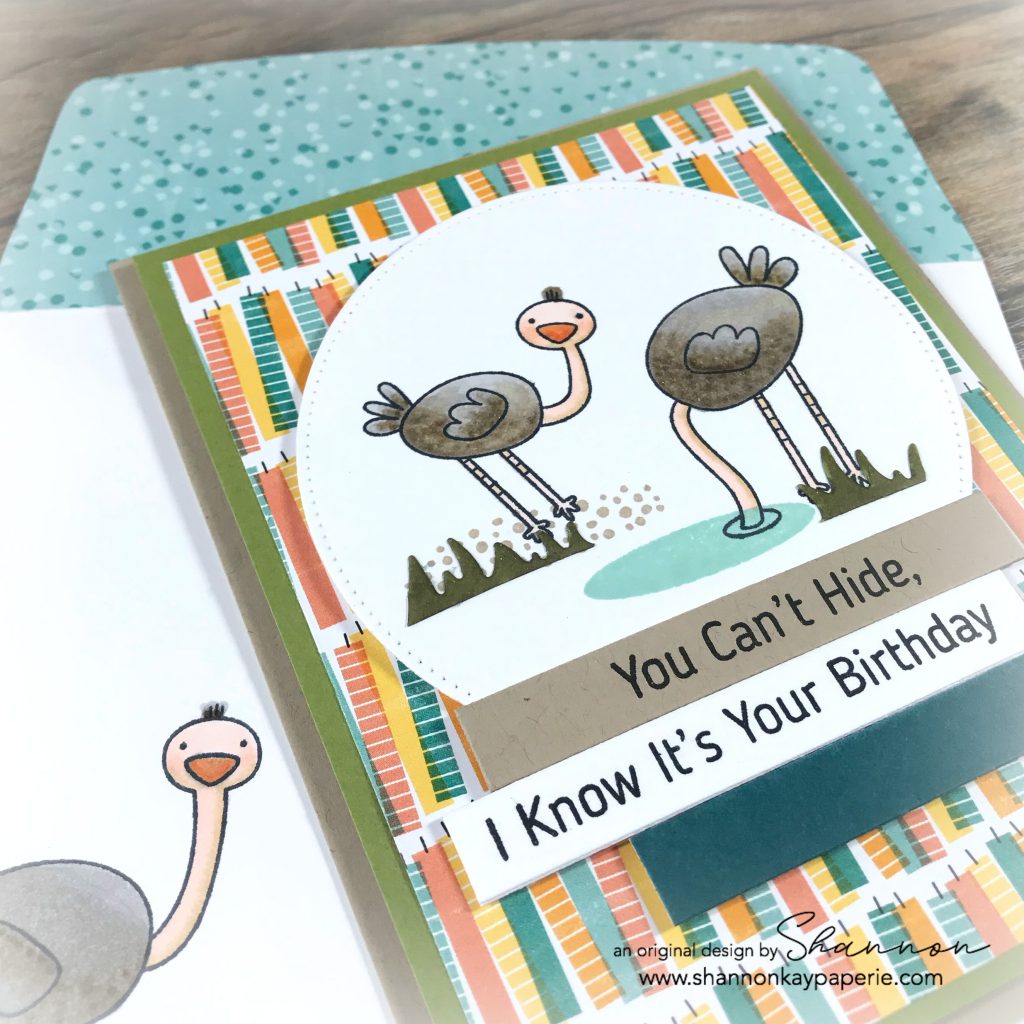
  • I built a little scene with the ostriches in keeping with the sketch layout and pulled out a whole slew of Stampin’ Blends to color Stanley and his companion (who’s pretending if we can’t see him, it can’t possibly be his birthday). I started with Light Gray Granite and then worked in layers of Light and Dark Crumb Cake and Light and Dark Soft Suede for their bodies. Legs and necks were a combination of Light Petal Pink and a Shin-Han Twin Touch Marker in Straw Yellow for the shading. Stanley’s beak is a base of Light Gray Granite with Light Pumpkin Pie layered over it and just a bit of Dark Pumpkin Pie for depth. I added strawberries to Stanley’s cheeks with Dark Petal Pink.
  • Oliver (it’s his birthday) is hiding his head in a pool of water stamped in Pool Party. Stanley is standing in Sahara Sand sand and the little flecks of grass were die cut in Old Olive, colored over with Light Gray Granite and touches of Wink of Stella at the tips.

MFT-Stamps-Oh-My-Gostrich-Birthday-Cards-Idea-Shannon-Jaramillo-stampinup-SU

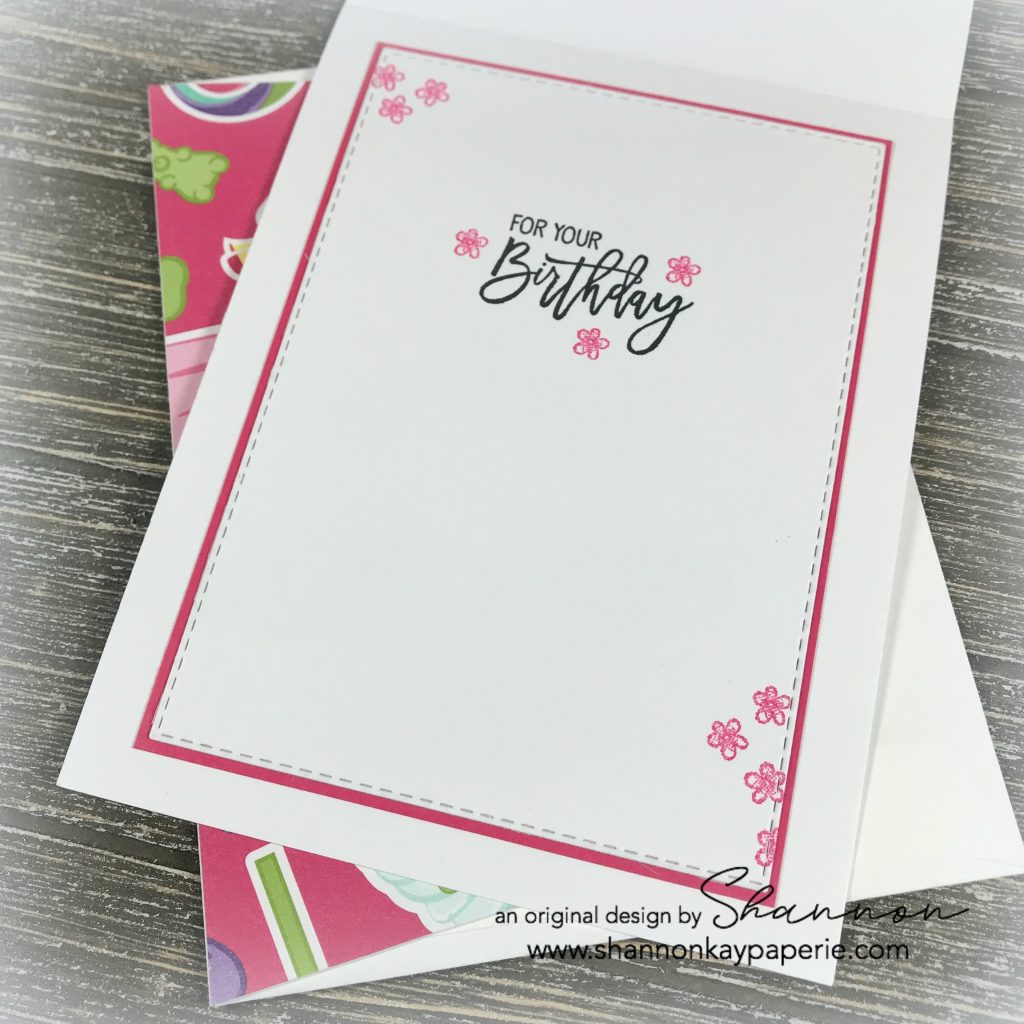
  • I used Honeybee Stamp’s Sentiment Banners to help me get my stamped sentiment stamped correctly (and straight), and then cut the banner ends off – they were too distracting. I added another strip in Pretty Peacock to stay with the sketch and to bring out the pretty DSP. I also stamped a companion ostrich on the envelope – hey, I needed coloring practice! – as well as another on the inside of the card:

MFT-Stamps-Oh-My-Gostrich-Birthday-Cardss-Idea-Shannon-Jaramillo-stampinup-SU

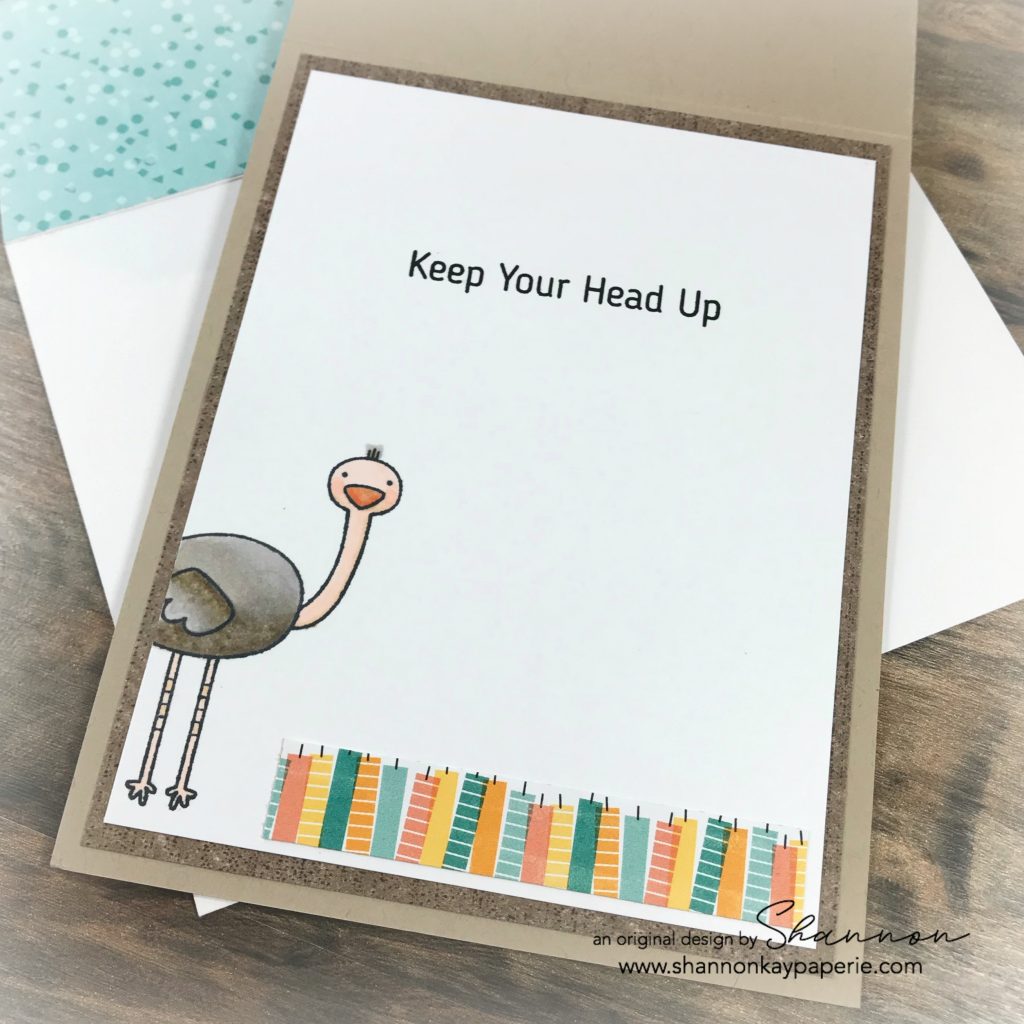
  • I layered the white panel over a SUPER pretty piece of Tropical Oasis DSP, stamped the sentiment and ostrich, and then, because I just happened to have a scrap of the DSP from the front of the card laying around, I added it to the inside as well. I love that the scrap was cut in such a way that the candles are perfectly displayed!

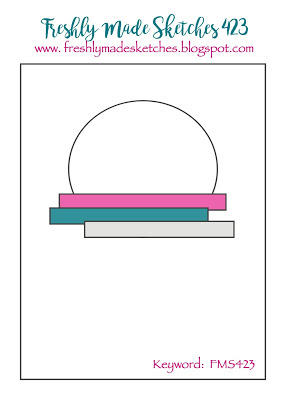
I can’t even stop smiling at Stanley and Oliver, they are SO stinking’ cute! I purchased this stamp set on a whim simply because I had an email in my inbox a few weeks ago from MFT Stamps with a pop up sale on a few retiring items – I’m so happy that I indulged in this set! Thank you Kim for your awesome sketch this week over at Freshly Made Sketches – it made my stretch my comfort zone a bit and design a scene instead of just using one image! And a BIG thank you to Amy for picking my card last week!

MFT-Stamps-Oh-My-Gostrich-Birthday-Cardss-Idea-Shannon-Jaramillo-stampinup-SU

Thank you for stopping by!!

Supplies (all Stampin’ Up! unless otherwise noted):

Card Stock: Crumb Cake, Old Olive, Pretty Peacock;  Neenah Solar White Classic Crest 80#

DSP: Birthday Bonanza and Tropical Oasis

Specialty Paper: None

Ink: Versamark Onyx Black & Memento Tuxedo Black; Pool Party and Sahara Sand

Stamps: Oh MY Gostrich by MFT Stamps

Alcohol Markers: Light Gray Granite, Light & Dark Crumb Cake, Light & Dark Soft Suede, Light & Dark Petal Pink, Light and Dark Pumpkin Pie; Shin-Han Twin Touch Y223 Straw Yellow

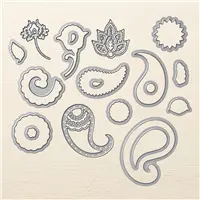
Dies: Sentiment Banners & Grass Border by Honeybee Stamps; Pierced Circles by MFT Stamps

Tools: Big Shot, Stampin’ Trimmer (both retired)

Embellishments: Wink of Stella 

Other: Whisper White Envelope

Inspiring Iris Thank You – Tic Tac Toe Challenge #52

Hello and welcome! I have a brand new Tic Tac Toe Board for your crafting pleasure today! Our designer this week is Amy – I have so much fun deciding which row or column to choose each challenge and then seeing what all the participants decide to use and HOW they use the elements…we are all so uniquely different in our interpretation! This week I chose to use the top row: Die Cut, CAS (clean and simple); Purple.

Stampin-Up-Inspiring-Iris-Thank-You-Card-Idea-Shannon-Jaramillo-shannonkaypaperie

Using purple takes me back to my high school days and Prince. Everything in my life was purple – even my ball point pen! Most teachers refused to let me use it but Mrs. King, bless her heart, let me use it, even though all of those biology notes in purple HAD to be difficult on her eyes! In adult life I rarely use purple for anything – except the flowers I choose to plant in the yard. My hubby was the one who noticed that they were all purple and suggested I chose a different color once in awhile! 🙂 Anyhoo, card making…

Measurements:

  • Highland Heather Card Base 4 1/4″ x 11″ scored at 5 1/2″
  • Strip of Granny Apple Green Card Stock  2 7/8″ x 5 1/2″
  • Strip of White Card Stock 2 3/4″ x 5 1/2″

Details:

  • I tend to fuss a bit with my cards so it’s refreshing to take a clean and simple viewpoint once in awhile. Purple gingham, a circle die cut, one stamp set and three inks. Simple!
  • I used the stamp set Inspiring Iris today. It’s a layering stamp set so achieving this look could not be any easier. The outline image was stamped in Versafine Onyx Black, for the the flower image stamp I used Highland Heather and then Granny Apple Green for the stem and leaves image. A total of three stamps and no coloring experience required! I added a simple sentiment from the same stamp set in Versafine Onyx Black as well and that was it!

Stampin-Up-Inspiring-Iris-Thank-You-Card-Ideas-Shannon-Jaramillo-shannonkaypaperie

  • I layered the white card stock onto a Granny Apple Green layer. With just a bit peeking out from either side it adds interest without overwhelming the card with color. I added the gingham circle die cut because, well…gingham. Yumminess in every color!
  • And then the card was done but I couldn’t just stop there. I pulled out my little jar of unused bows, actually looking for a twine one to go with the clean and simple concept but found this white beauty instead. I adhered it with a glue dot. Love the sheer organdy, it’s such a clean look!

Stampin-Up-Inspiring-Iris-Thank-You-Cards-Ideas-Shannon-Jaramillo-shannonkaypaperie

  • My goal with each card is to use up one 6 x 6 sheet of DSP. I used a quarter of a sheet for the die cut circle, and a large strip of it for the envelope flap but had enough to add a thin strip down the side on the card interior. There’s still lots of room for a note and the gingham is so cheery, no one can resist smiling when they see it!
  • I do have a square of DSP left over – rats! I’ll have to leave it out so that it gets used up soon!
  • I used a few different bloom stamps from the same set to decorate the front of the envelope. No naked envelopes please! lol

I hope you enjoyed today’s creation and have a minute to pop on over to the Tic Tac Toe Challenge blog to be inspired by the rest of the design team! Can’t wait to see what you create!

Blessings!

Supplies (all Stampin’ Up! unless otherwise noted):

Card Stock: Highland Heather and Granny Apple Green; Neenah Classic Crest Cover Solar White (80 lb)

DSP: All Occasion DSP Stack

Ink: Highland Heather and Granny Apple Green; Versamark Onyx Black

Stamps: Inspiring Iris

Coloring Tools: none

Dies: Stitched Shapes & SU’s Envelope Die (retired) 

Tools: Big Shot

Embellishments: White Organdy Ribbon & Wink of Stella

Other: Whisper White Envelope


How Sweet It Is – Freshly Made Sketches 368

Stampin-Up-How-Sweet-It-Is-Holiday-Christmas-Card-Idea-Shannon-Jaramillo-stampinup-SU

Hello My Friends! Are you knee deep in holiday preparations and celebrations? Me too but when my Stampin’ Up! preorder of new goodies from the upcoming Occasions and Sale-A-Bration catalogs came in, I MADE time to play!

Measurements:

  • White Card Base 4 1/4″ x 11″ scored at 5 1/2″
  • Everything else is a die cut!!

Details:

  • My jumping off point for today’s card was the latest Freshly Made Sketches challenge. I loved the design and the opportunity to break in my brand new Stampin’ Up! Stitched Rectangle Dies! Yes! January 3, 2019 is the day they will be available for purchase!

  • I thought I would share with you a few process photos today, this one shows how I arrived at my basic layout – all with dies! And can you see how the rectangle on the left is more narrow than the other two? They have given us choices! Love it!
  • It just took a few minutes to decide which patterns to use for my layout – the new ‘How Sweet It Is’ DSP in the Occasions catalog made it very easy – AND provided me with these darling cupcakes to use as a die cut! The two cupcakes below were each hand cut out of one the patterns of the DSP (I used this pattern for the envelope flap as well).

  • I couldn’t decide which cupcake to use! The top cupcake used the color Gorgeous Grape for the cupcake liner but I didn’t have Gorgeous Grape anywhere else on my card so I felt that the color actually took away from my overall design. And the Coastal Cabana cupcake liner with the white frosting in the bottom photo blended too easily with the patterned paper behind it. WHAT TO DO???

Stampin-Up-How-Sweet-It-Is-Holiday-Christmas-Card-Ideas-Shannon-Jaramillo-stampinup-SU

  • I fussy cut the Coastal Cabana cupcake liner and adhered it right on top of the Gorgeous Grape cupcake liner to create my own custom combination! There are four different cupcakes in the patterned paper to create SO many custom options! And I love that the images already come white the white outline…SO simple to cut out!
  • This darling sentiment (love the font!) is from the ‘Hello Cupcake’ photopolymer stamp set that you will be able to get free with your $50 purchase of any product! Super cute stamp set, I’ll be back with more samples soon!
  • The embellishments are all retired. The super sparkly and scrumptious enamel dots retired with the last annual catalog but you could easily use whatever you have on hand. The darling ribbon is VERY retired…like maybe 7 years ago? It also came in Old Olive and Marina Mist and was quite unlike any ribbon I had seen before so I kept it, and I’m thrilled to have the opportunity to use it!!
  • The large white rectangle is popped up using white craft foam and the cupcake and sentiment are both popped up with Stampin’ Dimensionals.

Stampin-Up-How-Sweet-It-Is-Holiday-Christmas-Cards-Ideas-Shannon-Jaramillo-stampinup-SU

  • I die cut another rectangle for the inside the same size as the one on the outside and then trimmed it out with Melon Mambo card stock. These super sweet flowers are from the ‘Hello Cupcake’ stamp set again (they are just the perfect size for an accent!) and the sentiment is from a stamp set that you will be able to purchase from the Occasions catalog called ‘Birthday Cheer’. Super fun fonts in this set!!

Here is the sketch from the Freshly Made Sketches design team that inspired today’s project:

I had such a fun time using this sketch and all of the bright new products available Jan 3rd from the Occasions catalog – it’s always fun to play with brand new stuff!!

Thank you for taking the time to visit me today and I hope that you have a wonderful holiday! I will be back next week with new projects!

Blessing to you!

Supplies (all Stampin’ Up! unless otherwise noted):

Card Stock: Melon Mambo and Stamper’s Select White by Papertrey Ink

DSP: How Sweet It Is

Ink: Melon Mambo and Versafine Onyx Black

Stamps: Hello Cupcake (outside Greeting); Birthday Cheer (inside greeting)

Dies:  Rectangle Stitched and Stitched Shapes Framelits Dies; retired Envelope Liner Die

Tools: Candy Cane Builder Punch; Stampin’ Trimmer

Embellishments: Glitter Enamel Dots and 3/8″ Melon Mambo ribbon, both retired

Other: Whisper White Envelope

I’ll Be Home for Christmas…

Stampin-Up-I'll-Be-Home-Holiday-Card-Idea-Shannon-Jaramillo-stampinup-SU

Isn’t this the quintessential “I’ll be Home for Christmas” house? I would LOVE to live there! Sadly, I live in Southern California so this is as close to this type of Christmas as I’ll get:)

Measurements:

  • Gray Granite Card Base 5 1/2″ x 8 1/2″ scored at 4 1/4″
  • DSP Layer 5 1/4″ x 4″
  • Cherry Cobbler Layer 4 3/4″ x 3 1/2″
  • Stamped Layer 4 1/2″ x 3 1/4″

Details:

  • I knew I wanted to color this image so I used Memento Tuxedo Black ink as that will not run when combined with alcohol markers
  • Then I jumped in, so excited to color this pretty image! But my coloring attempt was pitiful. Broke out new cardstock, stamped again and colored again. Still pitiful. At that point I knew I needed help so I googled this stamp set and found a colored image that really appealed to me so I stamped another clean image and tried again. This coloring attempt was MUCH better with all of the shadows included. I’m still learning how to add depth to my stamped images!

Stampin-Up-I'll-Be-Home-Holiday-Card-Ideas-Shannon-Jaramillo-stampinup-SU

  • I layered this lovely Christmas house image onto Cherry Cobbler card stock, added a layer of white fun foam to the back to add dimension, and then layered THAT on to a lovely pattern from the Festive Farmhouse DSP.  I think the card base in Gray Granite really ties everything together.
  • When stamping, I realized that I didn’t leave myself very much room for a sentiment (and the sentiment from this stamp set is AWESOME) so I dug through my stamp sets until I found this itty bitty sentiment in the Wishing You Well stamp set…perfect size!!
  • I stamped snowflakes from the retired White Christmas stamp set in Versamark ink to add just a bit of ‘snow’ to my image and then added Wink of Stella to the snowflakes but it’s very hard to see here.
  • I layered tiny banners and a Cherry Cobbler bakers twine bow to the right side of my card to add a bit of balance.

Stampin-Up-I'll-Be-Home-Holiday-Cards-Ideas-Shannon-Jaramillo-stampinup-SU

  • A sentiment from the Merry Christmas to All stamp set was used on the inside of my card and the snowflakes on the envelope are a stamp from the Candy Cane Season stamp set.

Are YOU ready for the holiday? I’m definitely NOT, but I will be very soon!!

Thank you for stopping by today, Blessings!

Supplies:

Card Stock: Gray Granite and Cherry Cobbler by Stampin’ Up! Stamper’s Select White by Papertrey Ink

DSP: Festive Farmhouse by Stampin’ Up!

Ink: Memento Tuxedo Black and Gray Granite

Stamps: I’ll Be Home, Wishing You Well, White Christmas (R), Merry Christmas to All, Candy Cane Season by Stampin’ Up!

Dies:  Envelope Liner Die (R) by Stampin’ Up!

Tools: Stampin’ Trimmer by Stampin’ Up!

Embellishments: Cherry Cobbler Twine from the Festive Farmhouse Cotton Twine bundle by Stampin’ Up!; Wink of Stella

Other: Whisper White Envelope by Stampin’ Up!

Petals & Paisleys & Posies – 30 Day Card Challenge, Day 17

Stampin Up Paisleys & Posies Thank You Card Idea - Shannon Jaramillo Stampinup

I’ve lived almost all of my life in Southern California and we DO NOT have fall. So I never understood all the cards with a fall color palette. Then I went to Missoula, Montana in October, and while the colors were not fully developed, I saw enough to understand how beautiful they are. And because of that, I finally ordered the Petals and Paisleys Specialty Designer Series Paper. It is AMAZING.

The Details:

  • Card layers:
    • Delightful Dijon case base cut at 4 1/4″ x 11″ and scored at 5 1/2″
    • Very Vanilla layer is cut to 4″ x 5 1/4″ and popped up on Stampin’ Dimensionals
    • Soft Suede layer is cut to 3 7/8″ x 5 1/8″
    • Designer Series Paper is cut to 3 3/4″ x 5″
    • Soft Suede is cut to 2 5/8″ x 4 1/8″ and popped up on Stampin’ Dimensionals
    • Designer Series Paper is cut to 2 1/2″ x 4″
    • Soft Suede Layer is cut to 3 1/8″ x 3 1/8″
    • Designer Series paper is cut to 3″ x 3″

Stampin Up Paisleys & Posies Thank You Cards Idea - Shannon Jaramillo Stampinup

  • I know there are a lot of layers (!) But I felt that every layer was necessary to do justice to the colors in the pattern paper. I originally did not have the Very Vanilla layer but when I layered the sentiment layer on top of the card, it was just too bright. The Very Vanilla in the Designer Series Paper is muted. So to compensate, I added the VV layer and now everything is balanced!
  • The sentiment from the Paisleys & Posies Photopolymer Stamp Set is so simple and graphic, it really plays off of the striped DSP nicely. I used my MISTI to stamp. I stamped the top image onto a piece of acetate, then set the acetate over my Very Vanilla piece of card stock. I lined the image up and stamped it in Delightful Dijon, then moved the Very Vanilla card stock up until I had the second image lined up. I removed the acetate, stamped the image in Cajun Craze and then repeated the process, stamping the last image in Soft Suede.

Stampin Up Paisleys & Posies Thank You Cards Ideas - Shannon Jaramillo Stampinup

  • I confess, I bought the Paisleys & Posies Bundle because of this leaf die. Isn’t is stunning in Cajun Craze? Jumps right off the card!! I die cut the leaf twice and then used my fine Tip Glue Pen to adhere the two layers together, as well as adhere the leaf to the card. Love, love, love it.
  • I played around with the ribbons, adding and subtracting the Rich Razzleberry ribbon. I hadn’t used it anywhere else on the card so wasn’t quite sure it fit, but in the end, I loved it and it had to stay.
  • I added Rich Razzleberry to the overall design by using the color in the envelope liner. I think the three patterns are fantastic together.

Stampin Up Petals & Paisleys Thank You Card Ideas - Shannon Jaramillo Stampinup

  • I also added Rich Razzleberry on the inside of the card as well. Soft Suede for the sentiment, Delightful Dijon and Cajun Craze for the leaves, which mimic the die cut leaf on the front.

I am OVER THE MOON for this card. The colors, the patterns, the stamps and dies, and the ribbons. WOW. What a great suite of products. And I almost didn’t buy them. Crazy.

Here is the view from my mom’s balcony in Missoula, Montana that changed the way I look at fall:

img_3470

I came across the layout I used here today in the current challenge from the Global Design Project challenge. I’m sneaking in under the wire but thankful to be able to play along!!

gdp058

Thank you for stopping by! I hope you have been inspired to get inky!!

Supplies:

Price: $110.00