Oh Those Pesky Scraps!!

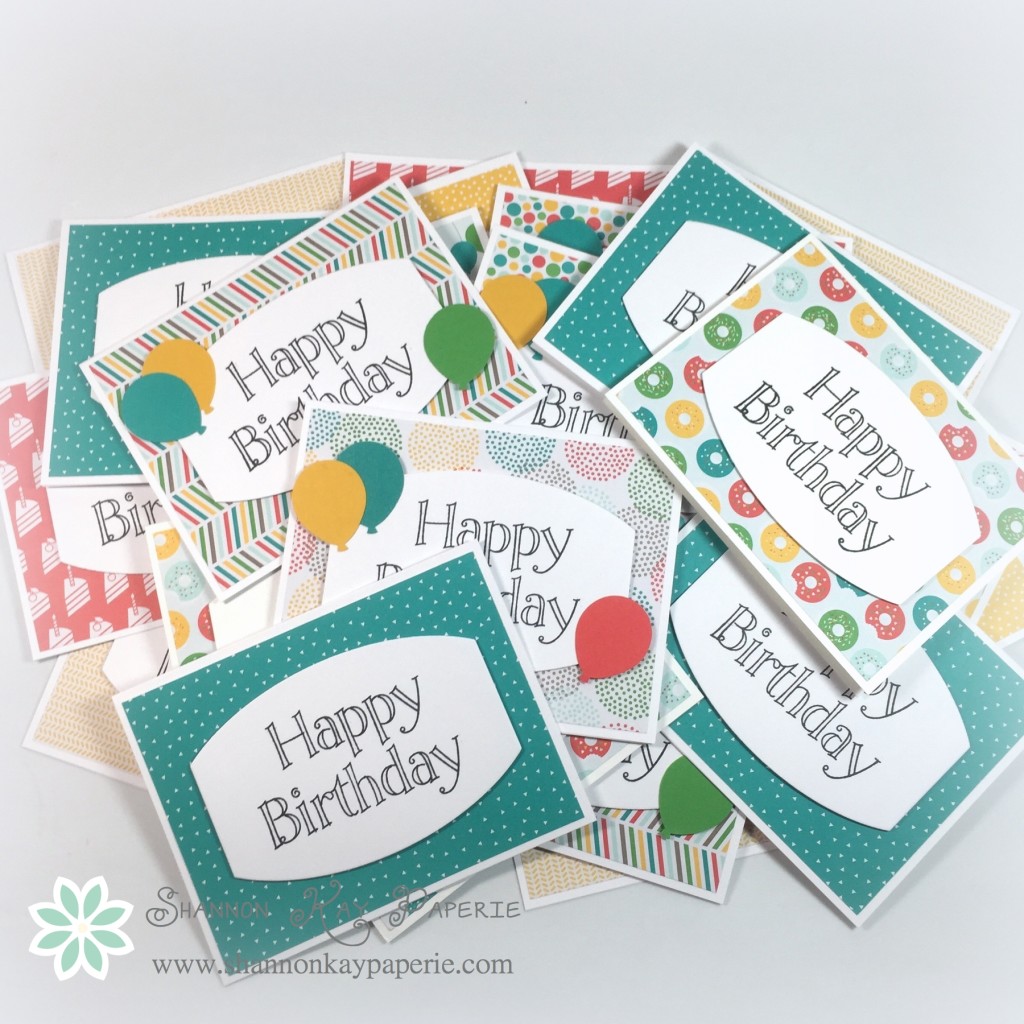
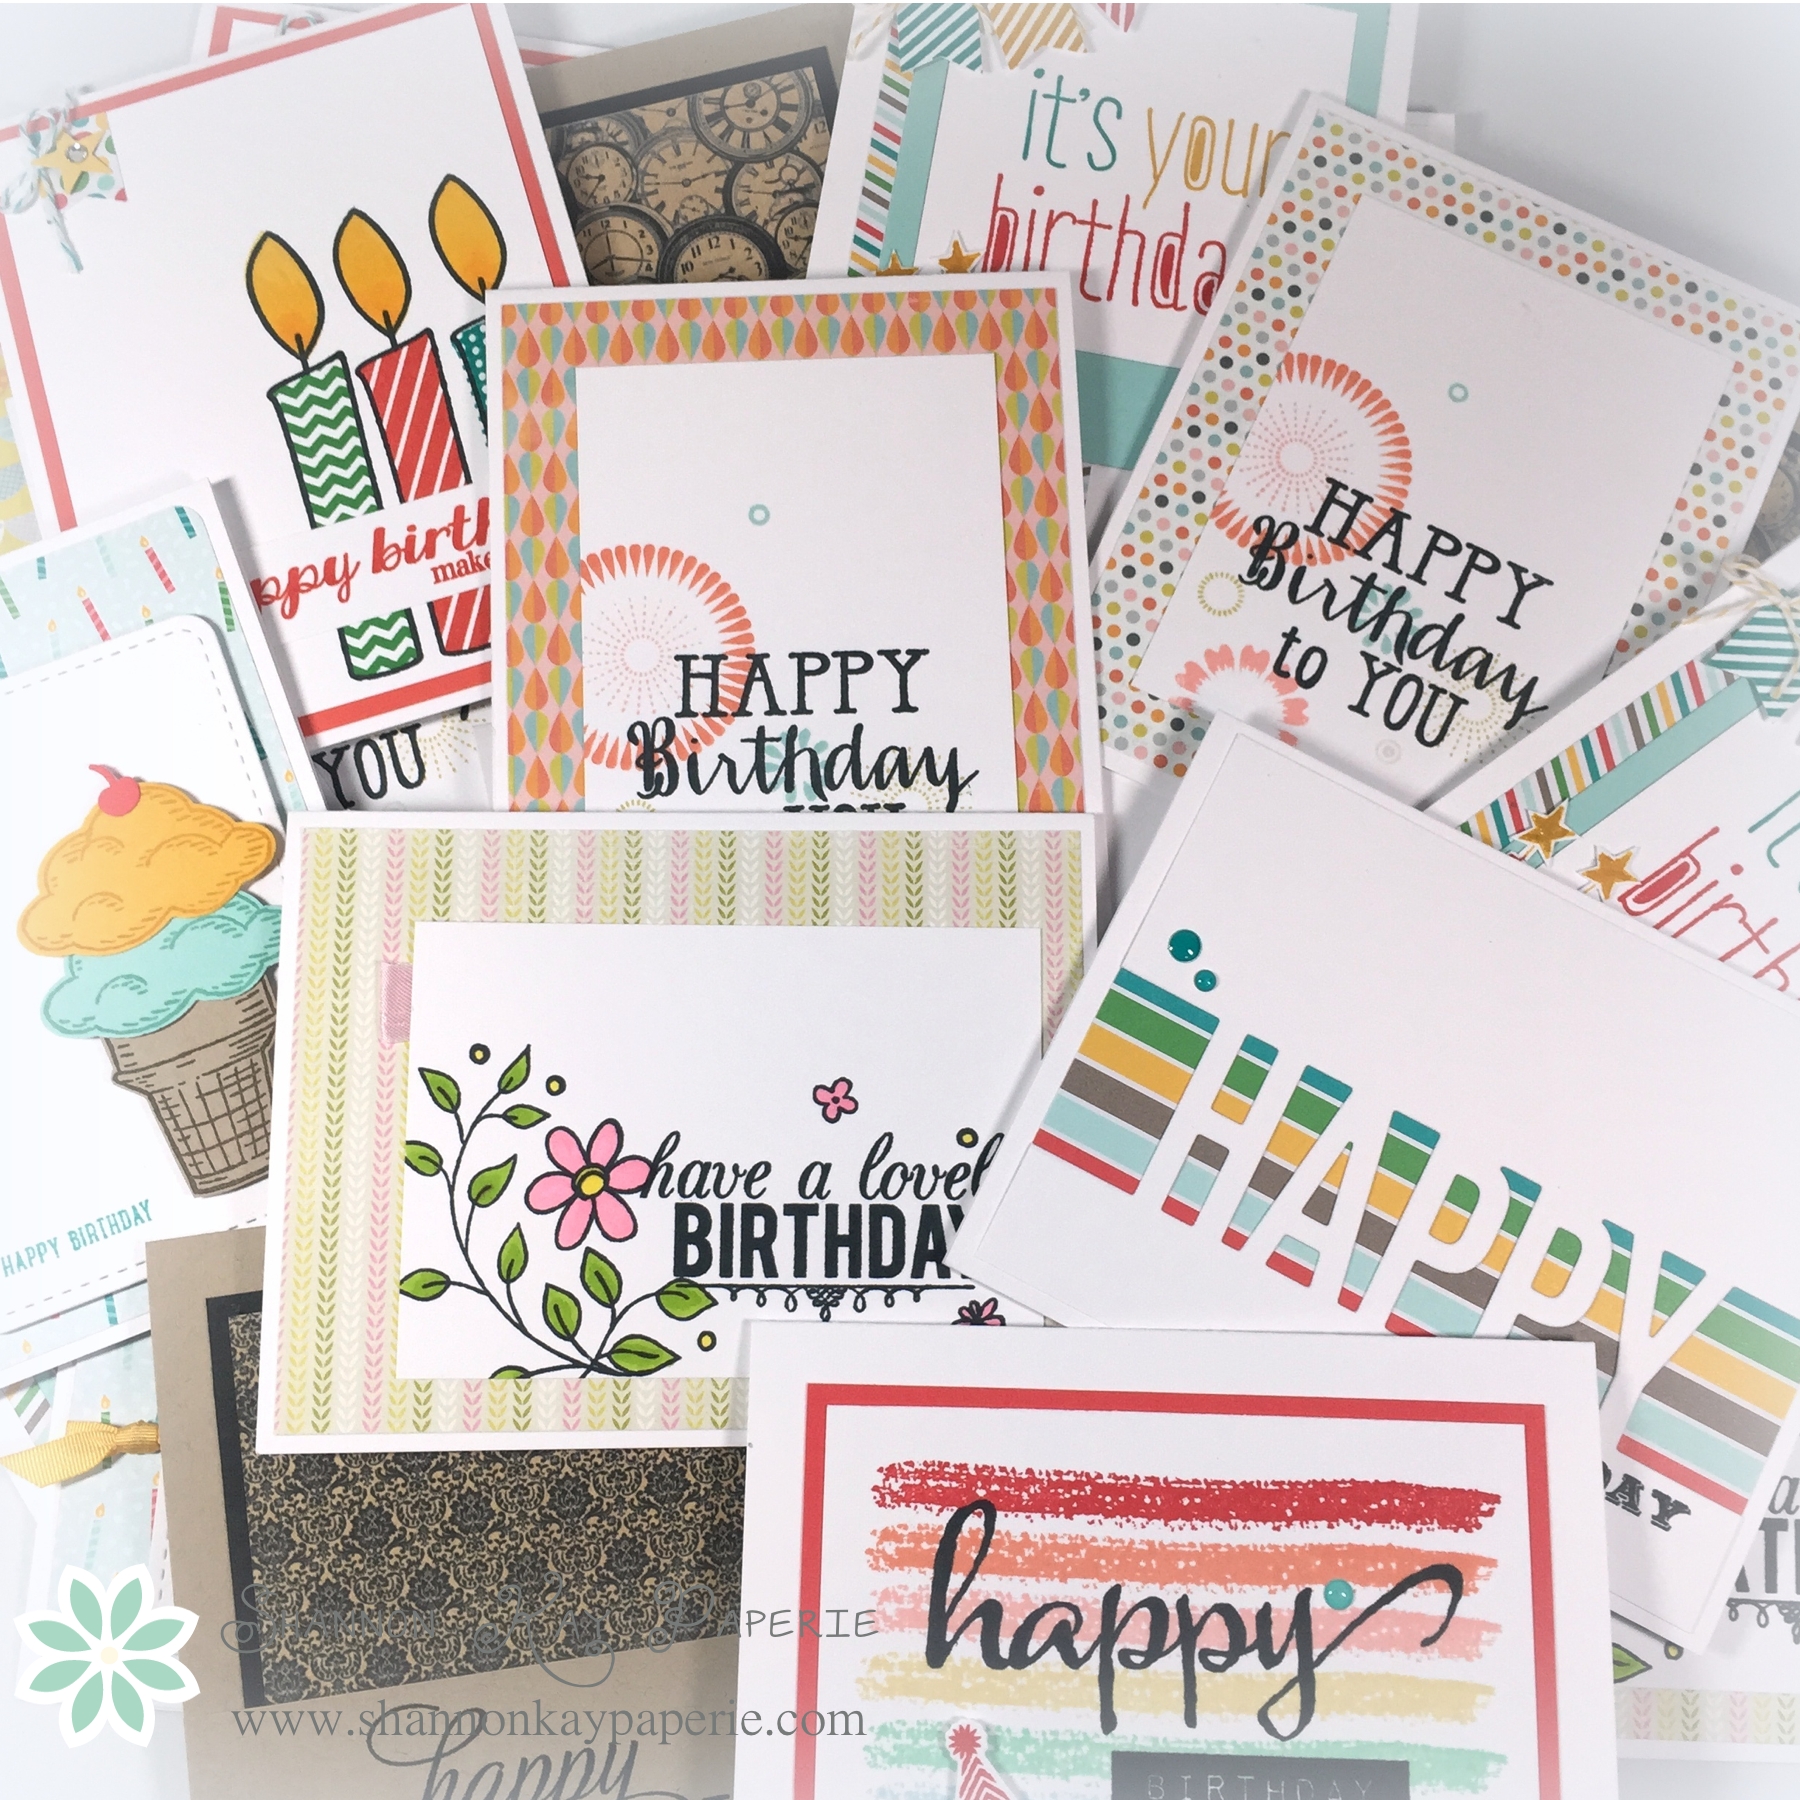
When last we spoke I had a few scraps from my 6×6 DSP stack to deal with:

Keeping Busy...

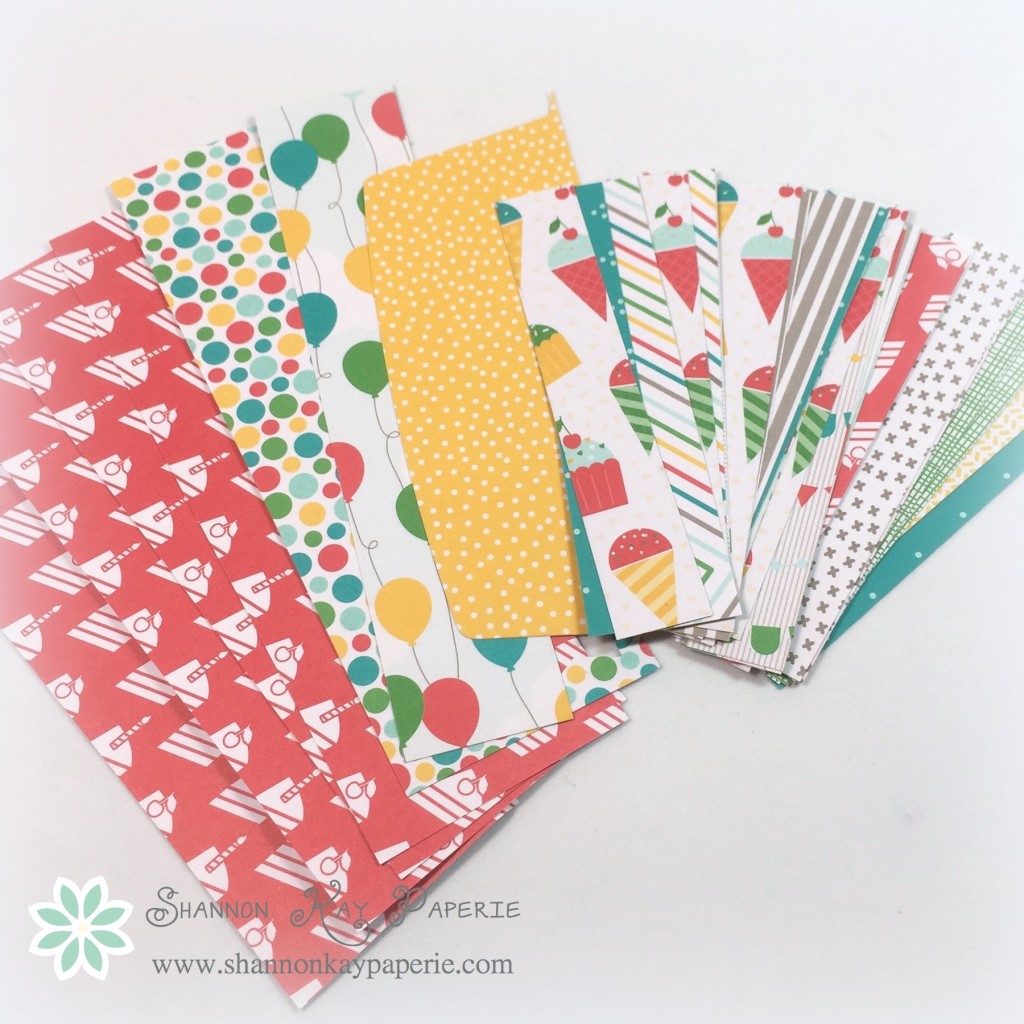
I had four large pieces that had been shunted off to the side and overlooked, as well as a BUNCH of teeny pieces left over from when I cut the pad down so I thought this would be the perfect time to discuss scraps. We all have them, and we have MANY different ways to deal with them. I want to explore that a bit and share how I store scraps.

But first, this is what I did with the paper scraps in the photo above:

Oh Those Pesky Scraps!!

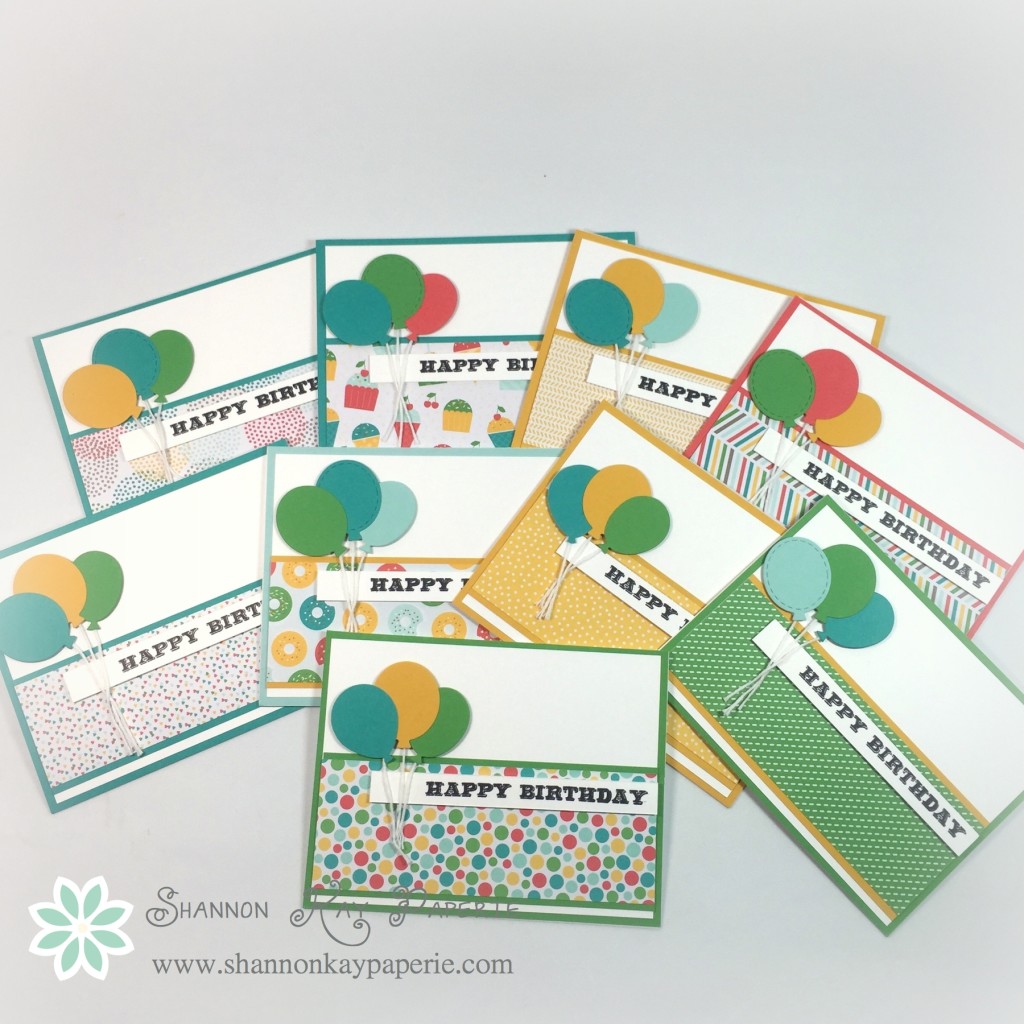
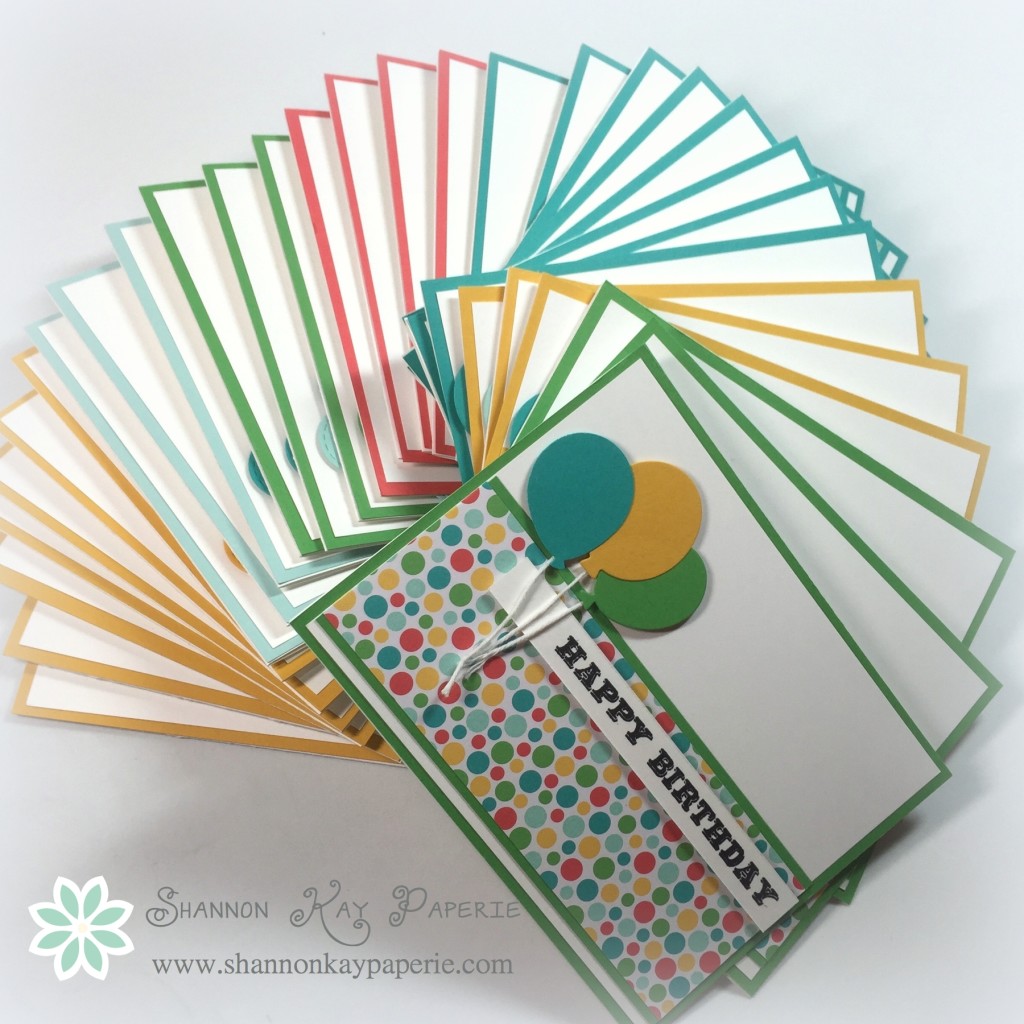
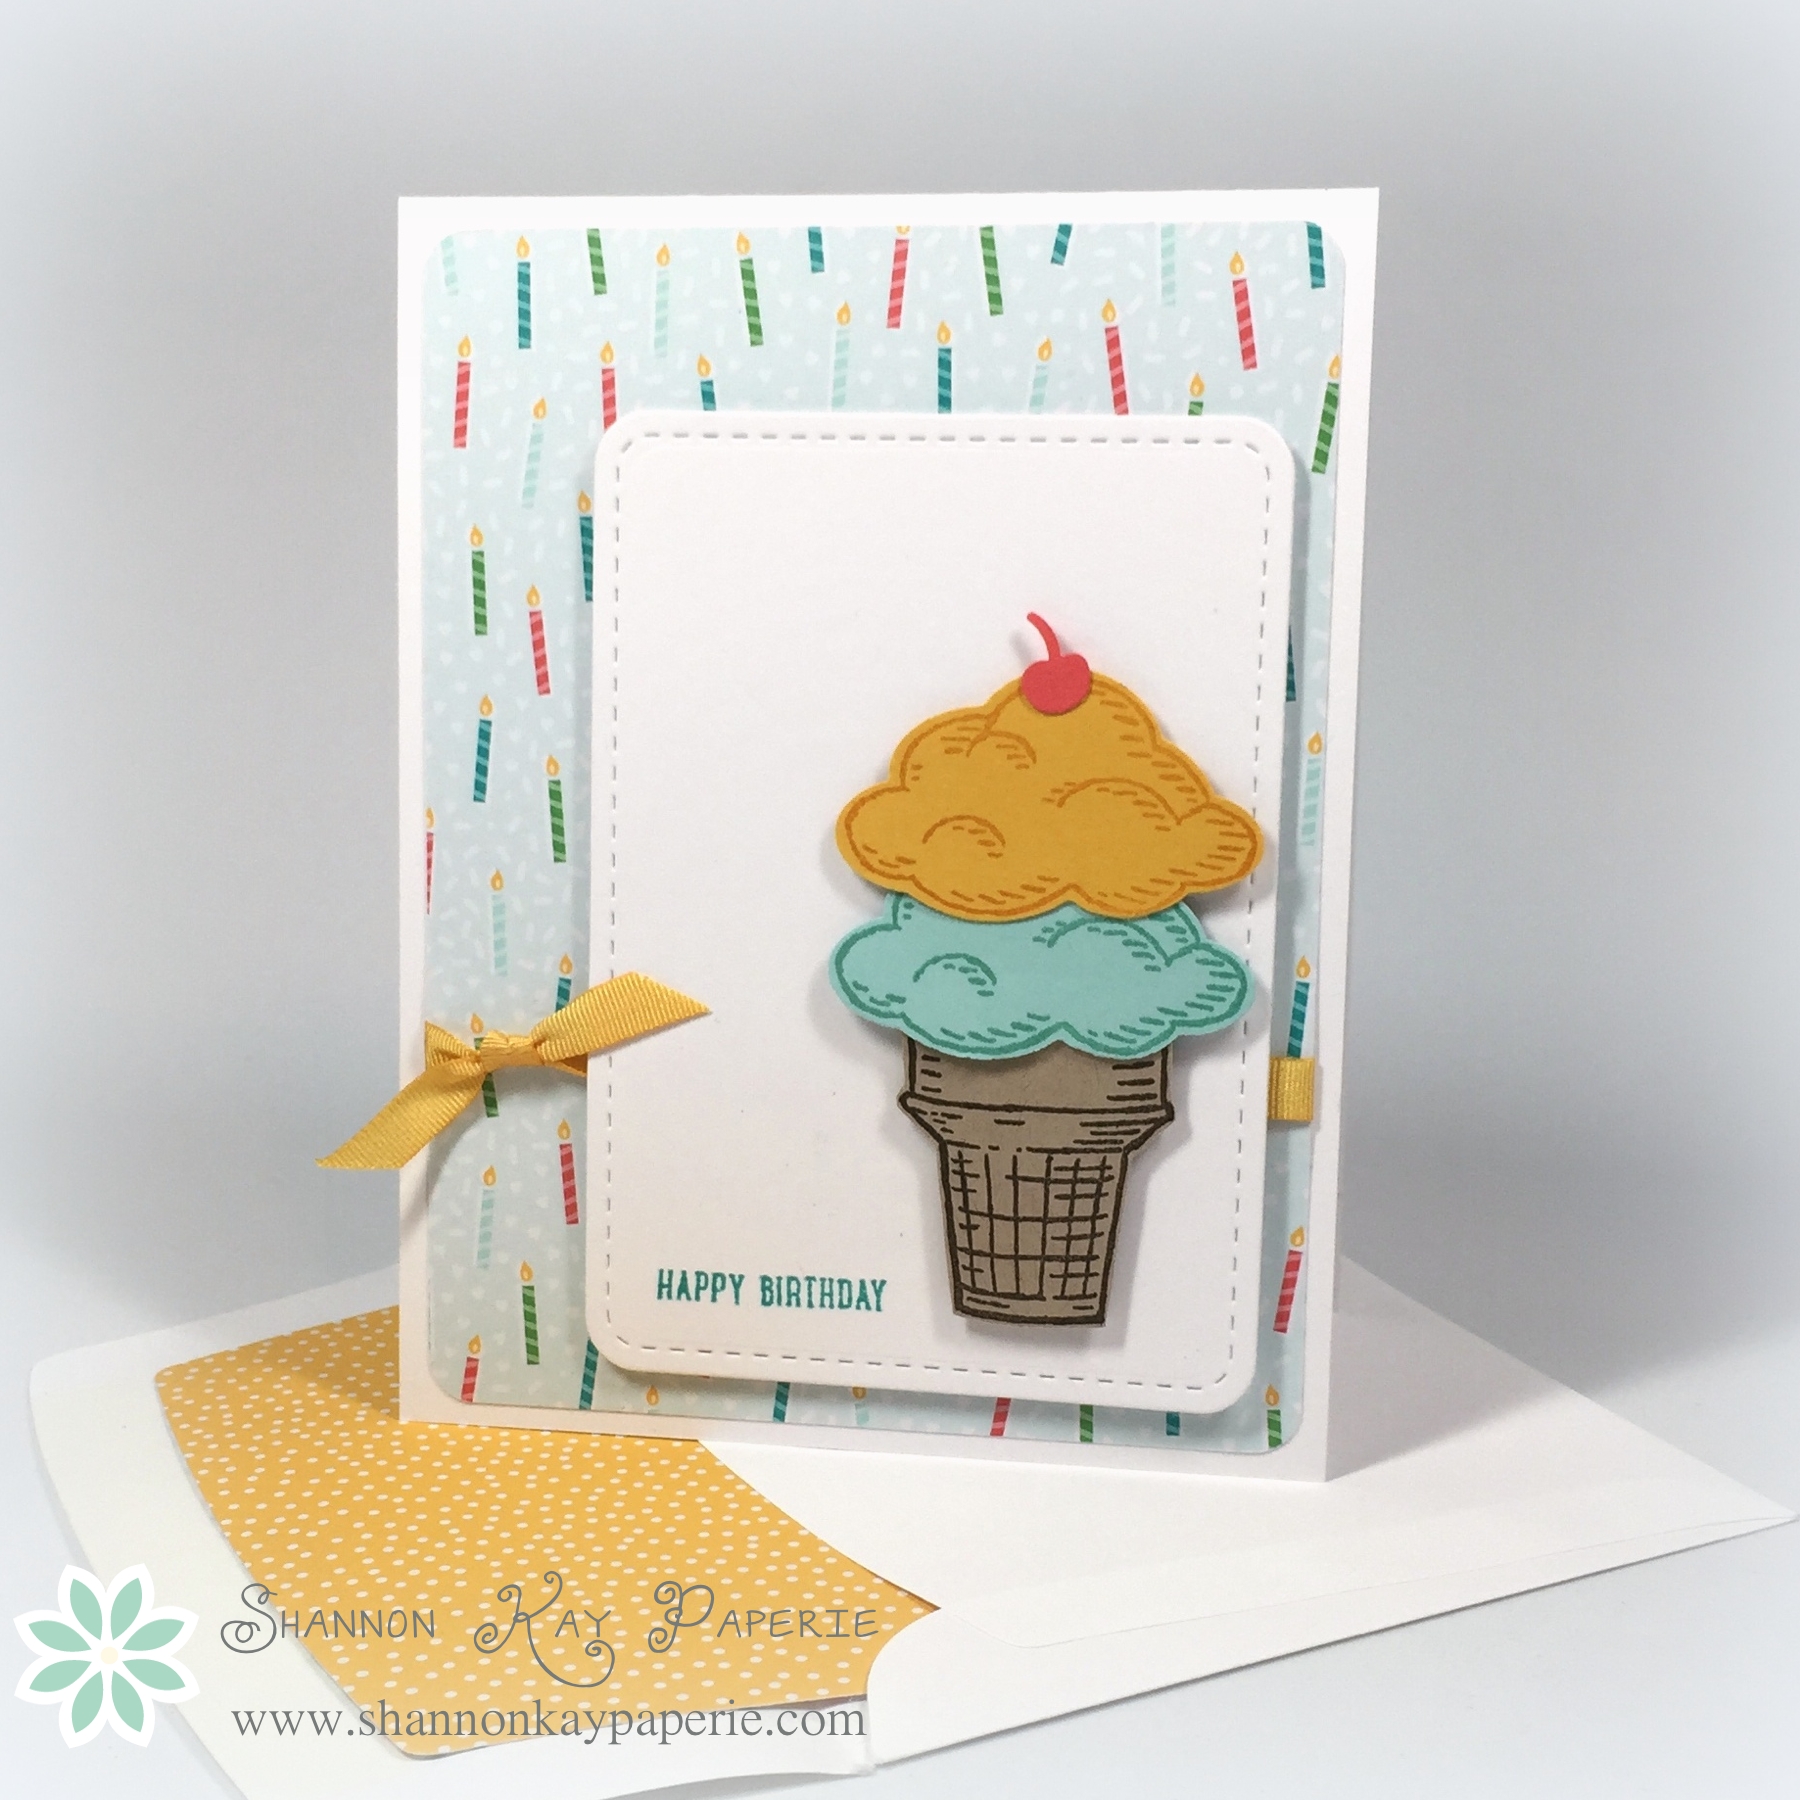
The four in Watermelon Wonder are just like the cards in my previous post, so I won’t go into detail over them. Here’s a close up of my scrap cards:

Oh Those Pesky Scraps!!

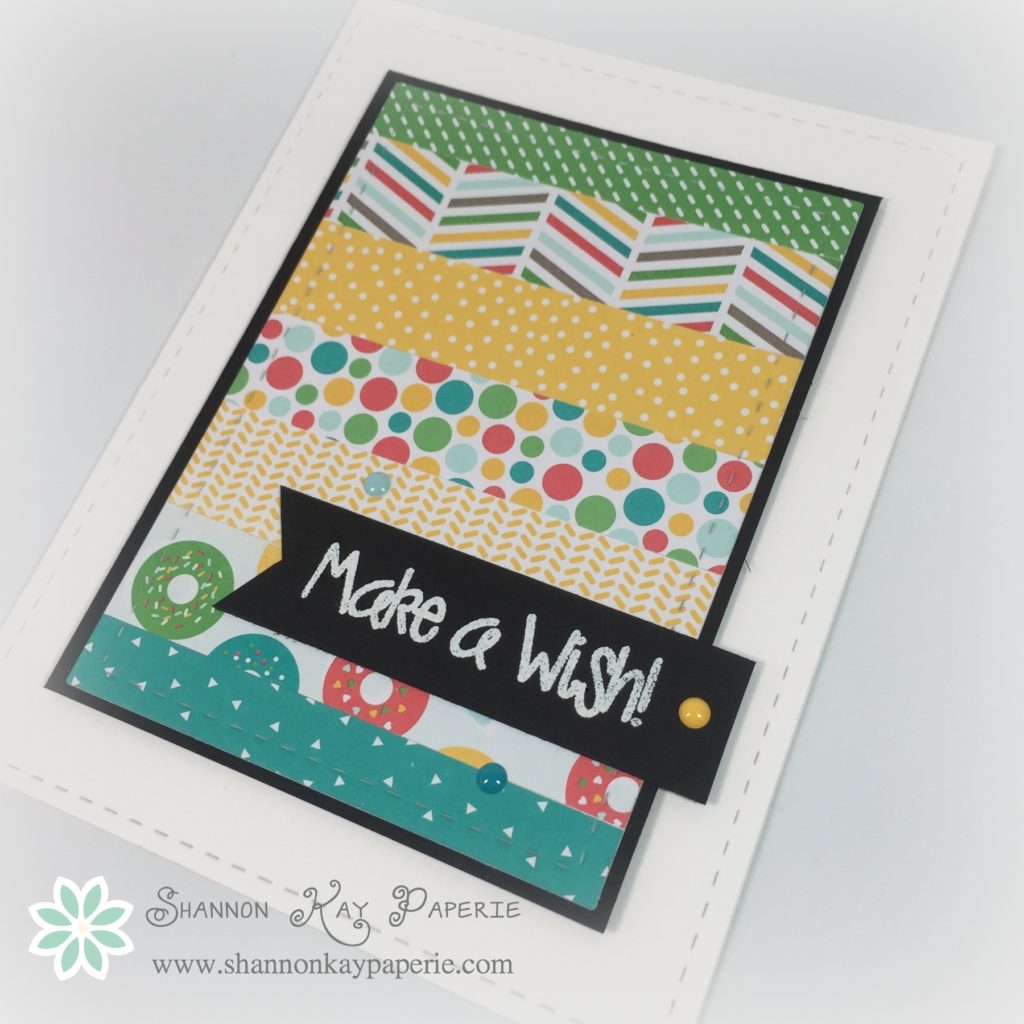
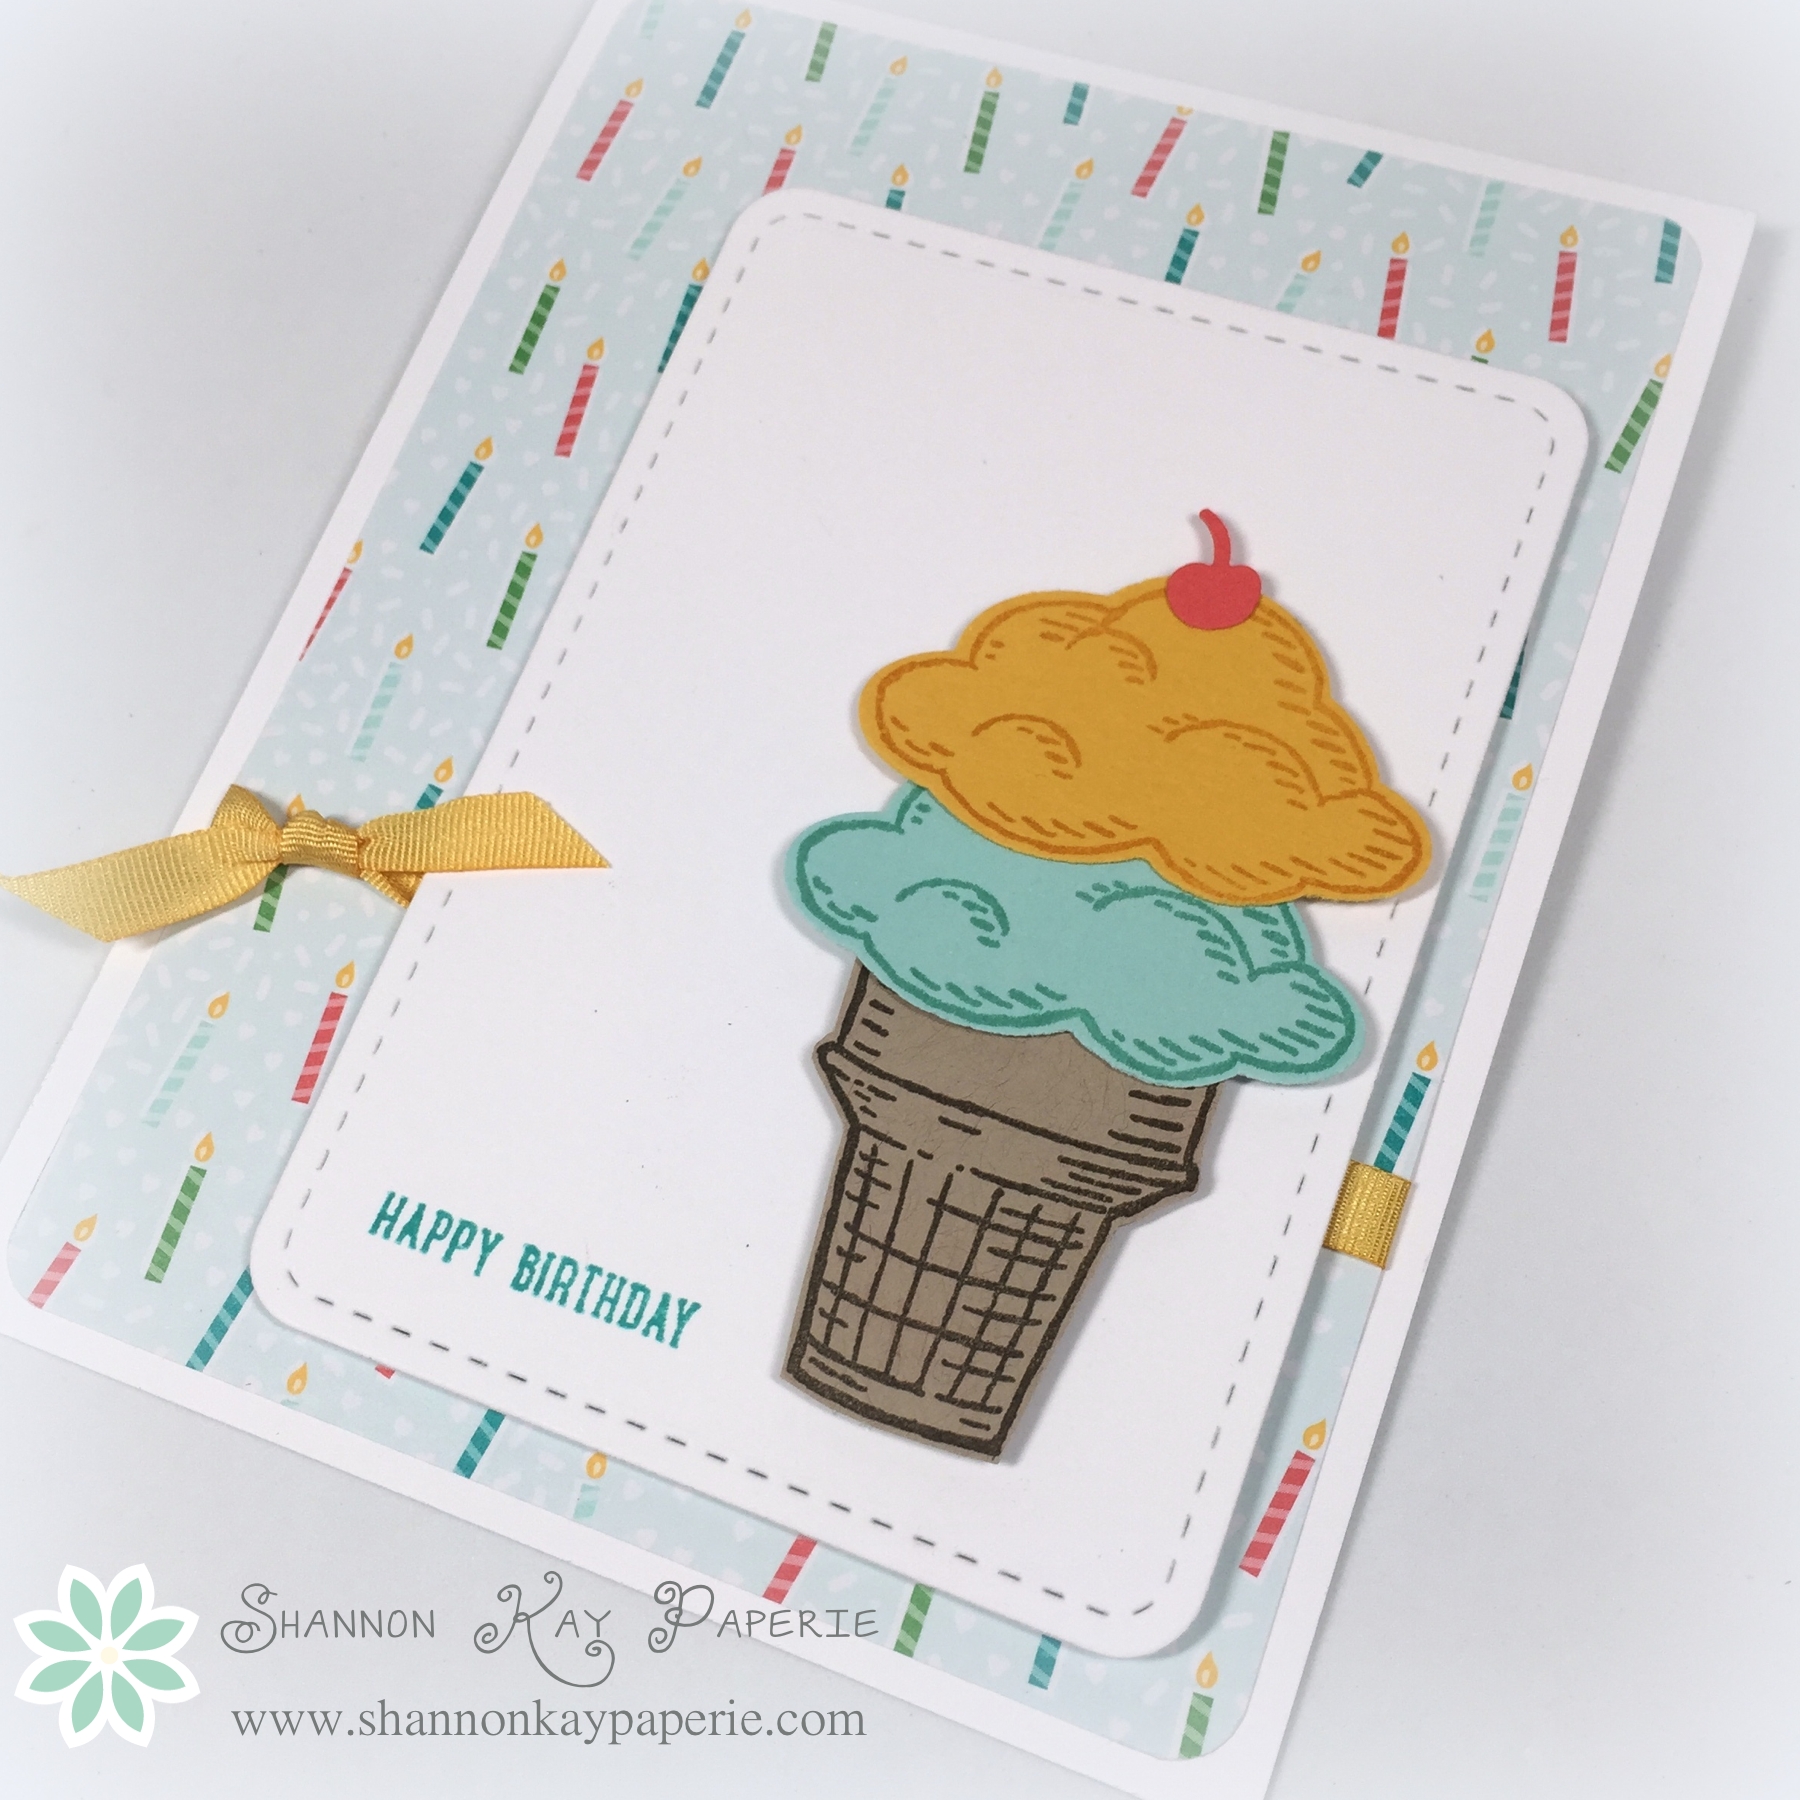
To make these, I started by cutting four 4″ x 5 1/4″ pieces of Whisper White card stock. I then adhered the scraps to the WW card stock, one at a time, for a total of 7 used on each card. I then ran those panels through my Big Shot using a stitched border die. I layered that panel onto Basic Black card stock and adhered to my card bases with Stampin’ Dimensionals. I also ran the card cases through the Big Shot with the largest stitched border die which only imprints the stitches but does not cut on the edges. It is designed to line up perfectly on the card base.

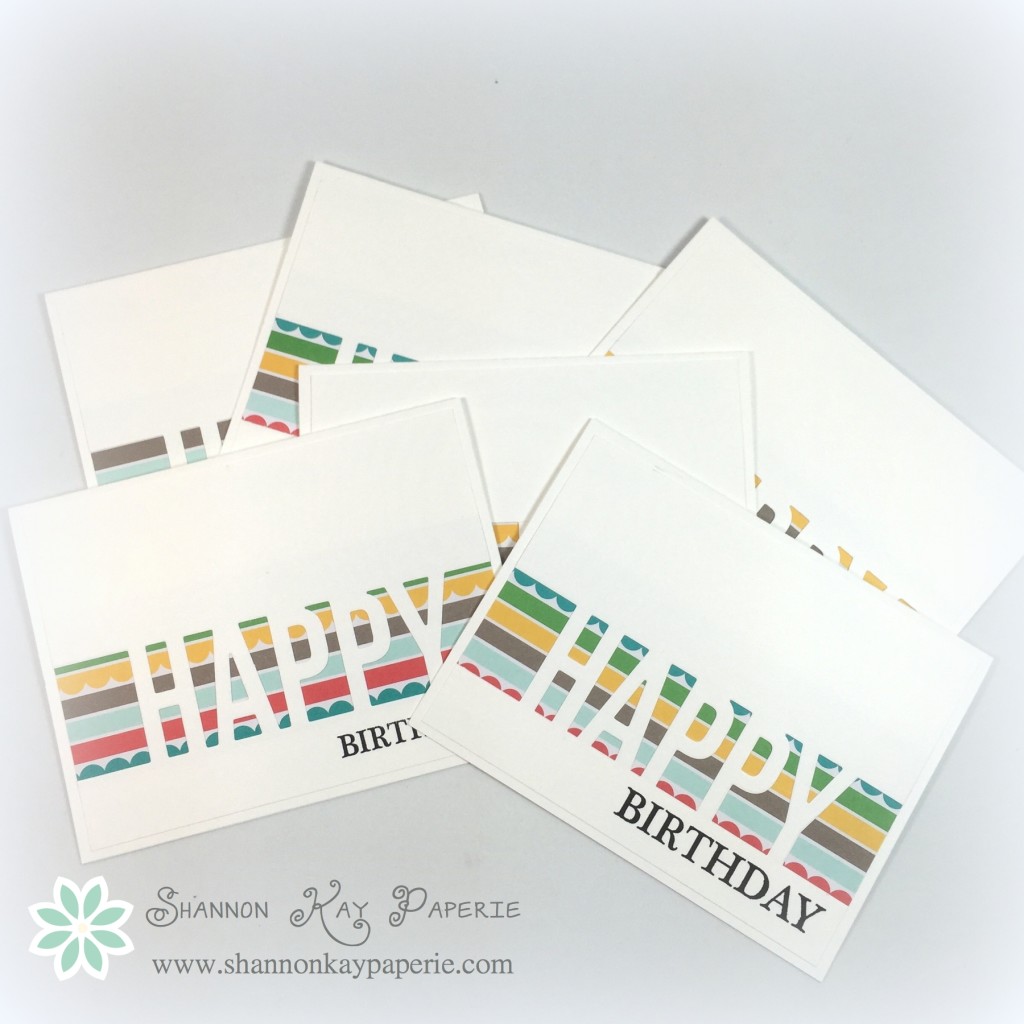
I loved the pop of back so I embossed on Basic Black card scraps with white embossing powder and snipped a fishtail on one side. Festive, bright, and a super way to use up those scraps! I managed to use all but one of those thin strips in these four cards!

This is but one way to utilize every bit of your paper stash. Sandy Allnock has more great ideas for you if you’d like to read her post here.

Now, how do YOU store your scraps? Here’s my method:

Oh Those Pesky Scraps!!

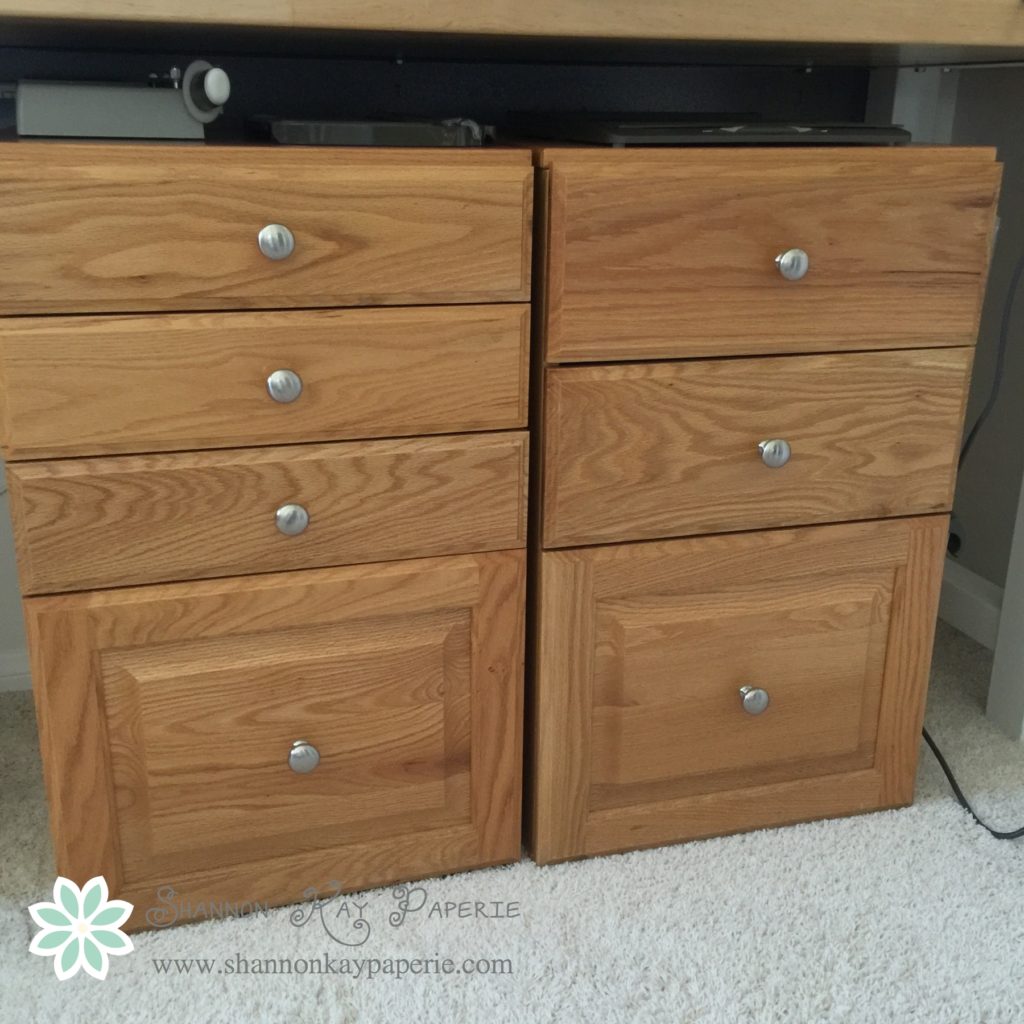
I purchased several nice storage units from For Keep’s Sake wayyyy back in the day when I was using the good dining table to scrap on. I lined them up side by side and put a table runner over the top and figured they could pass as a buffet (or sideboard). Now they live in my craft room. All of my Stampin’ Up! card stock and matching DSP lives in these two 12″ x 12″ drawers:

Oh Those Pesky Scraps!!

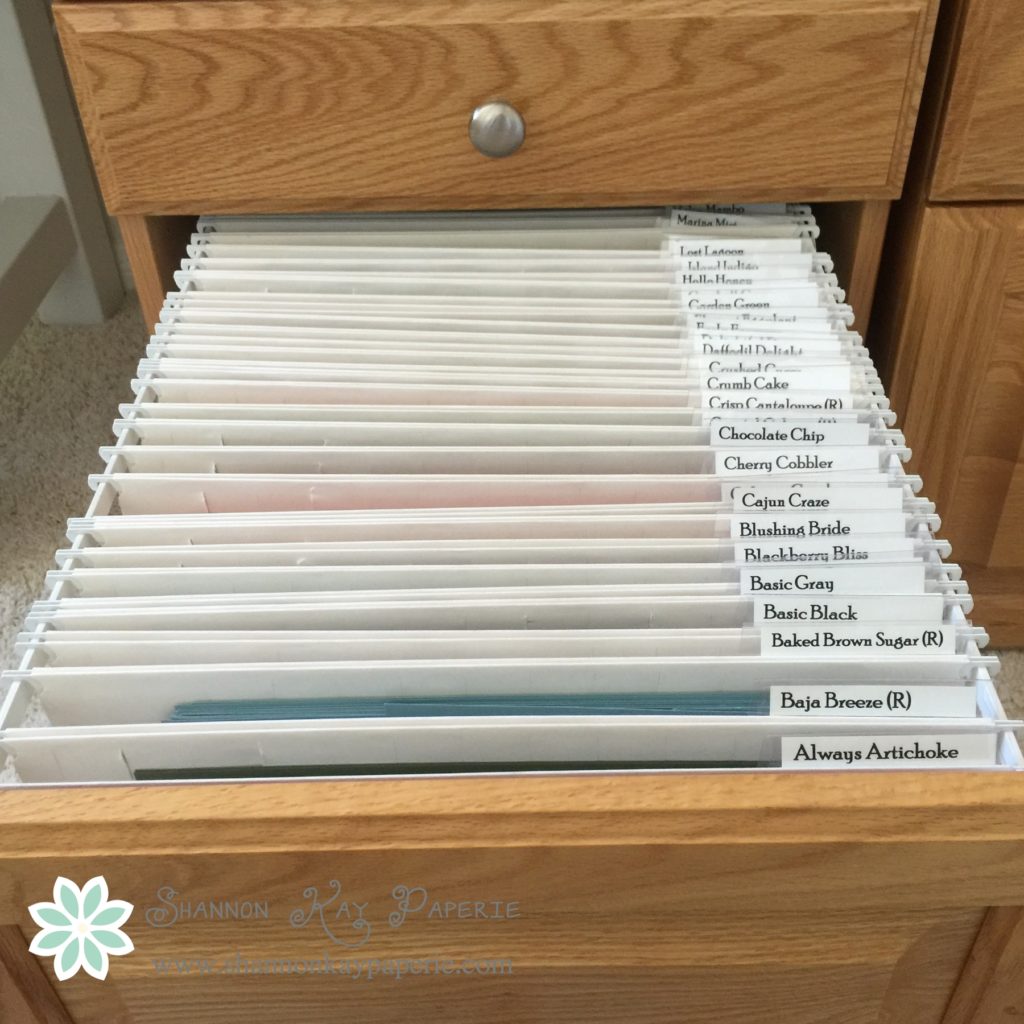
They are kept in these wonderful 12 x 12 file folders  and are stored alphabetically. You’ll see an (R) on some of the labels after the color name. Those are my retired colors, which I tend to keep. And here’s what I have stored inside each folder:Oh Those Pesky Scraps!!
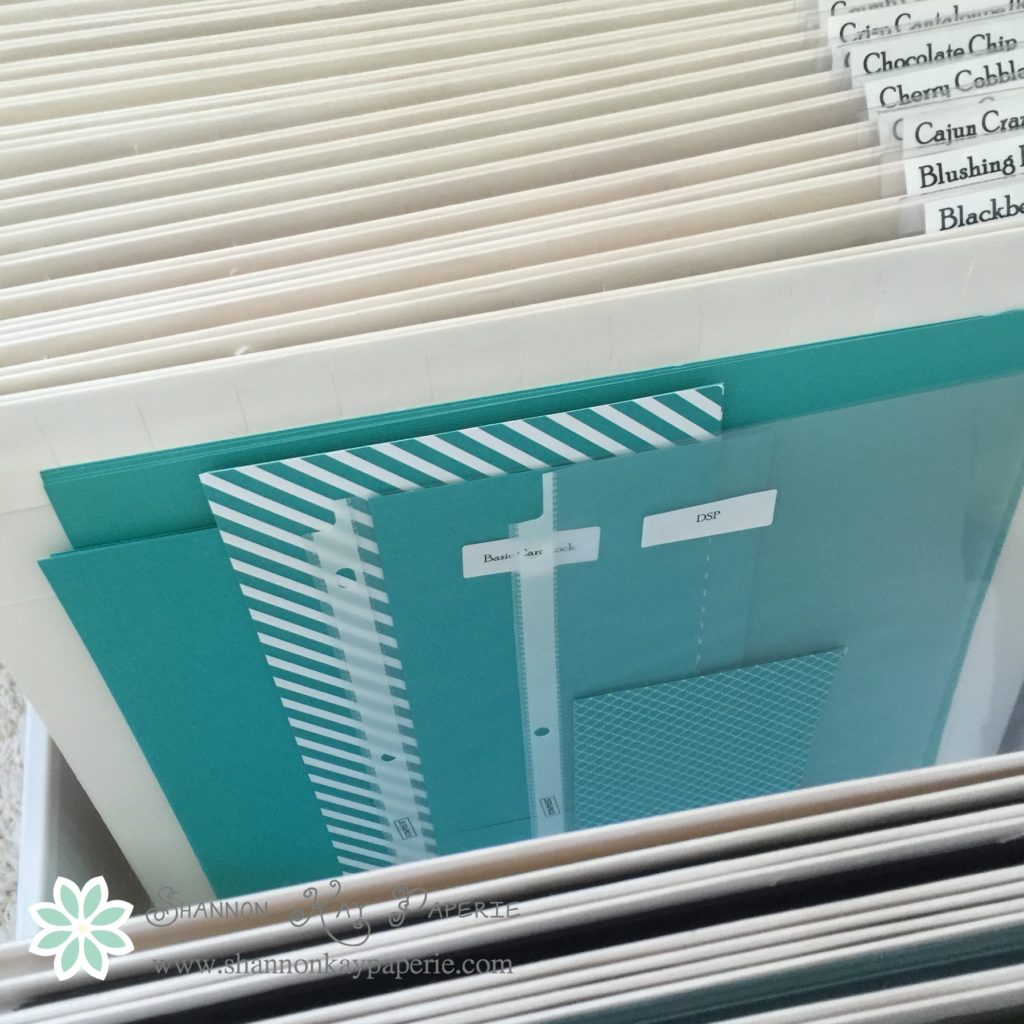
I keep my 12 x 12 and my 81/2 x 11 card stock together in here as well as any 12 x 12 coordinating DSP if I have any. I tend to purchase the DSP in a group buy so I end up with 6 x 12 pieces of DSP. I store those, along with any DSP scraps, inside inexpensive sheet protectors. Ditto with my card stock scraps:

Oh Those Pesky Scraps!!

Whenever I reach for paper, I check my scrap stash first. I love having EVERYTHING for each color right at my fingertips!

Stampin’ Up! has lots of sets of coordinating DSP every year. I keep those separately, like so:

Oh Those Pesky Scraps!!

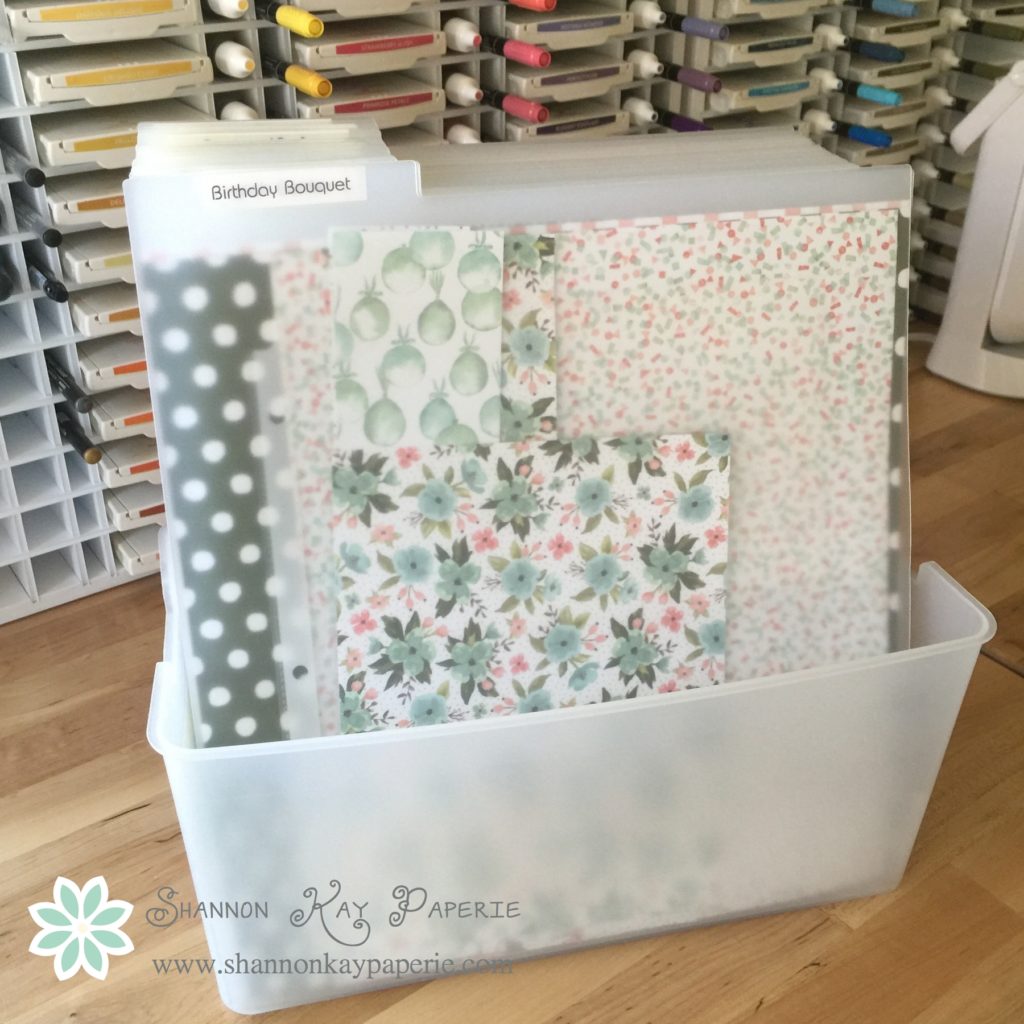
The bins are ITSO bins from Target. The height of the bins keeps the paper secure while allowing me to flip through the easily, without having to take everything out. The 12 x 12 opaque dividers are by Cropper Hopper. I use my handy dandy label maker to make up labels for each tab and then store the paper behind. The scraps for each set are kept in sheet protectors and stored right with the 12 x 12 pieces (pictured above). I reach for my scraps before cutting into a new sheet.

Yes, I am an organizational junkie! I probably spend as much time organizing as I do creating, but that seems to have slowed down as I recently moved my craft room to another room in the house and now have everything set up just the way I want it…I think…for now…you know how that goes…:)

Would you be interested in seeing more of my craft room and how I organize my supplies? I was thinking about doing a weekly series on organizing, if there’s an interest, so let me know please!

I would love to hear how you store your scraps and how you use them up!

Thank you for stopping by!


Keeping Busy…

After my surgery the doctors told me to get up and move often as that would hurry the healing process along. So I did. As soon as I was able to, I wandered into my stamping room. I’m on a mission to ‘bash my stash’ so I determined that I would finish off my pack of Stampin’ Up’s 6×6 DSP stack Cherry on Top. I’ve gotten quite a bit done…it’s amazing what a bit of time here and there can accomplish!

Keeping Busy...

I wanted to make as much headway as I could so I started by using the DSP as a background, highlighted by a birthday sentiment. Both the sentiment and the die are by The Stamps of Life. You may notice that I started with balloons as embellishments but I felt that they detracted from the overall design of the card, so I stopped adding them.

Keeping Busy...

After I had gone through and used all the sheets of paper, I had tons left over. So I quickly designed a layout that would maximize the paper. I only had to snip a bit of the sides of the DSP to create these cards. I added balloons to these cards and think they turned out great! I started with my Stampin’ Up! ballon builder punch but it stopped working (a replacement has already arrived at my house, SU has great customer service!) so I turned to dies. These that I used are a mixture from several different stamps sets. I also discovered as I was cutting down Whisper White card stock to make the white panel for these cards, that the trimmed off pieces would make a great base for my birthday sentiment, already trimmed and ready to go! So I cut them all to a specific length (3 1/2″ I think, don’t hold me to that though) and whipped out my MISTI! I attached the white baker’s twine to the back of the balloons with SNAIL and then used a glue dot to secure the strings together in a bunch. Now, above is a close up of most of the designs, but here’s the actual total cards created from those scraps:

Keeping Busy...

But wait…there’s more! One of the patterns in particular was best accented by a die I have in my stash so I used it to create these:

Keeping Busy...

Doesn’t that pattern look awesome with that die?!?

You wold think I would be done and I almost am, but I have a few scraps left:

Keeping Busy...

I will post what I created with these as soon as I finish!

As I piled all my cards up and counted them, 83 total, I glanced over at the stash of 6×6 paper still to go and thought OMG!! I have enough paper to make thousands of cards!! And that’s just the 6×6!! I guess I should stop collecting…ha ha ha.

I’m not crazy, I just love mass producing cards. It’s very soothing to me. And these cards do have a purpose, my husband uses them at work 🙂

Just a reminder to you if you like this DSP that it will be retiring on May 31st so make sure to get yours quickly because availability is based on stock on hand only and may not last through May 31st.

The retiring items list is going to be released on April 18th! This is an exciting time of year at Stampin’ Up! with OnStage (formerly convention) coming up, the release of the new catalog as well as the list of retiring products, and the unveiling of the new In Colors! I have seen a peek of them and can tell you that they look FAB and I can’t wait to get my hands on them!

Thanks for stopping by!

Sprinkles of Birthday Cheer

Hello Friends! I know it’s Monday, I hope you had a fun weekend!! It was HOT in Southern California so I stayed inside and made cards. 34 to be exact!

Sprinkles of Birthday CheerMy husband asked me to make birthday cards for him…it was SO much fun!! I’ll share them a bit more closely over the next week. Today I wanted to focus on just one:

Sprinkles of Birthday CheerSo much fun to make!! Almost all Stampin’ Up product today. The Cherry on Top Designer Series paper is very cute and versatile and I finally inked up the Sprinkles of Life stamp set. I has a coordinating punch so I used that too! I admit to being a bit dismayed when I realized I had to fussy cut the ice cream cone base out, but it turned out to be easily done.

Sprinkles of Birthday CheerI added a cherry on top from the Cupcake Builder punch…it’s perfect, don’t you think? And I love the coordinating sentiment…

Sprinkles of Birthday CheerSo fun! Thank you so much for stopping by!

Wishing you joy and blessings!

Products Used:

Cardstock: Stamper’s Select White by Papertrey Ink; Crushed Curry, Crumb Cake; Pool Party and Watermelon Wonder by Stampin’ Up!

Pattern Paper: Cherry on Top Designer Series Paper Pack by Stampin’ Up!

Ink: Chocolate Chip, Crushed Curry, Pool Party and Bermuda Bay by Stampin’ Up!

Stamps:   Sprinkles of Life by Stampin’ Up!

Dies: Stitched Mats: Rounded Rectangle Dies by Lil ‘Inker and Envelope Liner Die by Stampin’ Up!

Tools:  Tree Builder, Cupcake Builder and Project Life Corner Punches by Stampin’ Up!

Embellishments: Crushed Curry 1/4″ Cotton Ribbon (retired) by Stampin’ Up!