Quick & Easy Card Idea

It’s the Fourth of July here in the States, time to celebrate our heritage and rejoice in our freedoms! A day for parades, hot dogs, BBQ’s, and fireworks! We usually go to the ball park to celebrate with good ole baseball and fireworks, but this year I have to work tomorrow 🙁 so I will be going to bed with a pillow over my head! lol

Big-on-Birthdays-Gorgeous-Grunge-Birthday-Cards-Ideas-Shannon-Jaramillo-stampinup

So I decided to celebrate the day with paper crafts instead! Today’s card is sooooo quick and easy you may want to make a bunch of them!

Details:

  • I actually saw a similar card done with watercolor splatters and I thought “Hey! I can make that so easily using the Gorgeous Grunge splatter stamp!” And so a card was born…

Big-on-Birthdays-Gorgeous-Grunge-Birthday-Card-Idea-Shannon-Jaramillo-stampinup

  • I stamped the splatter stamp from the now retired but ever so useful Gorgeous Grunge stamp set in three complimentary colors: Old Olive, Bermuda Bay and Calypso Coral.
  • I then stamped this AWESOME birthday sentiment from the Big on Birthdays stamp set in Tuxedo Black ink.
  • Three little clusters of sequins finish the card off perfectly!
  • I pulled out my retired stash for the envelope liner. This pattern is from the Best Year Ever DSP pack, probably two springs catalogs ago now

Big-on-Birthdays-Gorgeous-Grunge-Birthday-Cards-Idea-Shannon-Jaramillo-stampinup

  • The inside is very clean as well with just a single sentiment from the Birthday Banners stamp set.

Honestly, there are so many possibilities for cards with this concept! Any large sentiment will work! And if your sentiment is horizontal rather than vertical, just change the orientation of the splatter stamp! Cute, Quick and easy to mass produce! And flat for mailing too!

Thanks for stopping by today. I’d love to hear your thoughts on how you might use this idea!

Supplies:

Coffee & Friends – Sunday Stamps 113

Happy Sunday to my stamping friends! Today we have another new challenge for you from Sunday Stamps and it’s a color challenge!

SS113-11_01_15I took my inspiration straight from the photo for my card:

Coffee & Friends - Sunday Stamps 113I thought this would be a perfect card to add a gift card to:

Coffee & Friends - Sunday Stamps 113and give to a sweet friend 🙂

Please stop by the Sunday Stamps Challenge Blog to see the wonderful inspiration from the design team!

Thank you for stopping by today!

Products Used:

Cardstock: Stamper’s Select White by Papertrey Ink; Island Indigo and Soft Suede from Stampin’ Up!

Pattern Paper: None

Ink: Early Expresso, Island Indigo, and Soft Suede by Stampin’ Up!

Stamps:  Coffee Cozy by Lil ‘Inker; Gorgeous Grunge by Stampin’ Up!

Dies: Coffee Cozy by Lil ‘Inker and Gift Card Pocket by MFT Stamps

Tools:  MISTI (Most Incredible Stamp Tool Invented)

Embellishments: None


More Butterfly Wishes – Sunday Stamps 103

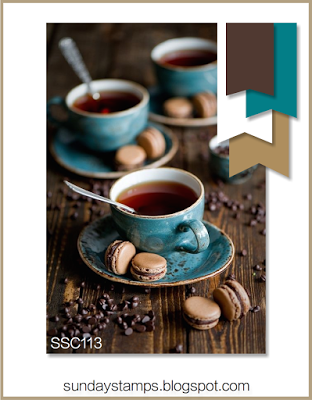
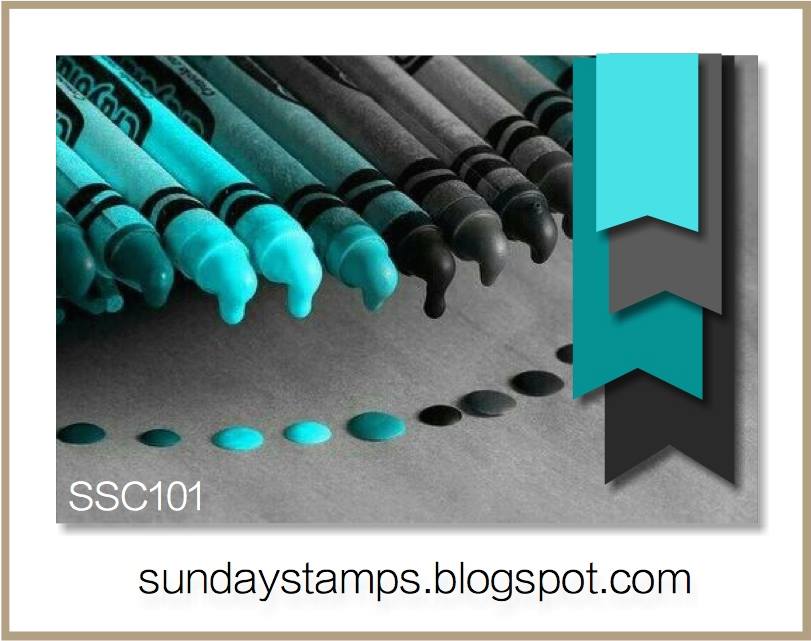
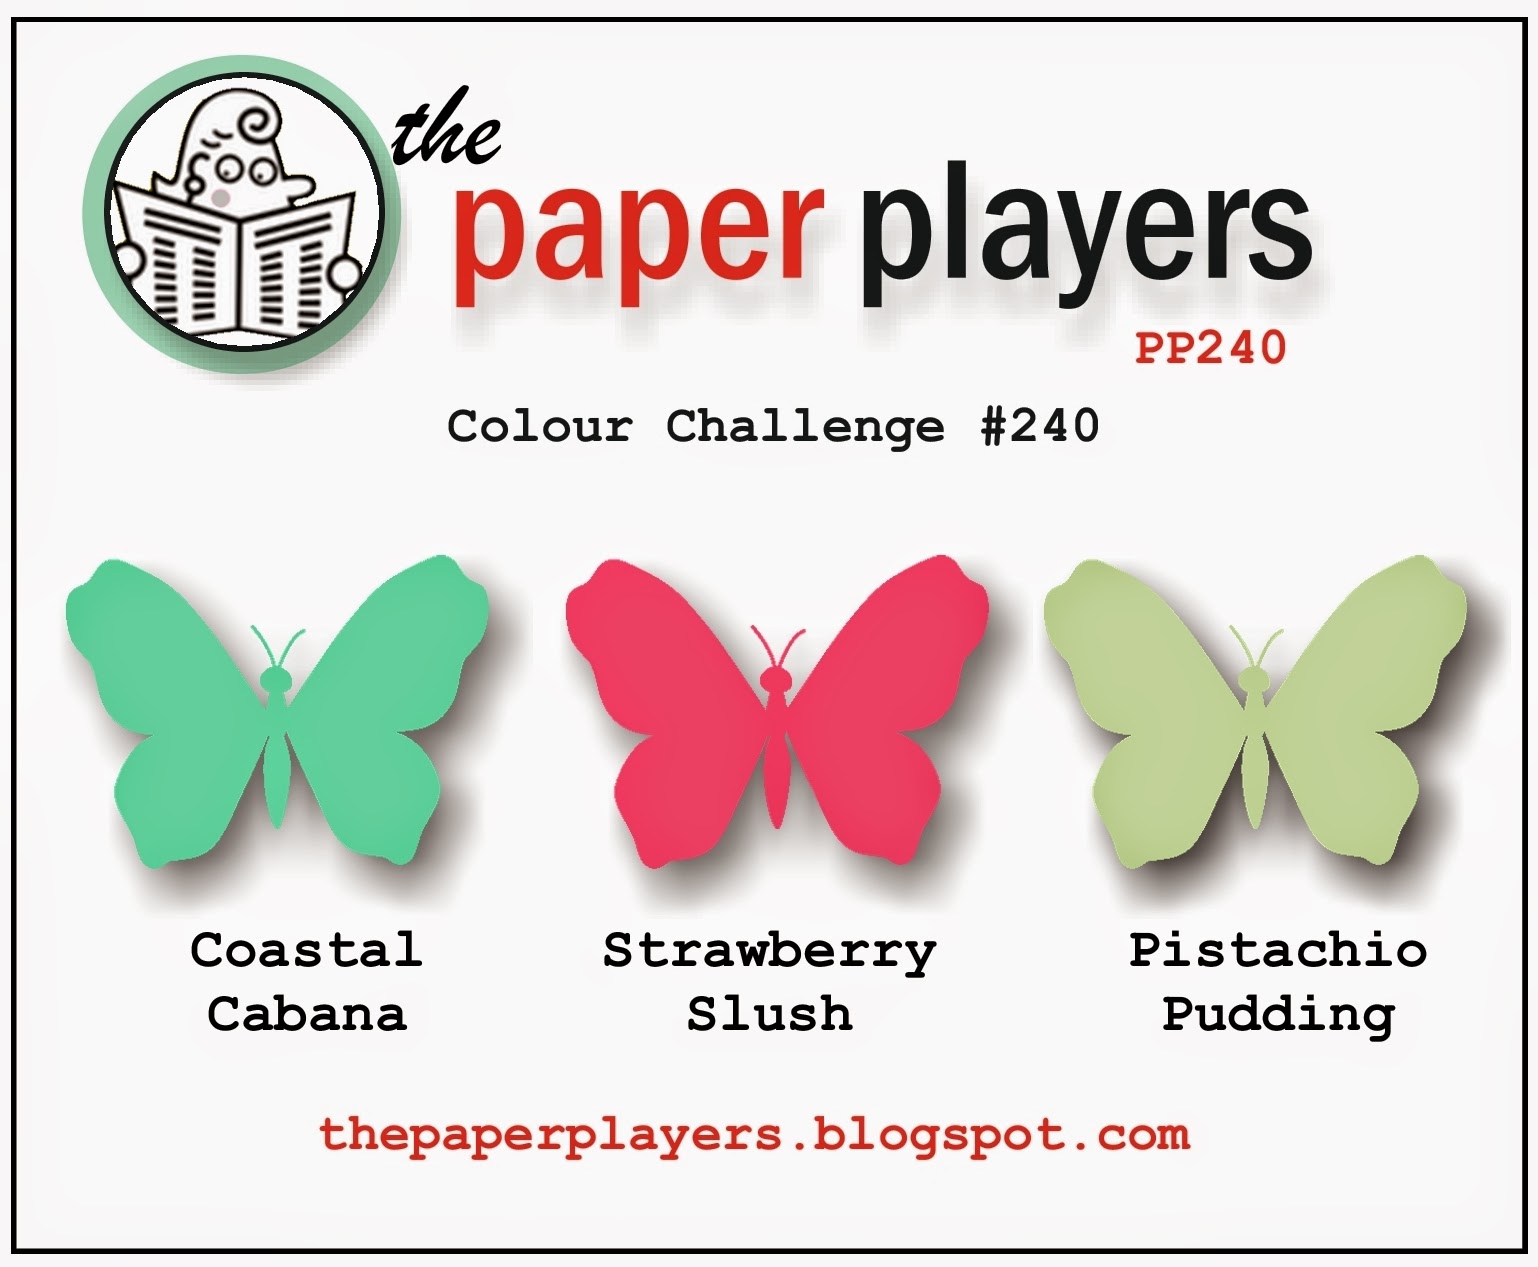
Woo Hoo! It’s time for another challenge from the Sunday Stamps design team!! Are you READY?? This challenge is a fabulous color challenge!!

06:07SSC103Isn’t it fab???? I think it is soooo yummy and I had a blast putting my card together:

More Butterfly Wishes - Sunday Stamps 103b

Yummy, right?? I can’t wait for you to see the rest of the cards by the design team, they really rocked this challenge!! But let’s go through my card first…

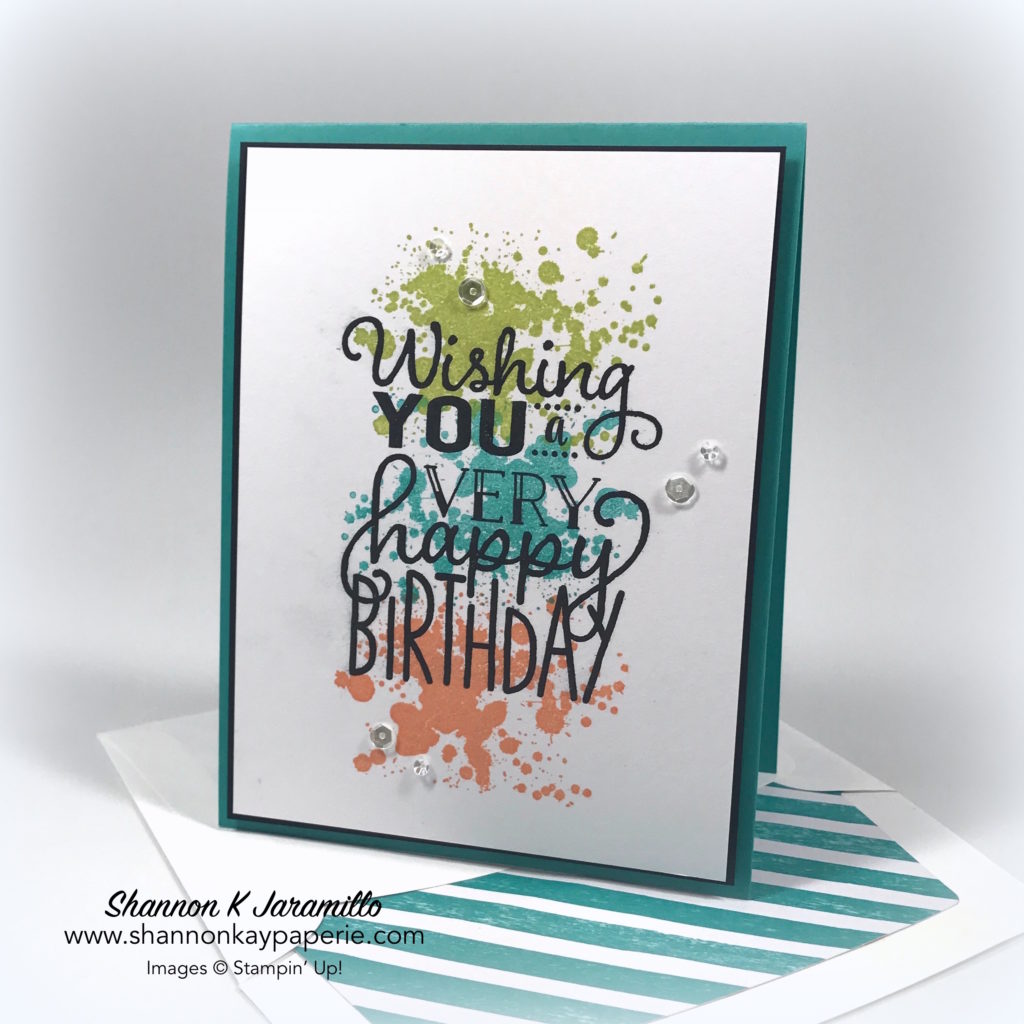
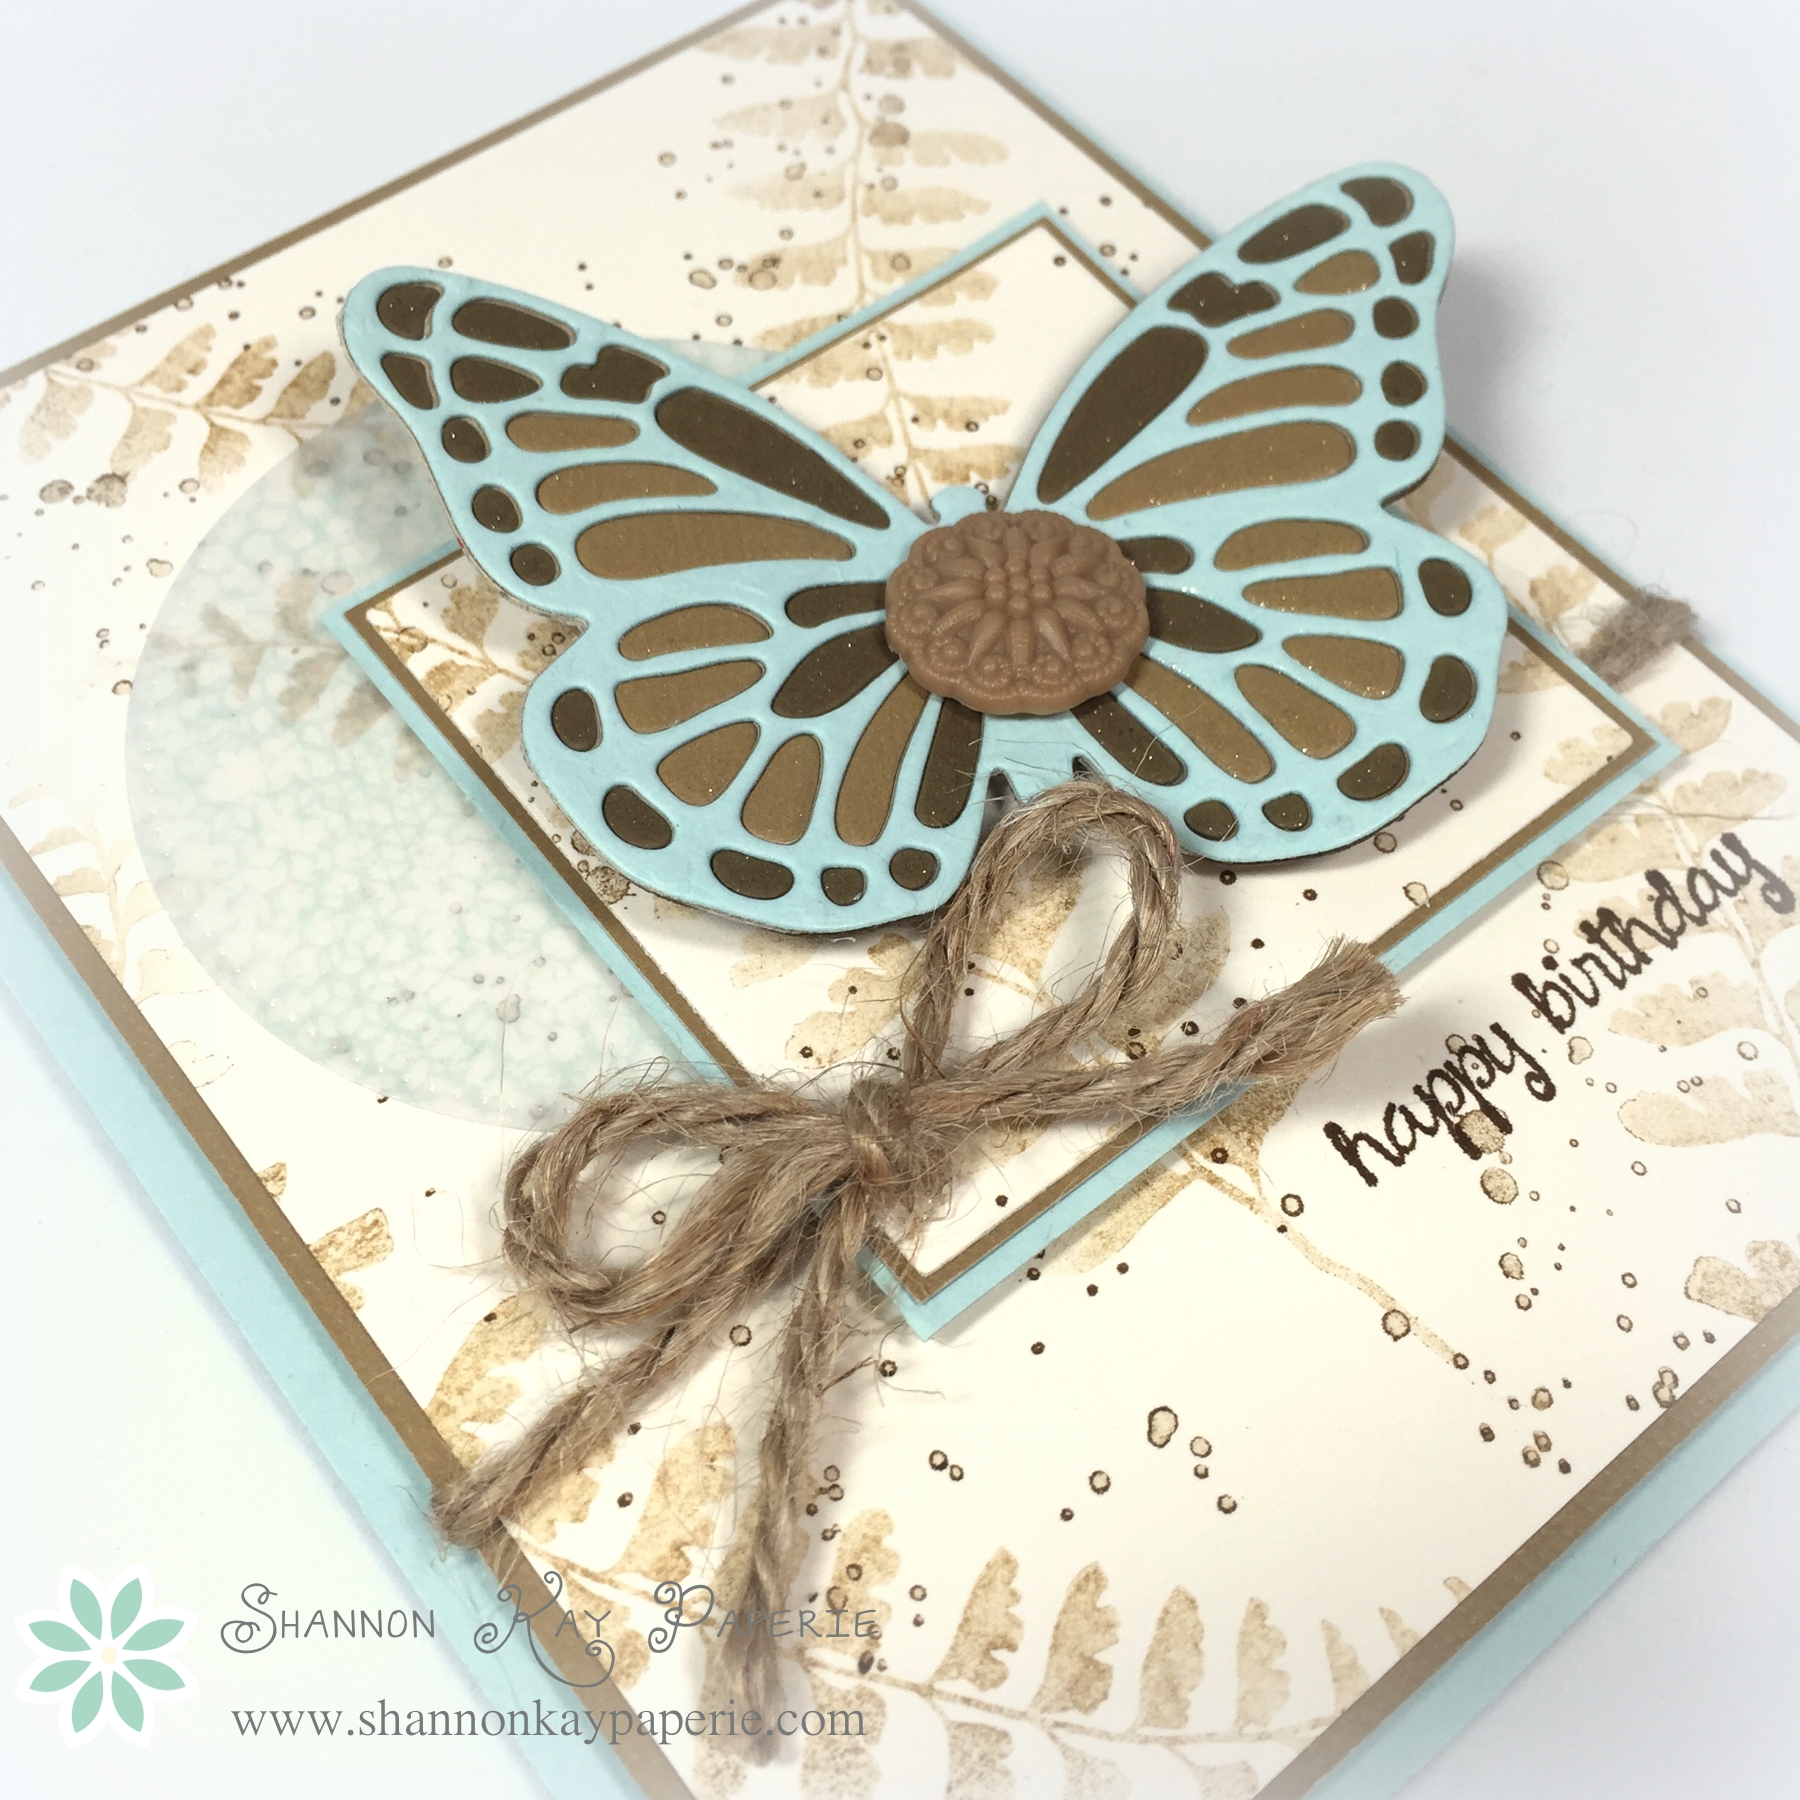
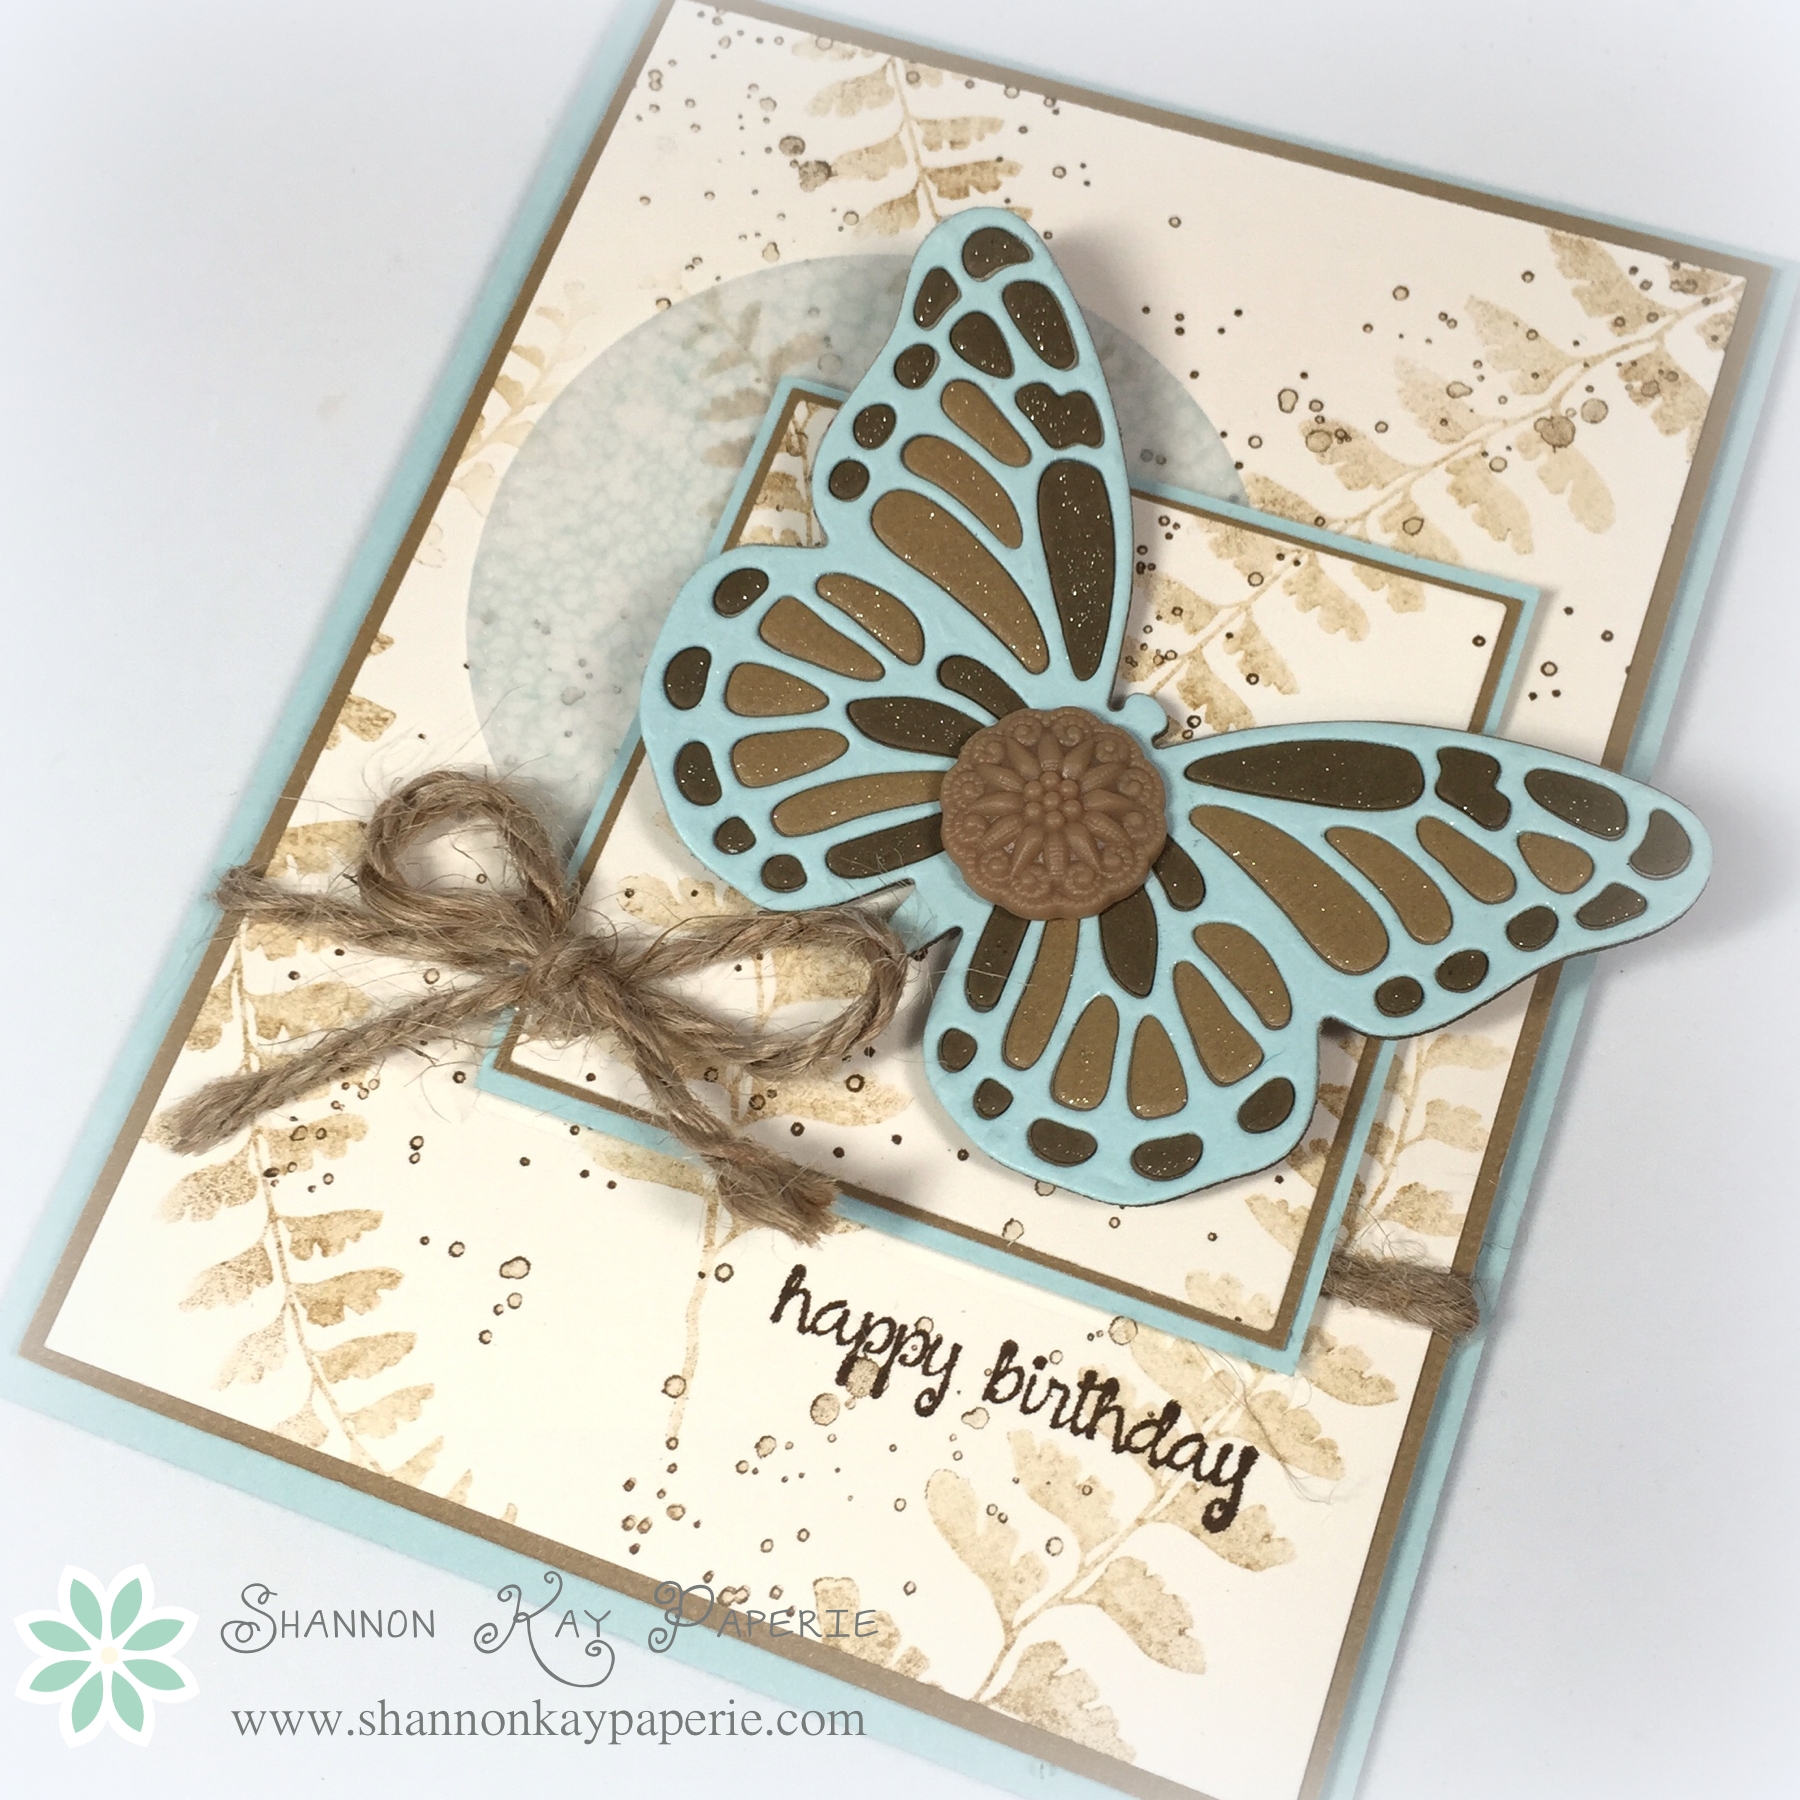
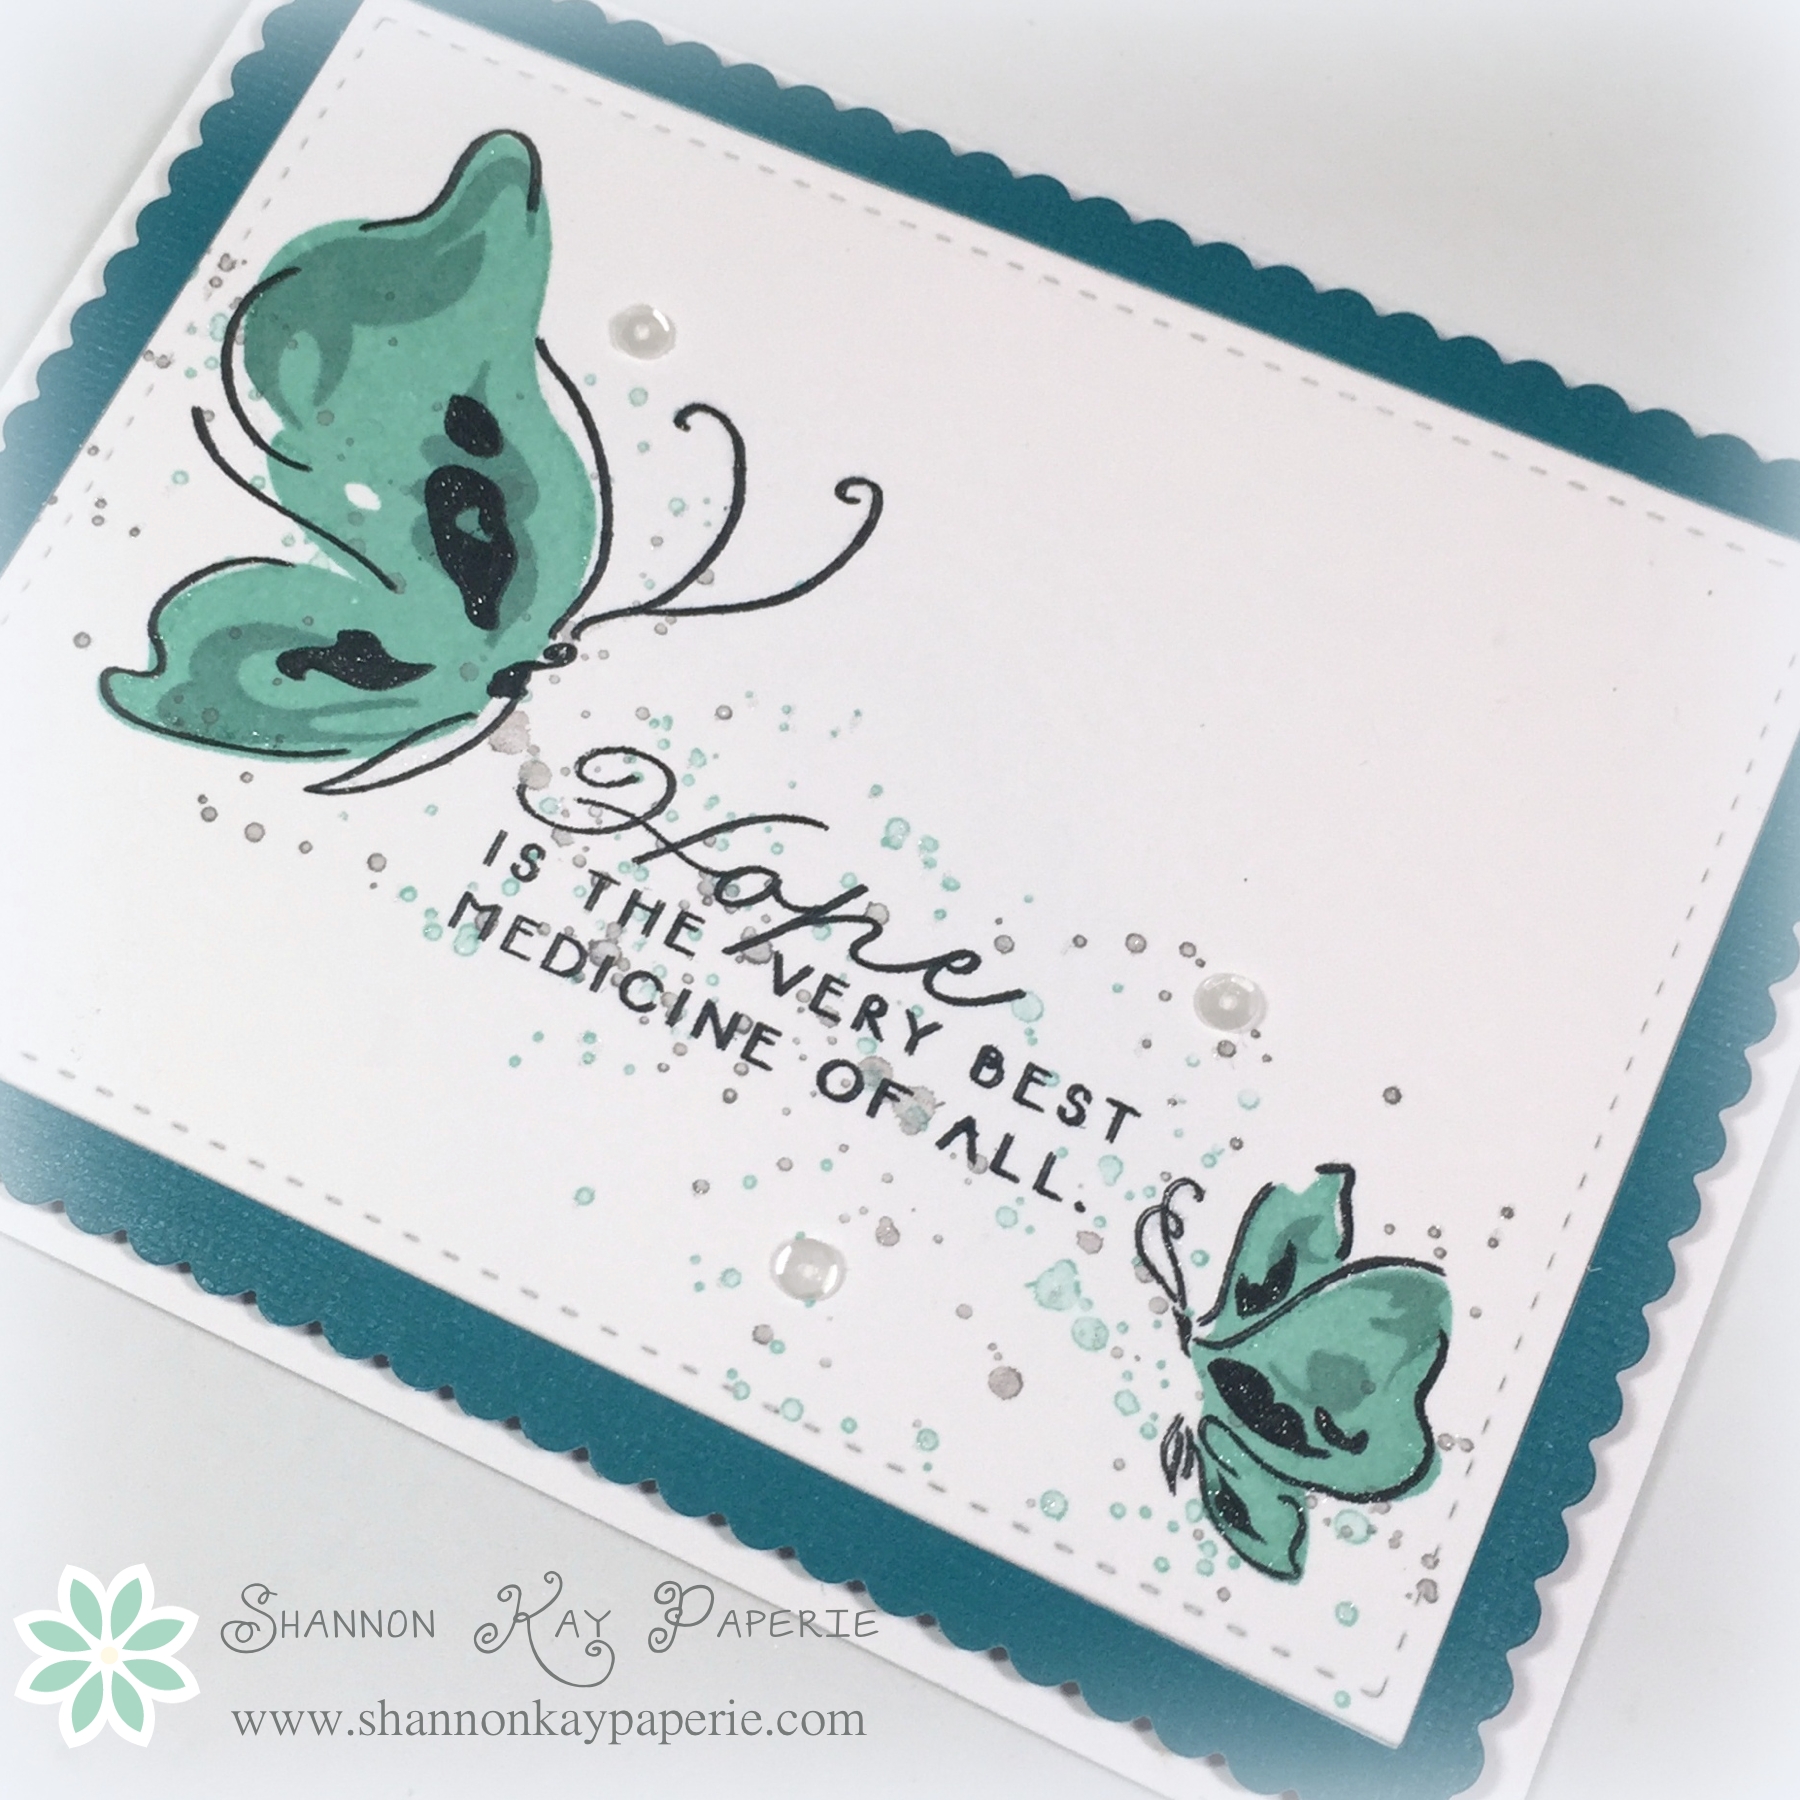
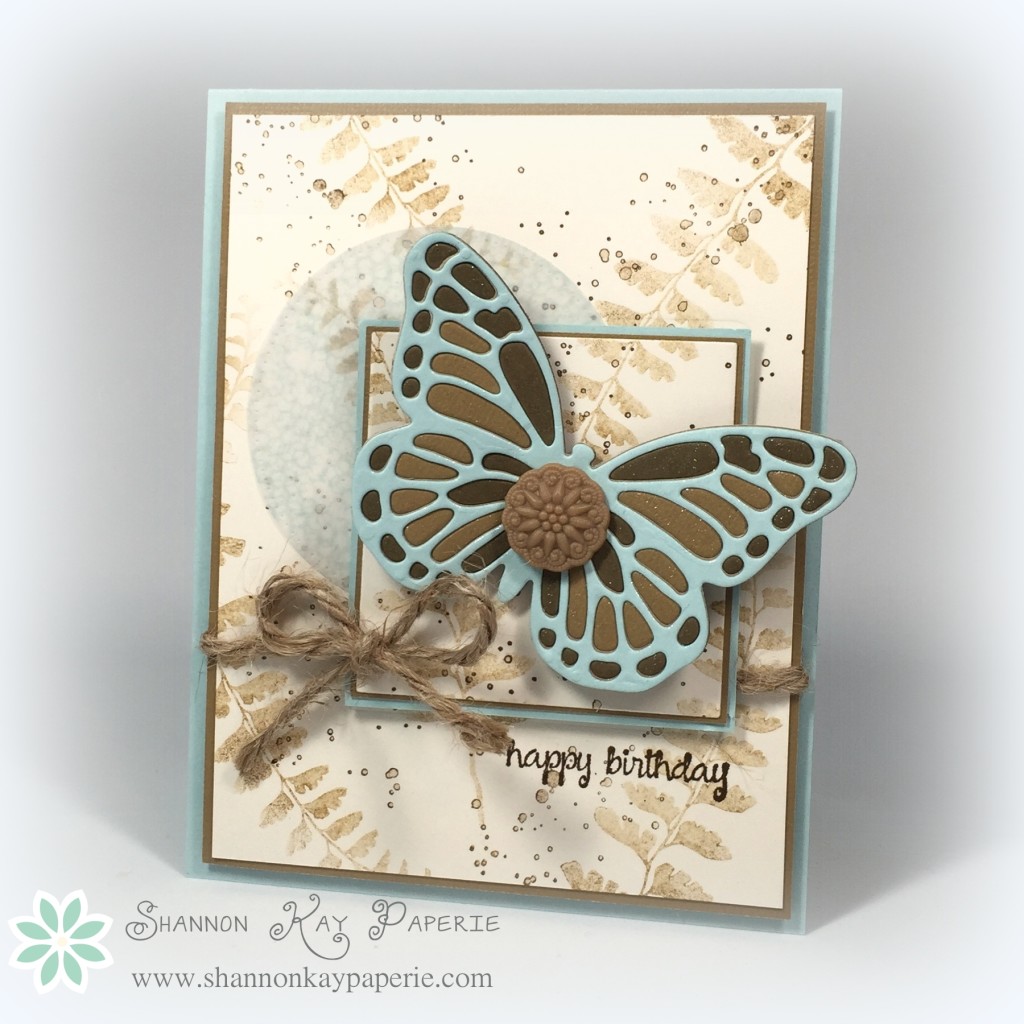
Since I pulled all of my colors from the Stampin’ Up! color palette (Soft Sky, Very Vanilla, Baked Brown Sugar and Soft Suede), I also pulled out a few Stampin’ Up! stamps, Butterfly Basics and Gorgeous Grunge, to play with. I used the splatter stamp and the leaf stamp to create my background in Soft Suede and Baked Brown Sugar respectively, stamping off before stamping my card stock.

SKP Watermarked Photos4-035I then used Square Framelits to cut a square out of my background, added two layers of card stock to it, and re-adhered it to my card. I had a ton of fun with the butterfly! I added a layer of micropore tape to the back of my Soft Suede card stock and then ran it through the Big Shot with the medium Butterfly Thinlit. I then ran Soft Sky and Baked Brown Sugar through the Big Shot with the same die. The micropore tape kept all of the pieces of the butterfly together, but allowed me to use my paper piercer to gently pull some of the pieces out and replace them with the same pieces in another color. I layered the Soft Sky butterfly on top and then carefully added Wink of Stella to all the pieces.

Whew! That was a long explanation, I hope it made sense. This all took a bit of time, but that’s okay, it became a personal challenge for me 🙂 Does that ever happen to you?

SKP Watermarked Photos4-038
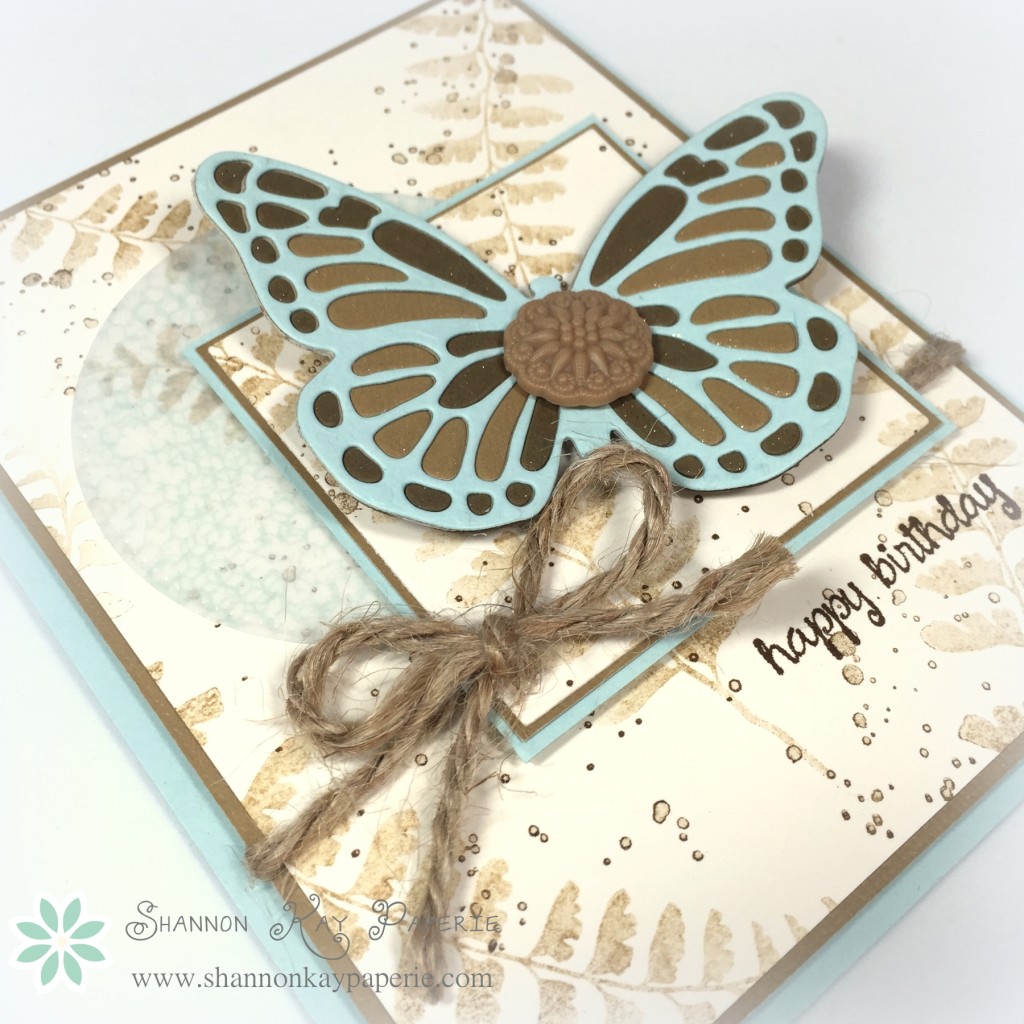
I die cut a circle from vellum and stamped it liberally with the honeycomb stamp from Butterfly Basics. The Soft Sky ink is really light on it, so I just stamped and stamped until it was dark enough. I had already adhered the layered square to the card so I was a bit stumped as to how I was going to add my circle. In the end, I used the square framelit to die cut part of my circle away and then used Crystal Effects to adhere the circle to the card.

SKP Watermarked Photos4-036
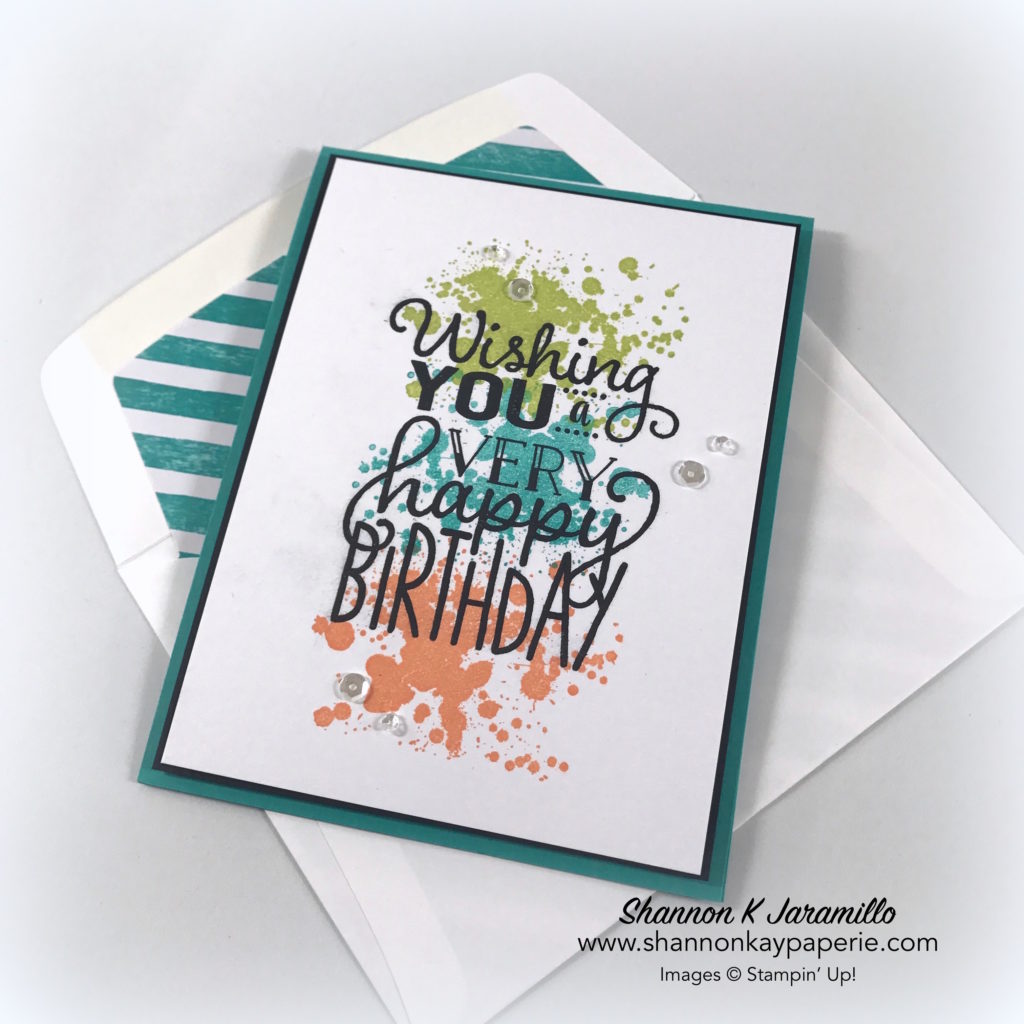
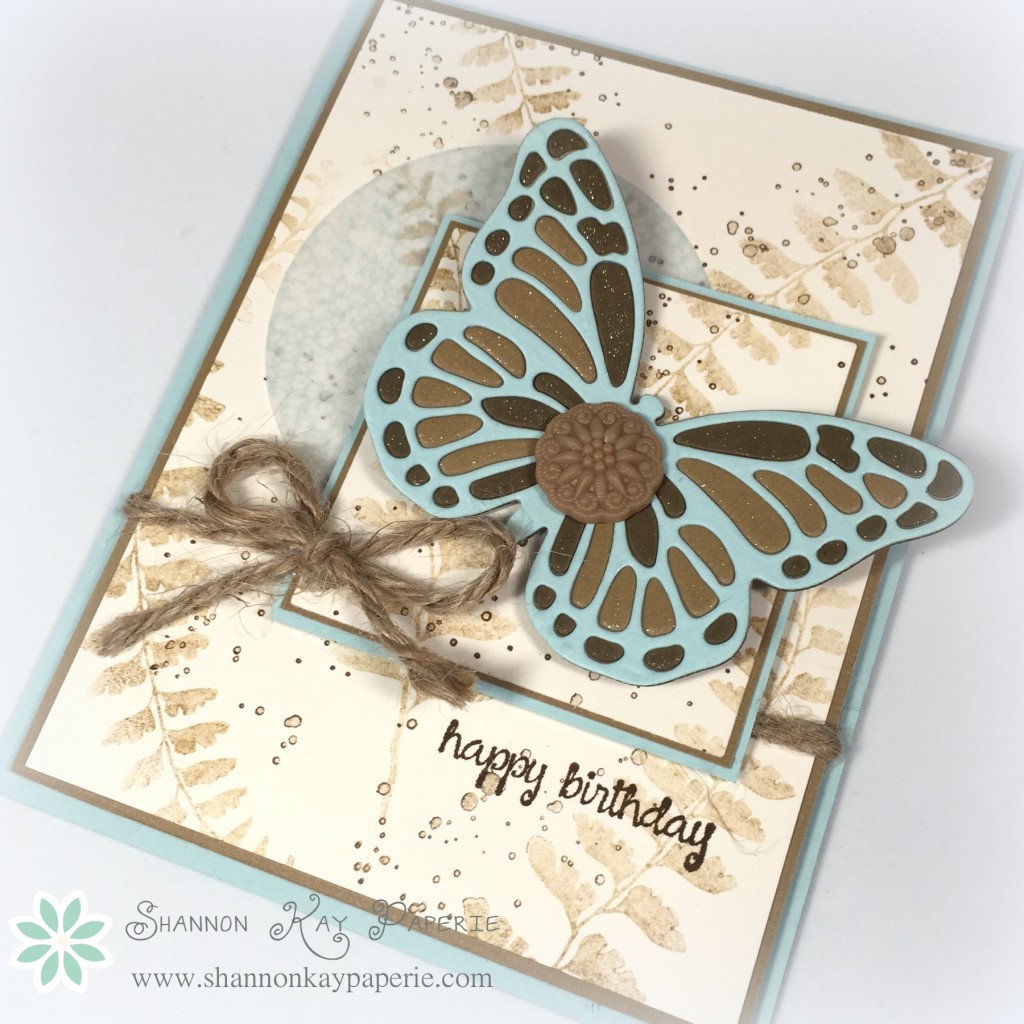
I also added the sentiment after the fact which is why it’s a bit splotchy…it’s no easy feat to stamp straight with all those layers and twine in the way!! But I actually really like the way it turned out!

And the twine…it came off of something I purchased and I saved it. It’s been hanging around my desk for a few months. I’m glad I saved it, I think it adds so much texture to my card!

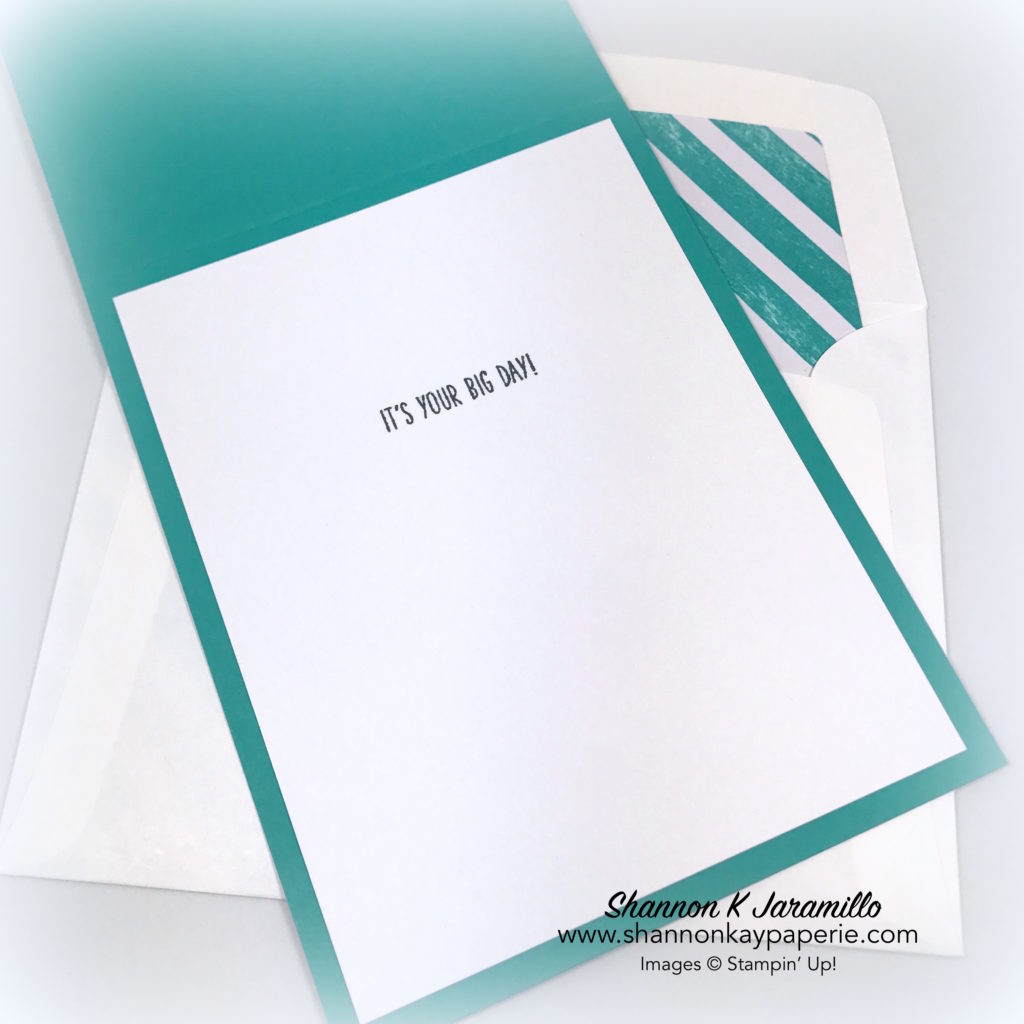
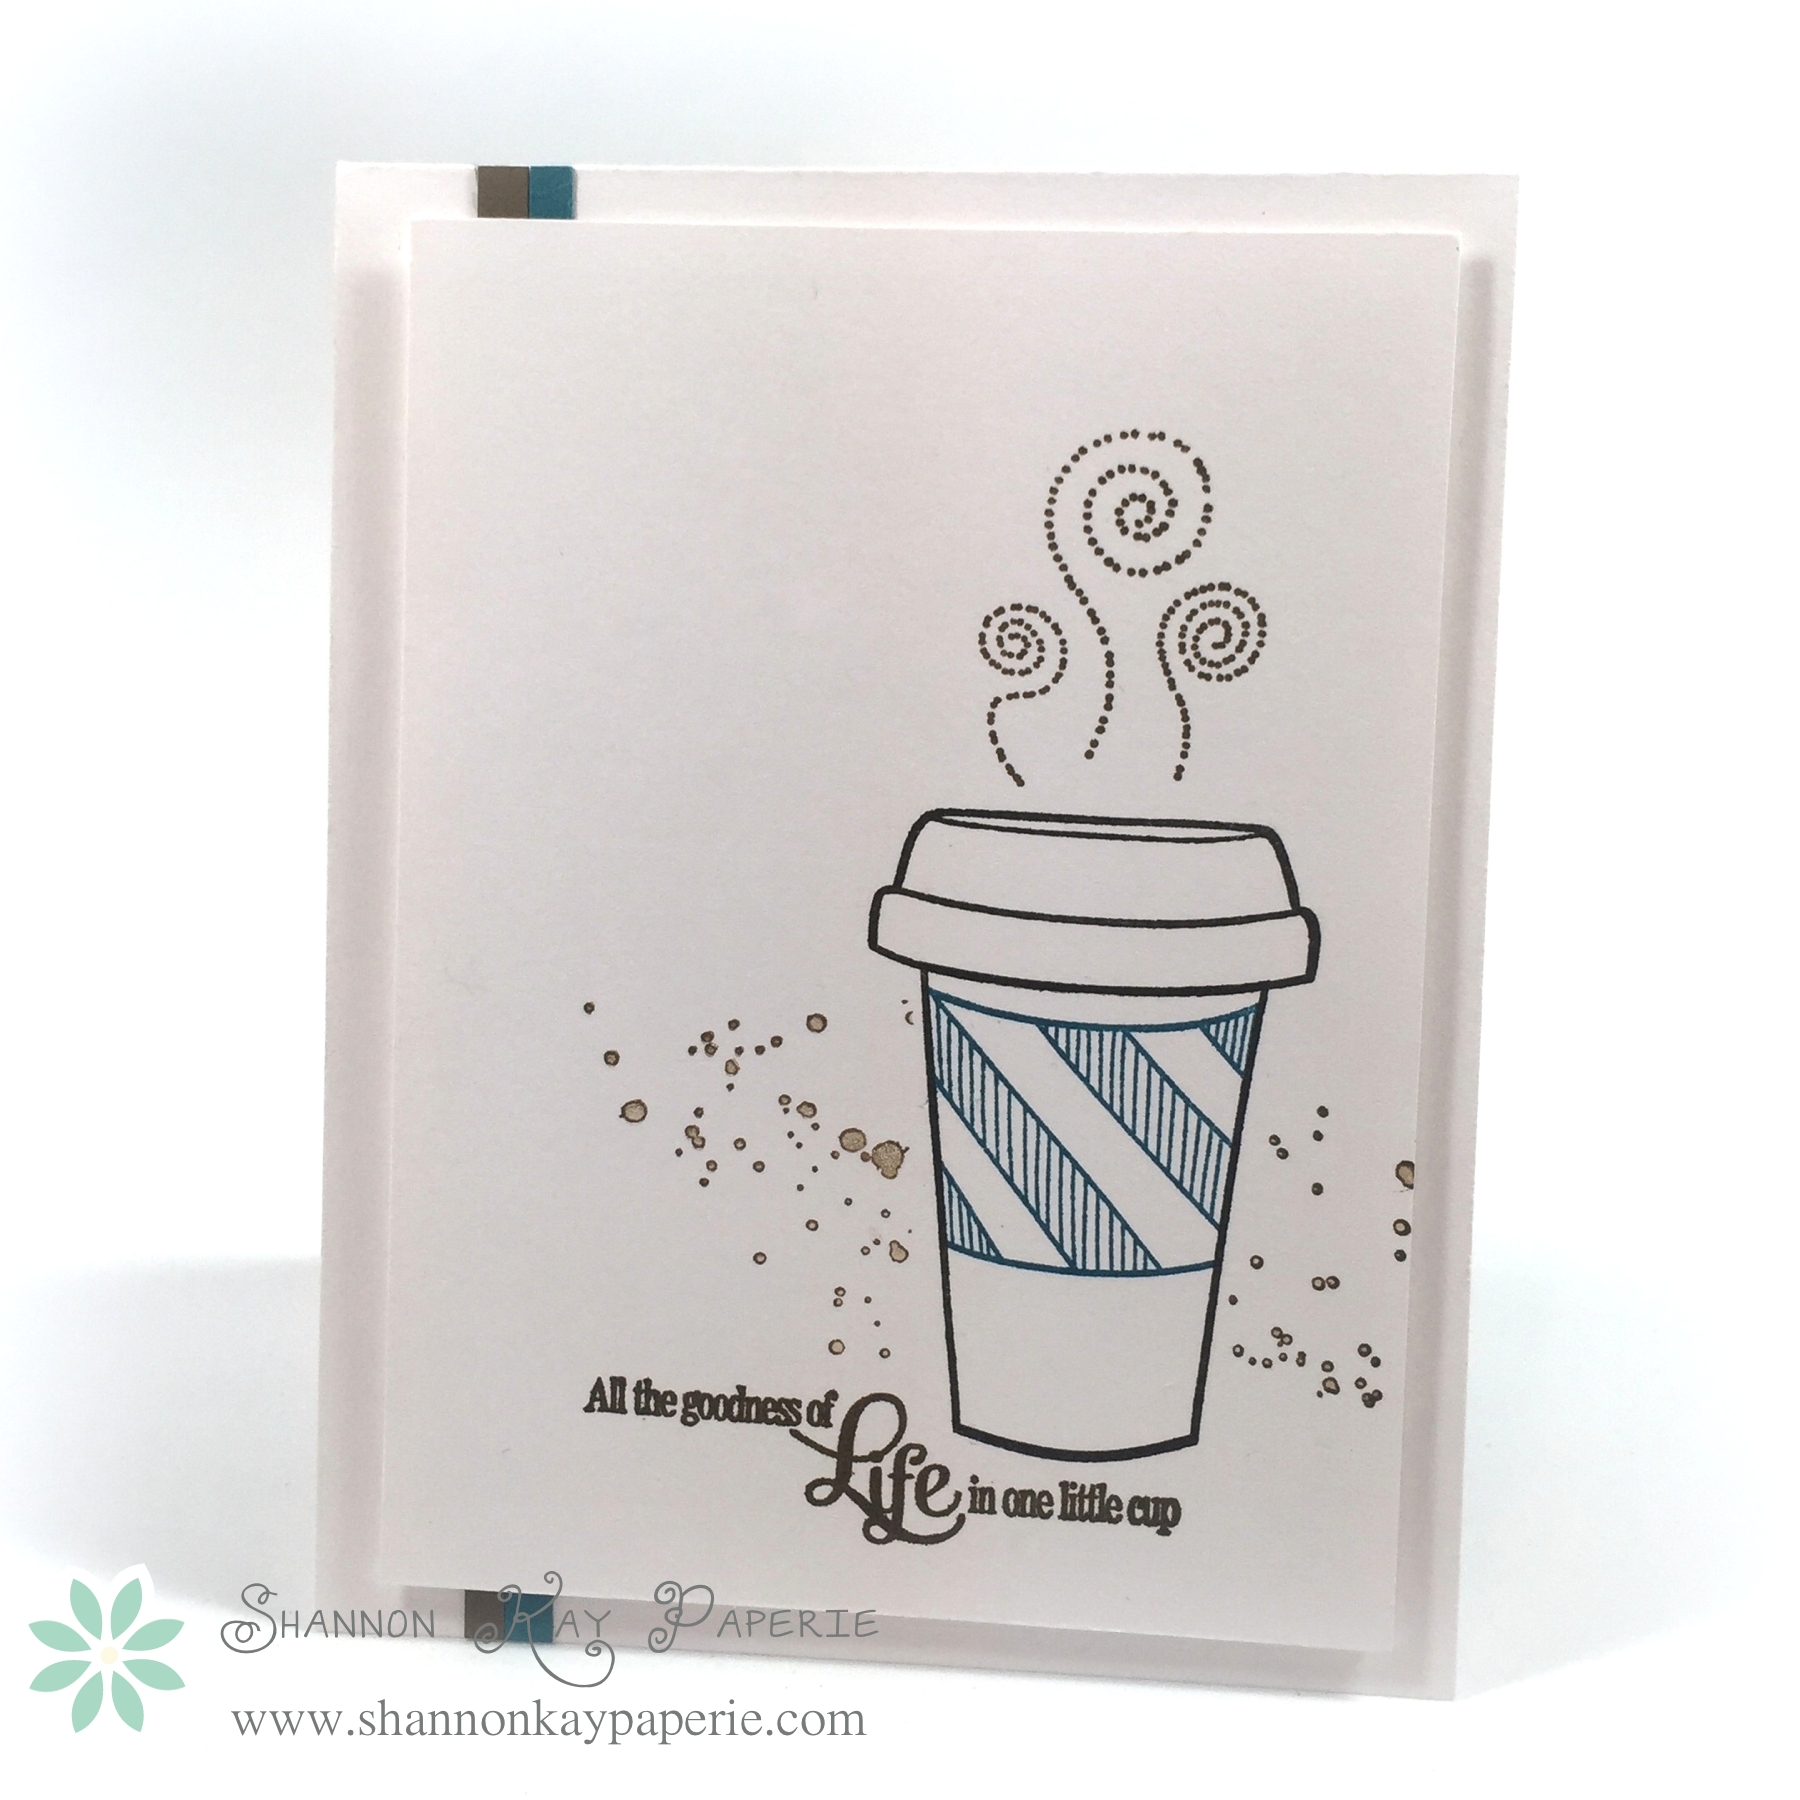
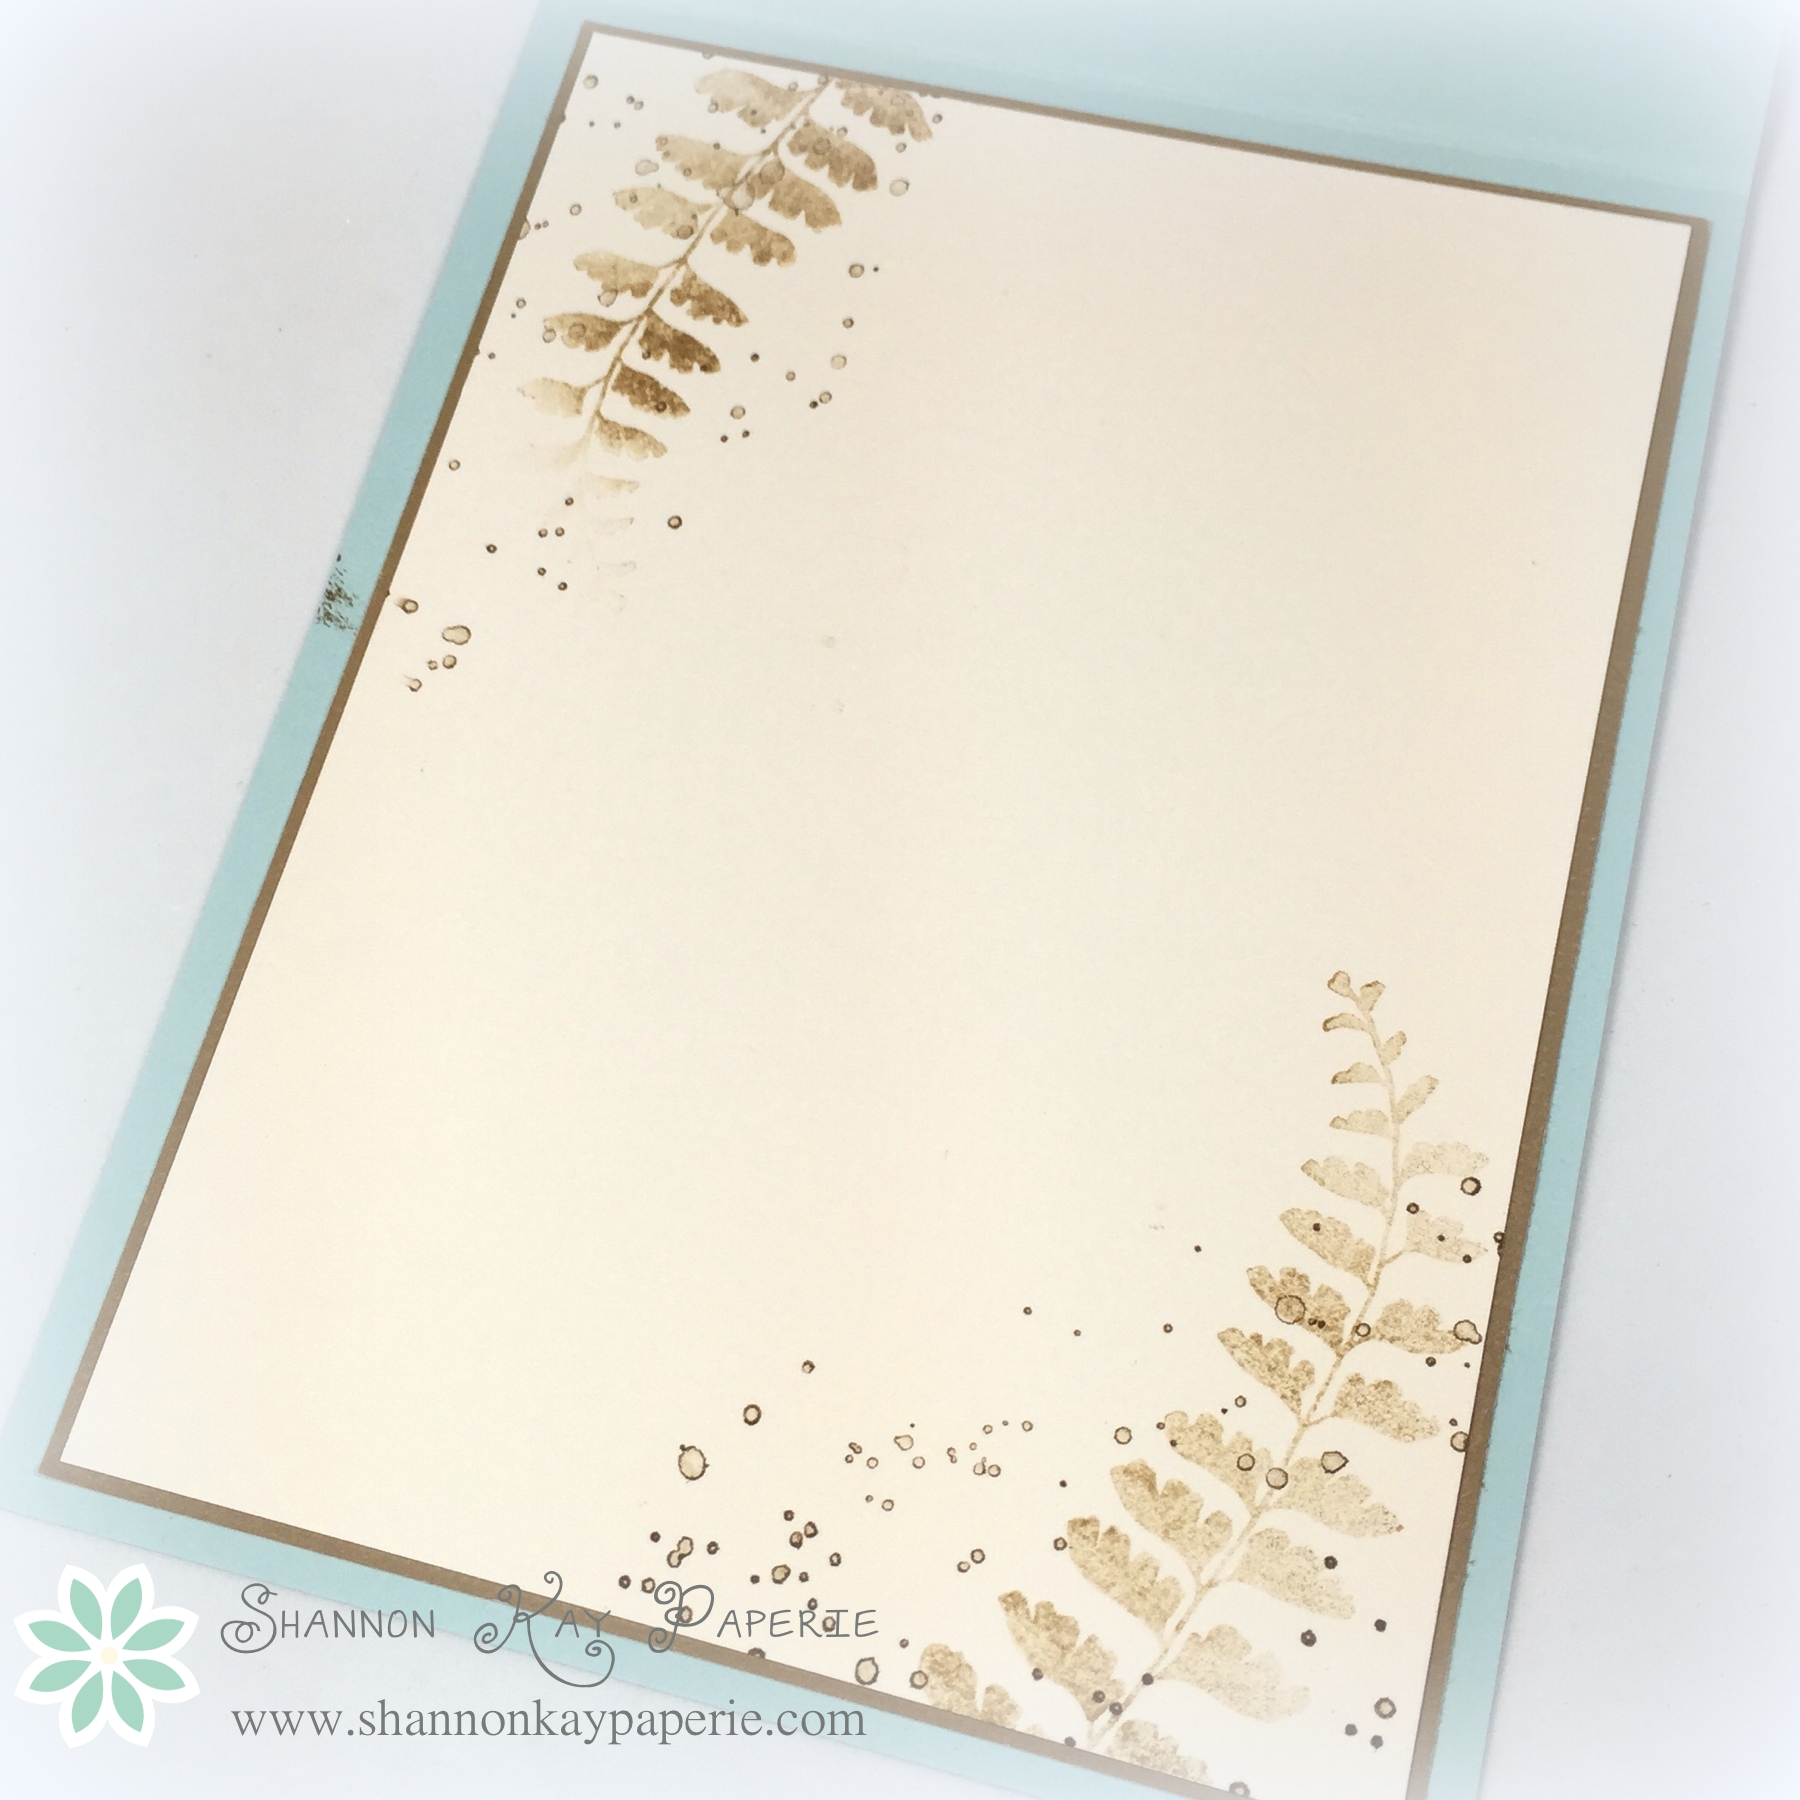
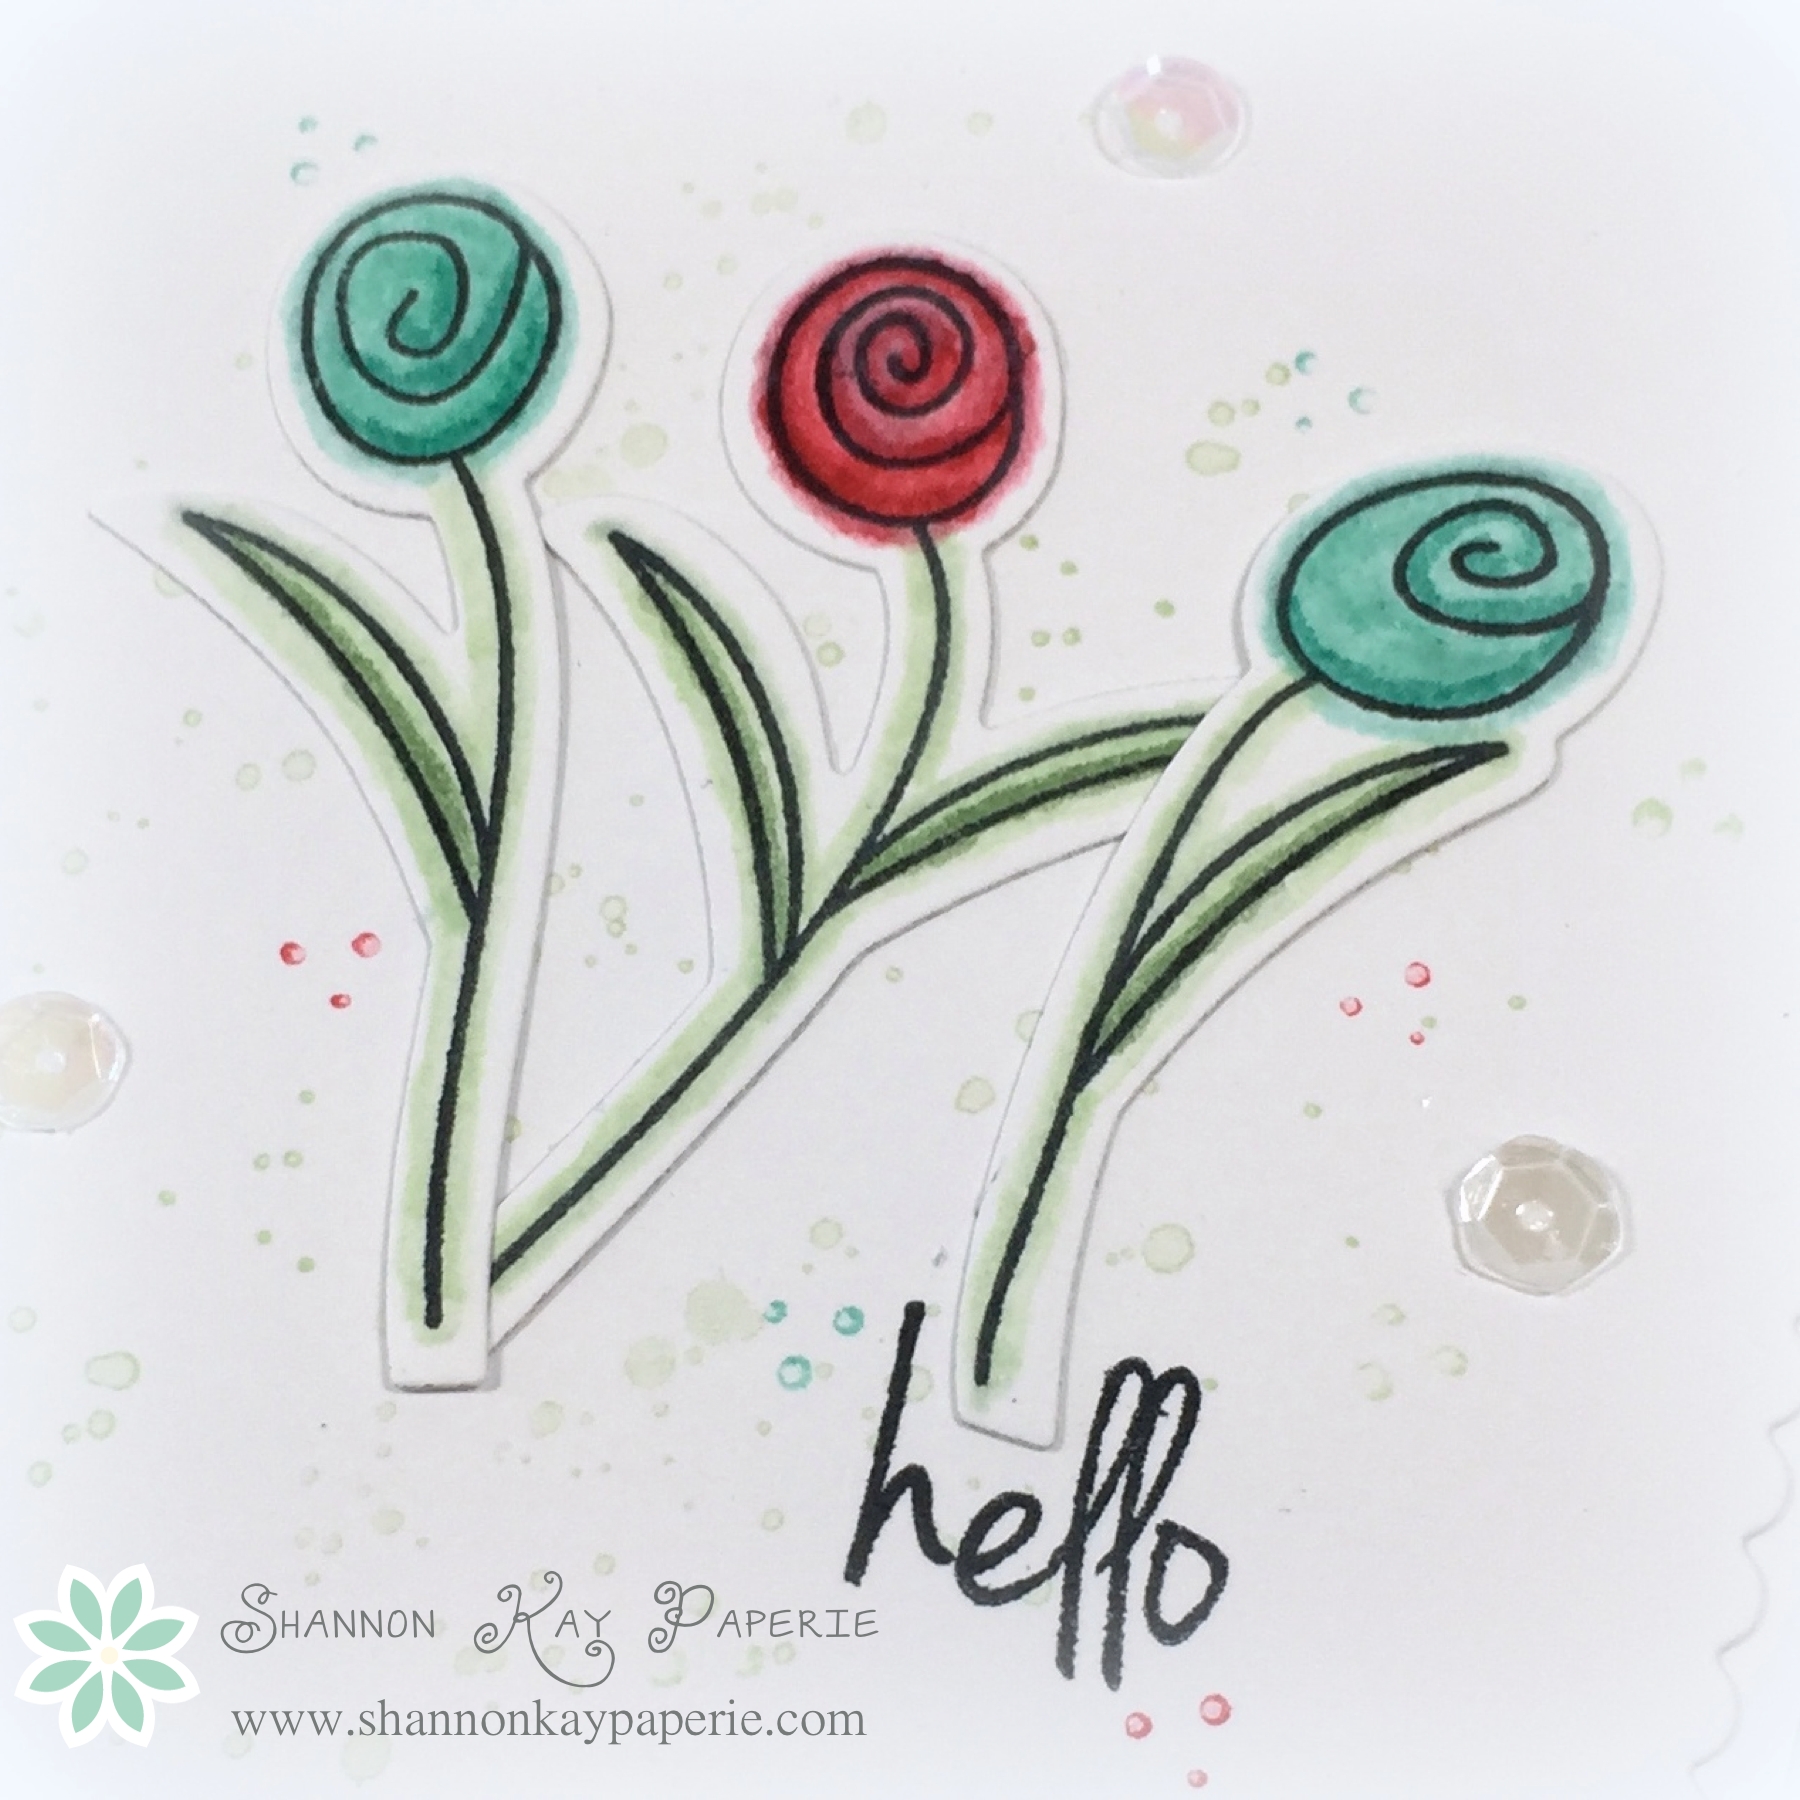
And I decorated the inside of today’s card as well:

SKP Watermarked Photos4-039
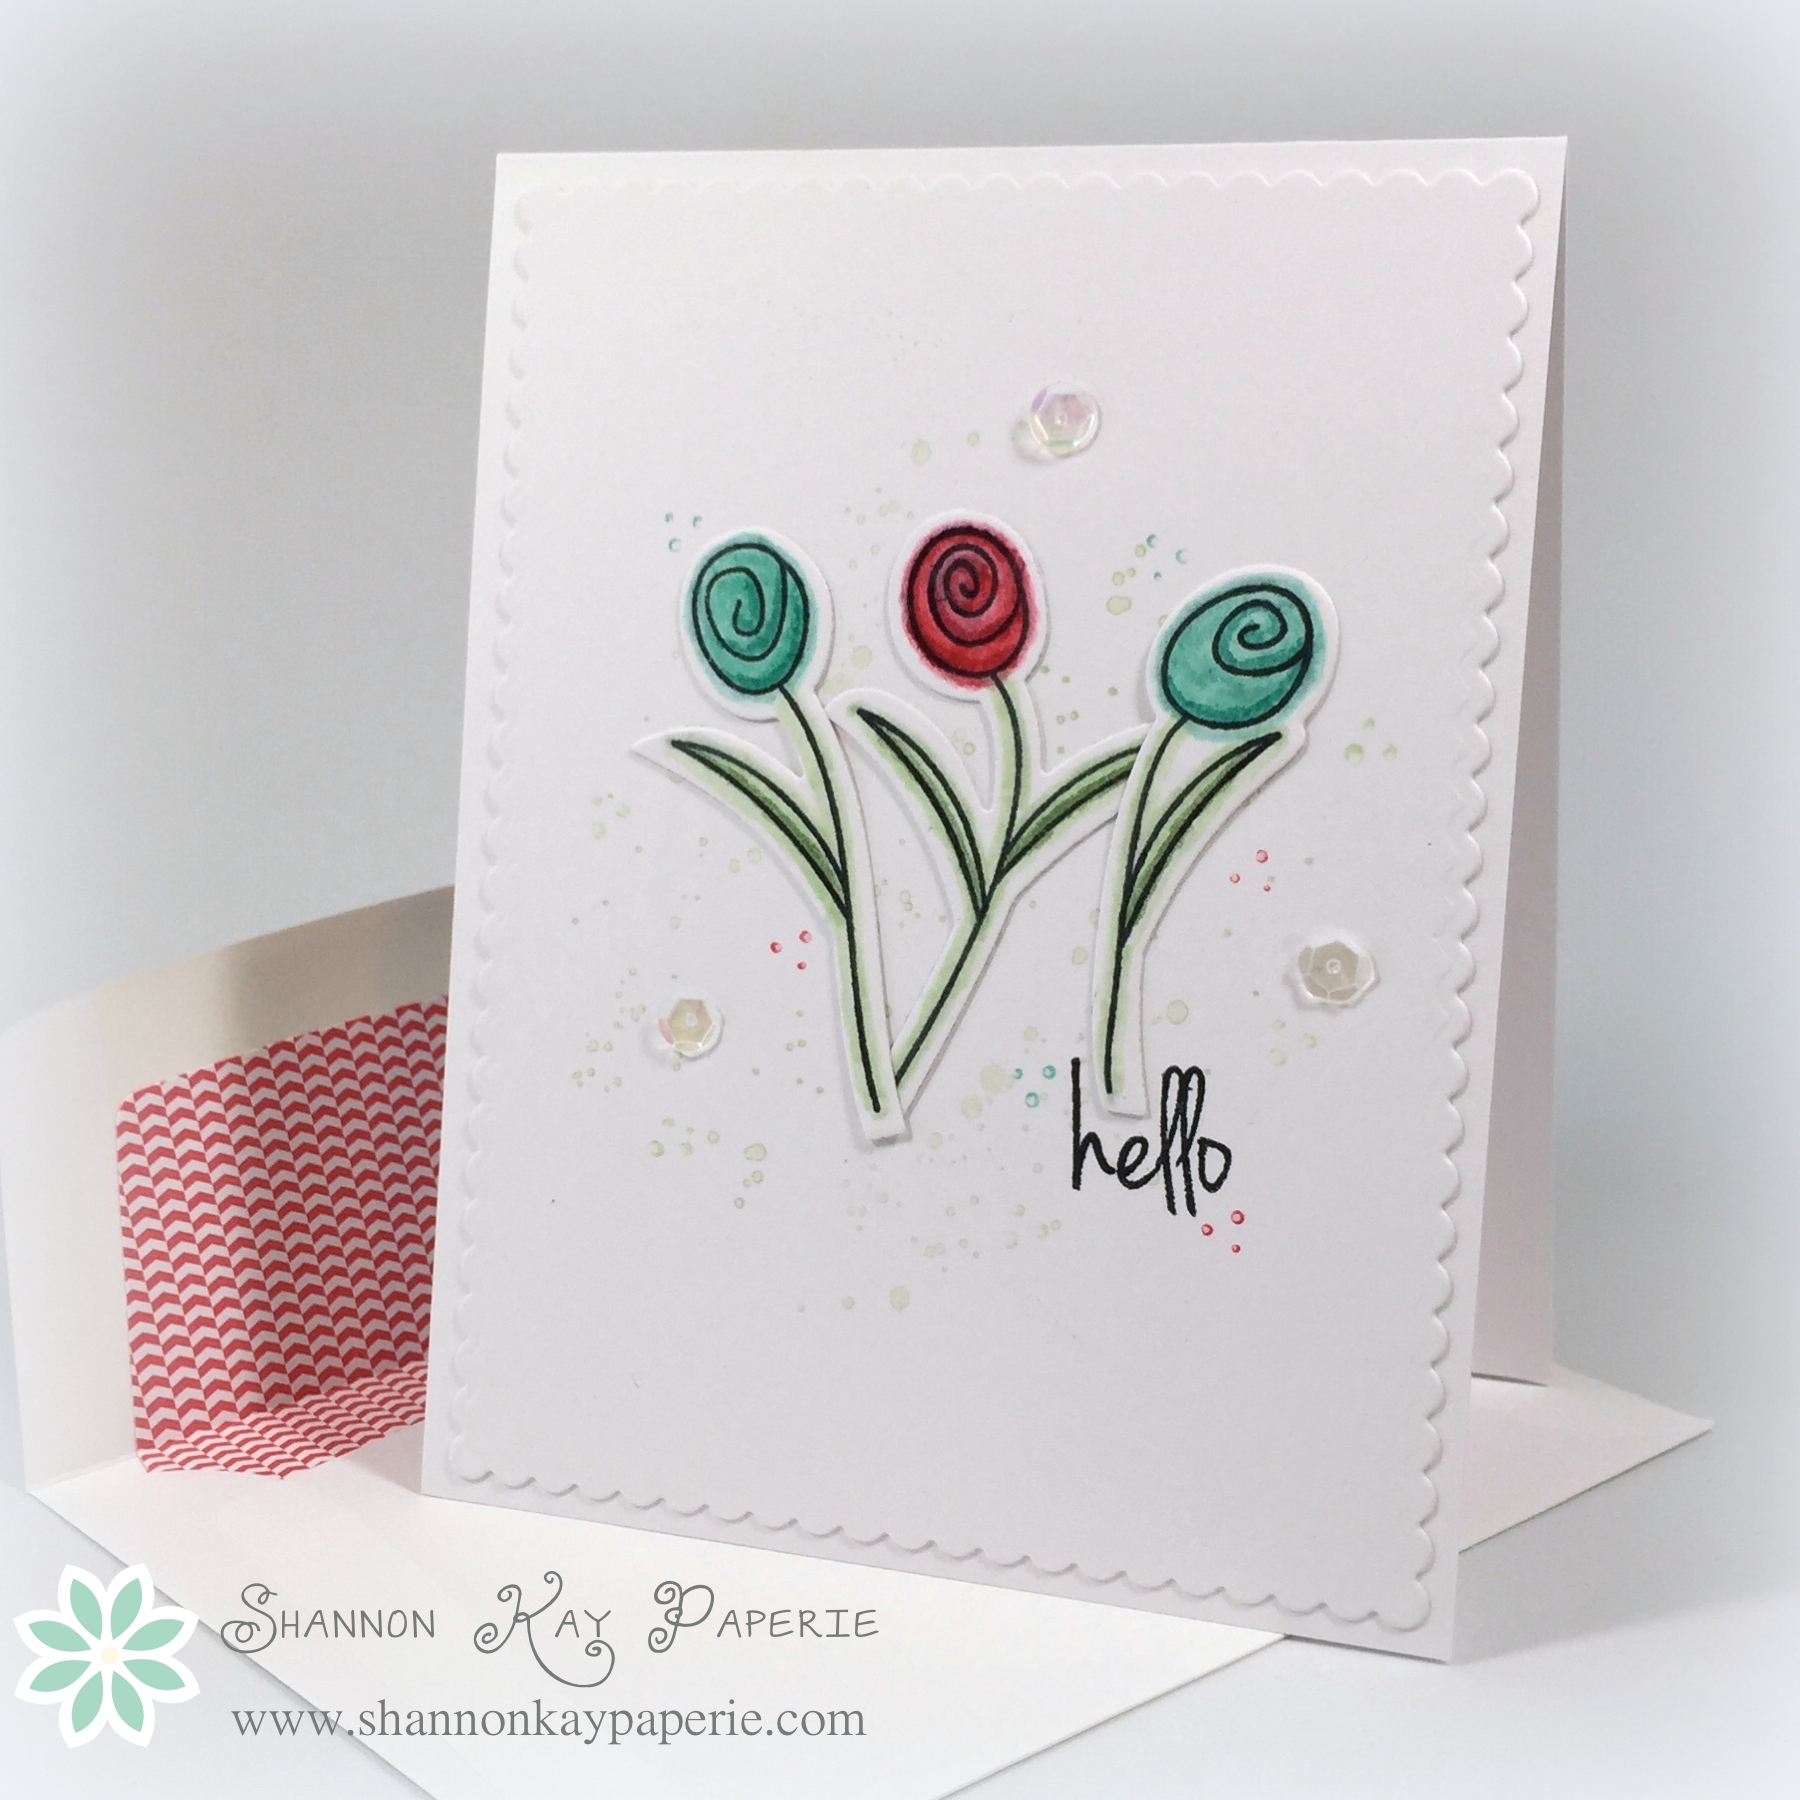
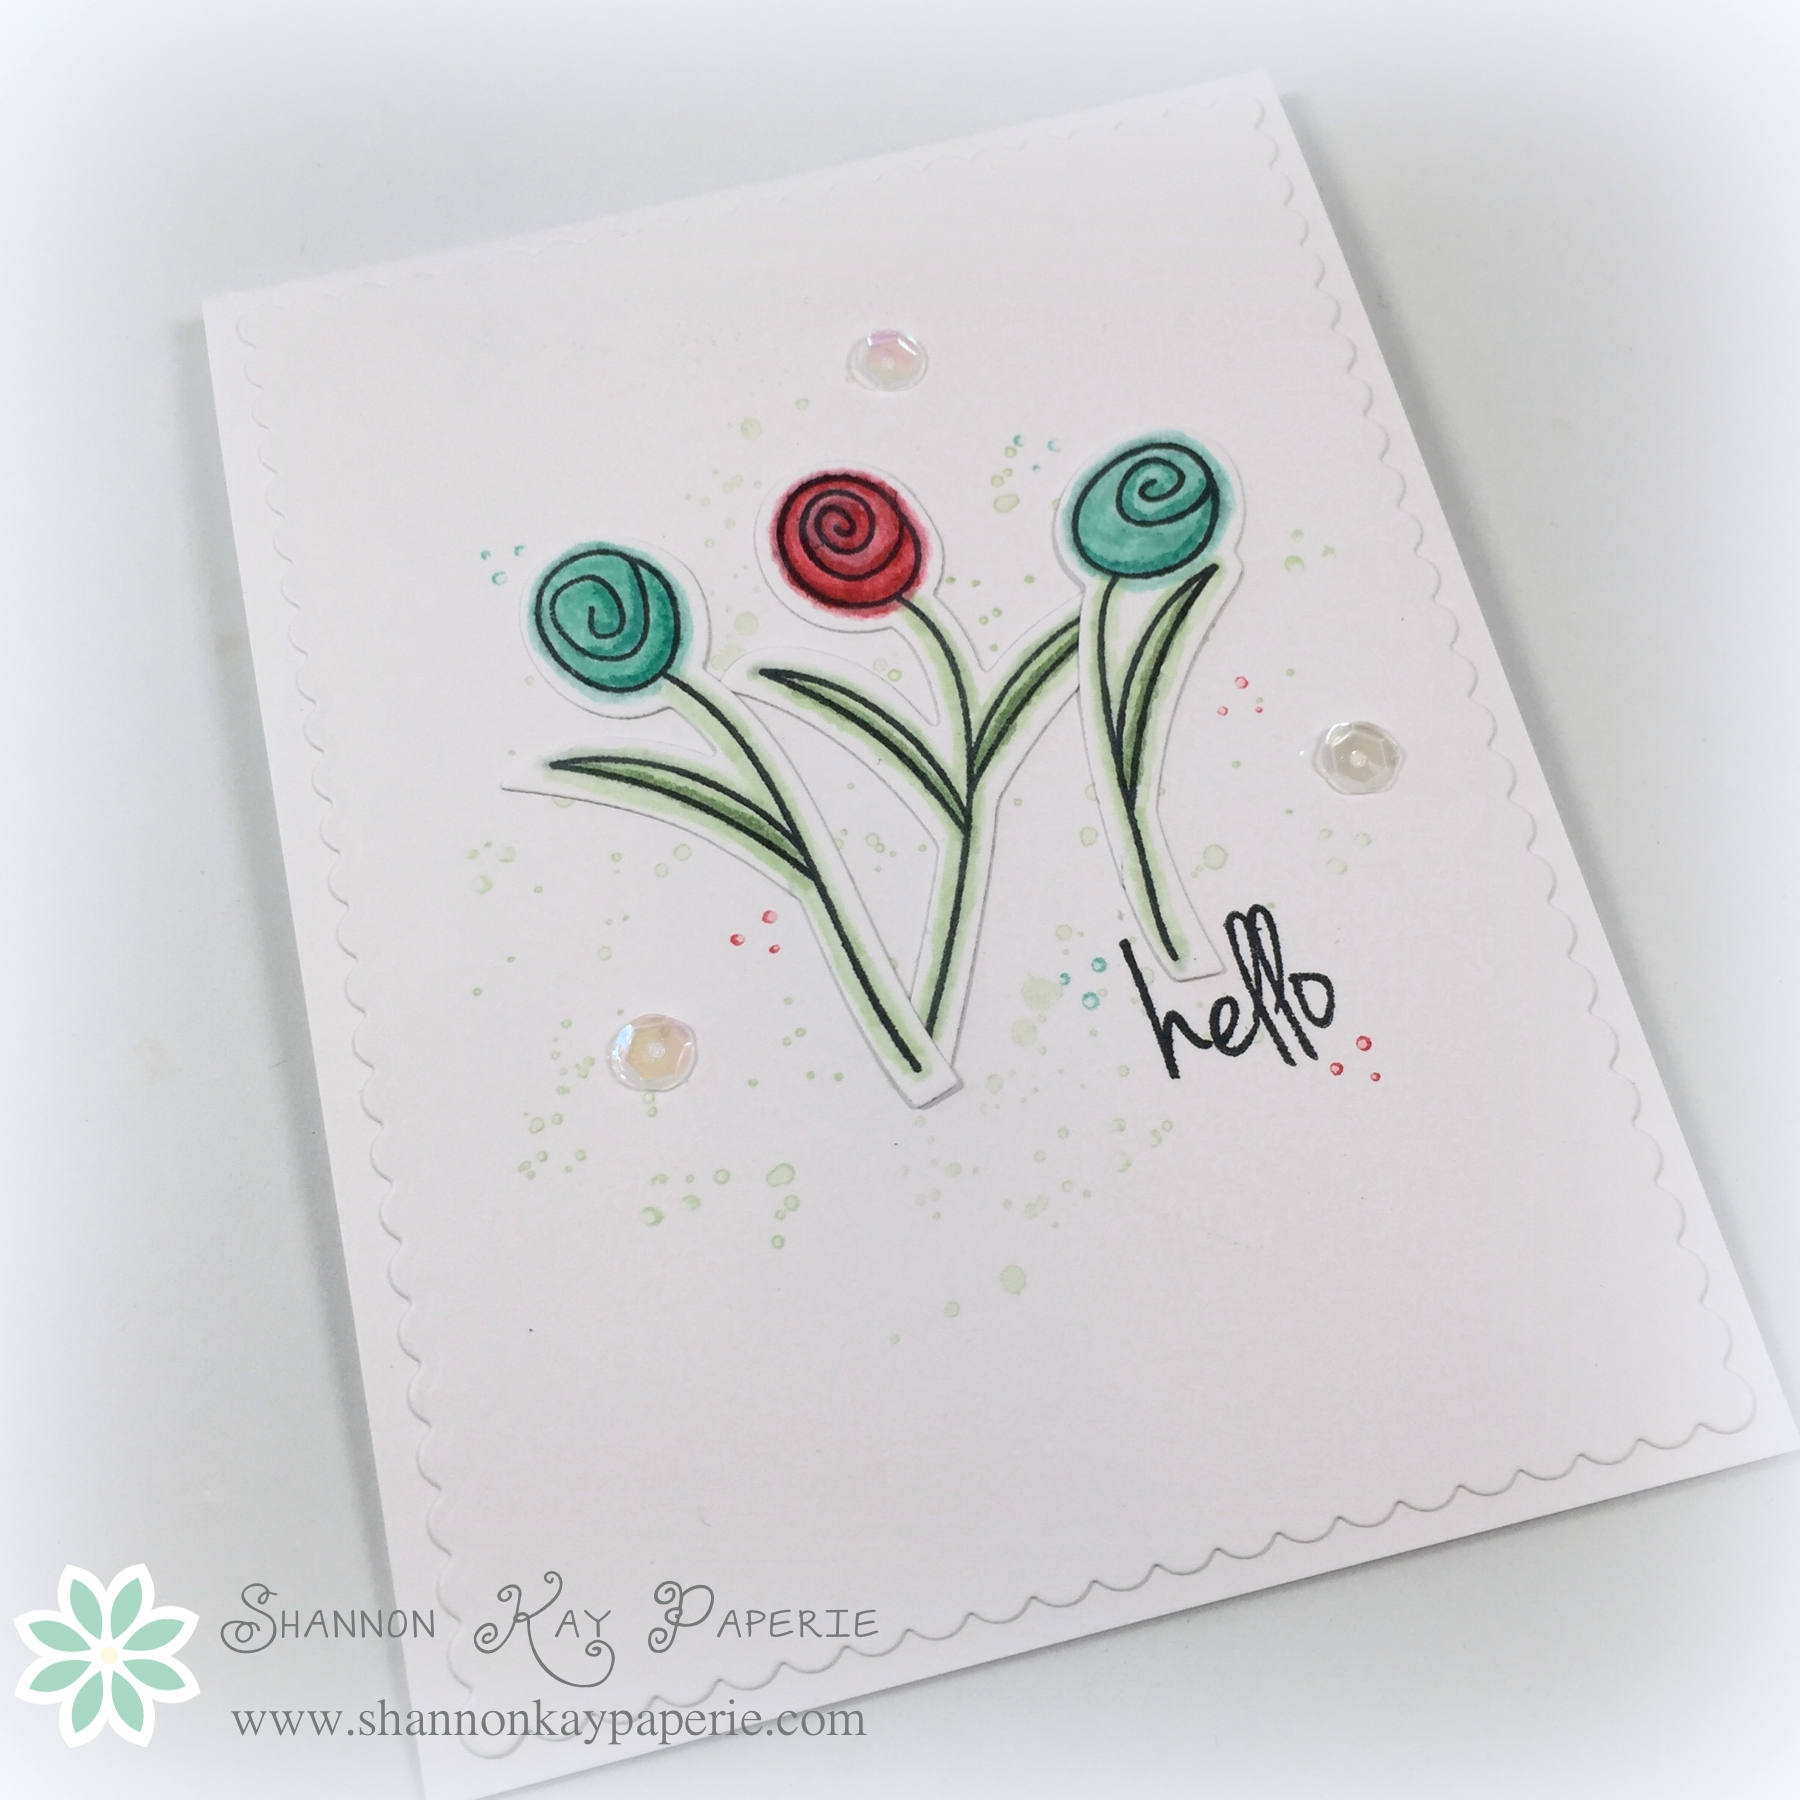
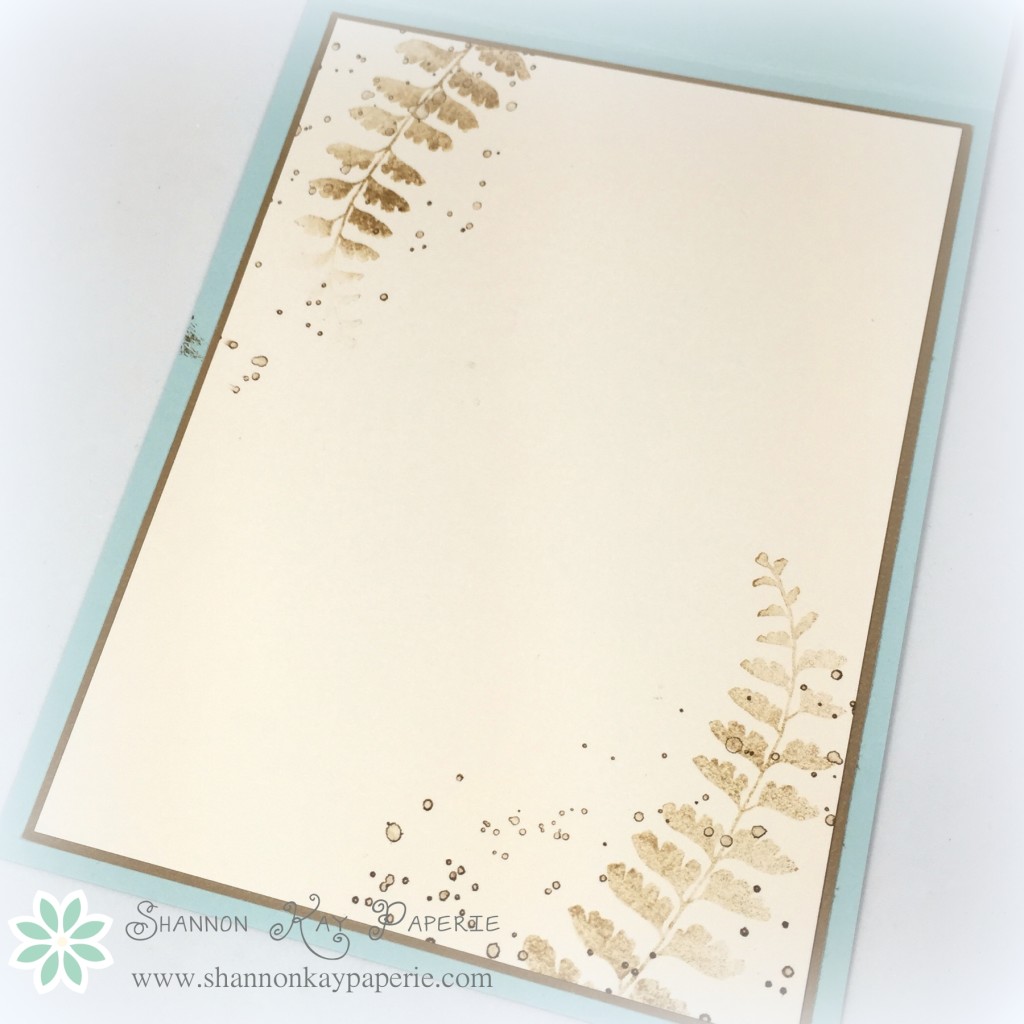
Love these stamps together!!

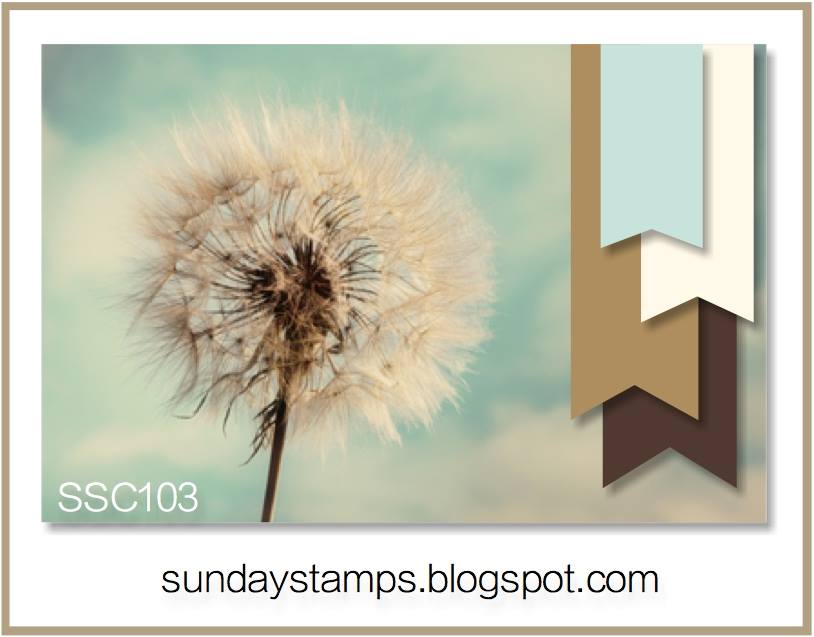
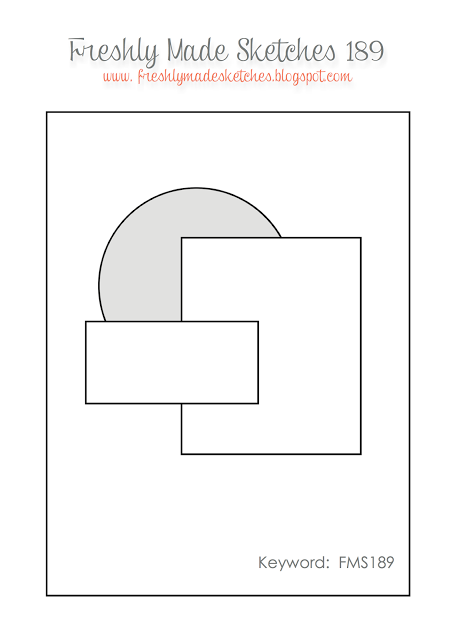
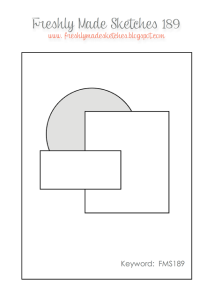
The sketch for today’s card was inspired by the Freshly Made Sketches challenge this week:

FMS Final 189-001So fun to work with!!

I hope you love the colors as much as I do!! Please be inspired by the rest of the awesome designs by the Sunday Stamps design team and I can’t wait to see your designs as well!

Wishing you joy and blessings!

Products Used:

Cardstock: Baked Brown Sugar, Soft Sky, Soft Suede, Very Vanilla by Stampin’ Up!

Pattern Paper: None

Ink: Soft Suede by Stampin’ Up!

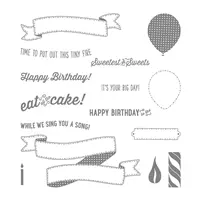
Stamps:   Butterfly Basics, Gorgeous Grunge, And Many More by Stampin’ Up!

Dies: Square Framelits, Butterflies Thinlits, Envelope Liner Die by Stampin’ Up!

Tools:  Stamp-a-ma-Jig by Stampin’ Up!

Embellishments: In Color Boutique Details (retired) by Stampin’ Up!; Wink of Stella

Painted Butterflies – Sunday Stamps 101

Hello there, my stamping friends! Welcome to my second post of the day, this one is a card I designed for the Sunday Stamps design team, which I am very excited to announce that I am now a member of!!

I’m looking forward to this next year’s journey with the Sunday Stamps Challenge Blog, they have wonderful challenges so I hope you will check them out and play along!

Today’s challenge is a color challenge! And just look at these fun colors!!:

11124703_10203930582493636_4555210559932385677_n

I know, you totally want to play along, right?? I know I did! Here’s what I came up with:

SKP Watermarked Photos3-085I was in a butterfly mood and thought that these colors would work really well for this new (to me) stamp set called Painted Butterflies by Altenew. Aren’t they gorgeous?? Each butterfly has three stamps to be layered together to create the final image…thank heavens for the MISTI!! I’m not sure I would attempt so much layering without it!

Wouldn’t it be fun to make a whole bunch of these cards in different colors for gift sets? Just change out the sentiment…easy peasy!

SKP Watermarked Photos3-086And if you’re wondering where the grey color is…it’s in the ink splatters in the background! I used Stampin’ Up!’s Gorgeous Grunge stamp set for the ink splatters…it’s my go to stamp for that sort of thing. I also stamped off once before stamping onto my cardstock to create a soft splatter effect.

And there you have it! I used Mama Elephant’s Femme Frames to die cut the scallop layer as well as the interior rectangle, and then used the interior rectangle again to die cut my white cardstock and inlaid it to keep the layers minimal for mailing 🙂

I hope you will hop over and check out the inspiration from the rest of the Sunday Stamps design team and I hope to see you over there!!

Wishing you joy and blessings!

Products Used:

Cardstock: Vintage Cream by Papertrey Ink; Island Indigo by Stampin’ Up!

Pattern Paper: Lost & Found: Portabello Road by My Mind’s Eye

Ink: Tuxedo Black by Memento Ink; Basic Grey, Island Indigo and Pool Party by Stampin’ Up!

Stamps:   Painted Butterflies by Altenew; Inside & Out: Well Wishes by Papertrey Ink

Dies: Femme Frames by Mama Elephant and Envelope Liner Die by Stampin’ Up!

Tools:  MISTI by My Sweet Petunia

Embellishments: 4mm Marshmallow Sequins by Pretty Pink Posh

A Simple Hello – The Paper Players #240

Welcome to Sunday and a new edition of The Paper Players challenge! I truly enjoyed seeing all of your creations last week with dies, so many wonderful cards!! This week we are hosting a color challenge in true spring fashion!

pp240I love these Stampin’ Up! in-colors and am so sad to have them retire in June. I’m so glad we are focusing on them now, both to get a change to play with them together, as well as an opportunity to remind you that if you haven’t picked them up yet, now would be a good time to do so. If you do have them, you might want to check you stash and replenish if necessary, before the retiring list comes out because they will sell out quickly!!

SKP Watermarked Photos3-062I was feeling clean and simple when I sat down to create my card. I love these colors and wanted them to take center stage so I pulled out the flowers2share stamp and die set by The Stamps of Life.

I stamped each flower in black and then pulled out my stamp pads and a blender pen to color them in. I intentionally went outside the lines to create a (I hope) soft watercolor effect. I then went back in with my  Stampin’ Write Markers to create a bit of shadowing.

SKP Watermarked Photos3-064After die cutting the flowers out and moving them around on my card base I decided I needed to add a few details. Side note: I have noticed that the dies made by Sizzix (and all of The Stamps of Life dies are) really adhere well to the magnetic platform. They must have a bit more metal in them. I love it because it means they stay where I put them and I don’t have to use any micropore tape to keep them from moving!

I used a lovely scallop die to create a fun but subtle detail around the edge and the Gorgeous Grunge stamp set by Stampin’ Up! to add a bit of interest to the background. When using this stamp, I always stamp off before stamping onto my card stock, it gives a very subtle effect without detracting from the focal point.

I adhered my flowers directly to the card base. I thought popping them up with Dimensionals would be too busy (this time). I almost always pop things up with Dimensionals so I find it amusing that this time I didn’t 🙂

I wanted to add a bit more color to my background so I pulled out the Rustic Wreath stamp set by Papertrey Ink. This set includes my absolute FAVORITE go-to stamp. It’s a stamp that has three little dots in various sizes and is all of 1/4″ big, maybe. Bust SUCH a useful stamp!! Need a little something?? This fits the bill every single time!! So I added dots in all three colors, stamping off before stamping onto my card stock. Pretty!

SKP Watermarked Photos3-065Three sparkly sequins round out the design nicely!

Please visit the rest of the design team to get some great inspiration using these wonderful colors!!

The Paper Players Design Team

Wishing you joy and blessings!

Products Used:

Cardstock: Stamper’s Select White by Papertrey Ink

Pattern Paper: 2013-15 In Color Backgrounds Designer Series Paper Stack by Stampin’ Up!

Ink: Coastal Cabana, Pistachio Pudding and Strawberry Slush by Stampin’ Up!; Tuxedo Black by Memento Ink

Stamps:  flowers2create by The Stamps of Life; Gorgeous Grunge by Stampin’ Up!; Rustic Wreath by Papertrey Ink

Dies: flowers2create by The STamps of Life; Femme Frames by Mama Elephant; and Envelope Liner Die by Stampin’ Up!

Tools:  MISTI by My Sweet Petunia (for the sentiment); Stampin’ Write Markers by Stampin Up!; Blender Pen

Embellishments: Sequins