Fun with Flowers – Tic Tac Toe Challenge 033

Simon-Says-Stamp-Blooming-Day-Thank-You-Card-Idea-Shannon-Jaramillo-simonsaysstamp

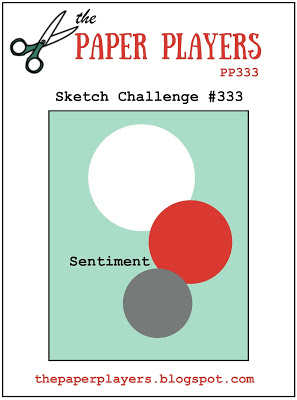
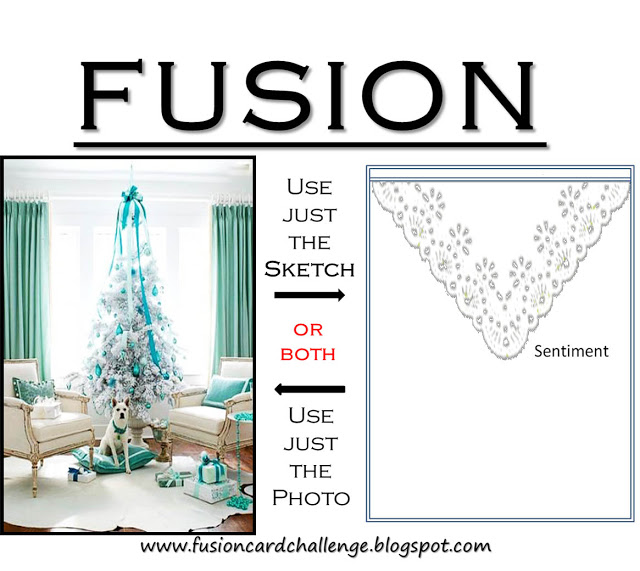
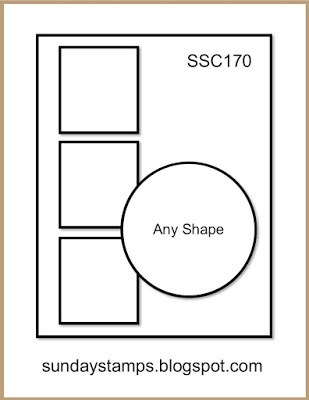
Hello there my crafty peeps! Funny story about this card…I started it last Sunday for last week’s Tic Tac Toe Challenge and ran to of time, so it sat until yesterday when I was able to finish it up and still be able to meet the criteria for this week’s challenge! So fun! Here’s the challenge board:

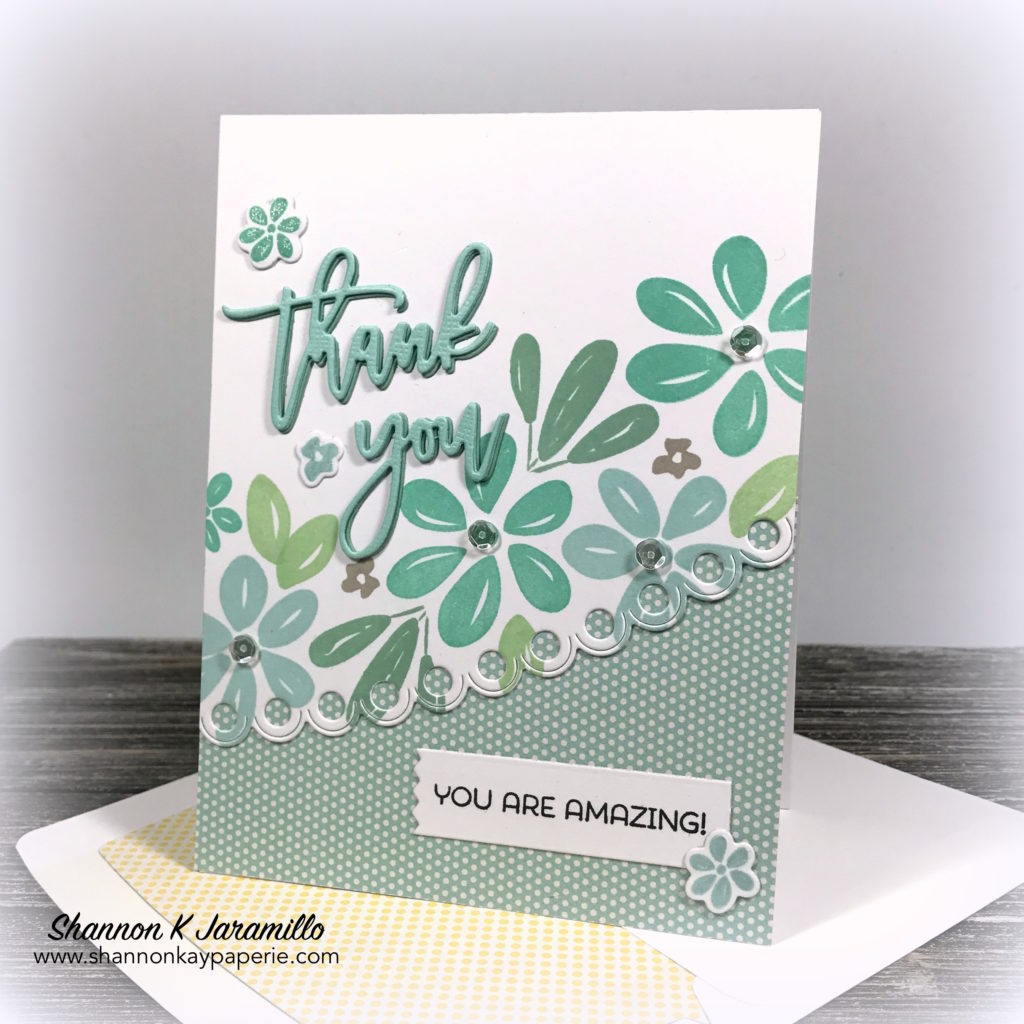
I went with the middle row: Flowers (Free); Die Cut; Sequins. These boards are so flexible and easy to play along with!

Measurements:

  • Card Base 4 1/2″ x 11″, scored at 5 1/2″
  • DSP Layer 3″ x 5 1/2″
  • White Layer 4 1/4″ x 5 1/2″, the cut with the die

Details:

  • I have a stash of make-your-own-bouquet type of flower sets, lots and lots of them actually, but it takes time to dream up a bouquet so lots of times I just pass on by them. This time I decided to take my time and just play.
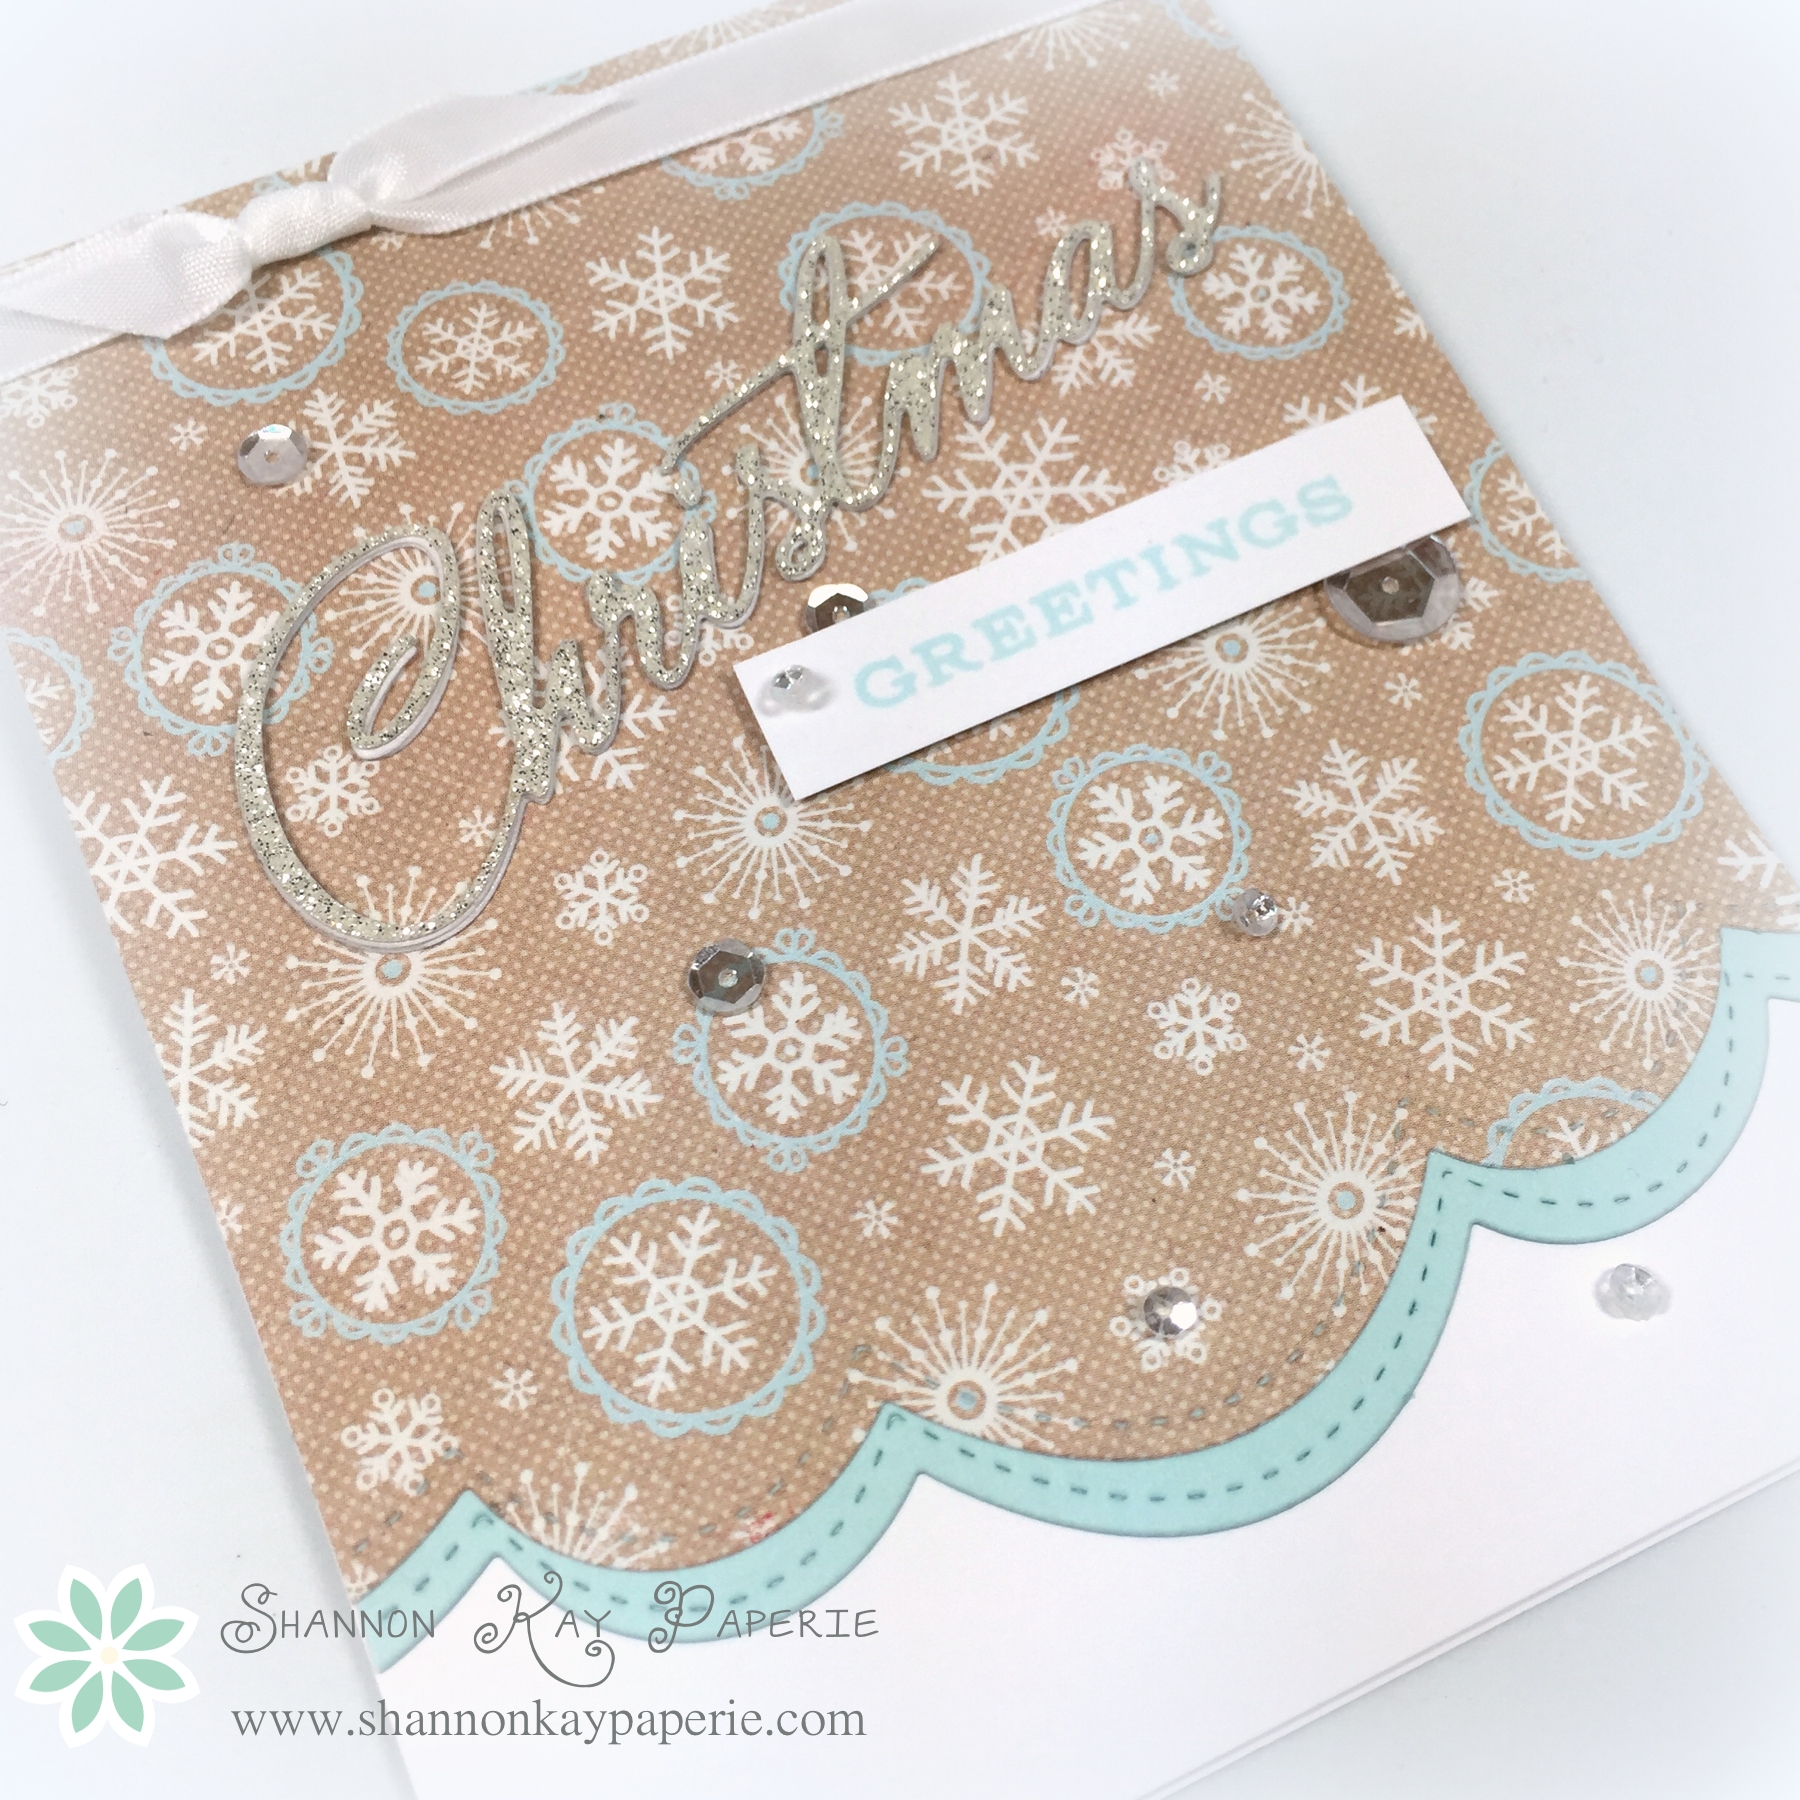
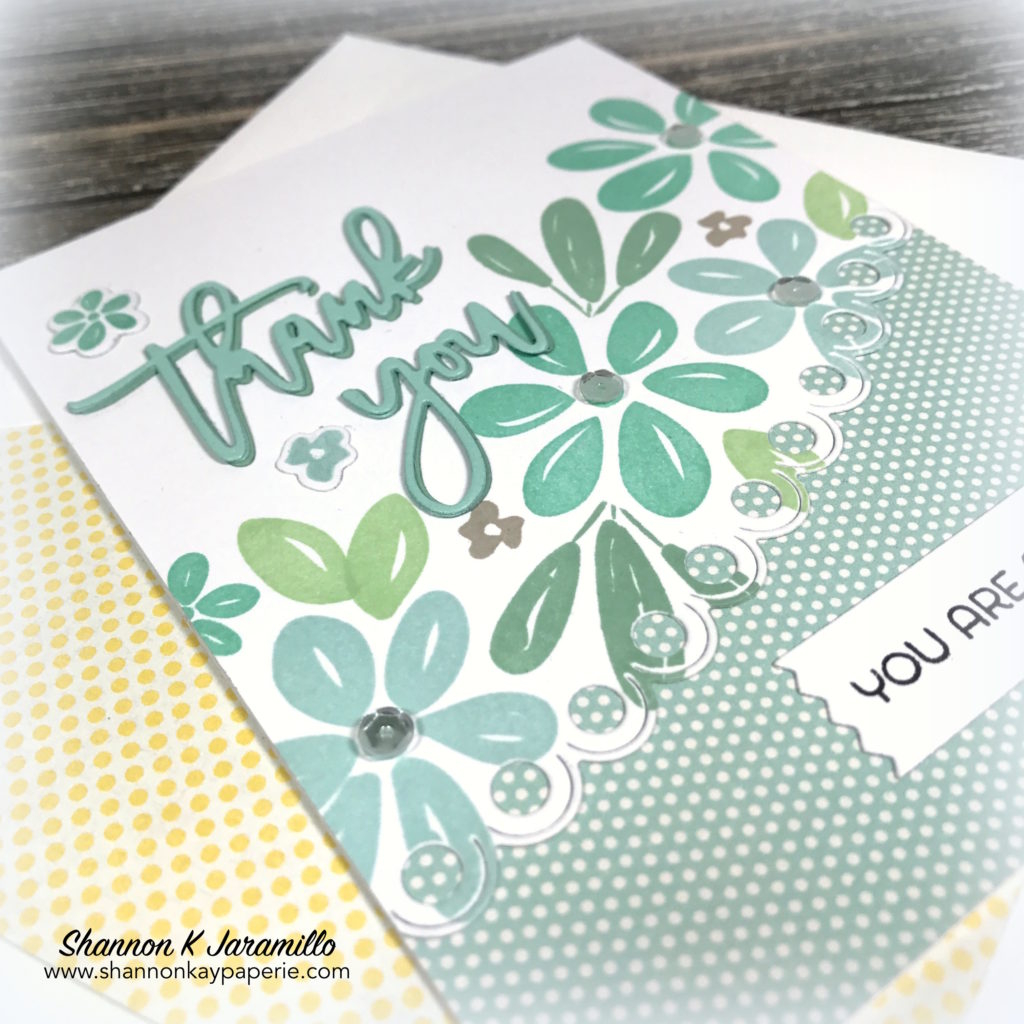
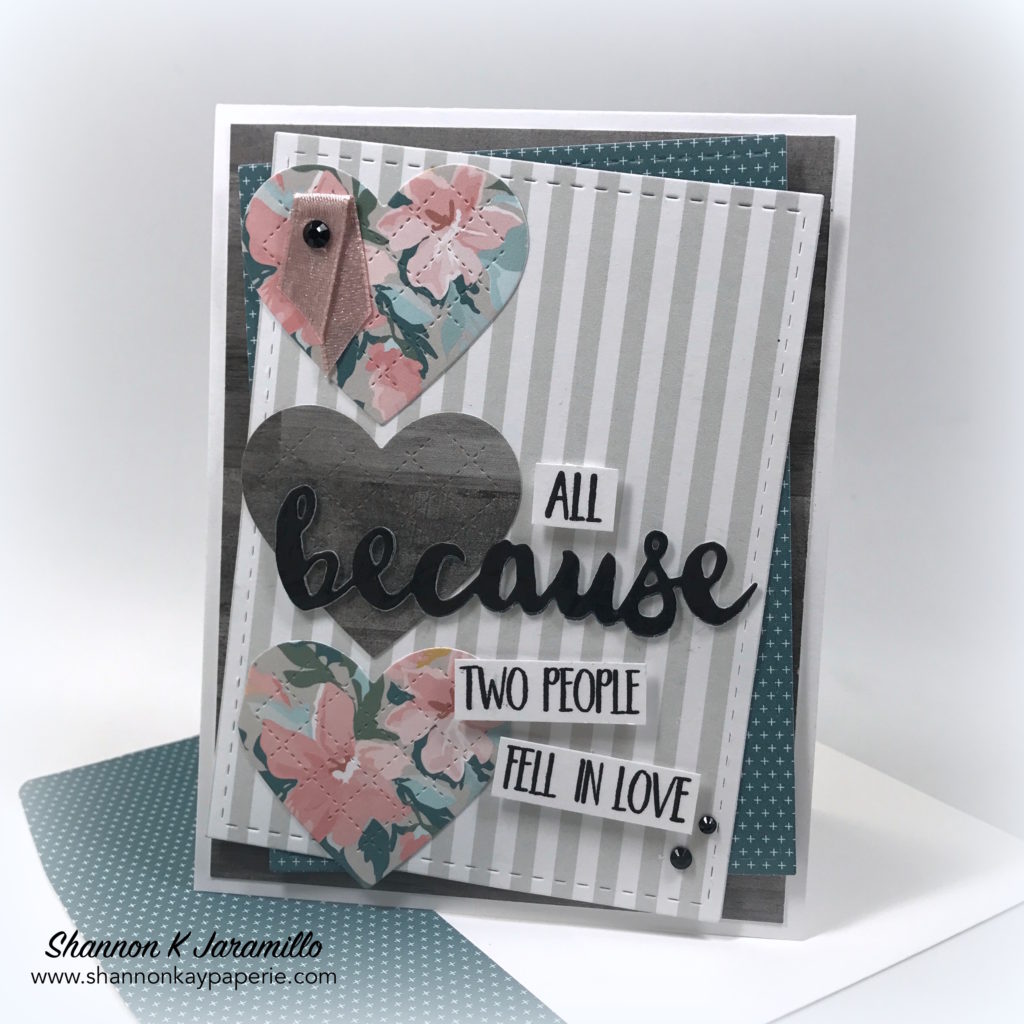
  • I built the card around this darling Eyelet Arch Borders die by Simon Says Stamp. It’s sweet and dainty so I choose a pattern paper in that same vein. The color of the paper determined my color palette: Soft Sky; Pool Party; Pistachio Pudding; Mint Macaron and Sahara Sand.

Simon-Says-Stamp-Blooming-Day-Thank-You-Cards-Idea-Shannon-Jaramillo-simonsaysstamp

  • The pretty ‘thank you’ die cut is by Right at Home Stamps. It has a coordinating stamp and the die has a shadow around it. The two words cut out independently so you can use them with the shadow die, or use them the way I have here. I die cut the words twice in Pistachio Pudding (yes, that’s co-odinations case stock, I’m trying to use it up!) and one layer of Mint Macaron on the bottom and slightly offset to make it stand out better.
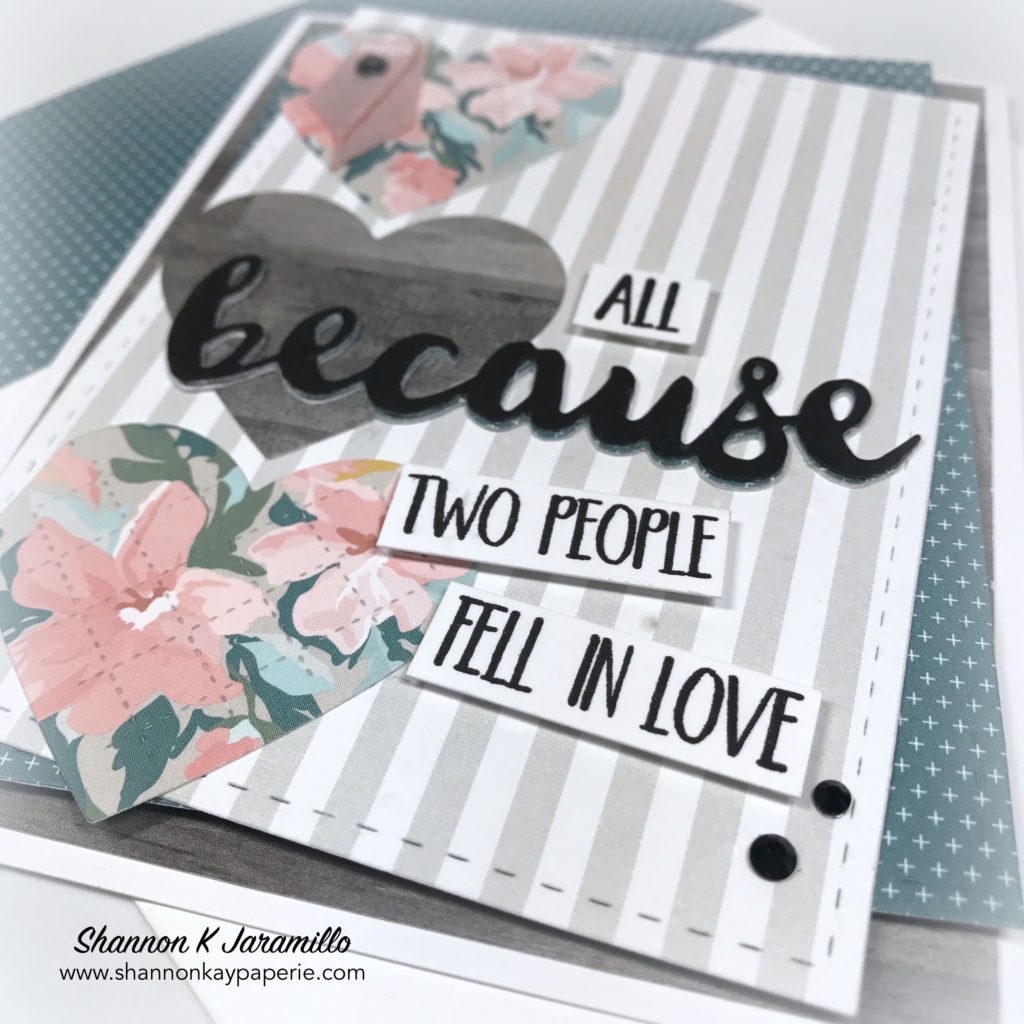
  • I stamped the flowers and leaves free hand, just adding as I went along and following the curve of the eyelet die.
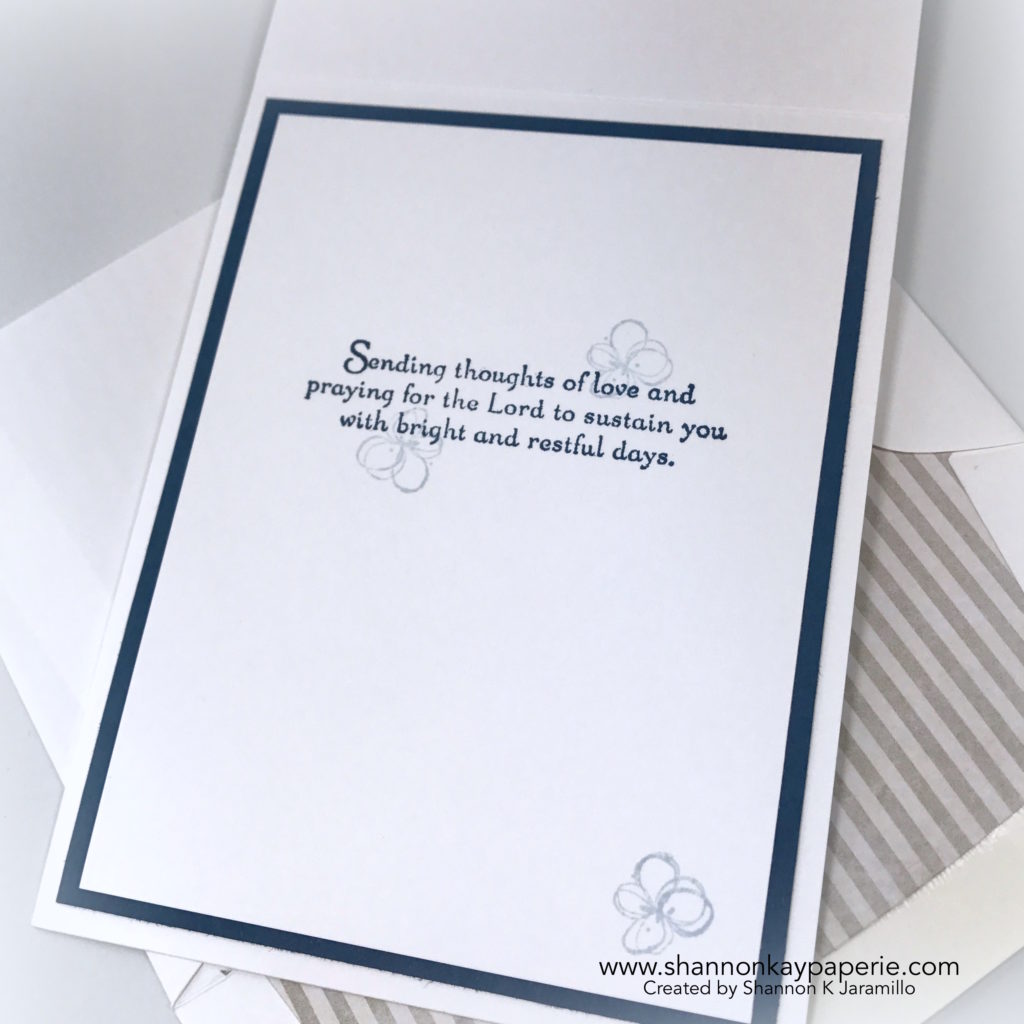
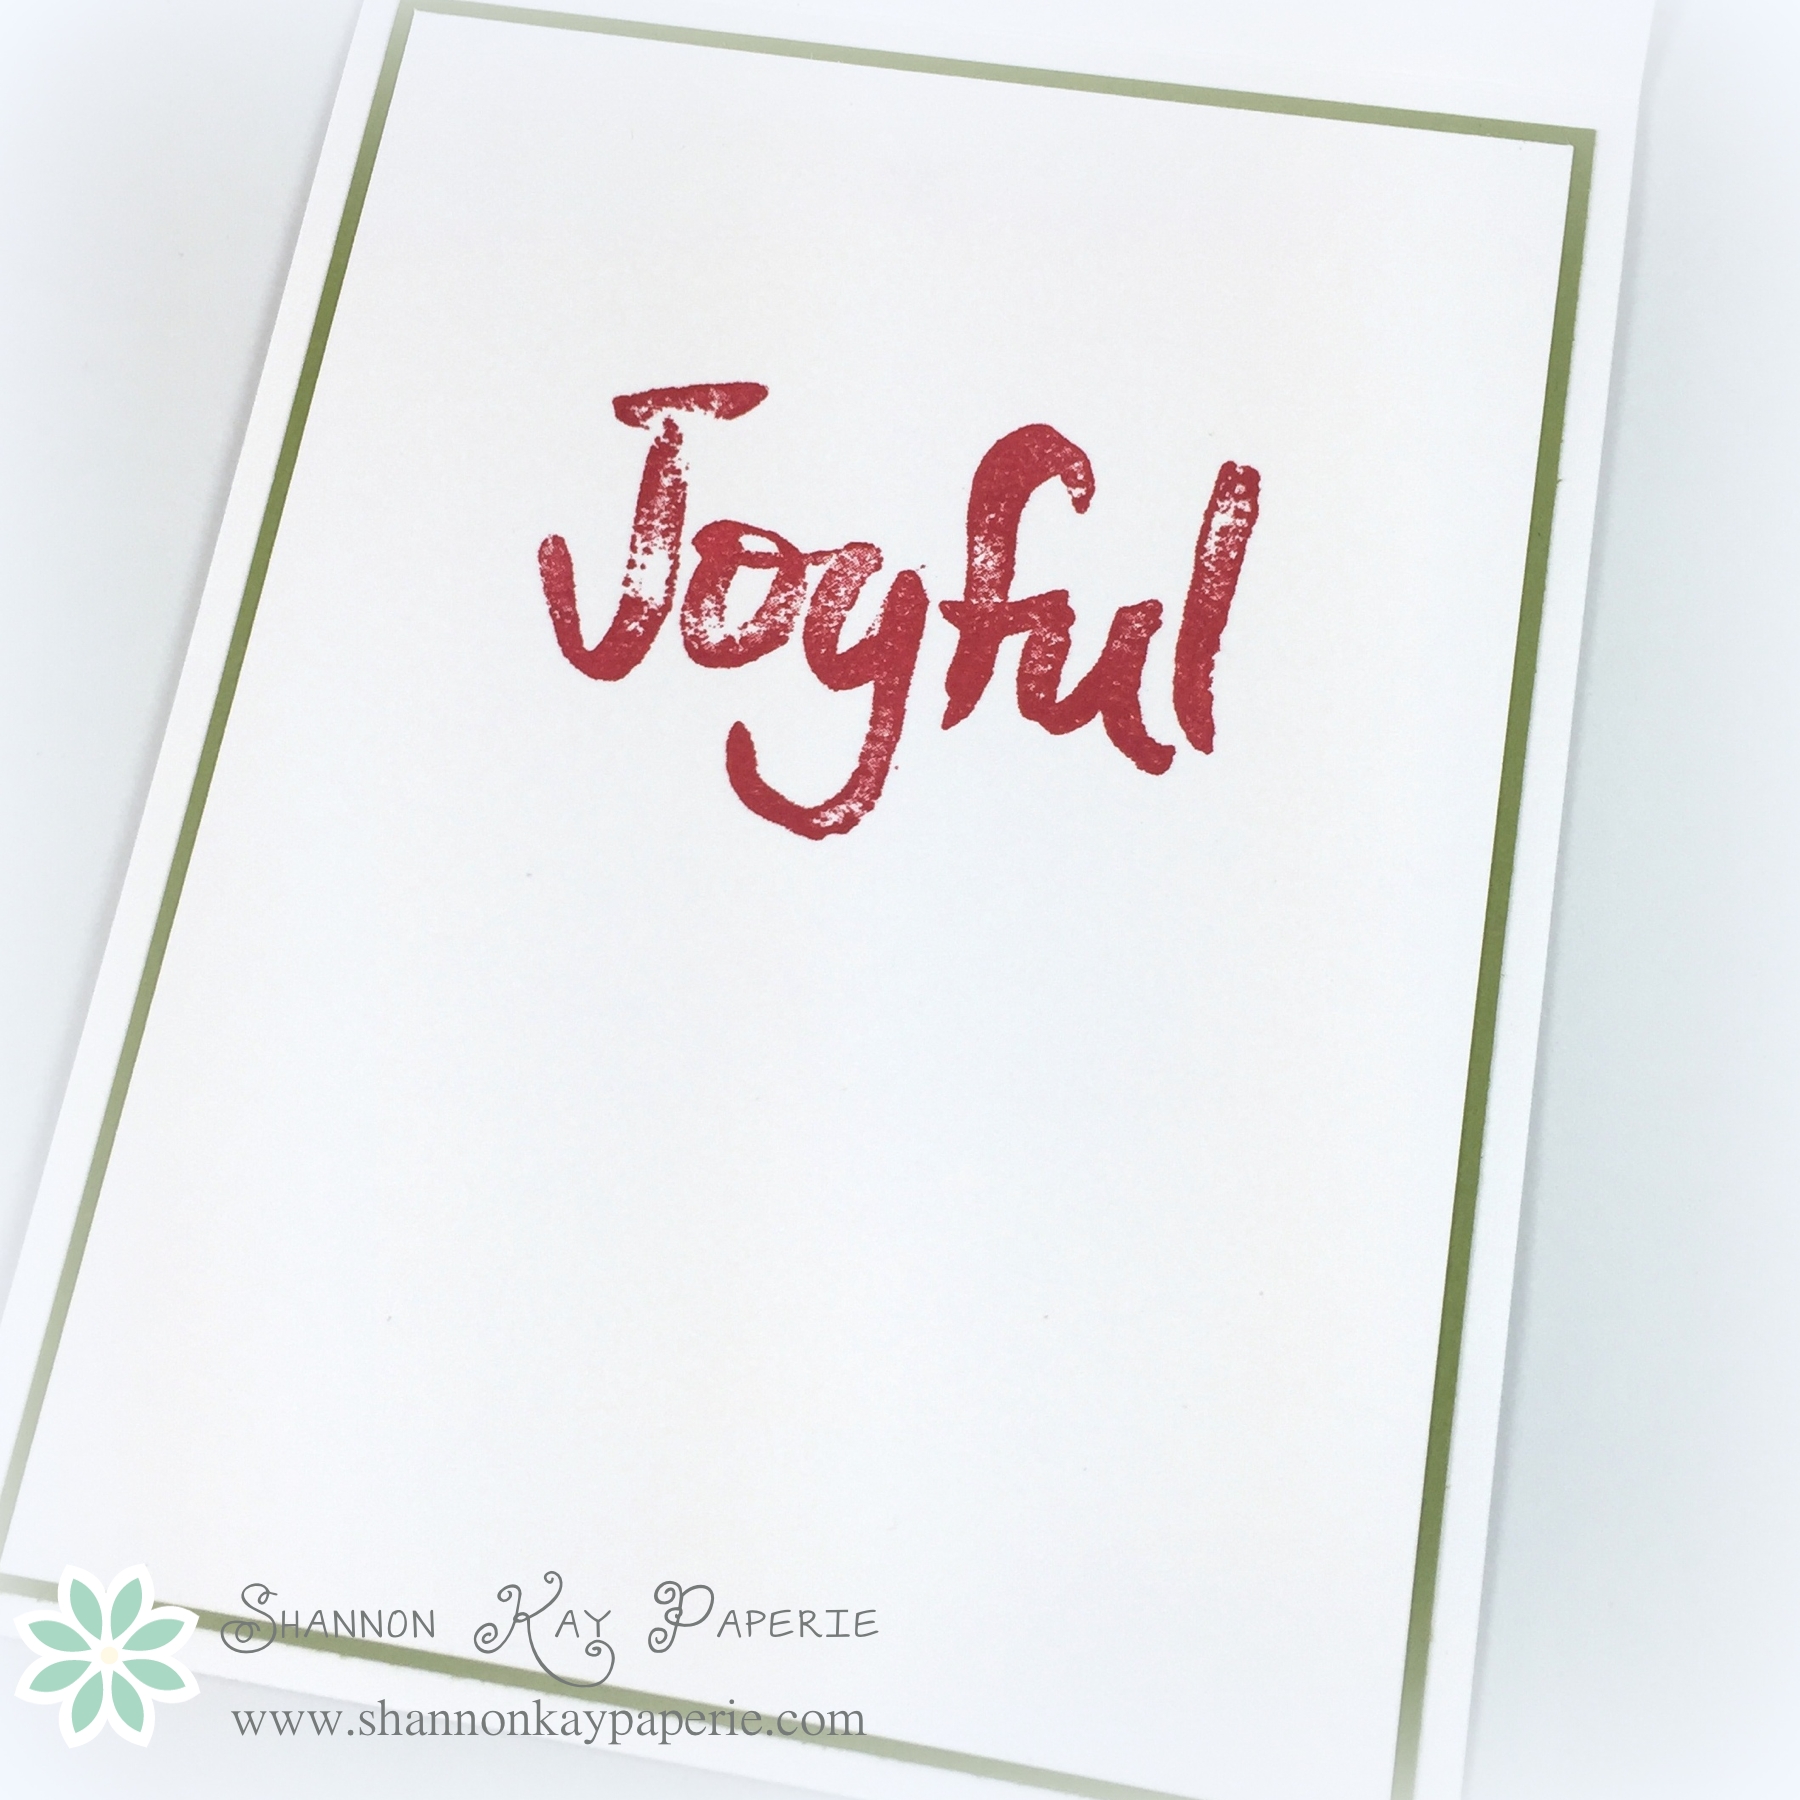
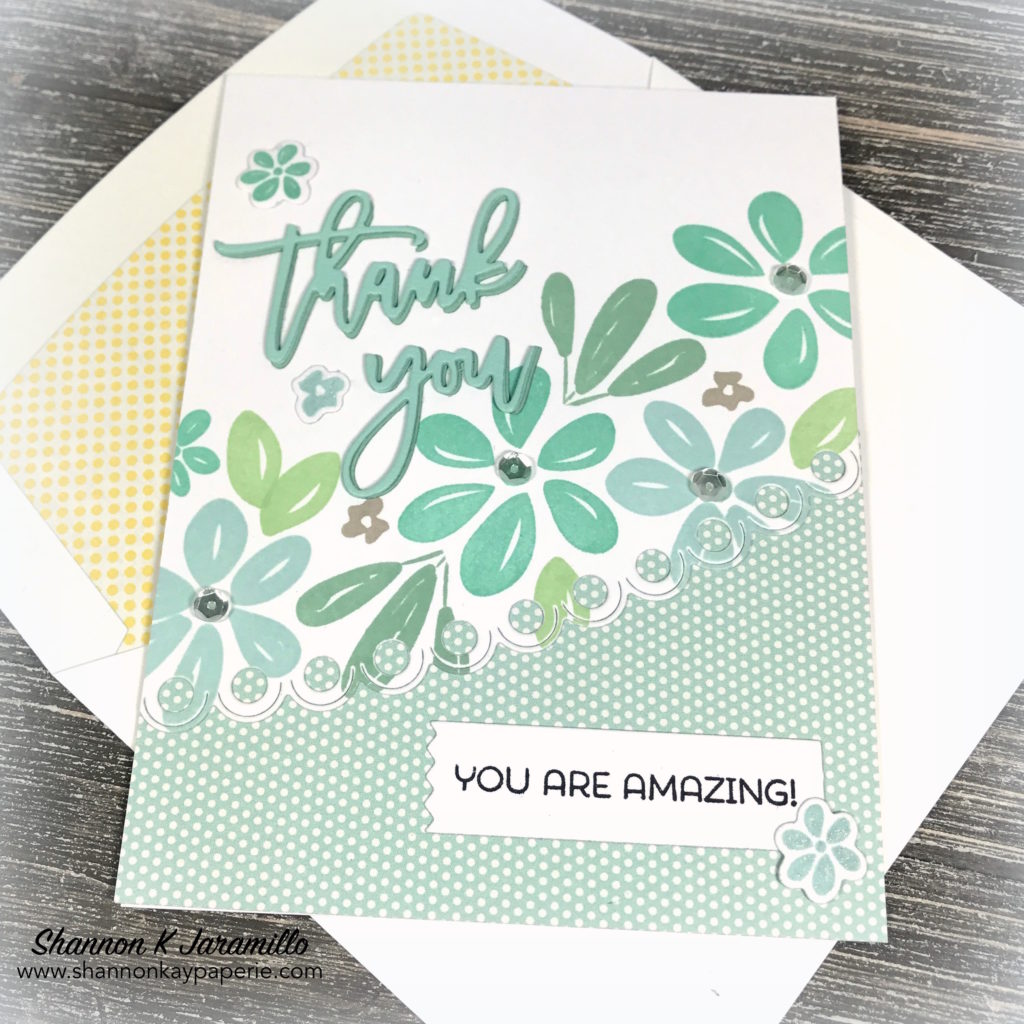
  • The sentiment is from Stampin’ Up’s Cottage Greetings stamp set. I had intended for the stamp to be directly on the pattern paper but I smooshed (that’s a technical term :)) the stamp and ended up with a messy image, so…Lil ‘Inker’s Pinking Edge Sentiment Flags die to the rescue!
  • Medium size moonstones were added to the flower centers and then I stamped and die cut a few of the itty bitty flowers and added them for balance.

Simon-Says-Stamp-Blooming-Day-Thank-You-Card-Ideas-Shannon-Jaramillo-simonsaysstamp

  • The yellow pattern paper I used for the envelope liner is from the same pack as the bluish polka dots and I thought it set off the colors of the card perfectly.

I hope you have enjoyed today’s project! If you have a chance, please pop on over to the Tic Tac Toe Challenge site and see the beautiful cards the designers have for you!

Blessings!

Supplies:

Card Stock: Stamper’s Select White by Papertrey Ink

Pattern Paper: Simple Life by Echo Park

Ink: Memento Tuxedo Black; Coastal Cabana (R), Mint Macaron (R), Pistachio Pudding (R), Pool Party, Sahara Sand and Soft Sky by Stampin’ Up! 

Stamps:  Blooming Day by Simon Says Stamp; Script Greetings by Right at Home; Cottage Greetings (R) by Stampin’ Up!

Dies: Blooming Day by Simon Says Stamp; Script Greetings by Right at Home; Pinking Edge Sentiment Flags by Lil ‘Inker

Tools: Big Shot and Stampin’ Trimmer by Stampin’ Up!

Embellishments: Moonstones by Simon Says Stamp

Other: Medium Whisper White Envelope by Stampin’ Up!

All Because Two People Fell in Love – Sunday Stamps 170


Lil-Inker-Because-Love-and-Friendship-Card-Idea-Shannon-Jaramillo-lilinker

I decided to break out new paper, stamps and dies for this card that I made using the most recent Sunday Stamps sketch. I chose this sketch for the simple reason that the idea of three squares down one side of the card boggles my mind. So…challenge accepted!

Measurements:

  • Card Base 4 1/2″ x 11″, scored at 5 1/2″
  • Base Panel 4″ x 5 1/4″
  • Blue Layer 4 7/8″ x 3 5/8″
  • Striped Layer 4 7/8″ x 3 5/8″

Details:

  • I adore this new quilted heart die that I got for FREE with my order from Concord & 9th. And I saw this sentiment stamp and die set from Lil ‘Inker and knew that was the perfect sentiment for this card…but how to merge the two and still keep with the inspiration sketch? Hmmm…
  • Once the stamps and dies were chosen…now paper! My favorite accessory! I literally went through all of my 6 x 6 paper stash and had lots of fun options, but I have been purchasing scrapbooking kits from Felicity Jane and these papers from the ‘Heidi’ line are GORGEOUS!!!

Lil-Inker-Because-Love-and-Friendship-Card-Ideas-Shannon-Jaramillo-lilinker

  • I used the weathered wood paper for one of the quilted hearts and for the base layer as well. Then I chose two patterns from the same line and die cut them with a stitched rectangle die and added them at canted angles for a fun effect.
  • Everything being a little wonky made trying to line my hearts up straight a bit of an issue! I finally (and don’t laugh) took a piece of twine, lined it up on my Stampin’ Grid Paper, taped it down at the top and bottom, and then slid my card base under the twine. One I made sure the card was straight as well, I used the line of the twine to aline the center points of the each heart, at the top and at the point. That made it much easier to be straight, but I’m sure there is a better way to have done this!

Lil-Inker-Because-Love-and-Friendship-Cards-Ideas-Shannon-Jaramillo-lilinker


  • The ‘because’ die has a matching stamp. I tried stamping the stamp and then die cutting it, but couldn’t line everything up, then I tried cutting the die cut out and lining it up with the stamp set in my MISTI and that worked better but the ‘s’ in the stamp and the die aren’t quite the same! Third time is a charm, right? I simply took the stamped die and turned it upside down into my Onyx Versafine ink! That did the trick! And it’s REALLY black! I love it!
  • I added a bit of Powder Pink shimmer ribbon in the upper left hand corner and anchored it with a Black Rhinestone Jewel.A couple more in the lower right hand corner for balance and voila!

I’m pretty happy with how the card turned out. I wanted to try to create a more modern, maybe a little of a ‘Joanna Gaines’ type valentine card and think I achieved that goal. Enjoy the rest of your day and I will see you soon! If you have a minute, I would love hearing your feedback!

Here’s the sketch I used from Sunday Stamps:

I’m also playing along with the Simon Says Stamp Wednesday Challenge which is Use Patterned Paper.


Blessings to you.

Supplies:

Card Stock: Stamper’s Select White by Papertrey Ink

Pattern Paper: Heidi by Felicity Jane

Ink: Versamark Onyx Black

Stamps:  Because by Lil ‘Inker

Dies:  Quilted Heart by Concord & 9th; Because and Stitched Mats: Rectangles by Lil ‘Inker; Envelope Liner Die (retired) by Stampin’ Up!

Tools: Big Shot by Stampin’ Up!

Embellishments:  Powder Pink Shimmer ribbon and Black Rhinestone Basic Jewels by Stampin’ Up!

Other: Medium Whisper White Envelope by Stampin’ Up!

With Sympathy – The Paper Players 333

With Sympathy Sympathy Card Ideas - Shannon Jaramillo Lil Inkers

Hello my friends! I had fun getting inky this weekend with a new challenge! I had an idea for a card in my head but when I was flipping through stamp sets I came across this never-been-inked set from Lil ‘Inkers and changed direction completely! I love when that happens!

The Details:

  • White card base cut to 4 1/4″ x 11″, scored at 5 1/2″
  • Enchanted Evening card stock card stock cut to 4 1/8″ x 5 3/8″
  • Pattern Paper cut to 4″ x 5 1/4″
  • White card stock cut to 3 3/4″ x 5″

With Sympathy Sympathy Cards Idea - Shannon Jaramillo Lil Inkers
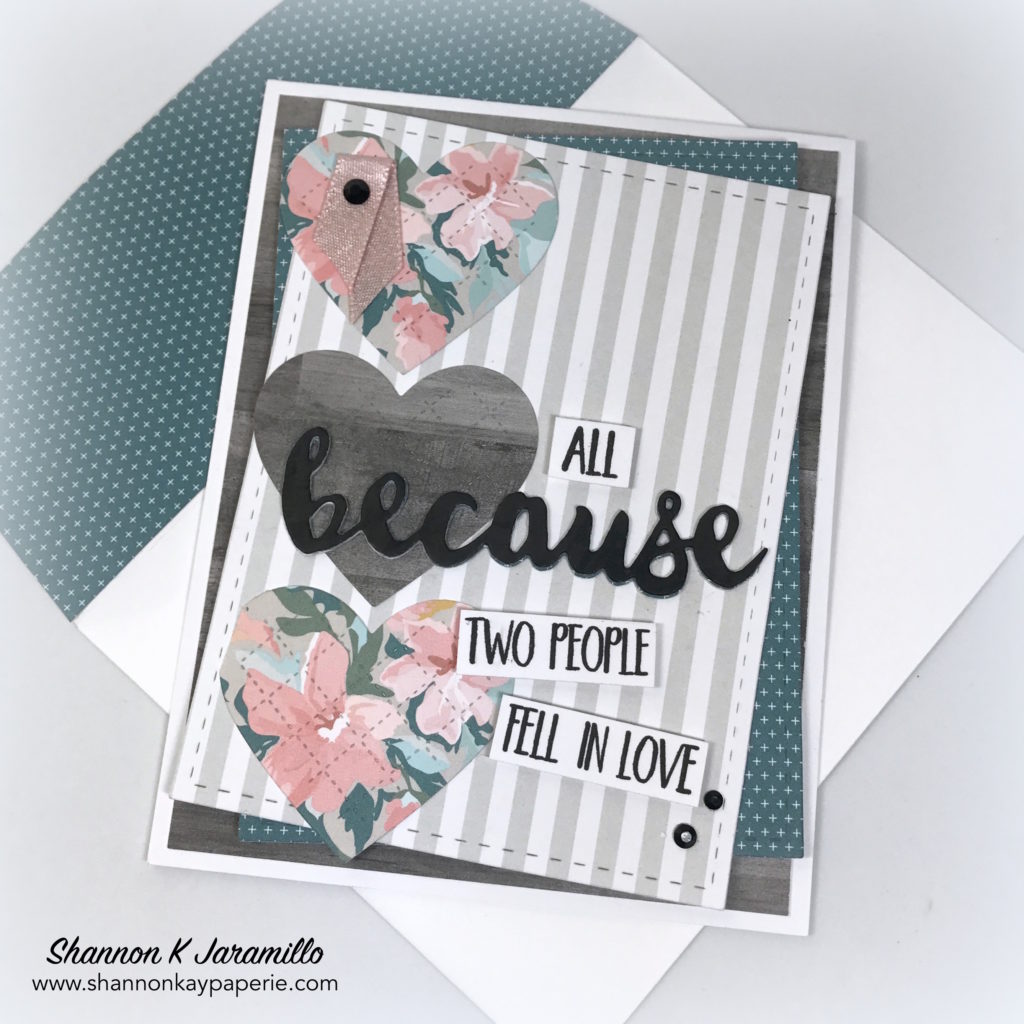
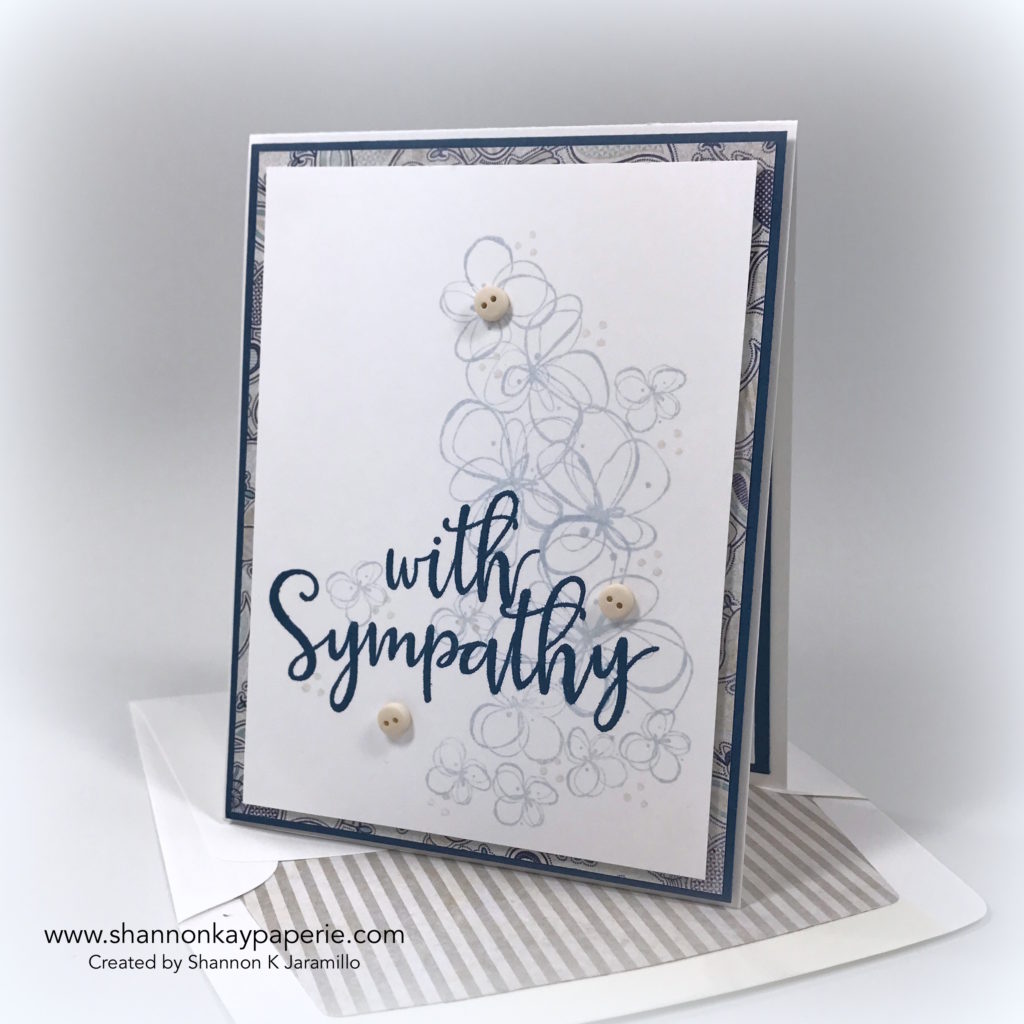
It was super fun to play with all of the “inky” blooms in this set, throwing another one here or there while staying within the guidelines of the sketch. I used Spring Rain for the flowers and Soft Stone for the three random dots stamp that I used on yesterday’s card as well. I’m on a bit of a tear to “bash my stash” so I found three darling itty bitty buttons and attached them with glue dots.
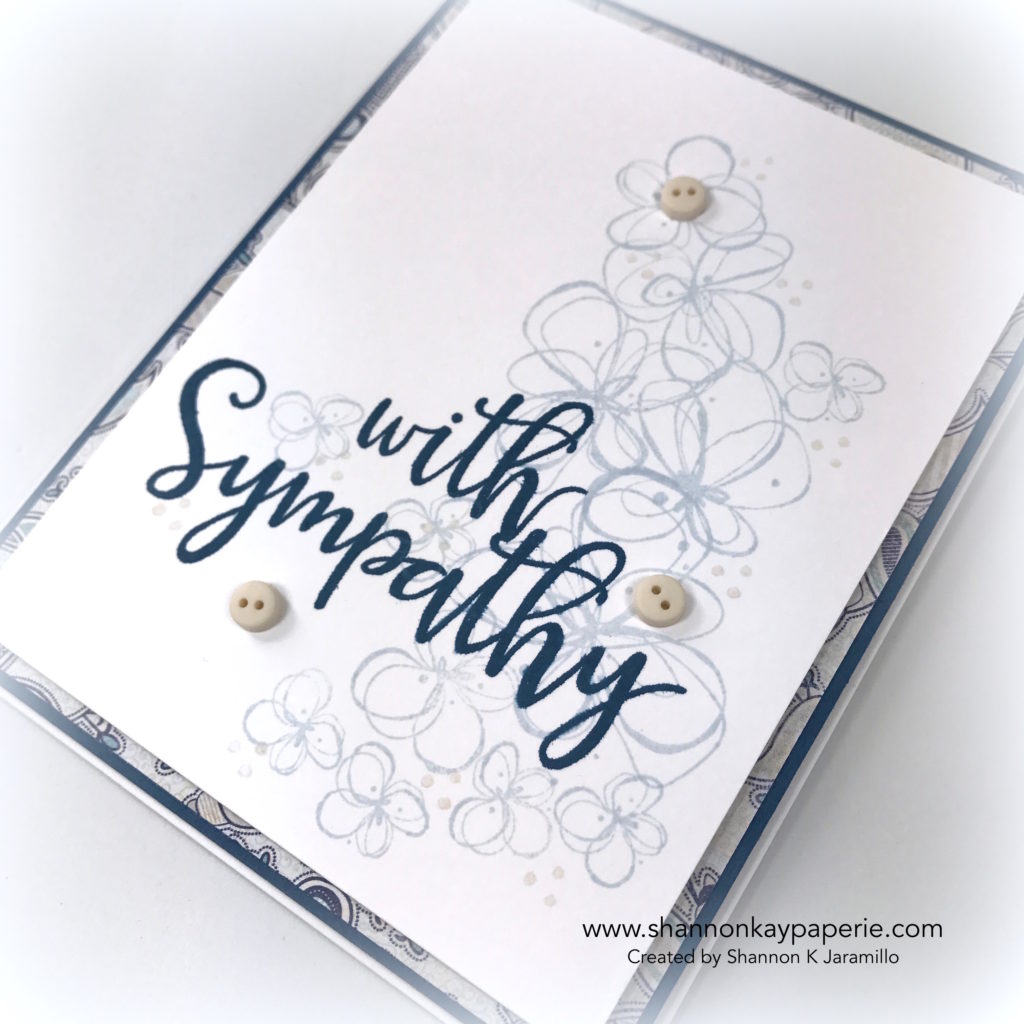
With Sympathy Sympathy Cards Ideas - Shannon Jaramillo Lil Inkers

And the inside. I forgot AGAIN to snap a photo of the stamping I did to the front of the envelope as well (insert mad face). Oh well, next time!

Today’s card was inspired by the Paper Players sketch…thanks Leanne, it’s a sketch with LOTS of possibilities!

Thanks for stopping by today!!

Products Used:

Card Stock: Stamper’s Select White and Enchanted Evening by Papertrey Ink

Pattern Paper: Seaside by Authentique

Ink: Enchanted Evening, Spring Rain and Soft Stone by Papertrey Ink

Stamps:   Inky Flowers by Lil ‘Inker Designs and Thoughts & Prayers by Stampin’ Up!

Dies: Envelope Line Die (Retired) by Stampin’ Up!

Tools:  MISTI

Embellishments: Bitty Buttons by Making Memories

Other – Envelope – Stampin’ Up!

Blue Christmas Fusion Card Challenge

Welcome Fusion Card Challenge fans! We have another fun challenge for you!

FusionSketch-11_26_15Oh my goodness, I just LOVE the blue and sparkle! When I first saw the inspiration photo, I thought of Simon Says Stamp Audrey Blue ink and gold foil paper. Well, then I came across this pattern paper and went in a completely different direction!

Blue Christmas Fusion Card ChallengeI am SO pleased with how this card turned out! I love the combination of the blue and brown (which my mother says never goes together), with the shimmery die cut.

Blue Christmas Fusion Card ChallengeThe die is by Papertrey Ink and is A-M-A-Z-I-N-G, particularly when die cut with Dazzling Diamonds Glimmer Paper by Stampin’ Up!. The white ribbon and the white paper of the sentiment balance each other well, while the blue of the sentiment and the paper is Sea Glass by Simon Says Stamp and is so soft and pretty! A few moonstone sequins and even more sparkle! A shout out to the very talented Michelle Short for showing me the trick of having a sequin peek out from behind a sentiment…so fun!

Design Tip: Sizzix Adhesive Sheets and the Precision Base Plate make cutting and layering intricate designs a snap! Just trim the size of adhesive sheet you need, add it to the top AND the bottom of the paper you are using and run through the Big Shot using the Precision Base Plate. The intricate die will cut perfectly, then just peel the adhesive backing and stick the layers together! If you use a gentle hand, you have some adjustment time with the adhesive to align the layers precisely.

And let’s not forget the inside of the card:

Blue Christmas Fusion Card ChallengeSimple and sweet. I’m really loving the trick of adding a background stamp to a sentiment, I think it adds a ton of interest 🙂

I am also playing along with The Challenge:

New Banner-015As well as the Global Design Project where the challenge is to CASE (Copy and Share Everything) my sweet friend Brian King‘s Christmas card!

GDP012 Case the DesignerI hope all of you in the US have a wonderful holiday, spending it however you choose, hopefully with people you love 🙂

Thank you for stopping by and, as always, I love to hear your thoughts!

Won’t you check out what the other Fusion Card Challenge design team members have created for you this week?

Products Used:

Cardstock: Stamper’s Select White by Papertrey Ink; Sea Glass by Simon Says Stamp

Pattern Paper: Cozy by Authentique

Specialty Paper: Dazzling Diamonds Glimmer Paper by Stampin’ Up!

Ink: Sea Glass by Simon Says Stamp; Crumb Cake by Stampin’ Up!

Stamps:  Christmas Cheer, Deck the Halls by Papertrey Ink;  Beautiful Blizzard by Newton’s Nook

Dies: Christmas Cheer by Papertrey Ink; Stitched Borders 2 by Pretty Pink Posh; Stitched Mats: Rectangles by Lil ‘Inker; and Envelope Liner Die by Stampin’ Up!

Tools:  MISTI

Embellishments: Moonstone Sequins by Simon Says Stamp; Retired Whisper White Ribbon by Stampin’ Up!

Joyful Season – The Paper Players & Sweet Sunday Sketch

Joyful Season - The Paper Players & Sweet Sunday SketchWhen I saw The Paper Players challenge this week, I knew I wanted to play along. I have been itching to ink this stamp set up and they gave me my motivation! A great sketch over at the Sweet Sunday Sketch Challenge gave me my layout and the colors over at Colour Me…! gave me my colors!! This card pretty much jumped into my head complete, I just need to fuss with the details (love when that happens!).

Joyful Season - The Paper Players & Sweet Sunday SketchI was having technical difficulties with my ScanNCut…it refused to recognize the cardinal at all and only recognized PART of my branch 🙁  The branch is supposed to have more berries, but they were cut off. But I didn’t let that derail my enthusiasm, I went with what I had and fussy cut the cardinal out!

Lest you think I forgot part of the greeting…it’s on the inside!

Joyful Season - The Paper Players & Sweet Sunday SketchSpecial cards deserve pretty insides too 🙂

A shout out to my inspiration:

pp271 SSSC295CMCC Full Graphics-020Unfortunately, the Colour Me…! challenge closed 40 minutes before I finished my card so I wasn’t able to link up to the challenge but I wanted to give them a shout out for the inspiration!

I’m also entering my card into the Global Design Project as my project fits perfectly with the challenge this week:)

GDP-011

Thank you so much for stopping by!!

Products Used:

Cardstock: Thick Whisper White, Real Red and Old Olive by Stampin’ Up!

Pattern Paper: Season of Cheer and Merry Moments Designer Series Paper Stack by Stampin’ Up!

Ink: Real Red and Basic Black by Stampin’ Up!

Stamps:  Joyful Season by Stampin’ Up!

Dies: Envelope Liner Die by Stampin’ Up!; Stitched Mats: Rectangles by Lil ‘Inker.

Tools:  MISTI

Embellishments: Brights Candy Dots by Stampin’ Up!