Season’s Greetings Fusion Card Challenge

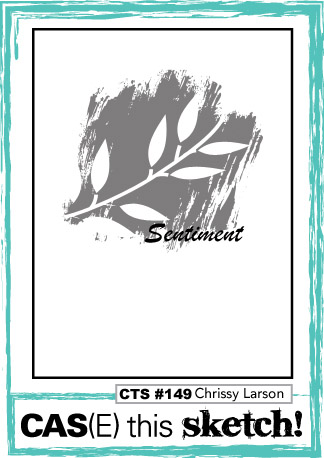
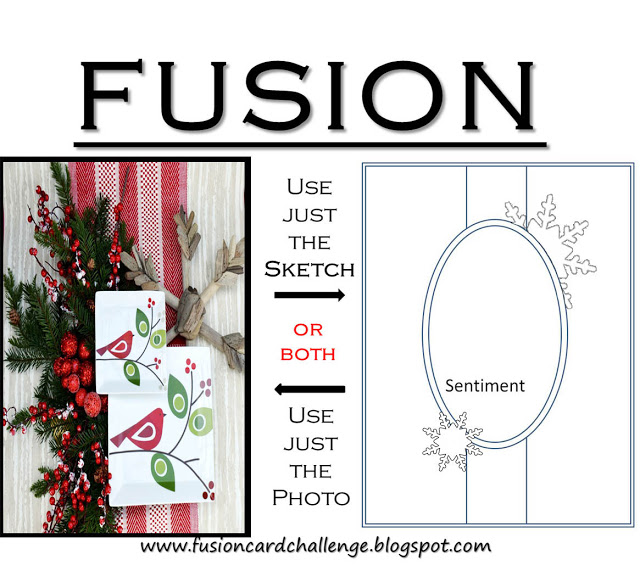
Greetings!! It’s time for the last Fusion Card Challenge of 2015!! And as we ramp up for Christmas, here are some wonderful inspirations to get your inky fingers going!

FusionSketch-12_10_15
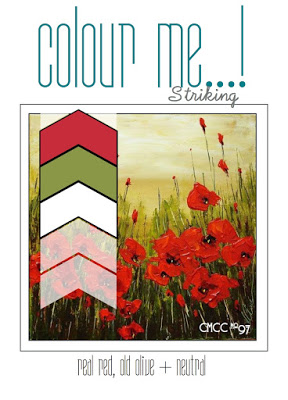
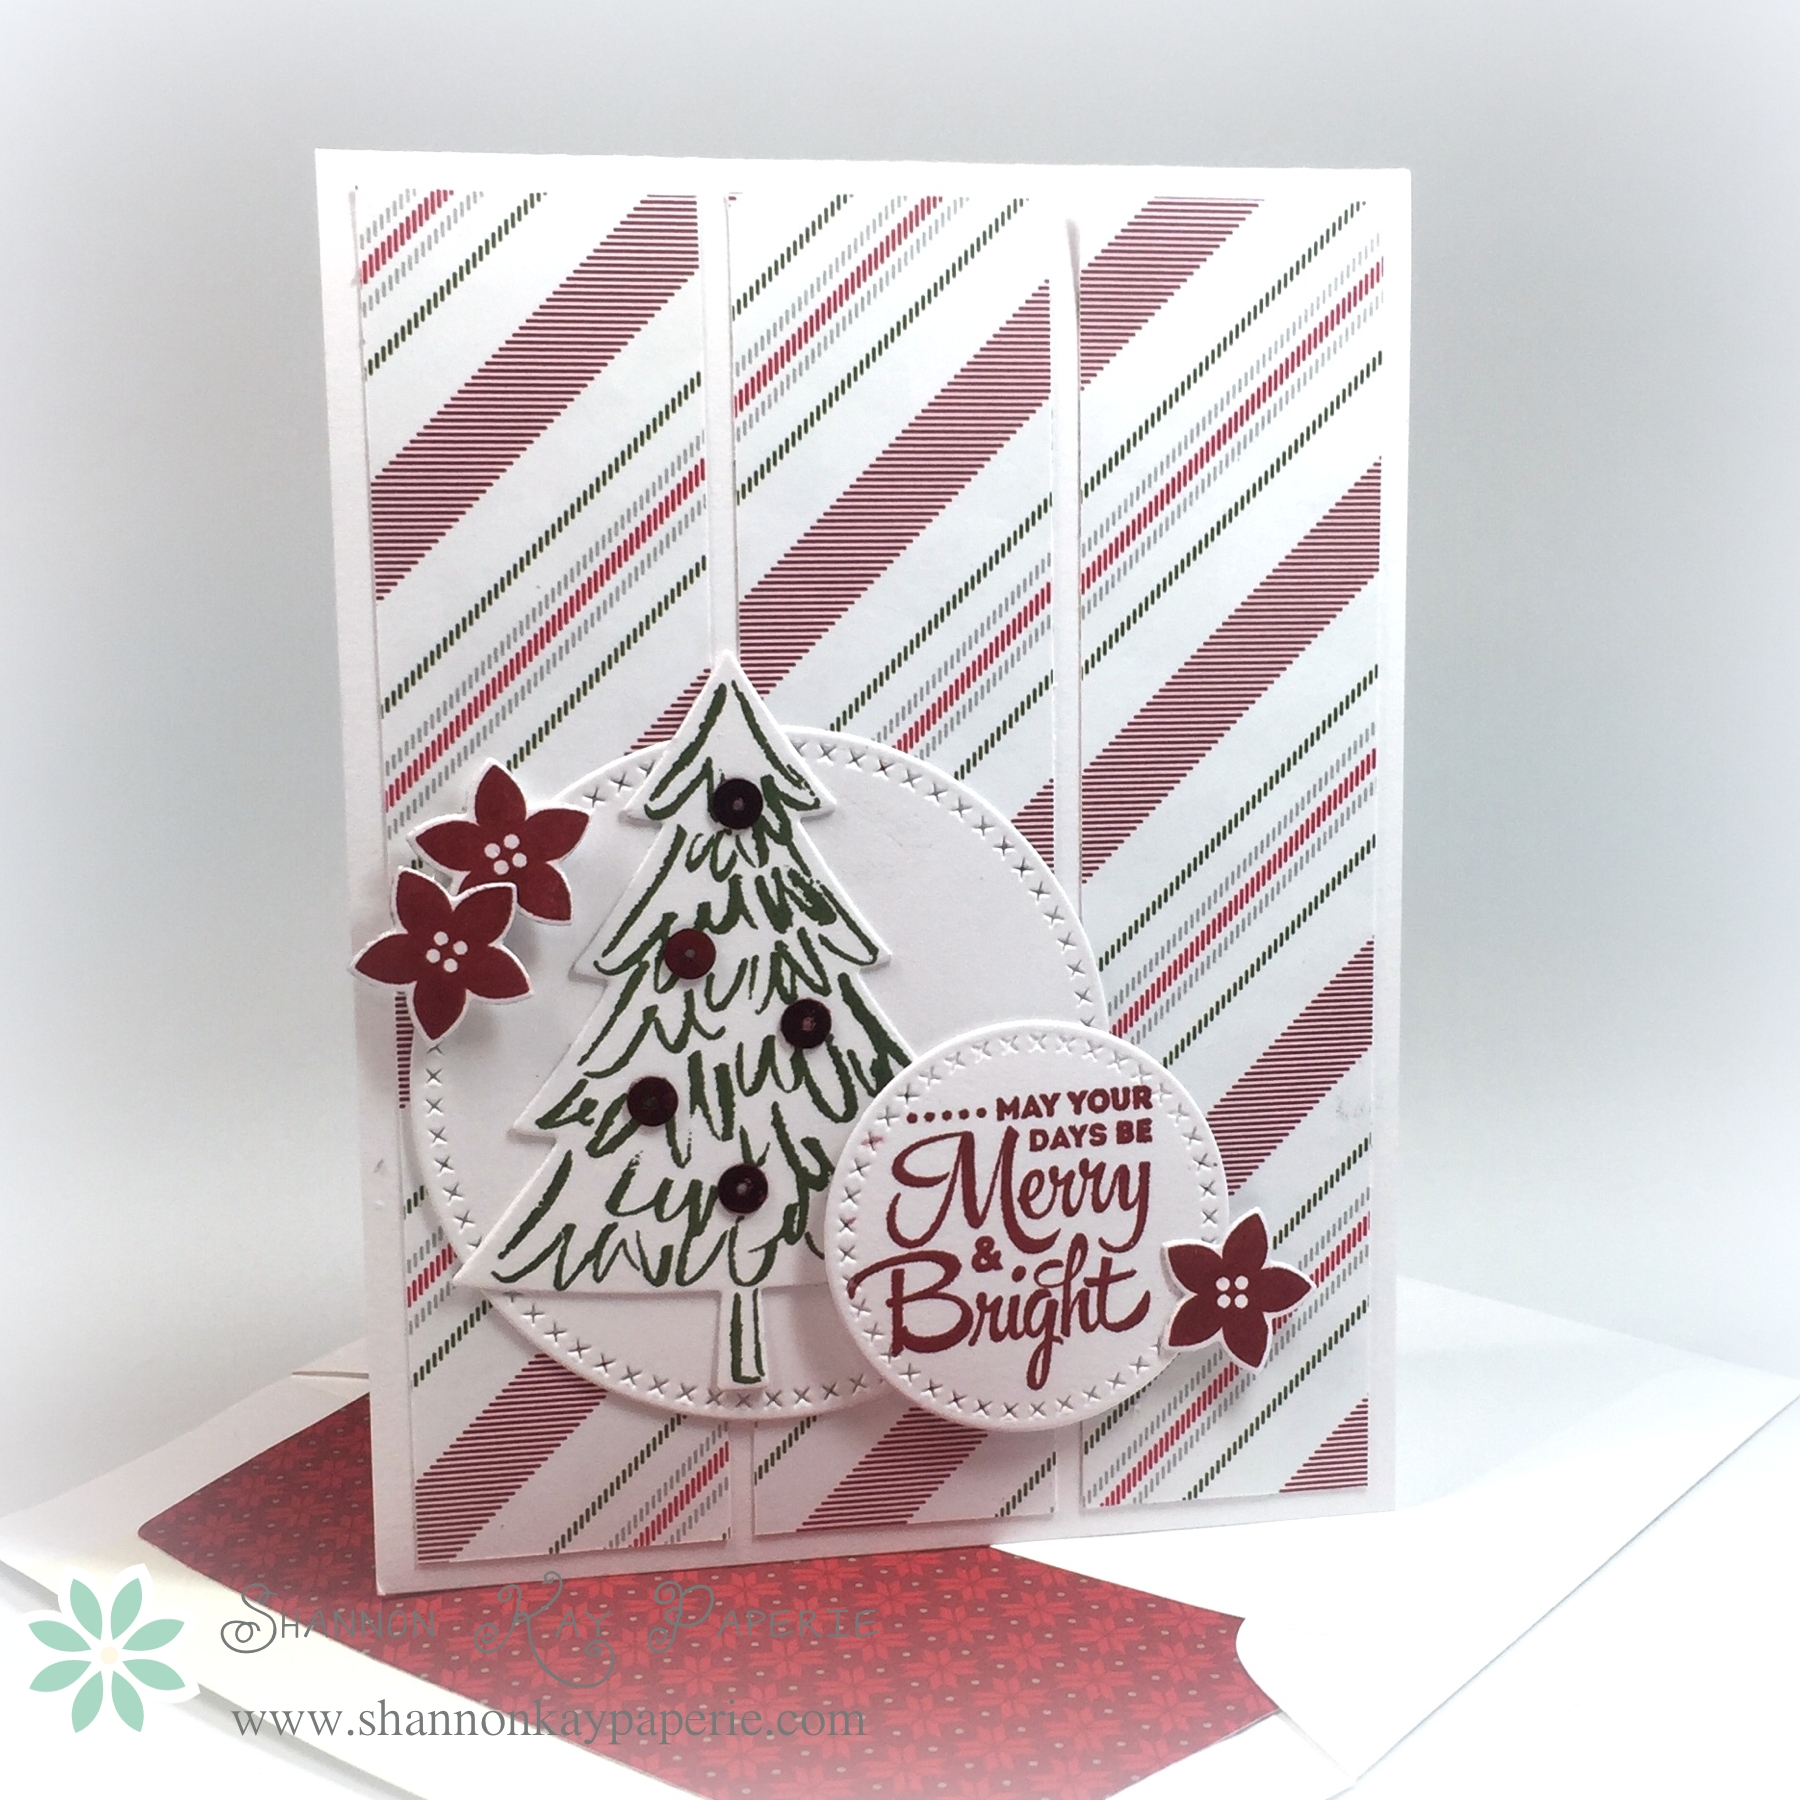
I was immediately drawn to the bright reds of the holly berries and the lush greens of the evergreens in the inspiration photo. I thought I was going to go in a rustic Christmas direction, but as often happens, my card ideas turned on me as I went along!

Season's Greetings Fusion Card Challenge
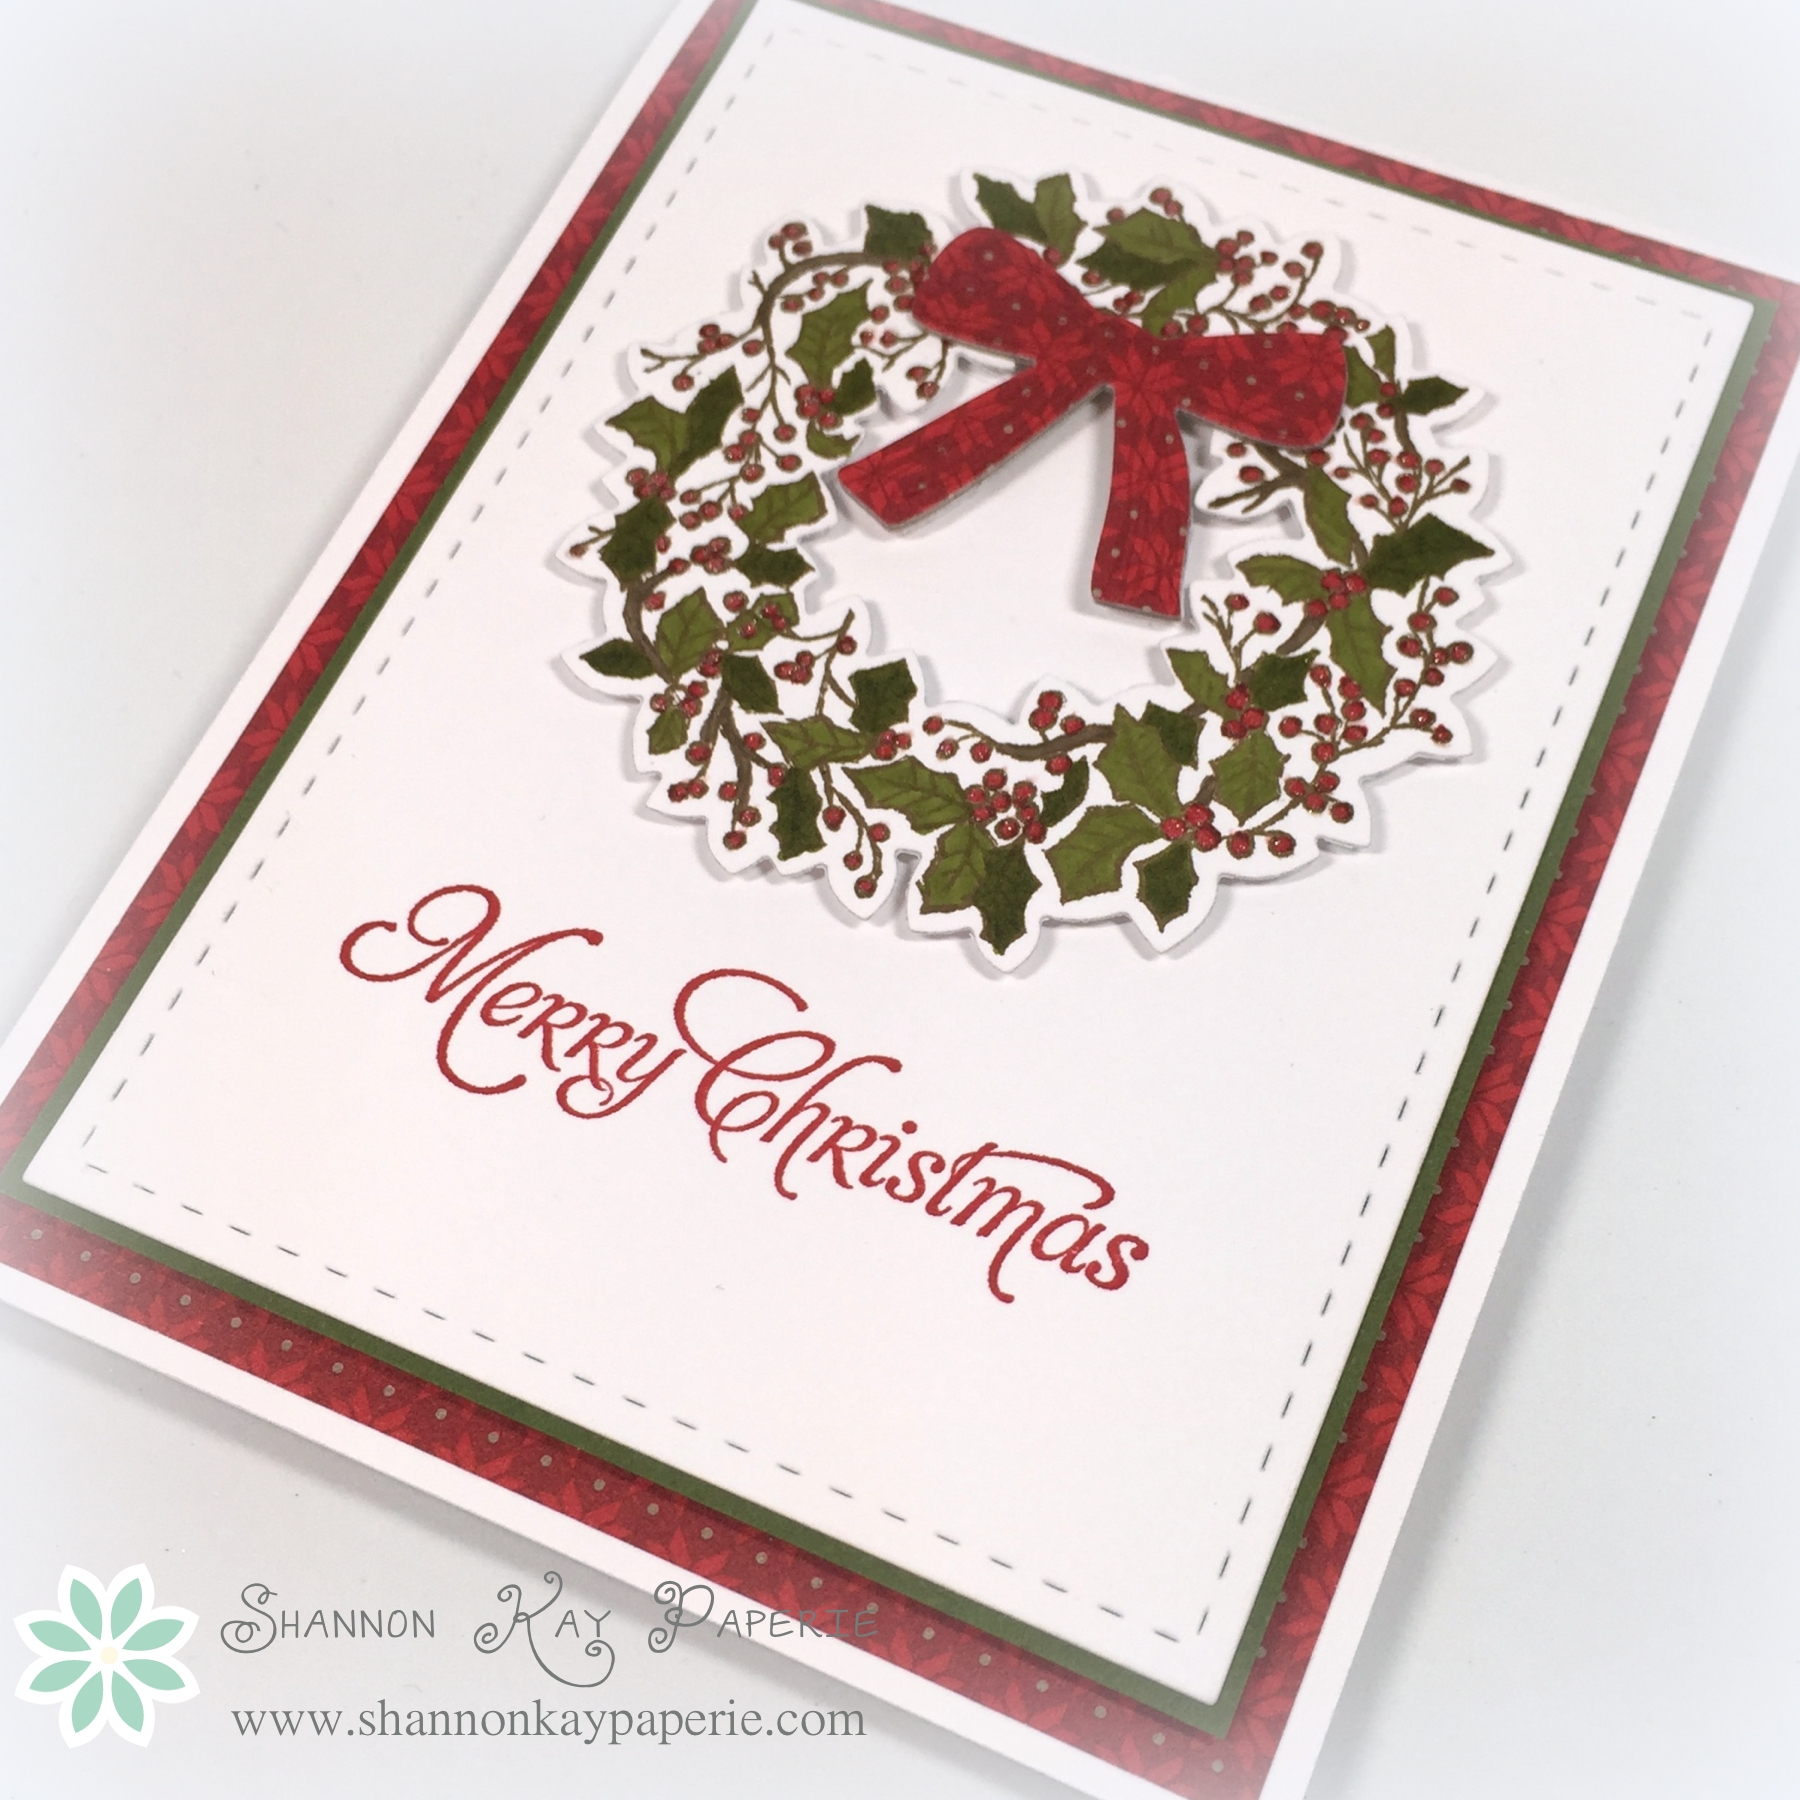
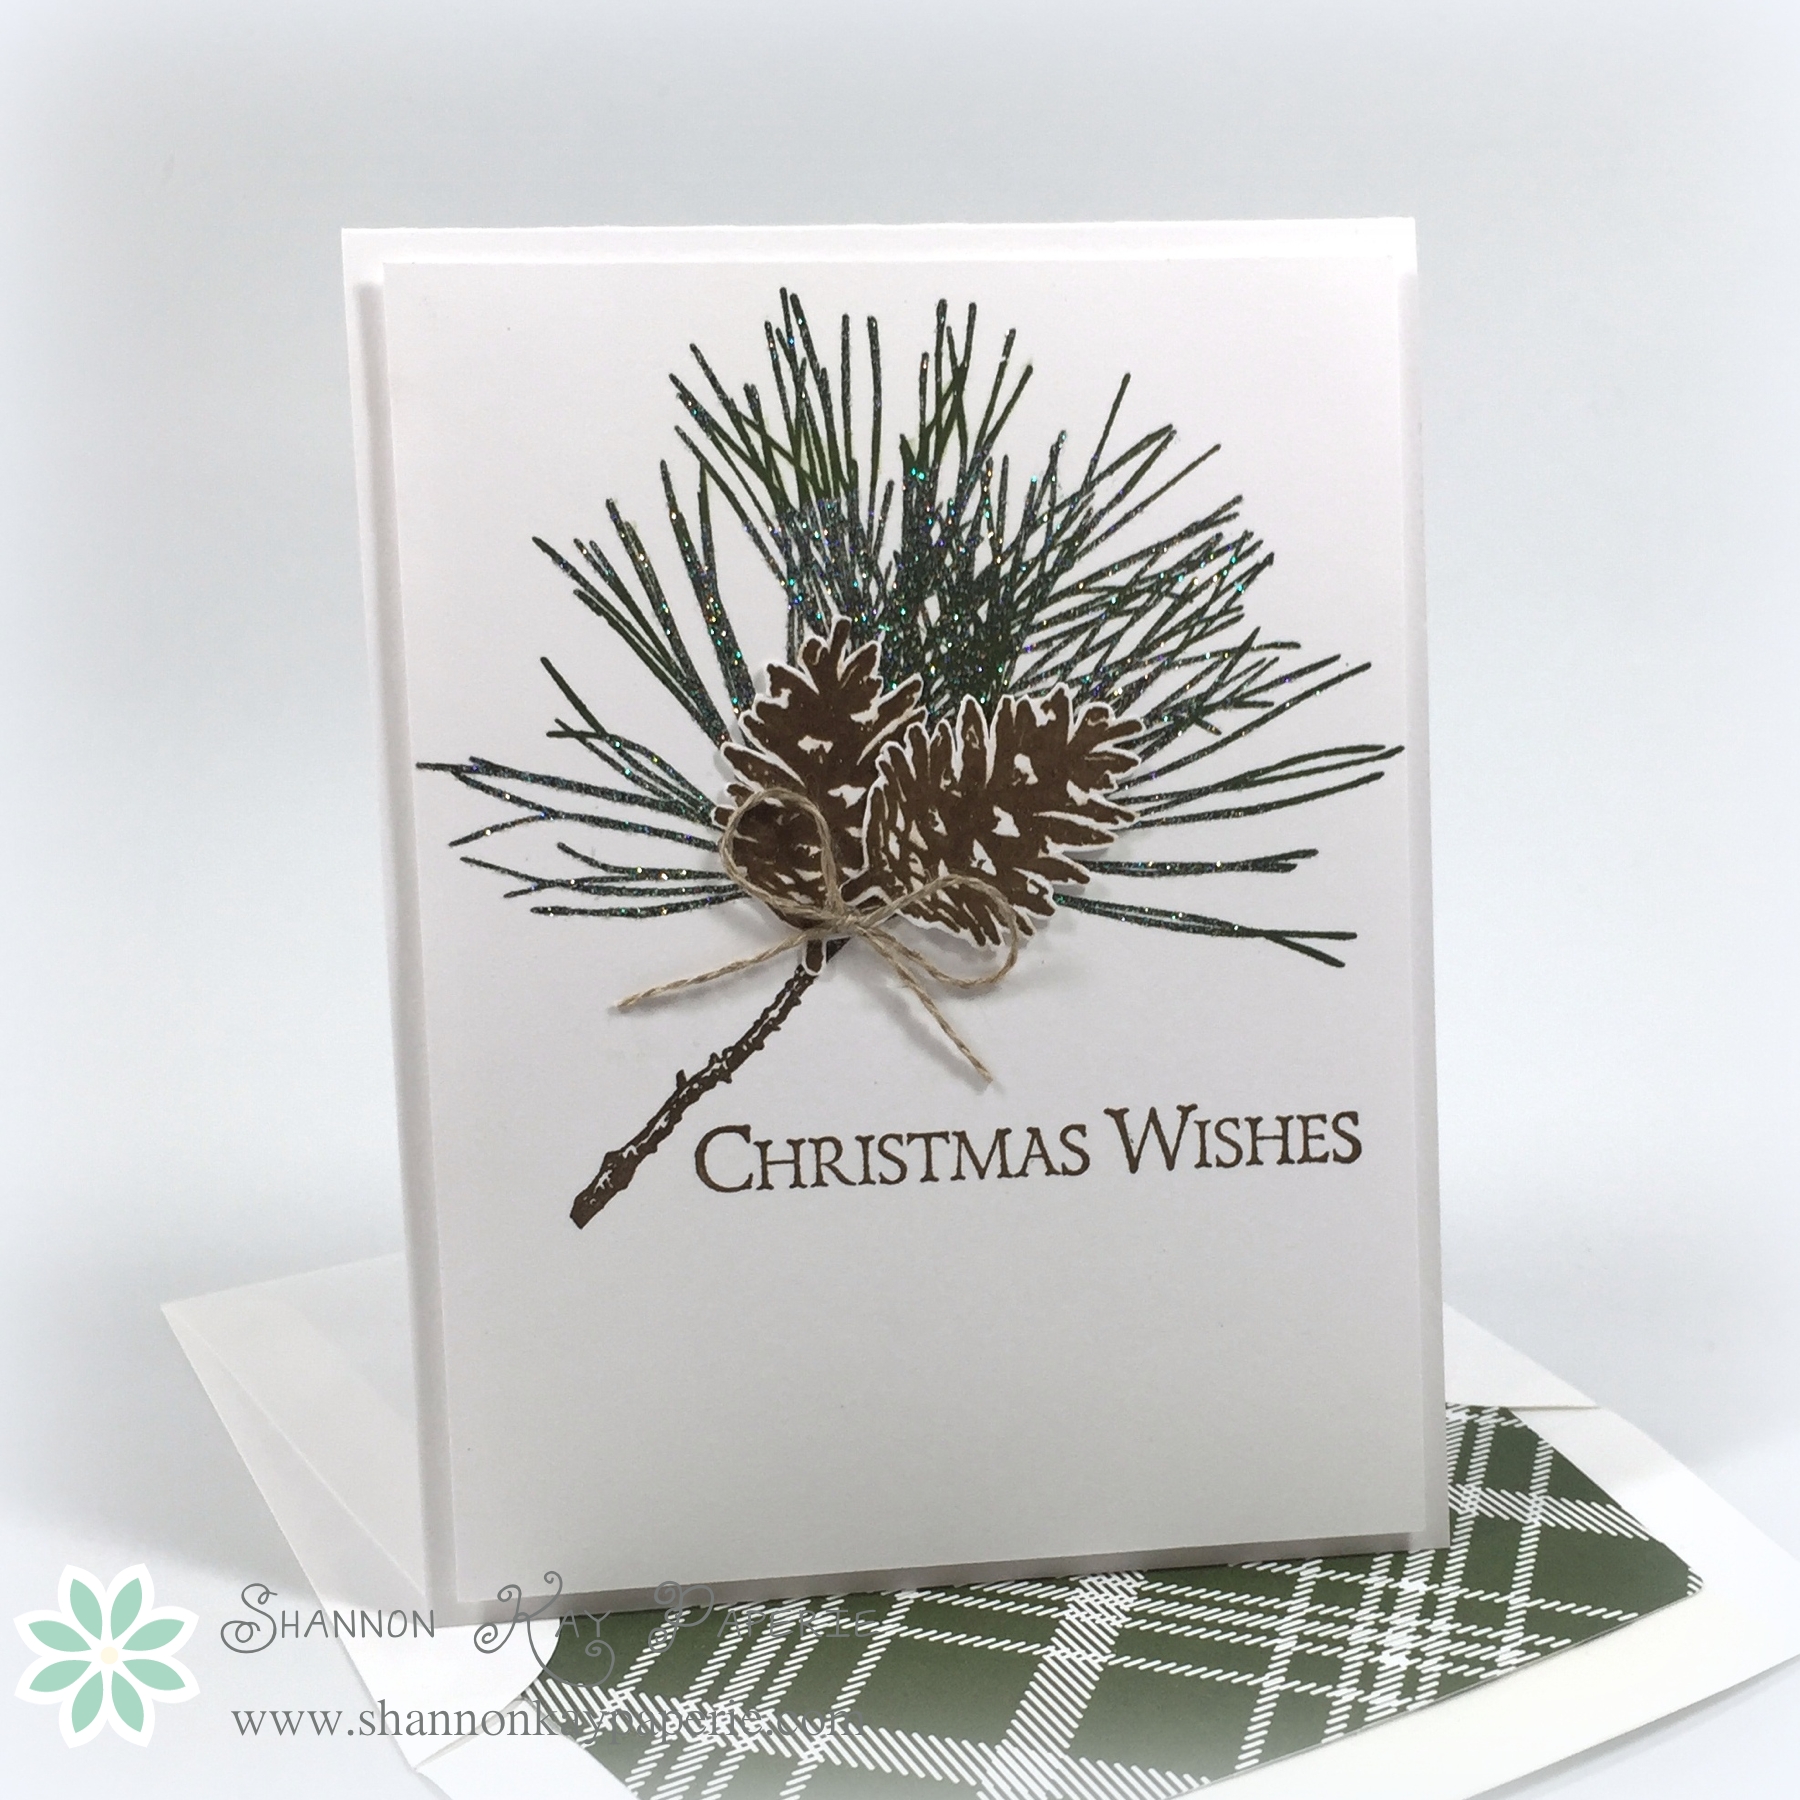
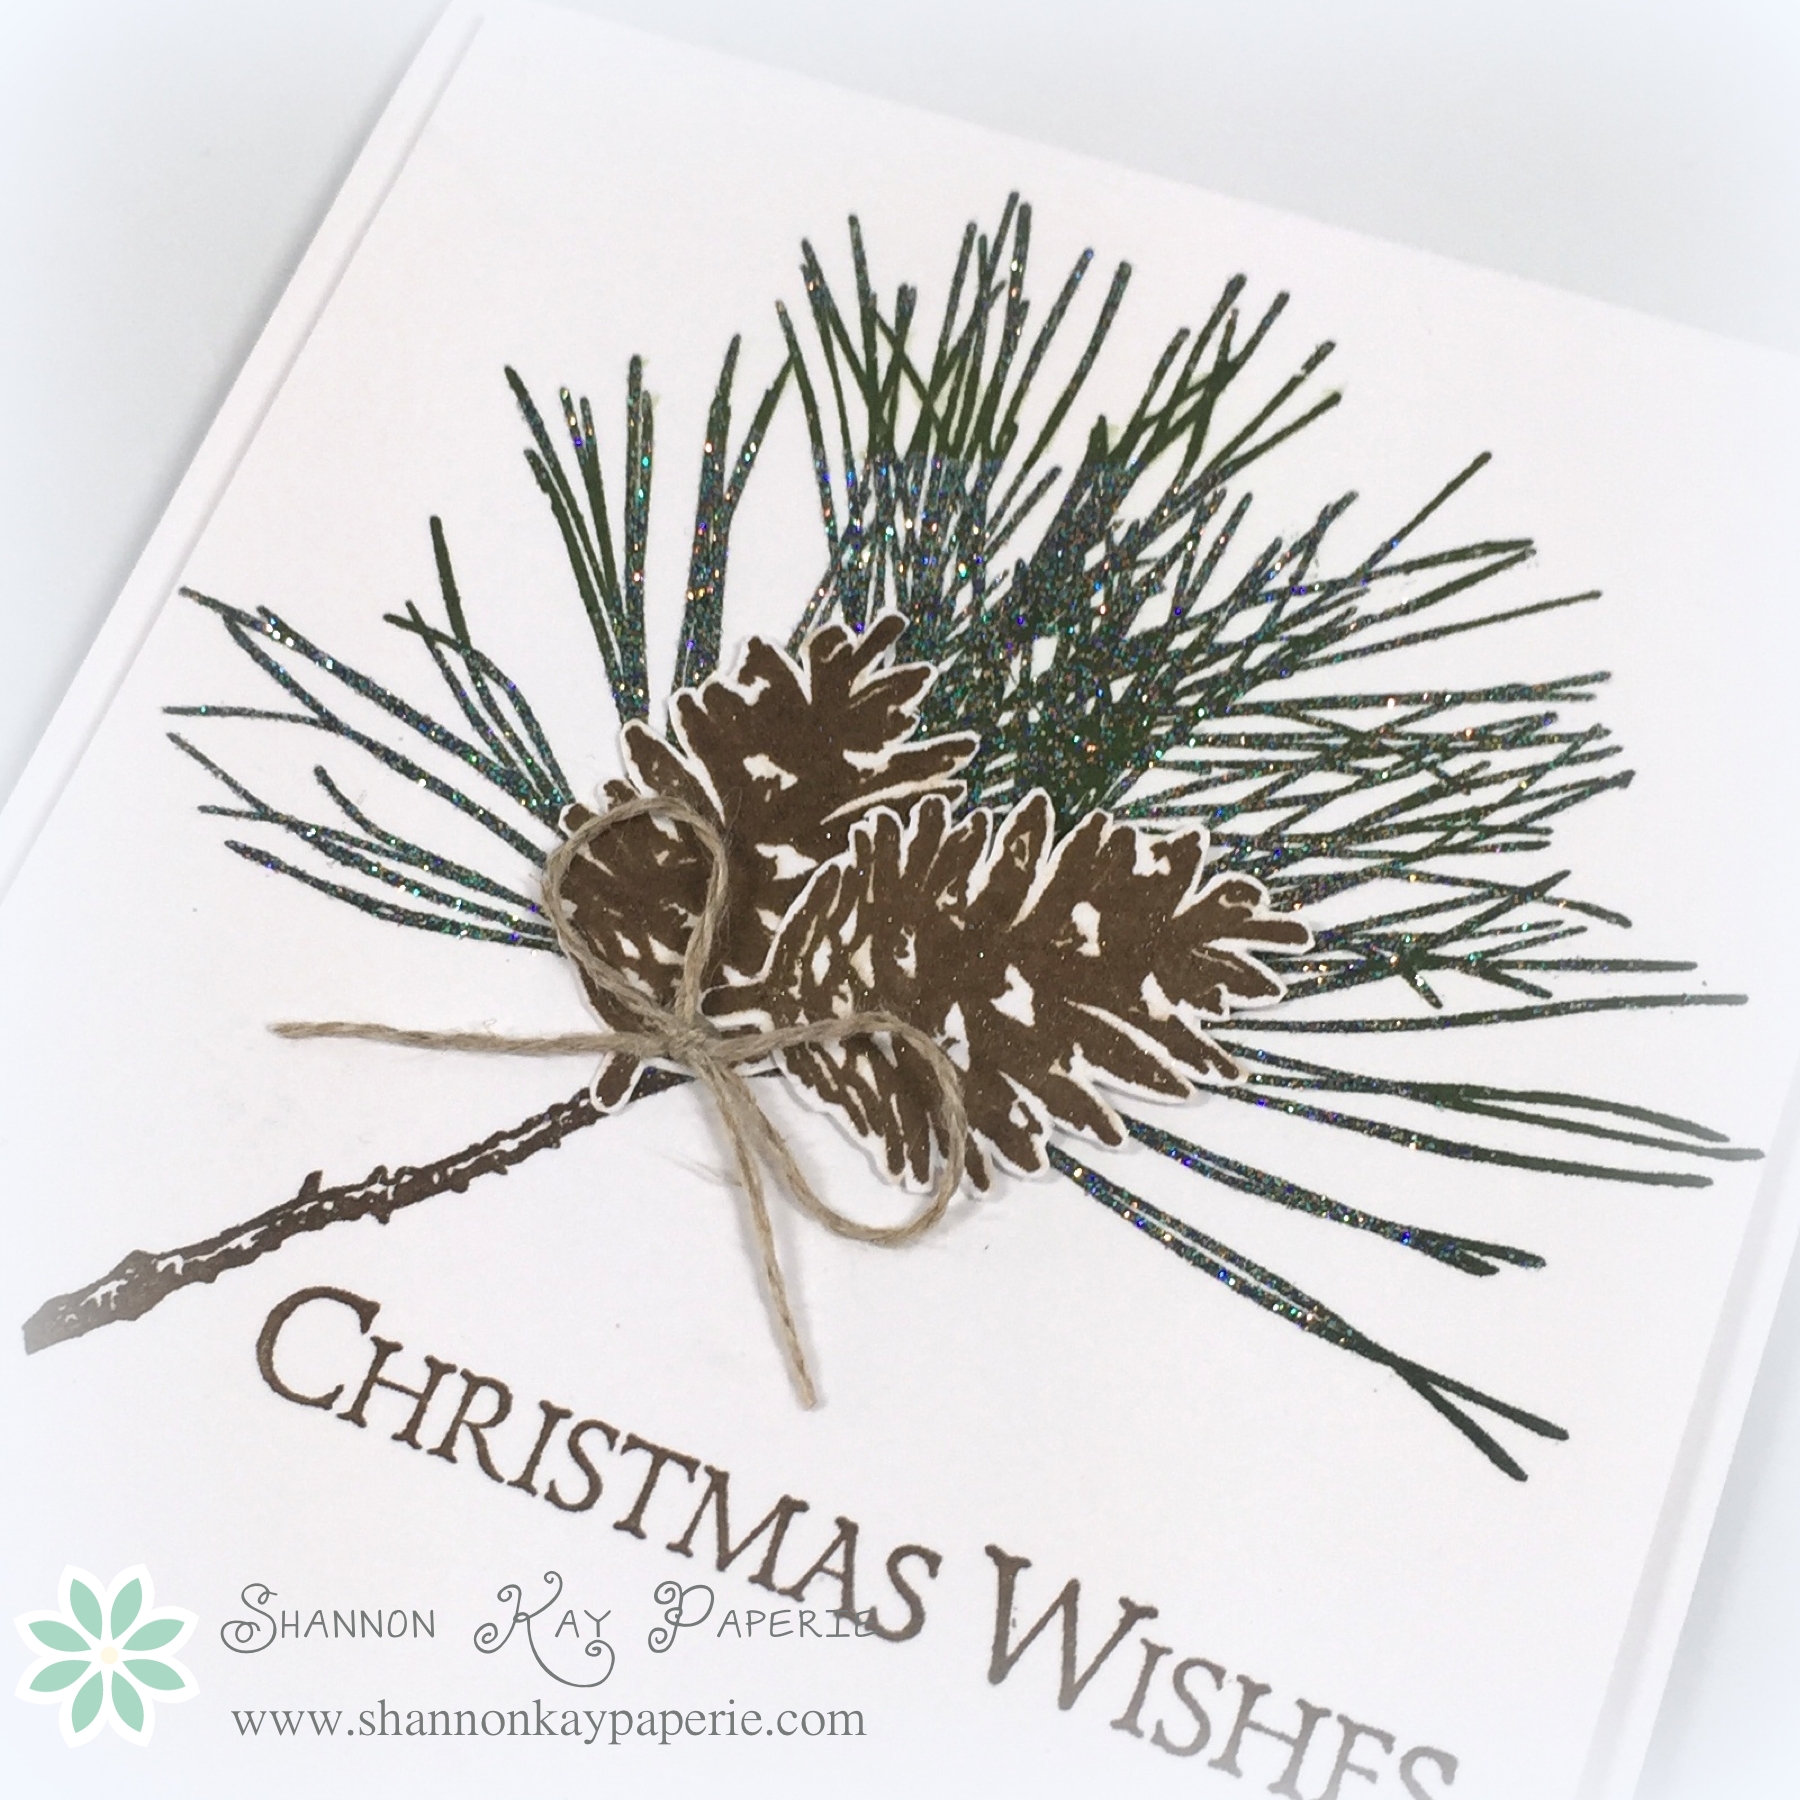
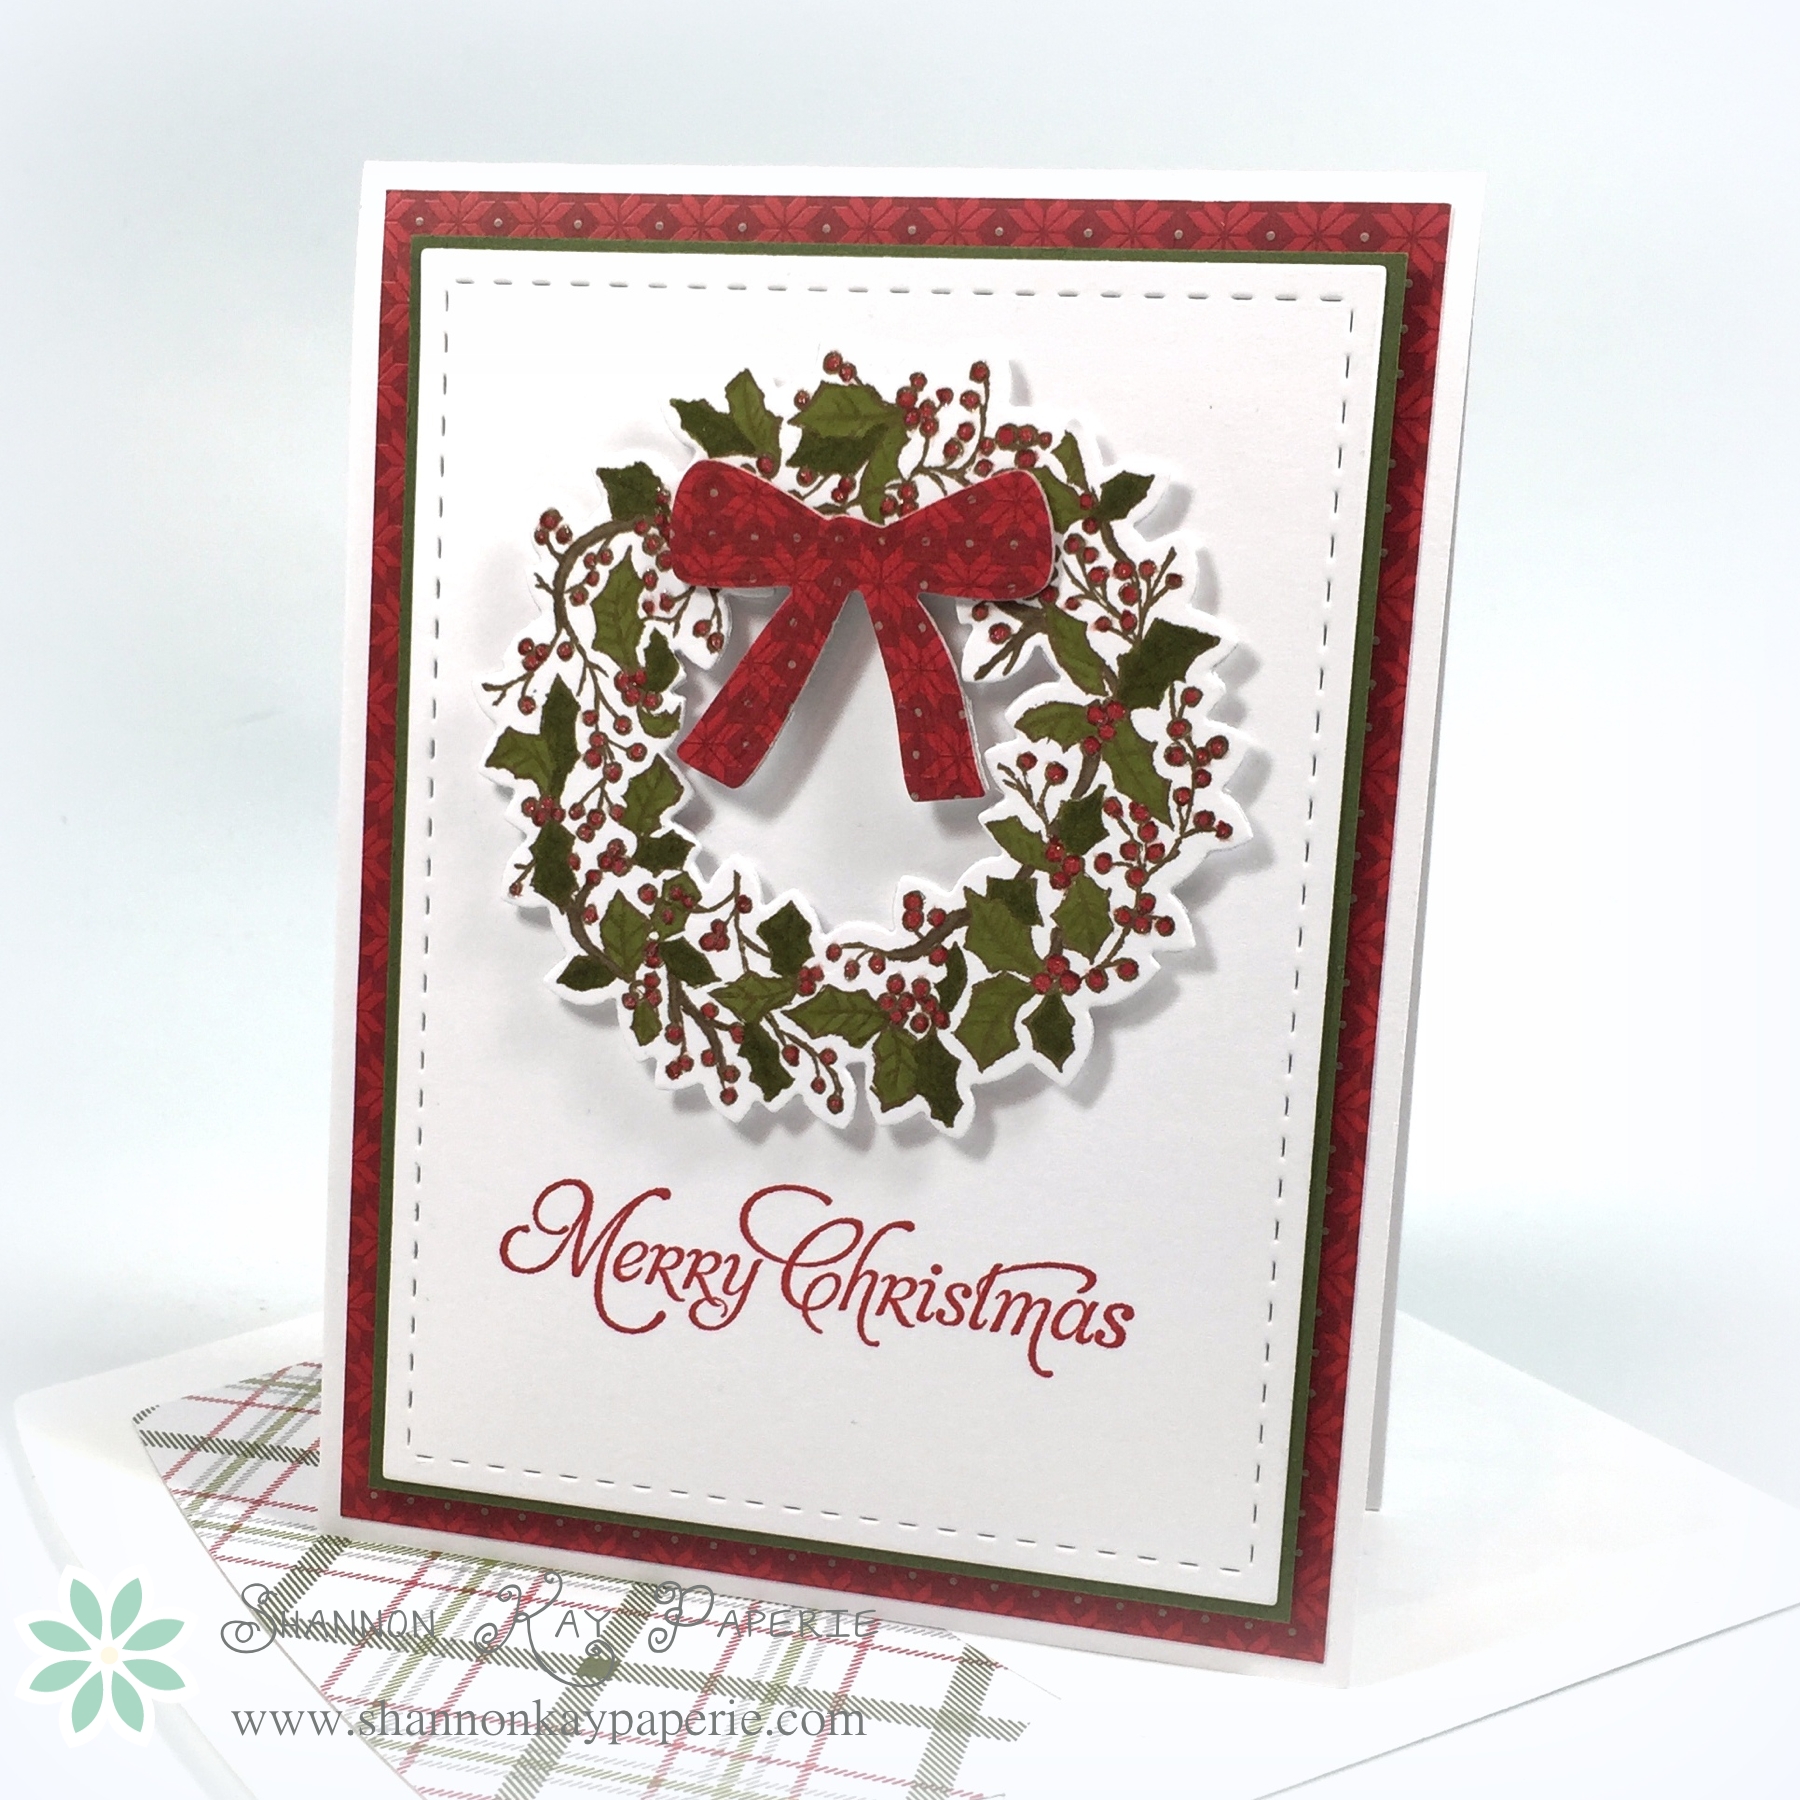
This is one of my favorite cards this holiday season! The stamp set is Peaceful Wreath by Stampin’ Up! I love that it utilizes the Wonderful Wreath Framelits from last year’s holiday catalog, giving me more designing bang for my buck šŸ™‚

I stamped the wreath image in Soft Suede ink and then used Old Olive, Real Red, and Soft Suede to color it in. You may notice that some of the green leaves are slightly darker than the others, I felt the wreath was too monotone once I was done coloring, so I went back and added another layer of Old Olive ink to some of the leaves. Here’s a close up of the wreath, hopefully you can see the shimmer that I added to the holly berries with Wink of Stella, it is so beautiful in person!

Season's Greetings Fusion Card Challenge
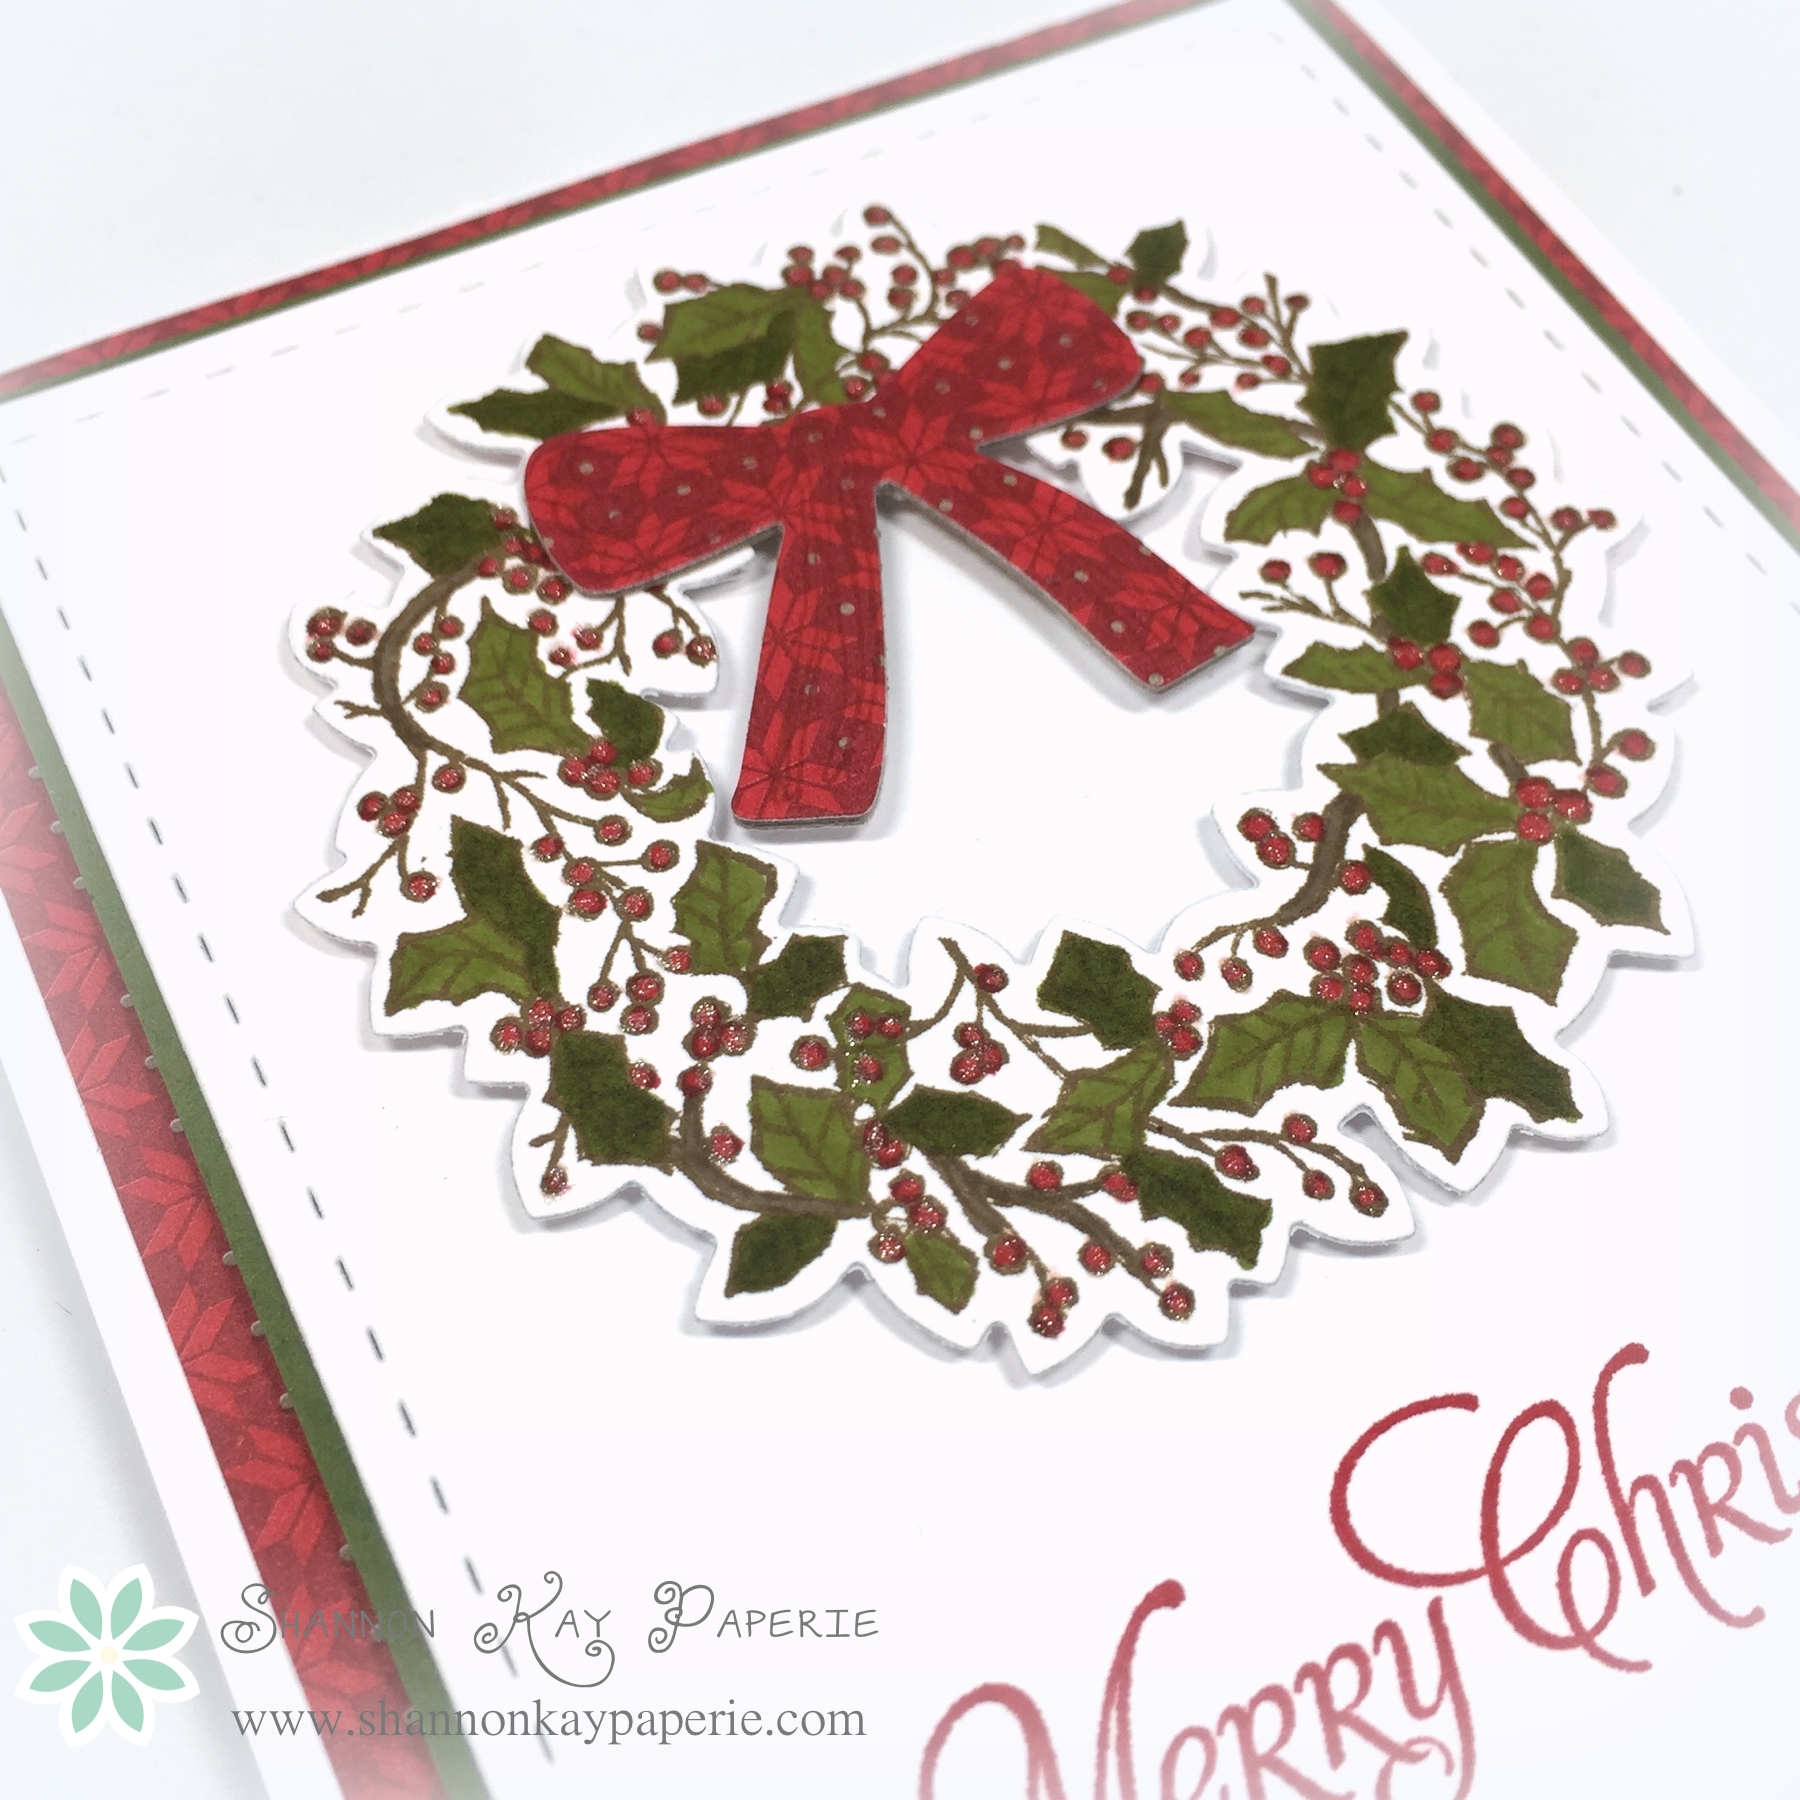
I die cut the bow twice in white cardstock and then once with DSP, layered the three together to create a dimensional bow. I also stamped the bow image on top of the die cut, it’s a subtle detail but adds to the overall design of the card.

Design Tip: Stampin’ Up! has always recommended die cutting the center of the wreath first, then stamping the wreath next, with the idea that you will be able to align the image perfectly. I can align the image fairly well, but the indentation left from the die cut makes the image stamp poorly. Well, I discovered a way around all of that!! First, I stamped and colored my wreath. Next I took a piece of tissue paper and die cut the center out of it using the Big Shot. I then laid the tissue paper over my stamped wreath, lined the die cut opening up perfectly with my stamped image and then used small bits of micropore tape to tack the tissue paper down. I laid the center die cut over tissue paper (it aligns easily because of the cut in the tissue paper) and ran the whole thing through the Big Shot! Voila!! Perfect alignment!! The outside edge of the wreath is much easier to line up because it’s an open die. Try this tip for a perfectly due cut wreath!

Season's Greetings Fusion Card Challenge
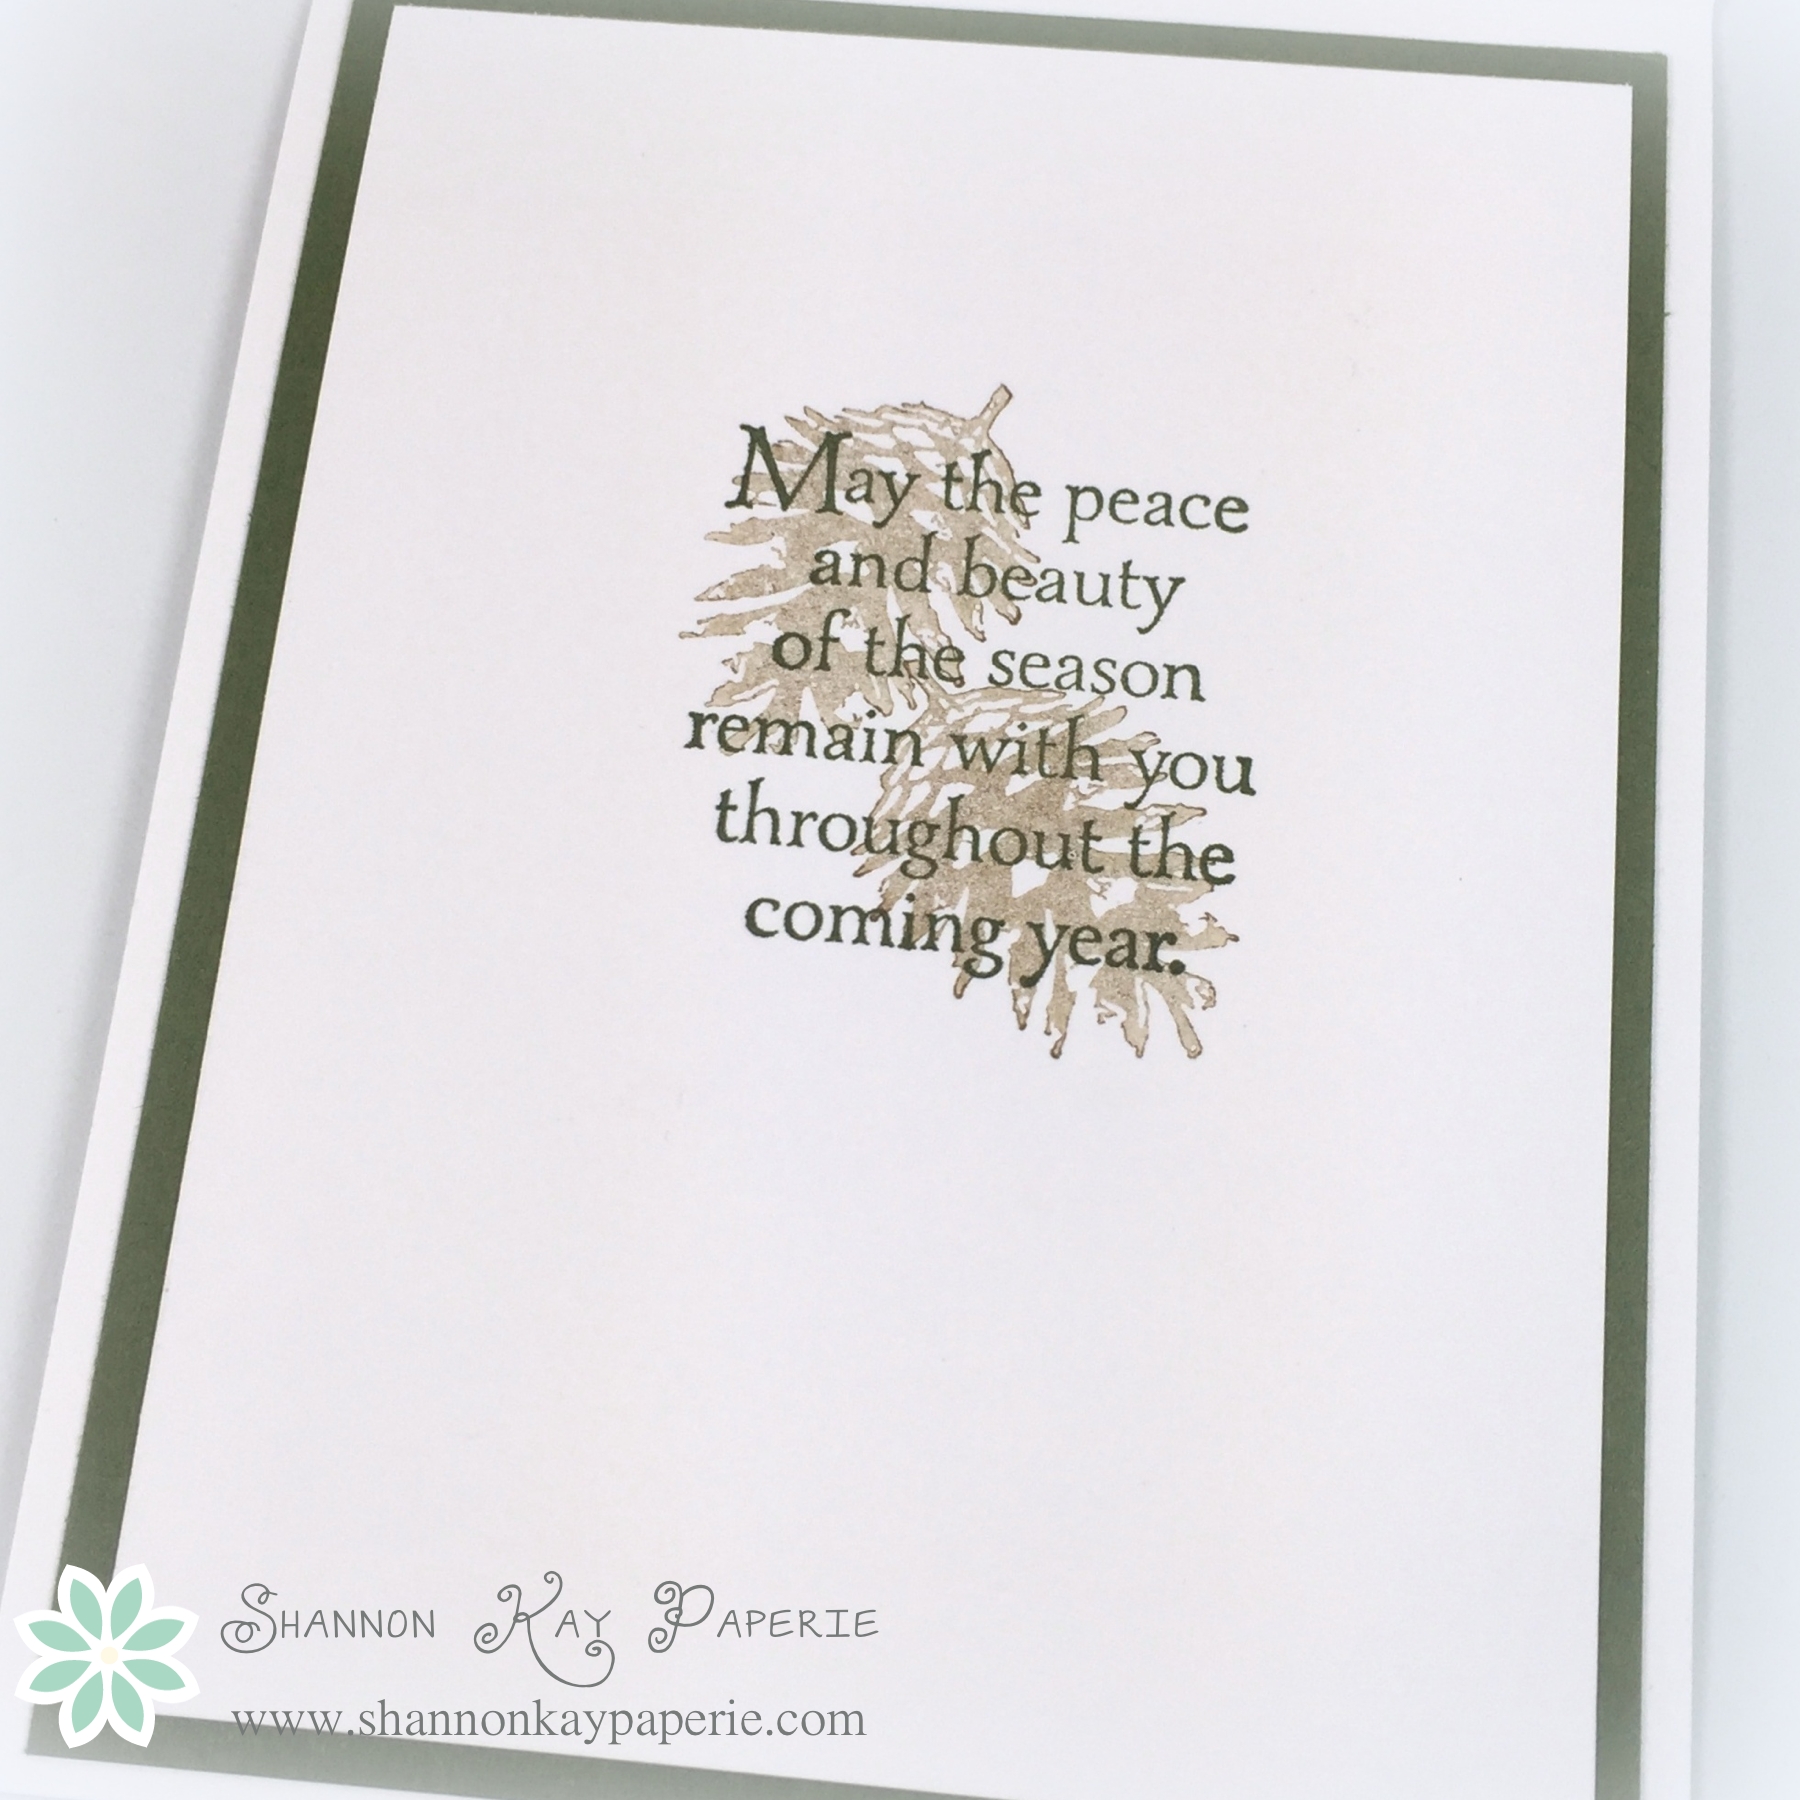
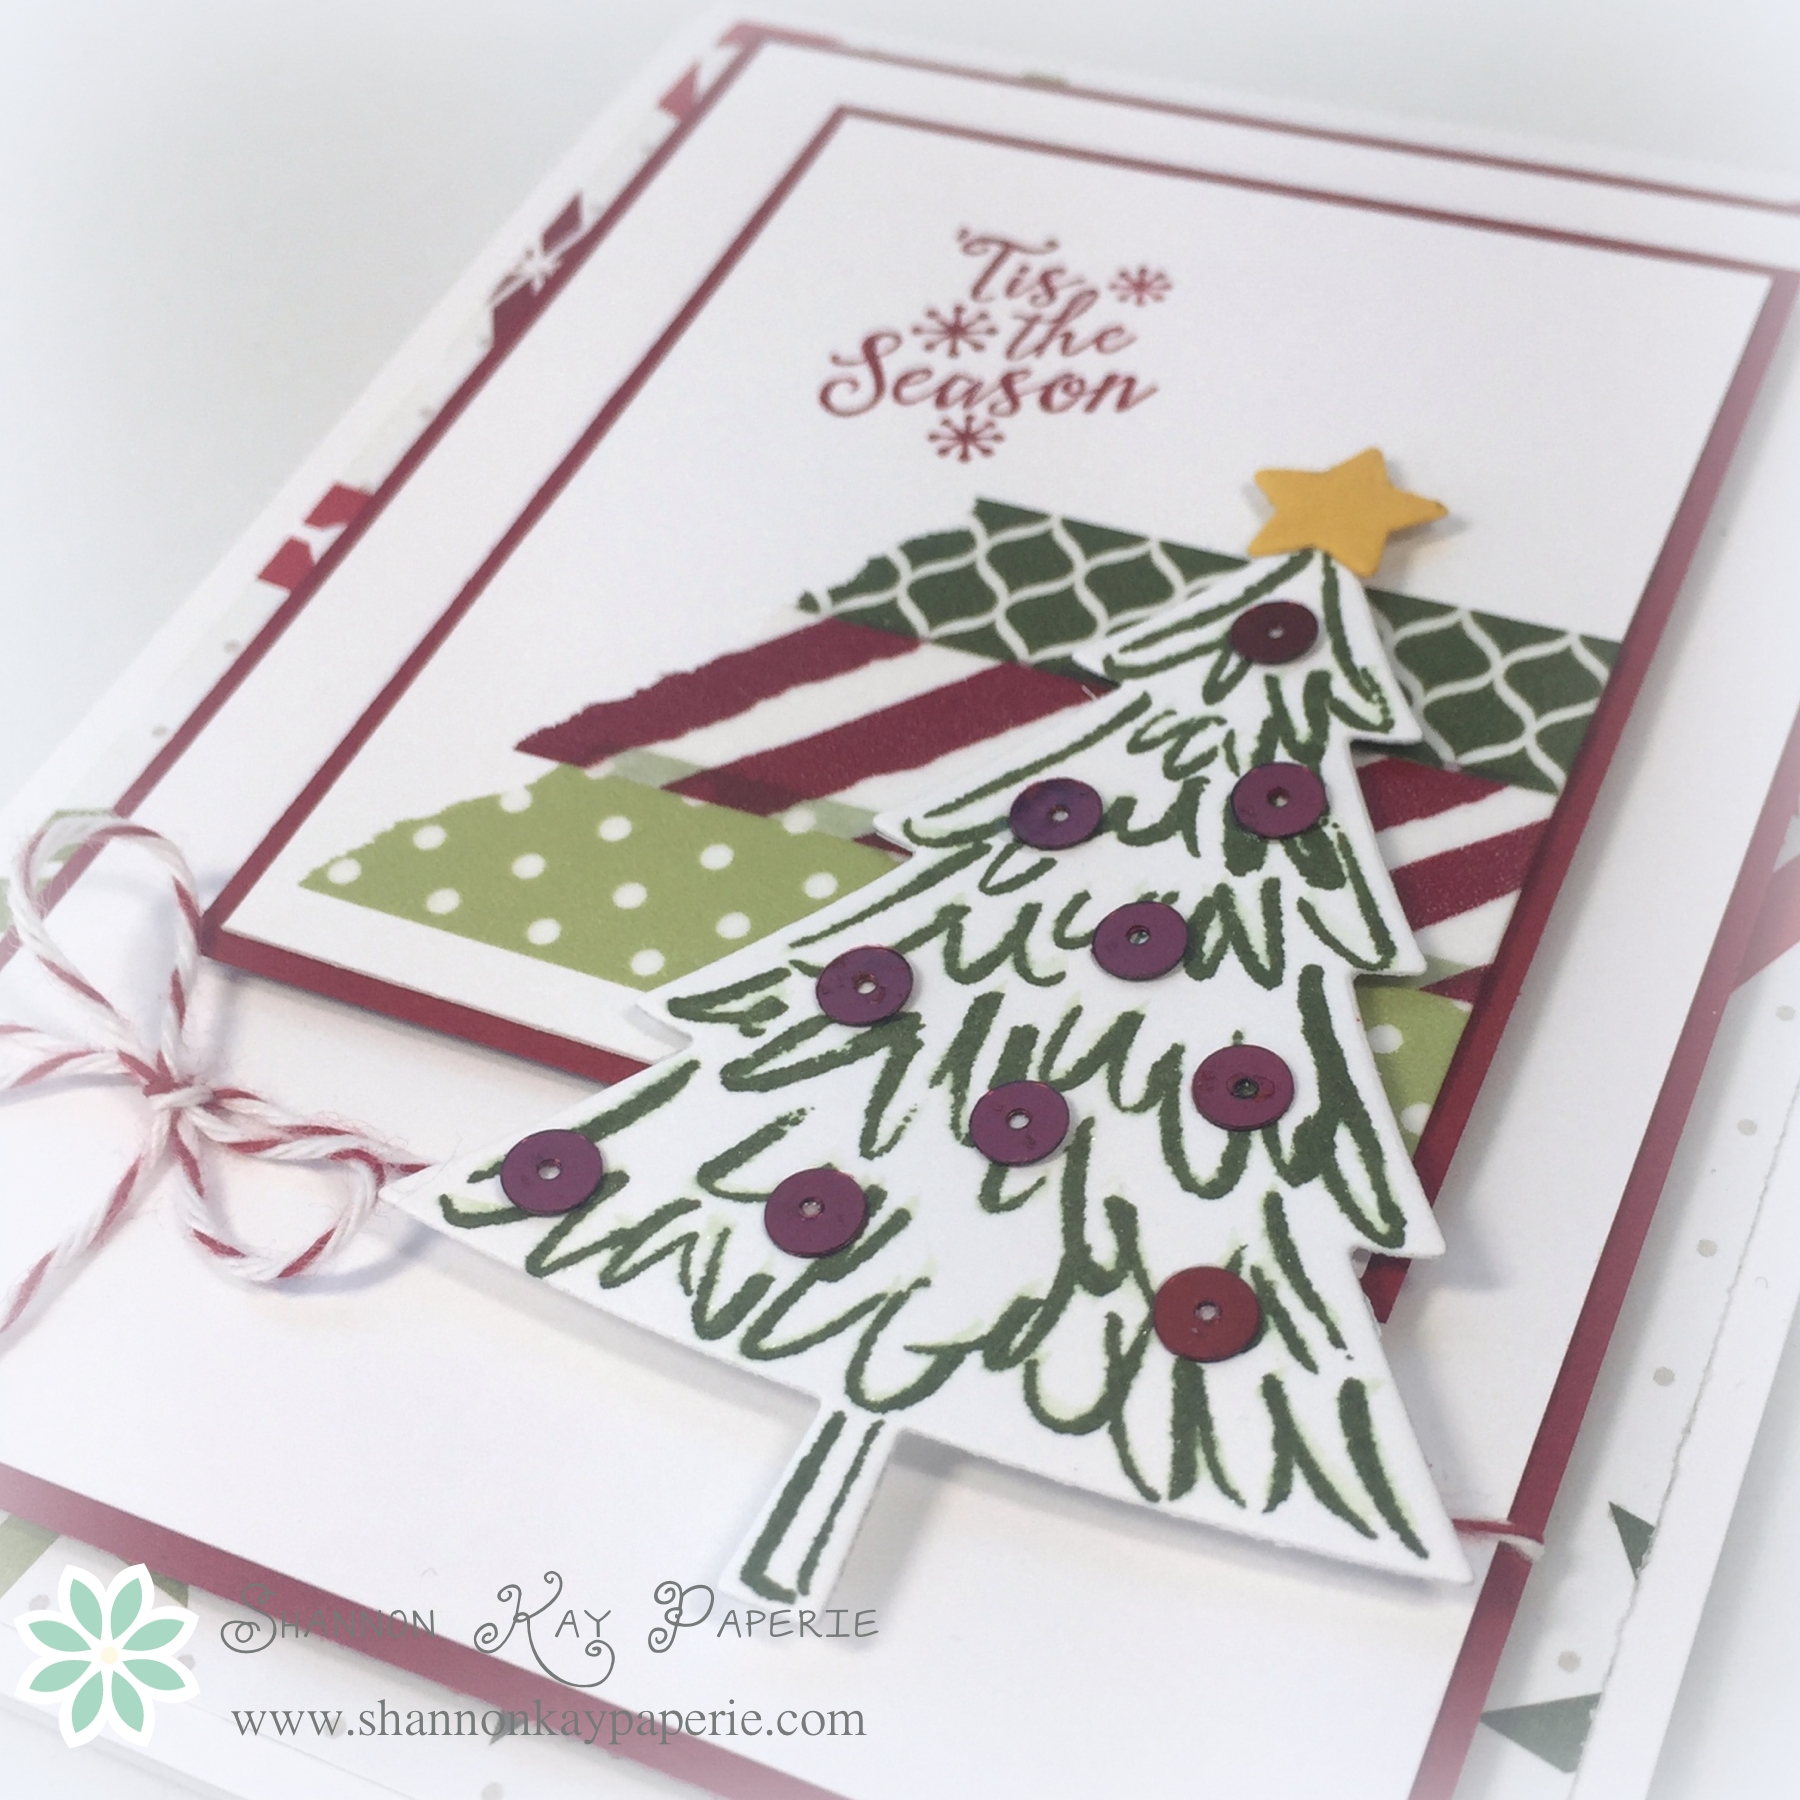
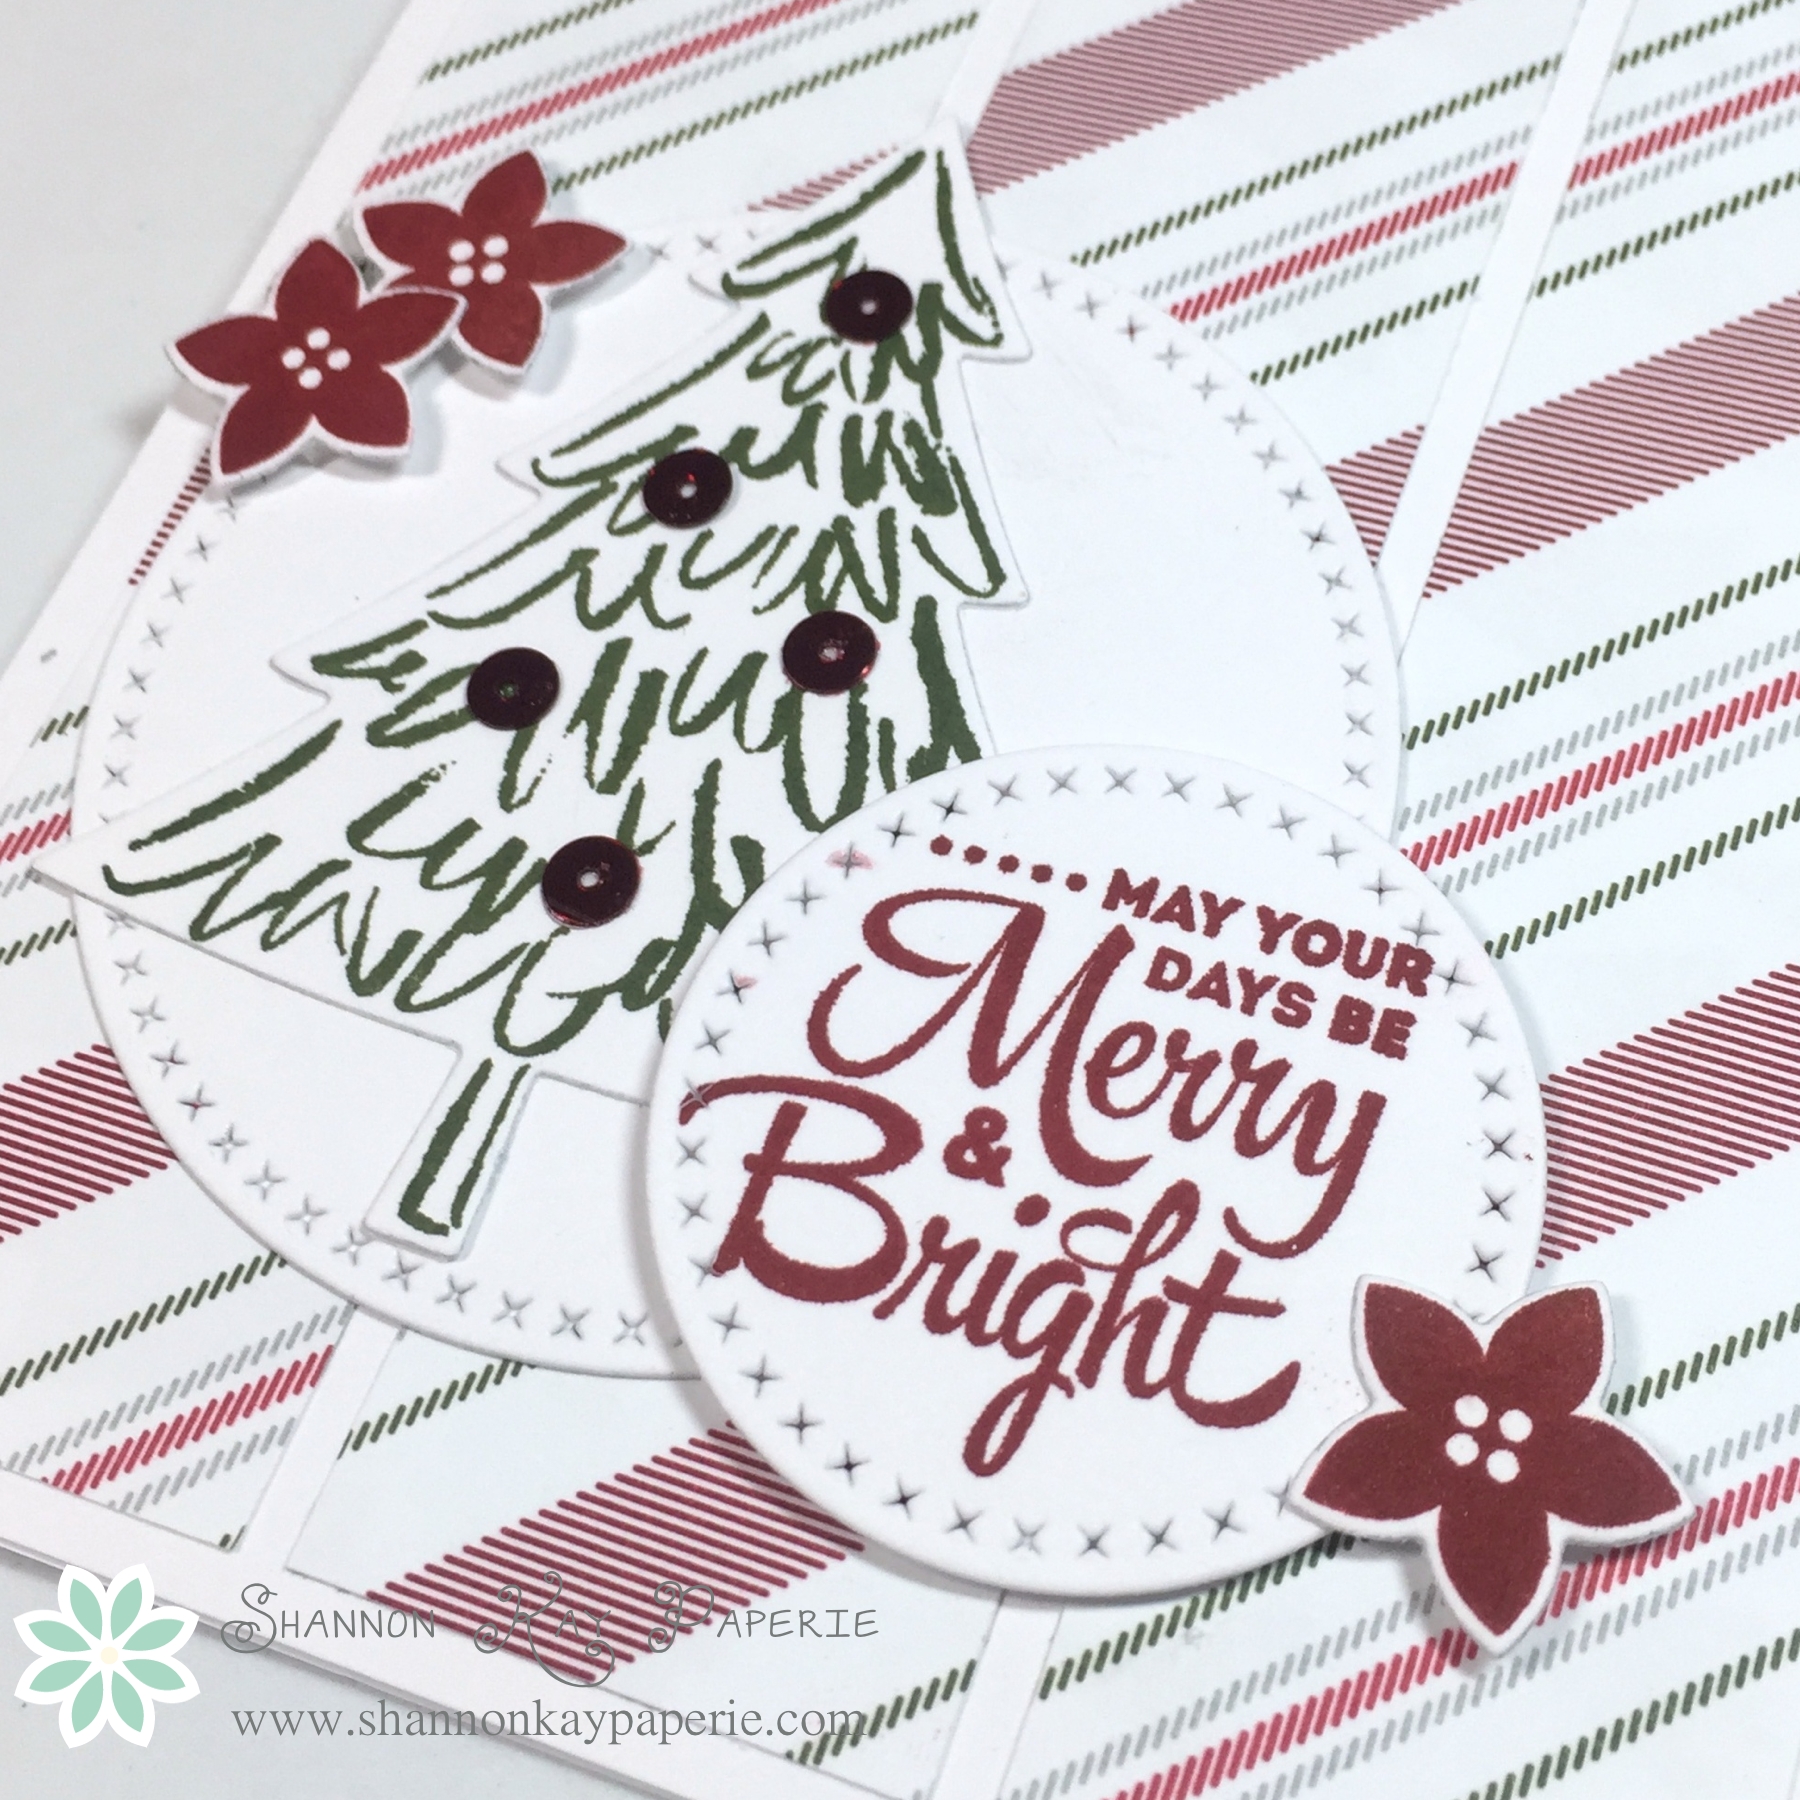
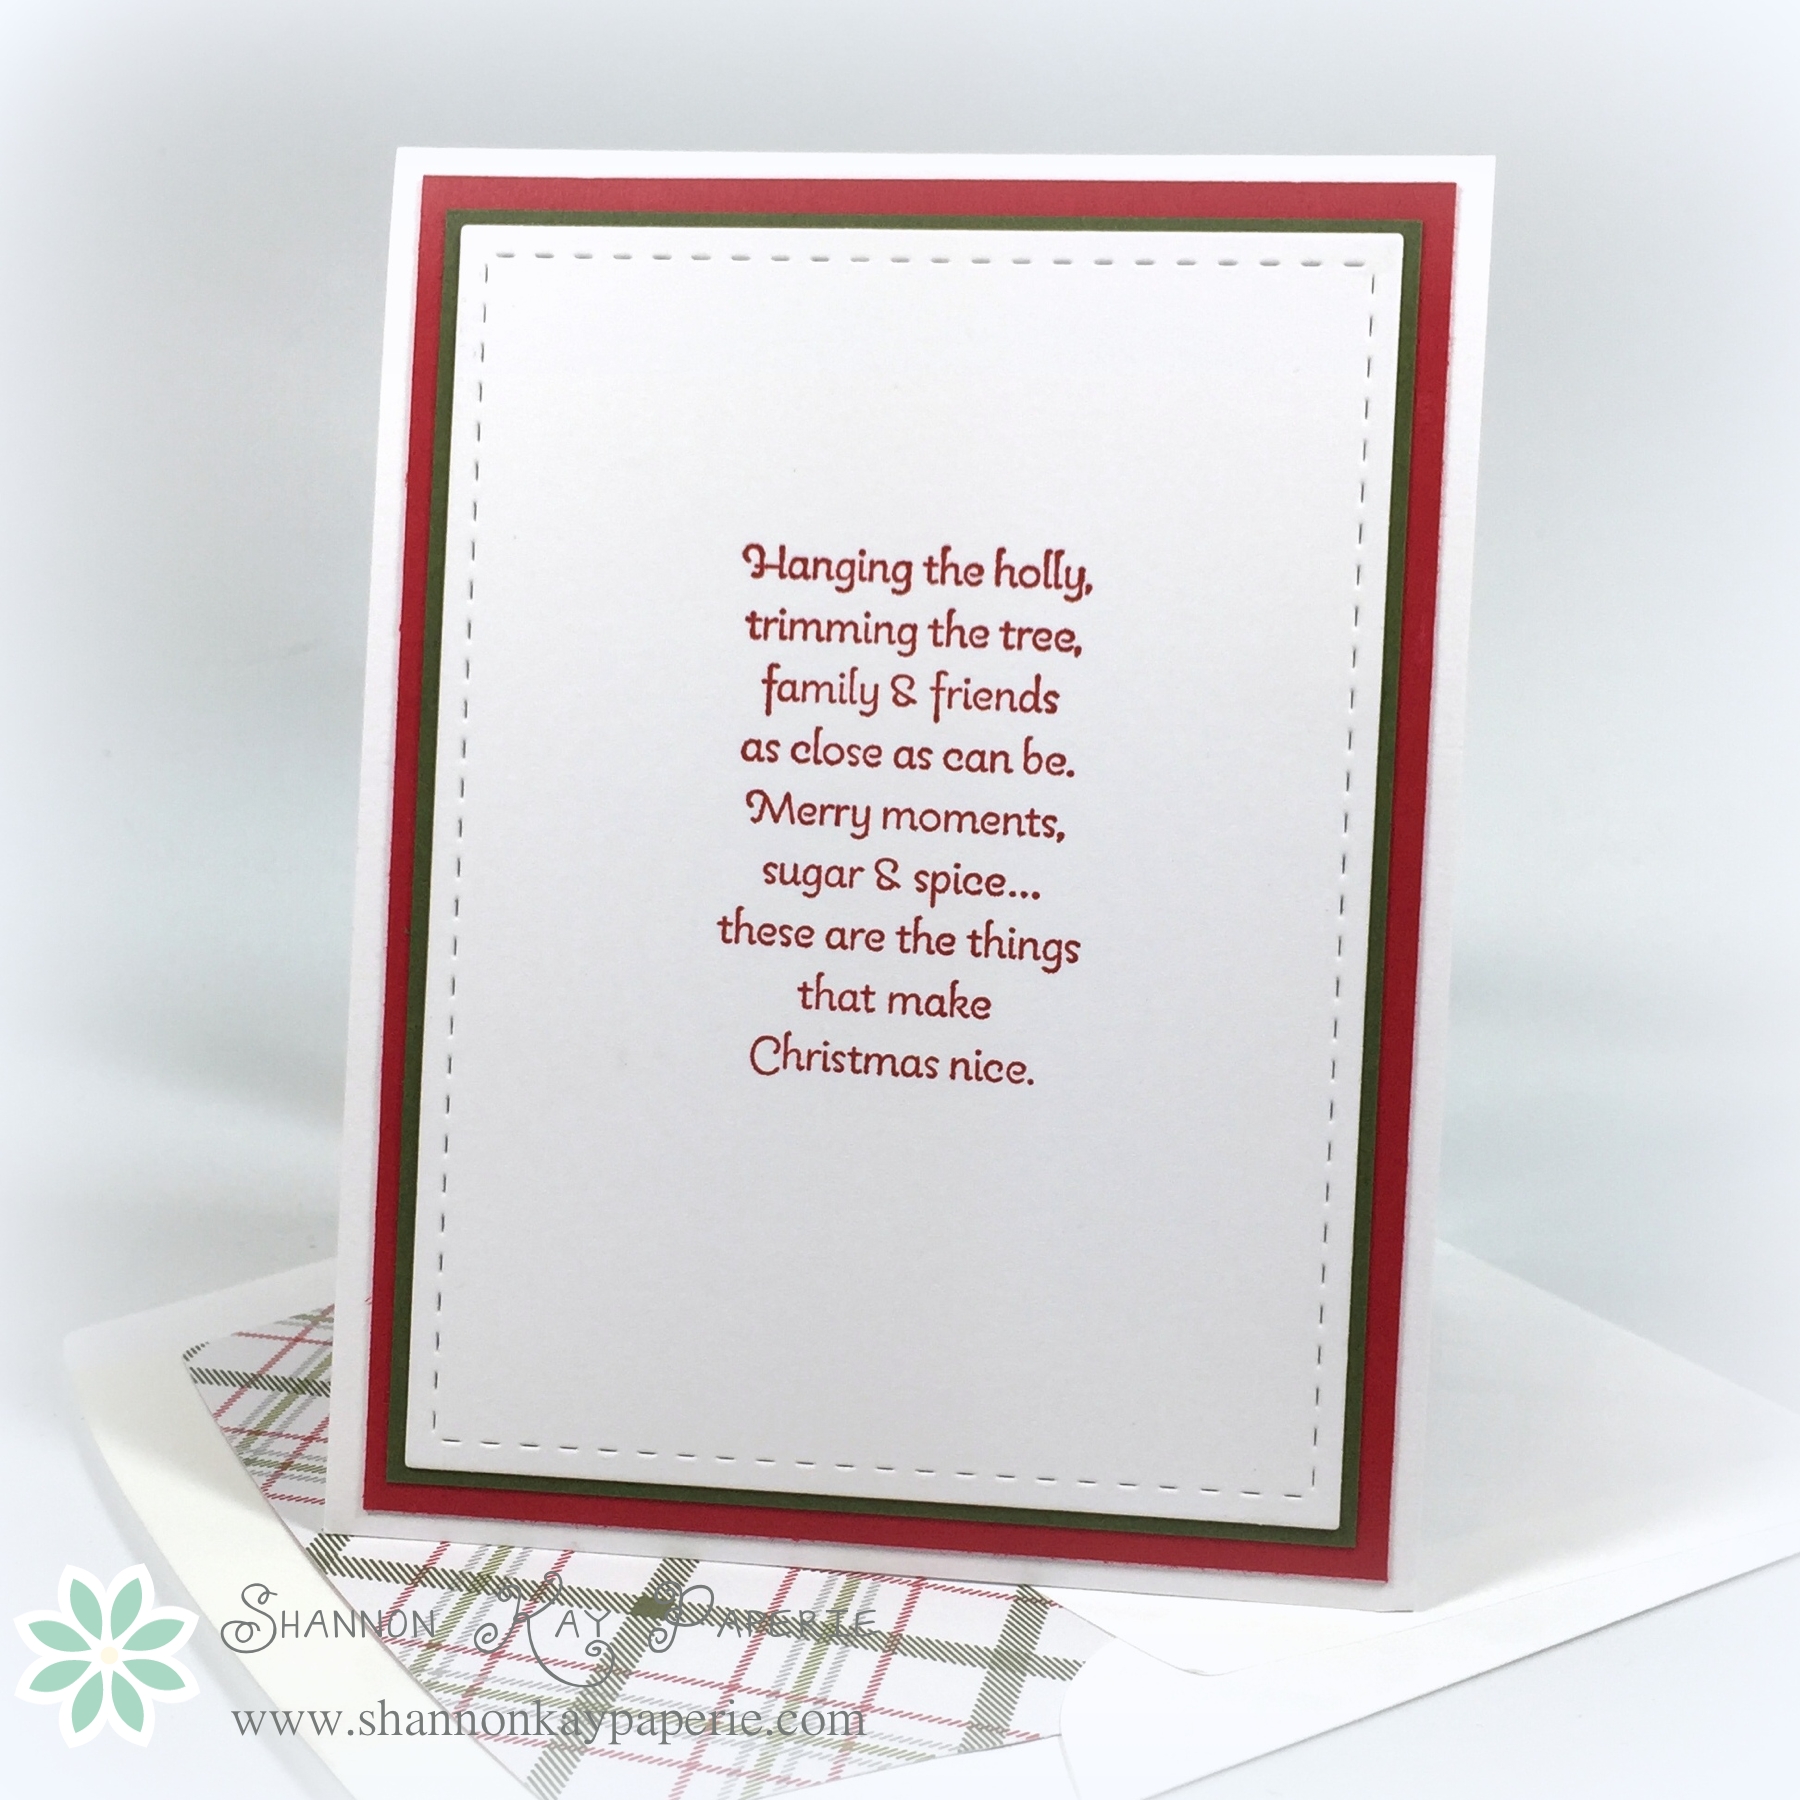
I used greetings from the retired stamp set More Merry Messages by Stampin’ Up! It’s always nice to have lots of options when designing a card! And as you can tell, the Merry Moments DSP is hands down my favorite paper this year, and really of all time!

Thank you so much for visiting today! I hope you have a moment to check out what the other Fusion Card Challenge design team members have dreamed up for your inspirational pleasure!

Wishing you a wonderful holiday season and we will see you in 2016 with a very special anniversary challenge!!

Products Used:

Cardstock: Thick Whisper White, Mossy Meadow, Real Red by Stampinā€™ Up!

Pattern Paper: Merry Moments Designer Series Paper Pack

Ink: Real Red & Soft Suede by Stampinā€™ Up!; Old Olive, Real Red & Soft Suede Stampin’ Markers by Stampin’ Up!

Stamps:Ā  Peaceful Wreath and More Merry Messages (retired) by Stampinā€™ Up!

Dies: Wonderful Wreath and Envelope Liner Die by Stampinā€™ Up!; Stitched Mats: Rectangles by Lil ā€˜Inker.

Tools:Ā  MISTI

Embellishments: Wink of Stella

Season's Greetings Fusion Card Challenge

Joyful Season – The Paper Players & Sweet Sunday Sketch

Joyful Season - The Paper Players & Sweet Sunday SketchWhen I saw The Paper Players challenge this week, I knew I wanted to play along. I have been itching to ink this stamp set up and they gave me my motivation! A great sketch over at the Sweet Sunday Sketch Challenge gave me my layout and the colors over at Colour Me…! gave me my colors!! This card pretty much jumped into my head complete, I just need to fuss with the details (love when that happens!).

Joyful Season - The Paper Players & Sweet Sunday SketchI was having technical difficulties with my ScanNCut…it refused to recognize the cardinal at all and only recognized PART of my branch šŸ™Ā  The branch is supposed to have more berries, but they were cut off. But I didn’t let that derail my enthusiasm, I went with what I had and fussy cut the cardinal out!

Lest you think I forgot part of the greeting…it’s on the inside!

Joyful Season - The Paper Players & Sweet Sunday SketchSpecial cards deserve pretty insides too šŸ™‚

A shout out to my inspiration:

pp271 SSSC295CMCC Full Graphics-020Unfortunately, the Colour Me…! challenge closed 40 minutes before I finished my card so I wasn’t able to link up to the challenge but I wanted to give them a shout out for the inspiration!

I’m also entering my card into the Global Design Project as my project fits perfectly with the challenge this week:)

GDP-011

Thank you so much for stopping by!!

Products Used:

Cardstock: Thick Whisper White, Real Red and Old Olive by Stampinā€™ Up!

Pattern Paper: Season of Cheer and Merry Moments Designer Series Paper Stack by Stampin’ Up!

Ink: Real Red and Basic Black by Stampinā€™ Up!

Stamps:Ā  Joyful Season by Stampinā€™ Up!

Dies: Envelope Liner Die by Stampinā€™ Up!; Stitched Mats: Rectangles by Lil ā€˜Inker.

Tools:Ā  MISTI

Embellishments: Brights Candy Dots by Stampin’ Up!

Christmas Wishes – CAS(E) this Sketch #149

Christmas Wishes - CAS(E) This Sketch #149This is a stamp set I purchased last year and never actually inked up. Better late than never, right? šŸ˜‰Ā  I think the pine bough is so lovely, especially with the added sparkles!

Christmas Wishes - CAS(E) this Sketch #149There, that’s a better view of the sparkles. I stamped the pine bough is Mossy Meadow using my Misti. Then, I inked the stamp up again in Versamark Ink and stamped directly on top of the previous image. I then sprinkled with Heat & Stick Powder, heated it with my heat tool, and then sprinkled Dazzling Diamonds Glitter and heated again to set it.

I fussy cut the pine cones and applied Wink of Stella to them so they would sparkle a bit too, but not take away from the pine bough. I finished it off with a simple rustic bow.

Here’s a peek at the inside of the card…

Christmas Wishes - CAS(E) this Sketch #149The sketch over at CAS(E) this Sketch was my jumping off point for this card:

CTS_149Thanks for stopping by!

Products Used:

Cardstock: Thick Whisper White and Mossy Meadow by Stampinā€™ Up!

Pattern Paper: Merry Moments Designer Series Paper Pack by Stampin’ Up!

Ink: Versamark Ink; Mossy Meadow and Soft Suede by Stampinā€™ Up!

Stamps:Ā  Ornamental Pine (retired) by Stampinā€™ Up!

Dies: Envelope Liner Die by Stampinā€™ Up!

Tools:Ā  MISTI; Embossing Buddy; Heat & Stick Powder; Dazzling Diamonds Glitter; Heat Tool

Embellishments: Natural Linen Twine by Stampinā€™ Up!

‘Tis the Season

Greetings! I have really been giving the Peaceful Pines stamp set and the Perfect Pines coordinating dies from Stampin’ Up! quite the workout. My card was inspired by Kimberly Van Diepen, whose words “Don’t make crafting so difficult” really resonated with me. So I set out to re-create her card and ended up with one quite a bit different! But that’s okay, that’s why we all share our creations…

SKP Watermarked Photos5-034I used a ton of product on this card so I’ll just share it below and not drag it out here, but I did want to point out the envelope. It’s made with Stampin’ Up!’s Real Red Envelope Paper, available in the holiday catalog. Stampin’ Up! demonstrators have been asking for a lightweight envelope paper for a few years and I am delighted to say that it’s perfect!! Creating an envelope was a snap because the paper creases so easily. I love lined envelopes so I used this tutorial to create my matching envelope liner.

I had to make my envelope a little larger than usual because I got a bit carried away with the Stampin’ Dimensionals between each layer, but creating my own envelopes gave me the latitude to do so and I really like the finished card šŸ™‚

I love the pop of color the washi tape adds…I always forget to use it, how about you?

And here’s a shot of the inside of the card…

SKP Watermarked Photos5-035Thanks for stopping by today! I’m in full Christmas card mode, hoping to get them in the mail the first week of December…fingers crossed!

Products Used:

Cardstock: Thick Whisper White, Cherry Cobbler and Crushed Curry by Stampinā€™ Up!

Pattern Paper: Merry Moments Designer Series Paper Pack

Specialty Paper: Real Red Envelope Paper by Stampin’ Up!

Ink: Cherry Cobbler and Old Olive by Stampinā€™ Up!

Stamps:Ā  Peaceful Pines by Stampinā€™ Up!

Dies: Perfect Pines Framelits Dies by Stampinā€™ Up!

Tools:Ā  MISTI

Embellishments: Season of Cheer Designer Washi Tape, Cherry Cobbler Baker’s Twine by Stampin’ Up!; misc red sequins

Merry & Bright – The Paper Players 268

Before jumping into today’s post, I wanted to share my excitement at having my card chosen as the headliner last week with The Paper Players!! Thank you so much Nance!!

Merry & Bright - The Paper Players 268I am really enjoying the Designer Series Paper this year from Stampin’ Up!. The pattern I used for today’s card is muted yet bold, and is the perfect backdrop for the drop dead gorgeous stamped images. And yes, I used Perfect Pines again because, well…they’re PERFECT!!

A simple circle provides a nice separation from the patterned paper and allows the focus to be on the tree and the sentiment. The cross stitch is an added bonus detail šŸ™‚

Merry & Bright - The Paper Players 268The pretty poinsettias add a nice pop of red and help balance the card. Hint: I use the MISTI to double stamp the poinsettias, resulting in a vivd stamped image.

The Paper Players sketch this week was the inspiration for my card:

pp268I found the three panels to be a challenge, I just couldn’t make the math work so I eventually just cut the panels to 1 1/4″ wide each and then trimmed them down until the fit (and matched). I’m still not sure how that worked out, but I’m glad it did!! Thank you so much for stopping by!!

Wishing you joy and blessings!

Products Used:

Cardstock: Thick Whisper White by Stampinā€™ Up!

Pattern Paper: Merry Moments Designer Series Paper Pack

Ink: Cherry Cobbler and Mossy Meadow by Stampin’ Up!

Stamps:Ā  Peaceful Pines, Lots of Joy, and Wondrous Wreath by Stampinā€™ Up!

Dies: Peaceful Pines, Seasonal Frame Thinlit Dies, and Envelope Liner Die by Stampinā€™ Up!; Stitched Mats: Ovals by Lil ā€˜Inker.

Tools:Ā  MISTI

Embellishments: Unknown source for red sequins