Turning My Thoughts Toward Fall…

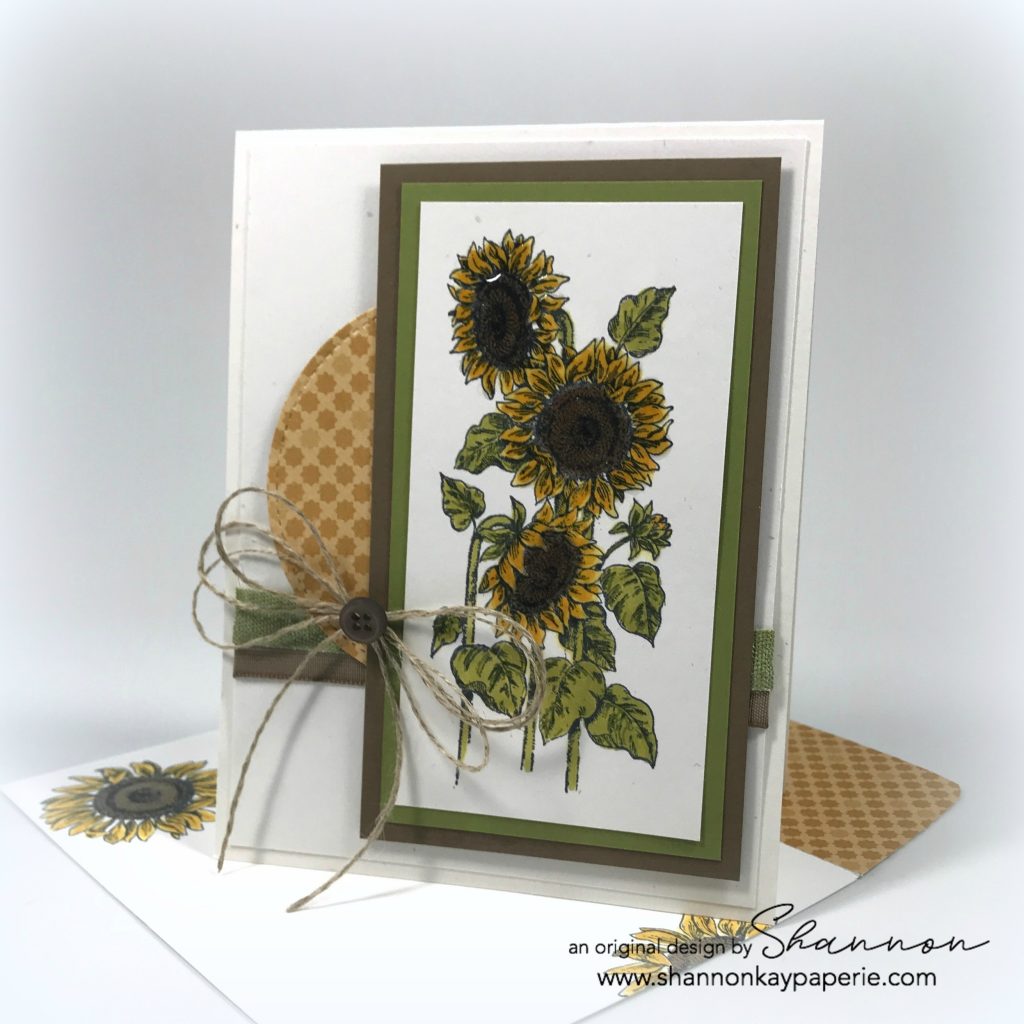
Yesterday was the 1st of September and seeing all of the “Fall” photos in my FB and Instagram feeds inspired me to give some of my fall themed stamps some love. We don’t really get “Fall” here in Southern California. We get hot, we get windy, and we get fires, but actual “Autumn” things, not so much. So we create our fall with fake decorations! I will be pulling mine out this next week but in the meantime, here’s a taste of fall:

Stampin-Up-Sunflower-Serenade-Love-&-Friendship-Card-Idea-Shannon-Jaramillo-stampinup

What do you think? I think it’s yummy and is inspiring me to go with a sunflower fall motif this year!

Measurements:

  • PTI Rustic White Card Base 4 1/4″ x 11″ scored at 5 1/2″
  • PTI Rustic White Layer 4″ x 5 1/4″
  • Soft Suede Layer 2 3/4″ x 5″
  • Old Olive Layer 2 1/2″ x 4 3/4″
  • PTI Rustic White Stamped Layer 2 1/4″ x 4 1/2″

Details:

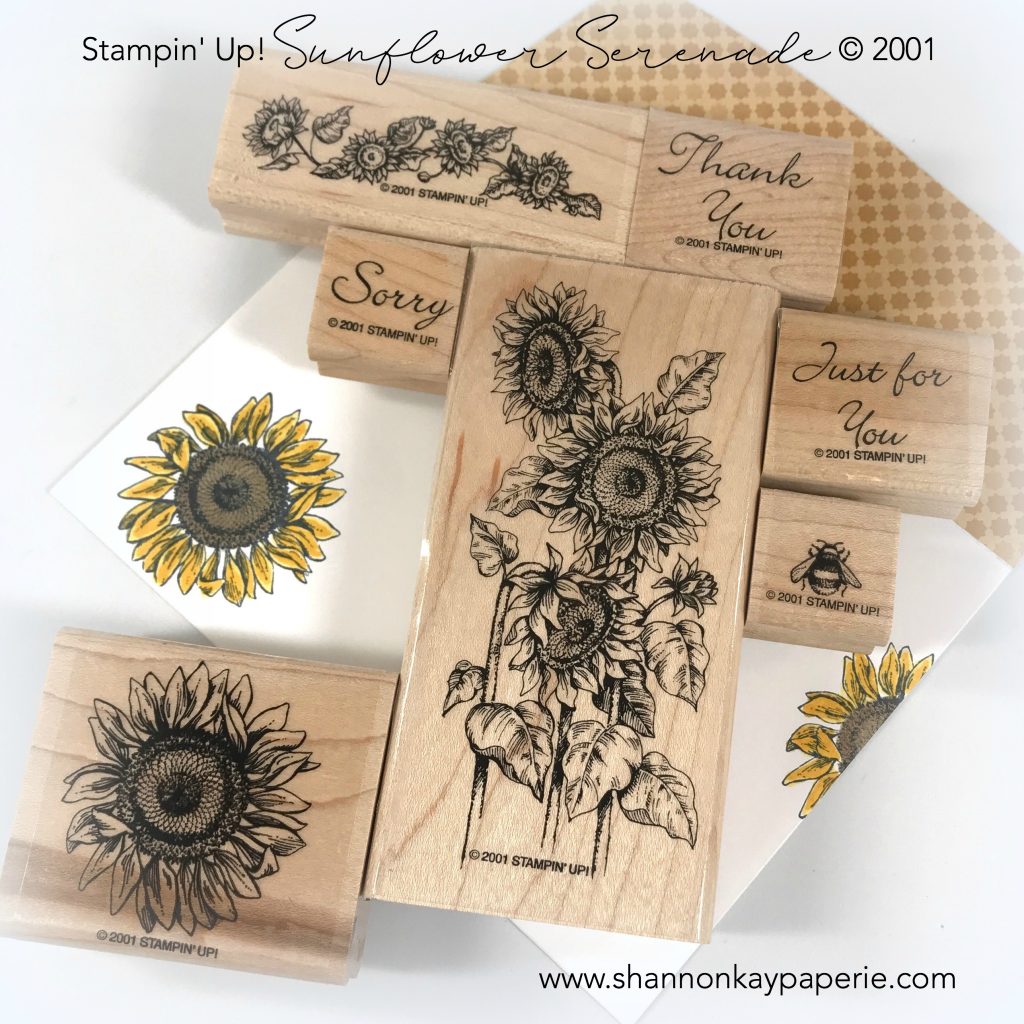
  • I came across this Stampin’ Up! stamp set a few months ago on one of the FB resale groups I belong to and I was SO HAPPY to be able to claim it! The set is called “Sunflower Serenade” and it’s SU circa 2001. It’s 17 years old but the design is timeless!
  • I first stamped the image with Tuxedo Black Memento Ink and then used the Stampin’ Blends to color everything in. I like to layer color so I won’t lie to you, I colored this image probably five times, making mistakes along the way. But I didn’t worry about it too much as I’m learning the in’s and out’s of the Stampin’ Blends.
  • After all of my redos, I settled on using the Light Daffodil Delight Stampin’ Blends Marker and then followed it up with a layer of Dark Daffodil Delight. I learned to apply the light color and then wait for it to dry before applying the darker color, AND to not get too close to the edge! I kept having the ink bleed out because there was too much and the Color Lifter couldn’t push it back in because everything was still wet. It is important to note that I am NOT using Whisper White card stock. I’m sure I would not have had so many issues if I had used the proper paper, but Whisper White is too yellow of a white for me. So Papertrey Stampers’ Select or Papertrey Rustic White are my go to’s.

Stampin-Up-Sunflower-Serenade-Love-&-Friendship-Card-Ideas-Shannon-Jaramillo-stampinup

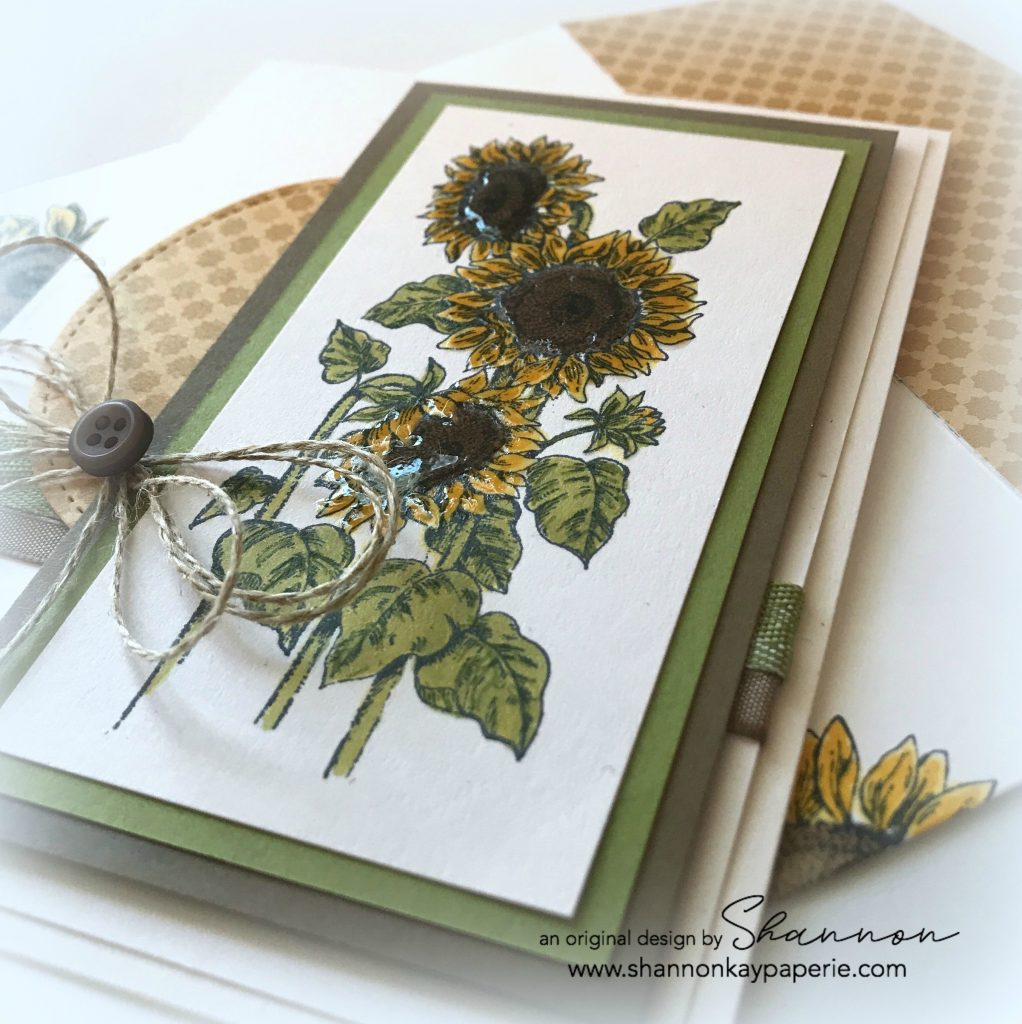
  • Something else that I tried and was very pleased with was that I colored all of the flowers, stems, and leaves with the Light Daffodil Delight color and then went over it with a coat of Light Old Olive. I love how the color turned out, the yellow and green work so well together!
  • I also used my Old Olive Stampin’ Write marker to define the leaf details and used Light Crumb Cake, Dark Crumb Cake and the the Bronze Stampin’ Blends for the flower centers. Probably overkill, but I think they look pretty 🙂
  • Did you see all of the shine on the flowers? I used Journey Glaze on them, just like I used on my last card, and I adore how it turned out! They REALLY pop!

Stampin-Up-Sunflower-Serenade-Love-&-Friendship-Cards-Ideas-Shannon-Jaramillo-stampinup

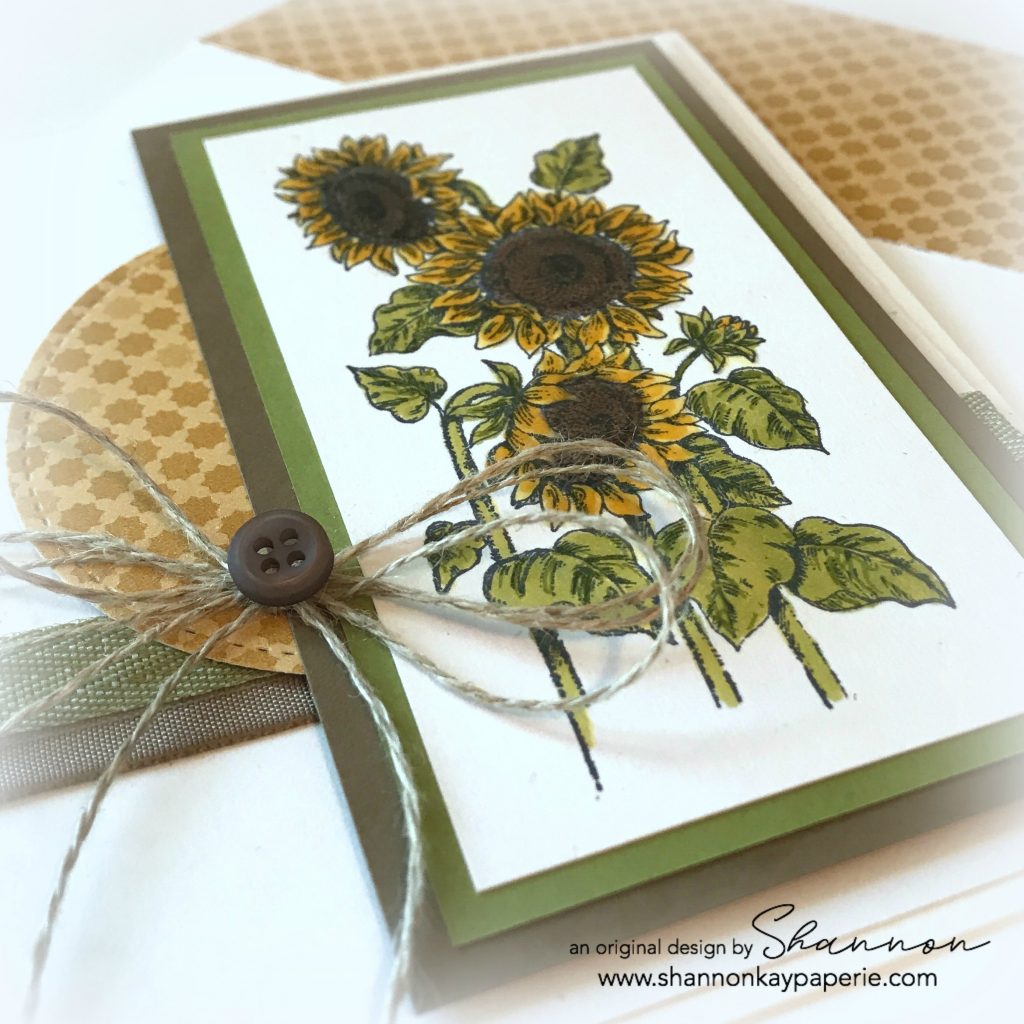
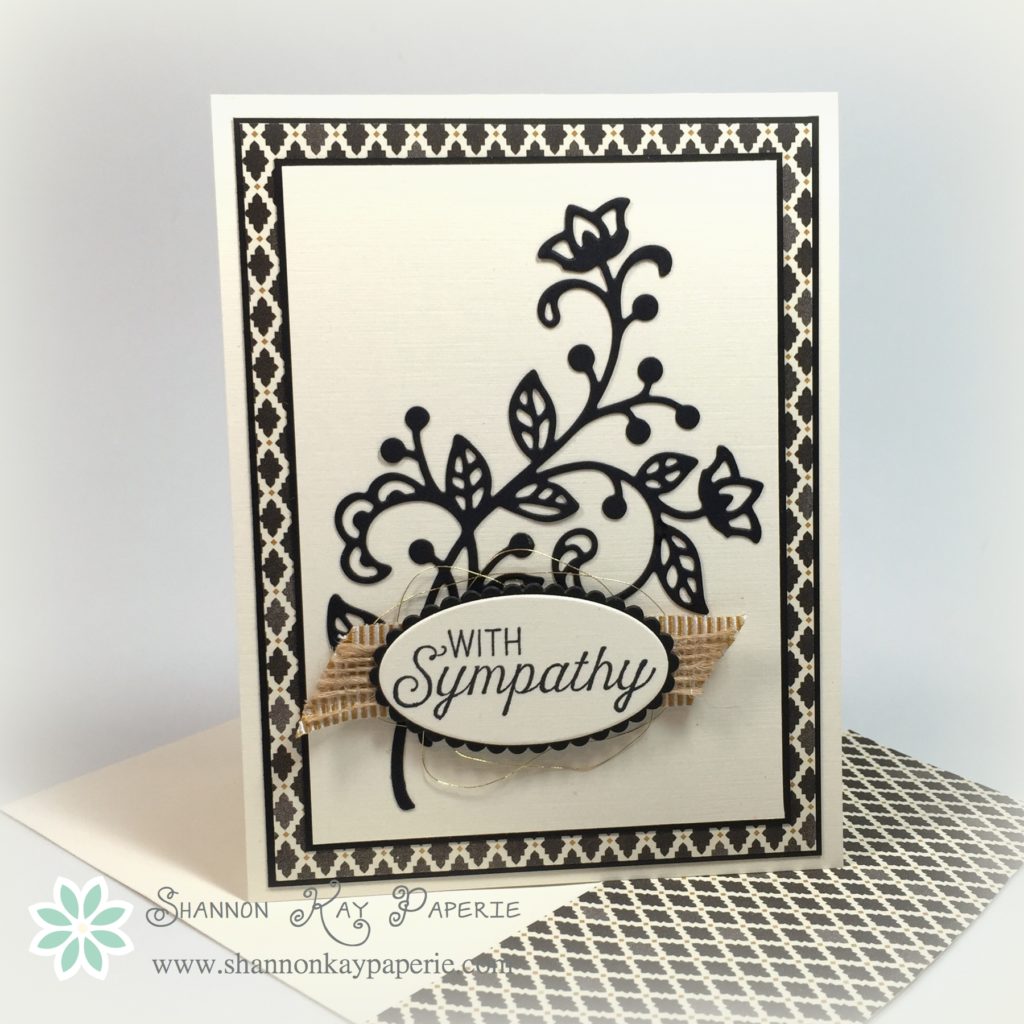
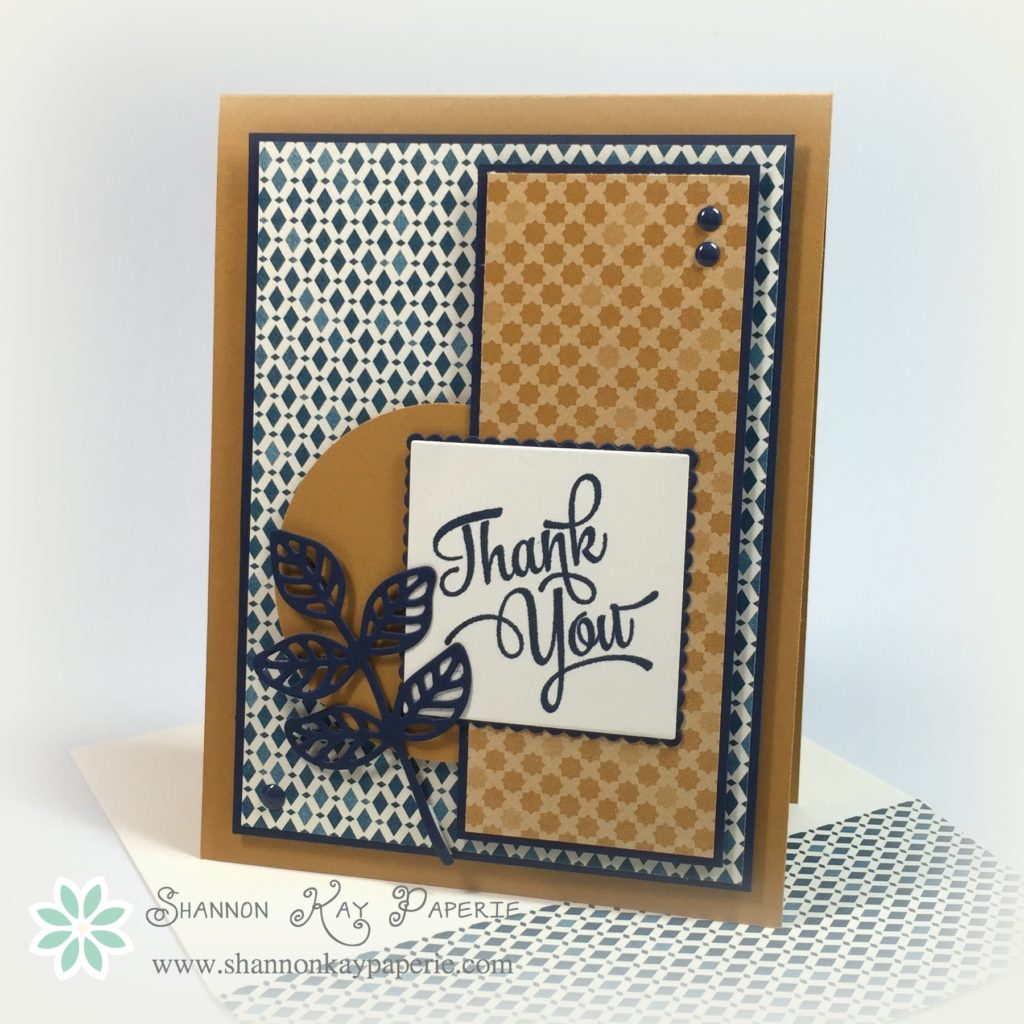
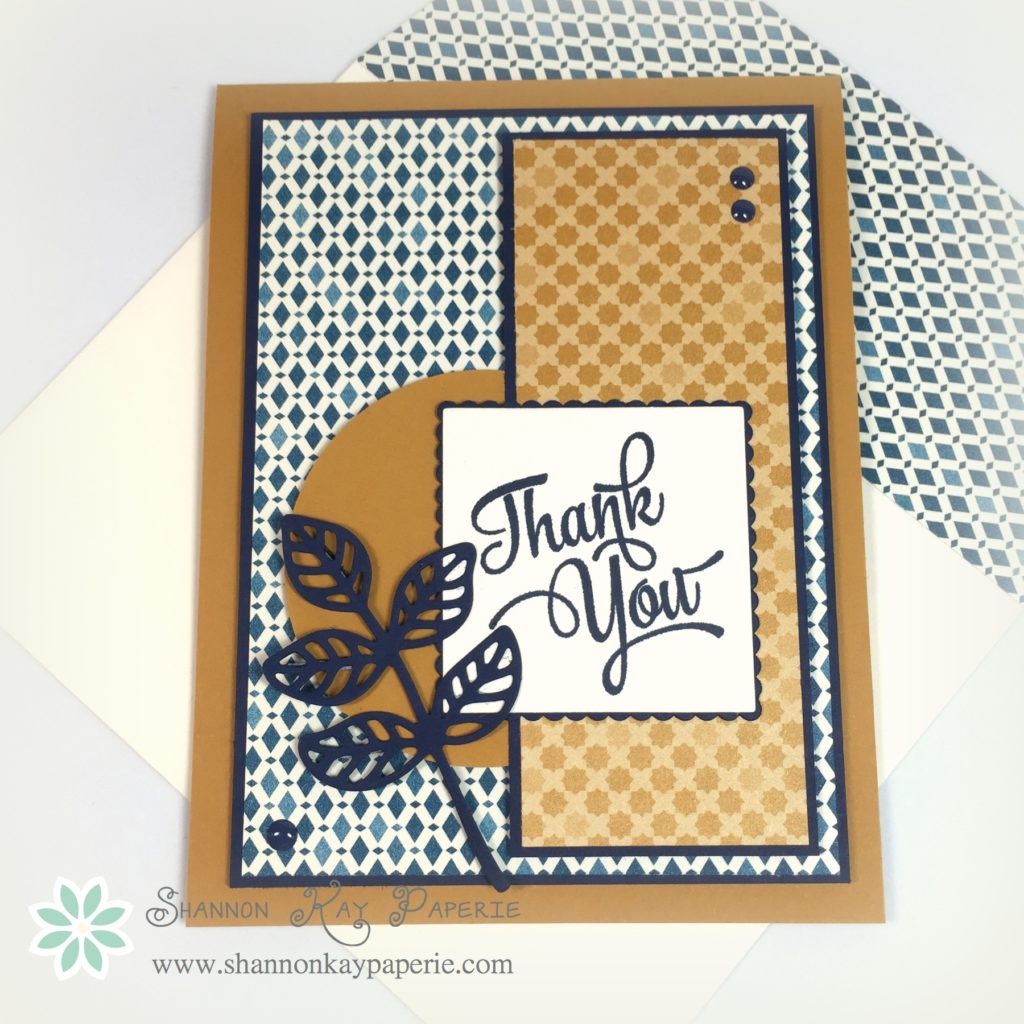
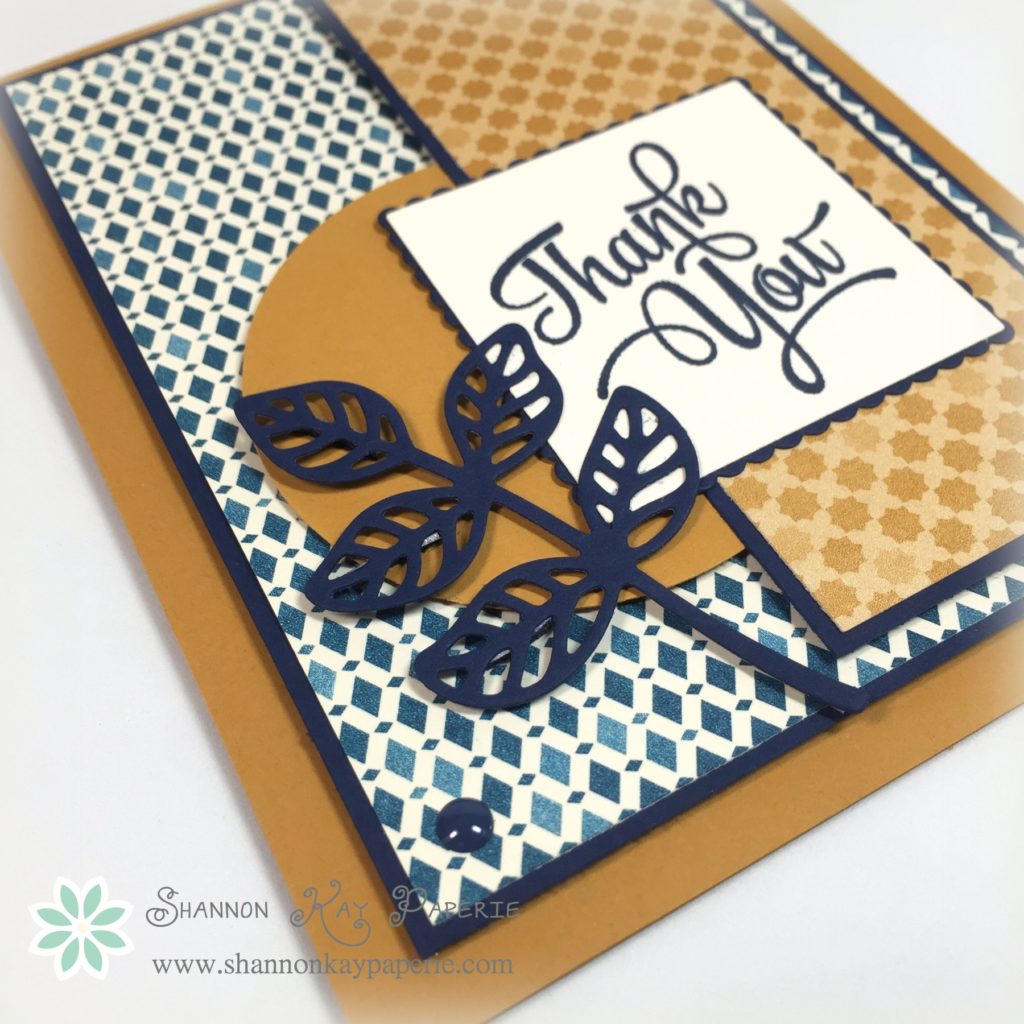
  • I have a tendency to keep adding “things” until I get the balance right. For this card I added Soft Suede ribbon (probably long retired) and Old Olive ribbon which was current as of last year. Then I went through my paper stash to find this adorable pattern in the “Moroccan” DSP pack from a few years back and die cut a stitched circle out of it to layer behind my stamped panel.
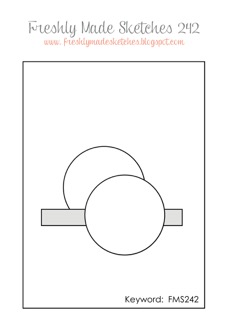
  • It still wasn’t enough so I pulled out my trusty Linen Thread, made a pretty bow and then topped it off with a long retired Soft Suede button. Yum!!

Stampin-Up-Sunflower-Serenade-Love-&-Friendship-Card-Idea-Shannon-Jaramillo-stampinup

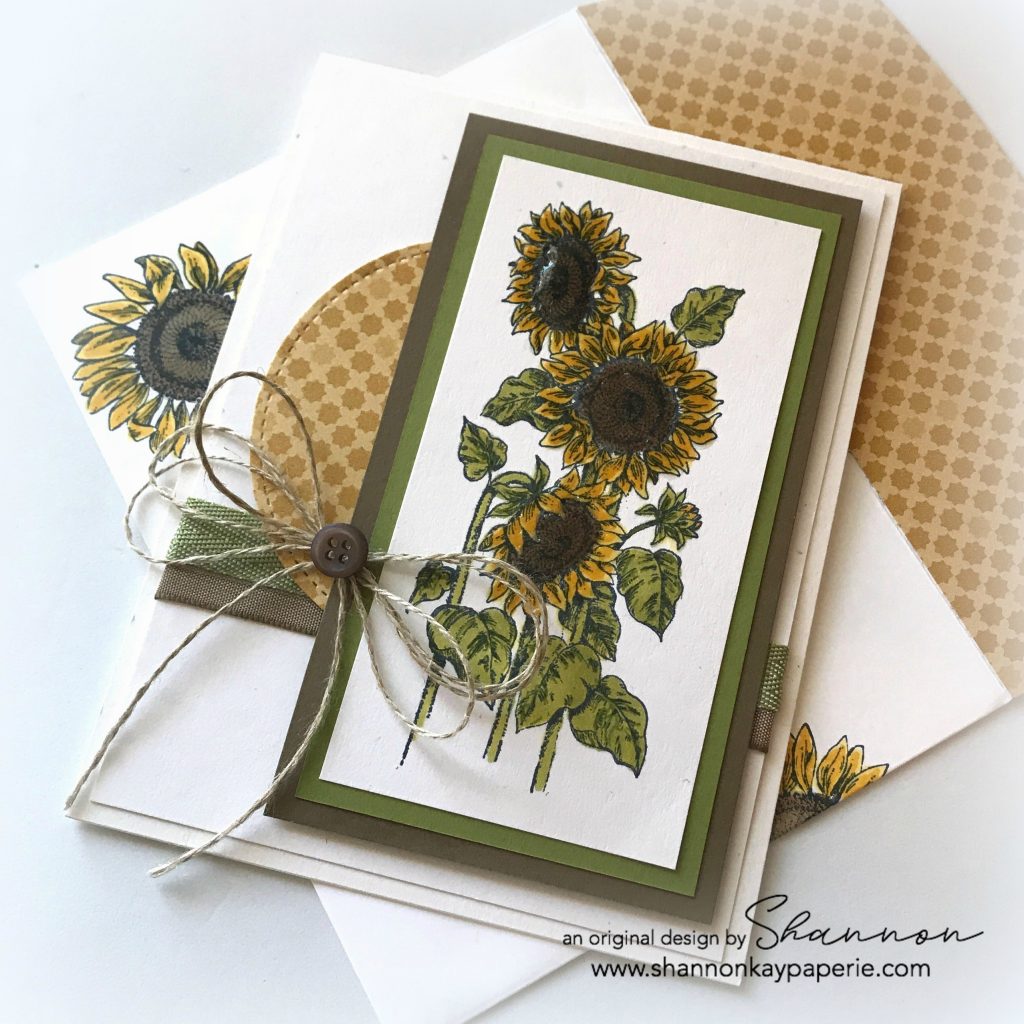
  • As you can see, I had trouble stopping so I continued on and stamped and colored the envelope too. I should mention that I did add two of my “oops” pieces of cardstock in the envelope to protect the back side of the envelope from bleed thru from the markers. And of course, a pretty envelope flap!
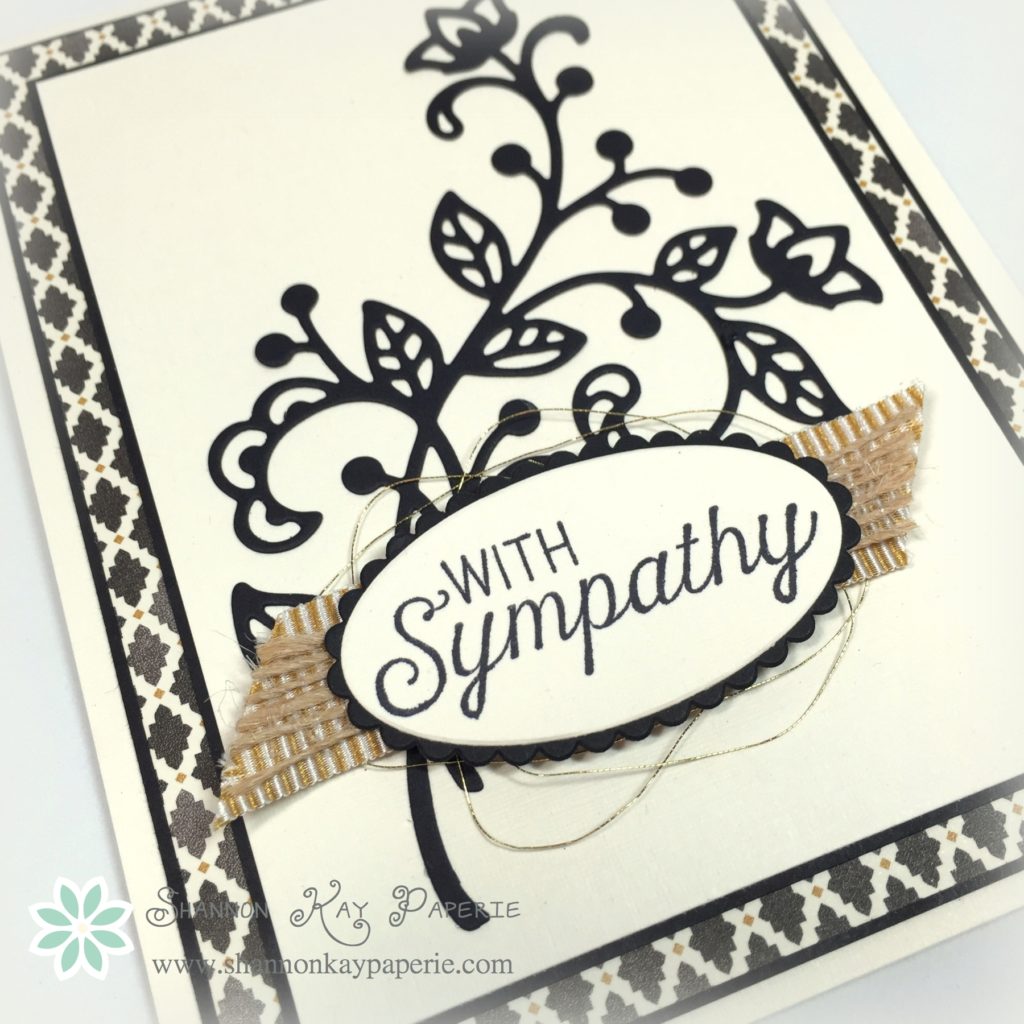
  • But what about the inside? Yep, I decorated it as well but kept it simple:

Stampin-Up-Sunflower-Serenade-Love-and-Friendship-Card-Idea-Shannon-Jaramillo-stampinup

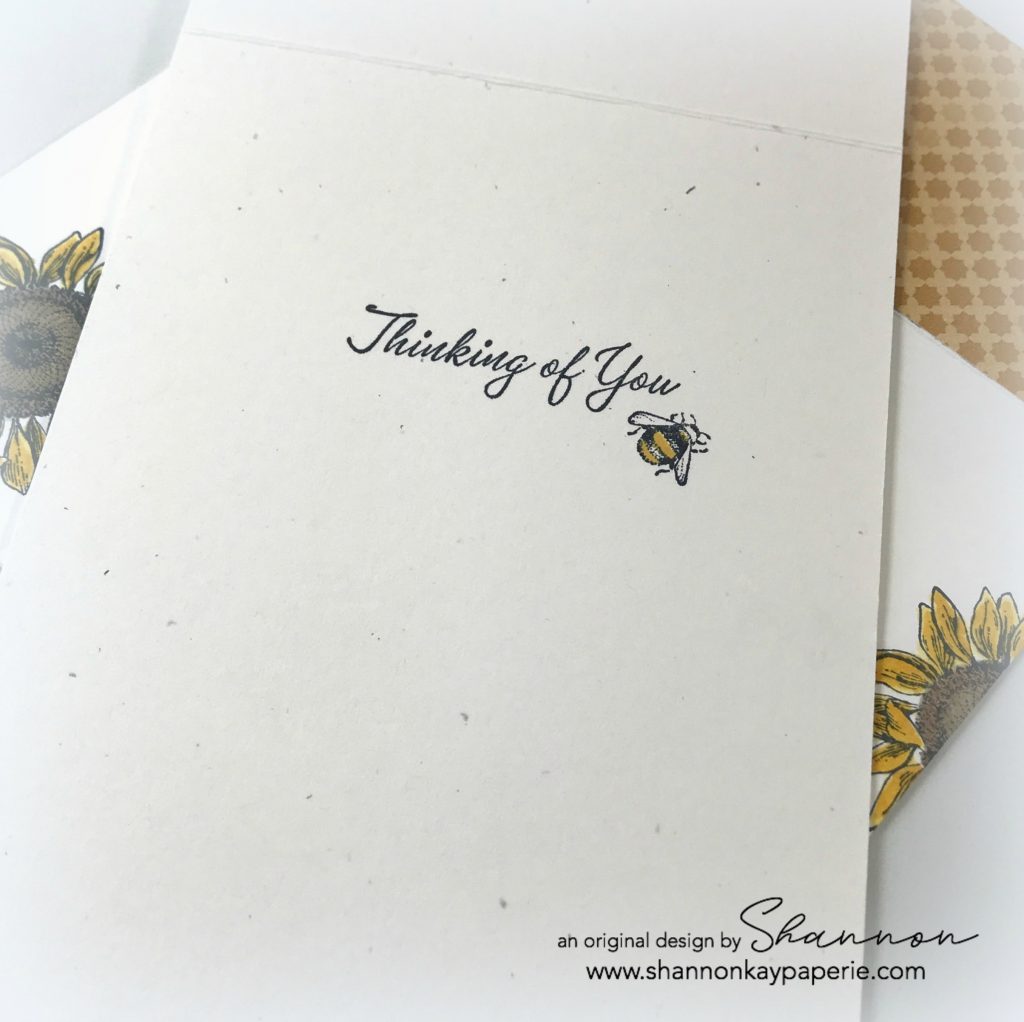
  • The little bumblebee is from the same stamp set but the sentiment is from a different set. It’s a very old set as well, I just don’t know the name of it at the moment. I think the bumblebee steals the show 🙂

So there you have it. I truly enjoyed creating this little card, I hope you’ve enjoyed seeing it.

Here is a look at the entire stamp set:

Stampin-Up-Sunflower-Serenade-Love-and-Friendship-Card-Ideas-Shannon-Jaramillo-stampinup

And if you are wondering, I’ve realized that I value the freedom of not worrying about which company something came from and just create what my heart thinks is pretty. I just want to enjoy the process and I love hearing your comments, they really encourage me so thank you for taking the time to comment when you do, I appreciate you!

Thank you,

Sympathy with a Flourish – Freshly Made Sketches 242

Sympathy with a Flourish - Freshly Made Sketches 242

I am practically bursting with excitement to share that the Freshly Made Sketches design team has invited me to be a guest designer for the next few months!!!! Today is my first week with the team and I thoroughly enjoyed working with this sweet sketch from Narelle:

FMS Final 242-001

As I sat down to create my project for this week, I learned of a friends’ loss and knew that I would be making a sympathy card. Not a fun thing to do, but the Moroccan Designer Series Paper provides a beautiful back drop for the amazing flourish die from Flourish Thinlits Die Set.

Sympathy with a Flourish - Freshly Made Sketches 242

The top panel is a cream card stock, backed by a thin panel of Basic Black. Those layers sit on top of a layer of the Moroccan DSP, I love the beautiful pattern in Basic Black, Basic Gray with just a hint of Delightful Dijon. That layer is again backed by a panel of Basic Black and all of them sit on top of a card base of cream card stock. The flourish is  die cut from Basic Black as well. I used the new Layering Ovals Framelits Dies to add the sentiment element to my project. They are A-M-A-Z-I-N-G. A dream to work with and the tiny scallop peeking out is such a lovely detail!!

I added a strip of Delightful Dijon 5/8″ Mini Striped Ribbon as well as a small strip of the new 5/8″ Burlap Ribbon. I couldn’t seem to stop there so I also then added a few swirls of Gold Metallic Thread. The sentiment is attached with Stampin’ Dimensionals.

Sympathy with a Flourish - Freshly Made Sketches 242

A beautiful sentiment from the Flourishing Phrases Stamp Set graces the inside of the card. I’m thrilled with how many inside sentiment options there are in this year’s catalog!

Thank you so much for stopping by! Please be sure to stop by Freshly Made Sketches and check out the inspiration from the rest of the design team!

Stampin’ Up!’s New Moroccan DSP is a Dream!

Stampin' Up!'s New Moroccan DSP is a Dream!

The star of today’s card is definitely the amazing designer series paper. To be honest, this set of papers called “Moroccan” did not call to me at first. But when I opened the package and saw this print in a beautiful mix of Dapper Denim blues, I was sold! And when combined with a more muted pattern in Delightful Dijon and framed in Night of Navy card stock, it is just stunning!

Stampin' Up!'s New Moroccan DSP is a Dream!

Do you see the new Layering Squares Framelits? Ahhh…a very versatile set indeed. There are so many options to layer simple squares, frame the squares with scallops, or to create a simple frame which would be beautiful standing on it’s own or turned into a shaker. Hmmm…that gives me an idea for another project! These new framelits will be a staple in my craft room!

This beautiful sentiment from the “One Big Meaning” stamp set adds just a bit of whimsy to this otherwise very graphic card. I love the mixture of the two styles.

Stampin' Up!'s New Moroccan DSP is a Dream!

Adding to the whimsy is this leaf die cut from the “Flourish Thinlits” set. The Precision Base Plate makes cutting this intricate die a snap. The Foam Brush gently rolls over the die cut to gently pry the intricate details out, while the foam pad keeps all of those little guys corralled until you can get them to the trash can! Makes for a much neater work area!

Speaking of the Precision Base Plate, the Big Shot now has quite a few accessories to keep track of, and what is the difference between a thinlit and a framelit anyway?? This video by Stampin’ Up! covers all of that and more. I found it extremely helpful as I now know what the difference is between a thinlit and a framelit and why using the proper tool can make for lots of happy crafting but using the WRONG accessory could actual ruin your dies. Lots of good information!

I really wanted the die cut leaf popped up but how to do so presented quite a challenge!! In the end, I snipped off very thin stripes from a Stampin’ Dimensional and carefully applied them to the center vein of each leaf. It did take some doing, but I am pleased with the result.  And three of the new Enamel Shapes finish and balance the card quite nicely. The low profile of the new enamel shapes make for a subtle but definite impact!

My inspiration for this card came from this sketch from the Pals Paper Art design team:

PPA-304-June09

Stampin' Up!'s New Moroccan DSP is a Dream!

I took a small strip of Designer Series Paper and adhered it to the flap of a Very Vanilla envelope. Some simple snipping following the edge of the envelope trims off the excess and jazzes up the envelope!

Thank you for stopping by today!! Please let me know if I can answer any questions about today’s post!

Price: $110.00