Inspiring Iris Thank You – Tic Tac Toe Challenge #52

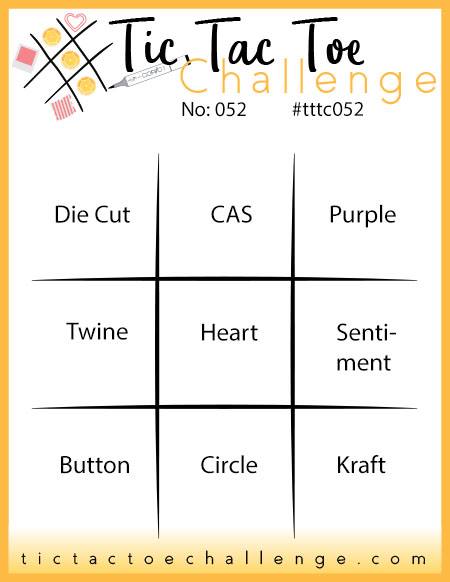
Hello and welcome! I have a brand new Tic Tac Toe Board for your crafting pleasure today! Our designer this week is Amy – I have so much fun deciding which row or column to choose each challenge and then seeing what all the participants decide to use and HOW they use the elements…we are all so uniquely different in our interpretation! This week I chose to use the top row: Die Cut, CAS (clean and simple); Purple.
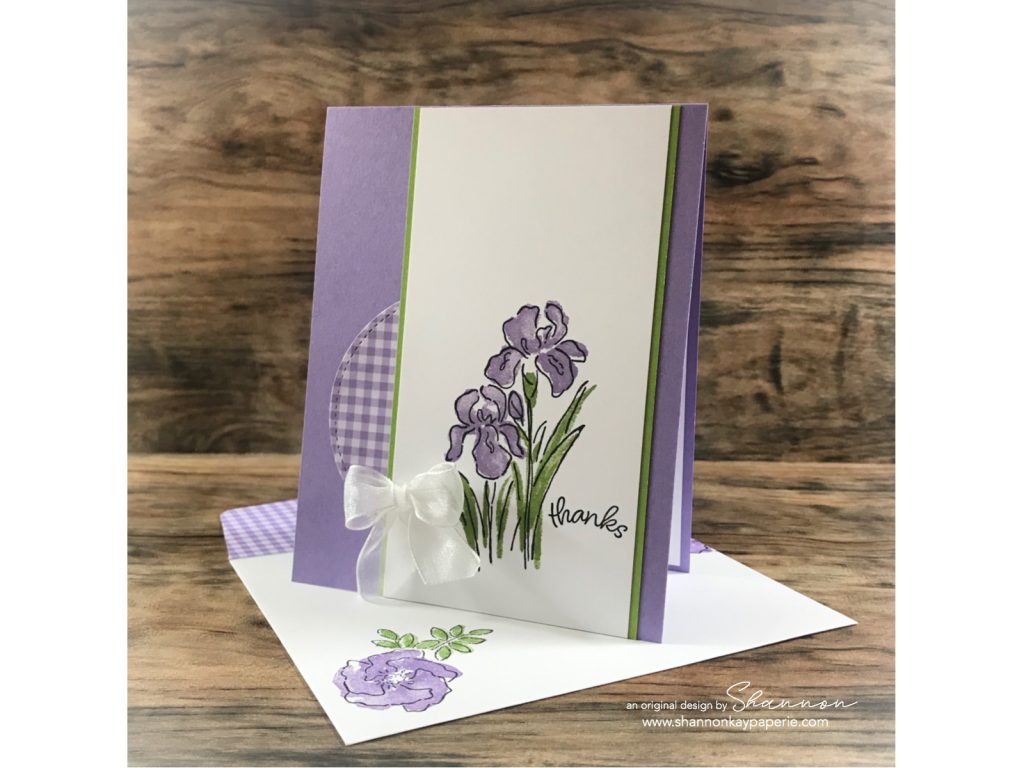
Stampin-Up-Inspiring-Iris-Thank-You-Card-Idea-Shannon-Jaramillo-shannonkaypaperie

Using purple takes me back to my high school days and Prince. Everything in my life was purple – even my ball point pen! Most teachers refused to let me use it but Mrs. King, bless her heart, let me use it, even though all of those biology notes in purple HAD to be difficult on her eyes! In adult life I rarely use purple for anything – except the flowers I choose to plant in the yard. My hubby was the one who noticed that they were all purple and suggested I chose a different color once in awhile! 🙂 Anyhoo, card making…

Measurements:

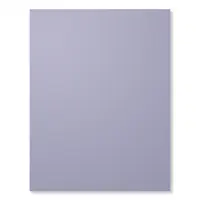
  • Highland Heather Card Base 4 1/4″ x 11″ scored at 5 1/2″
  • Strip of Granny Apple Green Card Stock  2 7/8″ x 5 1/2″
  • Strip of White Card Stock 2 3/4″ x 5 1/2″

Details:

  • I tend to fuss a bit with my cards so it’s refreshing to take a clean and simple viewpoint once in awhile. Purple gingham, a circle die cut, one stamp set and three inks. Simple!
  • I used the stamp set Inspiring Iris today. It’s a layering stamp set so achieving this look could not be any easier. The outline image was stamped in Versafine Onyx Black, for the the flower image stamp I used Highland Heather and then Granny Apple Green for the stem and leaves image. A total of three stamps and no coloring experience required! I added a simple sentiment from the same stamp set in Versafine Onyx Black as well and that was it!
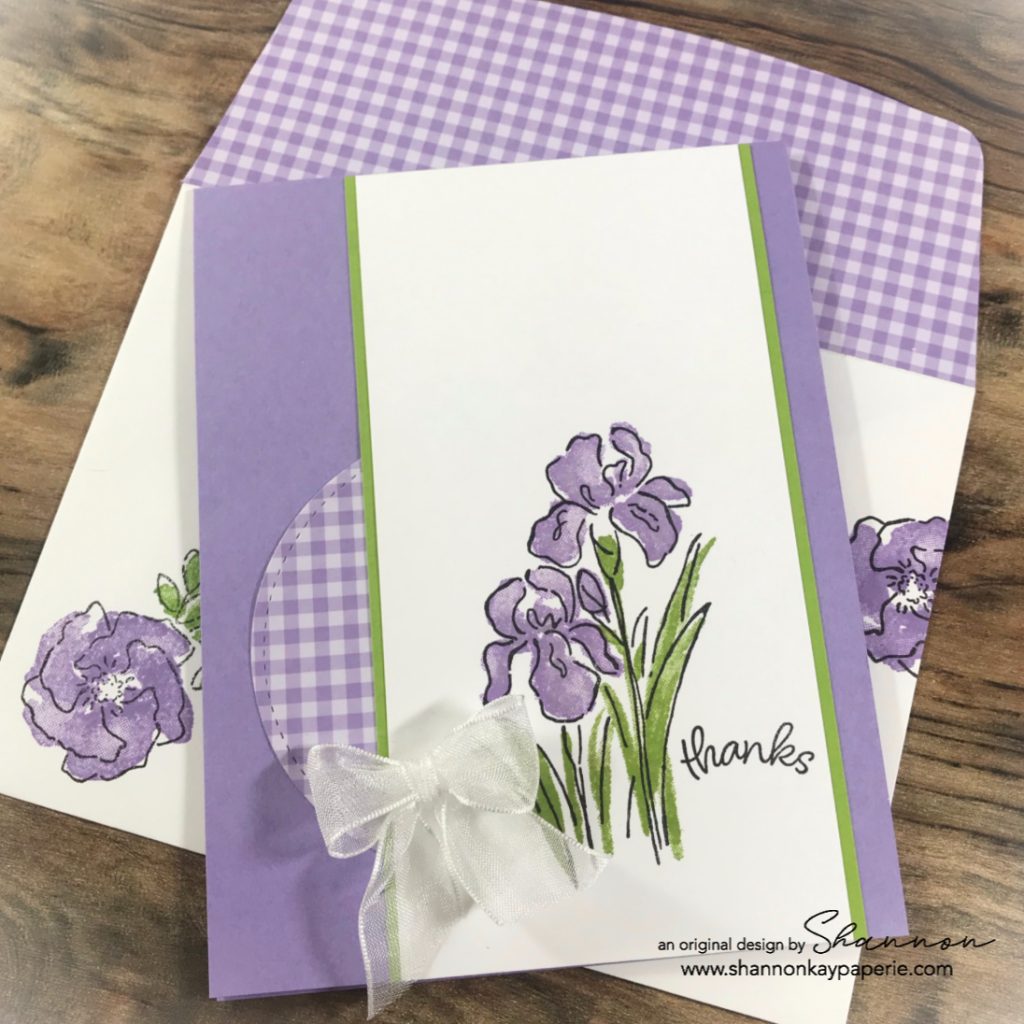
Stampin-Up-Inspiring-Iris-Thank-You-Card-Ideas-Shannon-Jaramillo-shannonkaypaperie

  • I layered the white card stock onto a Granny Apple Green layer. With just a bit peeking out from either side it adds interest without overwhelming the card with color. I added the gingham circle die cut because, well…gingham. Yumminess in every color!
  • And then the card was done but I couldn’t just stop there. I pulled out my little jar of unused bows, actually looking for a twine one to go with the clean and simple concept but found this white beauty instead. I adhered it with a glue dot. Love the sheer organdy, it’s such a clean look!
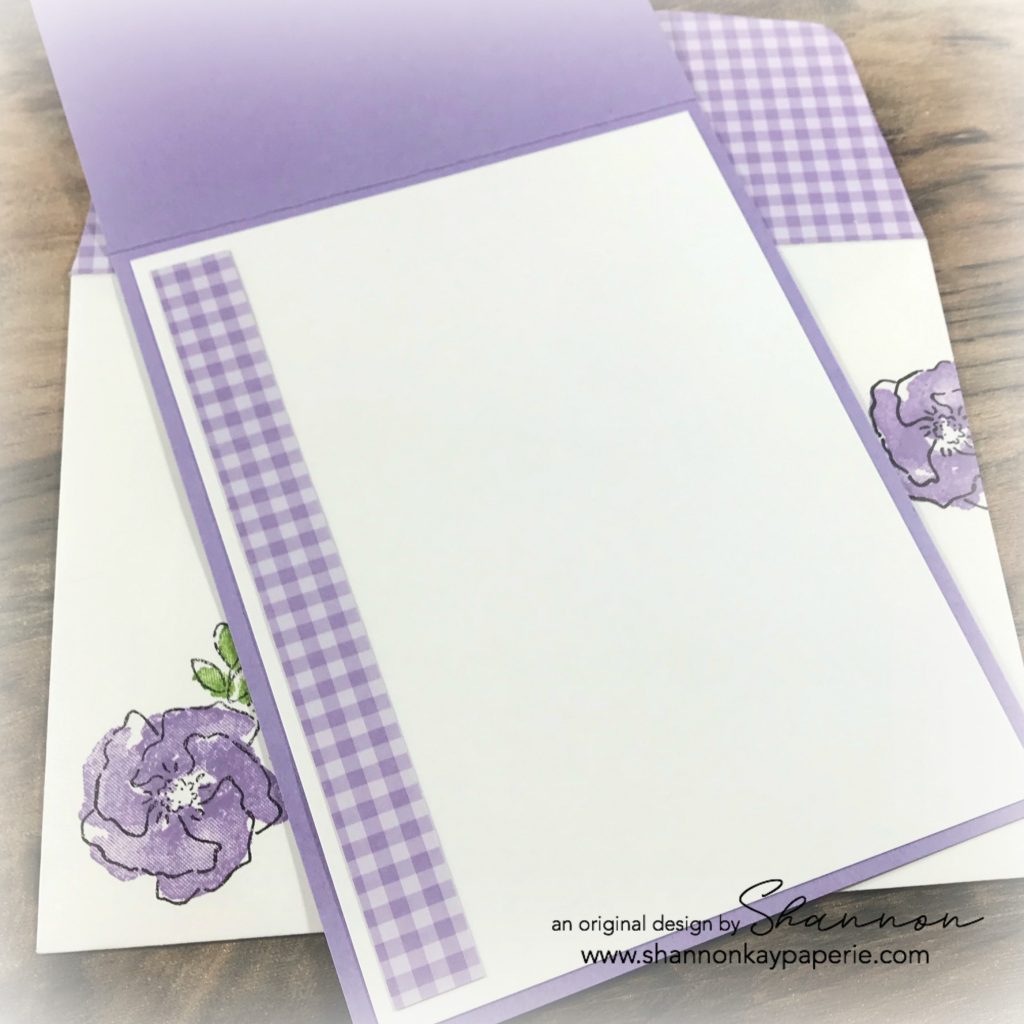
Stampin-Up-Inspiring-Iris-Thank-You-Cards-Ideas-Shannon-Jaramillo-shannonkaypaperie

  • My goal with each card is to use up one 6 x 6 sheet of DSP. I used a quarter of a sheet for the die cut circle, and a large strip of it for the envelope flap but had enough to add a thin strip down the side on the card interior. There’s still lots of room for a note and the gingham is so cheery, no one can resist smiling when they see it!
  • I do have a square of DSP left over – rats! I’ll have to leave it out so that it gets used up soon!
  • I used a few different bloom stamps from the same set to decorate the front of the envelope. No naked envelopes please! lol

I hope you enjoyed today’s creation and have a minute to pop on over to the Tic Tac Toe Challenge blog to be inspired by the rest of the design team! Can’t wait to see what you create!

Blessings!

Supplies (all Stampin’ Up! unless otherwise noted):

Card Stock: Highland Heather and Granny Apple Green; Neenah Classic Crest Cover Solar White (80 lb)

DSP: All Occasion DSP Stack

Ink: Highland Heather and Granny Apple Green; Versamark Onyx Black

Stamps: Inspiring Iris

Coloring Tools: none

Dies: Stitched Shapes & SU’s Envelope Die (retired) 

Tools: Big Shot

Embellishments: White Organdy Ribbon & Wink of Stella

Other: Whisper White Envelope


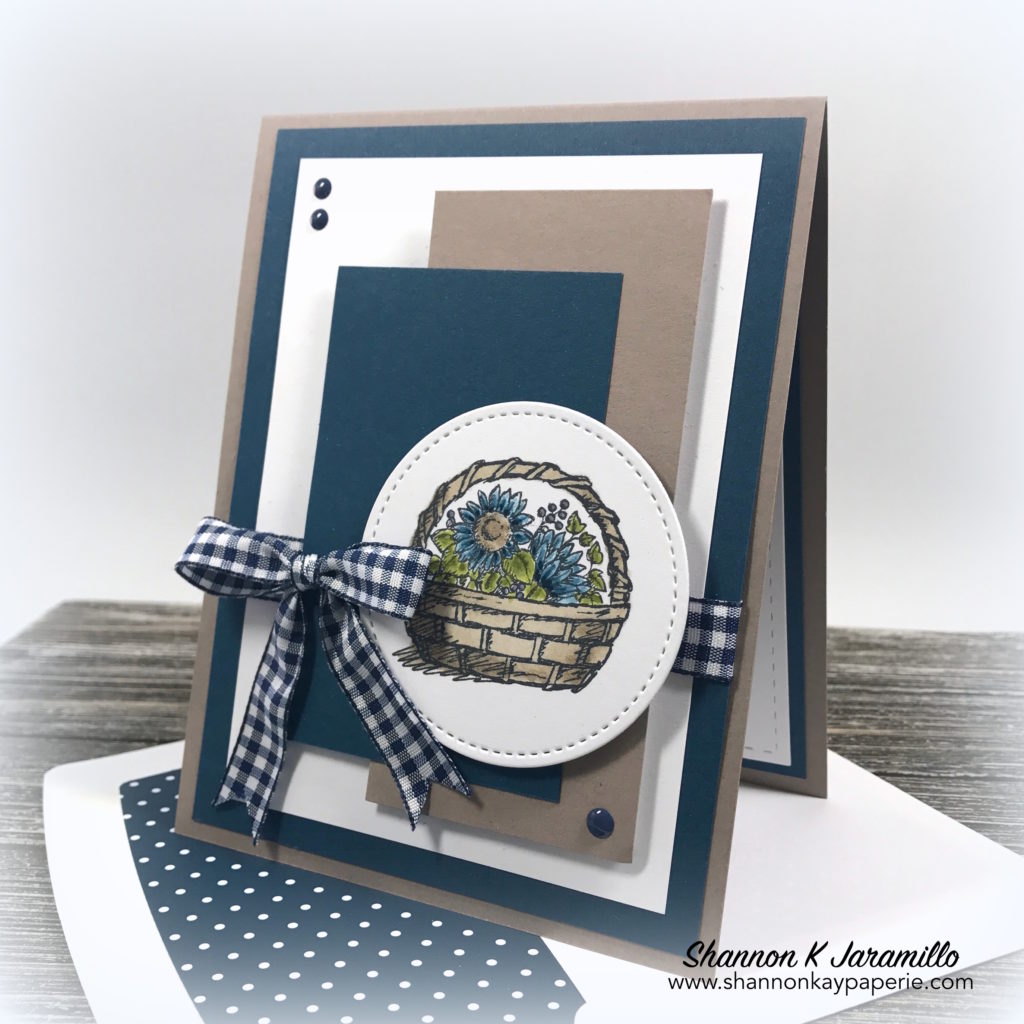
A Basket of Wishes

Basket of Wishes-Everyday-Card-Idea-Shannon-Jaramillo-stampinup

Hello my stampin’ friends! Here’s a sweet basket of wishes that is easy to color and quick to assemble! To kick start the design process, I challenged myself to just reach in the drawer of stamps and work with the first one I touched! Today’s winner was Basket of Wishes!

Measurements:

  • Card Base 4 1/2″ x 11″, scored at 5 1/2″
  • 1st Layer 4″ x 5 1/4″
  • 2nd Layer 3 1/2″ x 4 3/4″
  • 3rd Layer 2″ x 4 1/4″
  • 4th Layer 2 1/4″ x 3 1/2″

Details:

  • I was very pleased to have ‘chosen’ this stamp set for two reasons: It had never seen ink before and I got to color! It’s funny to me that I used to be terrified of any coloring whatsoever and now I look forward to it!
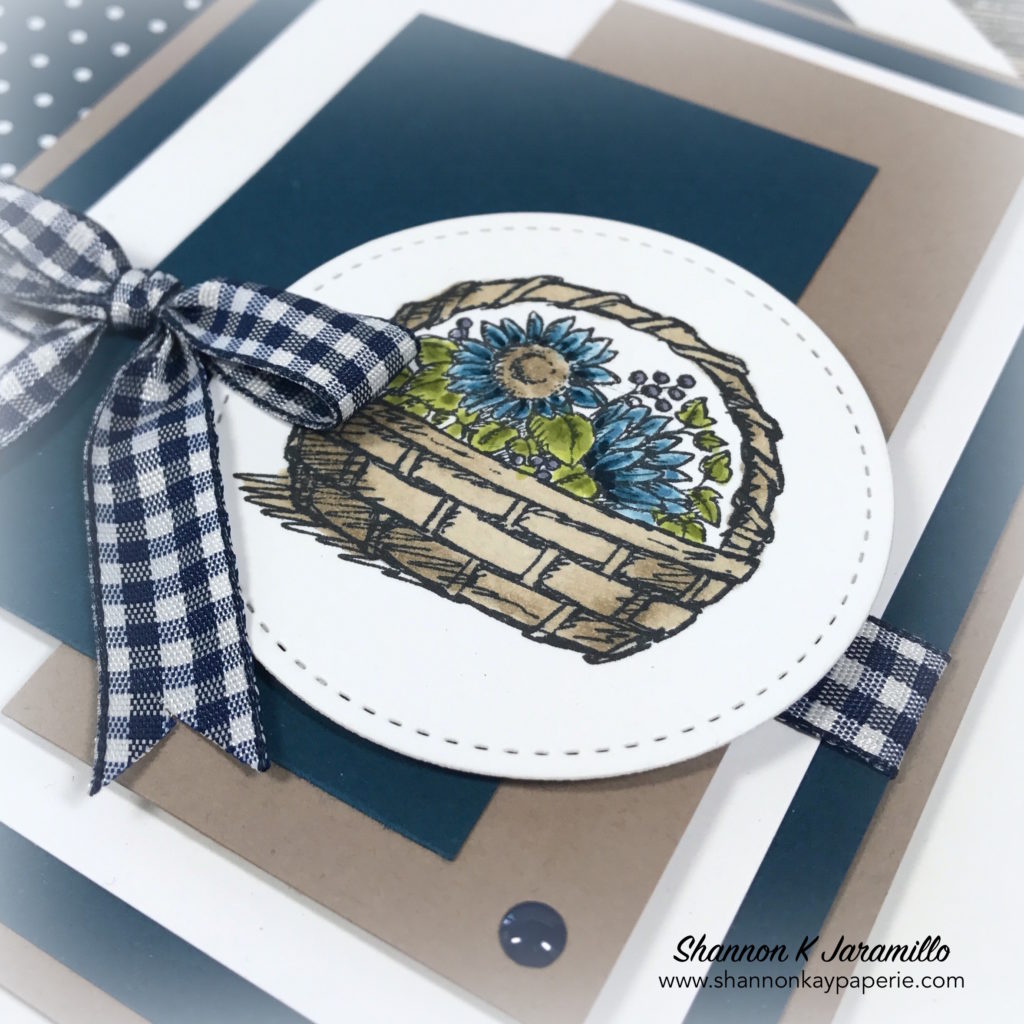
  • I started with the basket image and of course (for me), topping it off with flowers was an easy choice! The set is photopolymer so it’s very easy to line the flowers up perfectly over the basket image to create a finished image that looks like it is all one image.

Basket of Wishes-Everyday-Cards-Ideas-Shannon-Jaramillo-stampinup

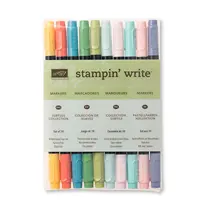
  • Next came the coloring. I colored the basket in with the light Crumb Cake Stampin’ Blends and added accented the shaded areas with dark Crumb Cake. The leaves are Lemon Lime Twist and Pear Pizzazz Stampin’ Markers. The daisy image is Soft Sky, Marina Mist and Midnight Muse (retired). The little berries are colored in Perfect Plum. I love filling in the smaller images with my Stampin’ Markers because of the range of color choices available. Hopefully we will more colors of Stampin’ Blends available soon, but in the meantime, these are great!Basket of Wishes-Everyday-Card-Ideas-Shannon-Jaramillo-stampinup
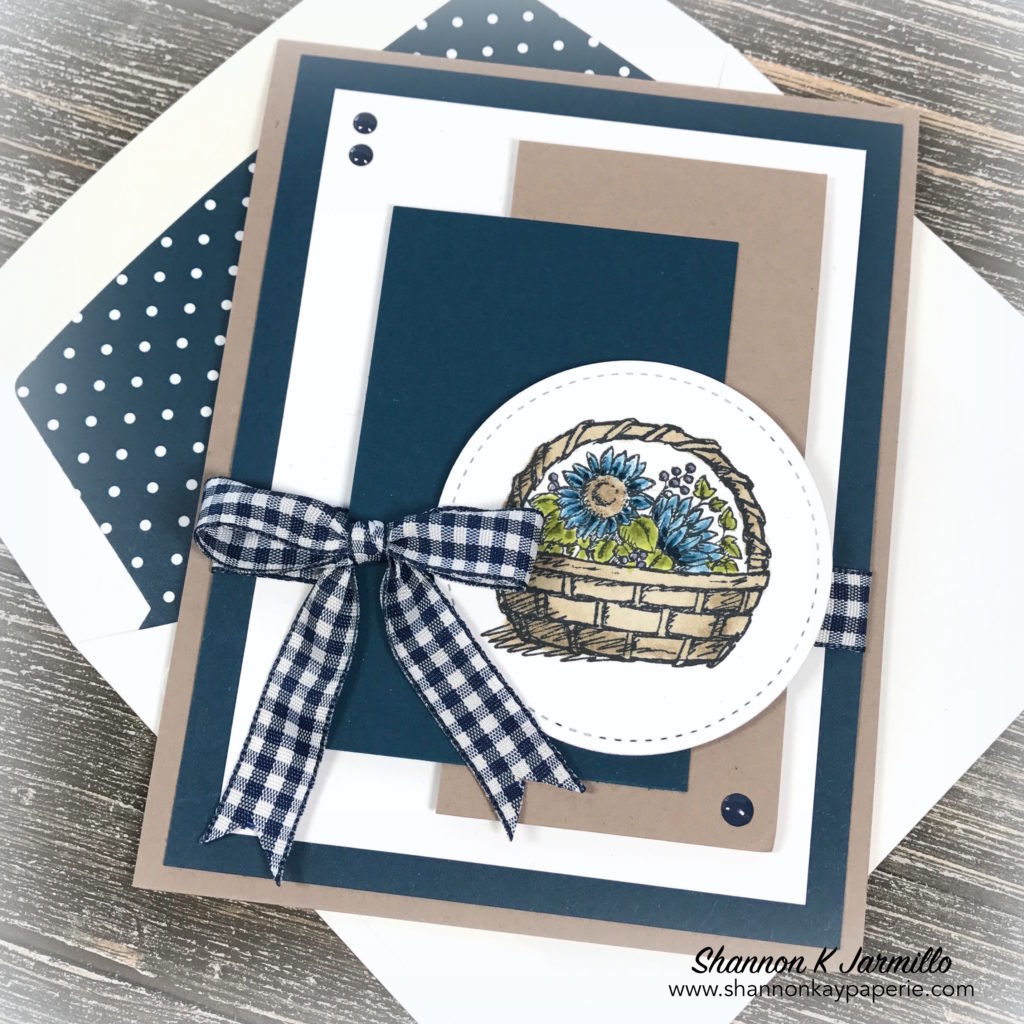
  • I looked to my Pinterest Layout Sketches Board for inspiration. I’m not even sure which layout I used as I generally use them just for ideas and then tailor them to fit my project. My color choices here were Midnight Muse and Tip Top Taupe, (both retired). I think the color choices really coordinate with the basket colors and highlight the stamped image while the stark contrast to the white makes everything pop.
  • The gingham ribbon and bow really add to the rustic, homey feel of the card. And you don’t really notice that the ribbon is Night of Navy…everything just flows…
  • A few pops of color with the Night of Navy Enamel Shapes are the finishing touch!

Basket of Wishes-Everyday-Cards-Idea-Shannon-Jaramillo-stampinup

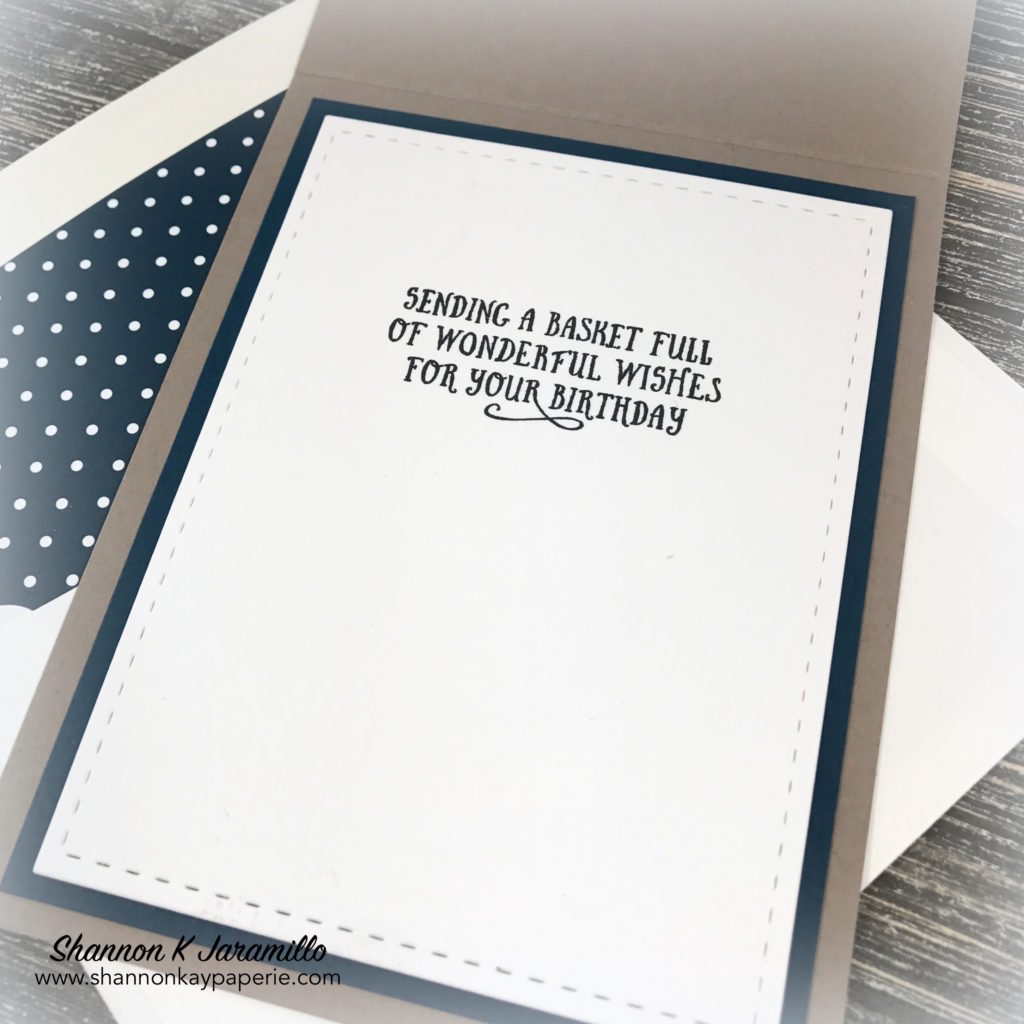
  • I chose to put the sentiment on the inside of the card…isn’t the font adorable? I chose a birthday sentiment for this card but really, the front is so general you could use the card for just about any reason!

Thanks for sharing your day with me! I would love to hear your questions or comments about today’s project!

Blessings!

Supplies:

Card Stock: Tip Top Taupe and Midnight Muse by Stampin’ Up!; Stamper’s Select White by Papertrey Ink

Pattern Paper: In Color Designer Series Paper Stack by Stampin’ Up!

Ink: Memento Tuxedo Black; Crumb Cake Stampin’ Blends and Lemon Lime Twist, Pear Pizzazz, Soft Sky, Marina Mist, Midnight Muse and Perfect Plum Stampin’ Markers by Stampin’ Up!

Stamps:  Basket of Wishes by Stampin’ Up!

Dies:  Stitched Shapes Framelits Dies by Stampin’ Up!

Tools: Big Shot and Stampin’ Trimmer by Stampin’ Up!

Embellishments: Night of Navy 1/2″ Gingham Ribbon and Regals Enamel Shapes by Stampin’ Up!

Other: Medium Whisper White Envelope by Stampin’ Up!
Whimsical Birthday Wishes – The Paper Players 332

Whimsical Birthday Wishes Birthday Card Idea - Shannon Jaramillo Stampin Up

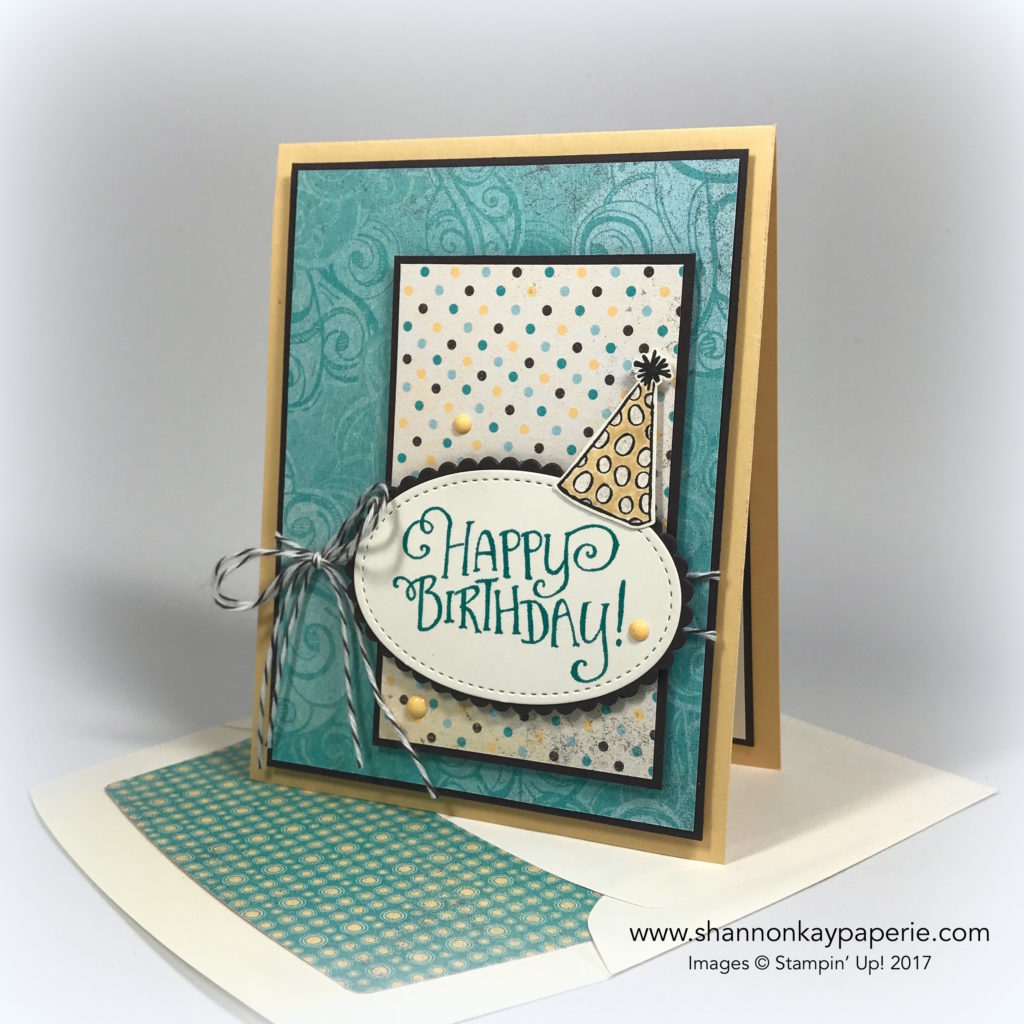
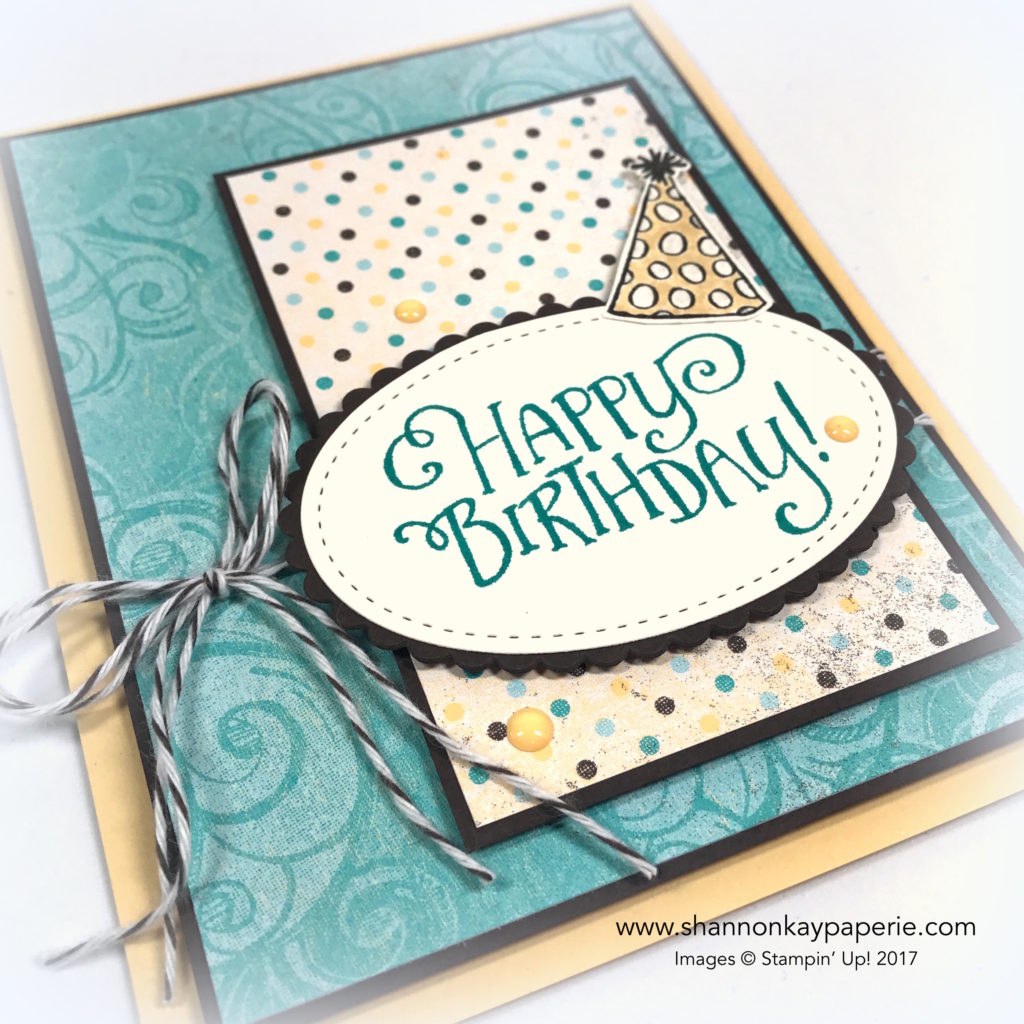
Every once in awhile a product comes along that just makes you melt. This pattern paper is it for me. It’s called Cupcakes and Carousels by Stampin’ Up! and is new in the Occasions Catalog. It comes in the perfectly porportioned 6″ x 6″ size and has the most delightful patterns in it!

The Details:

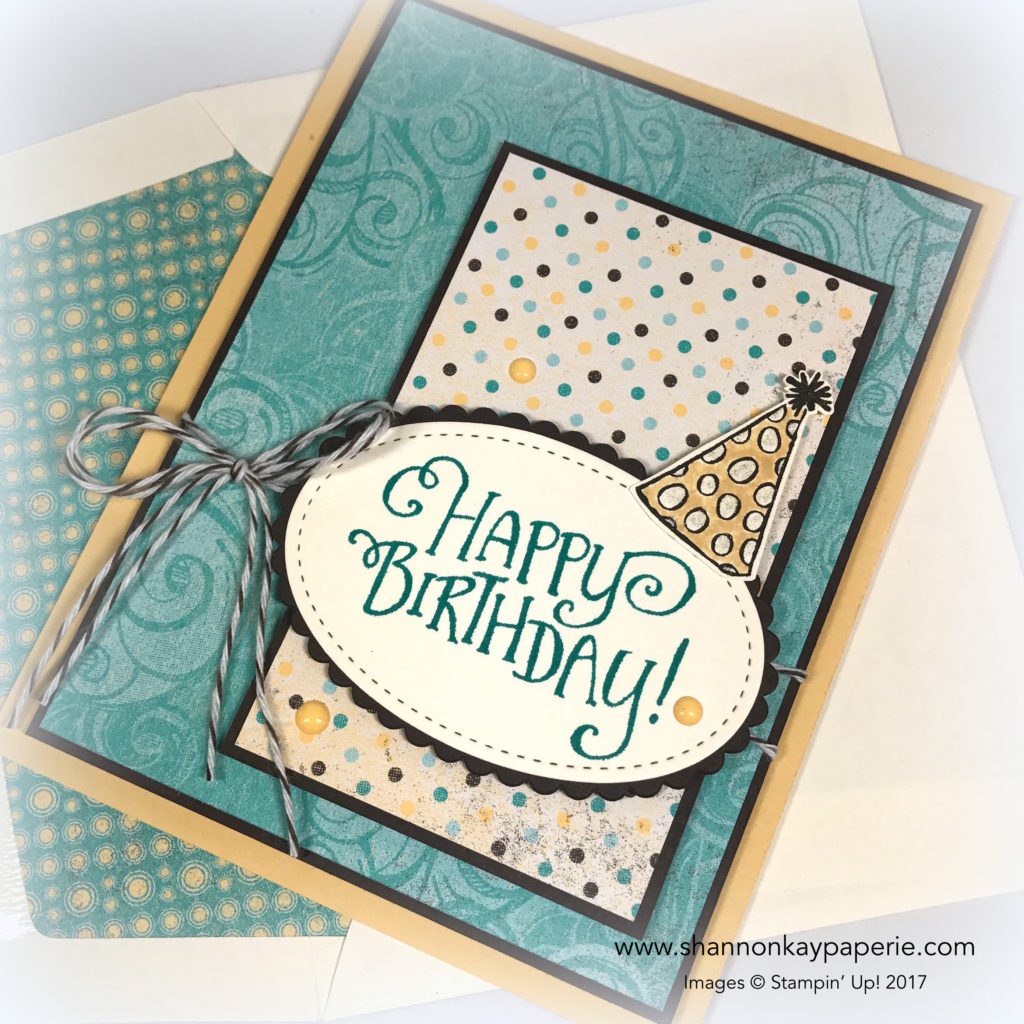
  • So Saffron card base cut to 4 1/4″ x 11″, scored at 5 1/2″
  • Early Expresso card stock cut to 3 3/4″ x 5″
  • Cupcakes & Carousels Designer Series Paper Stack cut to 3 5/8″ x 4 7/8″
  • Early Expresso card stock cut to 2 1/2″ x 4″
  • Cupcakes & Carousels Designer Series Paper Stack cut to 2 3/8″ x 3 7/8″

Whimsical Birthday Wishes Birthday Card Ideas - Shannon Jaramillo Stampin Up

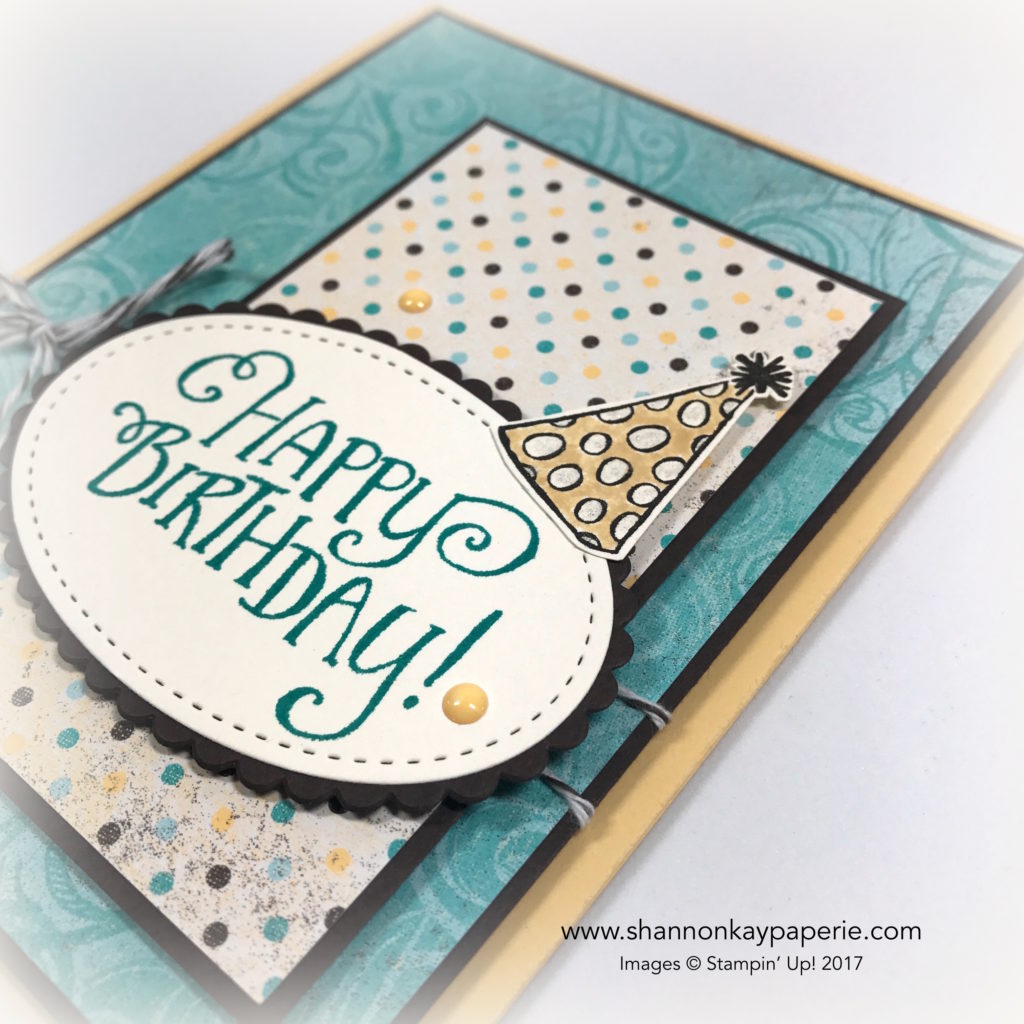
  • This playful sentiment from the Better Together Stamp Set pairs perfectly with the playful pattern paper. It’s stamped in Bermuda Bay and die cut with the Stitched Shapes Framelits Dies (first time using them, can’t live without them), and then layered onto a lovely scalloped oval die cut from the Layering Ovals Framelits Dies. I wasn’t sure they would pair together since they are from different die sets, but of course they do, because Stampin’ Up! takes care of us like that 🙂

Whimsical Birthday Wishes Birthday Cards Idea - Shannon Jaramillo Stampin Up

  • The darling party hat was stamped in Early Expresso ink, fussy cut out, and colored in with my So Saffron Stampin’ Marker. I thought about coloring the polka dots in Bermuda Bay but chickened out because I wasn’t sure I would like it and added Wink of Stella instead. Perfect choice! Love it!

Whimsical Birthday Wishes Birthday Card Idea - Shannon Jaramillo StampinUp

  • I used Early Expresso Baker’s Twine (which is retired BTW) to make a cheerful double bow and added So Saffron Enamel Dots as the final accent. I LOVE that they are available in all the colors!
  • Each layer that you see backed by Early Expresso card stock is popped up with Stampin’ Dimensionals. I love layers and the depth they provide. Hint: I snip my Stampin’ Dimensionals in half so they go twice as far…I may or may not be a Dimensionals hoarder 🙂

Whimsical Birthday Wishes Birthday Card Idea - Shannon Jaramillo stampin up

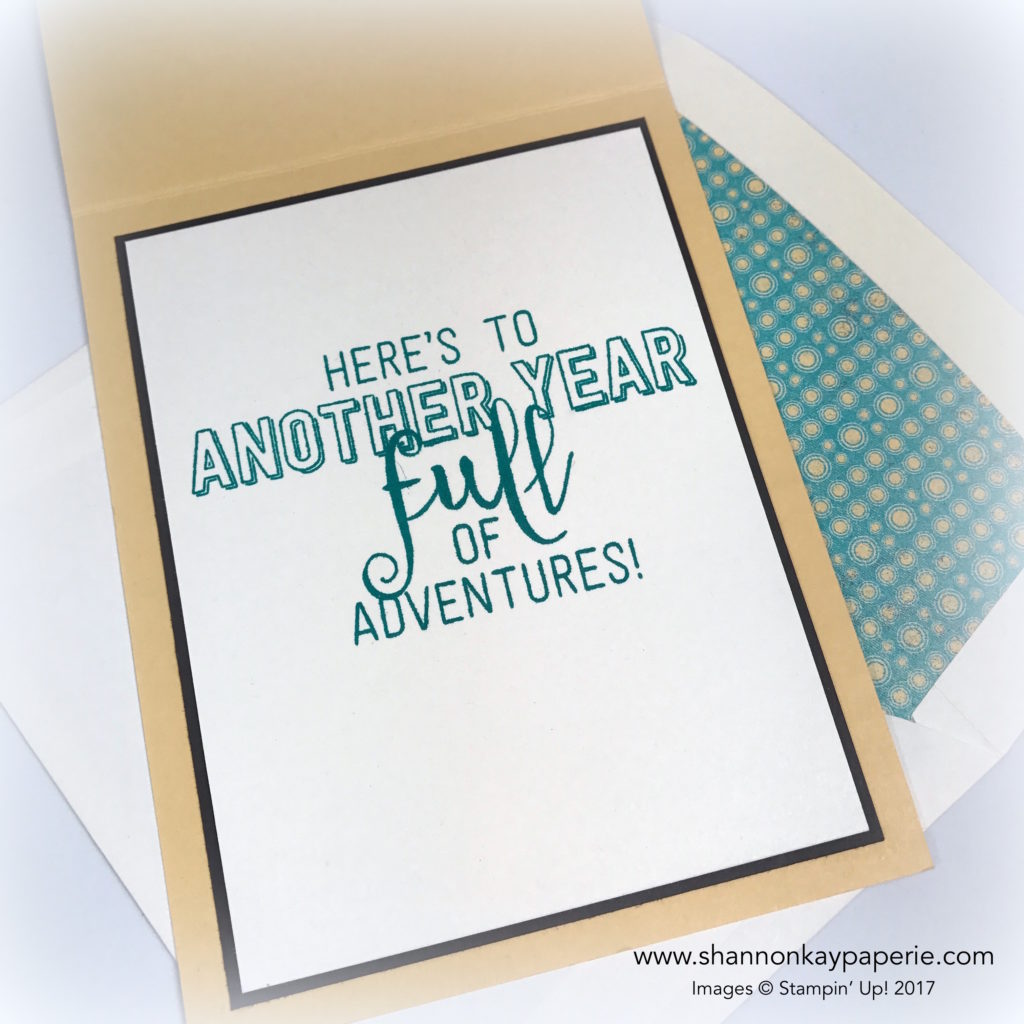
  • And the inside! This sentiment is from the Balloon Adventures Stamp Set, also from the 2017 Occasions Catalog and is a favorite of mine. It’s so fun here stamped in Bermuda Bay onto Very Vanilla yardstick and backed by Early Expresso card stock. Love, love, love this color combination. My mom insists blue and brown do not go together, so funny enough, they are one of my favorite combinations! lol

Today’s card was inspired completely by my desire to use the Cupcakes & Carousels DSP Stack and this week’s challenge over at The Paper Players:

Thank you to the lovely design team for the inspiration and thank you so much for stopping by!

Products Used:

Card Stock: So Saffron, Early Expresso and Very Vanilla by Stampin’ Up!

Pattern Paper: Cupcakes & Carousels Designer Series Paper Stack by Stampin’ Up!

Ink: Bermuda Bay and Early Expresso by Stampin’ Up!

Stamps:   Better Together and Balloon Adventures by Stampin’ Up!

Dies: Stitched Shapes, Layering Ovals and Envelope Liner Framelit Dies(Retired) by Stampin’ Up!

Tools:  Big Shot, Stampin’ Trimmer, Paper Snips, So Saffron Stampin’ Marker and Stampin’ Dimensionals

Embellishments: Early Expresso Baker’s Twine (Retired) and So Saffron Enamel Dots by Stampin’ Up!

Other – Very Vanilla Envelope by Stampin’ Up!

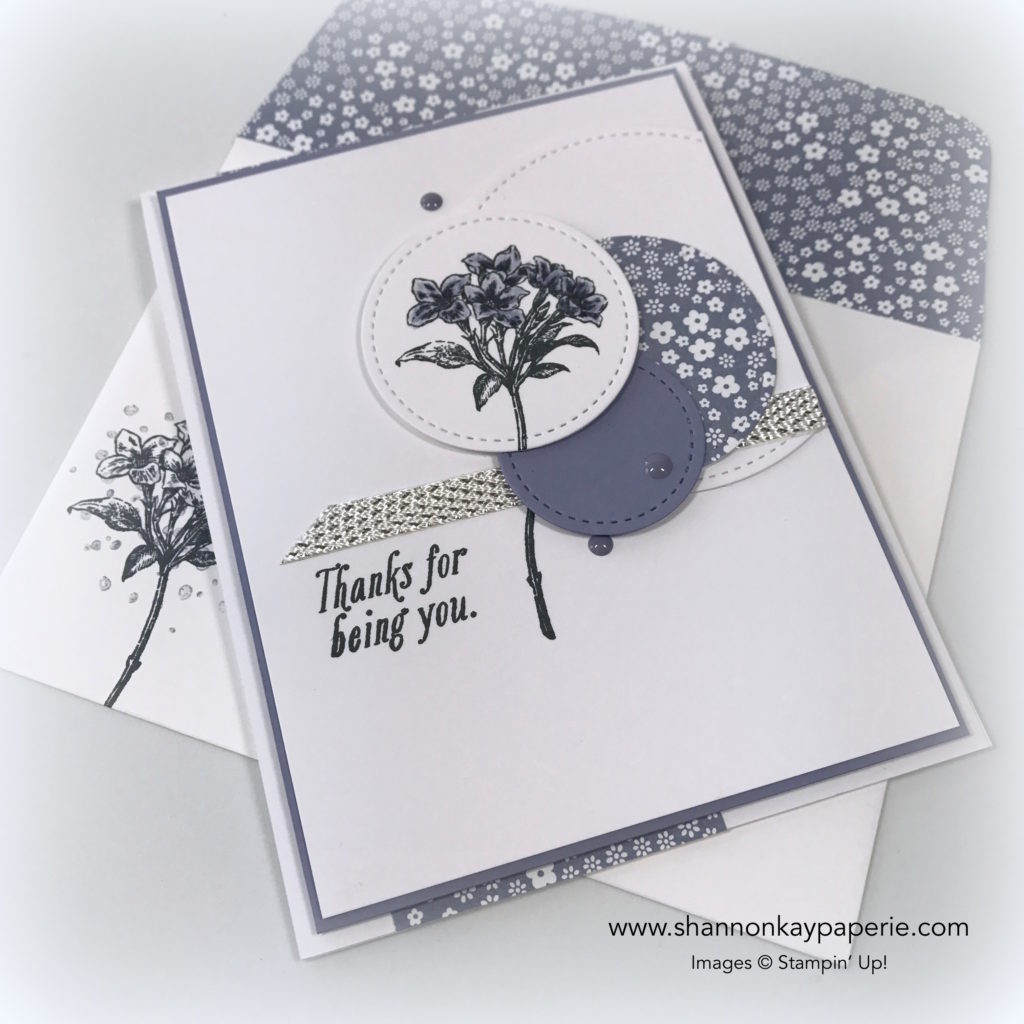
Sweet Avant-Garden – Freshly Made Sketches 272

Sweet Avant-Garden Thank You Card Ideas - Shannon Jaramillo Stampin Up

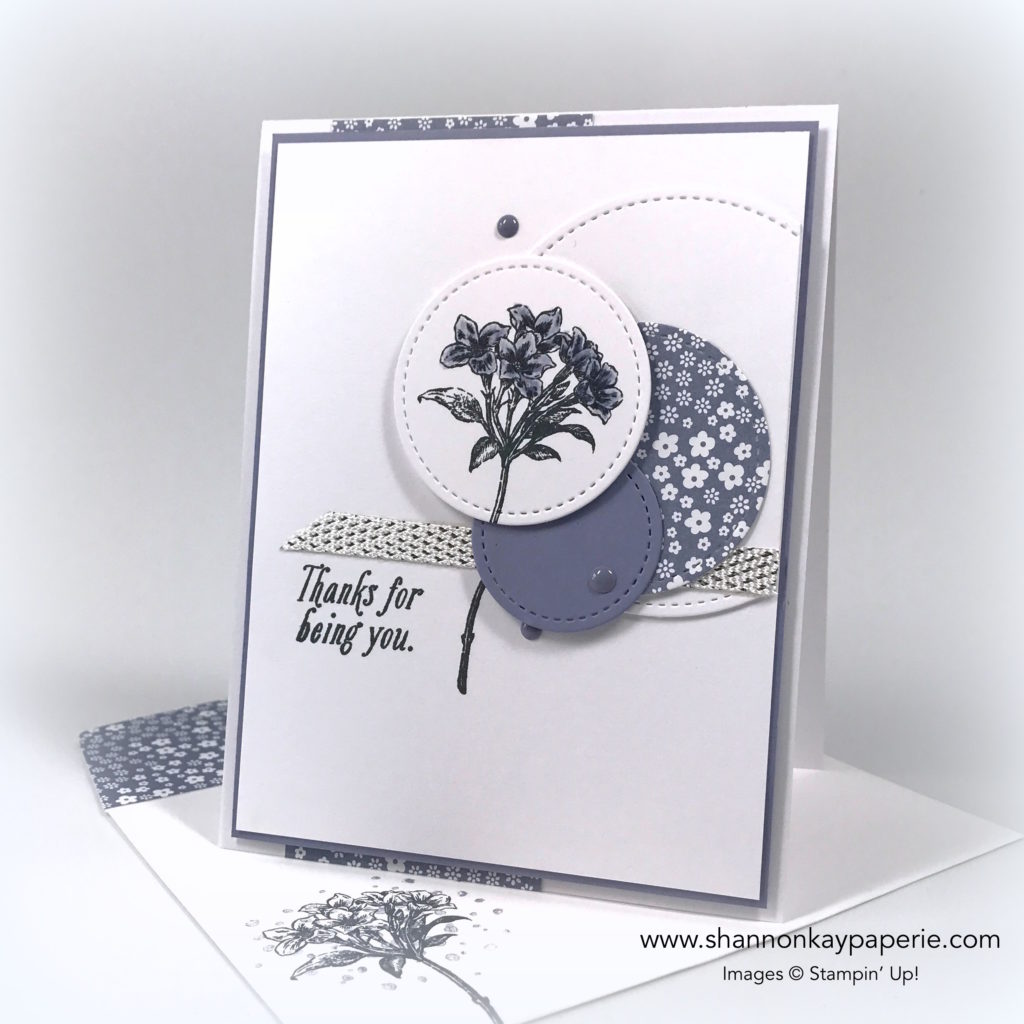
Avant-Garden is such a dreamy stamp set, soft and romantic…it seemed to call for a dreamy color so out popped Wisteria Wonder!

The Details:

  • Thick Whisper White Base cut to 4 1/4″ x 11″, scored at 5 1/2″
  • Wisteria Wonder card stock cut to 4″ x 5 1/4
  • Thick Whisper White card stock cut to 3 7/8″ x 5 1/8″
  • Subtles Designer Series Paper Stacks cut to 2″ x 5 1/2″

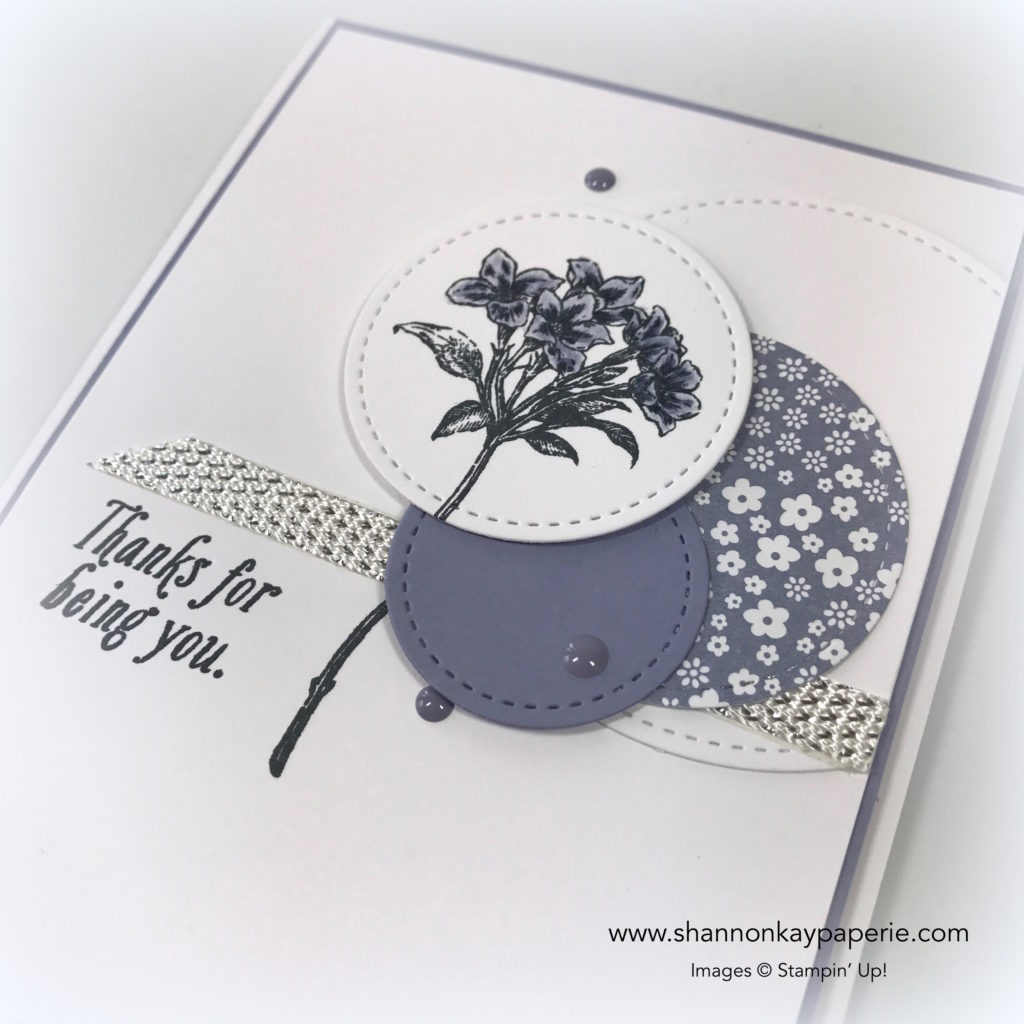
Sweet Avant-Garden Thank You Card Idea - Shannon Jaramillo Stampin Up

  • Stampin’ Up!’s new Stitched Shapes Framelits Dies work perfectly with the sketch I chose to use today. I love, love, love the subtle detail they add to any project. I used three of the four sizes to create my four layers, using both card stock and designer series paper
  • I used my MISTI to stamp the flower images in Memento Ink Tuxedo Black on my focal layer as well as on a second piece of white card stock, and then simply die cut the flower shape out using the Stitched Shapes Framelits dies
  • I put sticky tape on the back of the 3/8″ White Metallic Ribbon and adhered it to my card front, snipping off the right side after I adhered it. I LOVE the subtle shine it provides!
  • The MISTI made quick work of positioning my sentiment – love the font!!

Sweet Avant-Garden Thank You Cards Ideas - Shannon Jaramillo Stampin Up

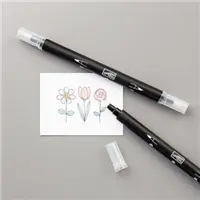
  • I used my Wisteria Wonder Stampin’ Marker and a blender pen to add color to my floral stem – easy peasy! – and left the stem uncolored for contrast
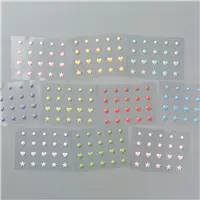
  • Enamel Dots are my fun and easy go-to for adding a pop of color!

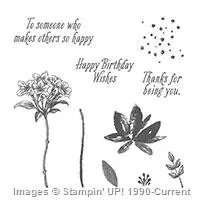
Both the Avant-Garden stamp set I used here today and the 3/8″ Metallic Ribbon are both Sale-A-Bration items, which means they are available to get FREE – one item for every $50 spent!! What are you waiting for???

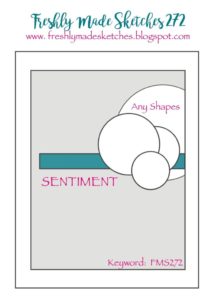
Inspiration for today’s card was provided by the fun sketch over at Freshly Made Sketches:

Thank you so much for stopping by today! I would love to hear what you think of today’s color choice! Love it? Hate it? I’m a Prince fan so purple is a ‘thing’ for me. It’s funny that I don’t decorate my house with it but when I buy flowers to plant in the garden? Always purple!

Supplies: