All Because Two People Fell in Love – Sunday Stamps 170


Lil-Inker-Because-Love-and-Friendship-Card-Idea-Shannon-Jaramillo-lilinker

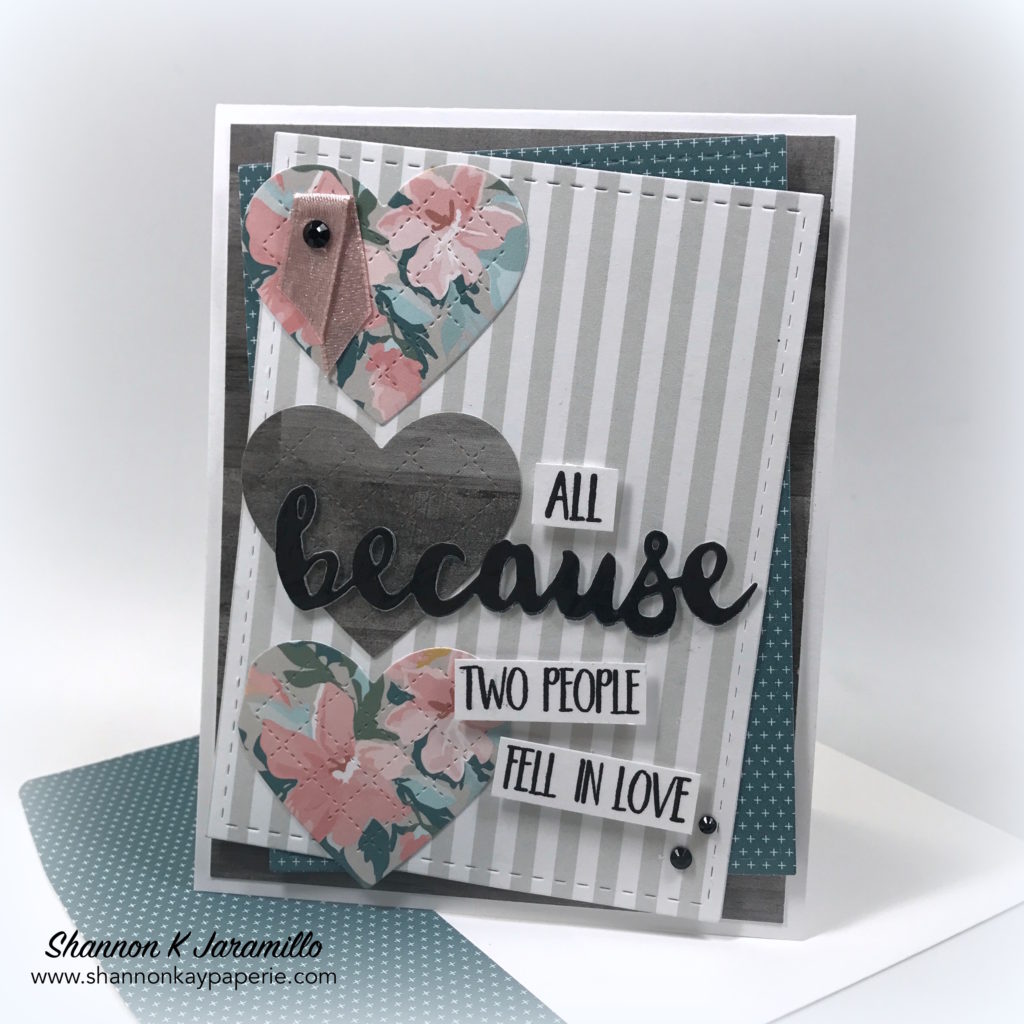
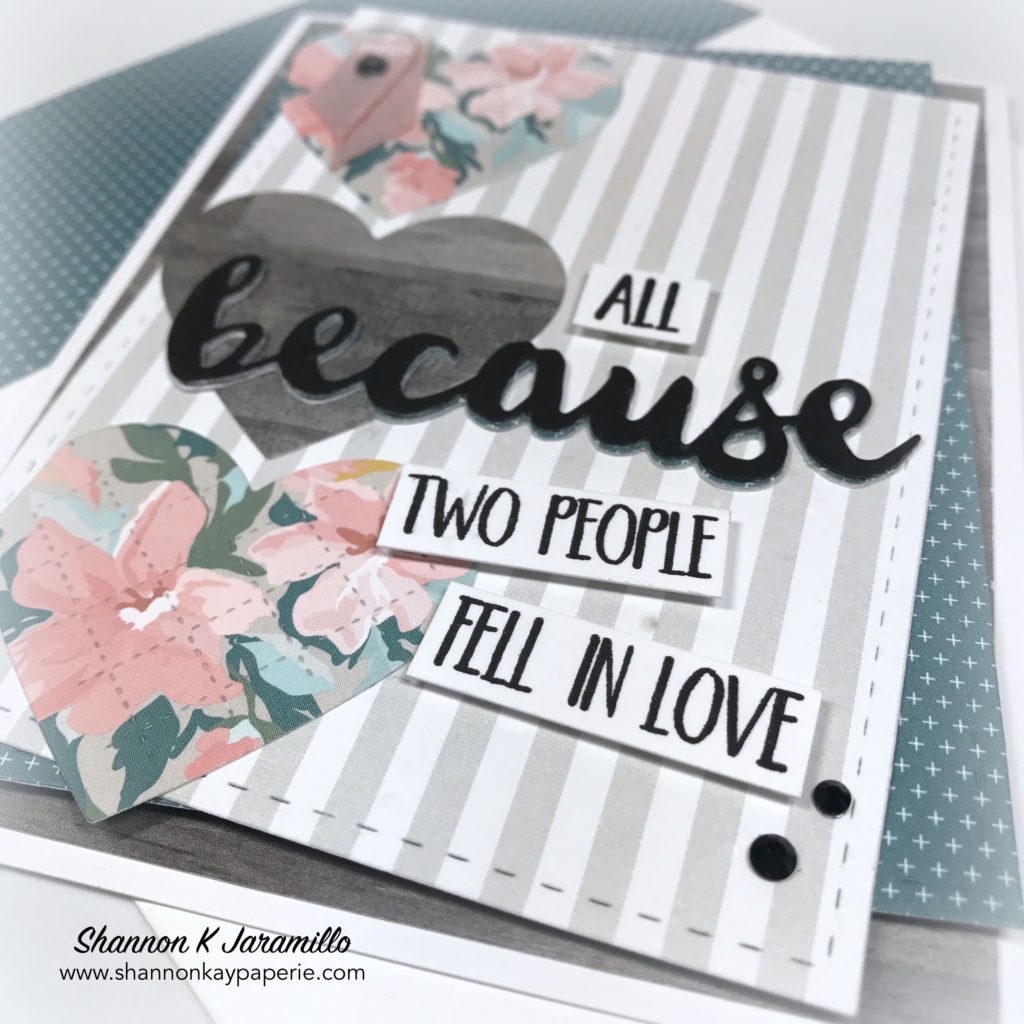
I decided to break out new paper, stamps and dies for this card that I made using the most recent Sunday Stamps sketch. I chose this sketch for the simple reason that the idea of three squares down one side of the card boggles my mind. So…challenge accepted!

Measurements:

  • Card Base 4 1/2″ x 11″, scored at 5 1/2″
  • Base Panel 4″ x 5 1/4″
  • Blue Layer 4 7/8″ x 3 5/8″
  • Striped Layer 4 7/8″ x 3 5/8″

Details:

  • I adore this new quilted heart die that I got for FREE with my order from Concord & 9th. And I saw this sentiment stamp and die set from Lil ‘Inker and knew that was the perfect sentiment for this card…but how to merge the two and still keep with the inspiration sketch? Hmmm…
  • Once the stamps and dies were chosen…now paper! My favorite accessory! I literally went through all of my 6 x 6 paper stash and had lots of fun options, but I have been purchasing scrapbooking kits from Felicity Jane and these papers from the ‘Heidi’ line are GORGEOUS!!!
Lil-Inker-Because-Love-and-Friendship-Card-Ideas-Shannon-Jaramillo-lilinker

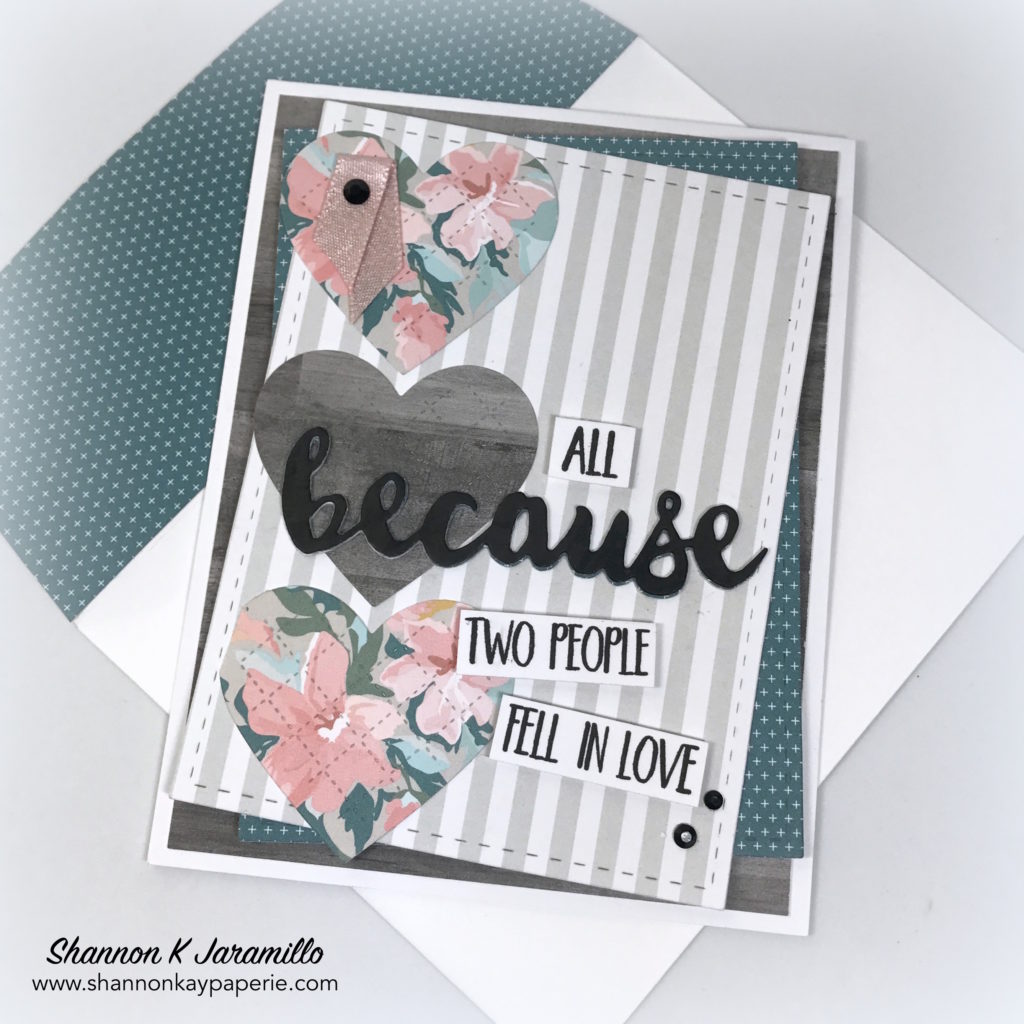
  • I used the weathered wood paper for one of the quilted hearts and for the base layer as well. Then I chose two patterns from the same line and die cut them with a stitched rectangle die and added them at canted angles for a fun effect.
  • Everything being a little wonky made trying to line my hearts up straight a bit of an issue! I finally (and don’t laugh) took a piece of twine, lined it up on my Stampin’ Grid Paper, taped it down at the top and bottom, and then slid my card base under the twine. One I made sure the card was straight as well, I used the line of the twine to aline the center points of the each heart, at the top and at the point. That made it much easier to be straight, but I’m sure there is a better way to have done this!
Lil-Inker-Because-Love-and-Friendship-Cards-Ideas-Shannon-Jaramillo-lilinker


  • The ‘because’ die has a matching stamp. I tried stamping the stamp and then die cutting it, but couldn’t line everything up, then I tried cutting the die cut out and lining it up with the stamp set in my MISTI and that worked better but the ‘s’ in the stamp and the die aren’t quite the same! Third time is a charm, right? I simply took the stamped die and turned it upside down into my Onyx Versafine ink! That did the trick! And it’s REALLY black! I love it!
  • I added a bit of Powder Pink shimmer ribbon in the upper left hand corner and anchored it with a Black Rhinestone Jewel.A couple more in the lower right hand corner for balance and voila!

I’m pretty happy with how the card turned out. I wanted to try to create a more modern, maybe a little of a ‘Joanna Gaines’ type valentine card and think I achieved that goal. Enjoy the rest of your day and I will see you soon! If you have a minute, I would love hearing your feedback!

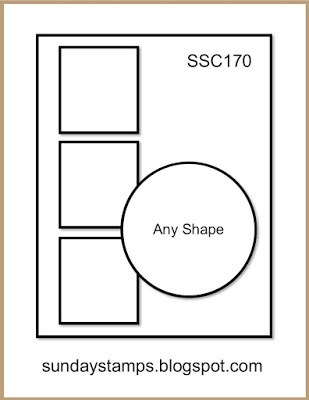
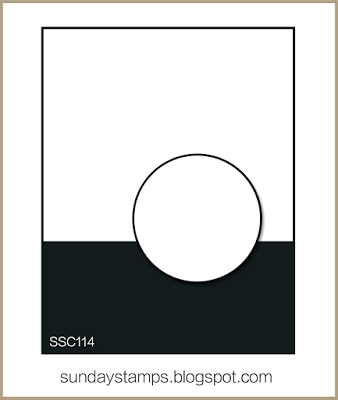
Here’s the sketch I used from Sunday Stamps:

I’m also playing along with the Simon Says Stamp Wednesday Challenge which is Use Patterned Paper.


Blessings to you.

Supplies:

Card Stock: Stamper’s Select White by Papertrey Ink

Pattern Paper: Heidi by Felicity Jane

Ink: Versamark Onyx Black

Stamps:  Because by Lil ‘Inker

Dies:  Quilted Heart by Concord & 9th; Because and Stitched Mats: Rectangles by Lil ‘Inker; Envelope Liner Die (retired) by Stampin’ Up!

Tools: Big Shot by Stampin’ Up!

Embellishments:  Powder Pink Shimmer ribbon and Black Rhinestone Basic Jewels by Stampin’ Up!

Other: Medium Whisper White Envelope by Stampin’ Up!

Big News – Sunday Stamps 124

Big News - Sunday Stamps 124

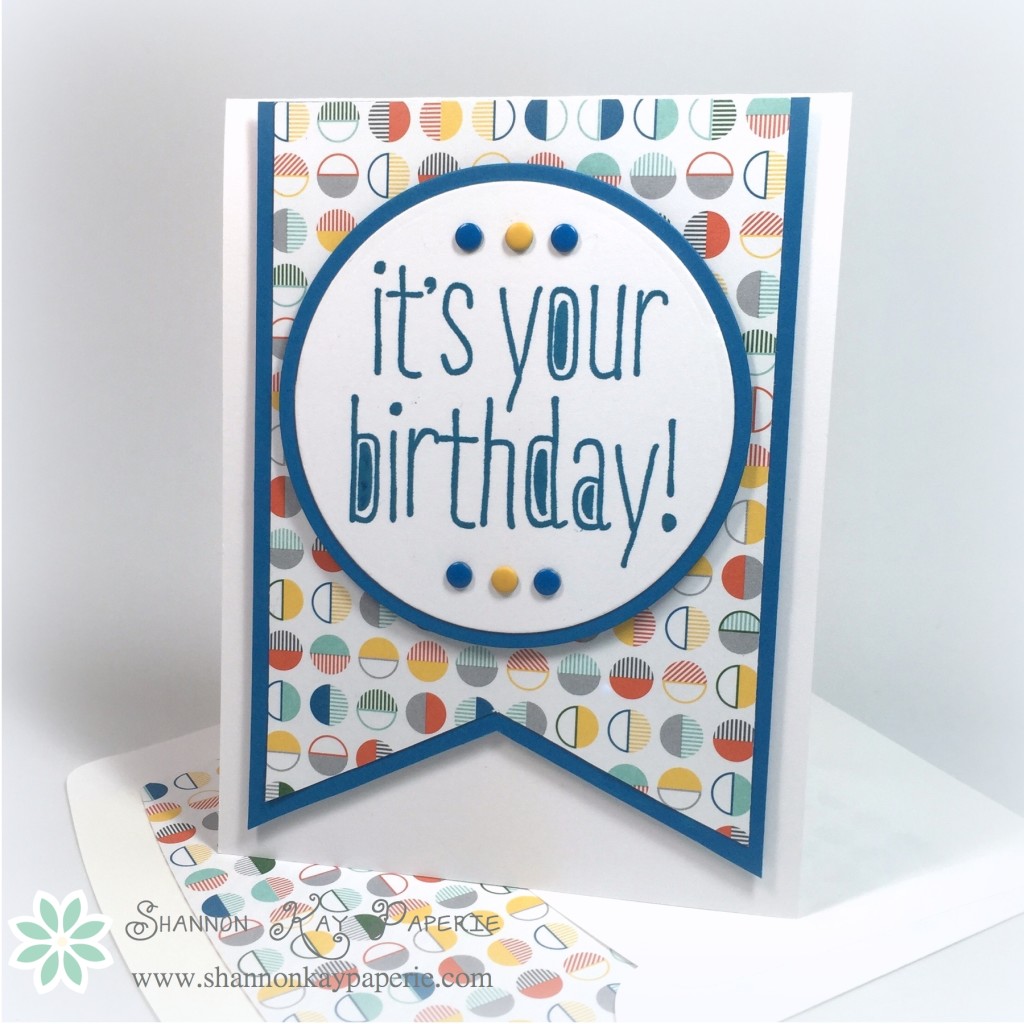
I’m so in love with the Schoolhouse DSP from Stampin’ Up! I only ordered it about 2 months ago so I need to hurry and make lots of cards with it before it retires on May 31st!

There are quite a few colors in this DSP that I could have chosen to highlight. I chose Pacific Point because up to this point (and I’ve been a Stampin’ Up! demonstrator for almost five years) I honestly don’t believe I have ever used it! The bright shade of blue is wayyyy outside my comfort zone!

Big News - Sunday Stamps 124

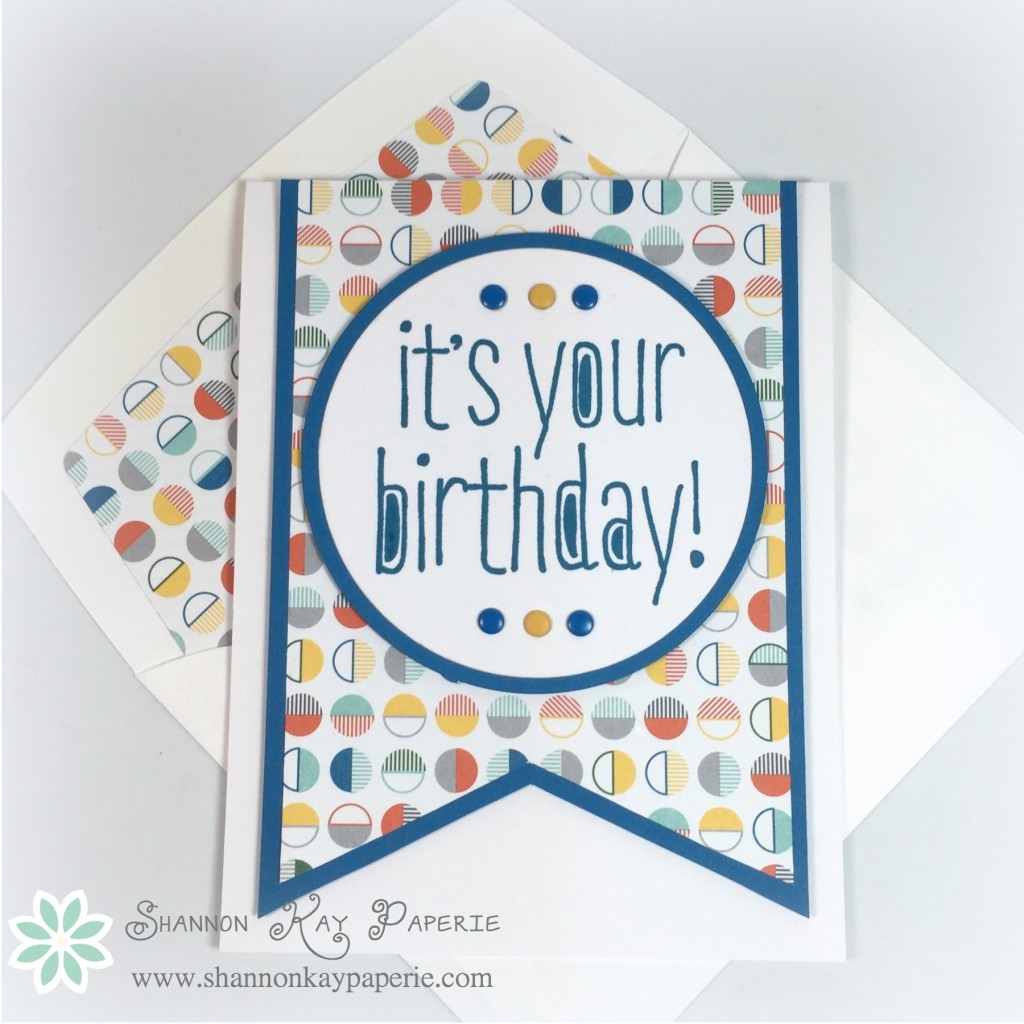
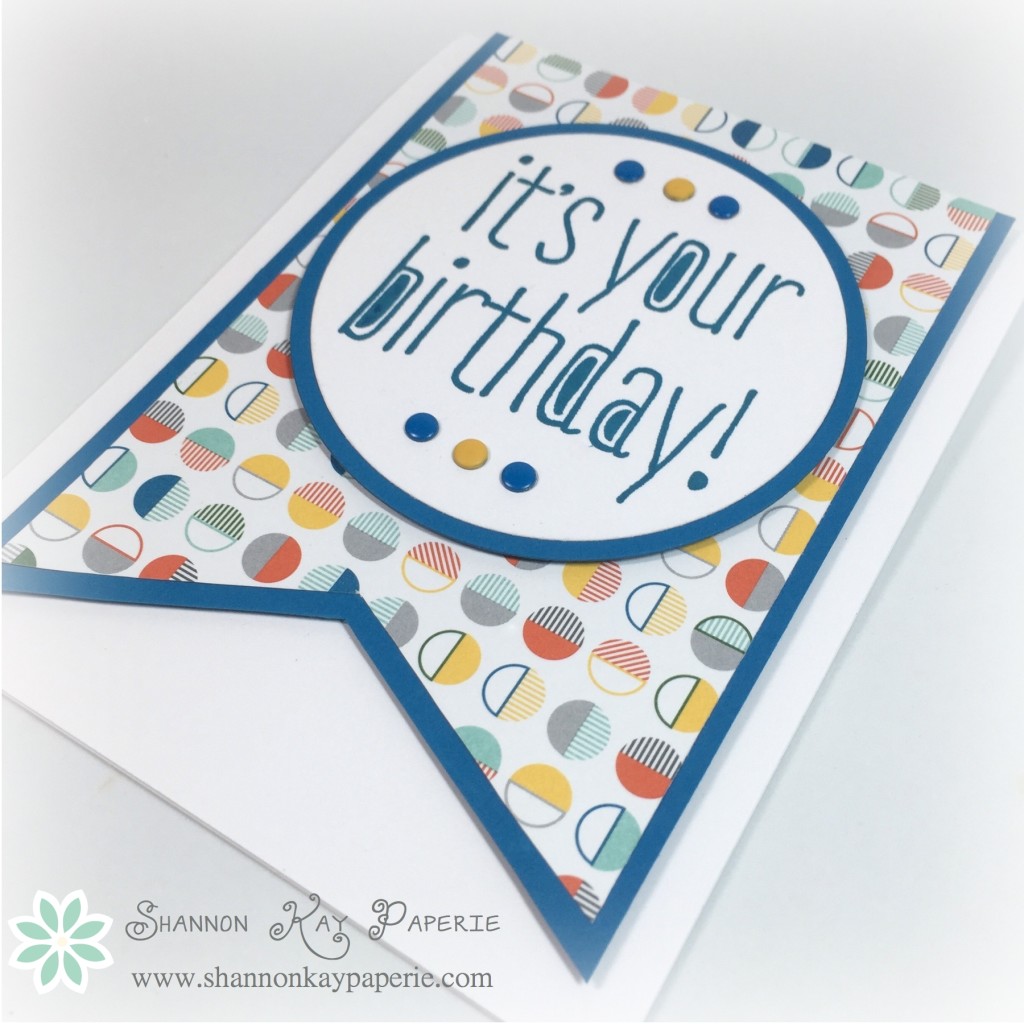
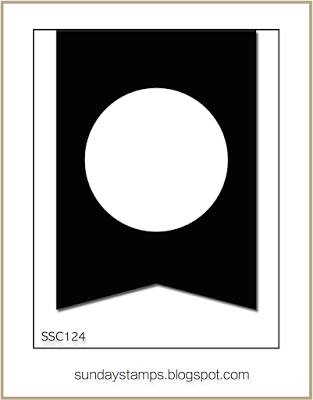
I used Pacific Point to layer both the card stock as well as the sentiment, but decided to use Whisper White for the base so that the vibrant color could shine. This bold birthday sentiment is from the Big News stamp set. I like it because it’s all encompassing. It can be used to create cards for both men and women, young and old.  I used the Circle Framelits to cut the sentiment out and popped it up with Stampin’ Dimensionals. The banner is hand cut because I couldn’t figure out how else to do it, but now as I type this, I realize that the Banners Framelits would have worked perfectly! OMG! So use those rather than hand cut, lol.

Big News - Sunday Stamps 124

I used Candy Dots in Pacific Point and Daffodil Delight because I am out of Crushed Curry candy dots, but honestly, I can’t tell the difference, can you?

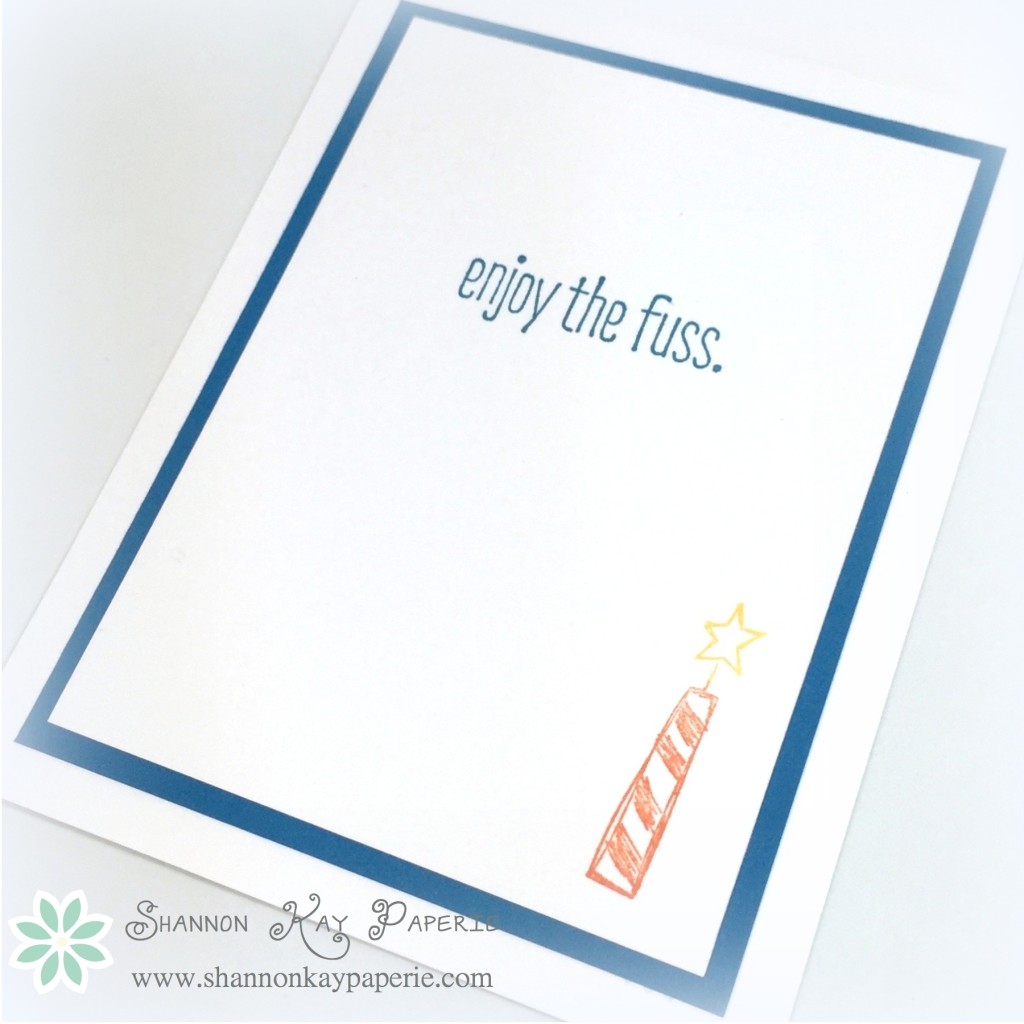
And let’s not forget to decorate the inside!

Big News - Sunday Stamps 124

Love this little candle!!

Today’s project was inspired by the sketch over at the Sunday Stamps challenge:

SSC124f

I hope that my project has inspired you to join us in this challenge, for more inspiration please visit these lovely ladies:

We would love to see you play along!

Thank you for visiting today!

Bonjour! – 30 Day Card Challenge, Day 3

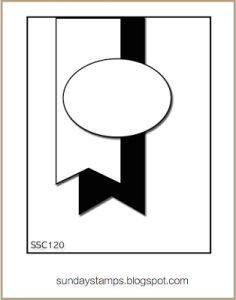
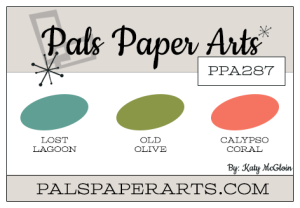
It’s Sunday and time for a new challenge from the Sunday Stamps design team! (Yay!) I doubled up today and combined this cute sketch with a color challenge from the Pals Paper Arts.

Bonjour! - Sunday Stamps 120 & PPA287

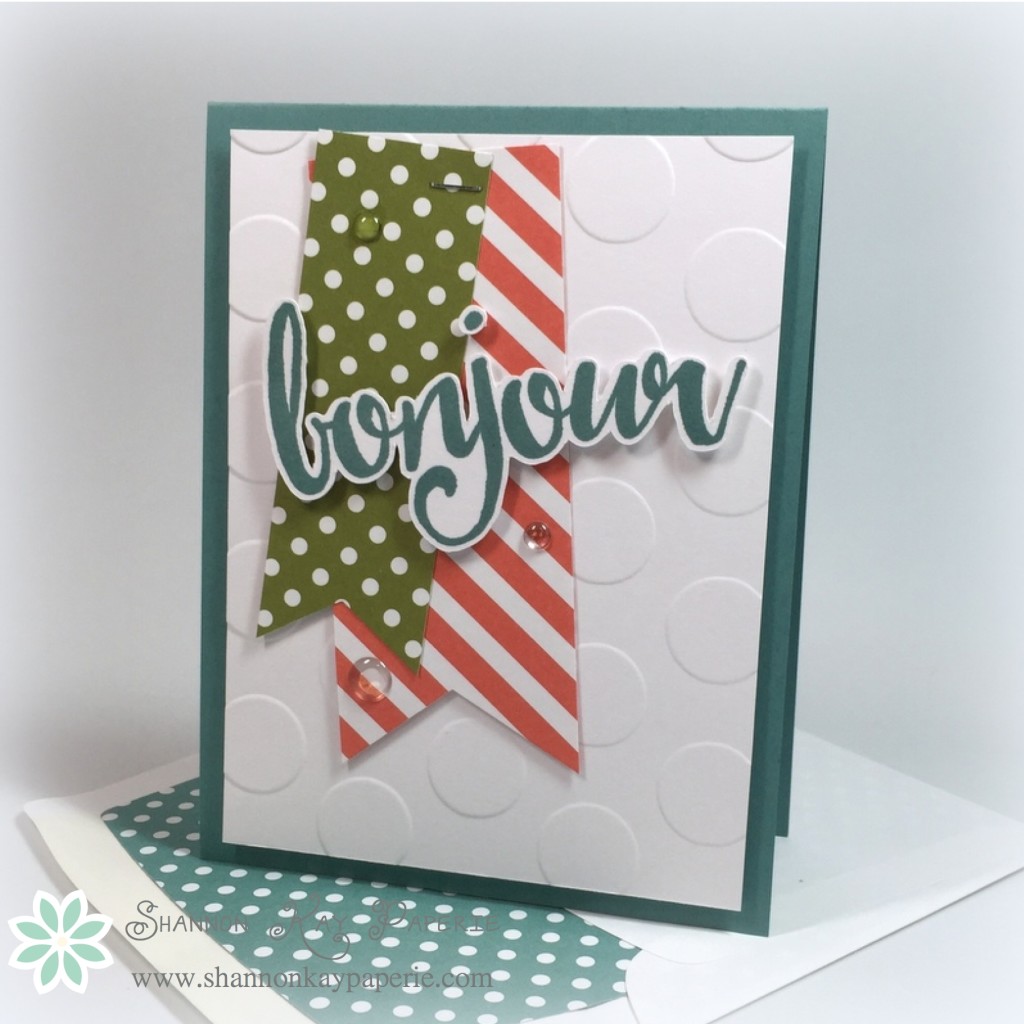
I had purchased one of the Sale-A-Bration stamp sets, Hello, in French (Salut, product #141270) and realized that it retires on Monday so I better use it while I can! Yes, it’s in French but I think “bonjour” is a widely known word regardless of your native tongue, so I though it would be a fun set to create with!

Details:

  • The base layer is Lost Lagoon card stock. This color will be retiring at the end of May, so if you love it or need to stock up, don’t wait until May as the remaining stock will go quickly!
  • I trimmed a piece of Whisper White card stock to 3 3/4″ x 5″, tucked it in to the Polka Dot Embossing Folder and ran it through the Big Shot.
  • Two pieces of Designer Series Papers in Old Olive and Calypso Coral in varying widths and lengths are turned into banners quickly and easily with the Banner Triple Punch.
    • Hint: I chose widths of paper that did not fit perfectly into any of the three templates on the Banner Triple Punch; no worries, I just centered my strips of paper and punched away. So in my book, it’s really not a Triple Banner Punch, it’s an ‘any width you want’ Banner Punch 🙂Bonjour! - Sunday Stamps 120 & PPA287
  • The banners were secured to the Whisper White layer with the help of Stampin’ Up’s Handheld Stapler. Quick and Easy!
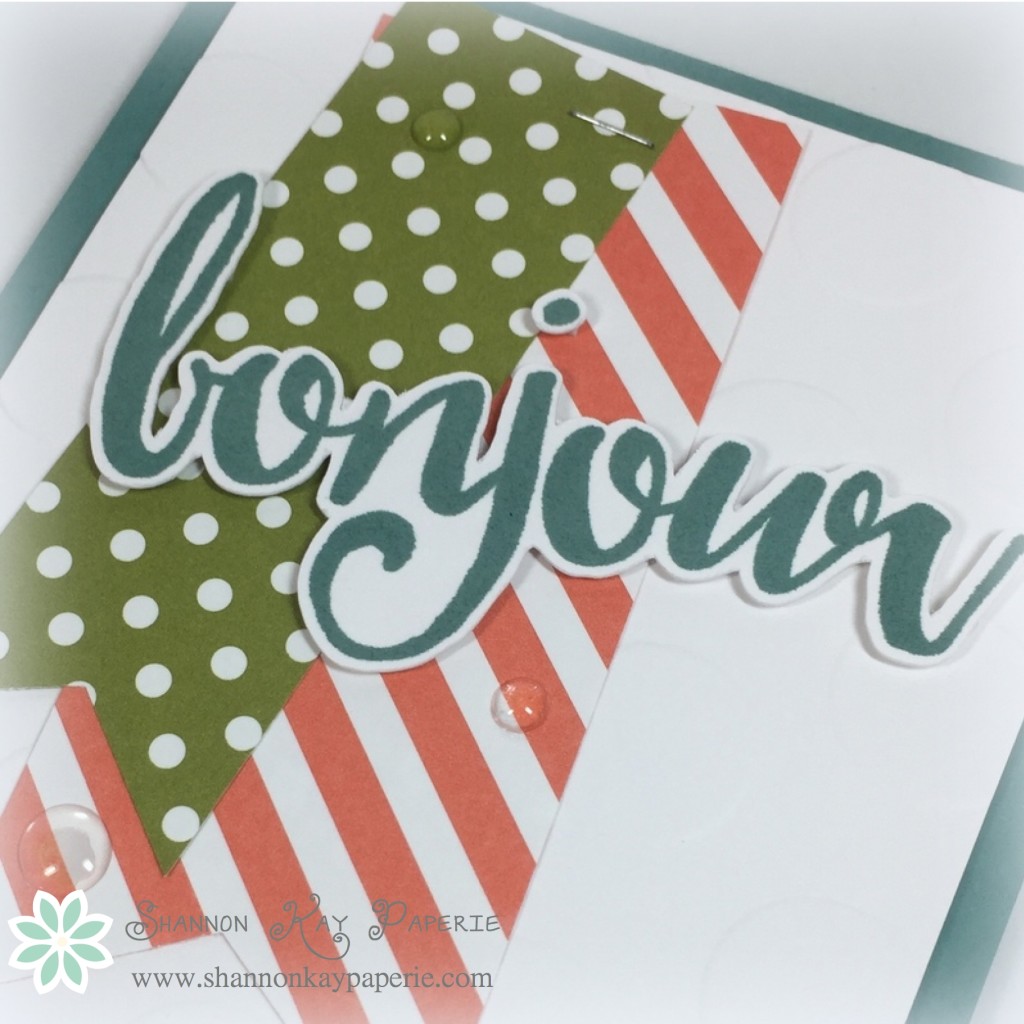
  • I stamped my image in Lost Lagoon ink and ran the inked cardstock through my ScanNCut and had this adorable die cut in the blink of an eye! I popped it up with Stampin’ Dimensionals for more dimension (obviously, hahaha)
  • White Perfect Accents scattered randomly on the card front are the perfect accessory for this clean and simple card. Are you saying “Whatttttt?” right about now? And you’re thinking “Shannon, you totally blew it because those accents aren’t white!” And you would be right!
    • Hint: The White Perfect Accents are only white because of a white sticker covering their base…a little effort will allow you to peel the white sticker off, leaving a clear gem behind! These are easily adhered with the Fine Tip Glue Pen as it will dry clear. Voila!
  • The Whisper White layer was also popped up with Stampin’ Dimensionals…they are the perfect thickness!

Here are the inspiration banners for today’s project:


ssc120PPA-287-Feb11

I hope that my project has inspired you to join us in this challenge, for more inspiration please visit these lovely ladies:

Thank you for visiting today!

Products Used:


Birthday Bits – Sunday Stamps 115

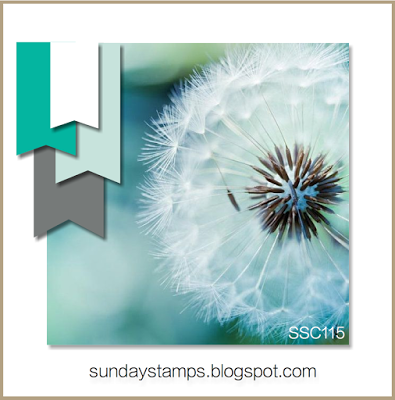
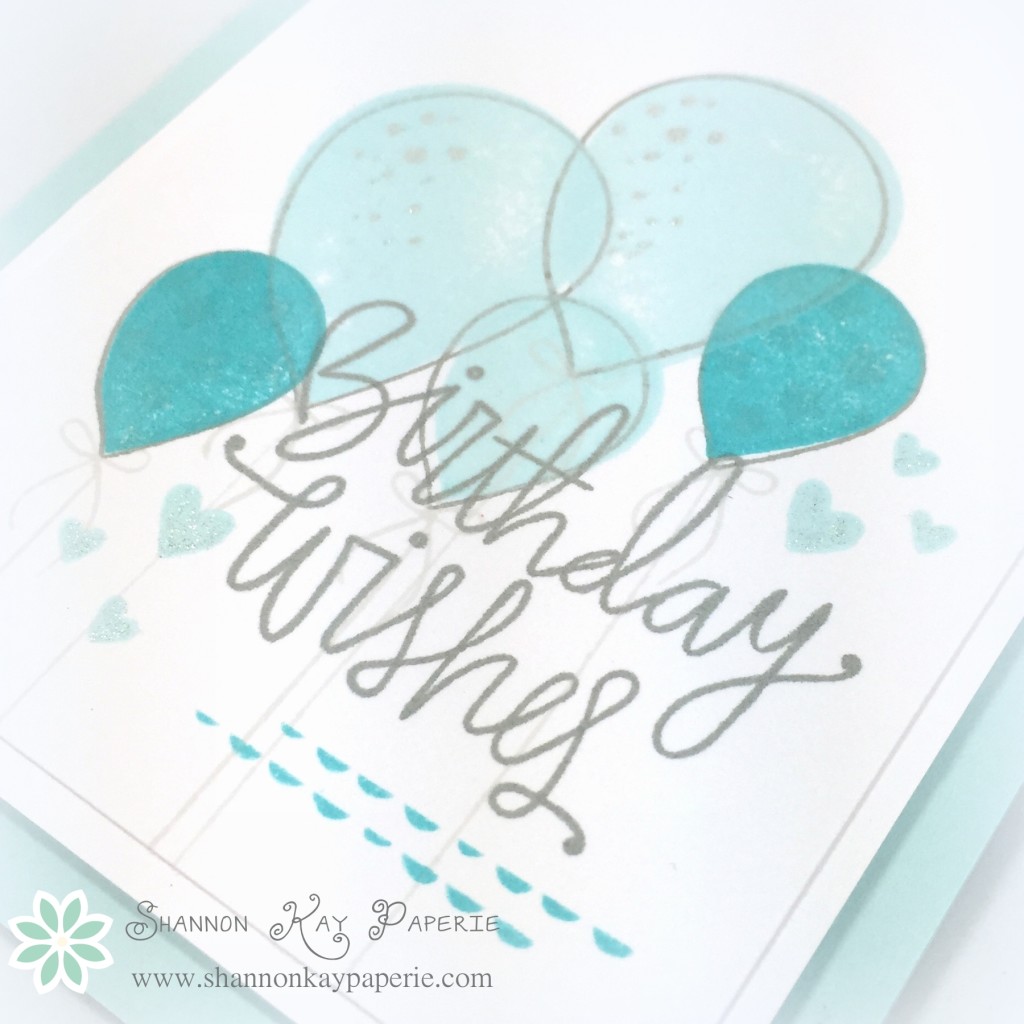
Happy Sunday to my stamping friends! Today we have another new challenge for you from Sunday Stamps and it’s a color challenge!

SS115-12_06_15Aren’t the colors divine?? I could have gone the direction of snowflakes and snowdrifts, but I needed a birthday card, so I went there instead 🙂

Birthday Bits - Sunday Stamps 115

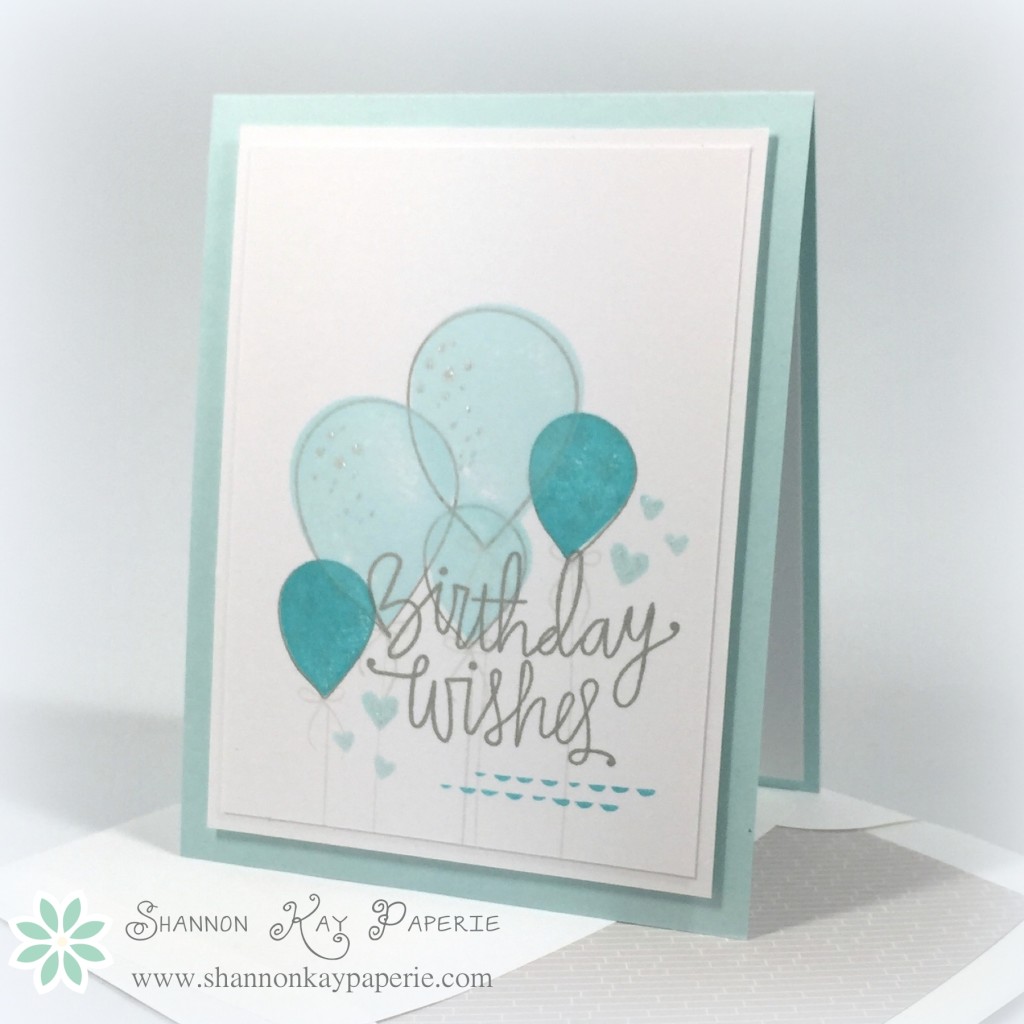
I really love this light blue color, it’s Sea Glass by Simon Says Stamp. What do you think? And the brighter blue is Audrey Blue, also by Simon Says Stamp. These colors bring to mind a Tiffany box, which would be a great birthday present!

Birthday Bits - Sunday Stamps 115

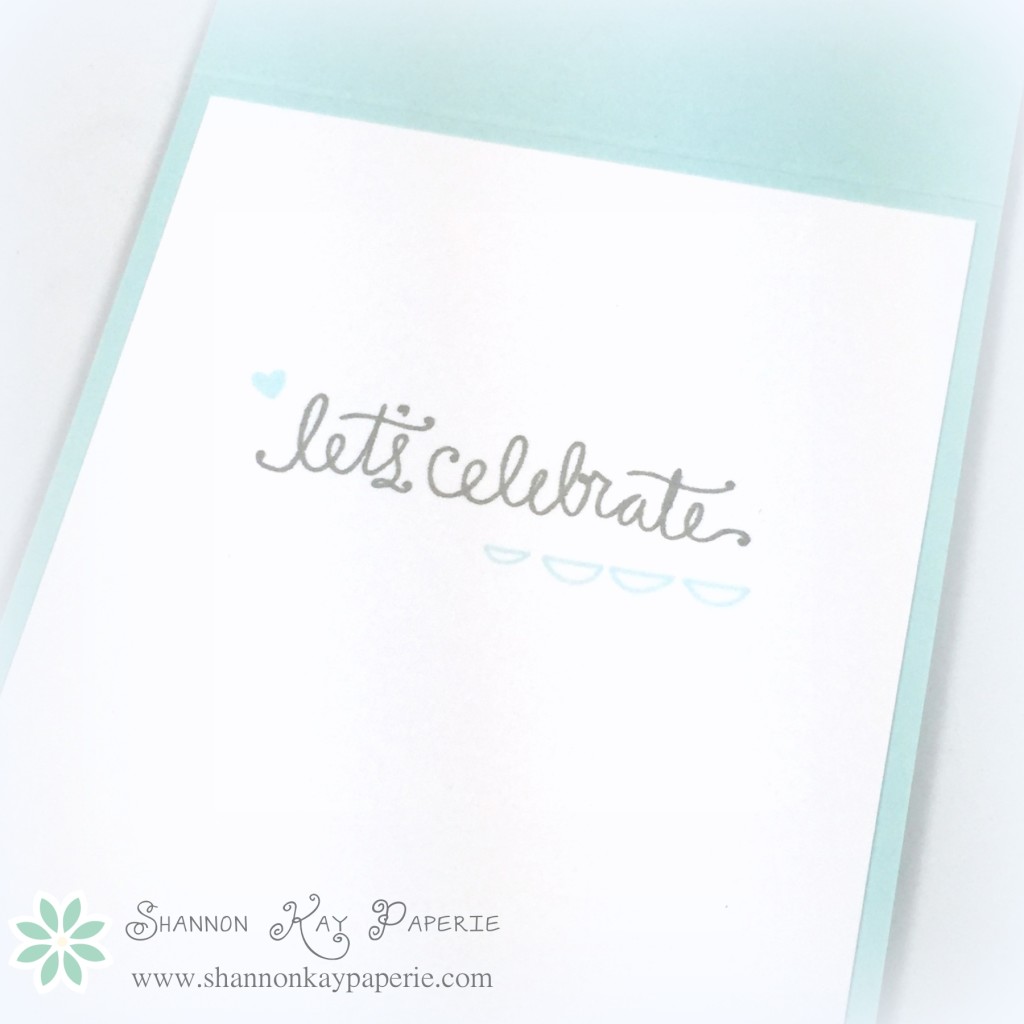
I used quite a few of the stamps from Birthday Bits by Simon Says Stamp in a fairly loose design, I just added little bits as I went along. I added Wink of Stella to the hearts and the dots on the balloons. Hard to capture on camera but yummy in person!!

Birthday Bits - Sunday Stamps 115

More adorable images from this stamp set…I love the variety and the whimsy of the stamps!

For more inspiration please visit these lovely ladies:

Thank you for visiting today!

Products Used:

Cardstock: Stamper’s Select White by Papertrey Ink; Sea Glass by Simon Says Stamp

Pattern Paper: Date Night by Chicaniddy

Ink: Audrey Blue, Fog, Sea Glass and Smoke by Simon Says Stamp

Stamps:  Birthday Bits by Simon Says Stamp

Dies: None

Tools:  MISTI

Embellishments: Wink of Stella

Sweet Butterfly Birthday – Sunday Stamps 114

It’s Sunday and time for another great challenge from Sunday Stamps! This is an simple layout but feel free to make it as simple as possible or load it up with lots of creativity!

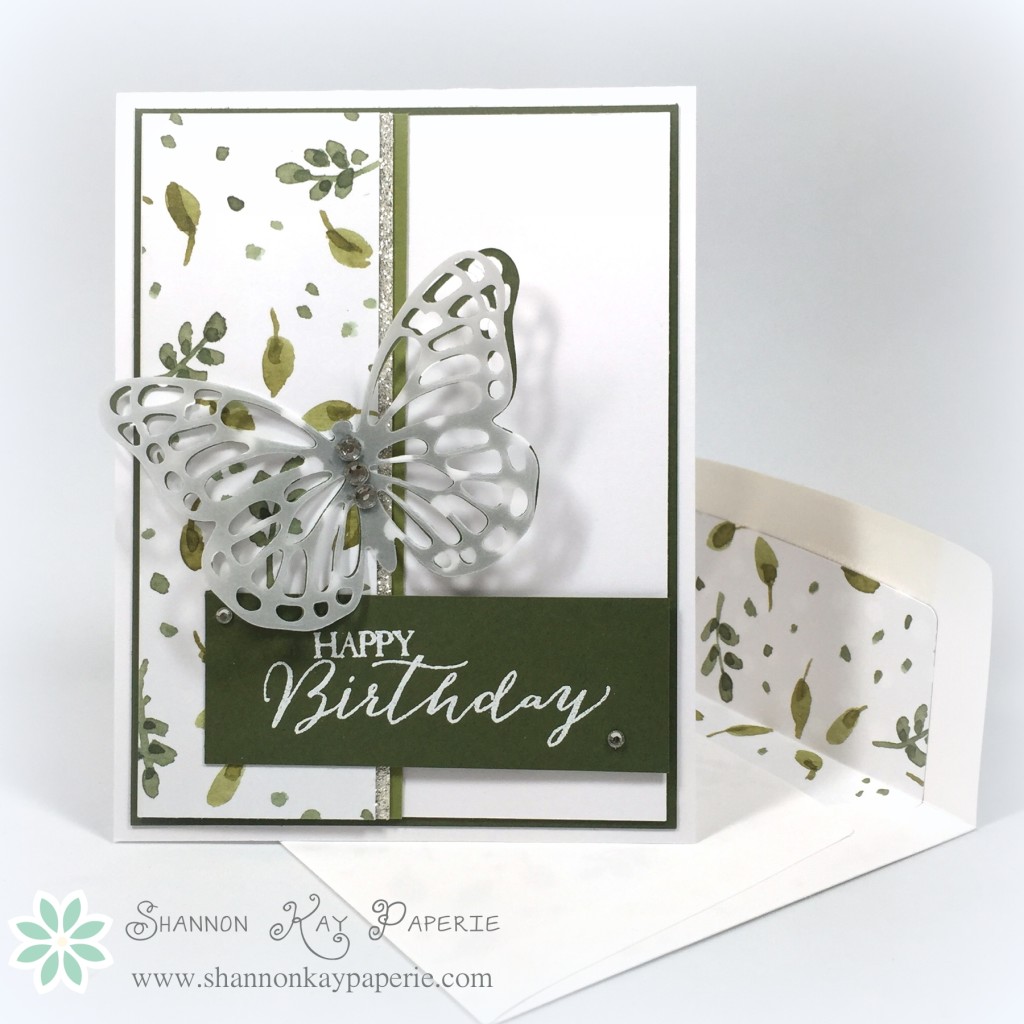
SS114-11_15_15I kept my card simple but had to add a bit of the sparkly stuff 🙂

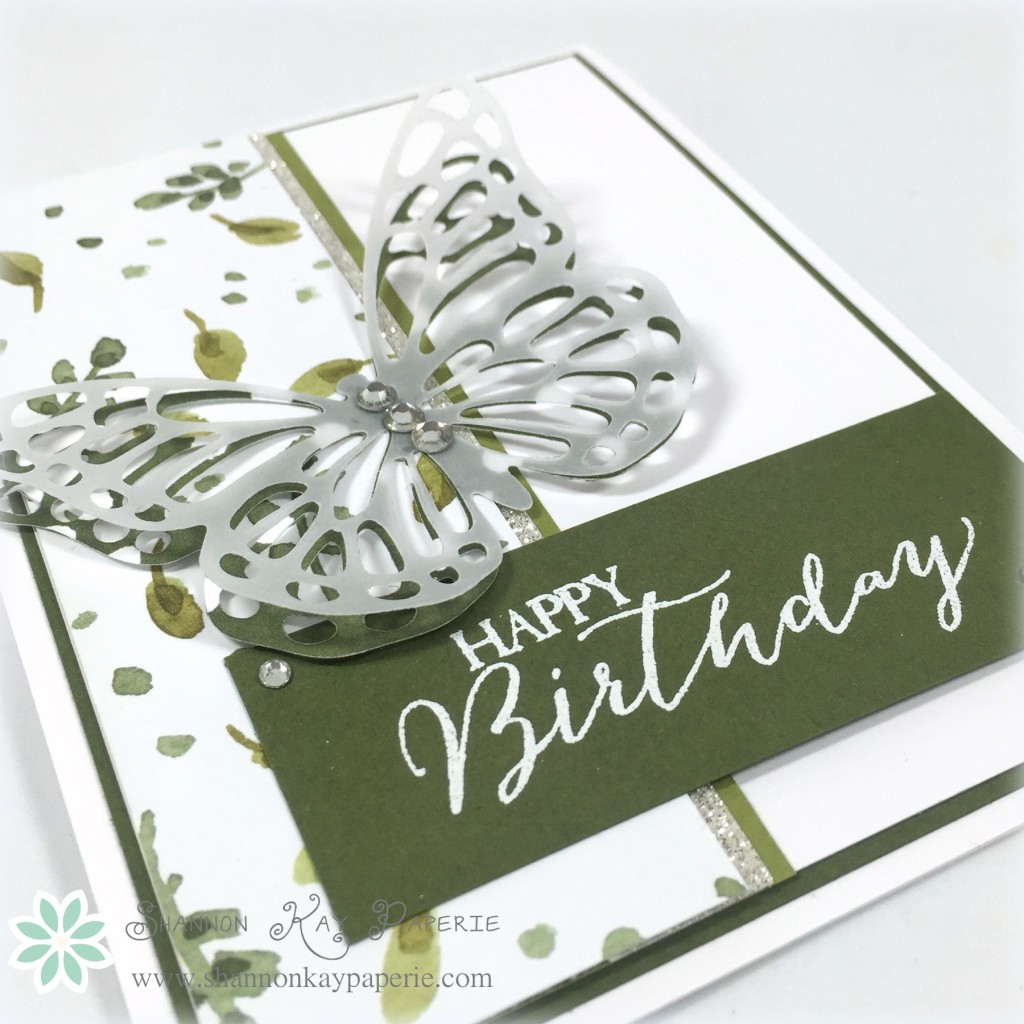
Sweet Butterfly Birthday - Sunday Stamps 114I also change the orientation of the layout to suit my ideas. You know, in looking at my card again, I am reflecting back on how much I DID NOT care for Mossy Meadow when it was introduced as one of Stampin’ Up!’s In-Colors for 2014-15. I just pushed it aside and then this fall I finally realized what an awesome color it is! It’s become my go-to green and I’m dreading it’s retirement next summer…please say it ain’t so…

I digress. On today’s card I used the English Garden DSP pattern as my inspiration to pair Mossy Meadow and Old Olive together. Just beautiful!!

Sweet Butterfly Birthday - Sunday Stamps 114I heat embossed the sentiment in white on the dark cardstock which is something I do rarely but I really love the look! I used the reverse pattern of the lovely green leaves for the butterfly diecut…the darker tones really make it pop. I used added another butterfly on top, this time in vellum and added rhinestones, which look awesome and cover up the adhesive…a win-win!!

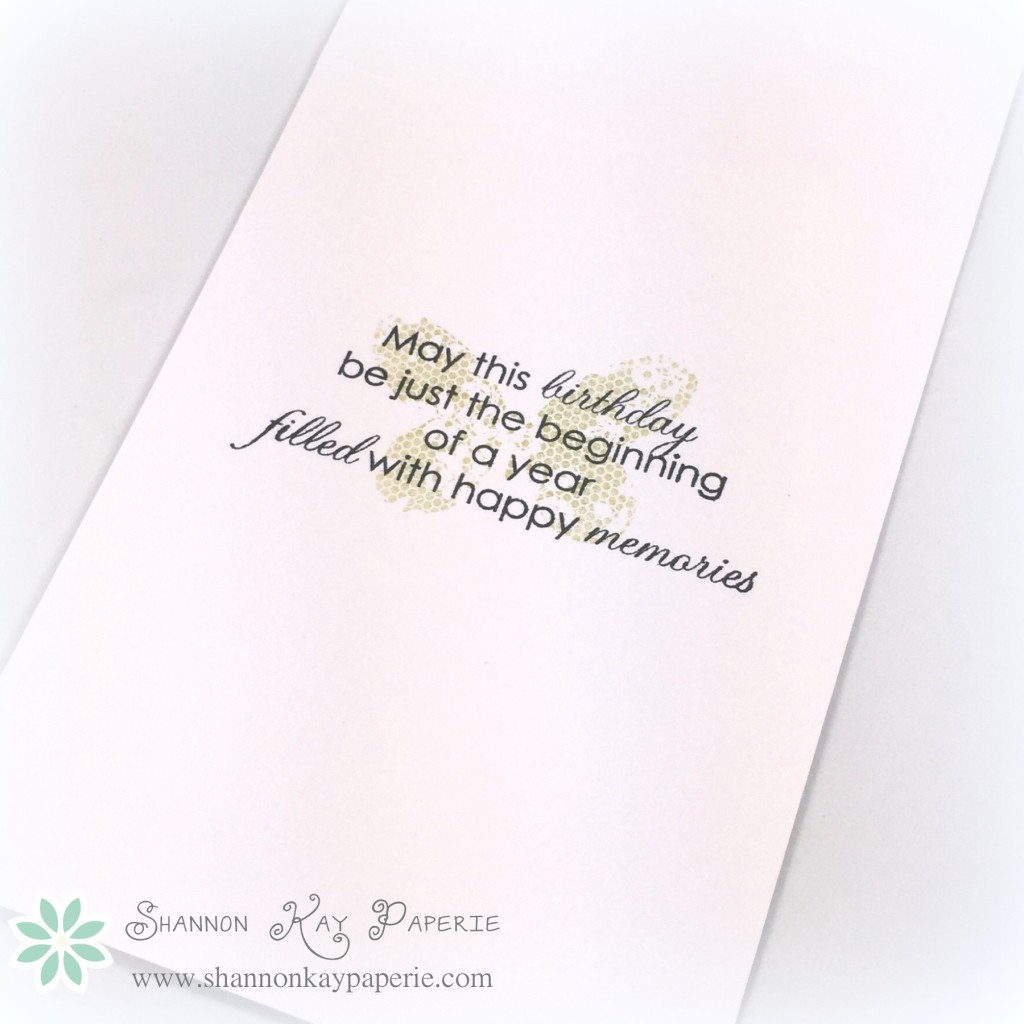
Sweet Butterfly Birthday - Sunday Stamps 114And the inside…I really loving the stamped image underneath the sentiment!

I hope that my project has inspired you to join us in this challenge, for more inspiration please visit these lovely ladies:

Thank you for visiting today!

Products Used:

Cardstock: Thick Whisper White, Mossy Meadow and Old Olive by Stampin’ Up!

Pattern Paper: English Garden Designer Series Paper Pack by Stampin’ Up!

Specialty Paper: Dazzling Diamonds Glimmer Paper & White Vellum Cardstock by Stampin’ Up!

Ink: Versamark and Old Olive by Stampin’ Up!

Stamps:  Butterfly Basics by Stampin’ Up!; Inside & Out: Birthday Greetings by Papertrey Ink

Dies: Butterflies Thinlits Dies by Stampin’ Up!

Tools:  MISTI; Embossing Buddy; White Embossing Powder; Heat Tool

Embellishments: Rhinestone Basic Jewels by Stampin’ Up!