Joyful Season – The Paper Players & Sweet Sunday Sketch

Joyful Season - The Paper Players & Sweet Sunday Sketch
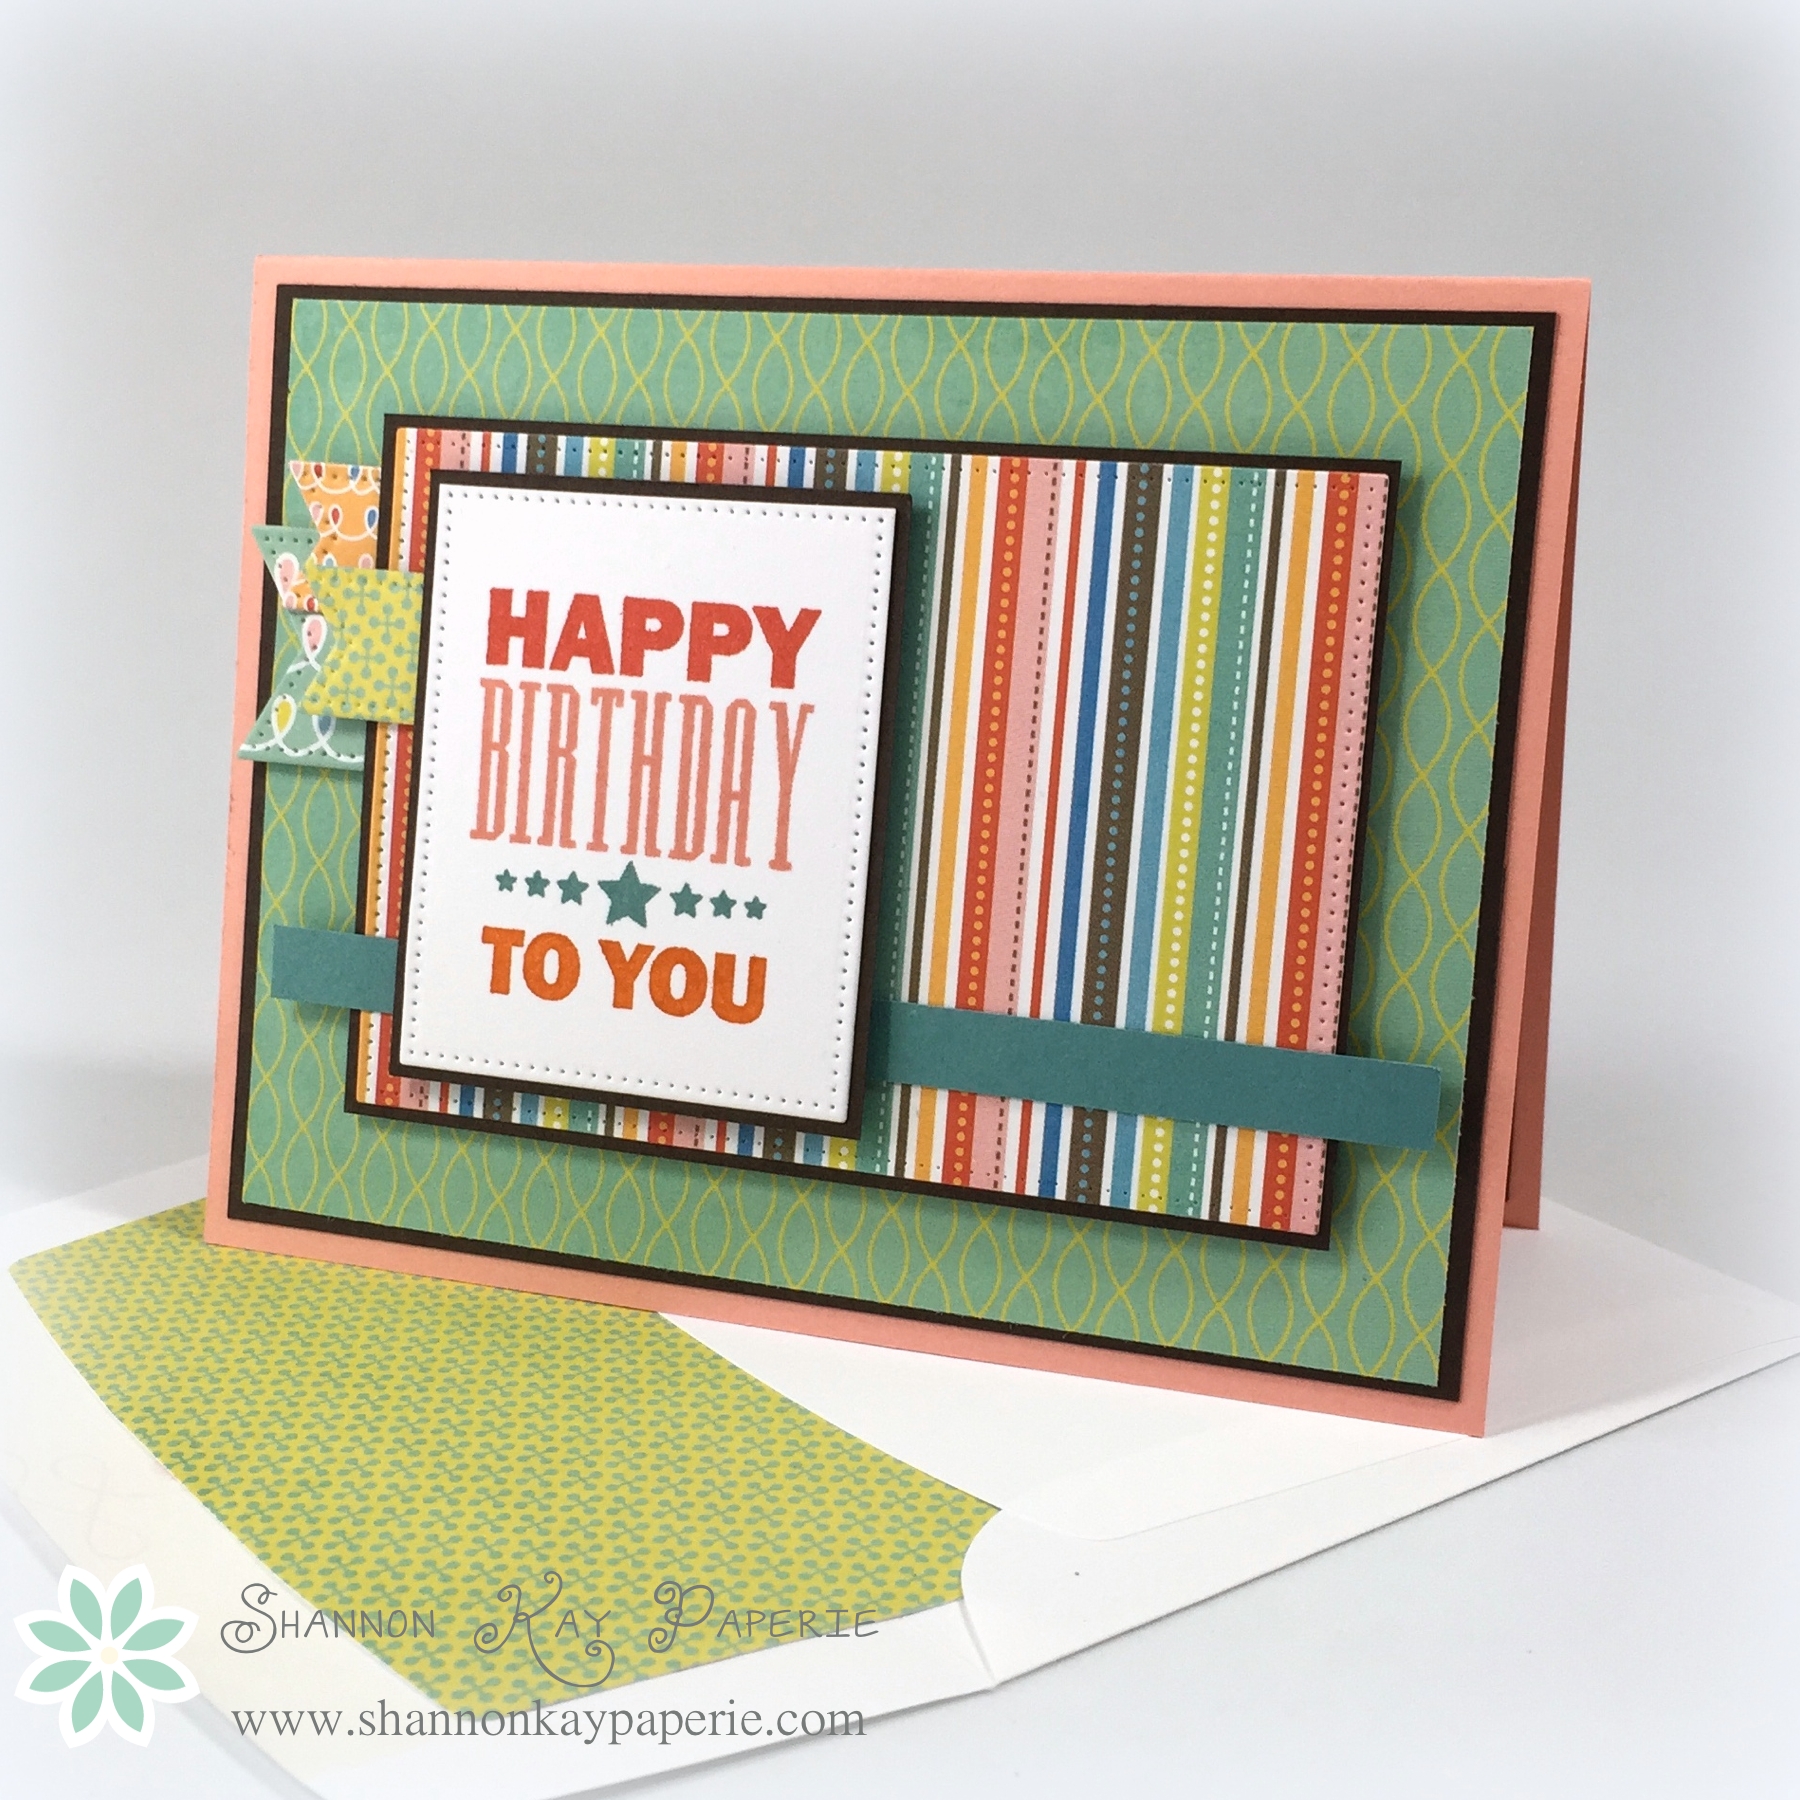
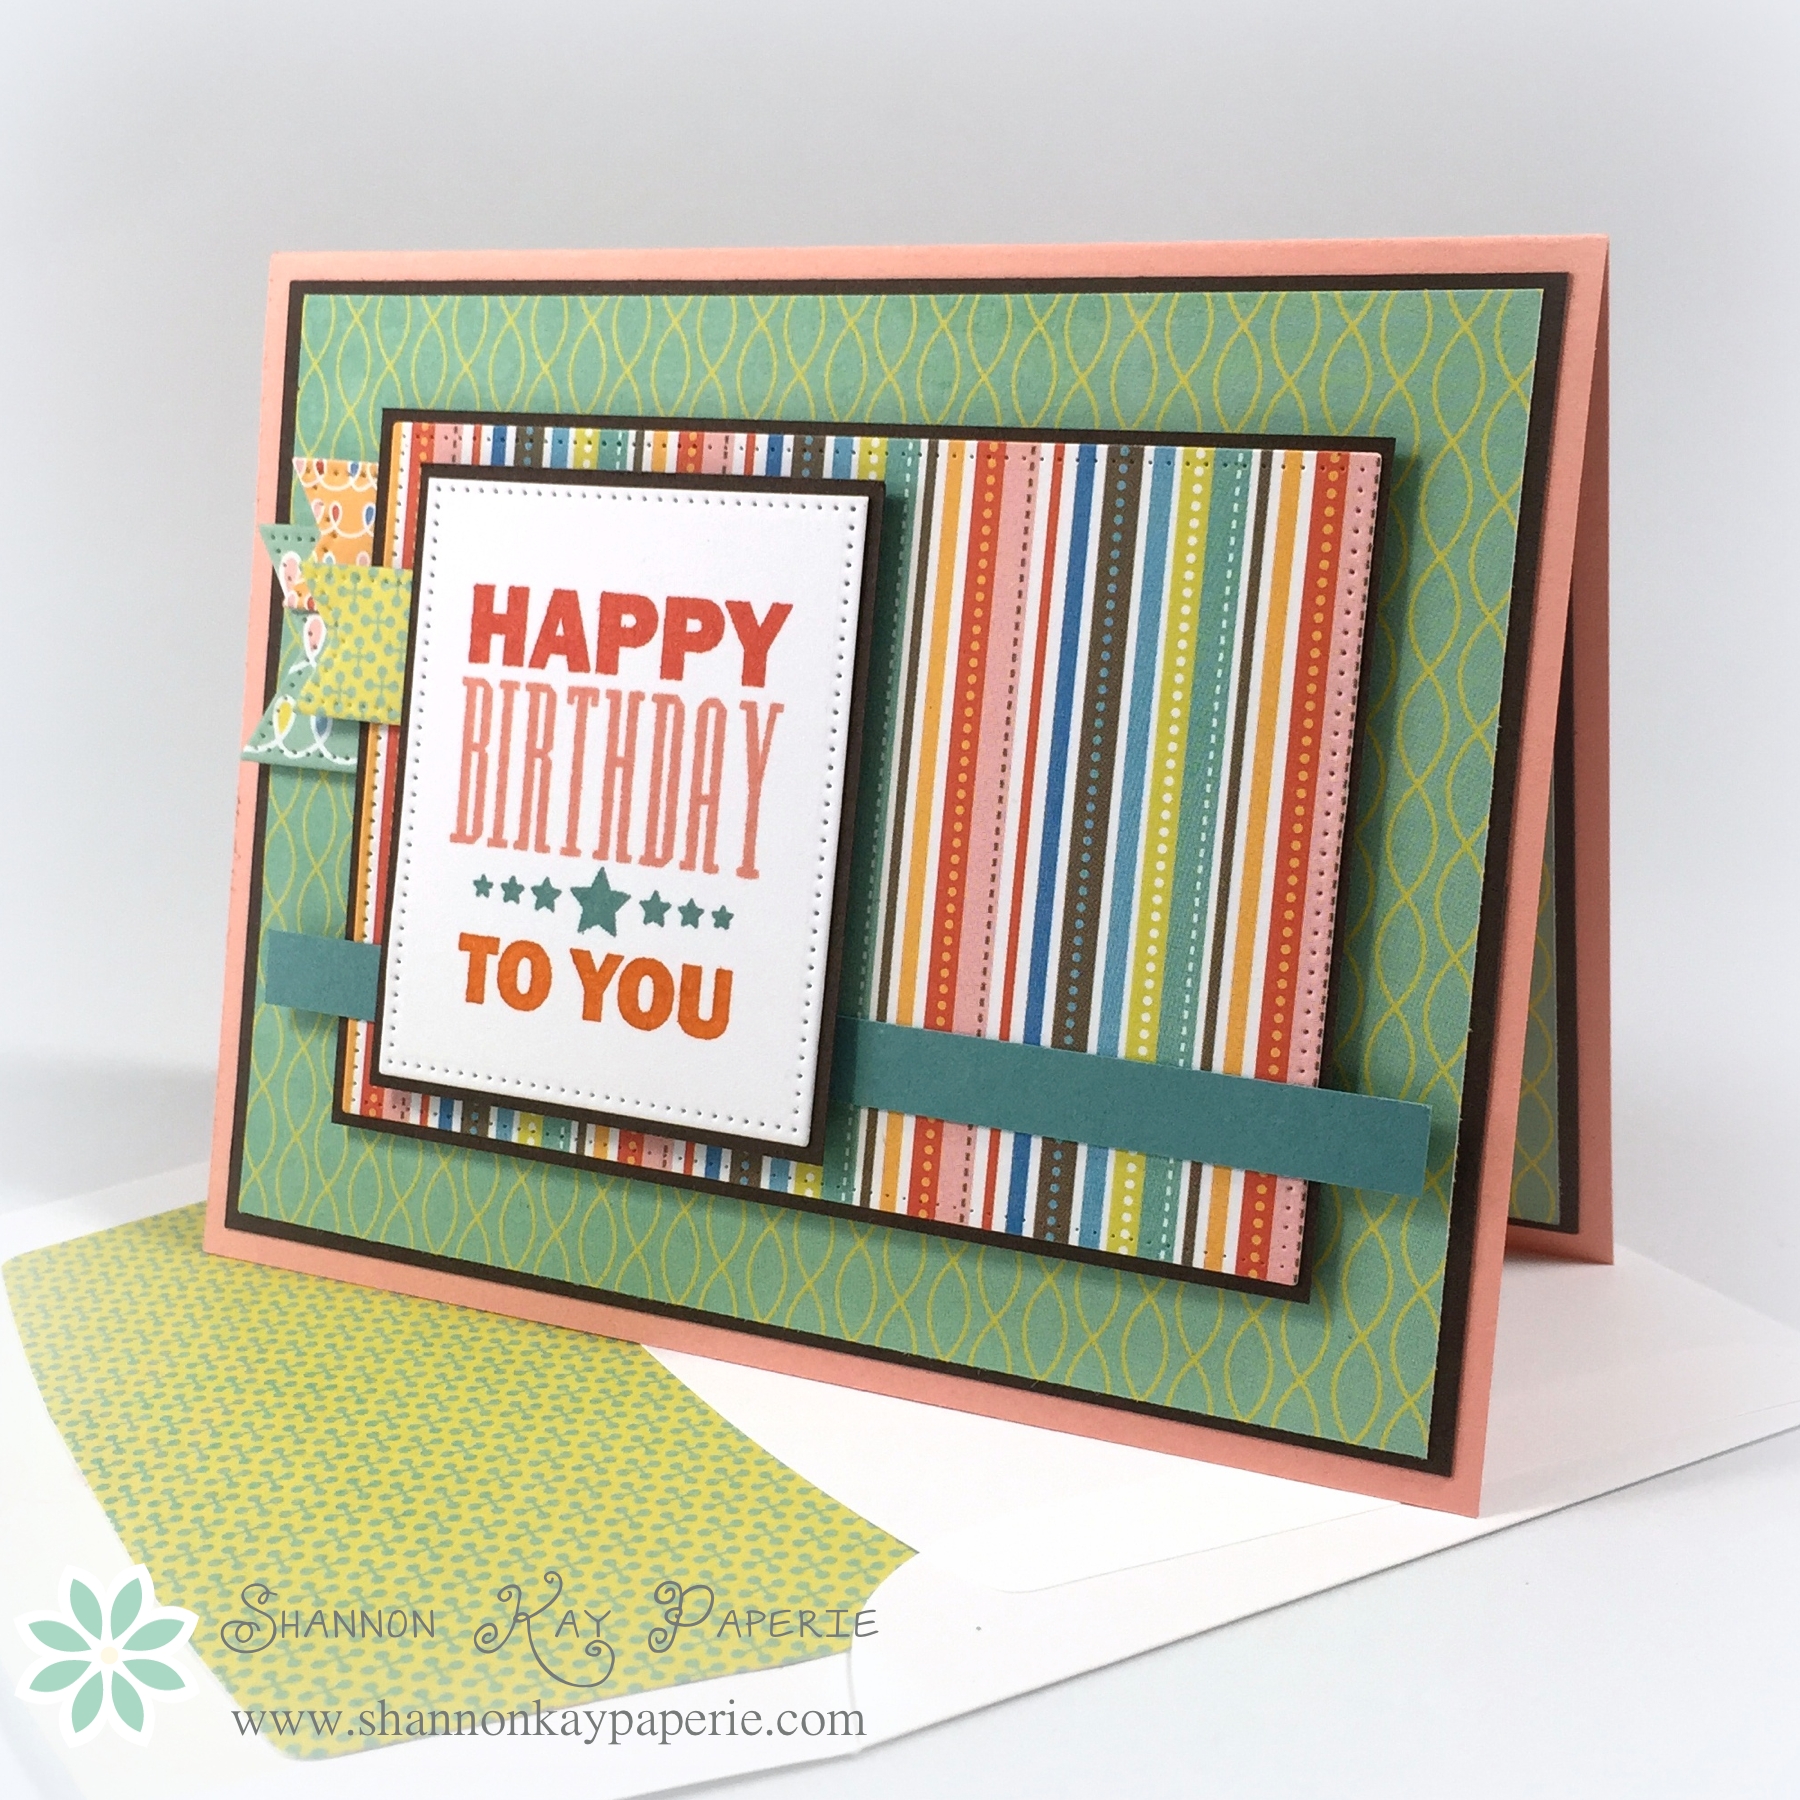
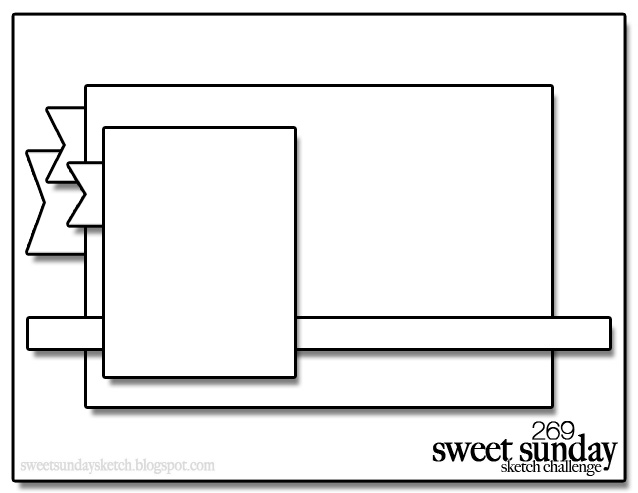
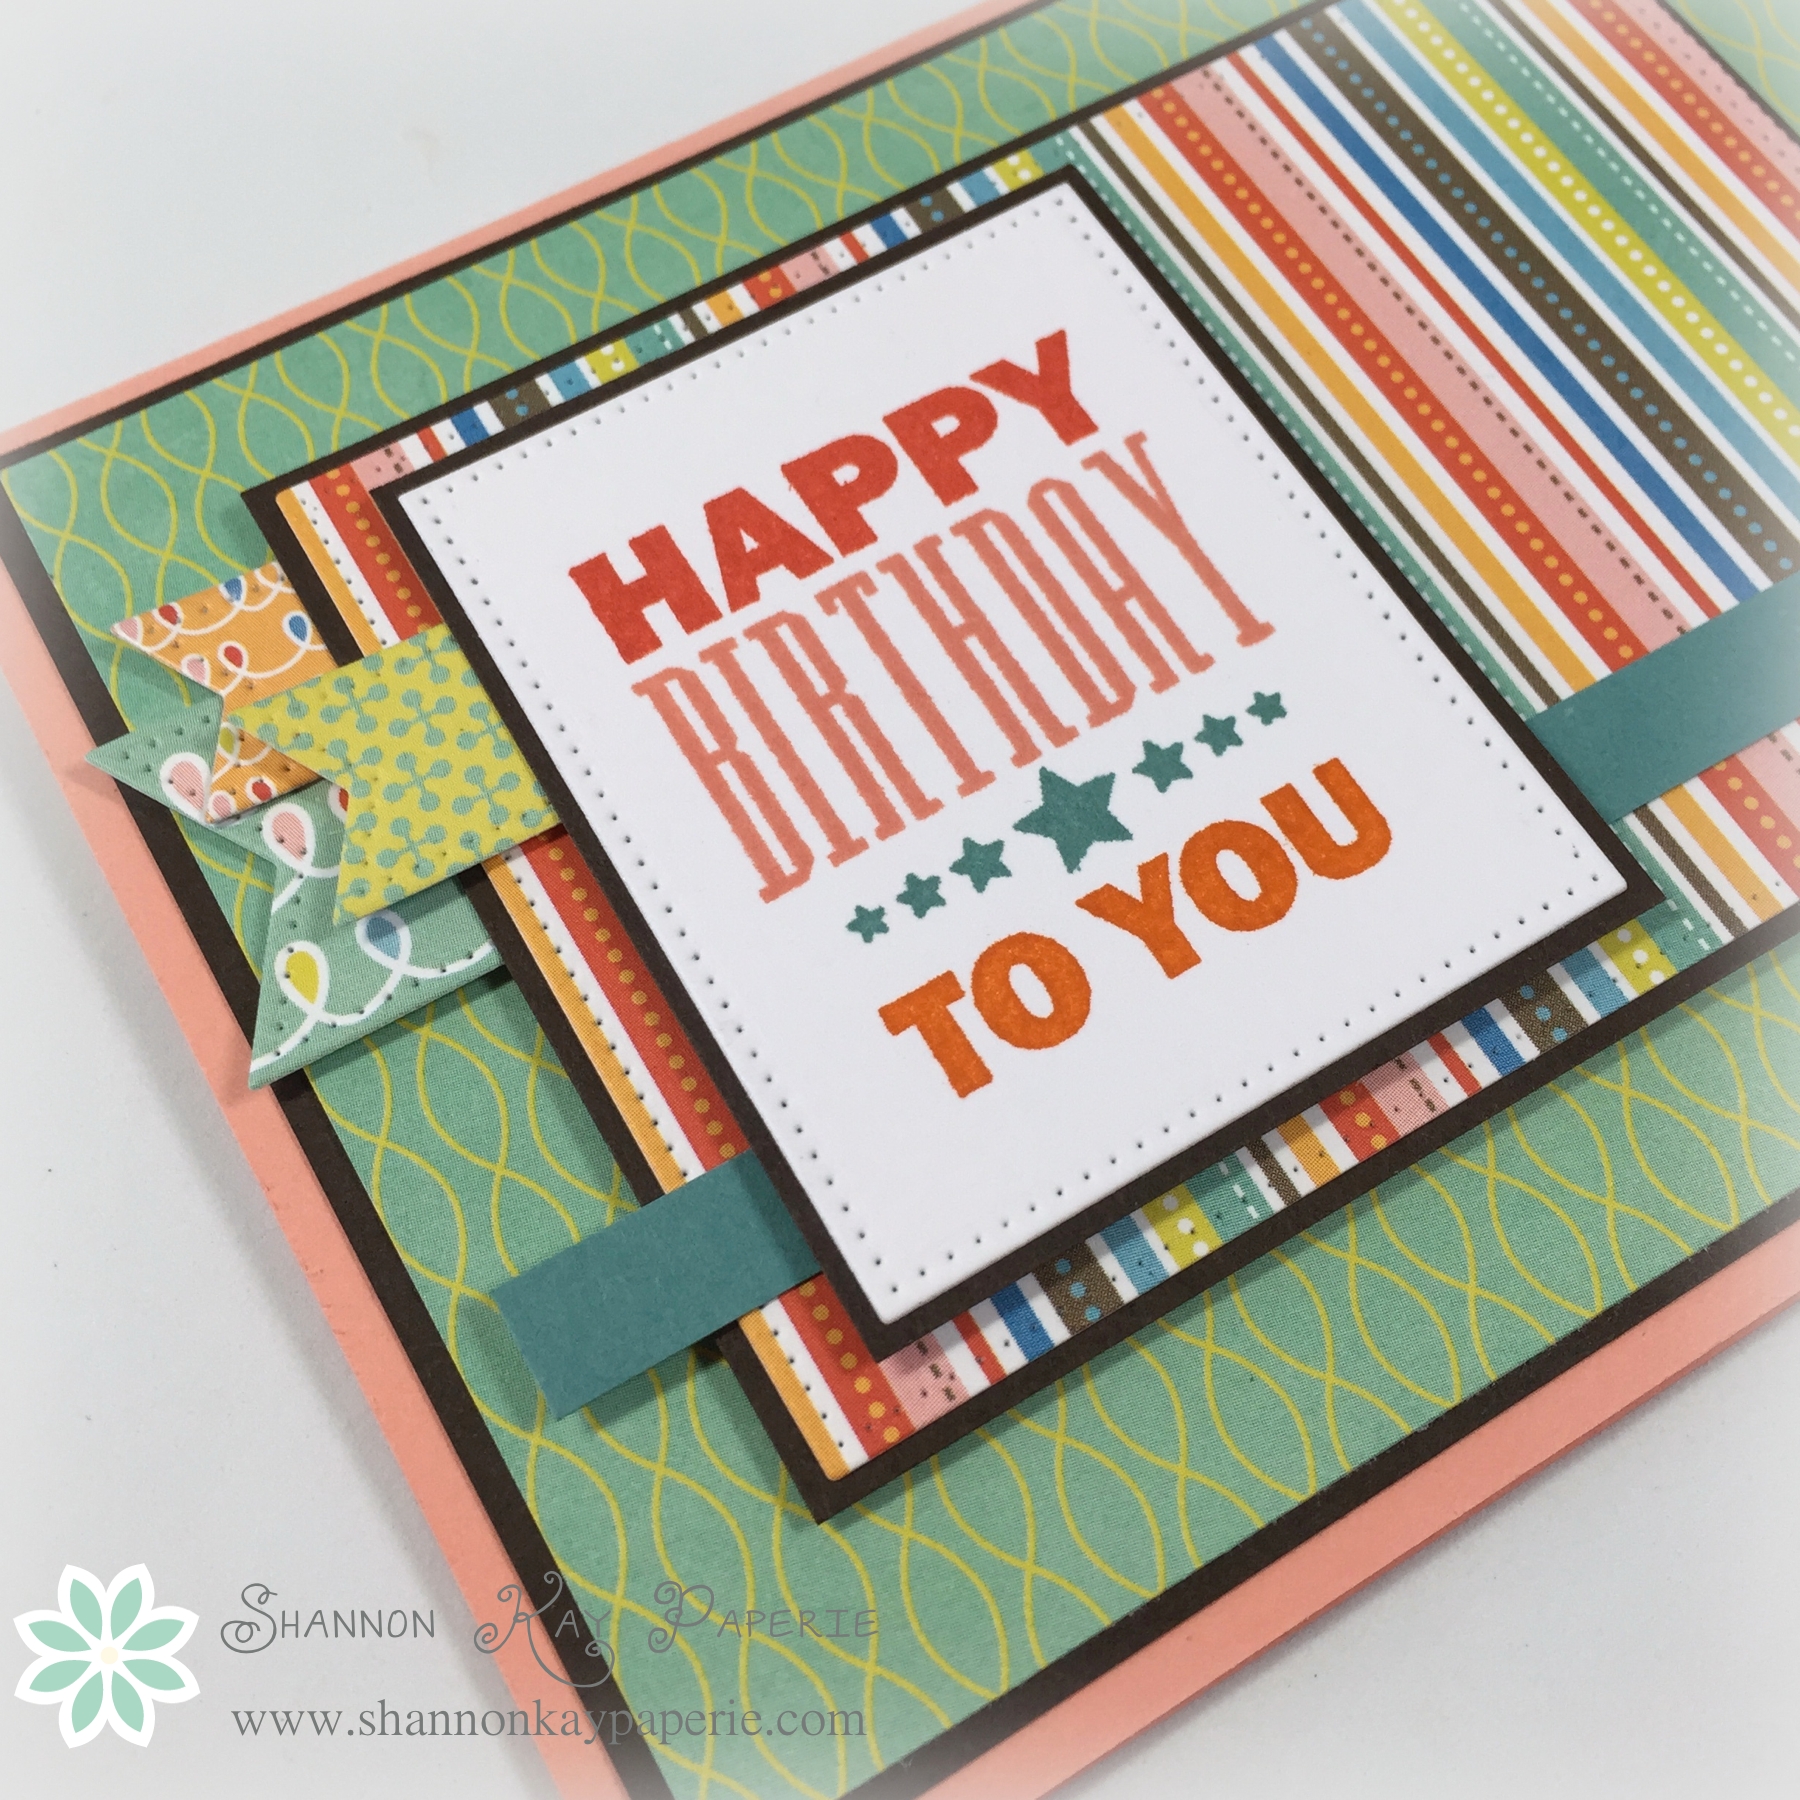
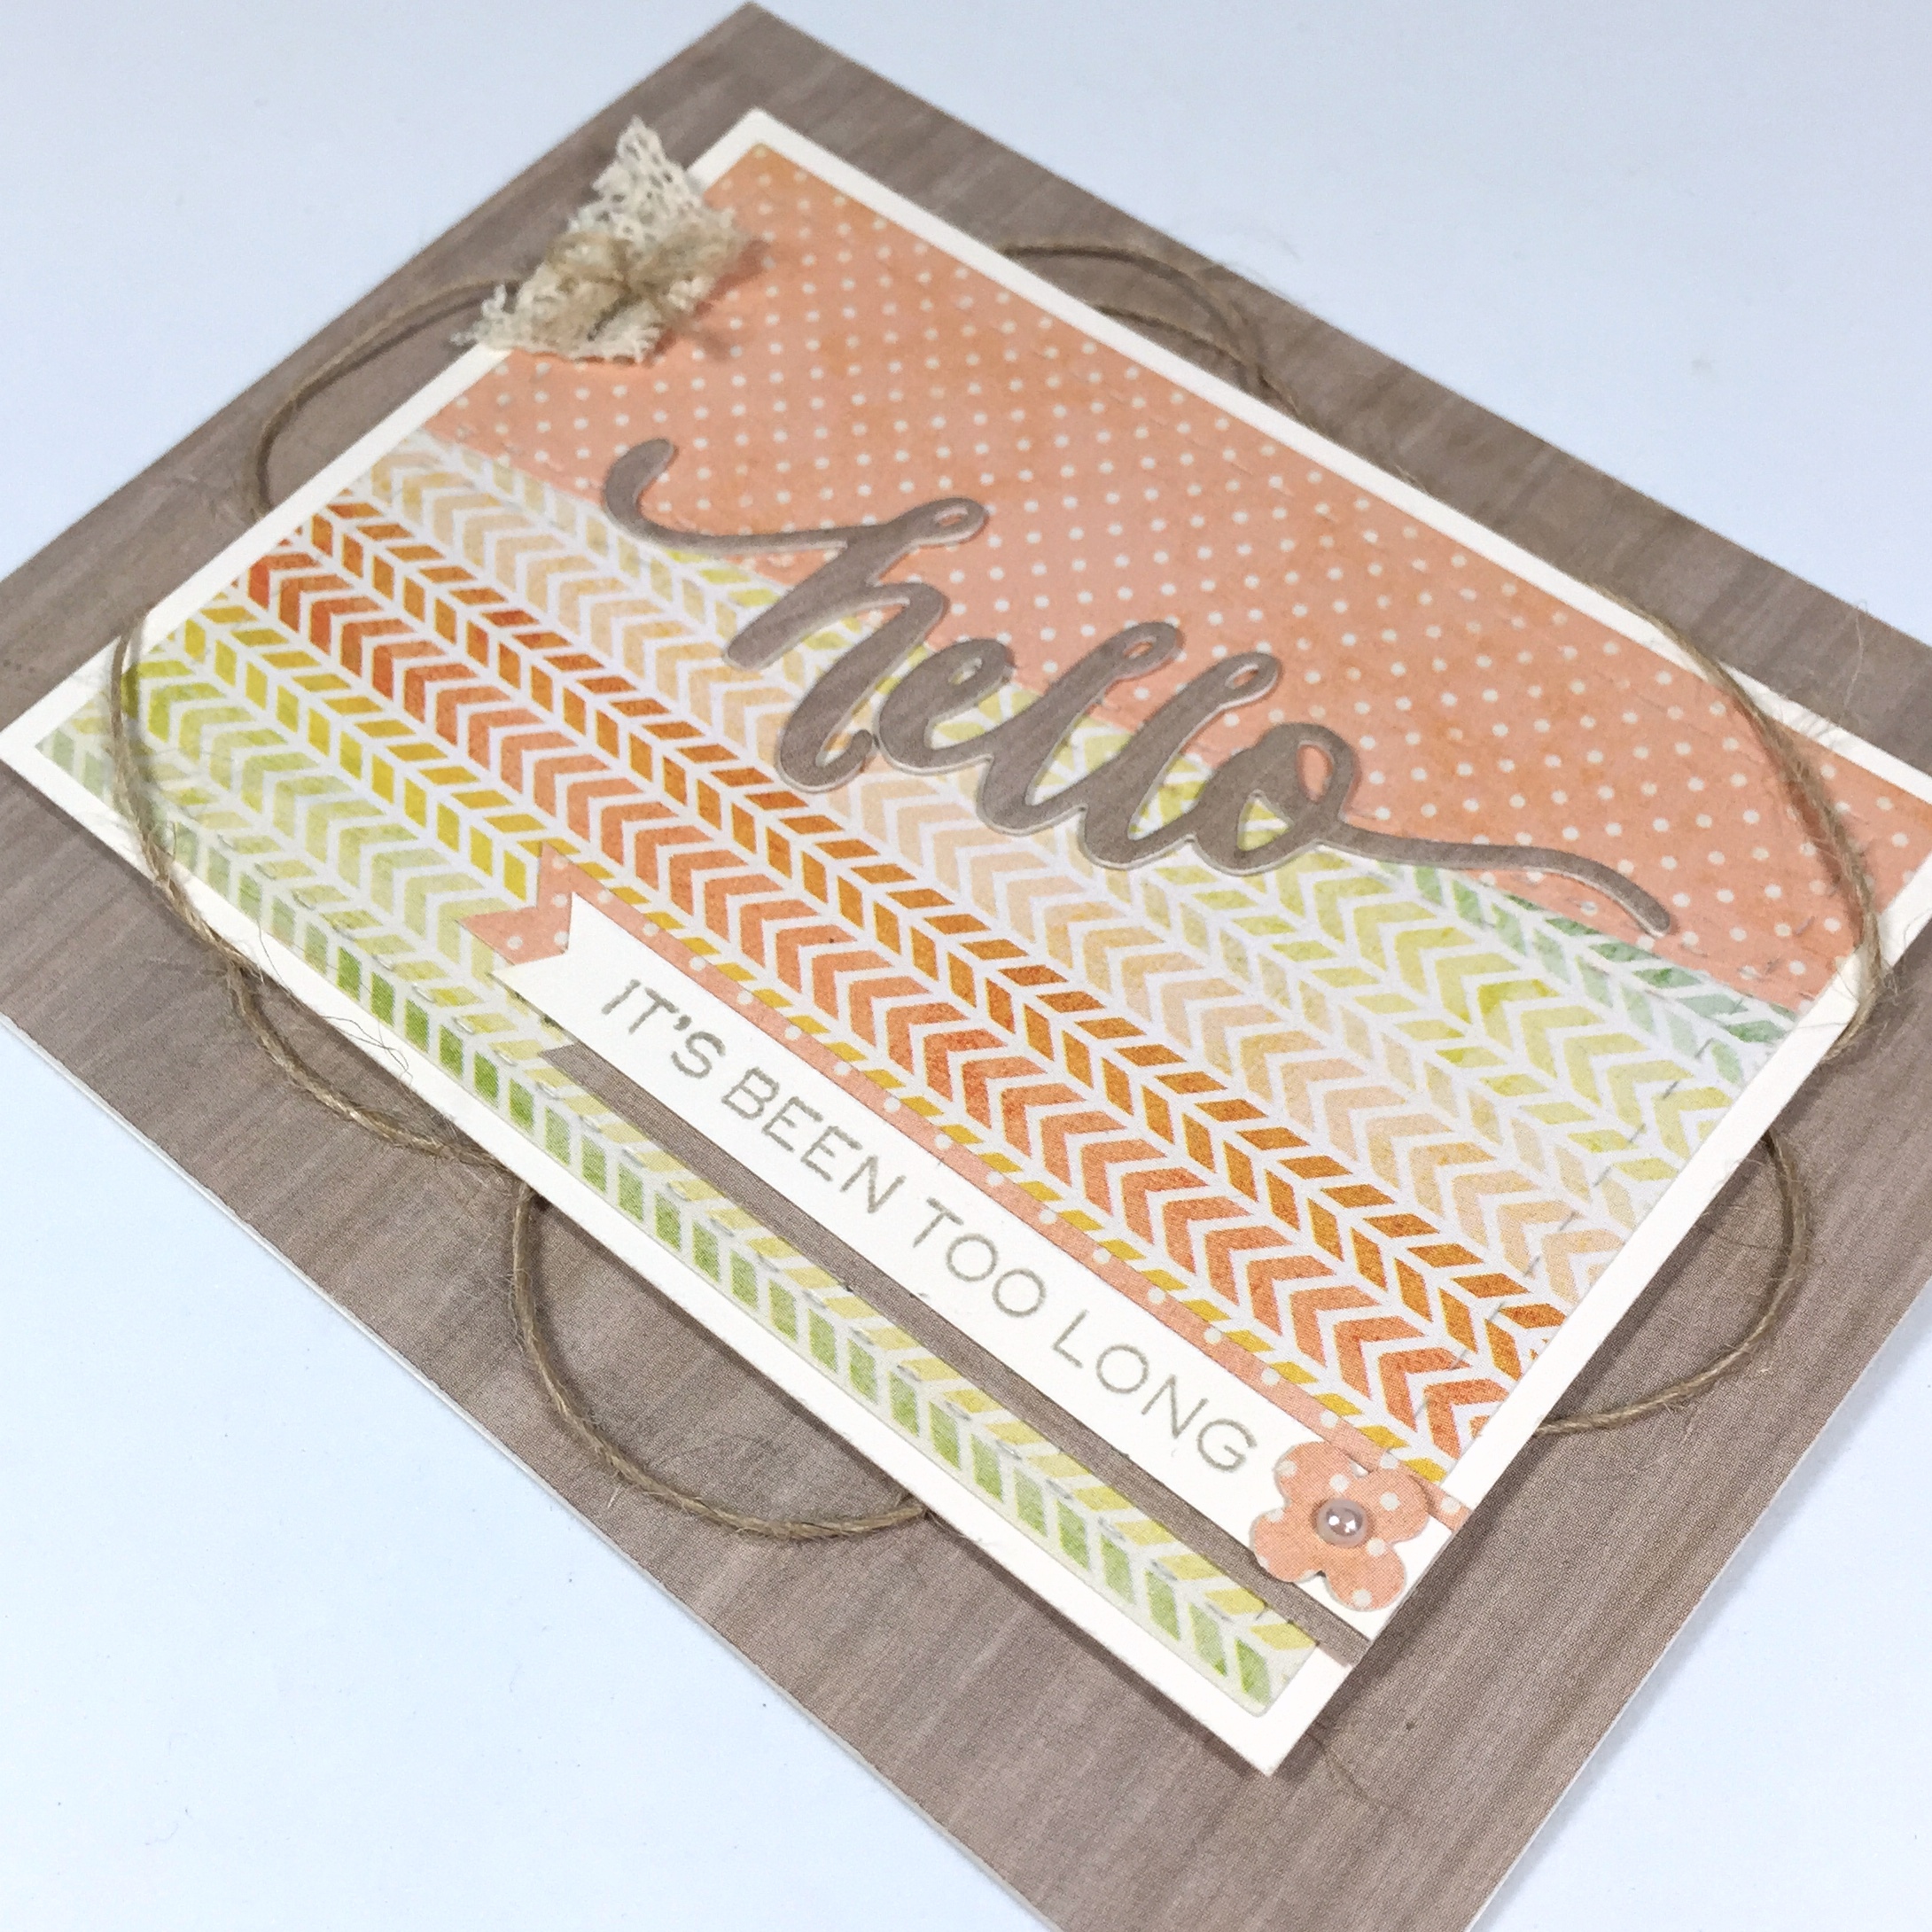
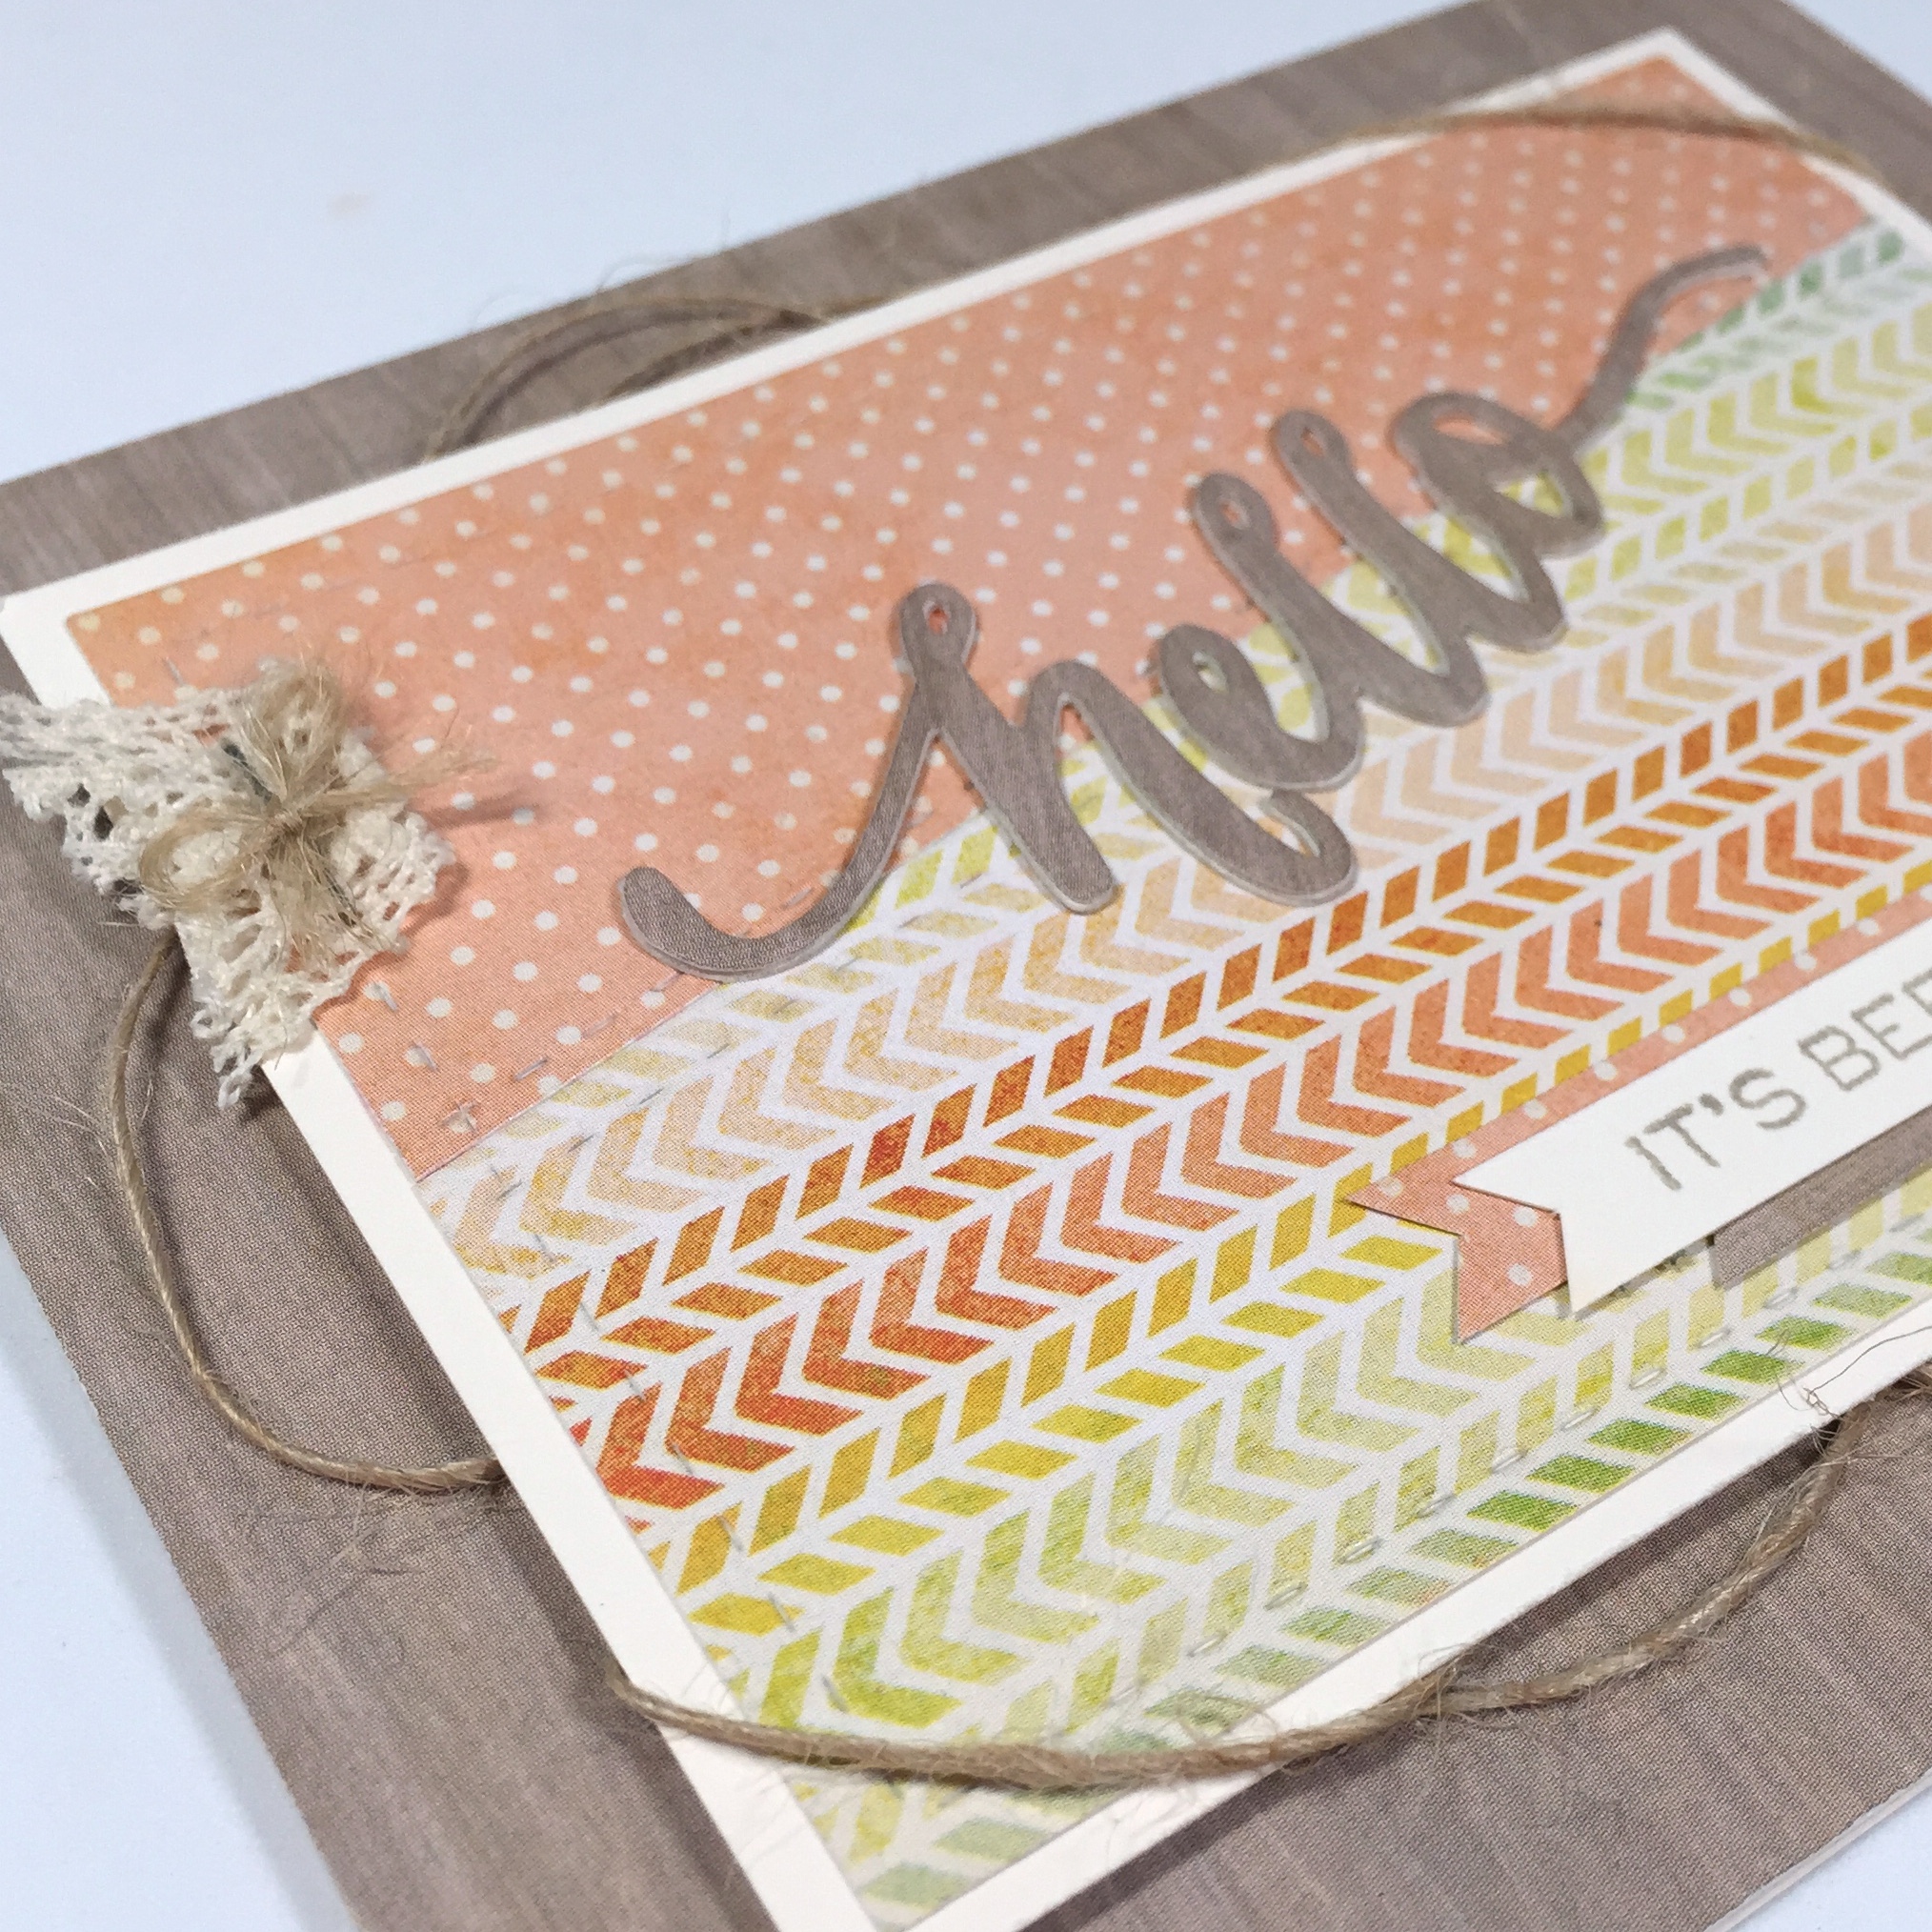
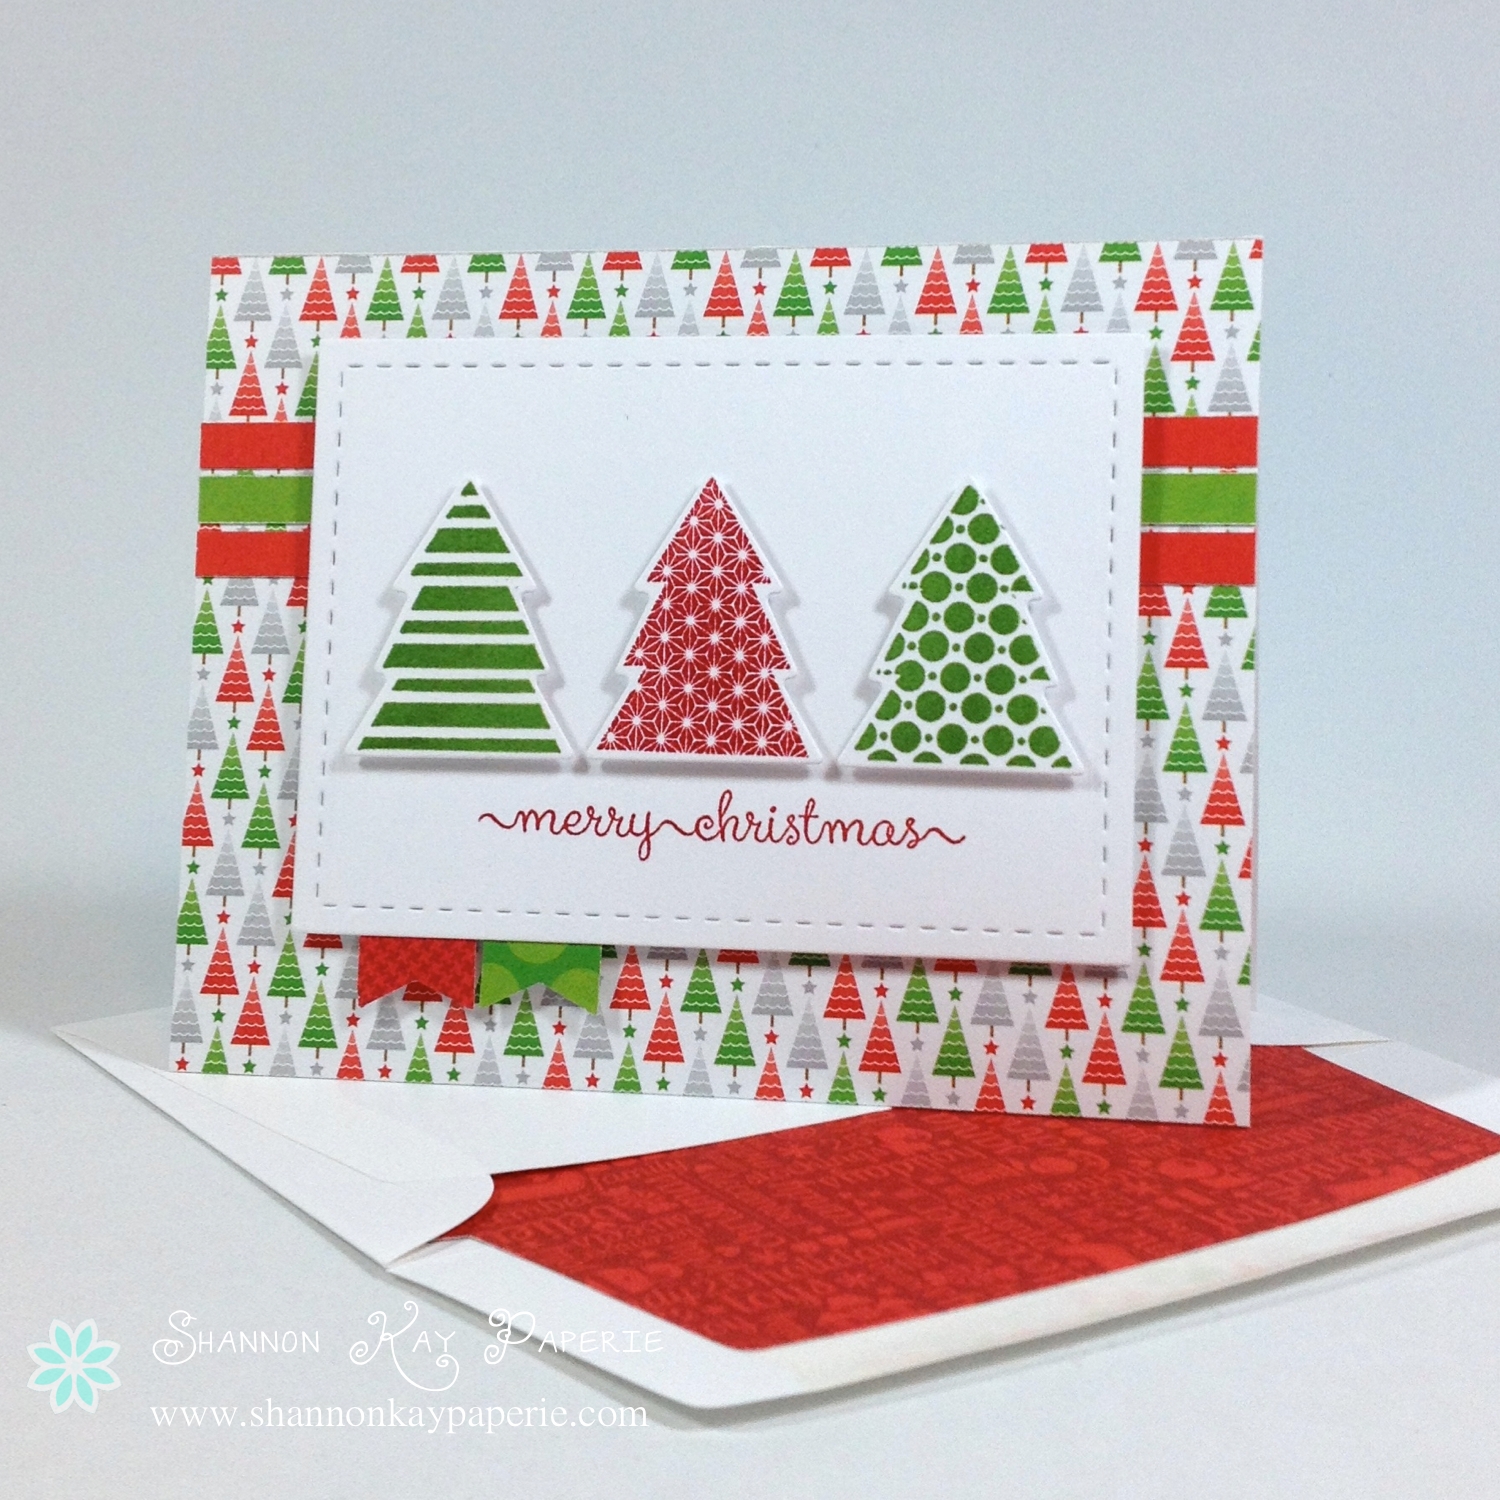
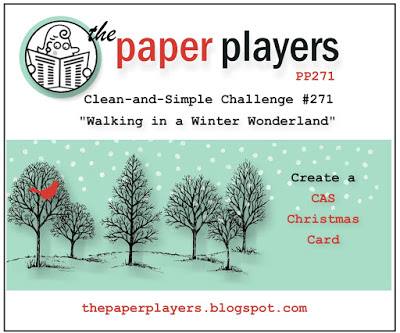
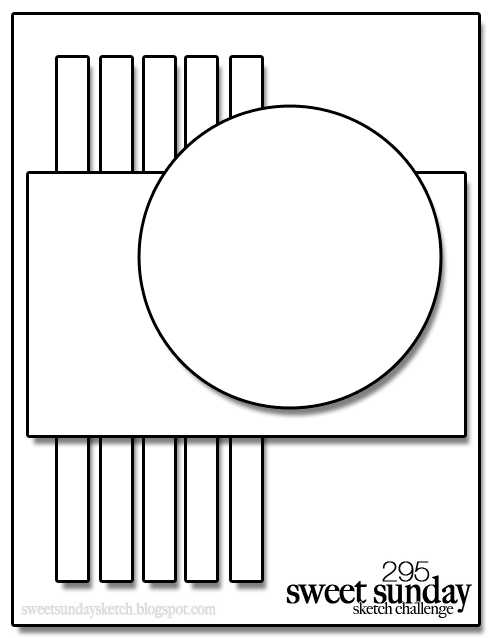
When I saw The Paper Players challenge this week, I knew I wanted to play along. I have been itching to ink this stamp set up and they gave me my motivation! A great sketch over at the Sweet Sunday Sketch Challenge gave me my layout and the colors over at Colour Me…! gave me my colors!! This card pretty much jumped into my head complete, I just need to fuss with the details (love when that happens!).

Joyful Season - The Paper Players & Sweet Sunday Sketch
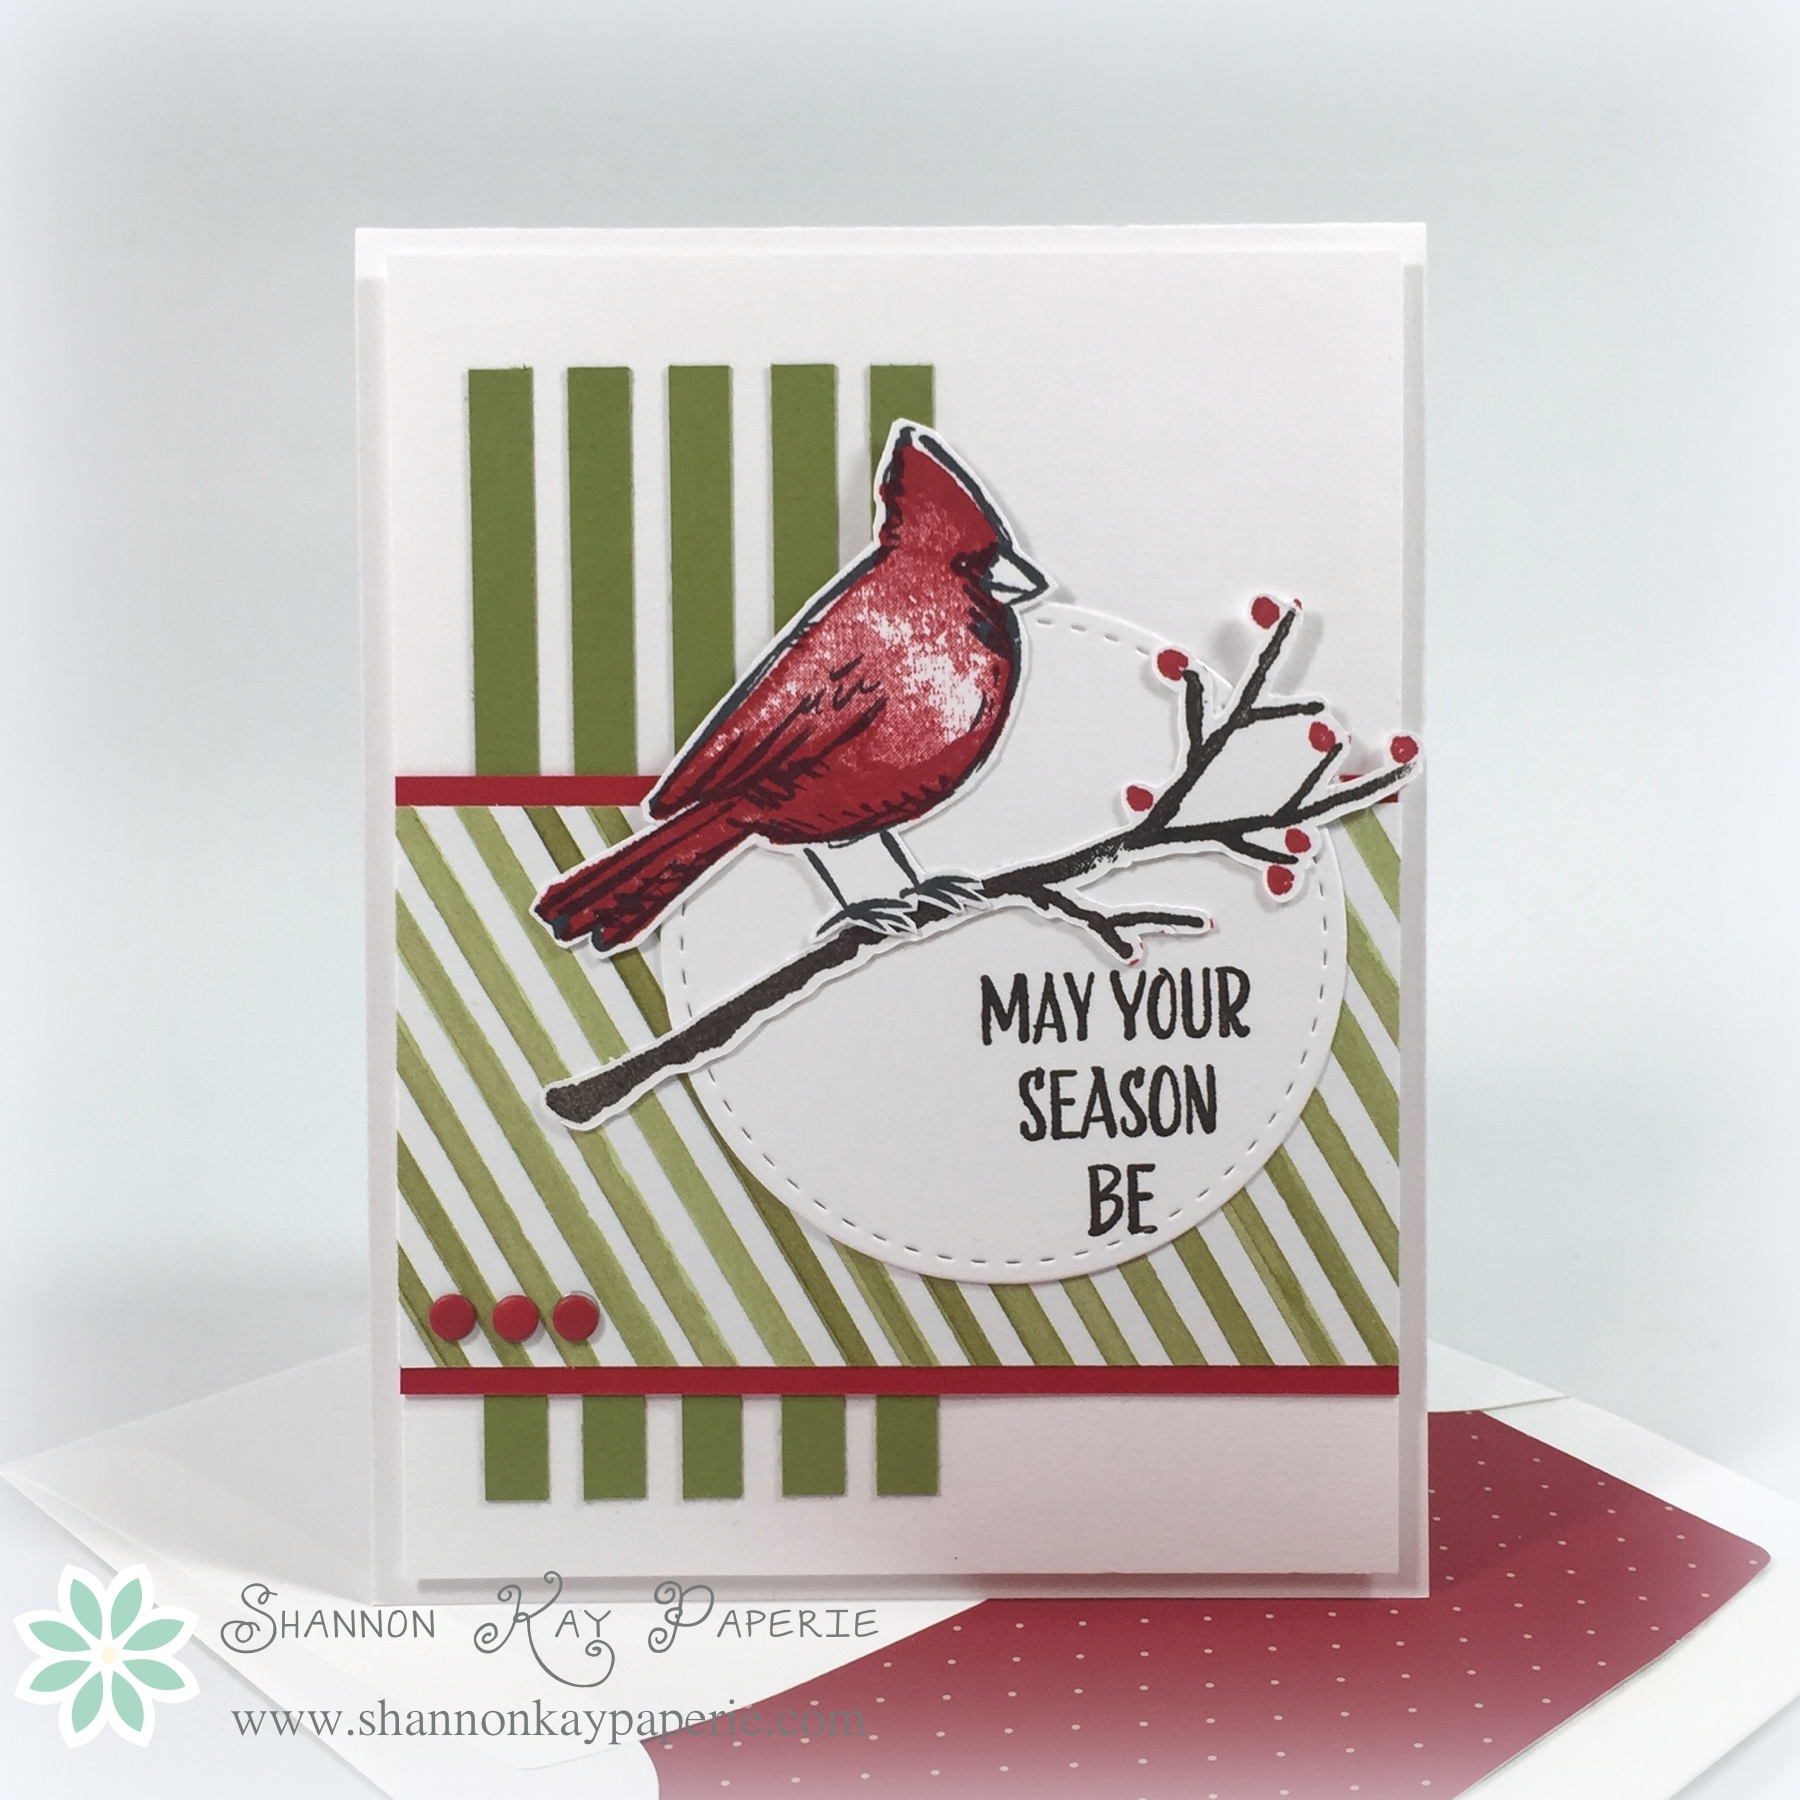
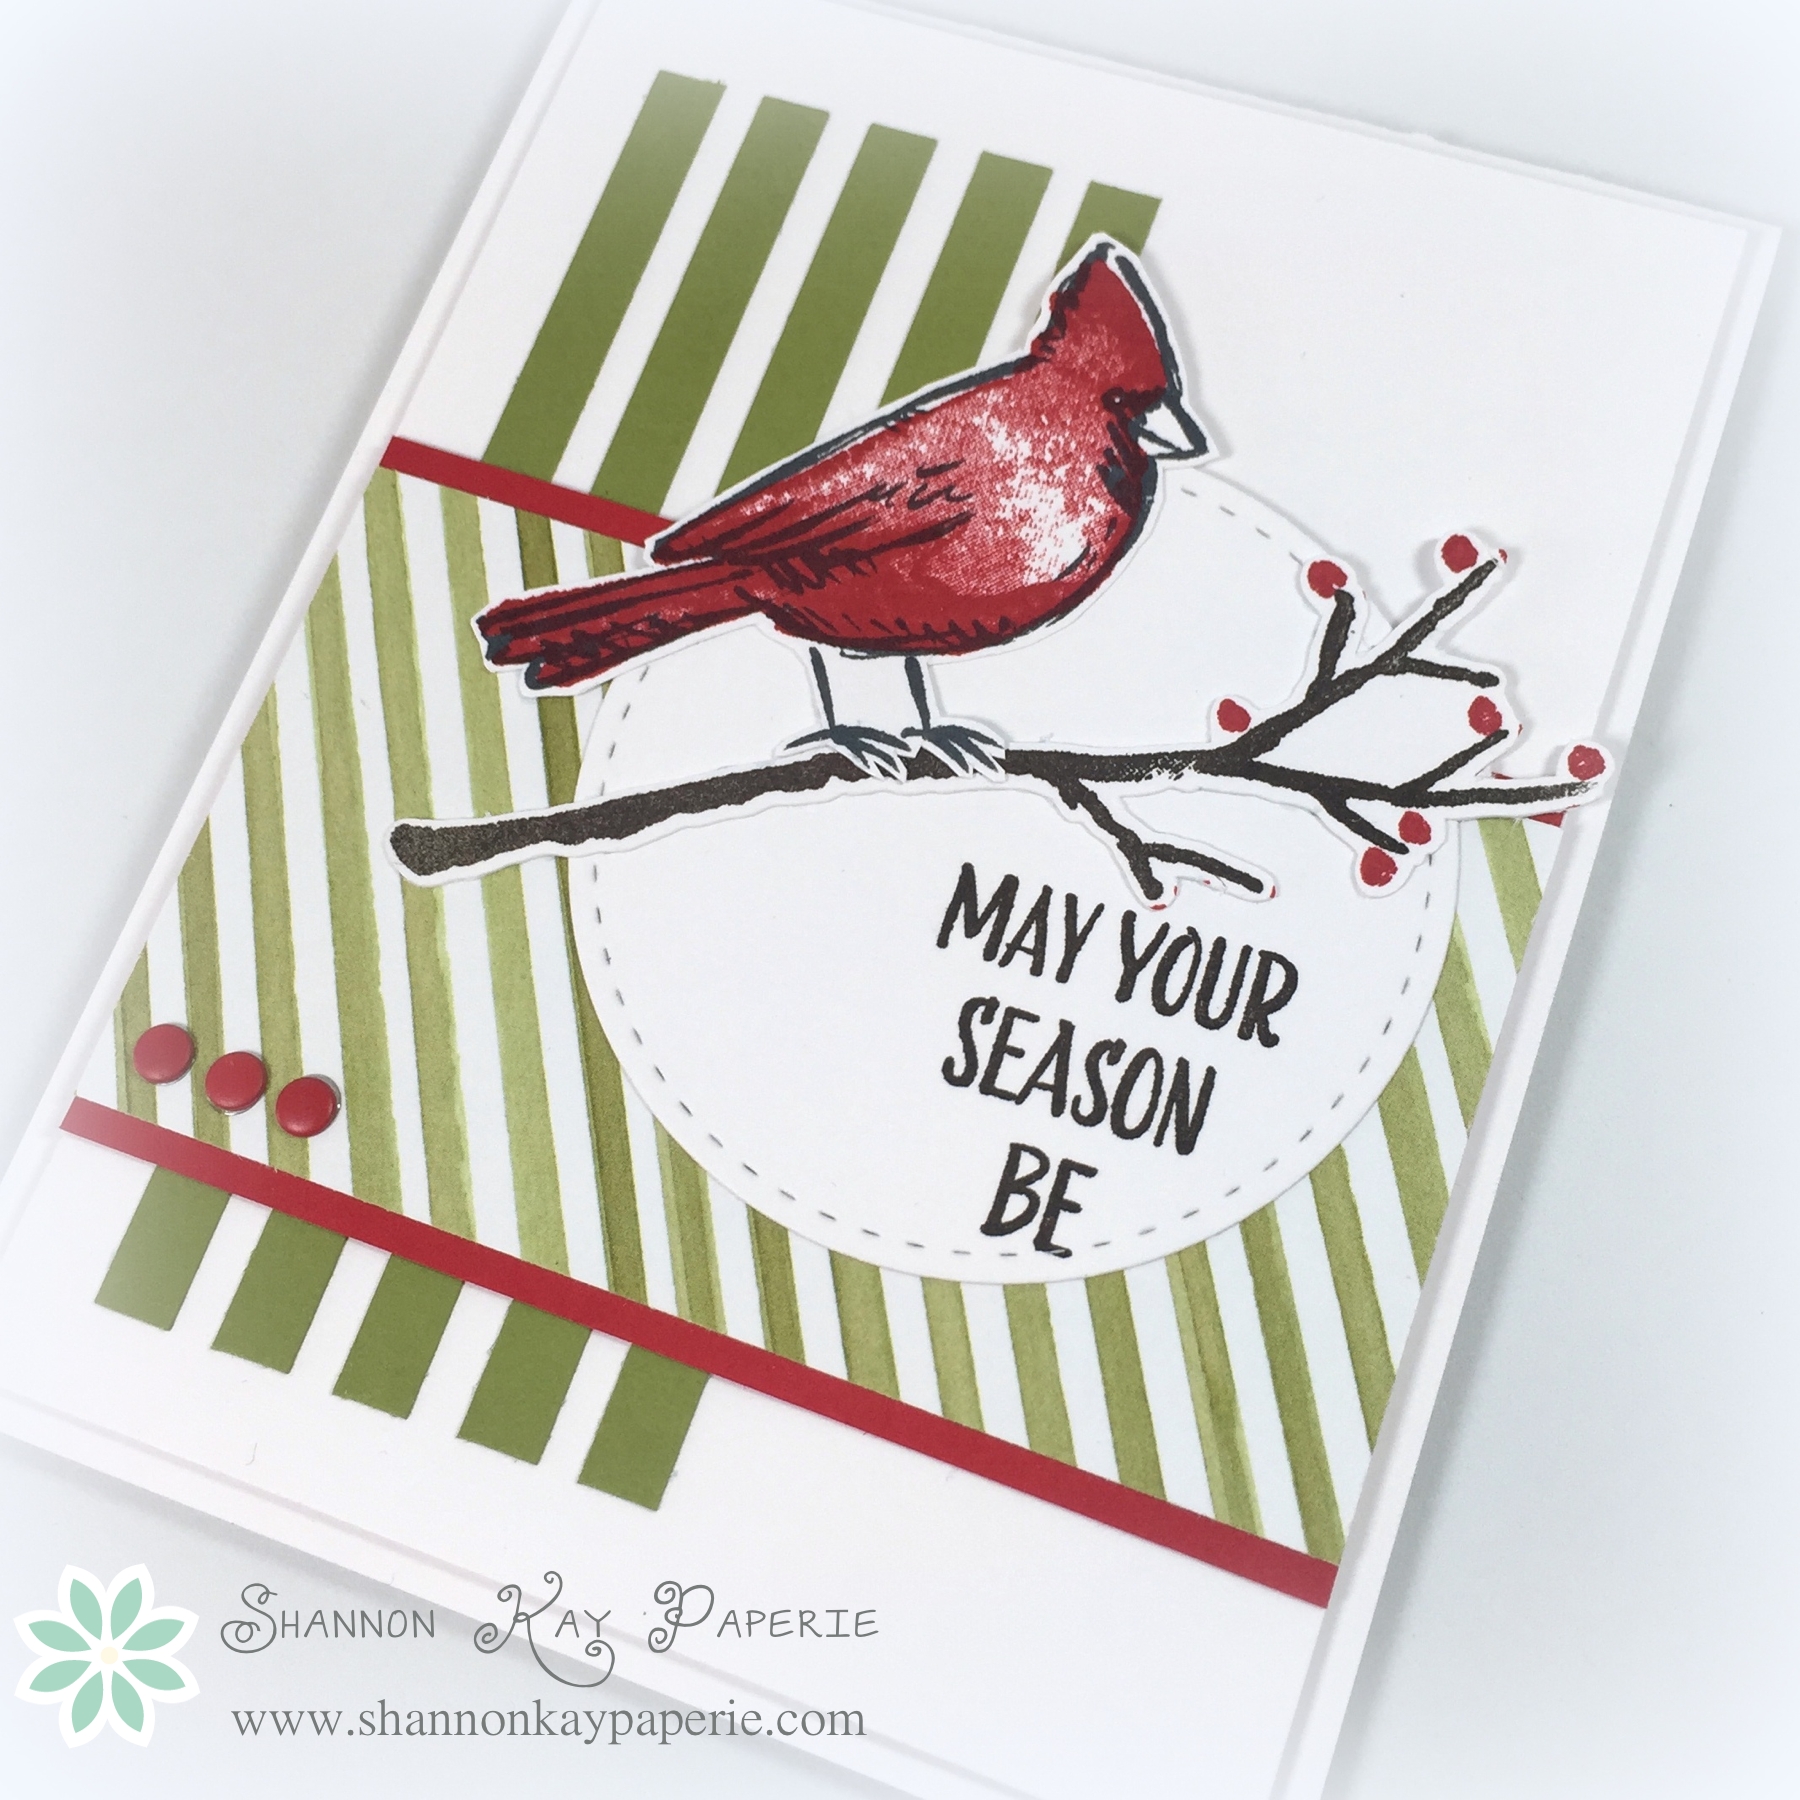
I was having technical difficulties with my ScanNCut…it refused to recognize the cardinal at all and only recognized PART of my branch 🙁  The branch is supposed to have more berries, but they were cut off. But I didn’t let that derail my enthusiasm, I went with what I had and fussy cut the cardinal out!

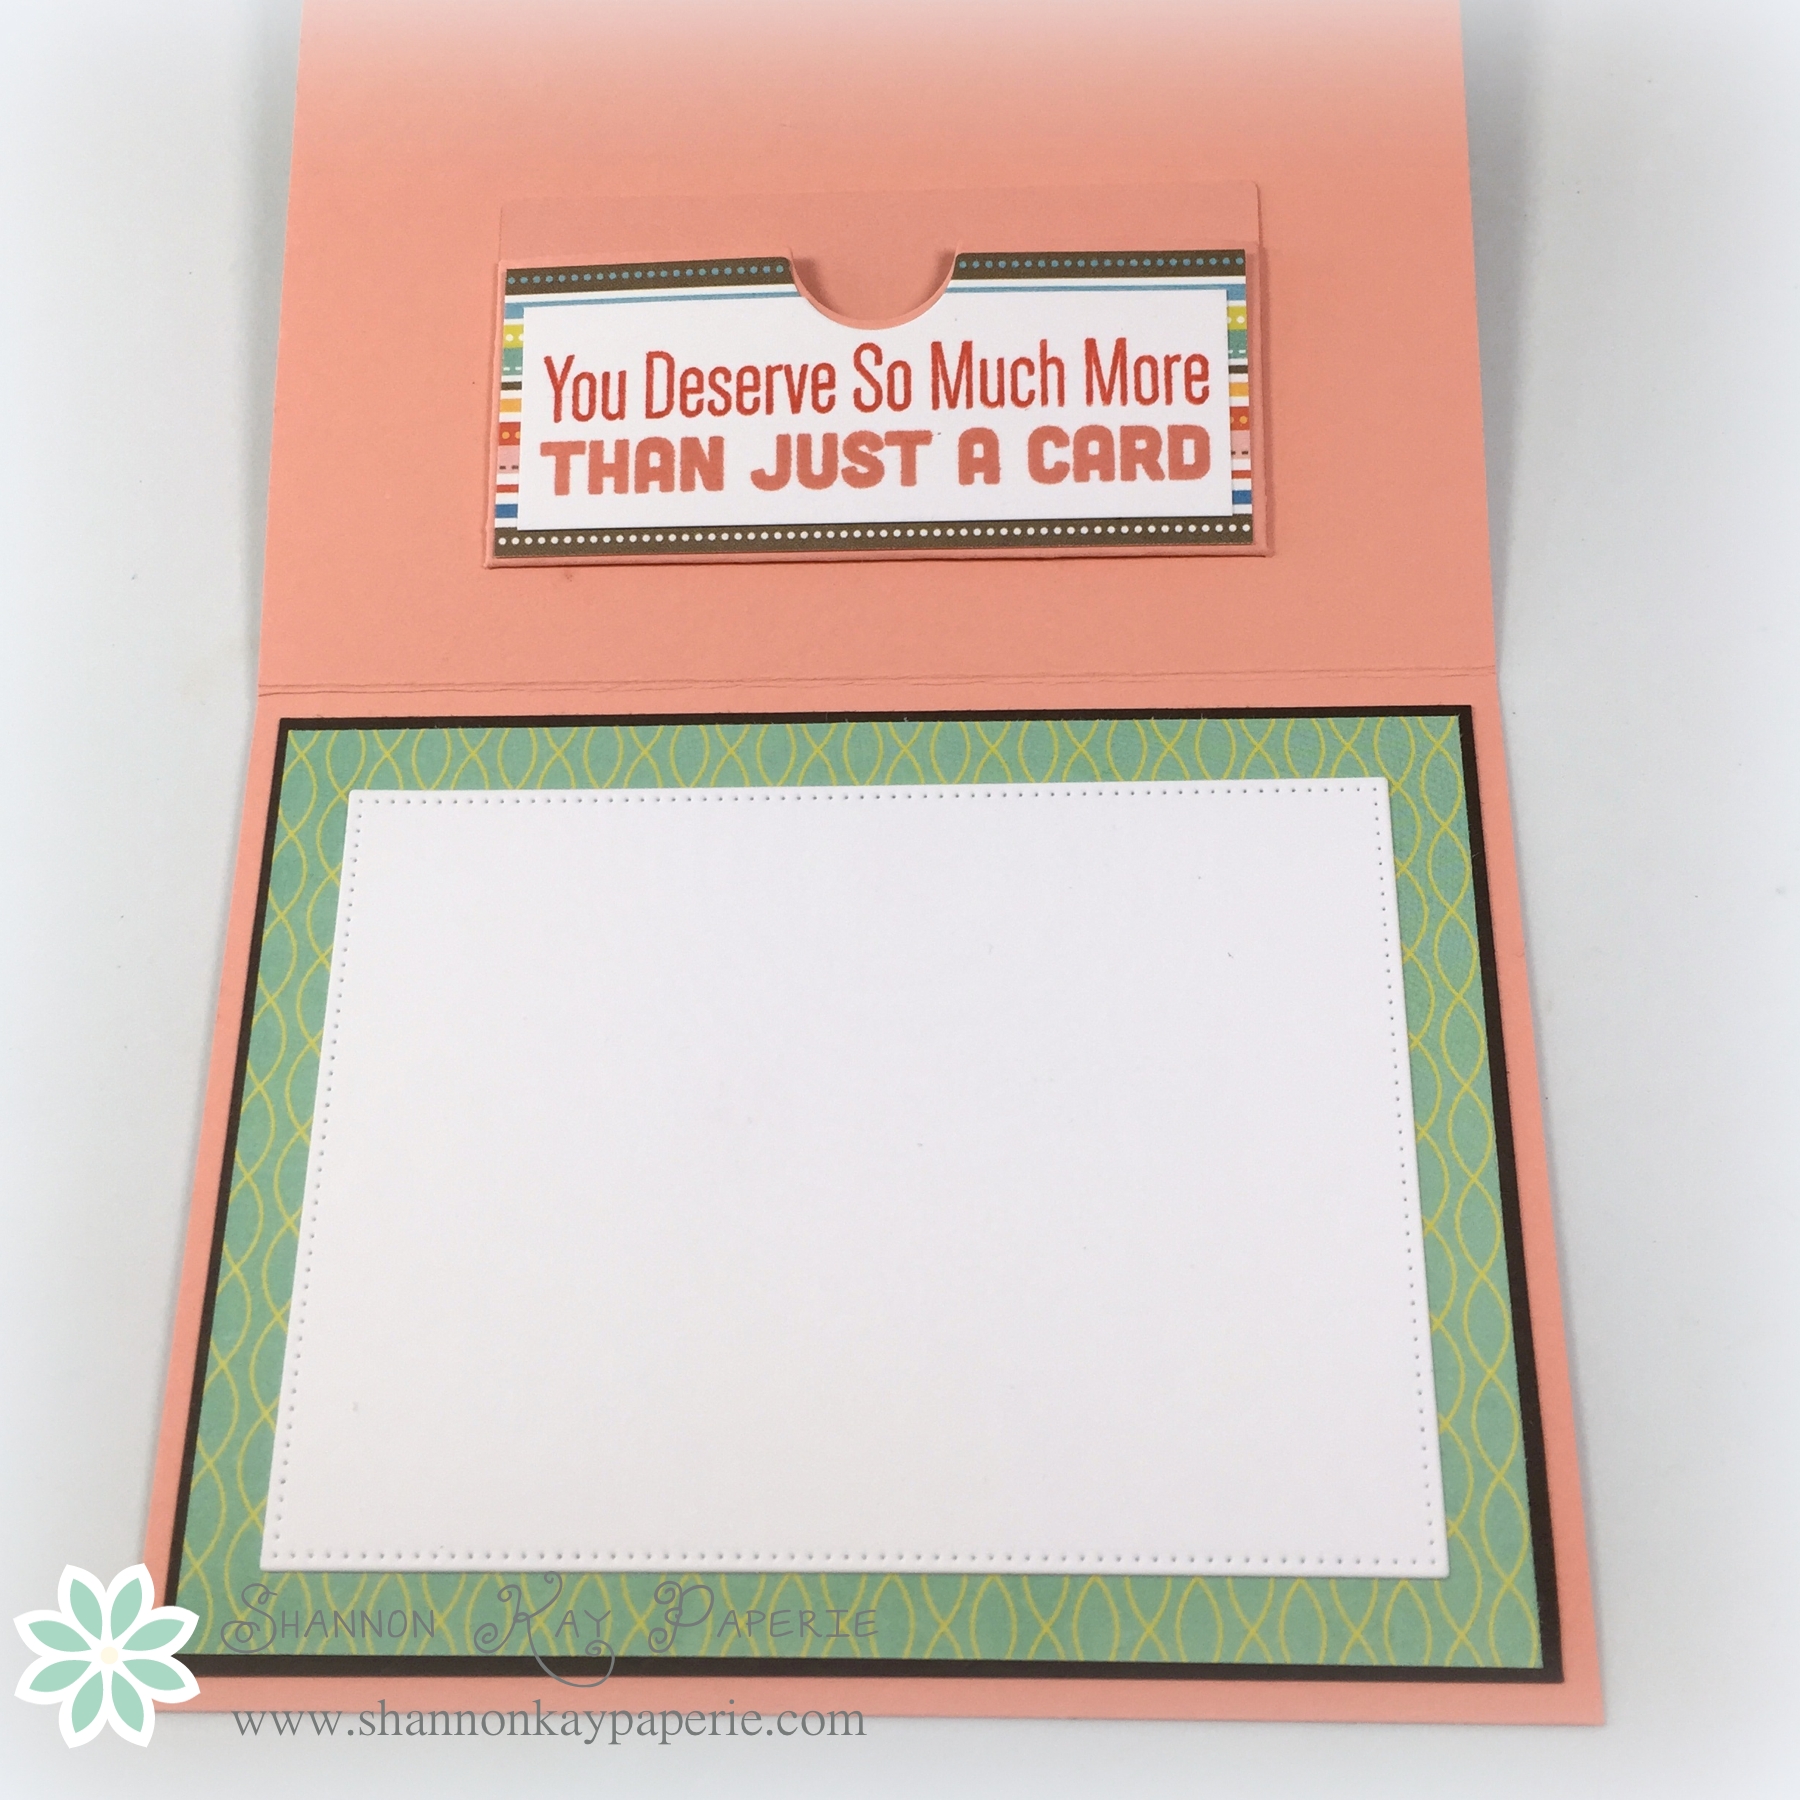
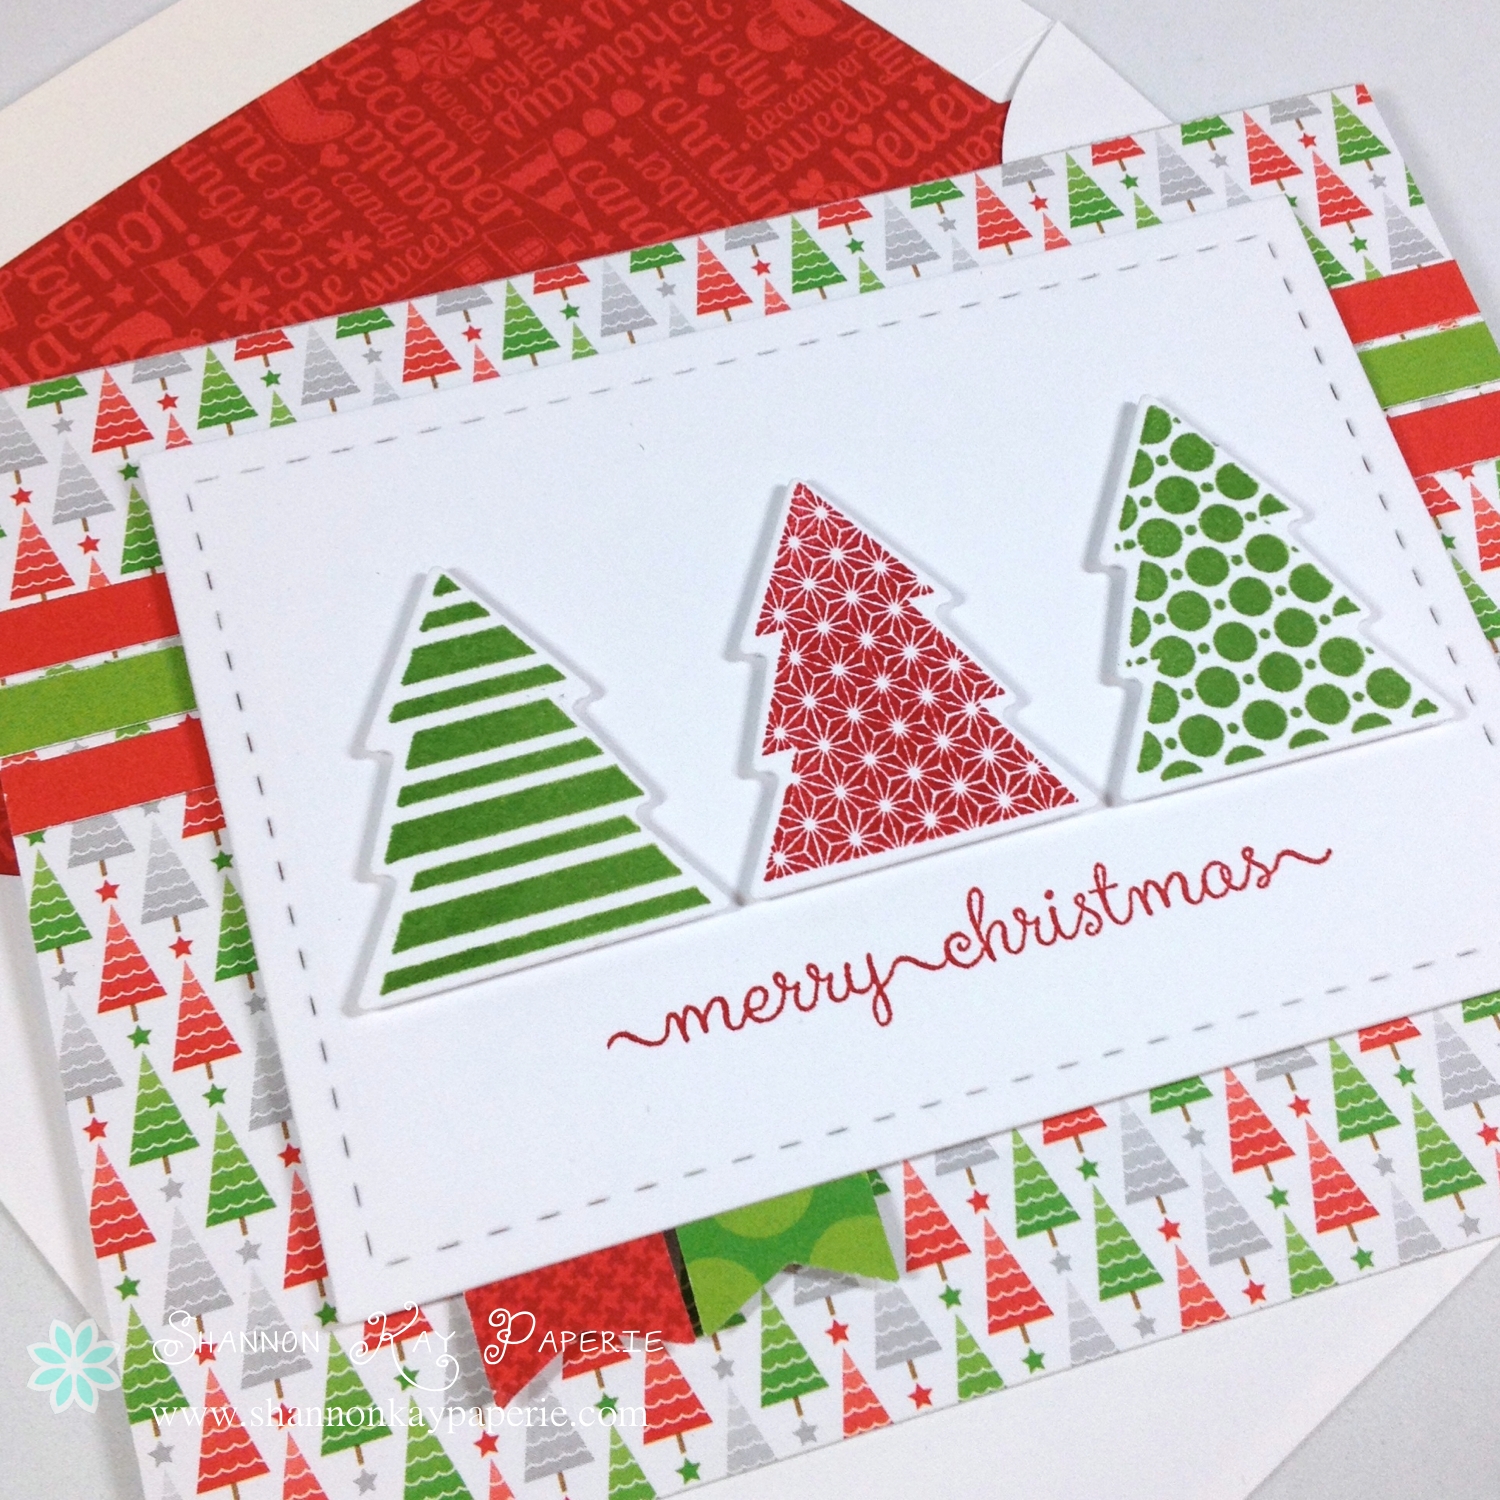
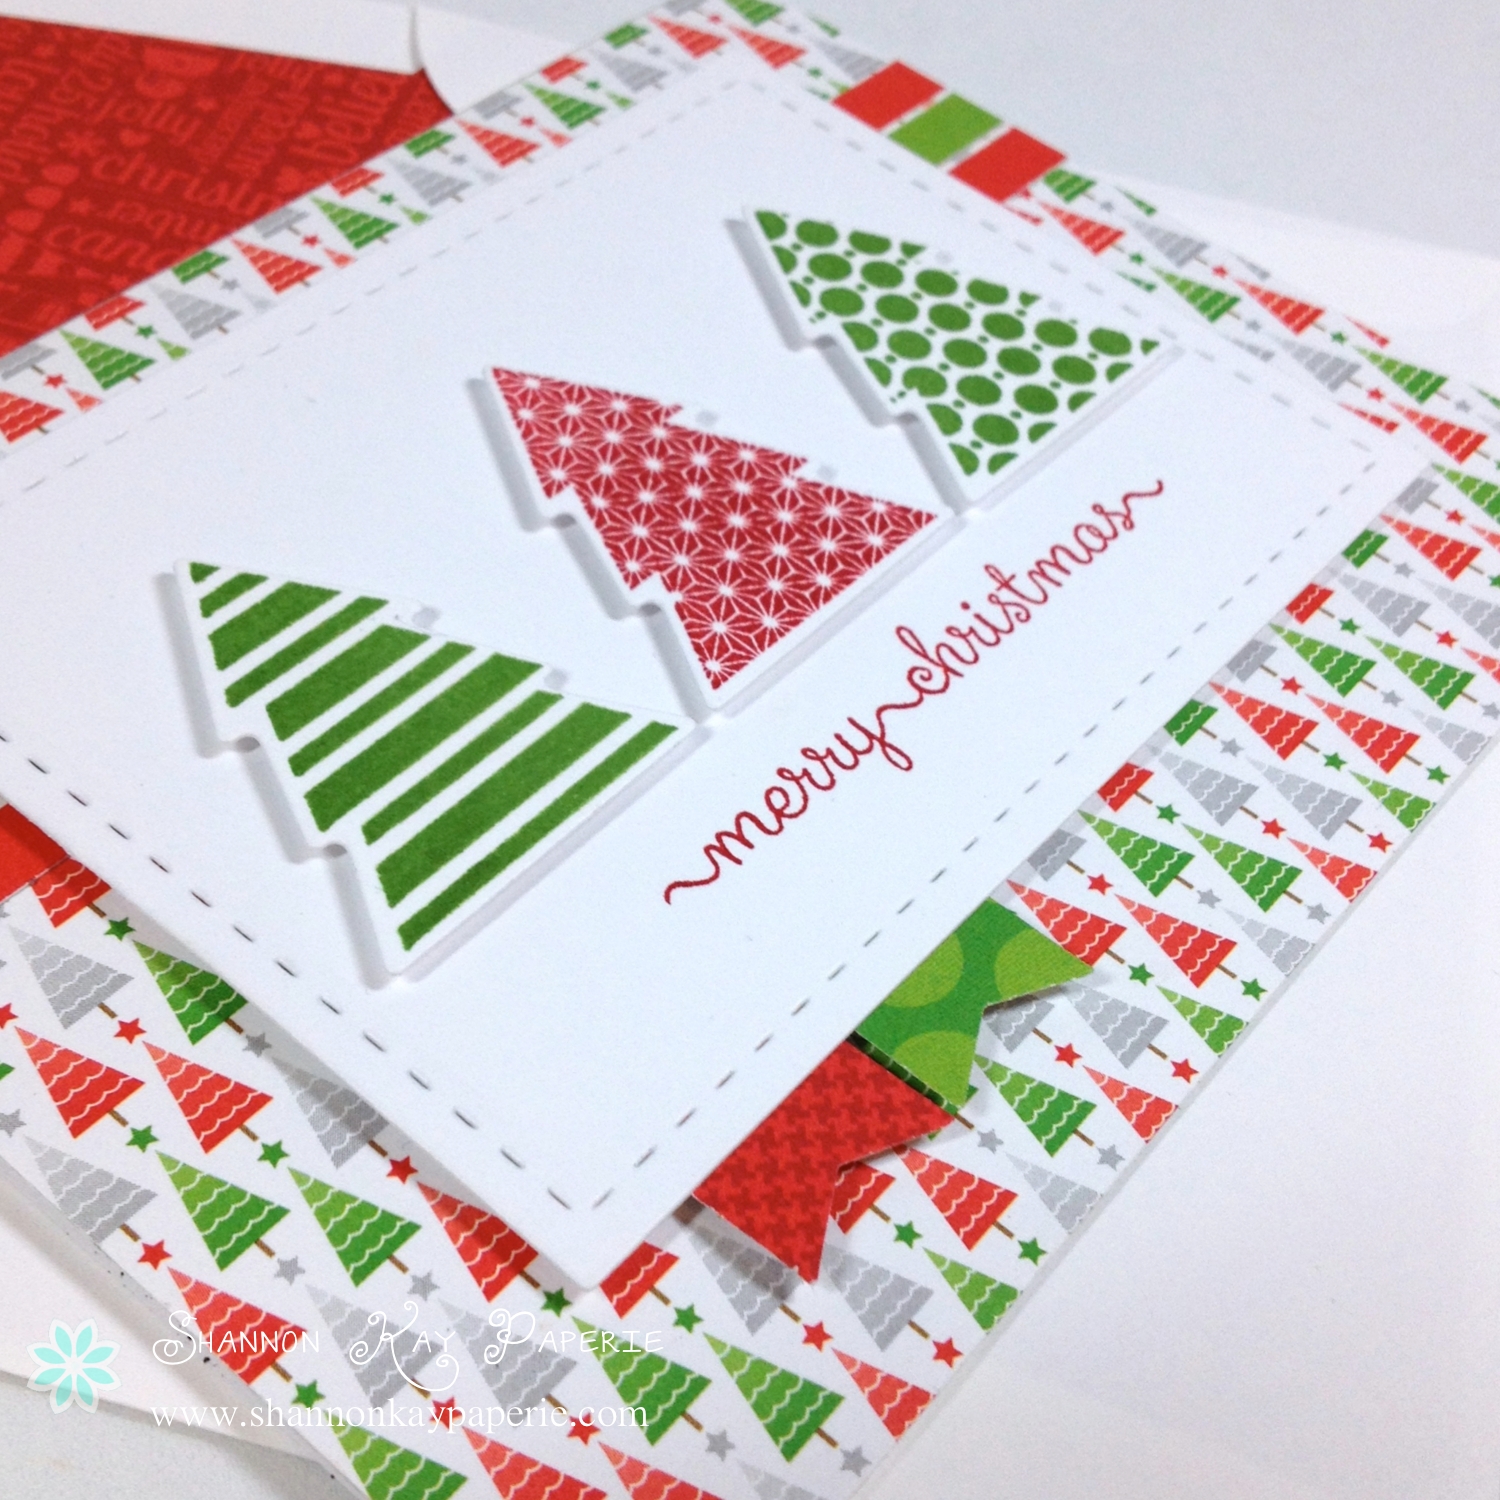
Lest you think I forgot part of the greeting…it’s on the inside!

Joyful Season - The Paper Players & Sweet Sunday Sketch
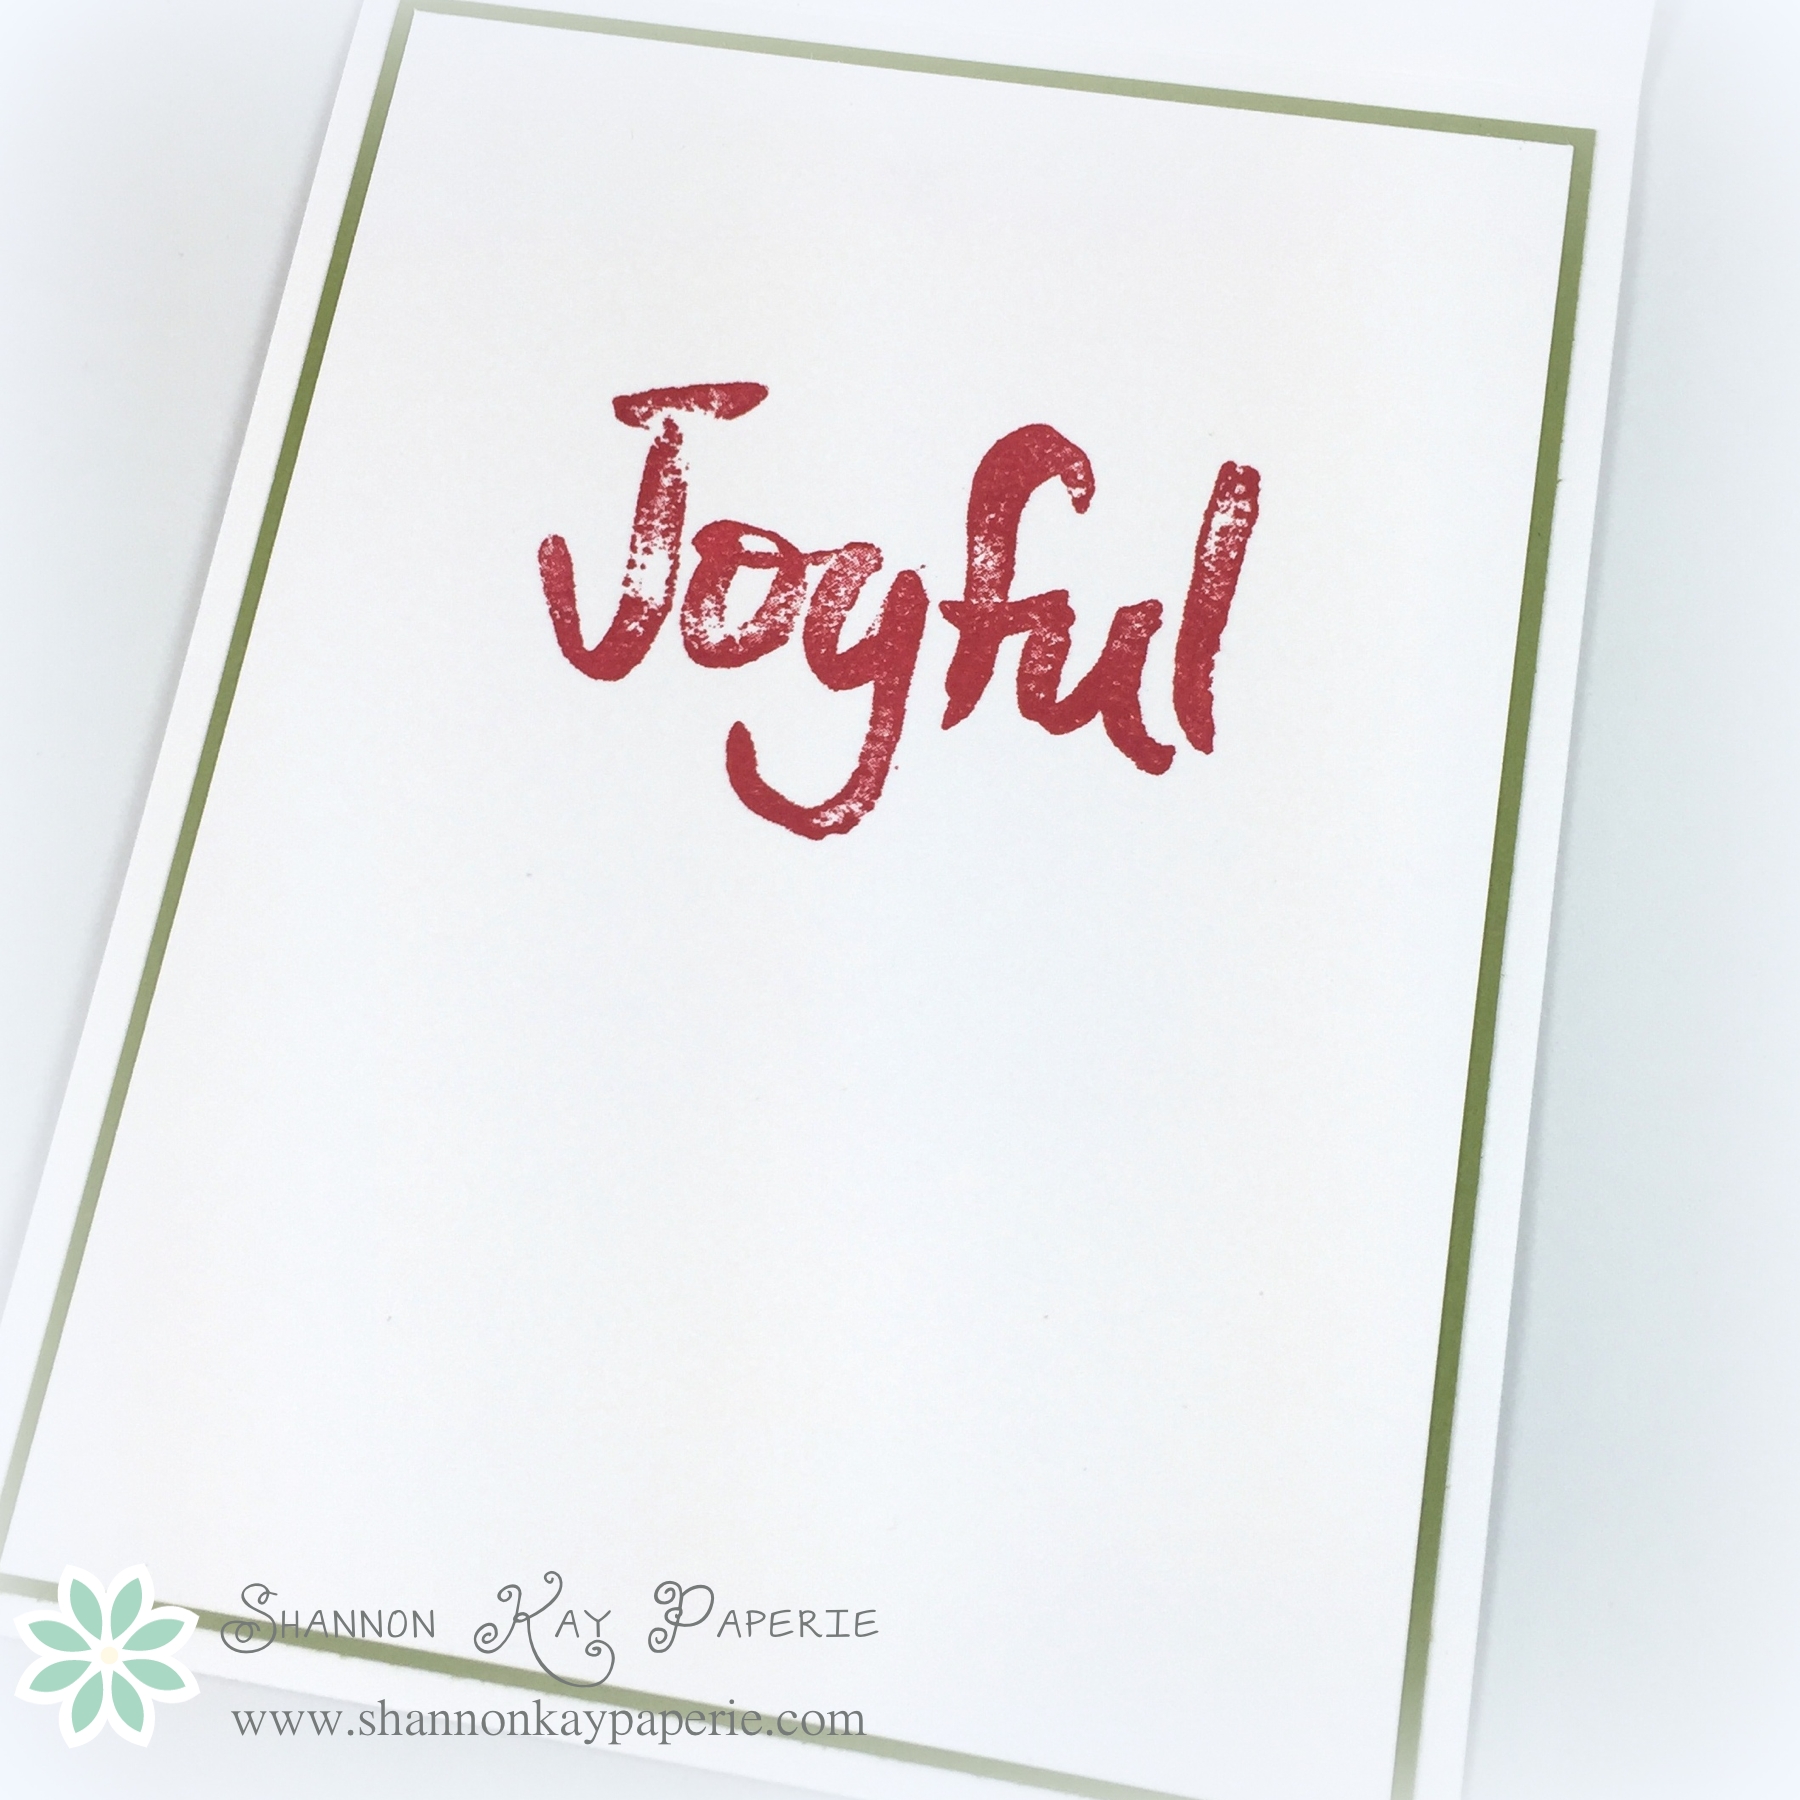
Special cards deserve pretty insides too 🙂

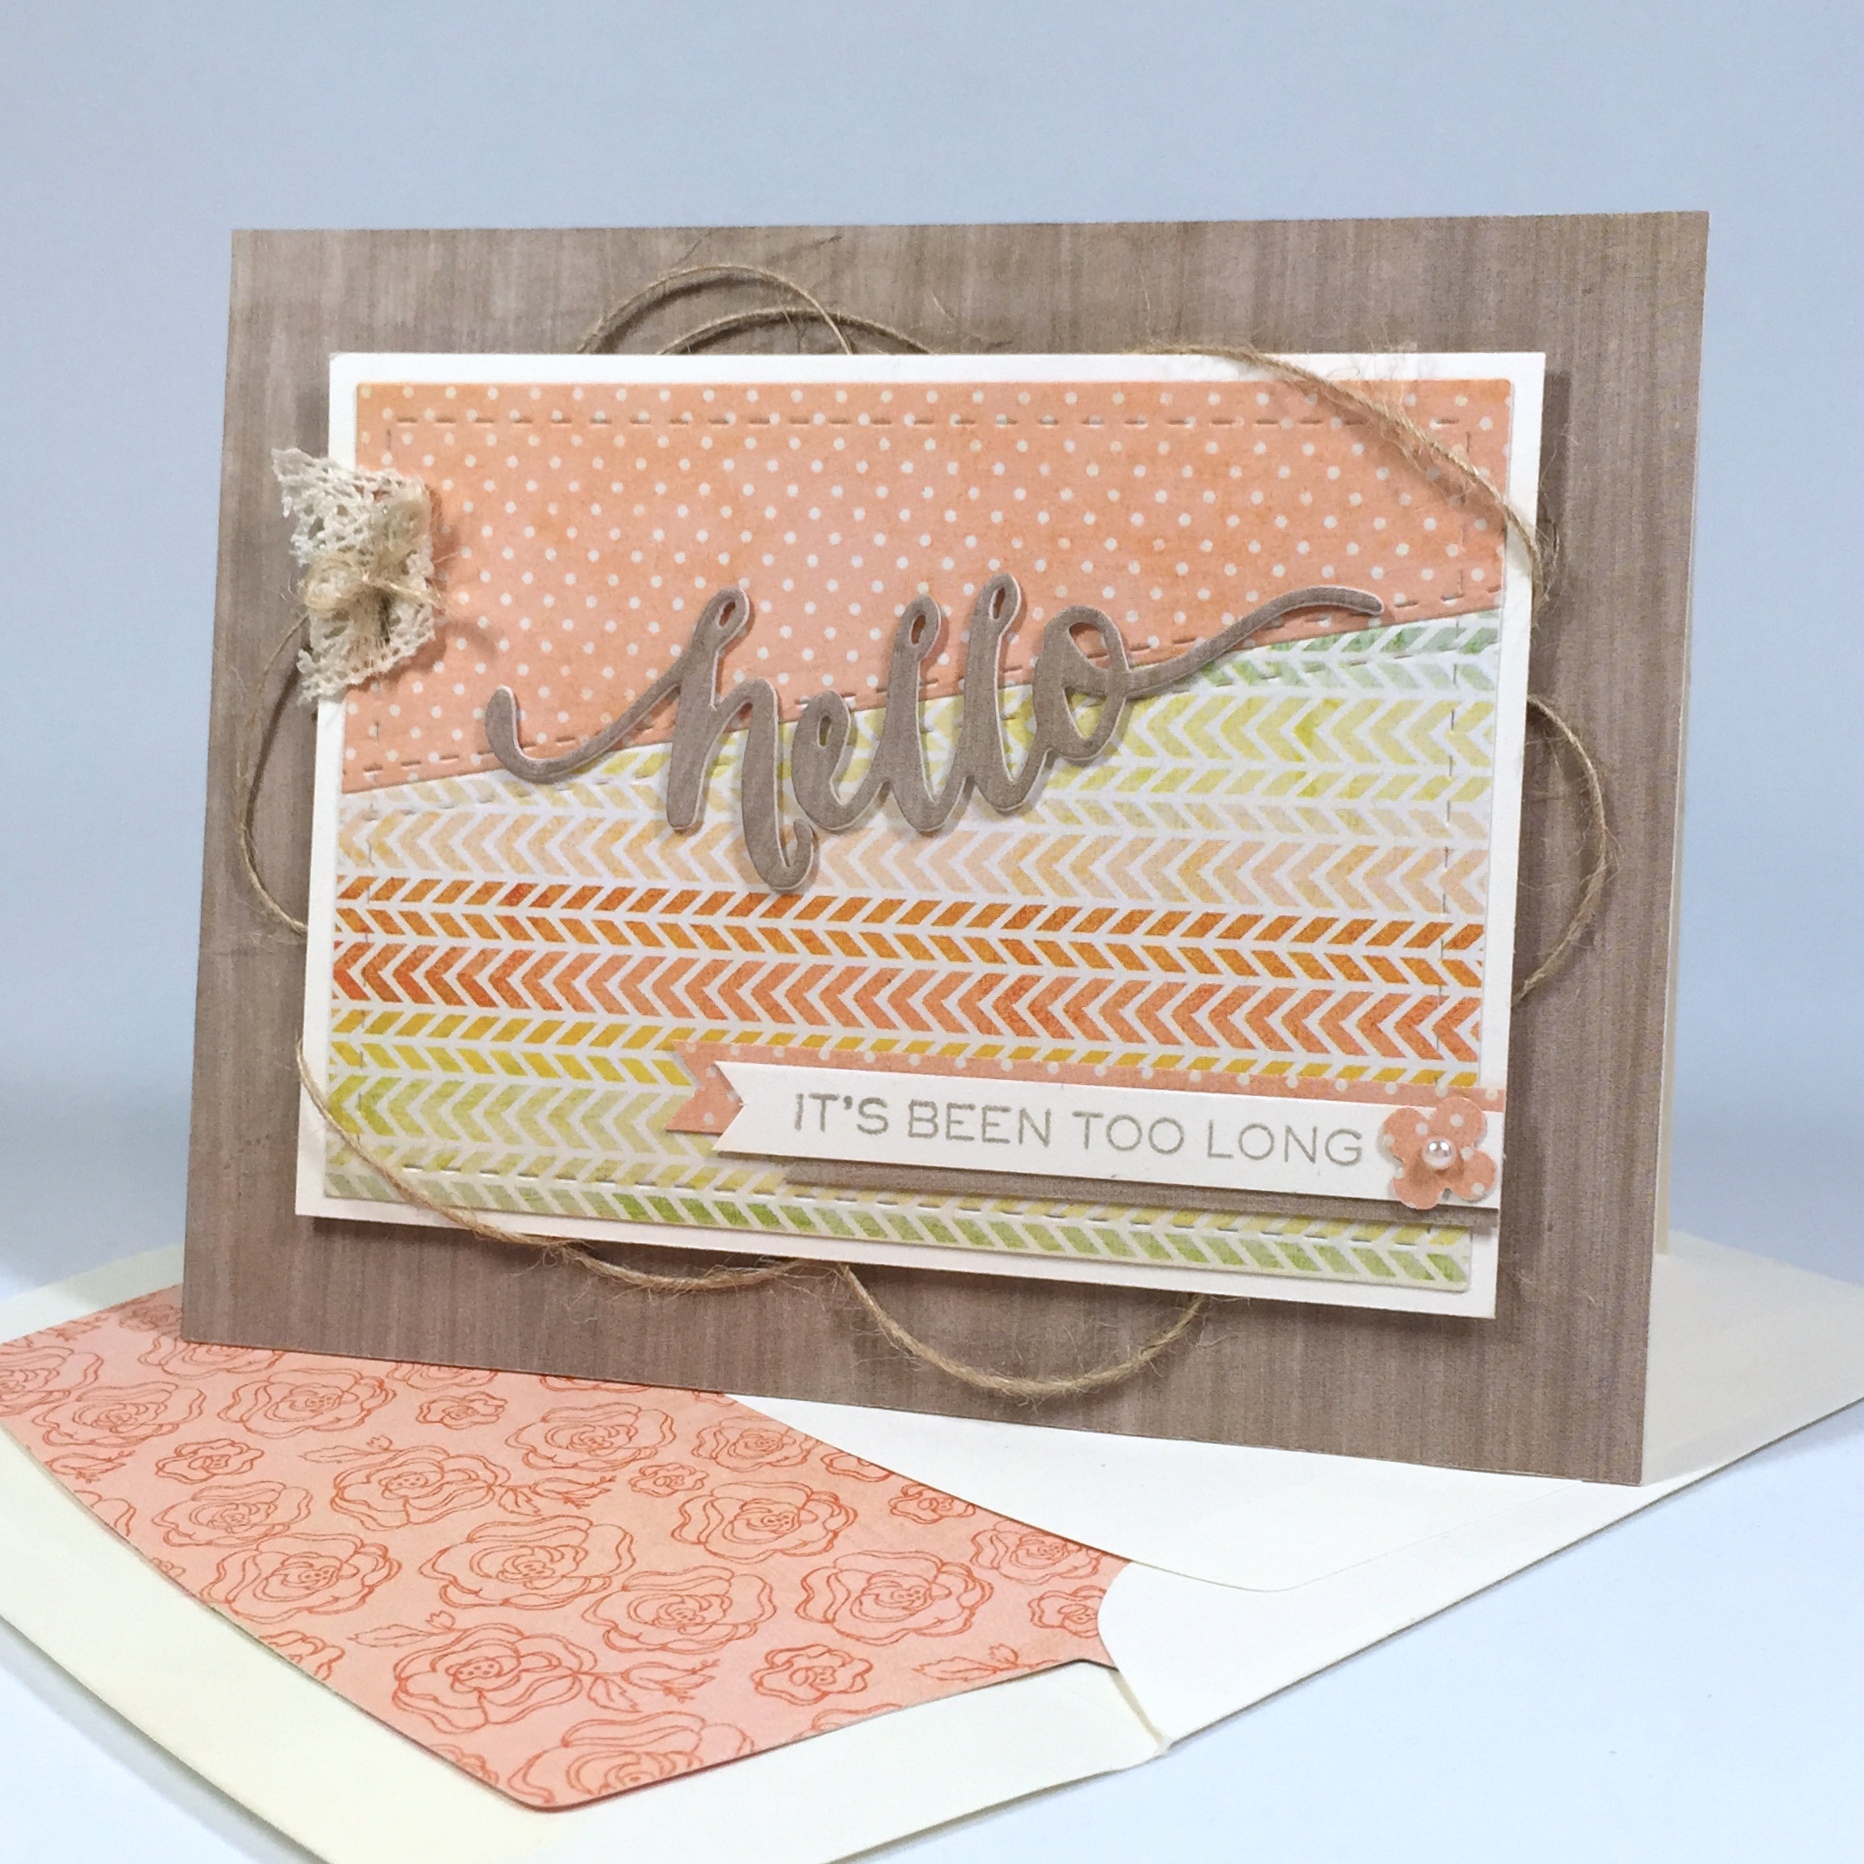
A shout out to my inspiration:

pp271 SSSC295CMCC Full Graphics-020
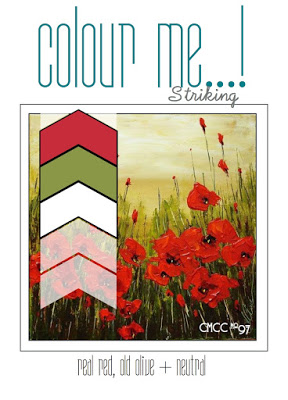
Unfortunately, the Colour Me…! challenge closed 40 minutes before I finished my card so I wasn’t able to link up to the challenge but I wanted to give them a shout out for the inspiration!

I’m also entering my card into the Global Design Project as my project fits perfectly with the challenge this week:)

GDP-011

Thank you so much for stopping by!!

Products Used:

Cardstock: Thick Whisper White, Real Red and Old Olive by Stampin’ Up!

Pattern Paper: Season of Cheer and Merry Moments Designer Series Paper Stack by Stampin’ Up!

Ink: Real Red and Basic Black by Stampin’ Up!

Stamps:  Joyful Season by Stampin’ Up!

Dies: Envelope Liner Die by Stampin’ Up!; Stitched Mats: Rectangles by Lil ‘Inker.

Tools:  MISTI

Embellishments: Brights Candy Dots by Stampin’ Up!

Special Birthday Greetings – SSSC269

Special Birthday Greeting_1Today’s post is a very special card for a very special birthday. May is a birthday month in my family! There are FOUR and first up in order (after mine) is my niece’s birthday. I had to wait to share because I wanted her to see it first.

SKP Watermarked Photos4-002I used the Sweet Sunday Sketch this week as my jumping off point. I knew immediately which stamp to use, Birthday Greetings by MFT Stamps, and then chose fun and fresh birthday colors from my paper stash. I love going shopping in my paper stash! I’ll have to share my 6 x 6 paper storage in a future post, it really is going shopping! I digress…here is the sketch I worked from

SSSC269and as you can see I followed it exactly. Such a FUN sketch this week!!! Perfect for a crisp and clean birthday card!

SKP Watermarked Photos4-003I had lots of fun choosing the pattern papers and the ink colors for my sentiment. Hats off (again) to my MISTI for making stamping in multiple colors and repeat stamping possible. I was able to stamp each color twice (perfectly) which allows for rich vibrant color. LOVE it!

And, as you can see, I had tons of fun with my MFT Stamps pierced dies! Both with the rectangles and the flags! I did alter the size of the rectangle for the sentiment. I die cut the rectangle which a a little too long, trimmed one side to the proper length and then carefully laid the piece back into the die with the unpierced edge against the edge of the die and ran it through the Big Shot again. I was careful to only run the one edge through, adding the piercings in the right spot without making more where there shouldn’t be! I hope that makes sense.

But I couldn’t stop there as this is a special card for a very special person! I can’t believe she’s 20 years old!!

SKP Watermarked Photos4-004I had to add a spot for the gift card, and of course decorate it, as well as decorating the spot to add my personal message. I had SO much fun making this! I even decorated the envelope but this post is long enough already! I will leave you with a close up of the gift card pocket…

SKP Watermarked Photos4-005So much fun! Happy Birthday darling Leia!!

Wishing you joy and blessings!

Products Used:

Cardstock: Stamper’s Select White by Papertrey Ink, Crisp Cantaloupe, Early Expresso and Lost Lagoon by Stampin’ Up!

Pattern Paper: Hootenanny by My Mind’s Eye

Ink: Calypso Coral, Crisp Cantaloupe, Lost Lagoon and Pumpkin Pie by Stampin’ Up!

Stamps:   Birthday Greetings & Gifting Fun by MFT Stamps

Dies: Fishtail Flags: Pierced; Pierced Rectangle STAX and Gift Card Pocket by MFT Stamps and Envelope Liner Die by Stampin’ Up!

Tools:  None

Embellishments: None

On My Mind – Sweet Sunday Sketch #259

Oh My Word!! I did not plan on stamping or posting this evening, BUT….my Simon Says Stamp March Card Kit arrived in the mail…FINALLY!! And I was so inspired by the contents that I dropped everything else and stamped. The kit is beautiful!! Beautiful!! I just COULDN’T wait to share!!

SKP Watermarked Photos2-125I just LOVE the tones in these papers, and they compliment each other SO beautifully!! (oops, there’s that word again!) I love how the black really makes the colors ‘pop’. Tonight when I sat back to look at my finished card I wondered “Where in the WORLD did THIS come from?” I guess the colors and patterns really DID inspire me…to step out of my design box! Don’t you love when that happens? It’s almost as if I was channeling someone else’s creativity! Have you ever felt that way?

SKP Watermarked Photos2-127Actually, for a “fussy” card, mine is quite simple. Two banners made out of coordinating pattern paper and run through Die-namics Pierced Fishtail Flags STAX dies by My Favorite Things and flipped up at the ends. I matted my journaling card with black cardstock and lightly sponged the edges with Memento Tuxedo Black ink. I popped it up on Stampin’ Dimensionals and tucked a bit of a punched piece (also lightly sponged) on the left side and added a bit of ribbon, just peeking out. Another bit of ribbon on the right side, the sentiment stamped directly onto the card and a few black sequins to bling it up a bit!

SKP Watermarked Photos2-128 And that’s truly it!! The contents of the kit do all the hard work for you! Oh! And the layout for my card was inspired by this week’s Sweet Sunday Sketch Challenge which was to pick ANY of their previous sketches and create a card!! How fun is THAT?!? I had already chosen sketch #218 last night and had a card laid out and ready to go, but this one took over!! lol

SSSC218I’ve also linked my card to the Simon Says Stamp Wednesday Challenge which is Special Lady/Girly (I think this qualifies!) as well as their board for the March 2015 Kit.

I finished the inside simply with just a single layer of the “NEW” cream cardstock provided in the kit.

I’m sure I will have more fun cards to share using this kit, it has great floral images still to play with!! If you want to see the kit in detail you can find it here.

I would LOVE to hear what you think of my card, I read and cherish each and every comment 🙂

Wishing you joy and blessings!

Products Used:

Cardstock: Black and “NEW” Cream by Simon Says Stamp

Pattern Paper: Classique Beauty by Authentique and journaling card

Ink:  Tuxedo Black by Memento

Stamps:  On My Mind by Simon Says Stamp

Dies:   Die-namics Pierced Fishtail Flags STAX by My Favorite Things and Envelope Liner Die by Stampin’ Up!

Punches: Decorative Label Punch by Stampin’ Up!

Tools:  MISTI by My Sweet Petunia

Embellishments: Misc Sheer Black Ribbon and Black Sequins

SKP Watermarked Photos2-124

It’s Been Too Long – SSSC257

10-IMG_7711

Hello my friends! I’m here today to share a fun card inspired by a sketch over at the Sweet Sunday Sketch Challenge #257:

SSSC257

I knew immediately that I wanted to have the inner rectangle stitched with a word floating across the top. When I started looking through my papers, this wood grain paper immediately caught my eye. I chose the rest of the colors to support it and I love the soft look of the finished card.

08-IMG_7707When I put it all together though, I thought it looked TOO soft, so I added some bits behind the banner, and a flower on top, even a pearl…still too soft. SO…I added some lace to the other side. I love the look of the lace juxtaposed with the staple I used to tack it into place! But it STILL wasn’t enough! So I pulled out some twine and added a bow to my lace and staple. We’re getting warmer but it STILL needs more!! So I grabbed the twine and went to town with loops and swirls…FINALLY!!

09-IMG_7709I pleased with how it turned out even though it took MUCH longer for this card to develop than it should have!! Oh well, it was a fun creative experience. I can’t wait to pop it into the mail!

Isn’t the little flower punch adorable? It’s a retired punch by Stampin’ Up! and I just want to go on record that for me, this little punch set will NEVER retire!! It is SO useful and the perfect size when you just need a ‘little’ something. Do you have a product that you feel that way about? I would love to know what it is and why you love it too much to part with!

Did you notice that I used the same wood grain paper for the die cut ‘hello’ that I used for the background? I actually ran the die through the machine three times, twice in white card stock and once with pattern paper to give it a bit of dimension and stability. Whatever did we do with out a Big Shot?? Oh yeah, scissors and templates, I remember now! Ughh!!

Thank you so much for visiting today and I hope you will pop by again soon!

Wishing you joy and blessings!

Products Used:

Cardstock: Vintage Cream  by Papertrey

Pattern Paper: The Sweetest Thing-Tangerine by My Mind’s Eye

Ink:  Crumb Cake by Stampin’ Up!

Stamps: Hand Lettered Hello by Wplus9

Dies: Hand Lettered Hello by Wplus9 and Envelope Liner Die by Stampin’ Up!

Punches: Itty Bitty Shapes Punch Pack (retired) by Stampin’ Up!

Tools:  MISTI by My Sweet Petunia

Embellishments: 5/8″ Crochet Trim (Retired); Basics Jewels by Stampin’ Up!; Jute Twine by May Arts

O Christmas Tree

I found a really fun sketch over at the Sweet Sunday Sketch Challenge and decided that I just HAD to play along…

SSSC245

Isn’t it fun?? Lots of room for interpretation. So I started thumbing through my paper and came across some delightful Christmas paper that has been gathering dust since last year and decided this card would be a Christmas card! (Very scientific method)

Watermarked Blog Posts-019

What do you think??

I had so much fun playing with the colors and patterns! In the end I managed to use six different pattern papers on the card and envelope! I love how they all coordinate so beautifully 🙂

Watermarked Blog Posts-020

The uber cute Christmas trees and sentiment are from Clearly Besotted Stamps…I am besotted with them!!

Aren’t the little banners peeking ca-yoot??

Watermarked Blog Posts-021

I loaned all of my inside holiday sentiments out, so this card will be updated before it goes out…we’re running short on time!

Thank you for stopping by!! I would be thrilled with a little love! Thank you!!

Products Used:

Cardstock: Papertrey Ink Stamper’s Select

Pattern Paper: Home for the Holidays by Doodlebug Design

Ink: Real Red and Gumball Green (retired) by Stampin’ Up!

Stamps: Signature Christmas & Sweet Little Sentiments by Clearly Besotted Stamps

Dies:  Signature Christmas by Clearly Besotted Stamps, Rectangle Stitched Mats by ‘Lil Inker

Other: Envelope and Envelope Liner Die by Stampin’ Up!