The Nicest Things – The Paper Players 482 & TGIF Challenge 255

Stampin-Up-The-Nicest-Things-Love-and-Friendship-Card-Idea-Shannon-Jaramillo-shannonkaypaperie-Stampin-Up-SU

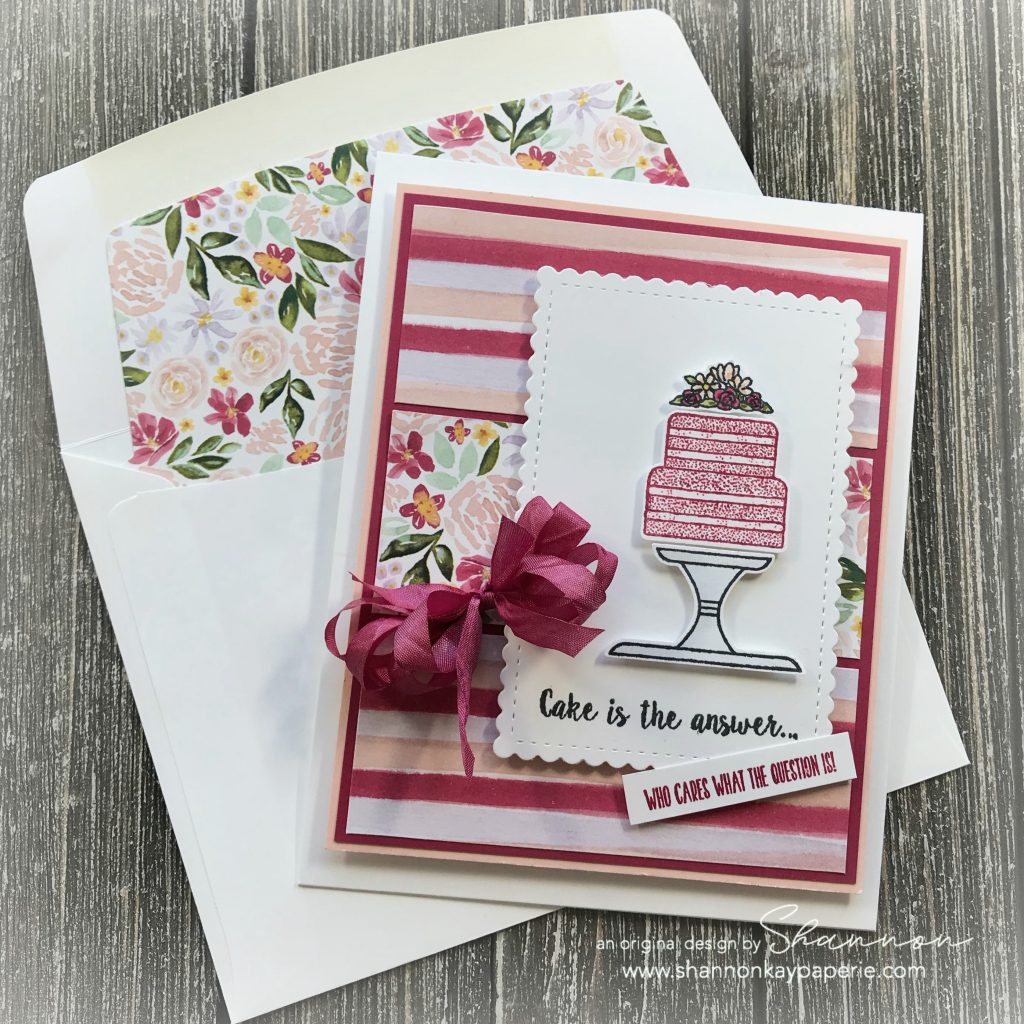
Hello there and Happy Friday, my peeps!! It’s been raining here again in Southern California and the perfect reason to pull out some darling paper and an even more darling-er (if that’s possible) stamp image!!

Measurements:

  • Purple Posy Card Base 4 1/4″ x 11″ scored at 5 1/2″
  • White Card Stock Layer 3 1/2″ x 5 1/2″
  • DSP Layer 1 3/4″ x 5 1/2″

Details:

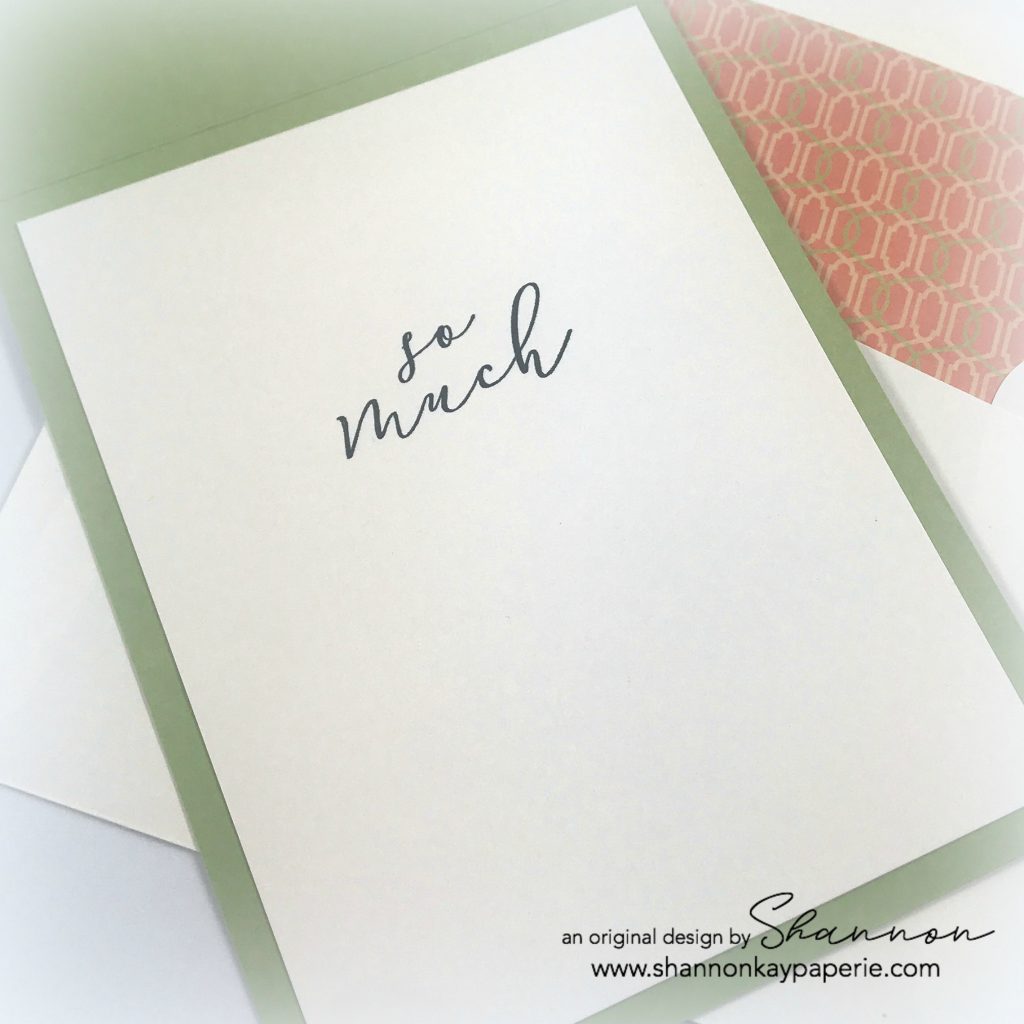
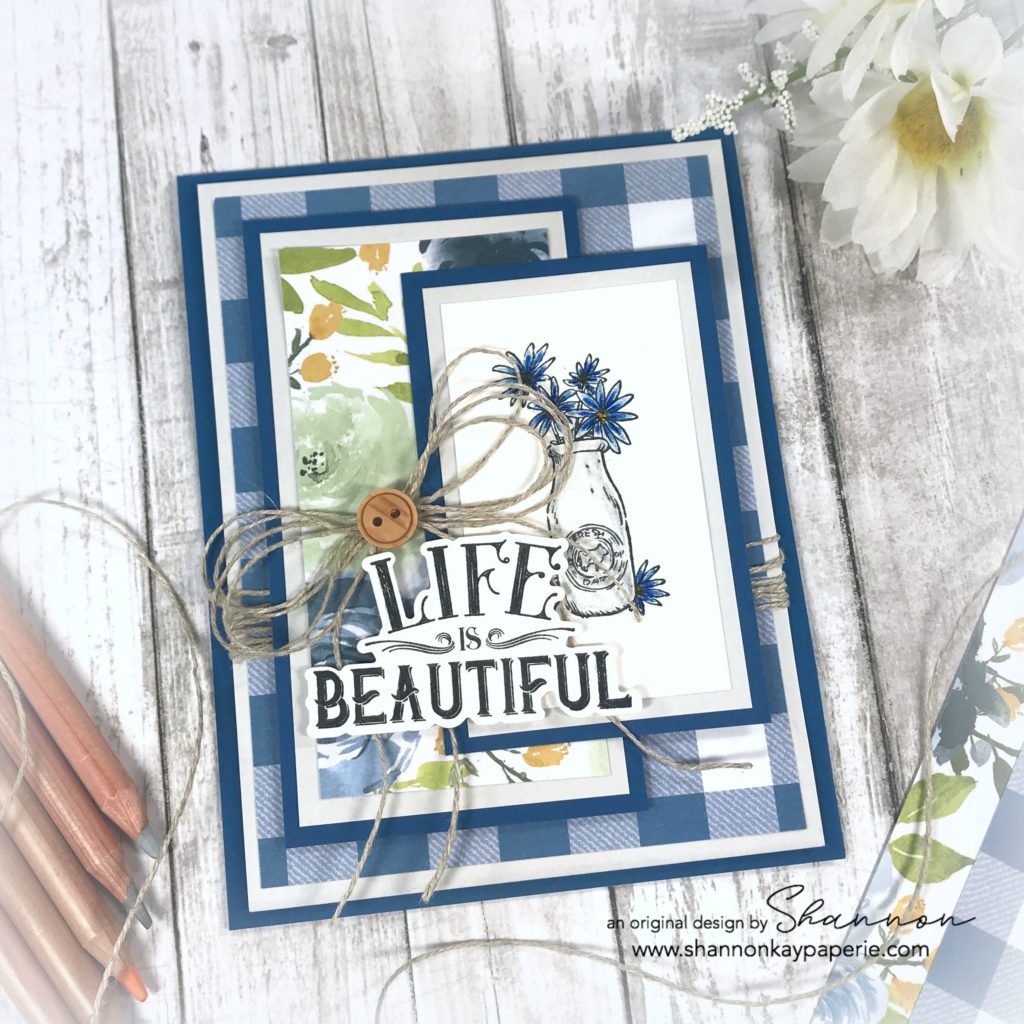
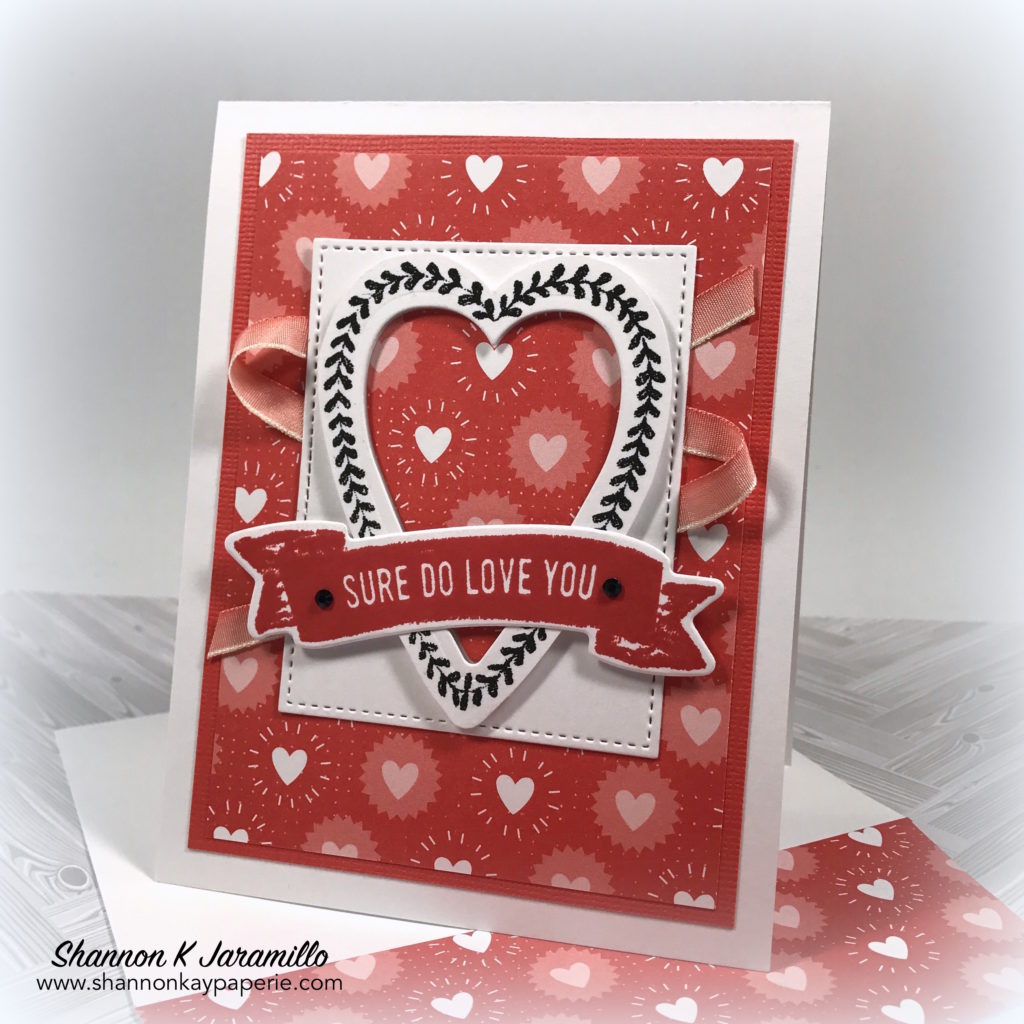
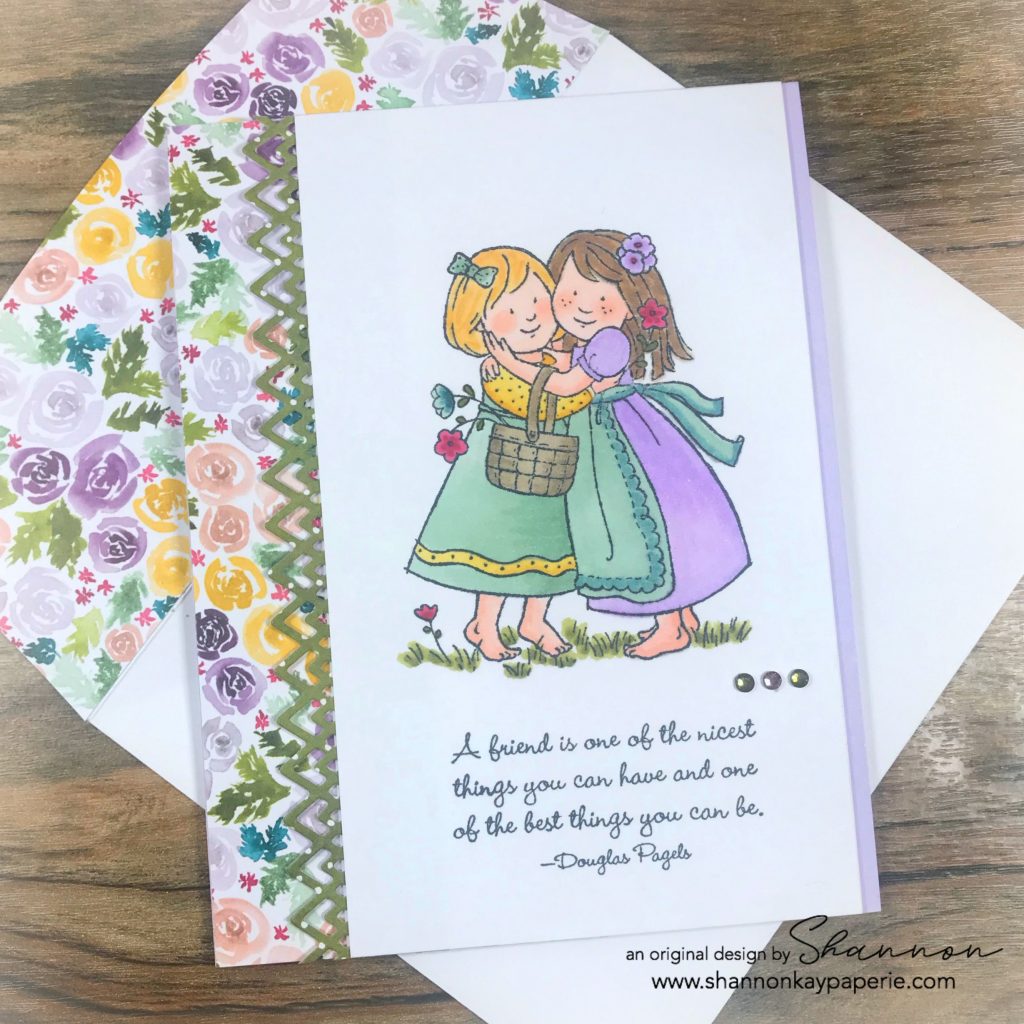
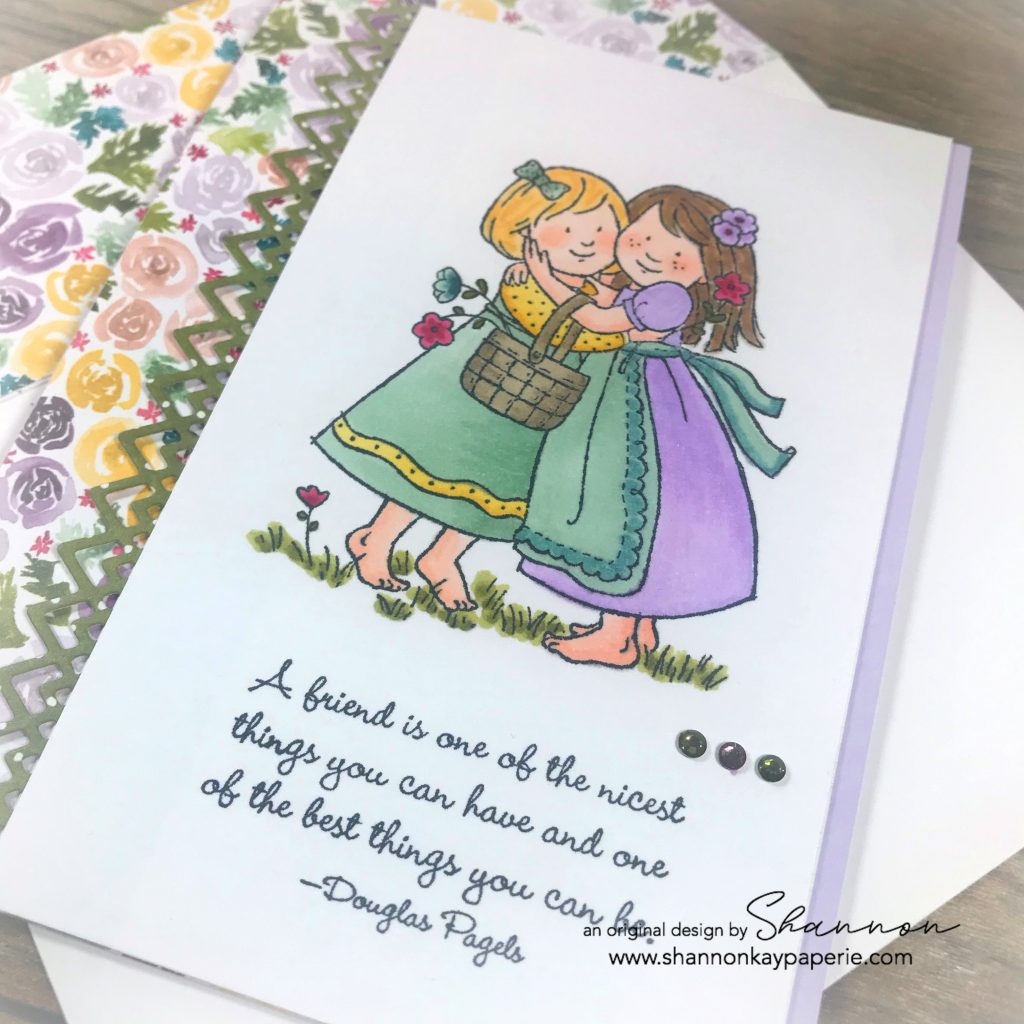
  • I recently acquired this stamp set, The Nicest Things, secondhand. It’s vintage Stampin’ Up! and so, so sweet. Those little girls – oh, I just can’t even!
  • Tons of coloring today so let me break it down for you
    • The dress on the right is Light & Dark Purple Posy with a Light Mint Macaron Apron with Light Pretty Peacock detailing on the apron. The base for her hair is Dark Daffodil Delight with additions of Light & Dark Crumb Cake and Bronze
    • The dress on the left is Light & Dark Mint Macaron with Light & Dark Daffodil Delight for the trim and the blouse. The base for her hair is Light So Saffron with additions of Dark So Saffron and Light & Dark Daffodil Delight
    • The basket is Light & Dark Crumb Cake
    • The grass is Light & Dark Old Olive
    • Three of the flowers are Light & Dark Lovely Lipstick; the fourth flower is Light Mint Macaron and Light & Dark Pretty Peacock
    • The girls’ skin tone is Light & Dark Petal Pink.

Stampin-Up-The-Nicest-Things-Love-and-Friendship-Card-Ideas-Shannon-Jaramillo-shannonkaypaperie-Stampin-Up-SU

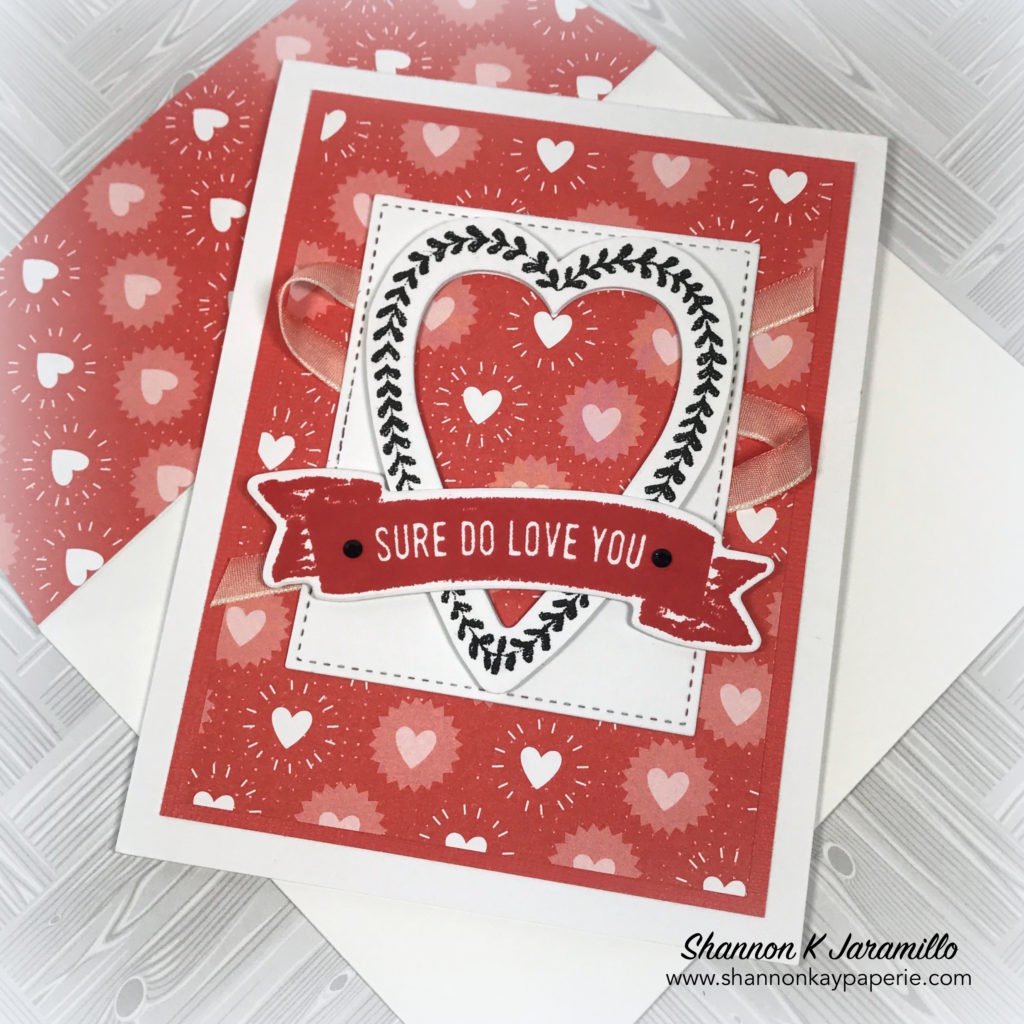
  • To keep with the inspiration sketch, I added three Basic Rhinestones Jewels and colored them with Pretty Peacock and Blackberry Bliss.
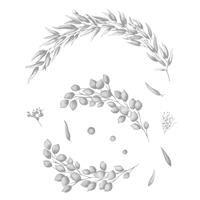
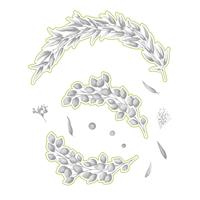
  • The intricate detail cut to the left of the focal image was achieved by using the Delicate Lace Dies. I have been itching to try them out, I love it! What do you think? Yay or Nay?
  • I used two different patterns from the Best Dressed DSP line and incorporated the colors from that DSP when coloring my little darlings.

Stampin-Up-The-Nicest-Things-Love-and-Friendship-Cards-Idea-Shannon-Jaramillo-shannonkaypaperie-Stampin-Up-SU

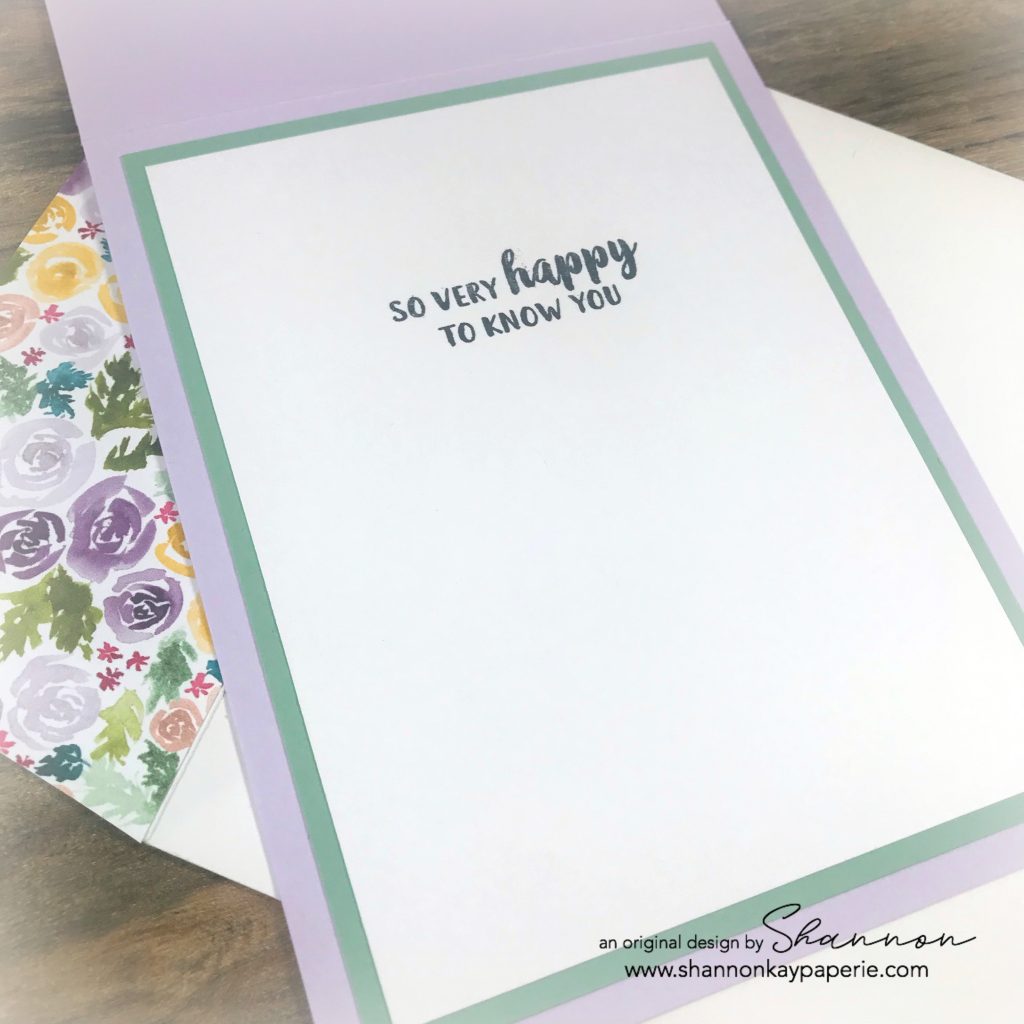
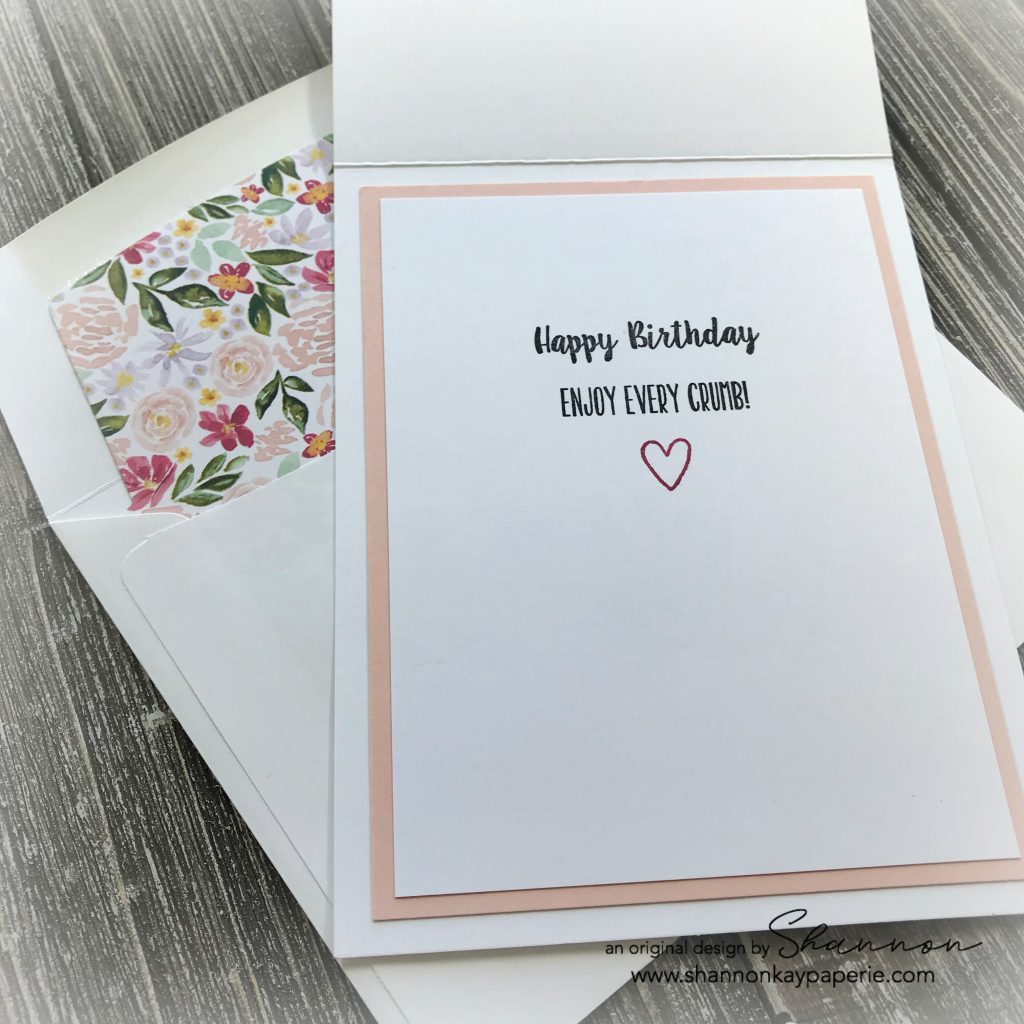
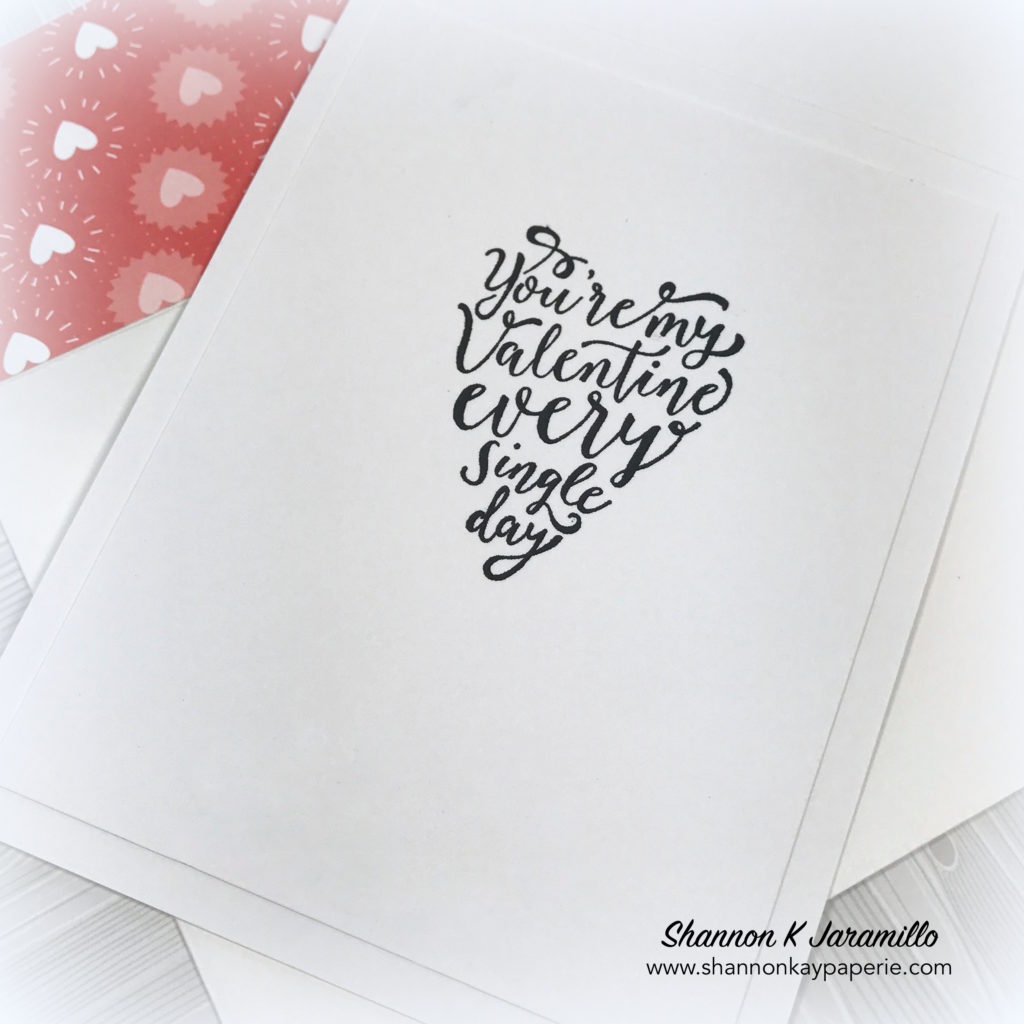
  • The inside sentiment is from the Beautiful Friendship stamp set and pairs so well with the saying on the front. I can’t wait to send this out!

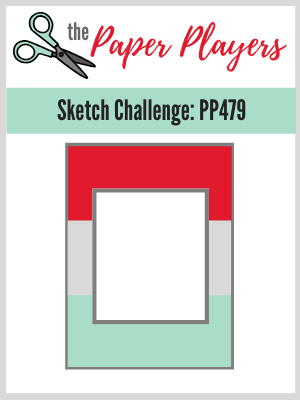
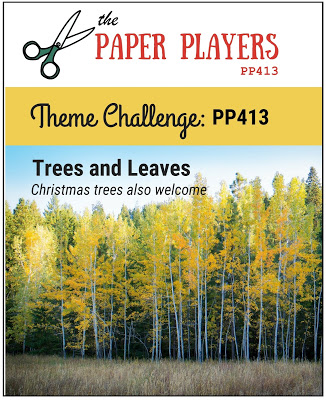
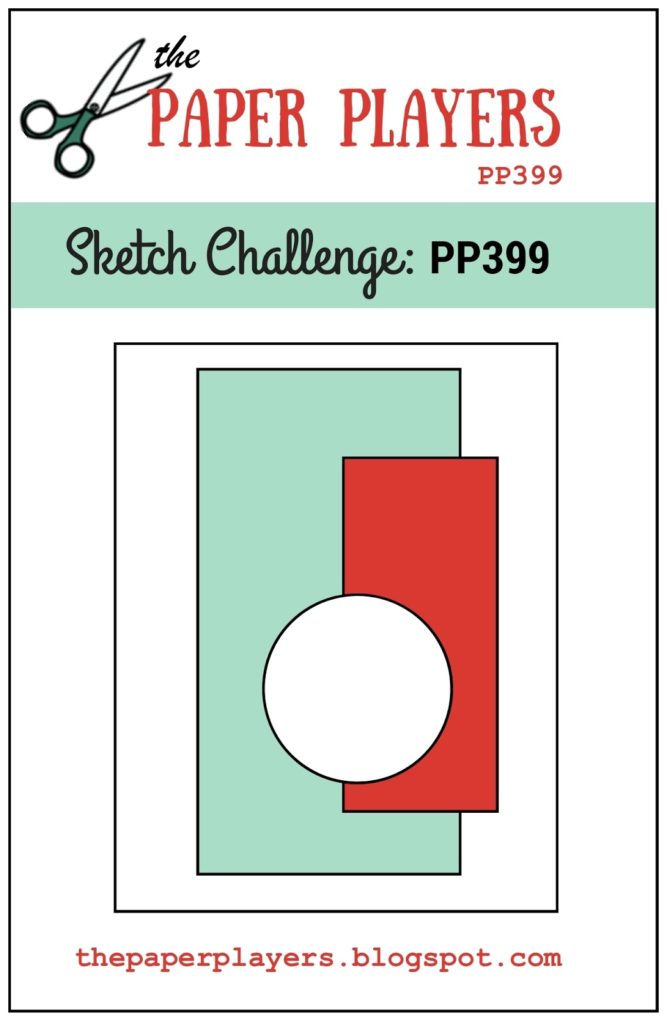
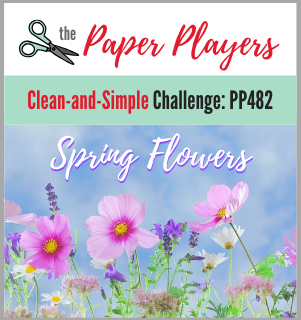
Two different challenges inspired today’s project, the first was the CAS (Clean and Simple) Flowers challenge over at The Paper Players (and I’m sneaking in just under the wire!) and the sketch challenge over at the TGIF Challenge. Thank you to both design teams for the awesome inspiration!!! XX

Stampin-Up-The-Nicest-Things-Love-and-Friendship-Cards-Idea-Shannon-Jaramillo-shannonkaypaperie-Stampin-Up-SU  Supplies (all Stampin’ Up! unless otherwise noted):

Card Stock: Mint Macaron and Purple Posy;  Neenah Solar White Classic Crest Cover 80#

DSP: Best Dressed

Ink: Memento Tuxedo Black

Stamps: The Nicest Things and Beautiful Friendship

Alcohol Markers: Purple Posy, Mint Macaron, Pretty Peacock, daffodil Delight, Crumb Cake, Sa Saffron, Lovely Lipstick, Old Olive, Petal Pink, Ivory and Bronze

Dies: Delicate Lace

Tools: Big Shot, Stampin’ Trimmer (both retired)

Embellishments: Rhinestone Basic Jewels; Wink of Stella 

Other: Whisper White Envelope

Cake is the Answer – The Paper Players 479

Stampin-Up-Piece-of-Cake-Birthday-Card-Idea-Shannon-Jaramillo-stampinup-SU

Cake is the answer – who cares what the question is! Right, lol?!? My favorite is COSTCO chocolate with chocolate frosting. I can lose my MIND around COSTCO chocolate cake. It’s a good thing I don’t encounter it very often now that I am retired! 🙂 Do you have a favorite?

Measurements:

  • White Card Base 4 1/4″ x 11″ scored at 5 1/2″
  • Petal Pink Card Stock Layer 3 7/8″ x 5 1/8″
  • Lovely Lipstick Card Stock Layer 3 3/4″ x 4 3/4″
  • 3 DSP Rectangles 3 5/8″ x 1 1/2″

Details:

  • Today’s project was built around this darling pattern paper (or DSP) Best Dressed from Stampin’ Up!. I love that one side of the DSP coordinates with the Dressed to Impress stamp set and that the reverse prints coordinate with the Beautiful Friendship stamp set.
  • Lovely Lipstick is the color that jumped out at me so I used it on the birthday cake, part of the sentiment and for the beautiful bow as well.
  • I have to admit struggling with using this cake image from the Piece of Cake stamp set. I kept stamping in with Tuxedo Black Memento Ink and then coloring it, using different combinations of colors each time. That’s when I realized that the image would be best stamped in a colored ink and voila! Love it! (Is it just me or does the cake stamp look like two macarons stacked one on top of the other?)
  • Do you recognize the ribbon I used? No? Well, that’s because the ribbon was originally WHITE and I colored it with my Dark Lovely Lipstick Stampin’ Blend alcohol marker! It’s a trick I learned long ago but with re-inker as the coloring agent. I MUCH prefer the alcohol marker method as it’s not quite as messy and dries almost instantly. The bit of ribbon I used here was from a product share I participated in and I definitely want to purchase a whole roll of this lovely ribbon – it’s a very nice width and SO easy to color! (If you want some as well, get it ordered pronto as it’s already on backorder and there’s always a chance it could sell out, it’s been very popular)

Stampin-Up-Piece-of-Cake-Birthday-Card-Ideas-Shannon-Jaramillo-stampinup-SU

  • Don’t you just love the sentiment? I wanted it to stand out so I stamped it in Lovely Lipstick and then cut it out and adhered it at a candy angle. Who CARES what the question is?!? Makes me giggle every time I read it!
  • I stamped the cake stand in Tuxedo Black Memento Ink and then colored it in using a combination of COPIC and Shin-Han markers in very soft gray tones. I added shading with the darker color. The floral cake topper (which I thought coordinated very nicely with the floral pattern paper) was colored with a combination of Stampin’ Blends and Stampin’ Write Markers and then fussy cut it out. All three pieces were popped up on Stampin’ Dimensionals onto a die cut scalloped rectangle, also popped up with Stampin’ Dimensionals.
  • To create the bow, after coloring it with my Stampin’ Blend marker, I wrapped it around three of my fingers, scrunched it up in the middle, and then wound another smaller piece of ribbon around it and pulled it tight into a knot. Super easy to do and makes quite an impression! Of course, it will get a bit smushed when put into an envelope, but even smushed, I think it will look quite lovely.

Stampin-Up-Piece-of-Cake-Birthday-Cards-Idea-Shannon-Jaramillo-stampinup-SU

  • I used more sentiments from the same stamp set, as well as a heart, for the card inside and framed them out in Petal Pink.

Thank you to Ms. Leanne over at The Paper Players for her delightful sketch this week. I had SO much fun playing along! 

Have a great rest of your week!

Supplies (all Stampin’ Up! unless otherwise noted):

Card Stock: Lovely Lipstick and Petal Pink;  Neenah Solar White Classic Crest 80# and 110#

DSP: Best Dressed

Specialty Paper: None

Ink: Lovely Lipstick; Versamark Onyx Black & Memento Tuxedo Black

Stamps: Piece of Cake

Alcohol Markers: Light & Dark Lovely Lipstick, Light Old Olive, Light Petal Pink, COPIC C00 & Shin-Han Twin Touch CG1

Dies: Stitched So Sweetly, Stitched Rectangle and Envelope Die (retired)

Tools: Big Shot, Stampin’ Trimmer (both retired); Cake Builder Punch, Old Olive and Petal Pink Stampin’ Markers

Embellishments: Whisper White 1/4″ Crinkled Seam Binding Ribbon; Wink of Stella 

Other: Whisper White Envelope

Fresh Foliage Thank You – The Paper Players 413

Fun-Stampers-Journey-Thank-You-Card-Idea-Shannon-Jaramillo-funstampersjourney-FSJ

Hello my stampin’ friends! I hope your week is going well! Today I wanted to incorporate two challenges into one card: The Paper Players theme challenge of trees or leaves and my FSJ team color challenge.

Measurements:

  • Lemongrass Card Base 4 1/4″ x 11″ scored at 5 1/2″
  • Citrus Cooler Layer 3 7/8″ x 5 1/8″
  • Butter Cream Layer 3 3/4″ x 5″

Details:

  • The color challenge was to use 3 of 5 colors and I used 4 of the 5: Butter Cream, Citrus Cooler, Sweet Pear (my fav color) and Lemongrass.

  • I was quite literal with the leaves or tree challenge and chose to use FSJ’s Fresh Foliage stamp set. Coordinating dies are available but today I just used the stamps. Isn’t the way they have built the shading into the stamp set amazing?

Fun-Stampers-Journey-Thank-You-Card-Ideas-Shannon-Jaramillo-funstampersjourney-FSJ

  • The first image stamped was this gorgeous thank you sentiment from the ATS set ‘Many Thanks’ on to Butter Cream card stock. Such a gorgeous font!

  • I inked up two mirror image stamps in Sweet Pear and stamped them around the sentiment, using my Stamp-A-Ma-Jig as my placement guide.
  • I then pulled out my Lemongrass ink pad and a blender pen. I used the blender pen to pick up the ink directly from the ink pad and then colored each leaf on the stamp, staying toward the bottom of each leaf. I also inked up all of the stems. Then I used a dauber to pounce on the inked stamp, pulling some of the color back up. I then stamped directly over my Sweet Pear stamped images, creating soft shading of the leaves and stems.

  • I needed to add Citrus Cooler to my design but wasn’t satisfied with the options I had in the ‘Fresh Foliage’ stamp set so I pulled out ‘Harvest Wreath’ and found this itty bitty dotted stamp. I played around with full color stamping and then stamping off once, but first the color was too dark, and then it was too light (Goldilocks here) but then I found a combination that was JUST right. lol. I inked up the little stamp in Citrus Cooler and then stamped it into the dauber sponge before stamping on to my card front. Perfect!!

Fun-Stampers-Journey-Thank-You-Cards-Idea-Shannon-Jaramillo-funstampersjourney-FSJ

  • I layered the card front onto Citrus Cooler card stock, added a 3 1/2″ x 4 3/4″ piece of white craft foam to pop it up, and adhered the card front to the Lemongrass card base.
  • I wanted to add more to my design but every embellishment I chose overwhelmed the design. I finally added Wink of Stella to the Citrus Cooler dot images and then went over that with Journey Glaze. It is SUCH good stuff…I can’t believe I stamped for eight years without it!!
  • I left the card to dry overnight and came back but it still wasn’t enough so I colored all of the Lemongrass parts of the leaves with Wink of Stella. THAT was the perfect finishing touch. I can see just a bit of the shine in the photo but in person, the whole card sparkles. So happy!

Fun-Stampers-Journey-Thank-You-Cards-Ideas-Shannon-Jaramillo-funstampersjourney-FSJ

  • I stamped another stamp from the ‘Many Thanks’ ATS set on the inside and called it good.
  • Since I didn’t have any FSJ pattern paper that used these colors, I just went through my pattern paper stash until I found one that matches amazing well and used that to line the envelope.

This was such fun to create and I thank The Paper Players design team for giving me the inspiration!

Have a great day! I hope you get to do something crafty today! P.S. I love to hear from you so please leave a comment if you can! Thanks so much for stopping by!!


Life is Beautiful – Sneak Peek of New Products!

Fun-Stampers-Journey-Life-is-Beautiful-Love-and-Friendship-Card-Ideas-Shannon-Jaramillo-FSJ-funstampersjourney

W.O.W. What do you think of my sneak peek of the A-M-A-Z-I-N-G new stamp set Life is Beautiful as well as the F-A-B-U-L-O-U-S new pattern paper Good Life Prints? Both of these products are part of The Good Life suite of products available in the 2018-19 FSJ (Fun Stampers Journey) annual catalog, which will go live this Sunday, July 1, 2018! Do you love what you see? I picked up a bundle of products from the suite at convention this last week and knew that I had to sit down and play with them just as soon as I could!! The rest of the suite is equally amazing and I can’t wait to get it all! I may never play with anything else again!! The rest of the papers in this paper pack are all so beautiful too!! (can you tell I’m excited?!?)

Measurements:

  • Huckleberry Fusion Card Base 4 1/2″ x 11″, scored at 5 1/2″
  • Tin Pail Card Stock Layer 4″ x 5 1/4″
  • Pattern Paper Background Layer 3 3/8″ x 5″
  • Huckleberry Fusion Layer 2 1/2″ x 4 1/2″
  • Tin Pail Card Stock Layer 2 1/4″ x 4 1/4″
  • Pattern Paper Layer 2″ x 4″
  • Huckleberry Fusion Layer 2 1/4″ x 3 1/2″
  • Tin Pail Card Stock Layer 2″ x 3 1/4″
  • Whip Cream Stamped Image Layer 1 3/4″ x 3″

Details:

  • One of the big announcements at convention was the introduction of 6 new colors to the FSJ color palette. All six colors are warm and earthy and are designed to coordinate with The Good Life Suite. In fact, I have two words to sum up the new colors and the entire suite of products – Joanna Gaines. Yep. Absolutely brilliant. I will share all of the colors in a future post, but the one I used here for my layering is the perfect shade of light gray and is called Tin Pail. The name is PERFECT for the color!!
  • The blue in the checked pattern is probably actually another new color called Chambray Shirt, I don’t actually know yet because the list of coordinating colors has been released yet, but when I paired the checked paper and the Chambray Shirt card stock, the card stock wasn’t quite deep enough to balance out the blue check, so I went slightly darker with Huckleberry Fusion card stock and think it’s a stunning combination.

https://shannonkaypaperie.com/wp-content/uploads/2018/06/Fun-Stampers-Journey-Life-is-Beautiful-Love-and-Friendship-Cards-Ideas-Shannon-Jaramillo-FSJ-funstampersjourney.jpg

  • I used the Journey Color Burst Colored Pencils to color in this delightful image of flowers in an old-fashioned milk bottle. For the flowers petals I used pencils 31 and 32, for the flower center I used pencil 15 (which is Summer Days) and for the milk jug I used shades of grey with pencils 29 and 47. I used the color burst blender to blend the color just a smidge but really liked the edgy look of the original layers of color.
  • Both the vase of flowers and the sentiment were stamped in Black Licorice Fusion Ink and the the sentiment was die cut with its’ coordinating die and popped up with foam squares.

Fun-Stampers-Journey-Life-is-Beautiful-Love-&-Friendship-Card-Idea-Shannon-Jaramillo-FSJ-funstampersjourney

  • Once I had the sentiment all cozied up with my natural twine bow, I used a fine paint brush and added just a touch of Journey Glaze to the sentiment to help it pop and add shine. I’ve never used Journey Glaze, or anything like it before, so I was very cautious about how much I used. I also added a drop of Summer Days ink to the flower centers and then added a drop of Journey Glaze to them as well. They sparkle so prettily!!
  • The button? I don’t have a big collection of embellishments (yet) so I just pulled this little wood button out of my old scrapbooking stash ad adhered it with a glue dot. The bow just needed a little somethin’ somethin’ 🙂

I have to thank the very wonderfully talented team at The Paper Players for the sketch inspiration for this card. I love a simple layout every day of the week! I’m also sneaking in just under the wire, lol!

REMEMBER, if you would like to receive the NEW and AWESOME 2018-19 Fun Stampers Journey catalog, please email me with your address information! If you contact me by June 30th, I will send the catalog to you AT NO COST TO YOU. On July 1st, I will still be sending the catalogs free, but will be collecting a shipping charge of just $7.00.

PLEASE tell me what you think of these new products! Are you in love?!? I can’t wait to hear from you all!

Supplies: (All Fun Stampers Journey products unless noted differently below)

Card Stock: Huckleberry Fusion, Whip Cream and Tin Pail (available on July 1st)

Printed Paper: Good Life Prints (available on Jul 1st)

Ink: Black Licorice 

Stamps: Life is Beautiful (available on Jul 1st)

Dies:  Life is Beautiful (available on Jul 1st)

Tools:  Journey Glaze, Journey Blooms Paper Trimmer

Embellishments: Journey Twine Natural

Other: None

Will You Be My Valentine? – The Paper Players 379

Stampin-Up-Sure-Do-Love-You-Valentine-and-Love-Card-Idea-Shannon-Jaramillo-stampinup

A few days ago when I was pulling out possible designer series paper options for this card, this was one of the patterns I pulled out. I loved it as soon as I saw it, and since it fit perfectly with The Paper Players challenge this week, I set it aside to create with! It’s part of a bright and fun pack of Designer Series Paper called Bubbles & Fizz which is available for free with any $50 purchase during Sale-A-Bration!

Measurements:

  • Card Base 4 1/2″ x 11″, scored at 5 1/2″
  • Calypso Coral Layer 3 3/4″ x 5″
  • DSP Layer 3 1/2″ x 4 3/4″
  • White Layer 2 3/4″ x 3 1/2″

Details:

  • When I saw the Sure Do Love You stamp set in the catalog, I flipped right on by…wasn’t interested in more Valentine’s Day stamps. But on about my tenth pass through the catalog (do you do that too?), it caught my eye and I realized that the large heart was darling, oh! and then the banner, oh! and then what a cute saying in the other heart! Love button. And of course, if I purchase the Sure Do Love You bundle, I save 10%! That’s how we roll around here!

Stampin-Up-Sure-Do-Love-You-Valentine-and-Love-Card-Ideas-Shannon-Jaramillo-stampinup

  • If you look closely at the stamped heart, you will see that what appear to be connected petals are actually hearts…love button again! I stamped it with Memento Tuxedo Black ink and then die cut the middle out with the coordinating Lots to Love Box Framelits Dies. I snipped around the outside with my Paper Snips and popped it up onto a die cut rectangle.
  • The frame for the heart was created using largest square die in the Stitched Shapes Framelits Dies. How did I make a rectangle out of a square? I positioned the square die with one side hanging about a 1/2″ off the edge of the Magnetic Platform, cutting edge up, and secured it with a small piece of wash tape. I then laid the 2 3/4″ x 3 1/2″ piece of white card stock on top, lining the edges up straight and securing THAT with another piece of washi tape. I ran all of that through the Big Shot, stopping when I hit the edge of the magnetic platform, rolled it back through, lifted the card stock off the die, turned it around and laid it down just like I had previously, ran it through the Big Shot again and voila! a stitched rectangle!Stampin-Up-Sure-Do-Love-You-Valentine-and-Love-Cards-Idea-Shannon-Jaramillo-stampinup
  • The heart was popped up with Stampin’ Dimensionals and positioned on the frame, the sentiment stamped and die cut, a matching heart was cut with the heart die and laid into the center of the heart…I love the dimensional look it has…and then I positioned the sentiment on top!
  • A few posts ago I mentioned that I had “discovered” my Lemon Lime Twist Ombre Ribbon, well today I discovered my Calypso Coral Ombre Ribbon! lol I ran my adhesive across the back of the white rectangle layer and then randomly laid the ribbon out behind it, and adhered the whole thing to the card.
  • A few Black Rhinestones (retired) add a little bling and draw attention to the sentiment.

Stampin-Up-Sure-Do-Love-You-Valentine-and-Love-Cards-Ideas-Shannon-Jaramillo-stampinup

  • I kept the inside simple with this heart shaped sentiment. The shape and the sentiment itself are fabulous! As you can see, I added an additional layer of white card stock to the inside of the card. I have noticed that this layer of my cards tends to warp when displayed, probably because I add so much to the front, hopefully this additional layer will keep them from doing that!

Thank you Claire and The Paper Players for a sweet challenge this week! I sure enjoyed playing along!

Thank you for popping over to my little blog!

Blessings!

Supplies:

Card Stock: Stamper’s Select White by Papertrey Ink; Calypso Coral by Stampin’ Up!

Pattern Paper: Bubbles & Fizz Designer Series Paper by Stampin’ Up!

Ink: Memento Tuxedo Black; Calypso Coral by Stampin’ Up!

Stamps:  Sure Do Love You by Stampin’ Up!

Dies:  Lots to Love Box Framelits Dies by Stampin’ Up!

Tools: Big Shot and Stampin’ Trimmer by Stampin’ Up!

Embellishments: Calypso Coral 1/4″ Ombre Ribbon and Black Rhinestone Basic Jewels by Stampin’ Up!

Other: Medium Whisper White Envelope by Stampin’ Up!