A Harvest Bouquet of Gratitude

Stampin-Up-Pick-a-Pumpkin-Thank-You-Cards-Ideas-Shannon-Jaramillo-stampinup

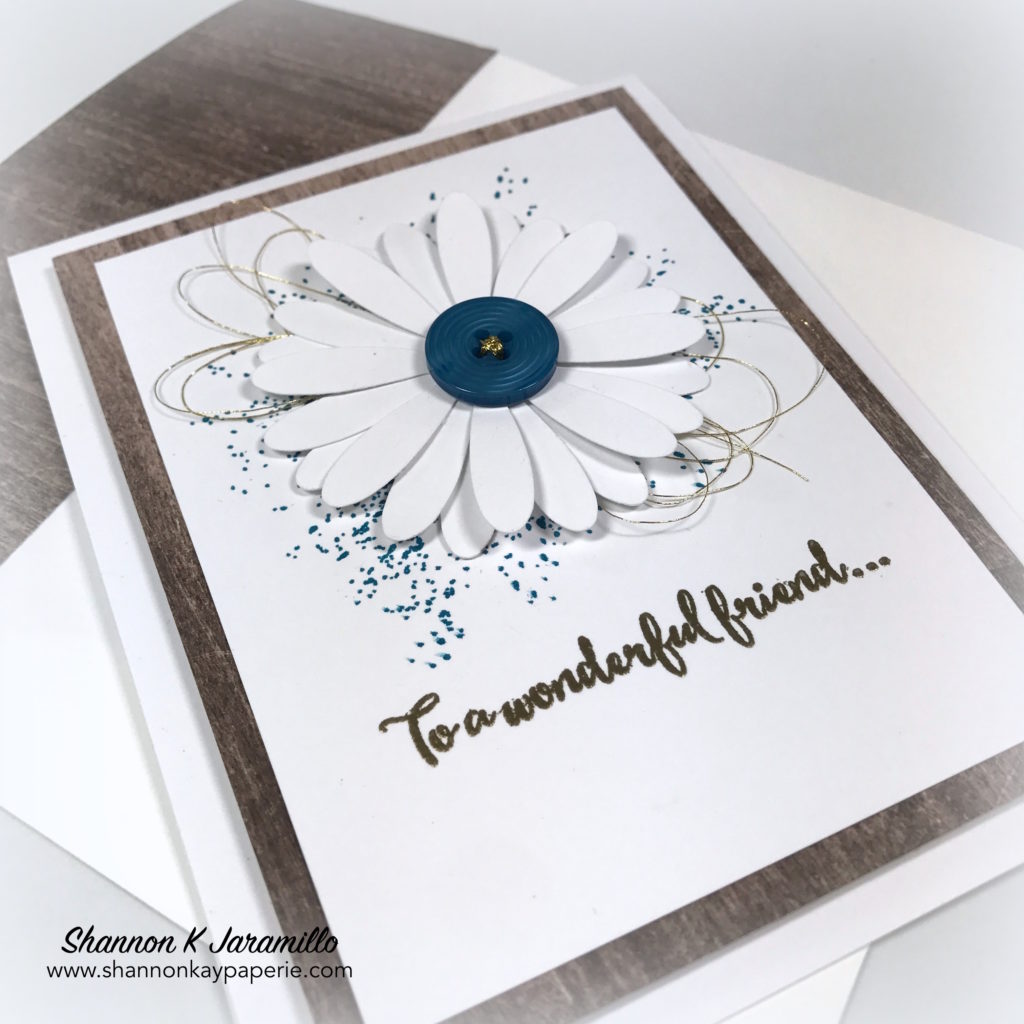
I was feeling very “Fall” inspired when I made this card, in spite of the Santa Ana winds blowing which drive the temperatures up into the 90’s. That’s Southern California life for you!

Measurements:

  • Card Base 4 1/2″ x 11″, scored at 5 1/2″
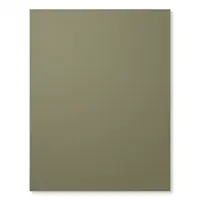
  • Early Espresso Layer 4″ x 5 1/4″
  • Vanilla Layer 3 3/4″ x 5″
  • Vanilla Circle 3″
  • DSP Square 3″ x 3″

Details:

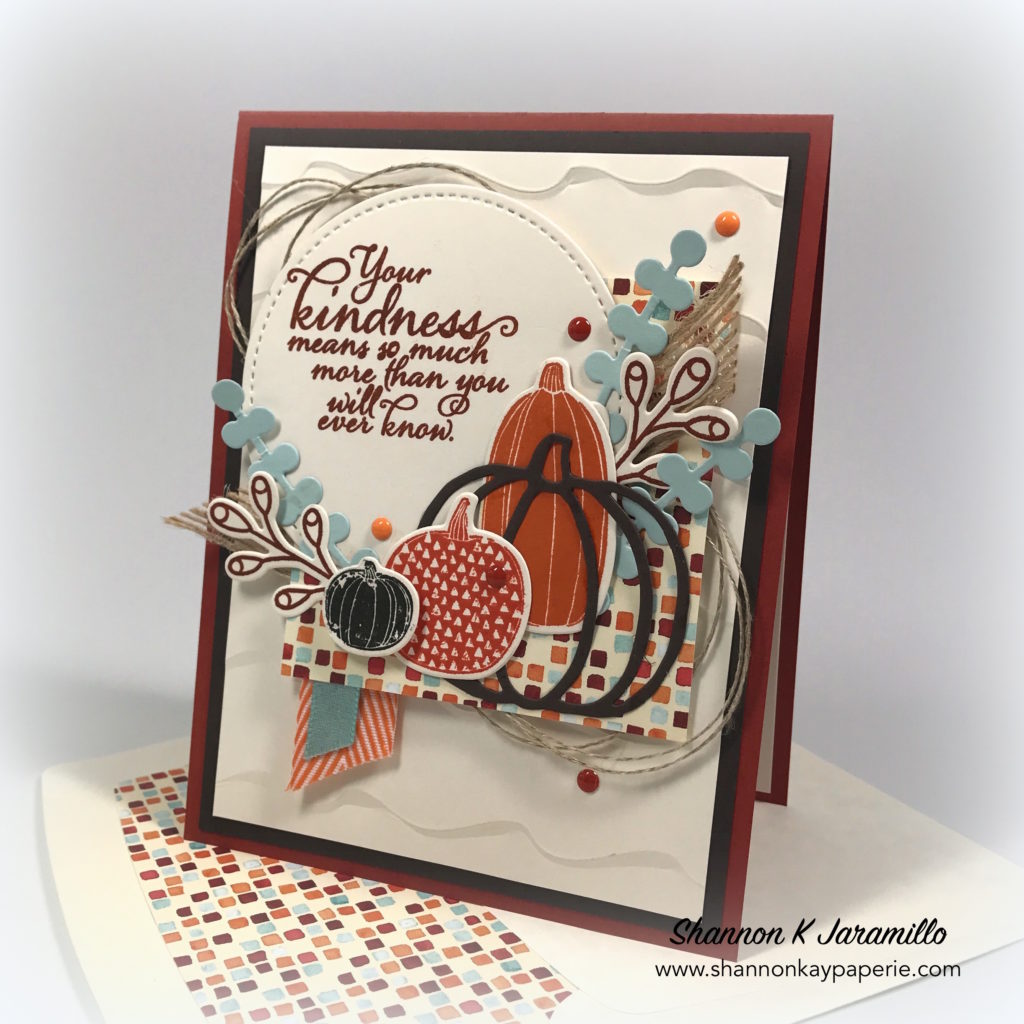
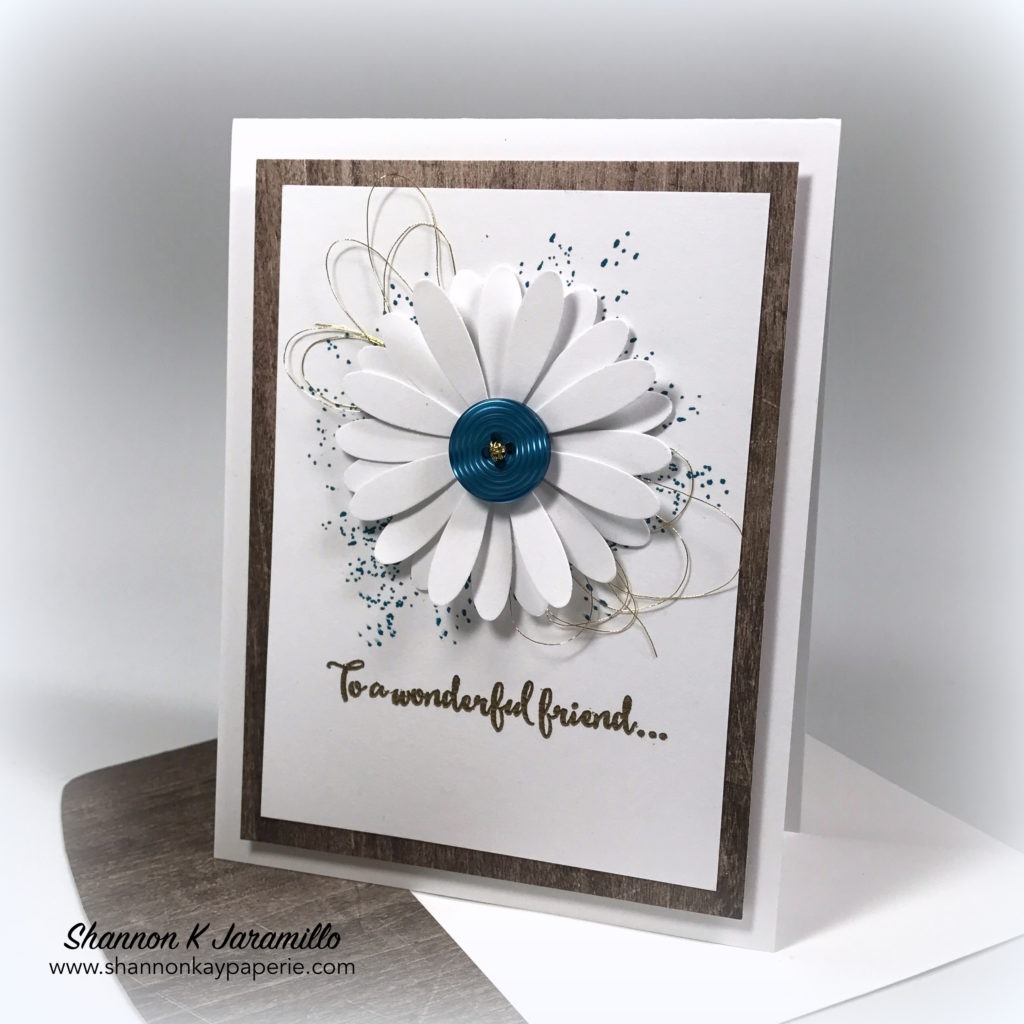
  • The Early Espresso die cut pumpkin, which together with the Soft Sky sprigs are stand alone dies from the Patterned Pumpkins Thinlits Dies, was the basis for this card and everything developed around it. I adore the pumpkin die cut and have a few more ideas for it, so look for it to turn up again here on my blog!
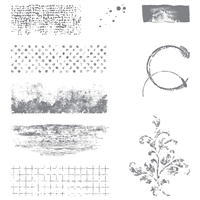
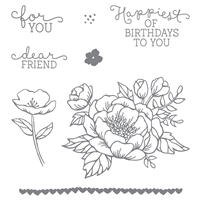
  • All of the stamped images you see here, pumpkins and floral stems, are from the Pick a Pumpkin stamp set and you can get both products bundled up in the Pick a Pumpkin bundle at a 10% savings! Say THAT three times fast!! lol
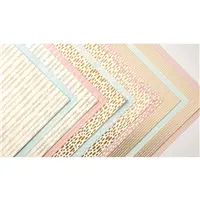
  • The DSP I used is the Painted Autumn DSP and the pattern I chose to highlight has Cajun Craze, Tangerine Tango and Soft Sky in it. When stamping though, I also threw in Pumpkin Pie and Early Espresso for a little more fun and contrast.
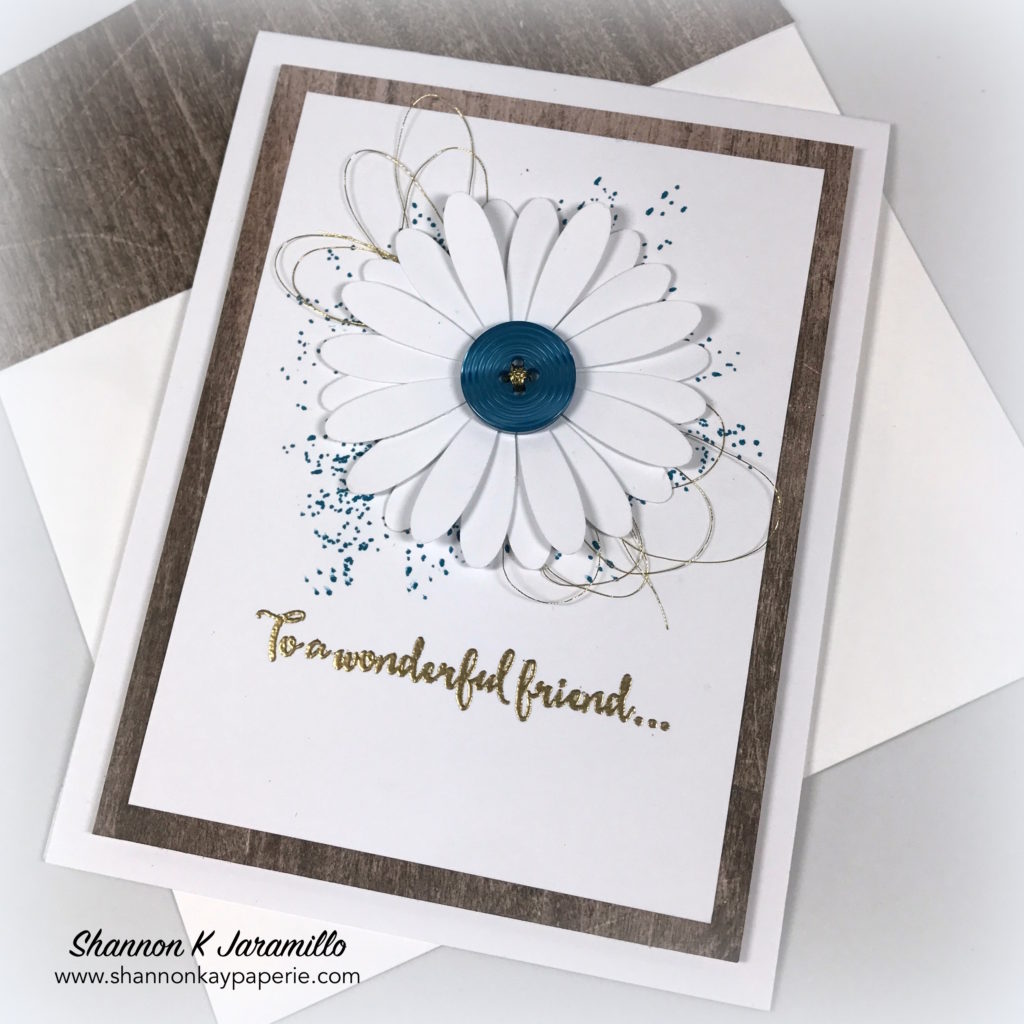
  • The pretty sentiment is from the Painted Harvest stamp set and is such an appropriate sentiment, no matter the season!

Stampin-Up-Pick-a-Pumpkin-Thank-You-Card-Ideas-Shannon-Jaramillo-stampinup

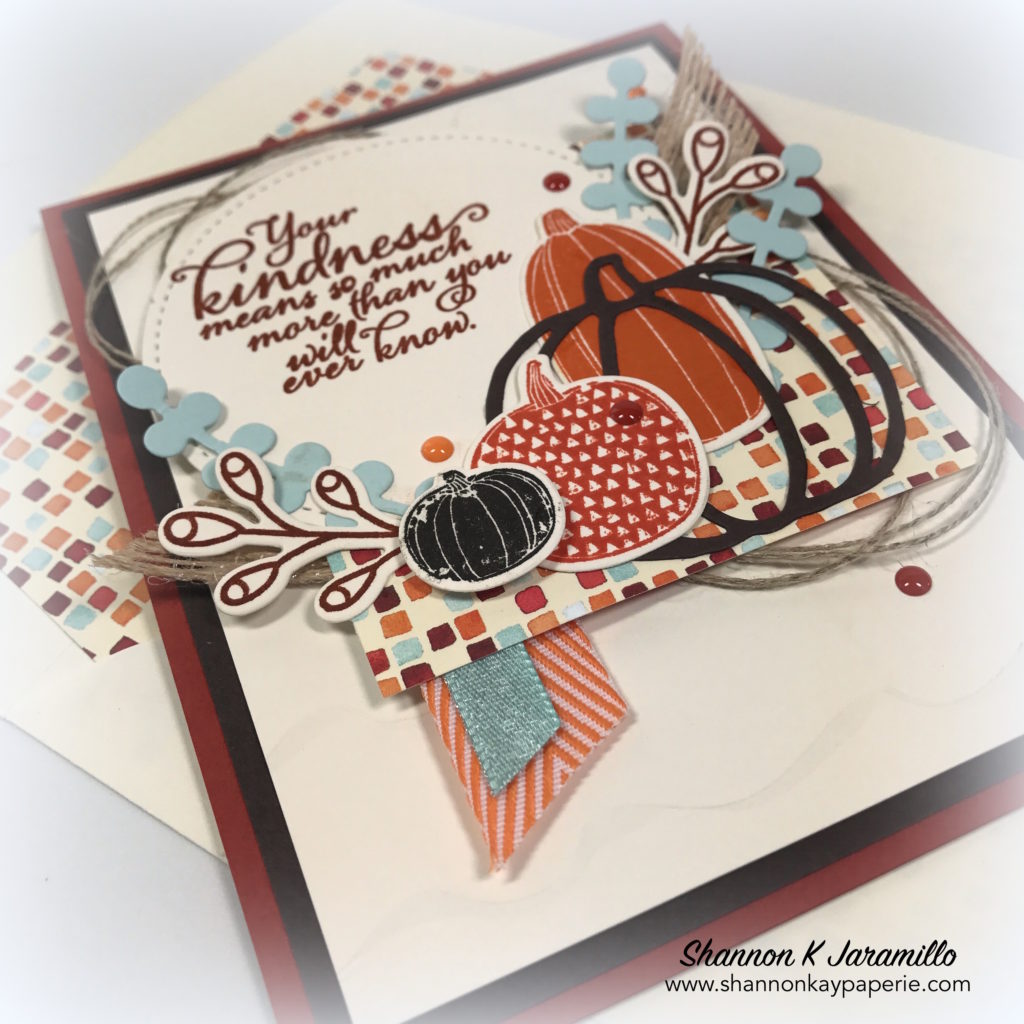
  • I arranged my circle (die cut with the Stitched Shapes Framelit Dies) together with a square cut from DSP to for the base for my harvest bouquet. I then stamped and die cut images and shapes and arranged them all around the Early Espresso pumpkin (love) (I had to say it again).
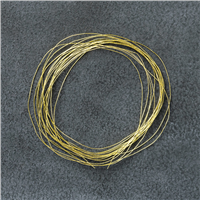
  • I then took bits and pieces of the 5/8″ Burlap Ribbon, Linen Thread, 3/8″ Classic Weave Ribbon in Soft Sky, and some retired Pumpkin Pie chevron ribbon (I didn’t have any current Pumpkin Pie ribbon!) and added them to the bouquet, looped around the focal piece and even as banners!
  • Lastly were some Cajun Craze and Pumpkin Pie enamel shapes to add that last detail.
  • Wait – did you see the layer of cream is embossed with the Ruffled Dynamic Textured Impressions Embossing Folder? It adds such a sweet soft detail to the design 🙂

Stampin-Up-Pick-a-Pumpkin-Thank-You-Cards-Ideas-Shannon-Jaramillo-stampinup

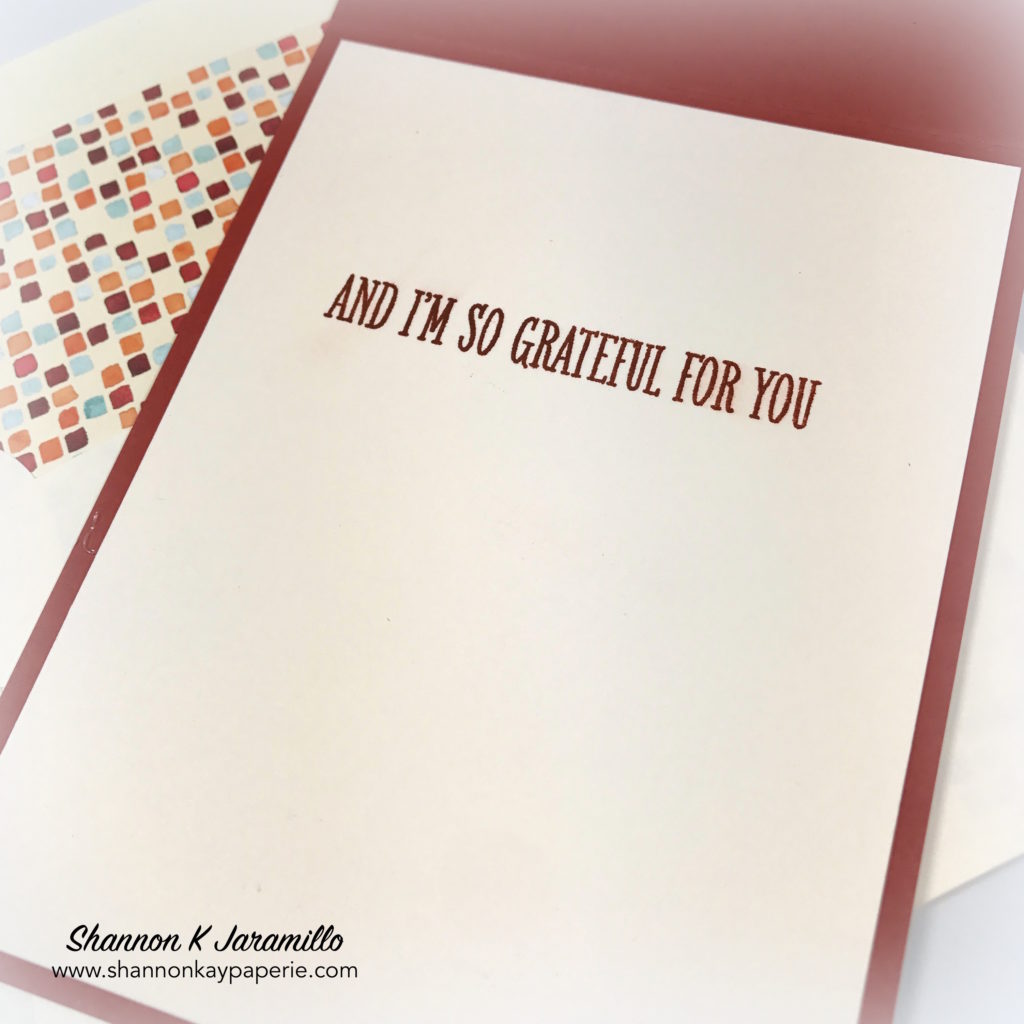
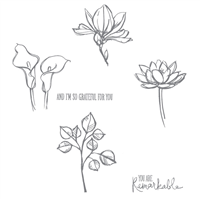
  • I kept the inside simple with just a sentiment from the Remarkable You stamp set, stamped in Cajun Craze.

Honestly, I don’t think I’ve ever had as much fun with the color Cajun Craze as I did today! What do you think? Is it a color, or a collection of colors, that speaks to you?

Blessings!

Supplies:

Card Stock: Vintage Cream by Papertrey Ink; Cajun craze, Early Espresso, Soft Sky by Stampin’ Up!

Pattern Paper: Painted Autumn Designer Series Paper by Stampin’ Up!

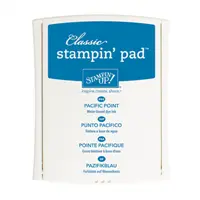
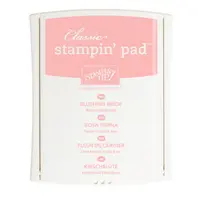
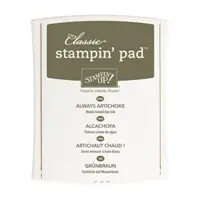
Ink: Cajun Craze, Early Espresso, Pumpkin Pie, Tangerine Tango by Stampin’ Up!

Stamps:  Pick a Pumpkin, Painted Harvest and Remarkable You by Stampin’ Up!

Dies:  Patterned Pumpkins Thinlits Dies, Stitched Shapes Framelits Dies and Envelope Liner Die (retired) by Stampin’ Up!

Tools: Big Shot, Ruffled Dynamic Textured Impressions Embossing Folder and Stampin’ Trimmer by Stampin’ Up!

Embellishments: Cajun Craze and Pumpkin Pie Enamel Dots, 5/8″ Burlap Ribbon, Linen Thread, 3/8″ Classic Weave Ribbon in Soft Sky, and some retired Pumpkin Pie chevron ribbon by Stampin’ Up!

Other: Medium Very Vanilla Envelope by Stampin’ Up!

Clean and Modern Country for Inspired by All the Little Things

I am thrilled to share some news with you that I’ve been keeping under my hat for a few weeks now. Nance Lempinen-Leedy, design team member for the challenge blog “Inspired by All the Little Things has invited me to be a guest designer for this week’s challenge!! I am SO honored and tickled to be considered and couldn’t say “yes” fast enough!

Doesn’t the name itself “Inspired by All the Little Things” just contour up lots of pleasant images in your head? It sure does for me and when I saw the inspiration photo, I just had to sigh in delight…

Isn’t the inspiration photo wonderful?? I focused first on the Mason jars, then the colors, then the flowers, and then finally saw the wood texture in the background. I took the photo quite literally at first but as I pondered it, my inspiration shifted from what I actually saw to the overall feeling the photo gave me, which was a fresh clean take on country. And not your grandma’s country either but rather, Joanna Gaines’ kinda country!! And this is where that inspiration led me…

Stampin-Up-Daisy-Punch-Love-and-Friendship-Card-Idea-Shannon-Jaramillo-stampinup

Details:

  • I picked up the wood texture with my background paper from the Wood Textures DSP Stack. I layered it on the card and also covered my envelope flap in it. It looks a lot darker in the photo than it is in real life.
  • I carried with the flowers theme with a tripled layered daisy using the new Daisy Punch. It’s very easy to create – just punch three daisies and adhere them together with glue dots! The large daisy was adhered to the card front with Stampin’ Dimensionals for added depth.

Stampin-Up-Daisy-Punch-Love-and-Friendship-Card-Ideas-Shannon-Jaramillo-stampinup

  • I loved the vivid blue in the inspiration photo so I chose Pacific Point as my blue. It’s a very vivid hue of blue so I used it sparingly – stamping splatters on the background using the Timeless Textures stamp set and one single retired Pacific Point button as my “wow” factor.
  • Gold on my cards can be tough for me so I again kept it simple with looped Gold Metallic Thread wrapped behind the daisy and a prettily embossed sentiment from the Dragonfly Dreams stamp set. And just the tiniest bit of shine from the gold metallic thread wrapped through the button hole!

Stampin-Up-Daisy-Punch-Love-and-Friendship-Cards-Idea-Shannon-Jaramillo-stampinup

And there you have it, my clean and modern take on a country inspiration. I can see this as the foundation for my dream kitchen…lots of light, bright white cabinets with the wood floors, a big white country table set for breakfast with a big white milk pitcher filled with white daisies…yes, all that from a card, lol.

And I can’t wait to see how the inspiration photo inspires you!!

I hope you are inspired to check out this amazing challenge blog “Inspired by All the Little Things” and visit each of the very talented designers and then I hope to see you in the gallery as well! There is also a short bio on me if you care to take a peek!

Blessings!

Supplies:

Remarkable You in Blushing Bride – Tic Tac Toe Challenge #13


It’s time for another fun challenge board from the Tic Tac Toe Challenge! I love, love, love to see your creations every week and am looking forward to seeing how you interpret this week’s board! It’s my turn to design the challenge board so I hope you are inspired by it and play along! I chose to use the middle row across: Circle, Flower, and Lace:

Remarkable-You-Love-and-Friendship-Card-Idea-Shannon-Jaramillo-stampinup

Details:

  • Pink was my starting point so I chose a sweet pattern from the Bundle of Love Specialty Designer Series Paper. It’s perfectly pretty with a clean design.
  • I tend to lean towards one focal image but as I couldn’t decide which image from the Remarkable You stamp set I wanted to use…(they are all so pretty!),  I decided to go bold and layer two of the images!
  • The leaf image was stamped in Always Artichoke on a Very Vanilla card base.
  • The bloom was stamped in Blushing Bride onto Very Vanilla card stock and then fussy cut and layered on top of the leaf image with Stampin’ Dimensionals. This image was very easy to fussy cut!

Remarkable-You-Love-and-Friendship-Cards-Idea-Shannon-Jaramillo-stampinup

  • This Very Vanilla 1/2″ Lace Trim is delightful to work with…so pliable and soft! I wrapped it around the card stock and tied it off. I covered the knot with a sweet sentiment from the Birthday Blooms stamp set, stamped in Always Artichoke and die cut using the Stitched Shapes Framelits and popped up on Stampin’ Dimensionals.
  • I added a thin layer of Always Artichoke card stock between the Very Vanilla layer and the DSP but it felt a little bare so I pulled out the Decorative Ribbon Border Punch, which is new in this year’s catalog. I love the pretty design of  the punch but decided this card just needed a little of the design peeking out. This punch is so versatile as the look of it completely changes depending on how much you choose to show – and the other side of the design is a small pretty scallop!
  • Instead of sequins, which would have given me the top row as well (pink, pattern paper and sequin), I chose to use Pearl Basic Jewels. They always add such an elegant feel to any project!

Remarkable-You-Love-and-Friendship-Card-Ideas-Shannon-Jaramillo-stampinup

So there you have it! A sweet all occasion card that is easy to create! Before you go, please take a few minutes to pop over and see the other Tic Tac Toe Challenge design team members projects…they are super inspirational!

Supplies:

Price: $110.00

I Have Enough Stamp Sets…Oh Look, More Stamps!!

Stella-Stamper-Love-and-Friendship-Card-Idea-Shannon-Jaramillo-stampinup

How seriously fun is Stella Stamper?? I purchased this stamp set from someone who was selling all of her stamps and thought “This is a CLASSIC!” Had to have it and today’s challenge from The Paper Players to color was the incentive to pull this girl out and color her up!! CAS(E) this Sketch has a great layout and here we are, it all just came together so easily!!

Details:

  • 1999. This stamp set is 18 years old and inked up perfectly! Now that is Q.U.A.L.I.T.Y.
  • There isn’t anything hard about this card, I just stamped Stella with Tuxedo Black Memento Ink and pulled out my Stampin’ Write Markers!
  • I must have 25 markers strewn all over my work space, so I’m not going to list all the colors. Some are current and some are retired.

Stella-Stamper-Love-and-Friendship-Card-Ideas-Shannon-Jaramillo-stampinup

  • I do remember that Stella’s dress is Powder Pink (I seriously love this pink) and her smock is So Saffron. These are regular markers, not alcohol markers, so some lines do show when coloring, especially when coloring large areas like her smock so I just added squiggles in after the fact. Now it just looks like it’s been well loved!
  • I love the cord from her heat tool dangling out of her bag…she’s so excited to stamp she just threw everything in higgily piggily!
  • For those who are new to Stampin’ Up!, that’s a Stampin’ Wheel in her hand. We used to be able to purchase different stamp designs wrapped around a wheel so we could use them to stamp borders 🙂

Stella-Stamper-Love-and-Friendship-Cards-Ideas-Shannon-Jaramillo-stampinup

  • She who dies with the most stamps wins…in Stella’s case it looks like she who dies with the most INKS wins!
  • I colored the ink pads in all different colors, I love how there are smudges of ink everywhere, we must be honest here, stamping IS messy!!
  • I backed my colored image with Basic Black and Fresh Fig card stock and added an itty bitty bow to the sentiment in Linen Thread.
  • The envelope flap is covered in Wood Textures Designer Series Paper.

Today’s card is a reminder to let your hair down and have fun with your hobby! Stella is and I am too! Hope you make something fun today!!

Thank you to both The Paper Players and CAS(E) this Sketch design teams for always providing such great inspiration!

Blessings to you!

Details:

Price: $110.00

Sneak Peek – New Count My Blessings Stamp Set

Stampin-Up-Count-My-Blessings-Love-and-Friendship-Card-Idea-Shannon-Jaramillo-stampinup

As a Stampin’ Up! demonstrator, I get a sneak peek at upcoming catalogs and this divine stamp set from the Stampin’ Up! Holiday Catalog was at the top of my wish list!

The first chance I got, I sat down to create the card that popped into my head the minute I saw this set. I adore these whimsical flowers!! I used three stamps from the set this time, the sentiment, the large stem of flowers and the itty bitty filler flower stamp set. I did a bit of masking with the little flowers so I could fill in the white spaces.Stampin-Up-Count-My-Blessings-Love-and-Friendship-Card-Ideas-Shannon-Jaramillo-stampinup Details:

  • I used Stampin’ Write Markers to color the flowers. Let me just say for the record, I AM NO ARTIST. I never took art class and have no idea where the shadows go. And I HATE to color outside the lines. But I pulled the markers out and colored anyway. IT WAS SO FUN!! I filled in the large flowers with my Powder Pink Stampin’ Marker. Once I had colored all the flowers, I went around and added a second layer to add shading. On the next go around, I used my Blushing Bride Stampin’ Marker to added more depth of color towards the lower part of the flowers. Again, I went around a second time for another layer of shading. I also went in and added more color at the base of each flower. I used the same process to add color to the stems. I used Lemon Lime Twist and then Pear Pizzazz for the darker shade.

Stampin-Up-Count-My-Blessings-Love-and-Friendship-Cards-Idea-Shannon-Jaramillo-stampinup

  • The itty bitty flowers are as cute as can be, but after coloring in the larger images, I couldn’t decide if they should be blue or purple, so…I used BOTH colors!! The flowers are colored with Soft Sky and then a dot of Wisteria Wonder was added at the base of each flower.
  • Of course, Wink of Stella was added to ALL of the flower stamens, the pink flowers, and the stems and leaves. You can see a bit of the sparkle in my photos, but shimmer is just gorgeous in person. Whoever invented Wink of Stella, I love you!
  • The FONT. Isn’t it BEAUTIFUL?!? The catalog is chock full of fresh and very trendy stamp sets! And of course the Stitched Shapes Framelits really bring the sentiment front and center.

Stampin-Up-Count-My-Blessings-Love-and-Friendship-Cards-Ideas-Shannon-Jaramillo-stampinup

  • I pulled out the 3/8″ Shimmer Ribbon again, this time in Pear Pizzazz. It’s such a pretty accessory! I just have to share that I originally snipped the ends of the knot much longer, but when trimming I couldn’t get the two sides even and had to keep snipping!! In the end I think the darling knot is the perfect size, so as not to hide any bit of the pretty sentiment 🙂
  • I HAD to add some DSP to my envelope and found a very complimentary pattern in the Delightful Daisy Designer Series Paper Pack! Don’t you LOVE it when you find JUST the right thing??

I hope you’ve enjoyed this sneak peek of new products coming soon! I’m looking forward to creating so many more cards with this set!! Imagine the fall colors…….

Supplies: