I Love You More – Paper Players #244

pp244
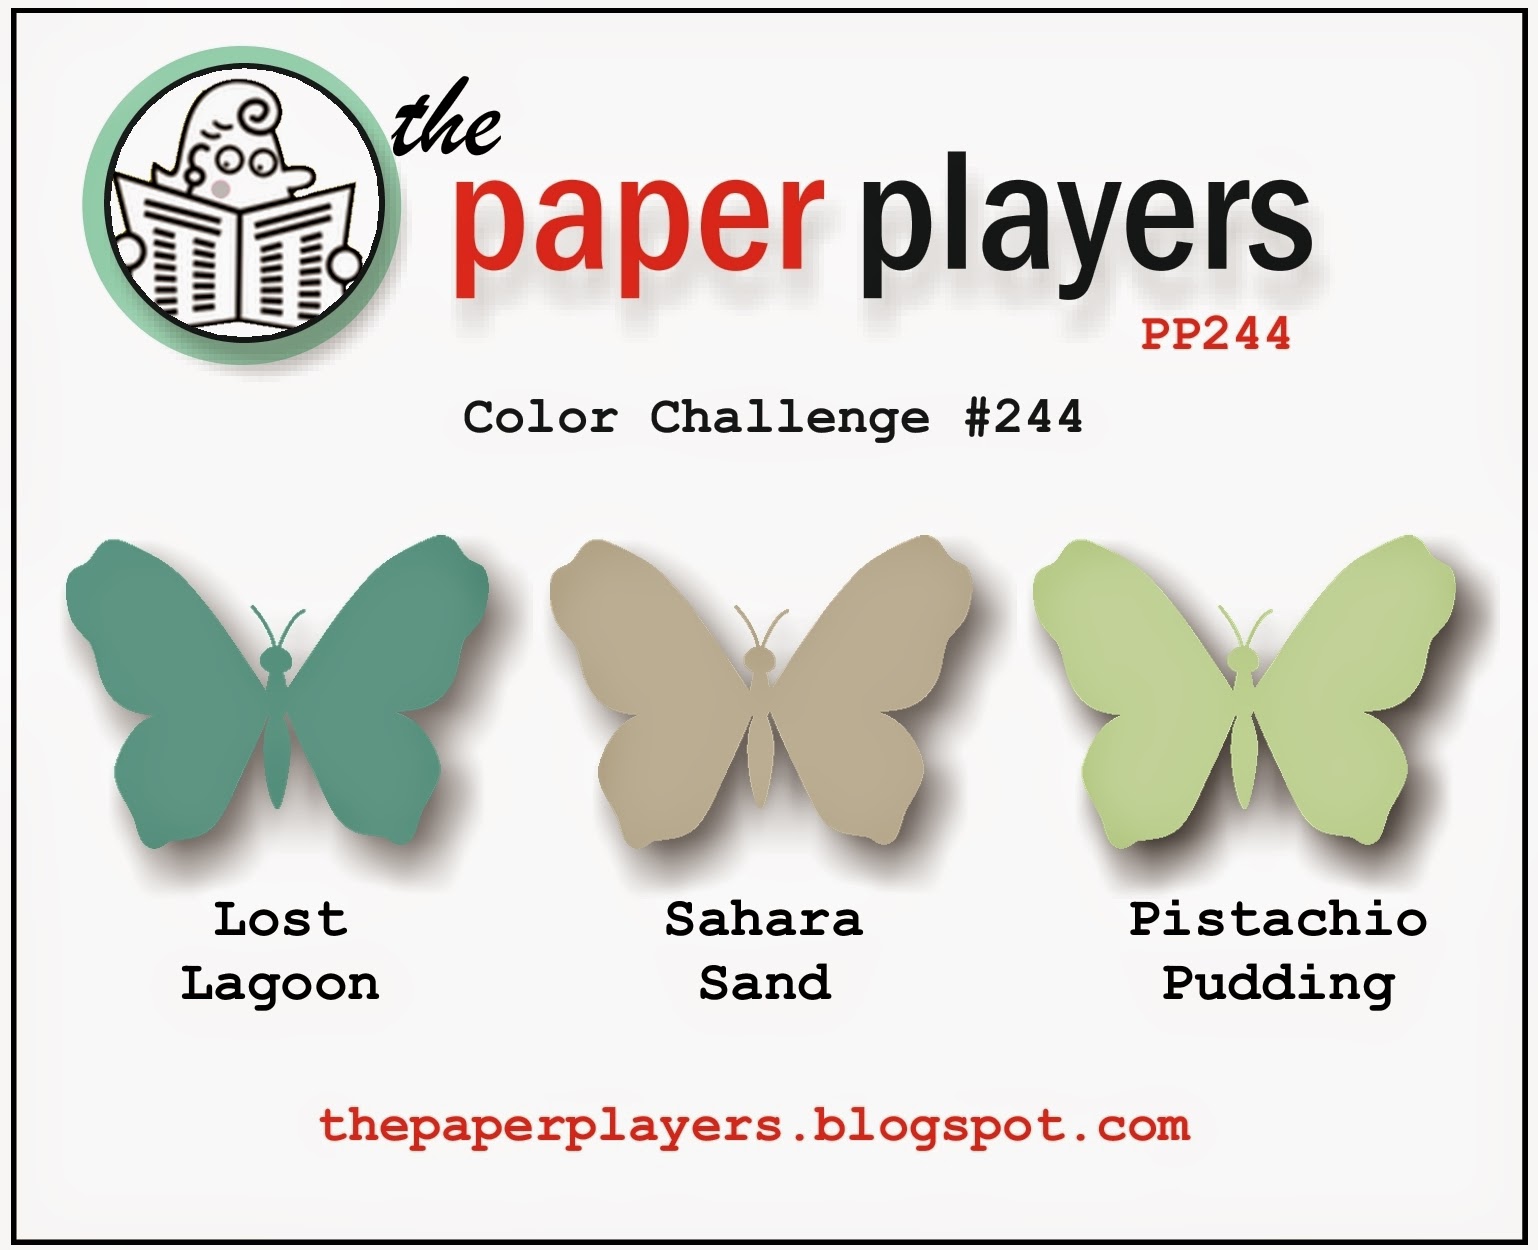
Good Morning and Happy Mother’s Day to all of you! We’re back with another fun challenge for you today from The Paper Players, this time it is a delightful color challenge from LeAnne! I loved the color combination right away but did not have an immediate vision for a project. After a bit of fussing, here’s what I came up with:

SKP Watermarked Photos3-087
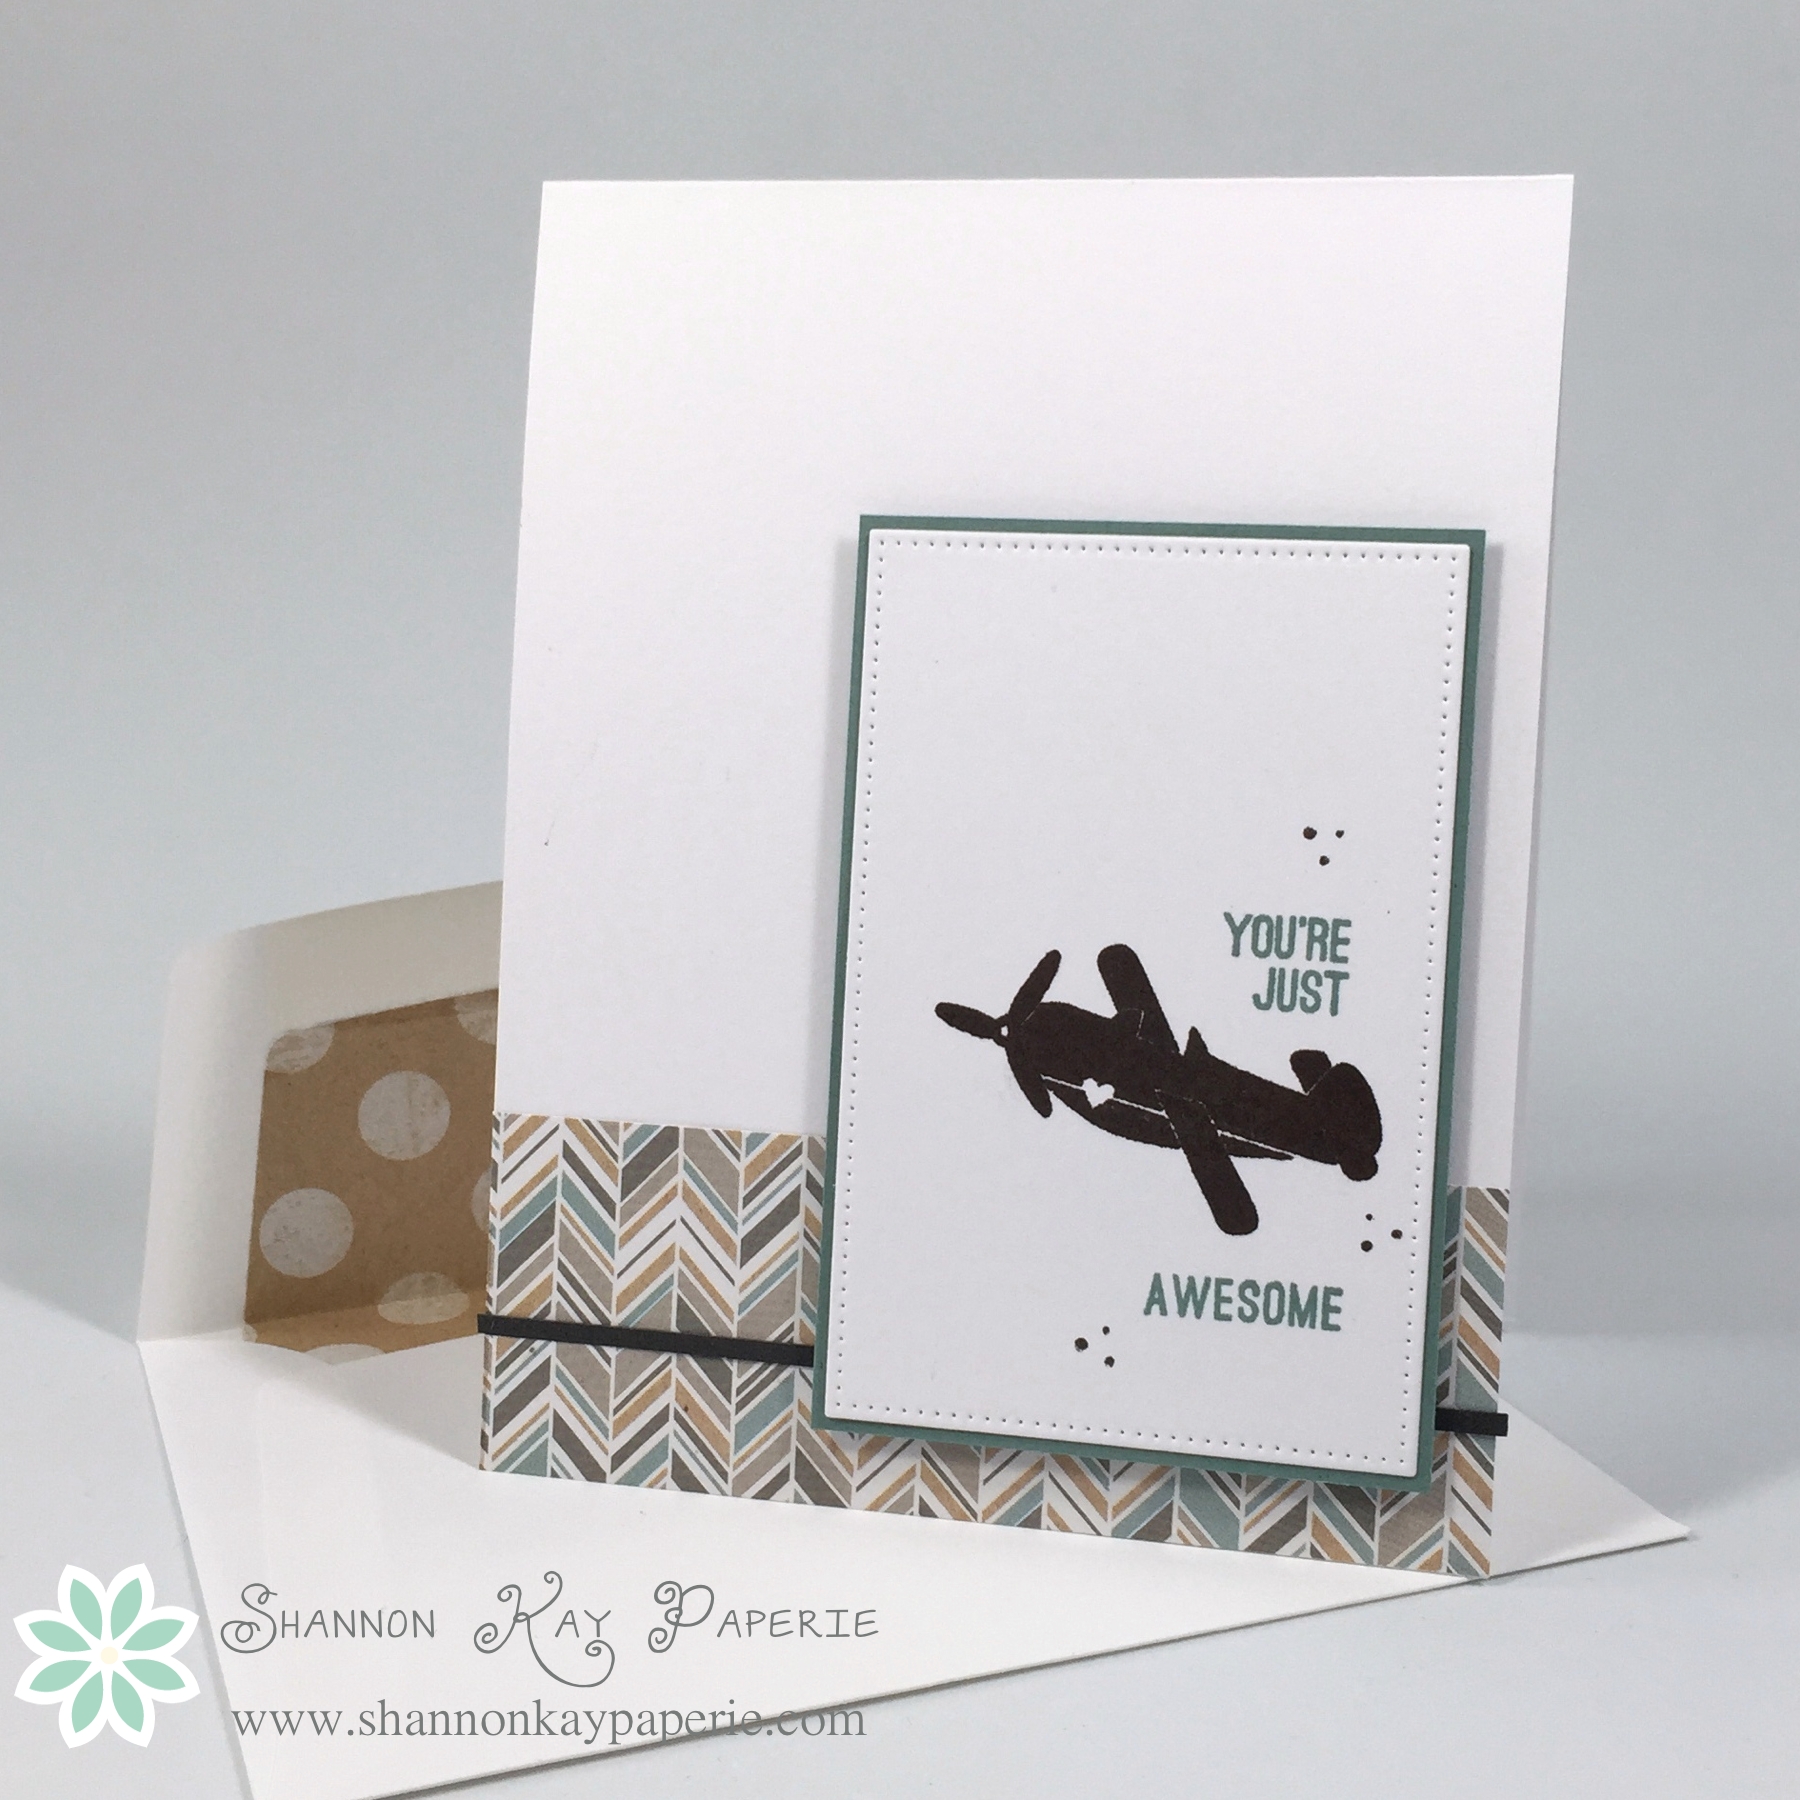
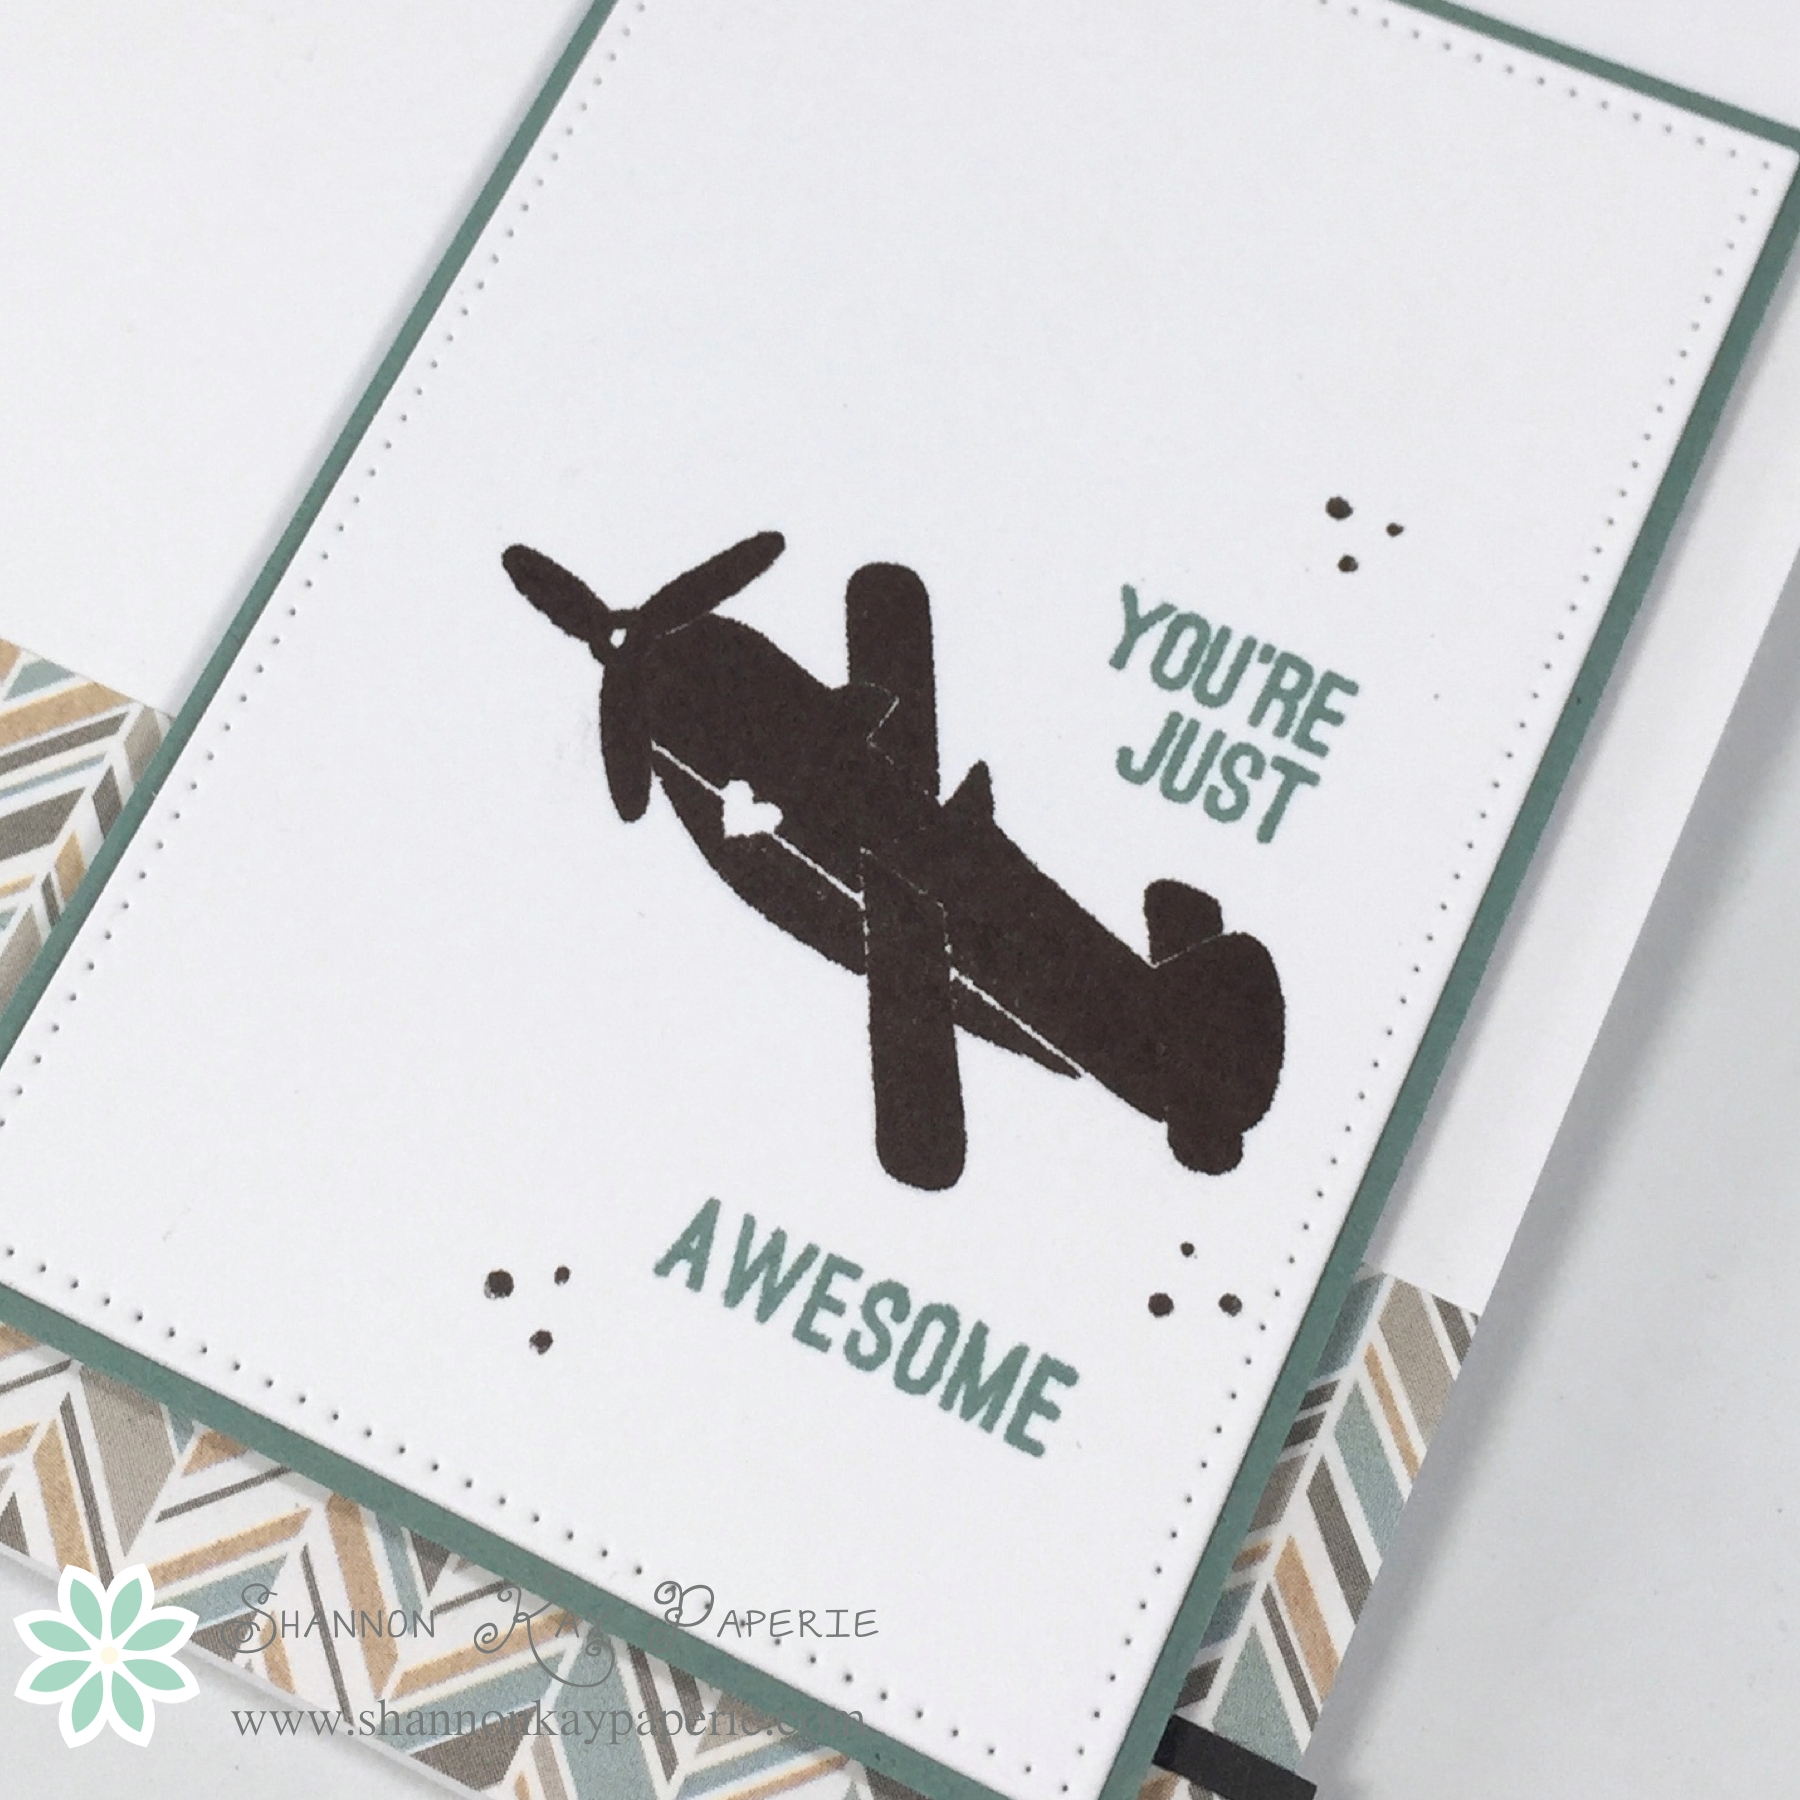
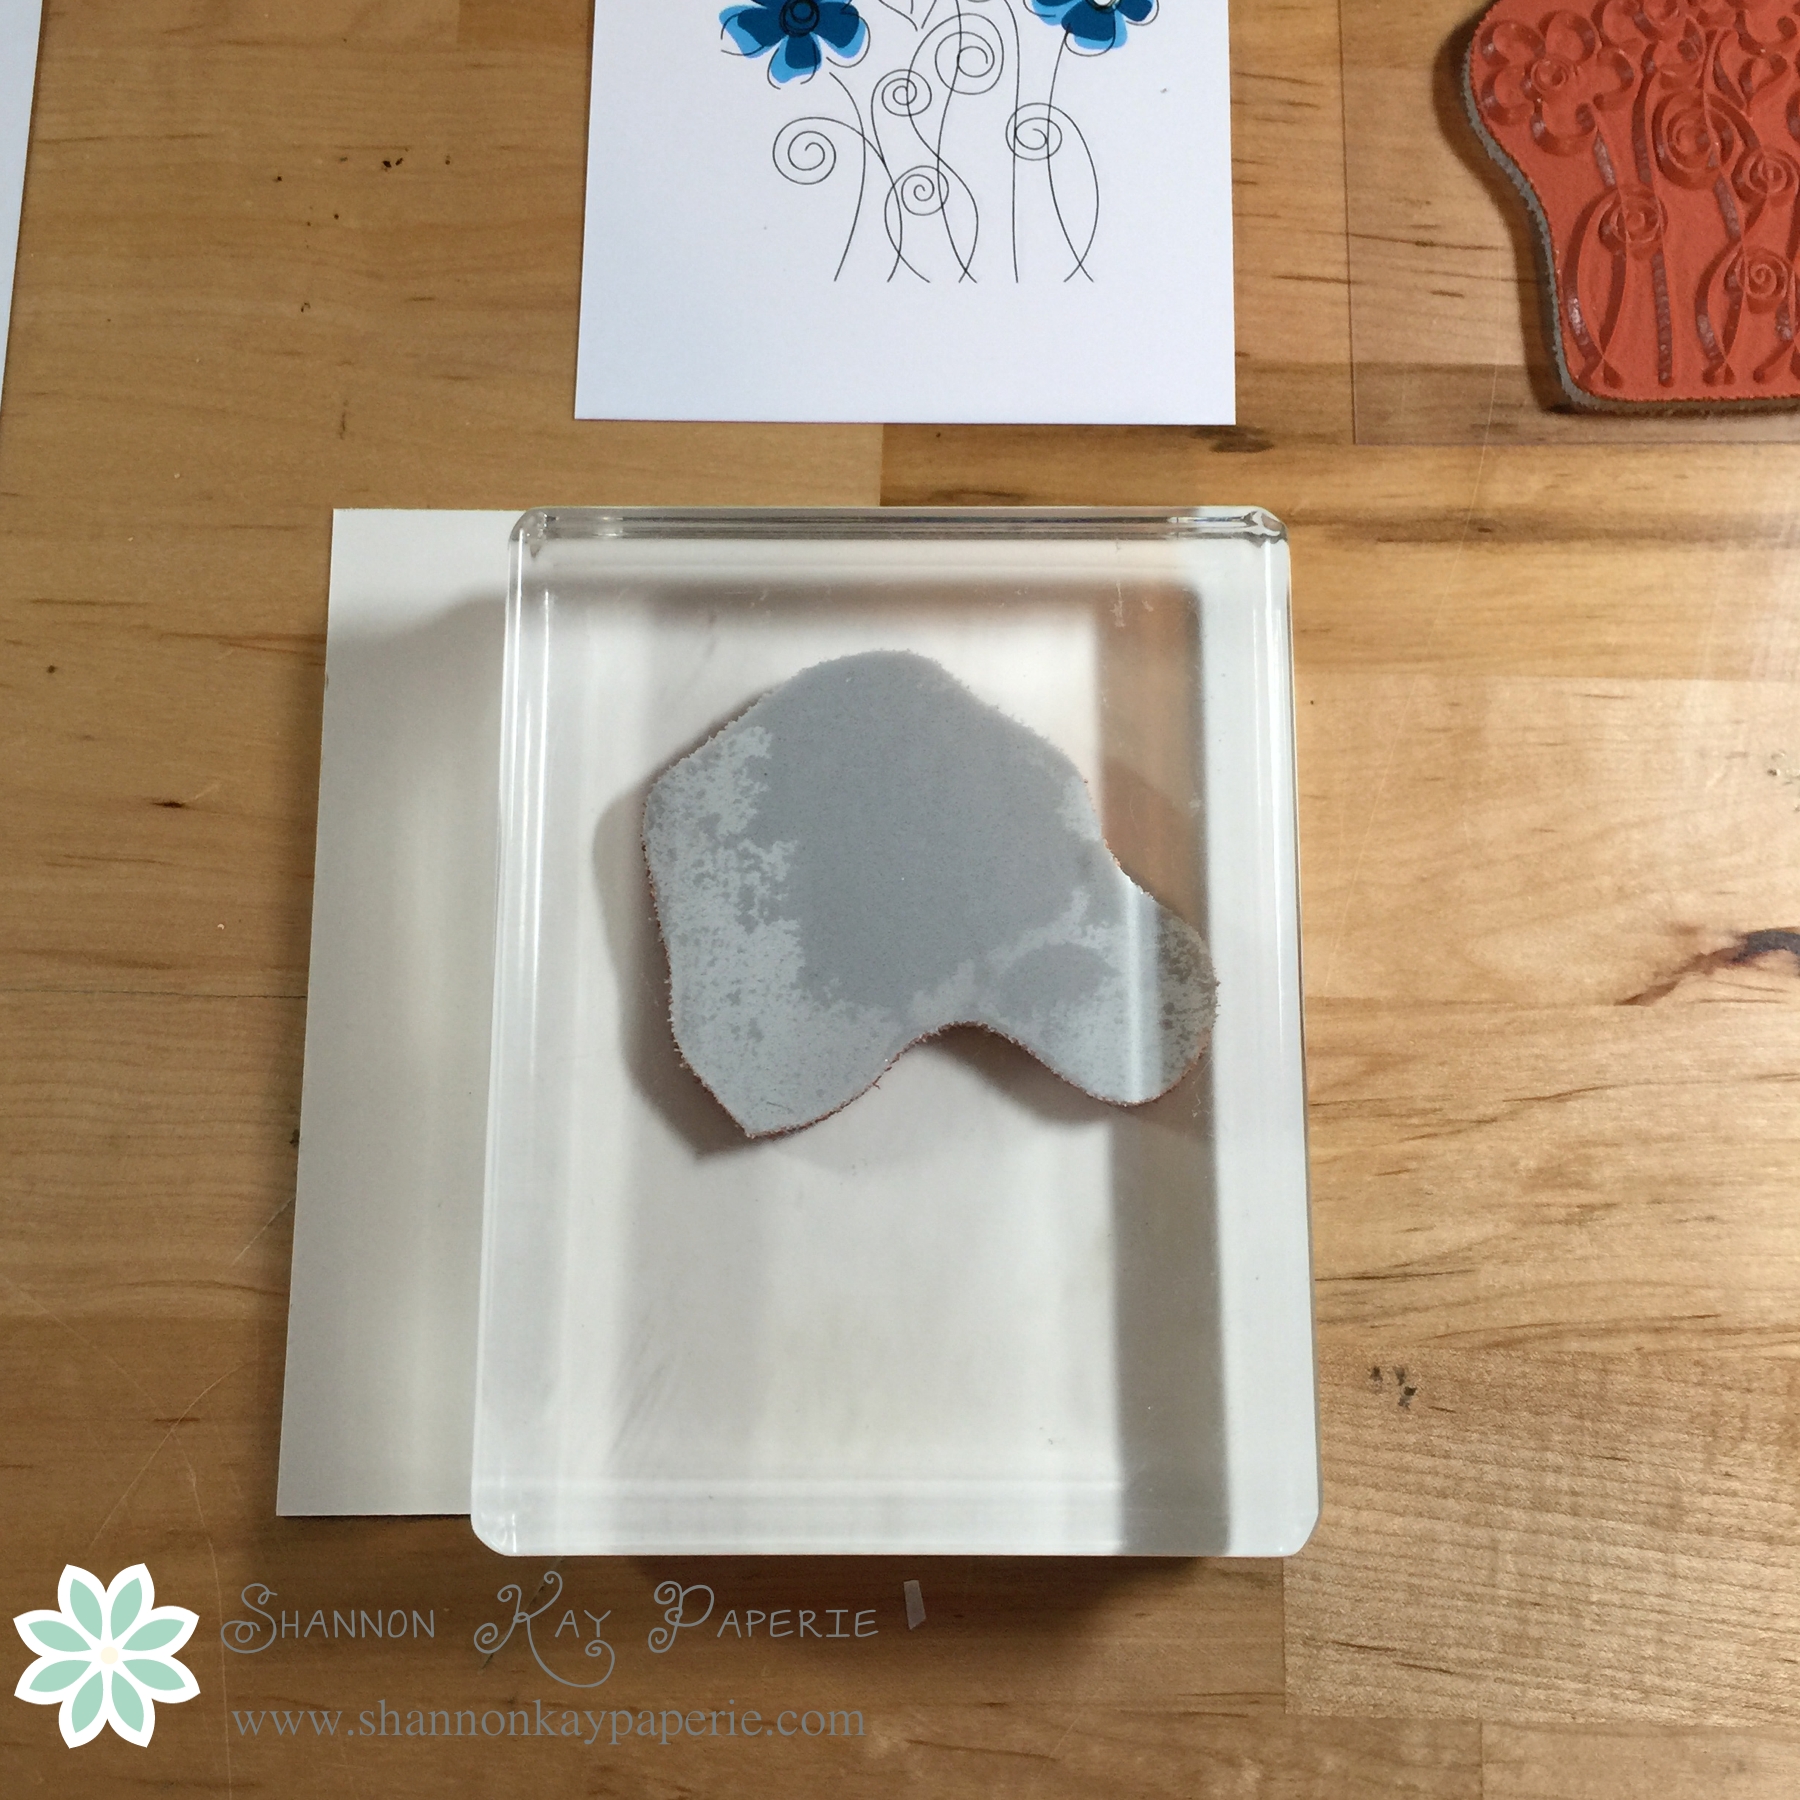
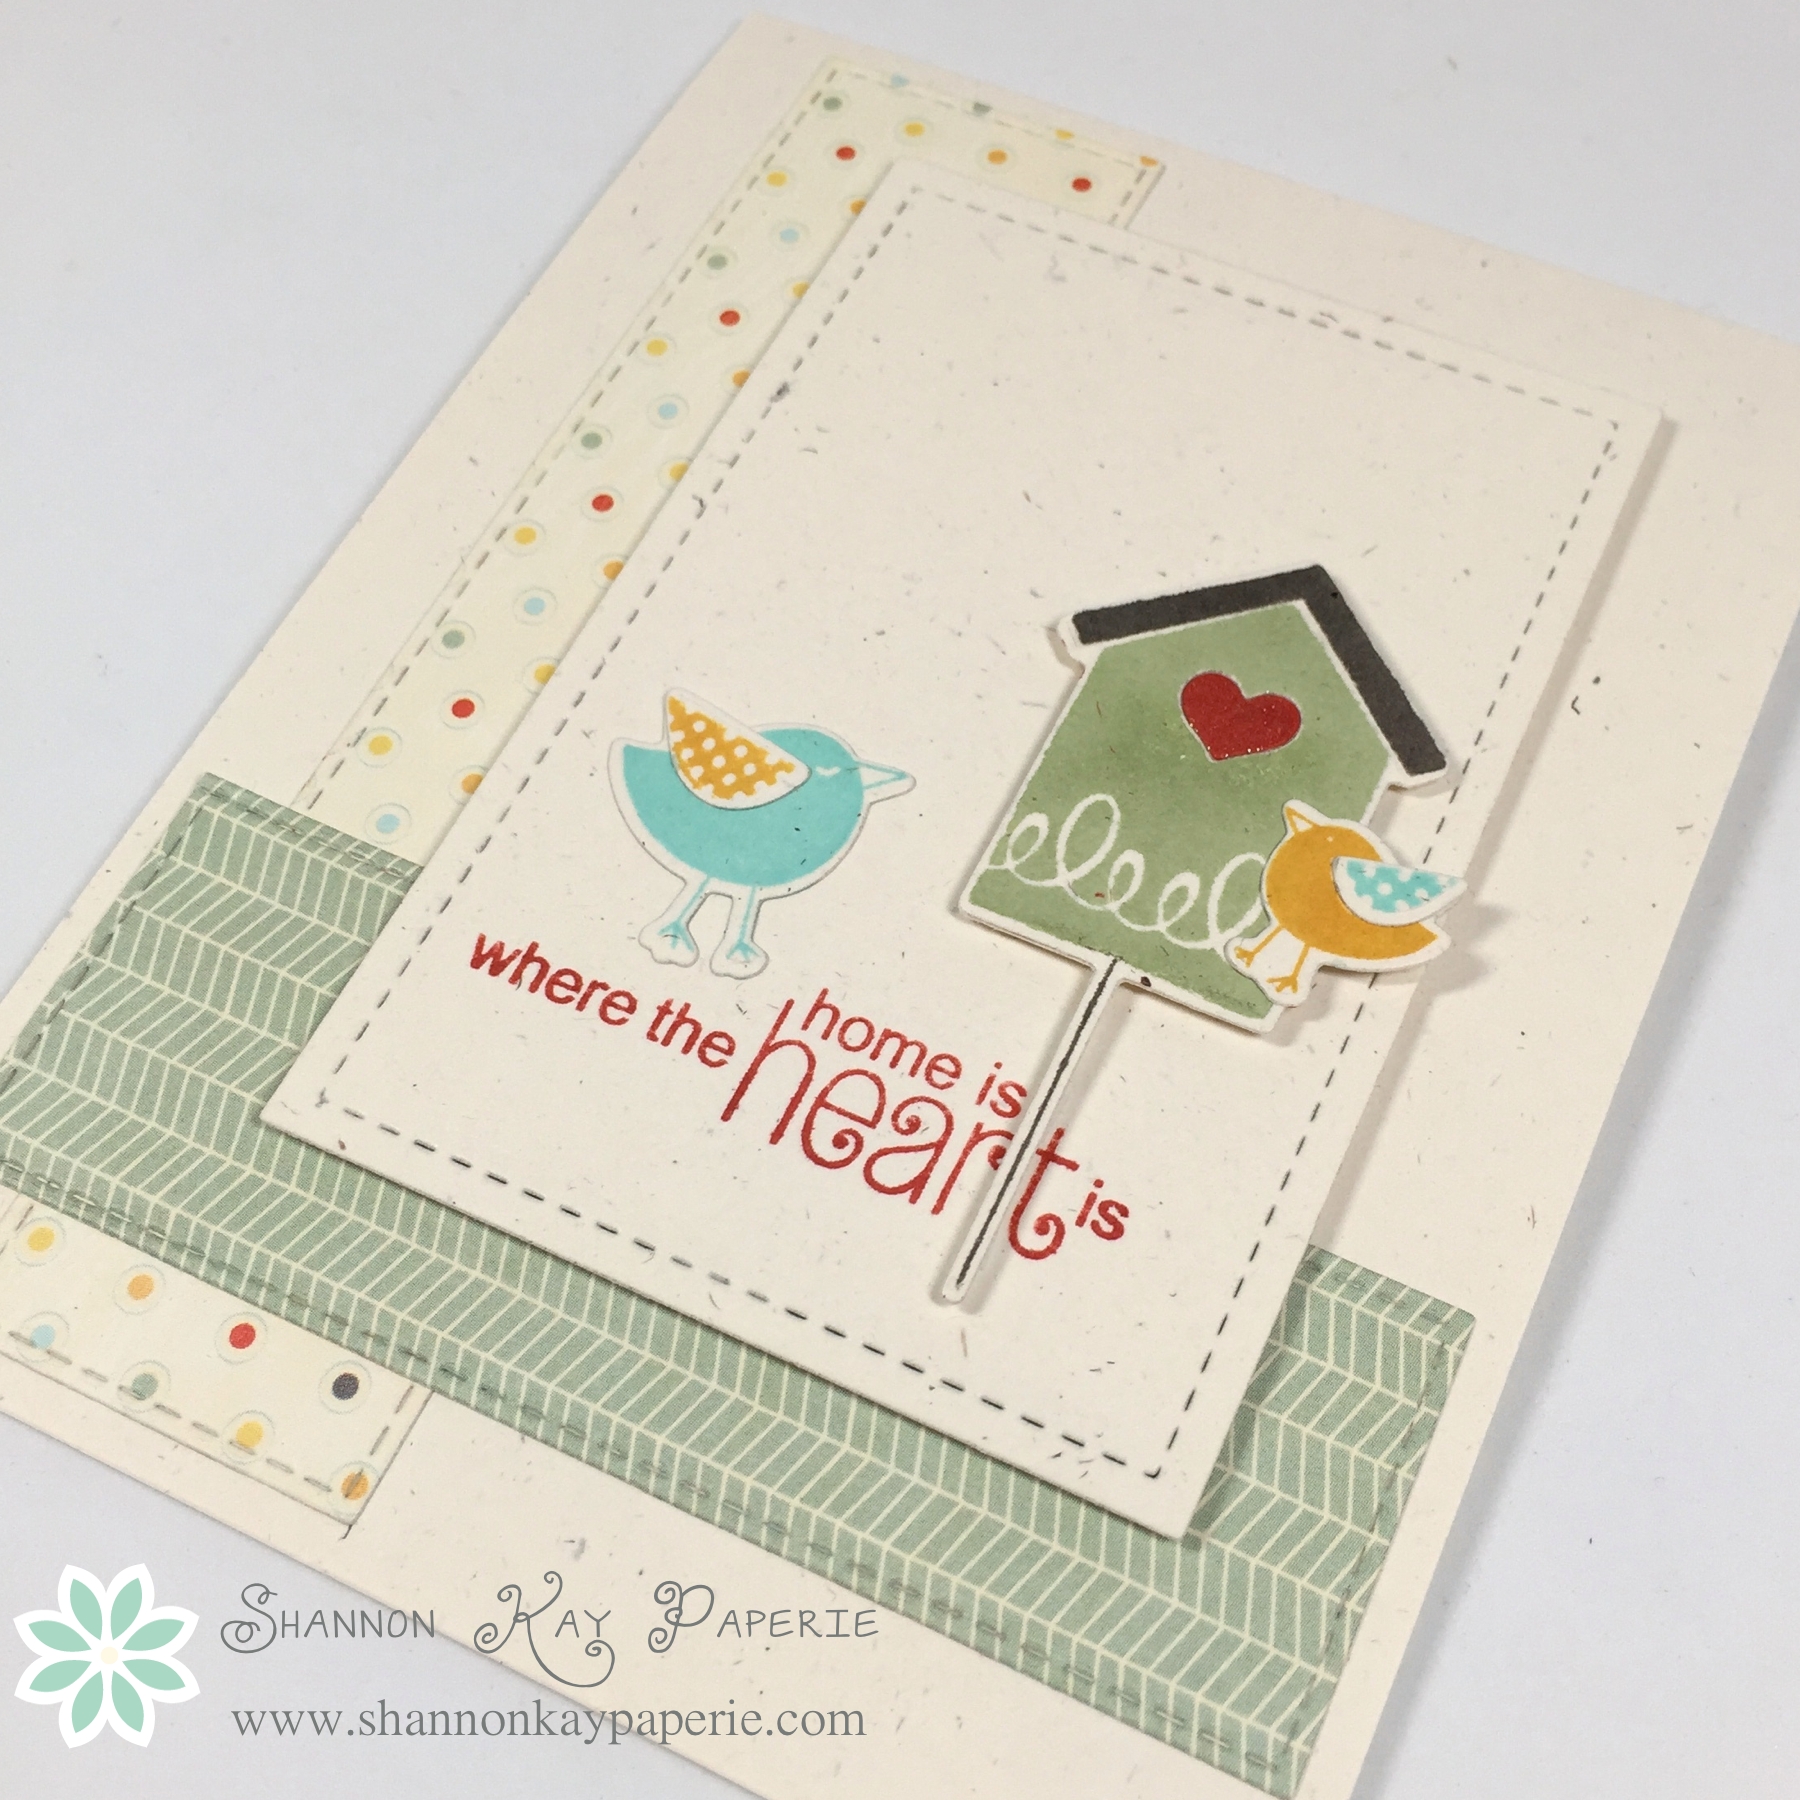
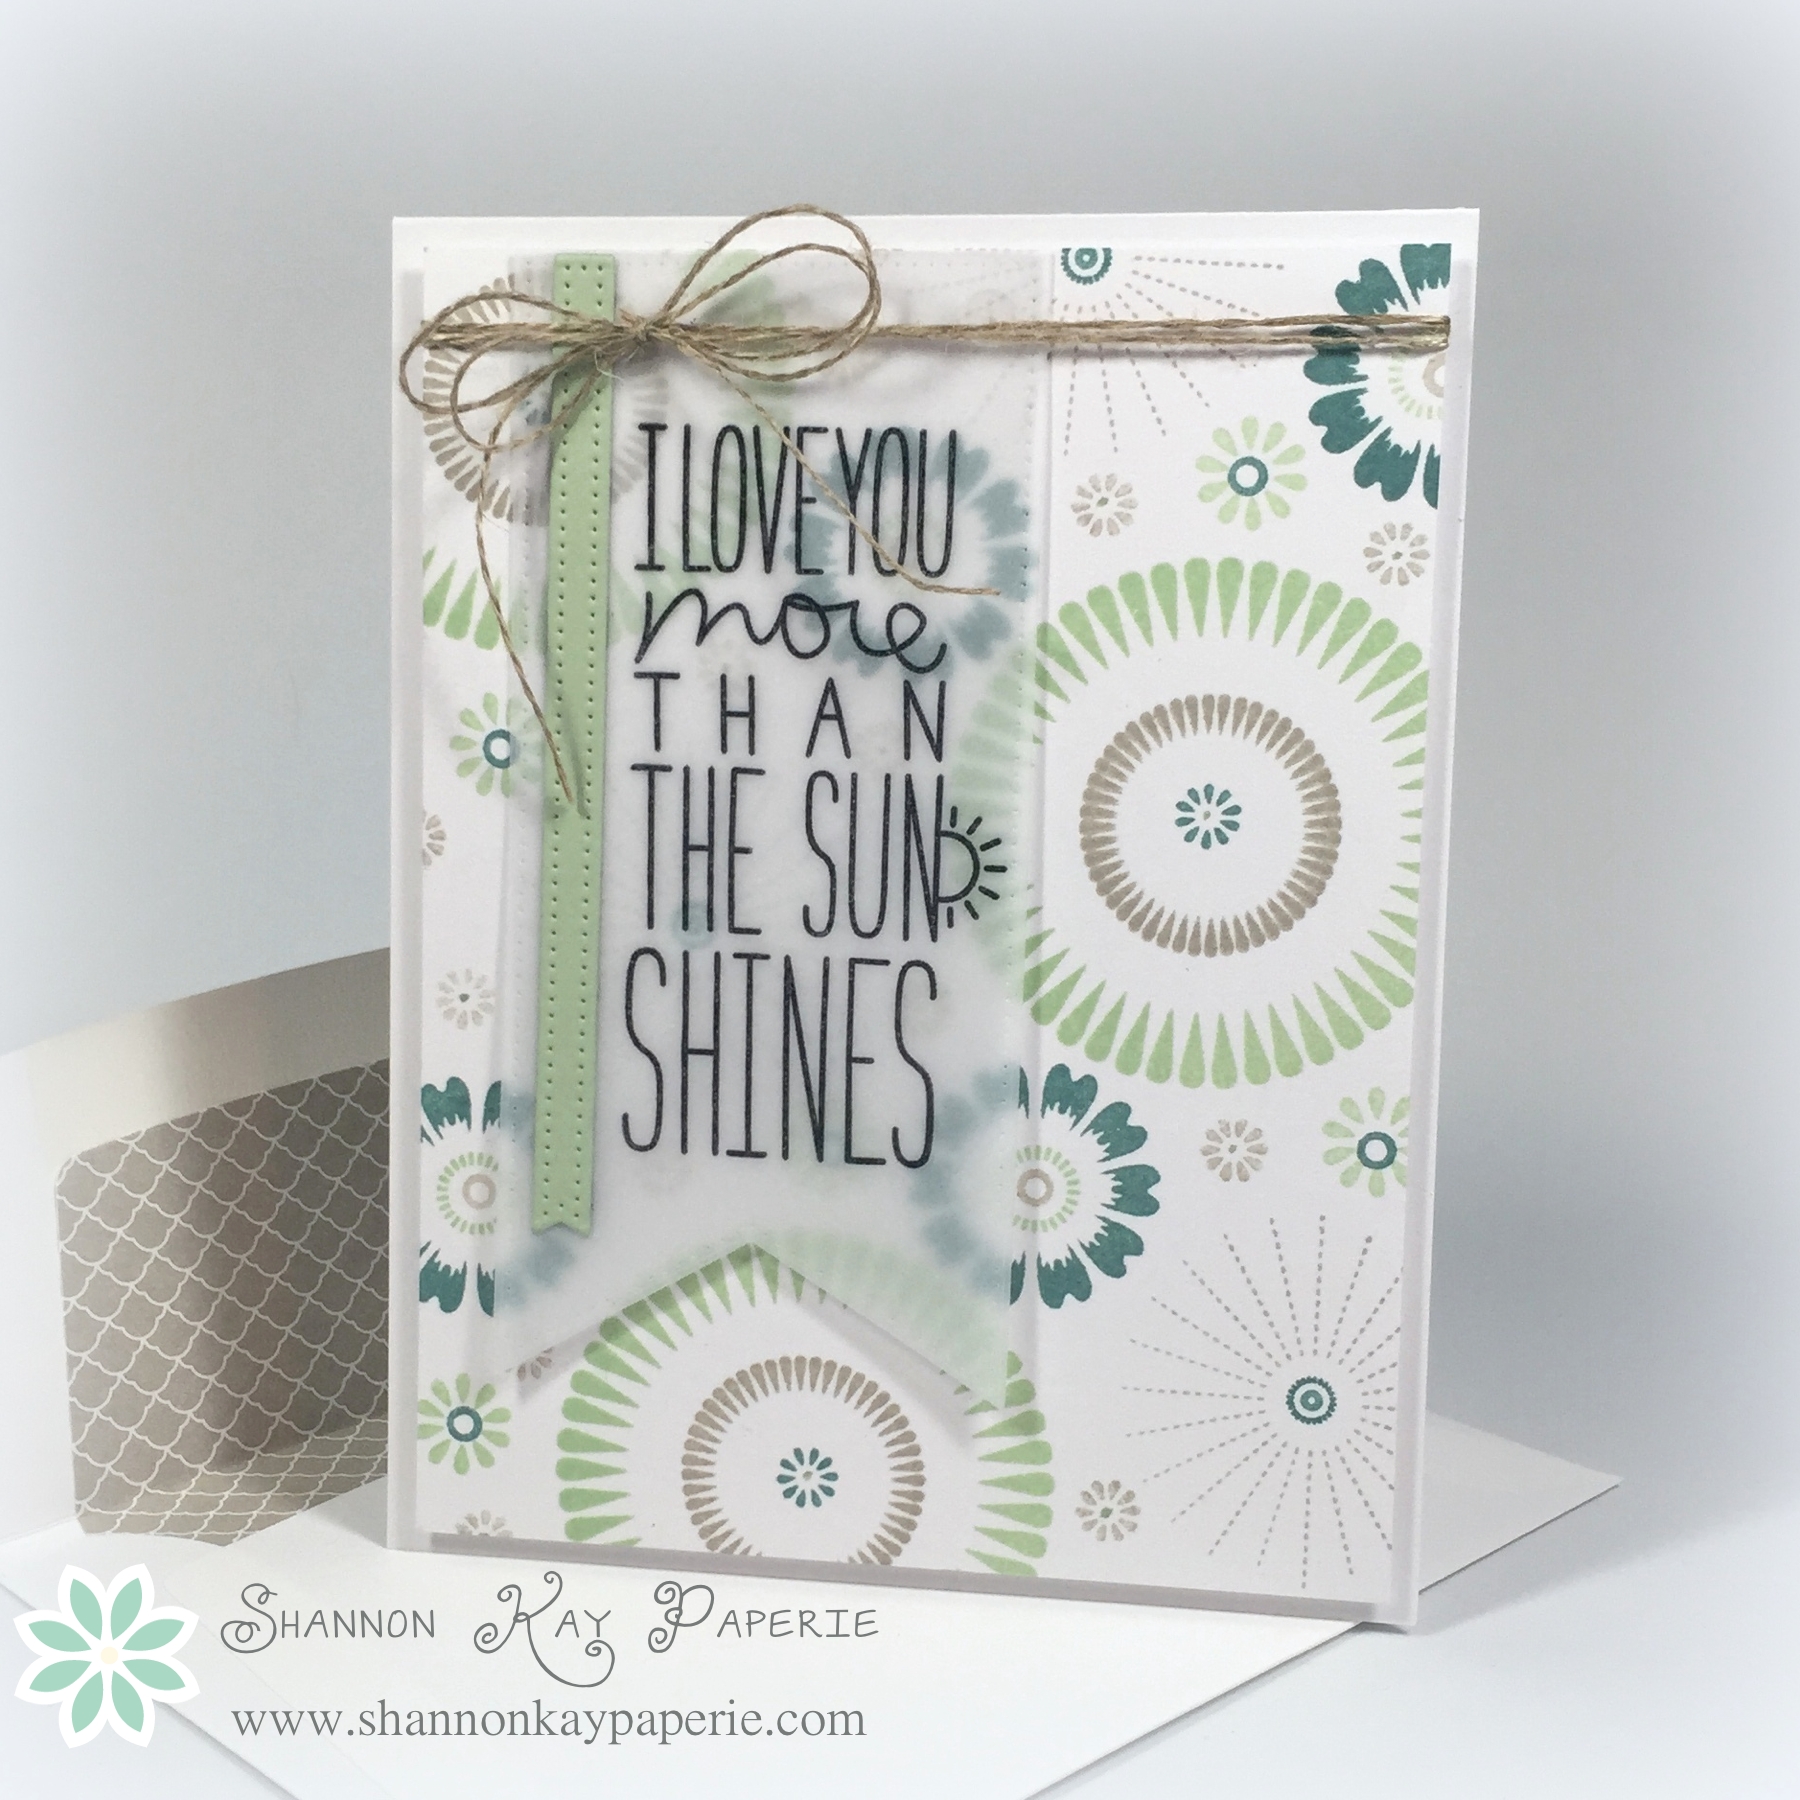
I purchased this stamp set, Sunburst by Clearly Besotted Stamps, the minute it became available because I knew I HAD to have it…and it’s taken me two months to get it inky! But that’s okay, I sure did have an enjoyable time working with it! There will be many more cards to come with this stamp set, there are so many different stamp choices that the design potential seems endless!!

SKP Watermarked Photos3-088
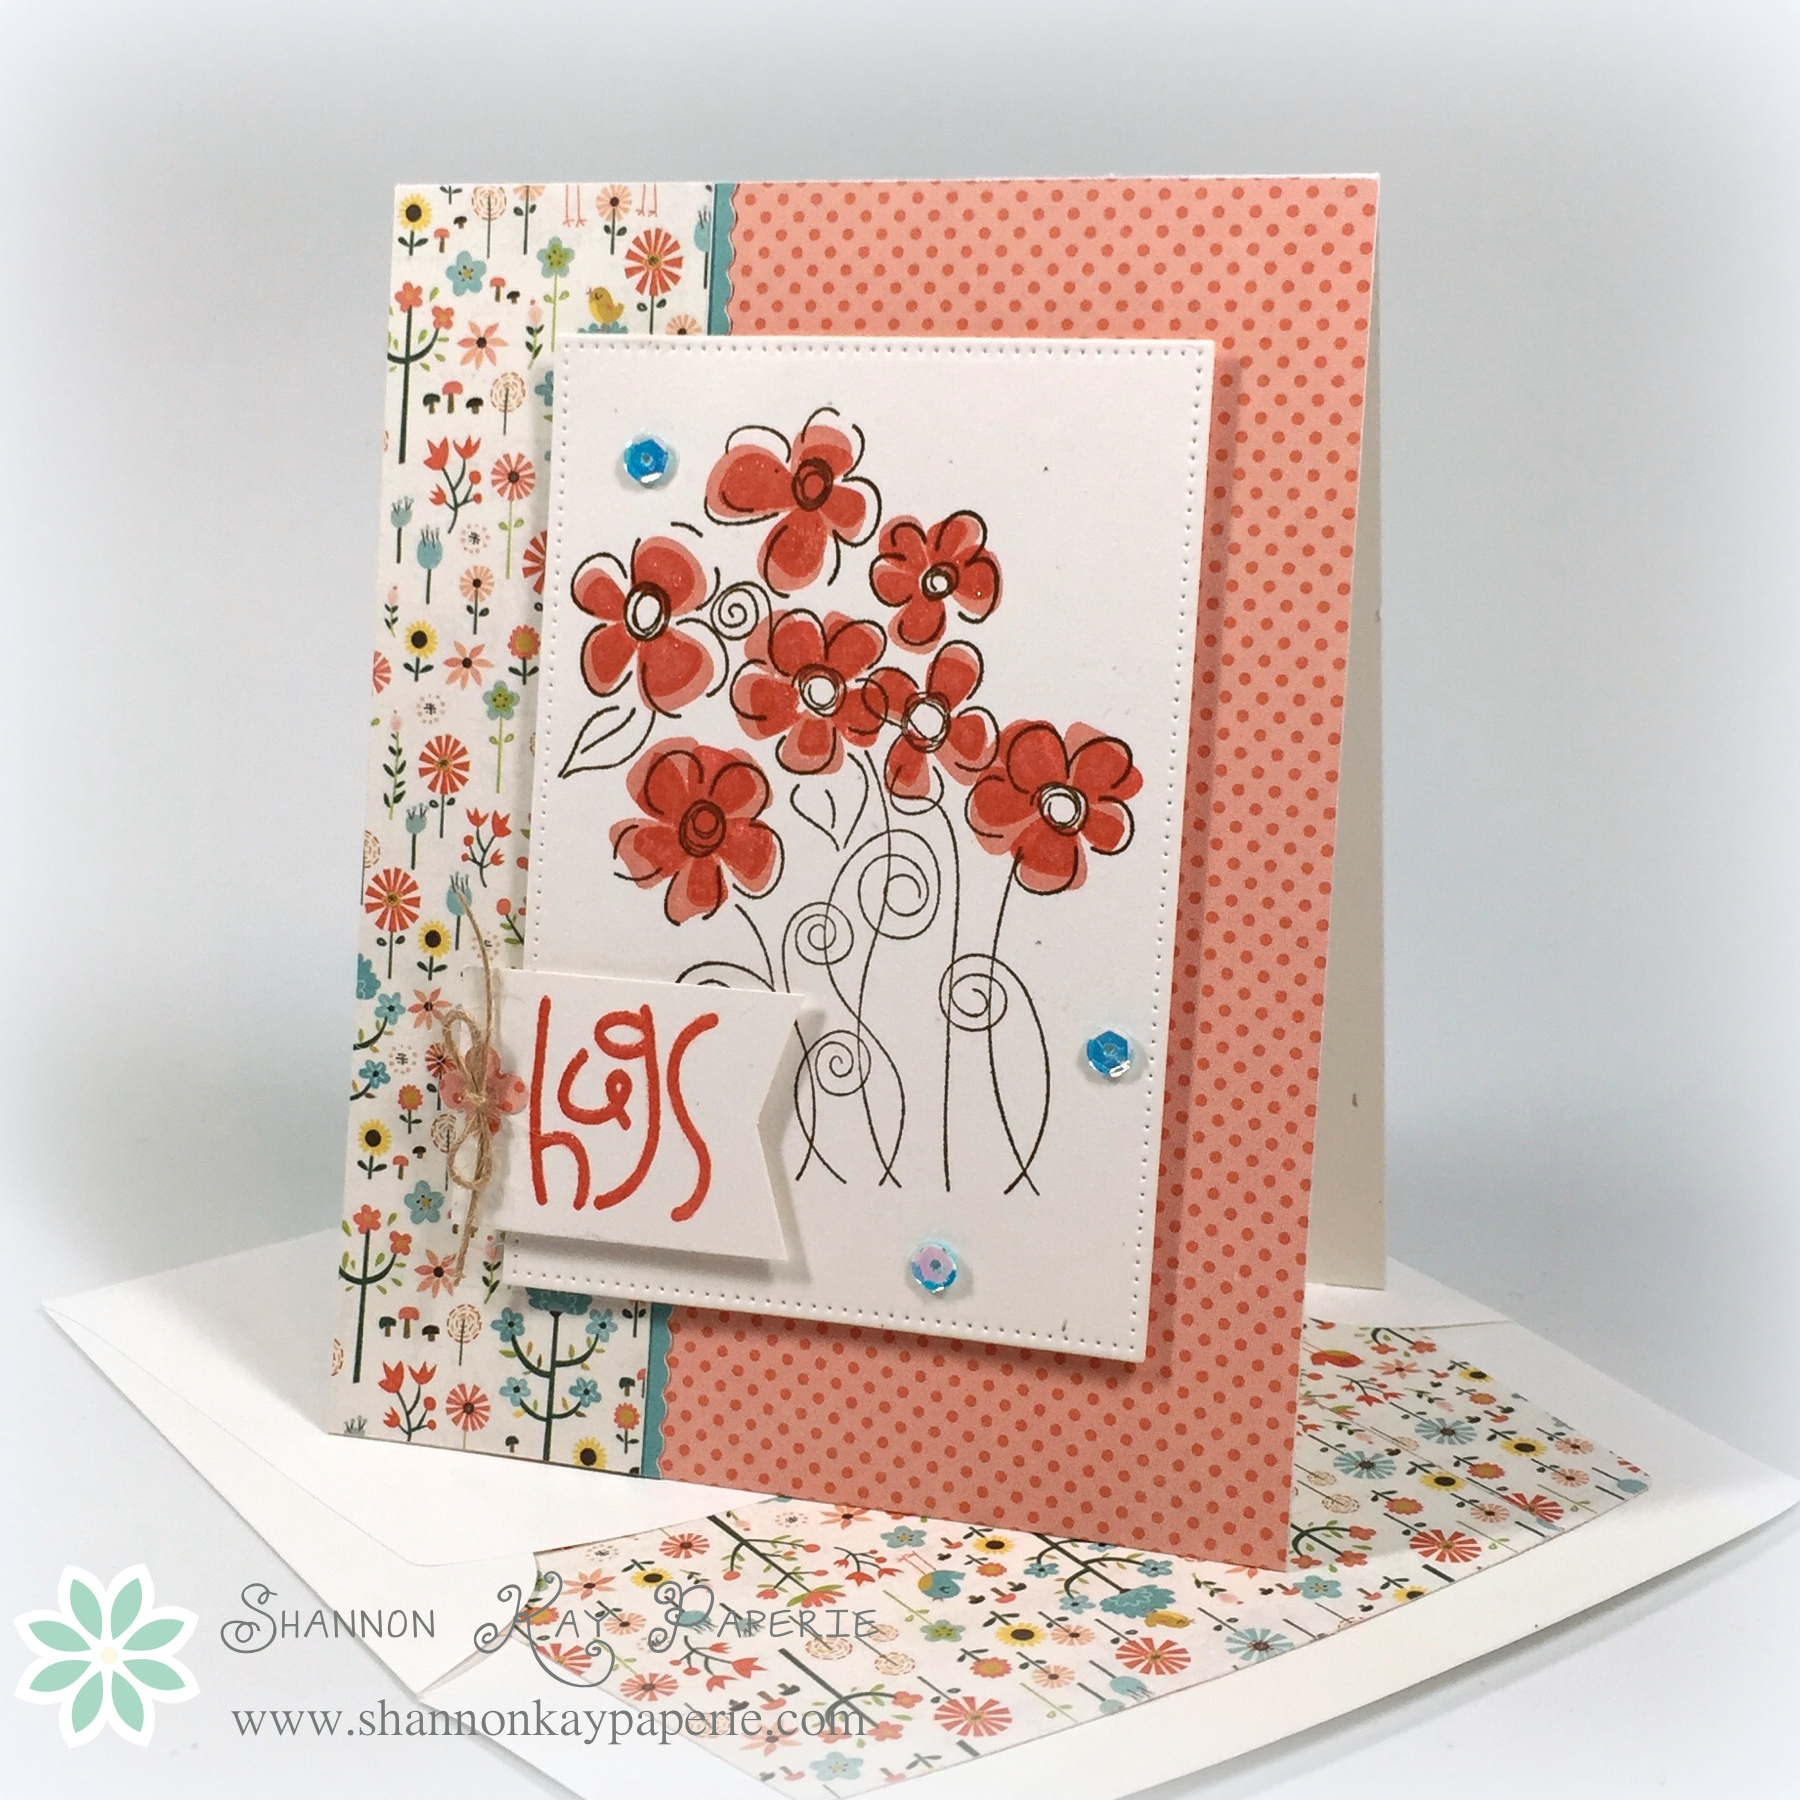
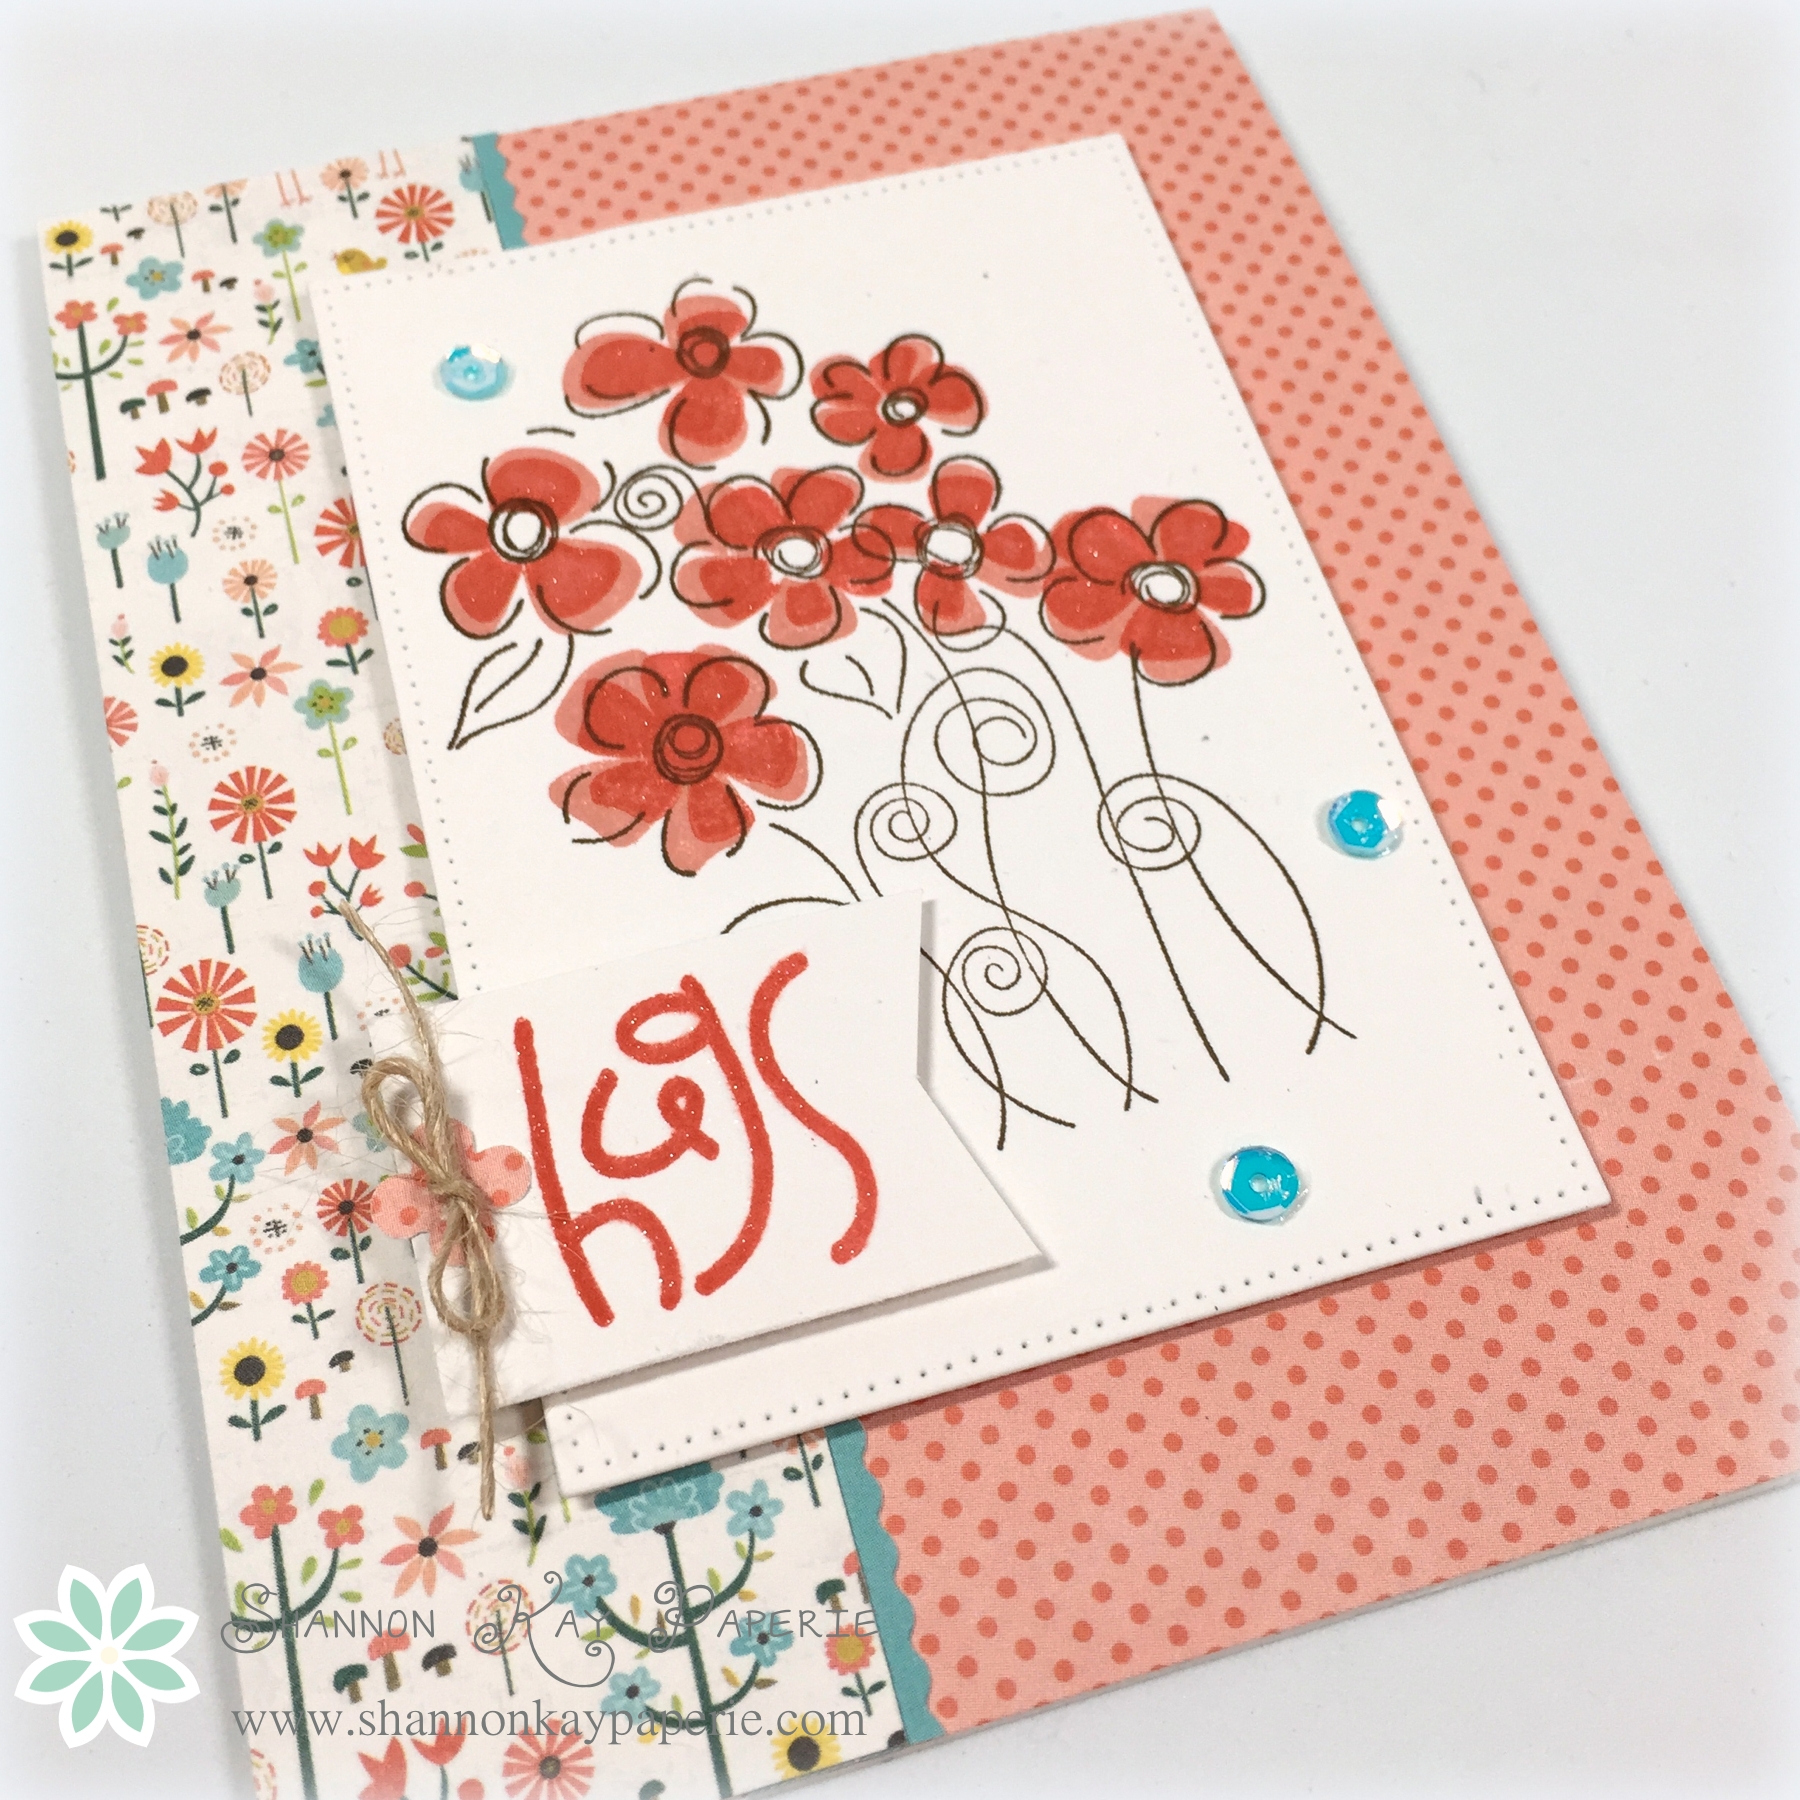
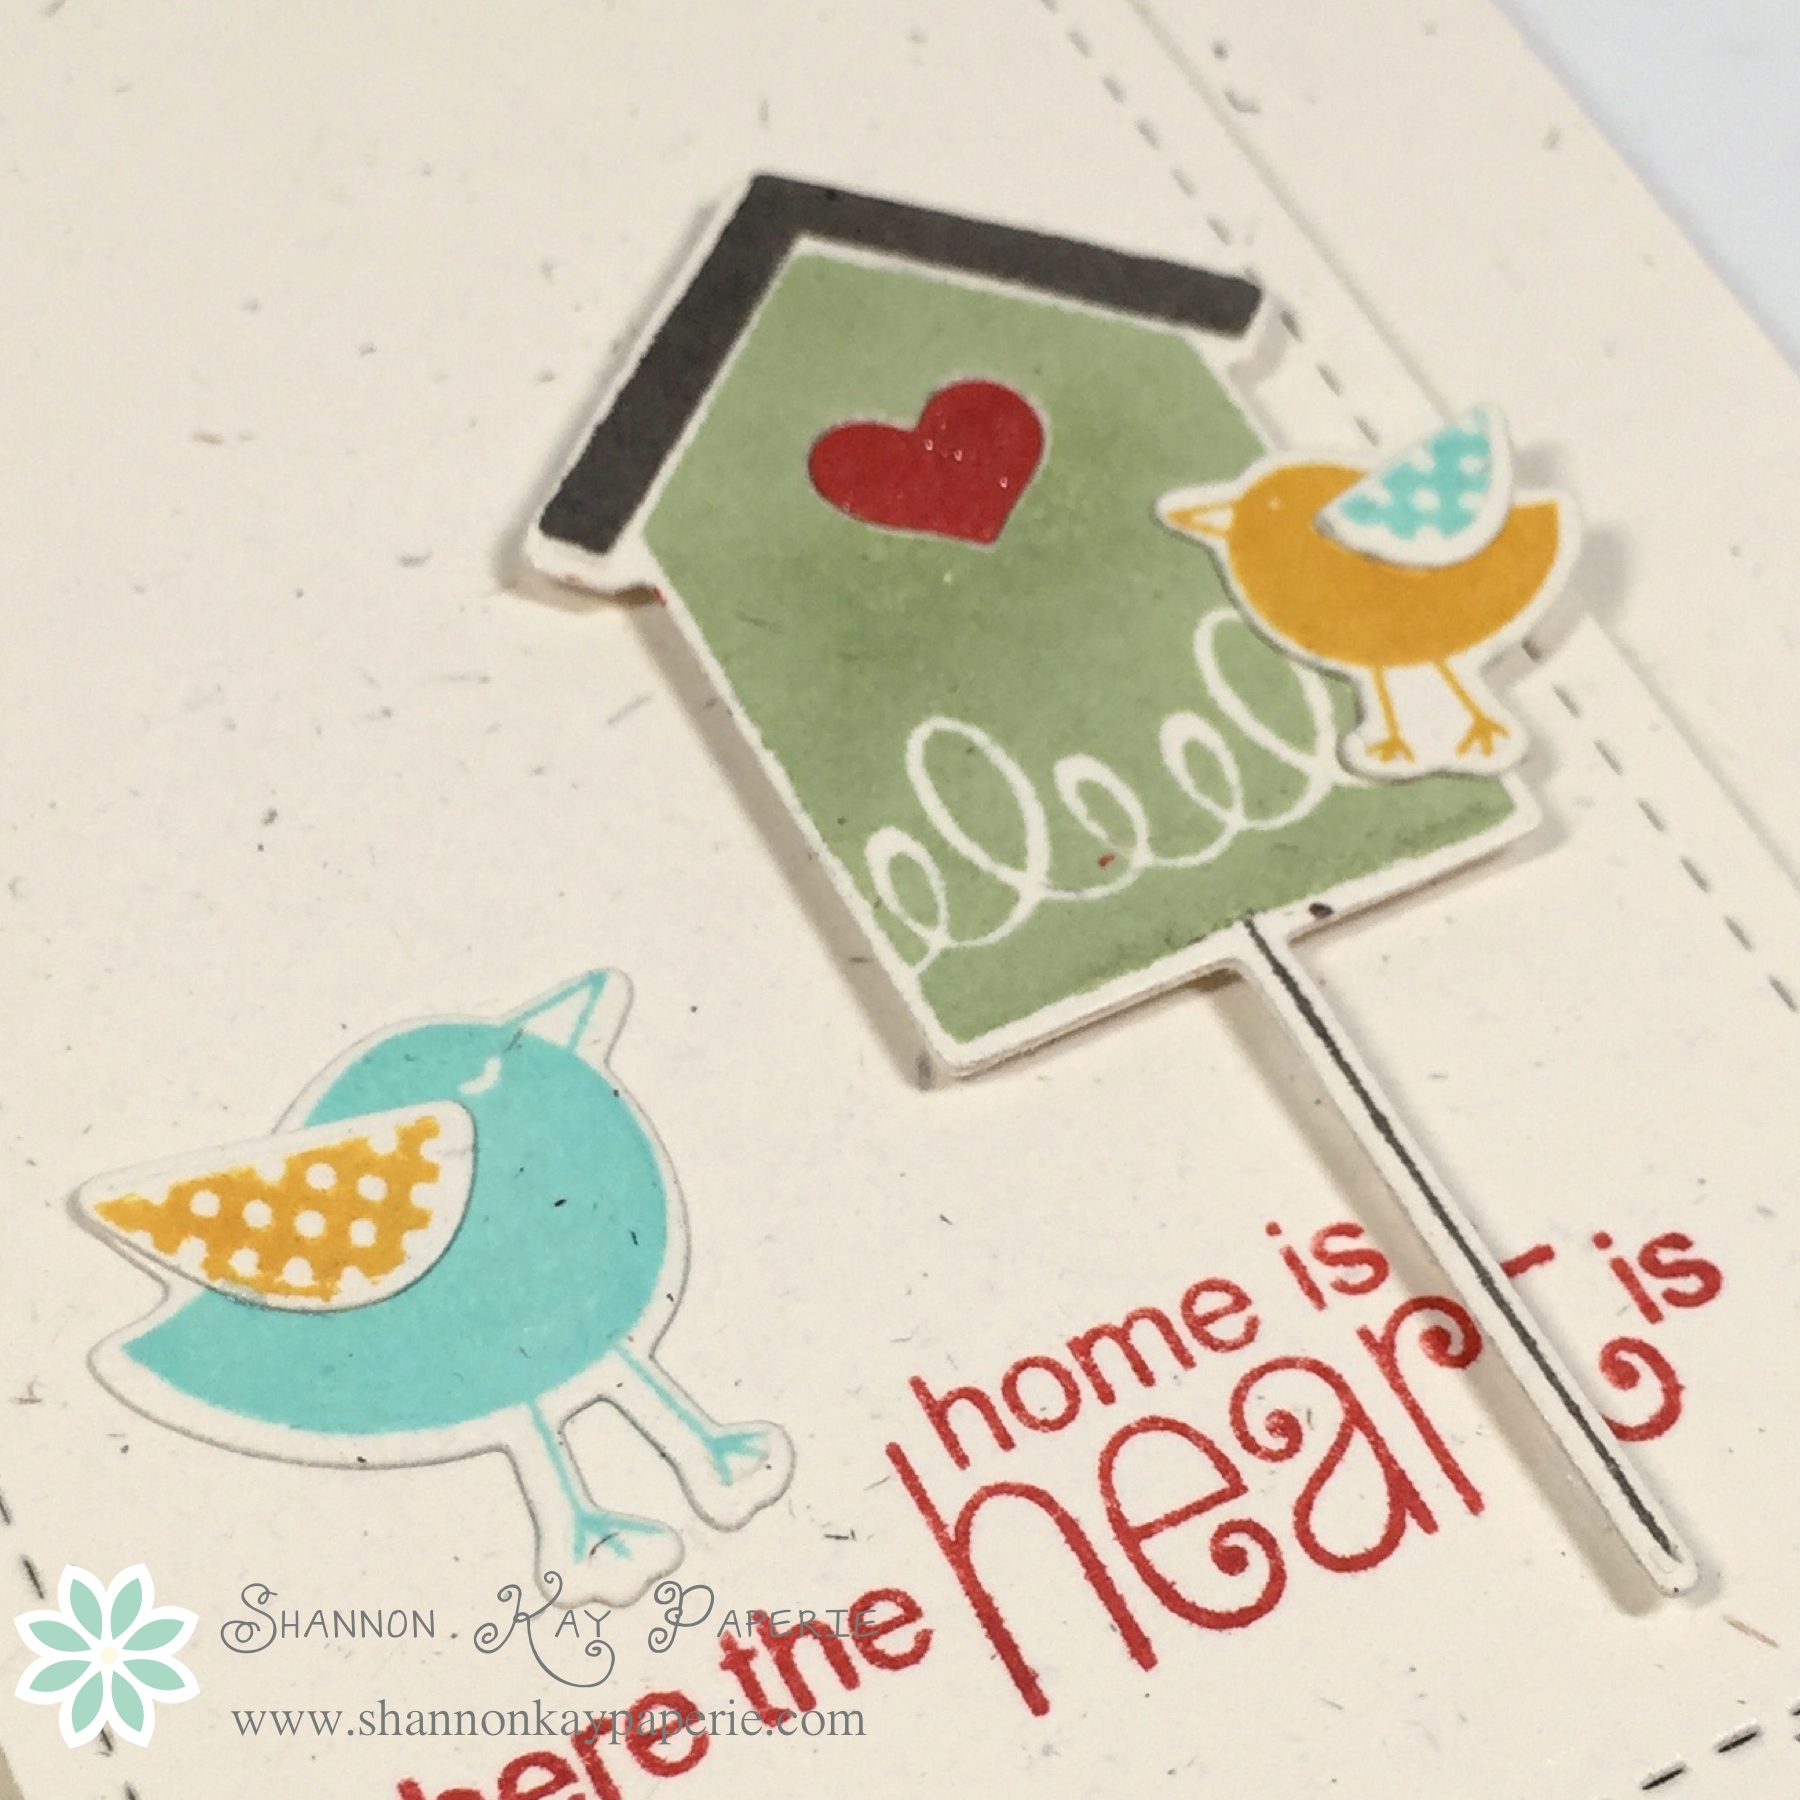
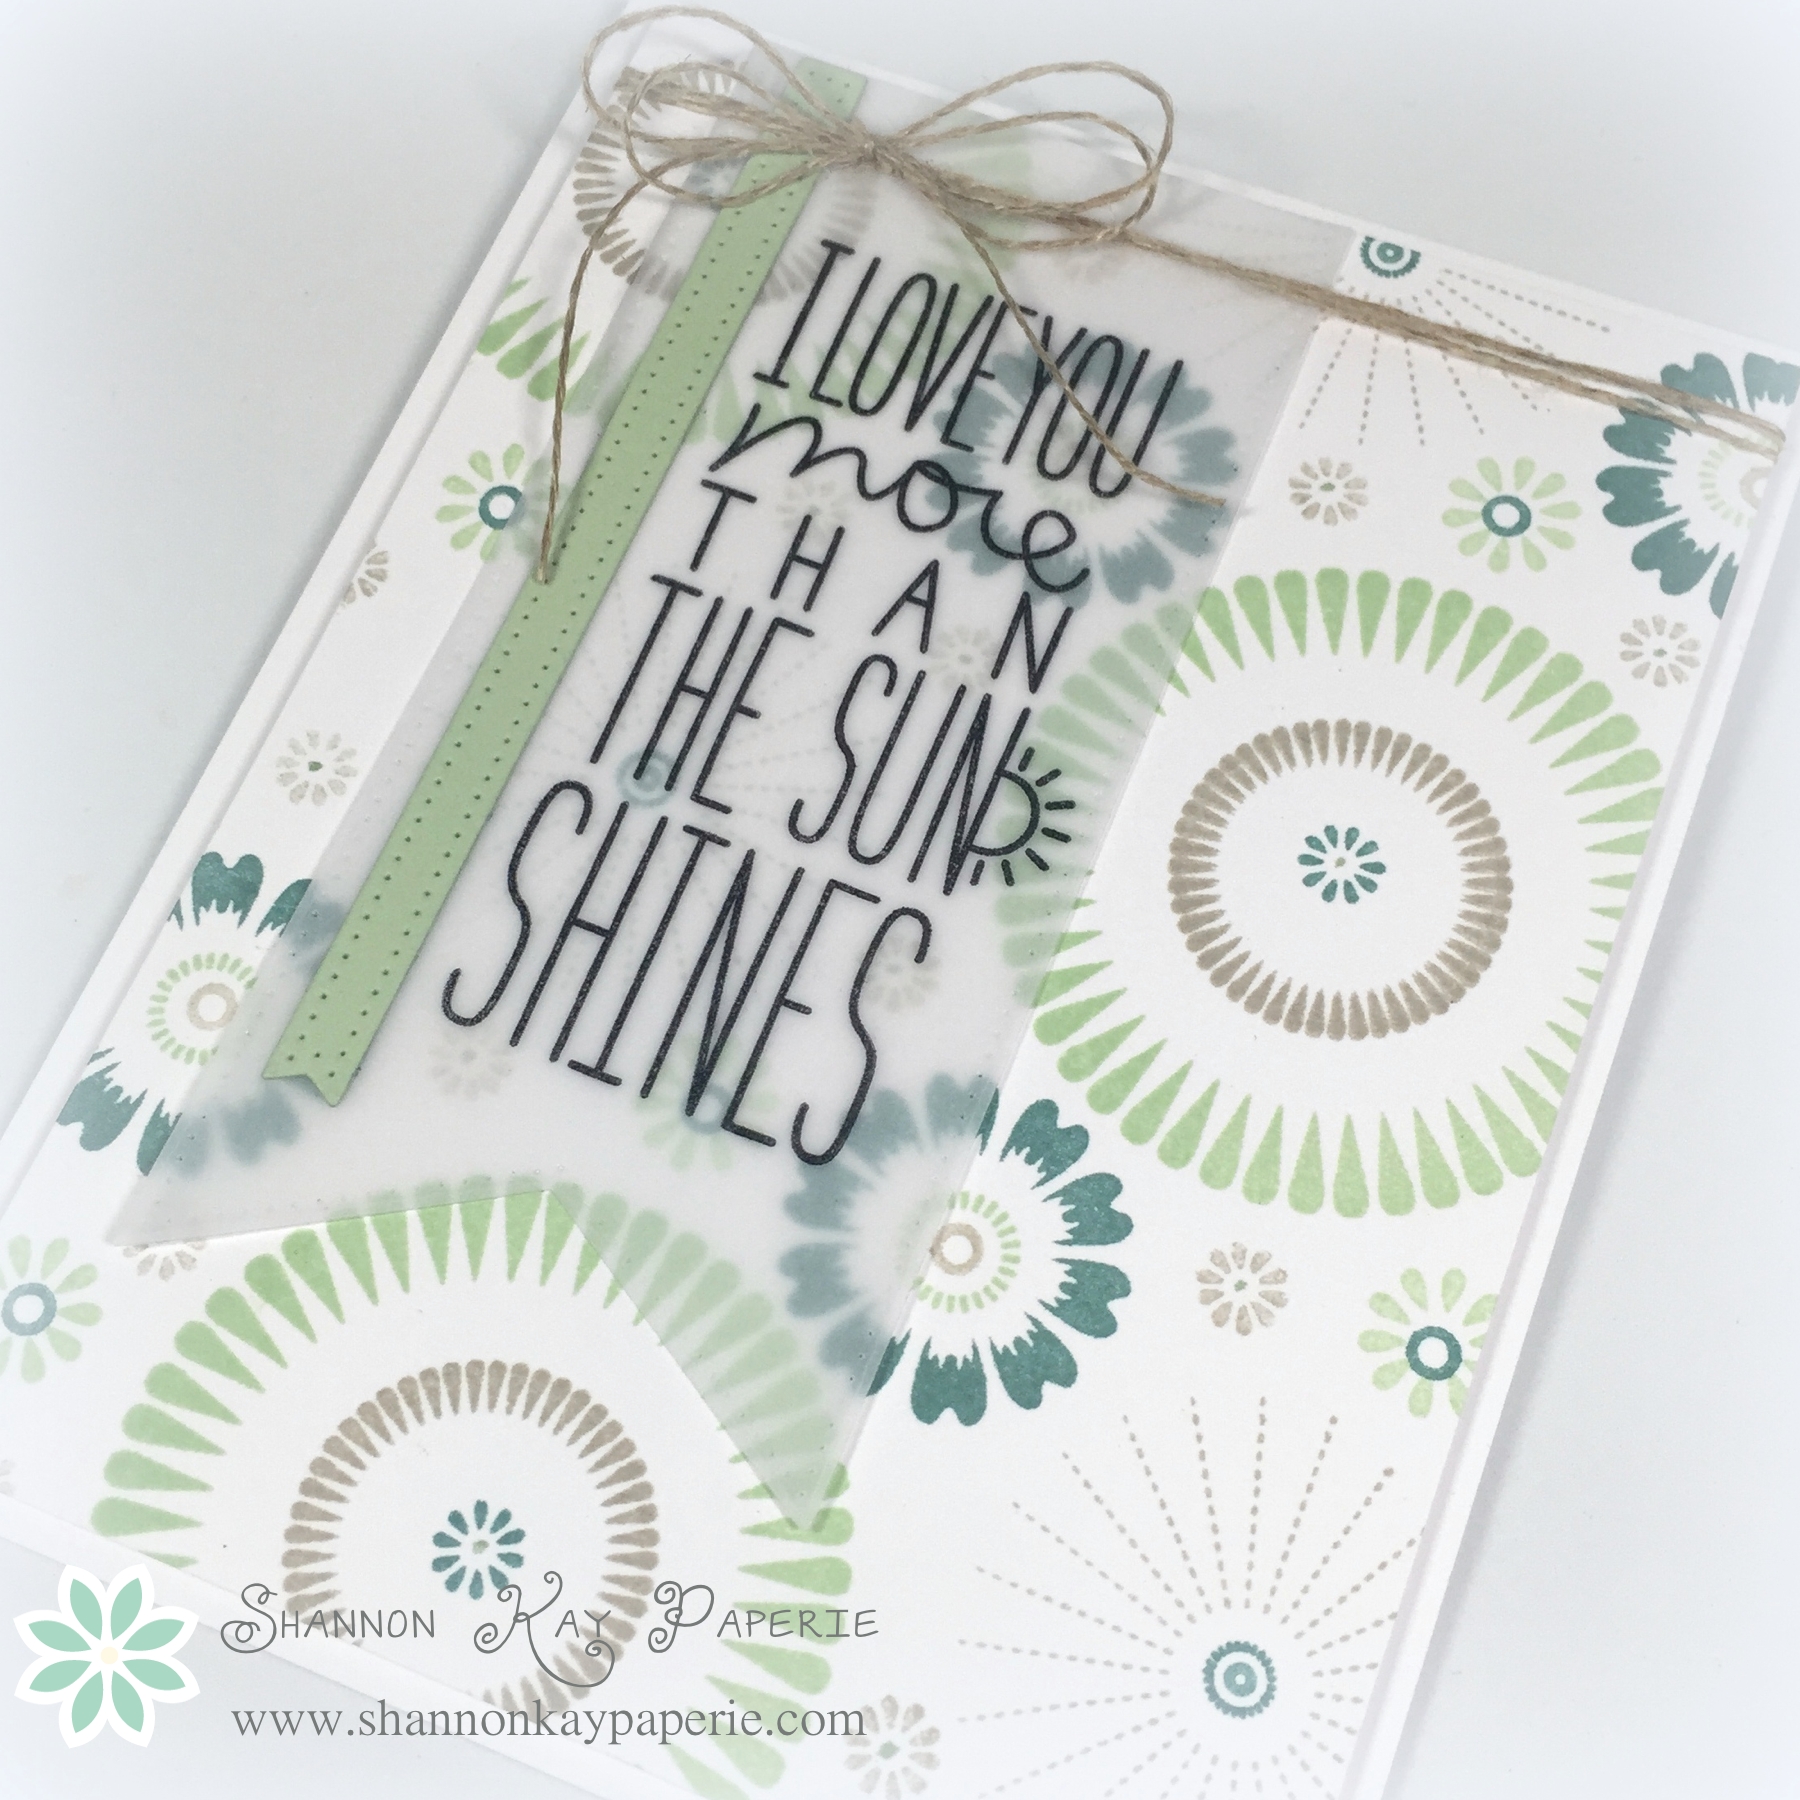
The colors are so yummy, I just want to eat them up!! I knew I wanted to use a banner with a sentiment and I found JUST the right one in the I Love You More stamp set by MFT Stamps. I love that the rays around the sun are mimicked in the patterns of the sunburst stamps…it’s like they were meant to be used together! The Pierced Fishtail Flags by MFT Stamps make quick work of adding the main banner as well as a delightful accent banner. Isn’t the piercing adorable??

SKP Watermarked Photos3-089
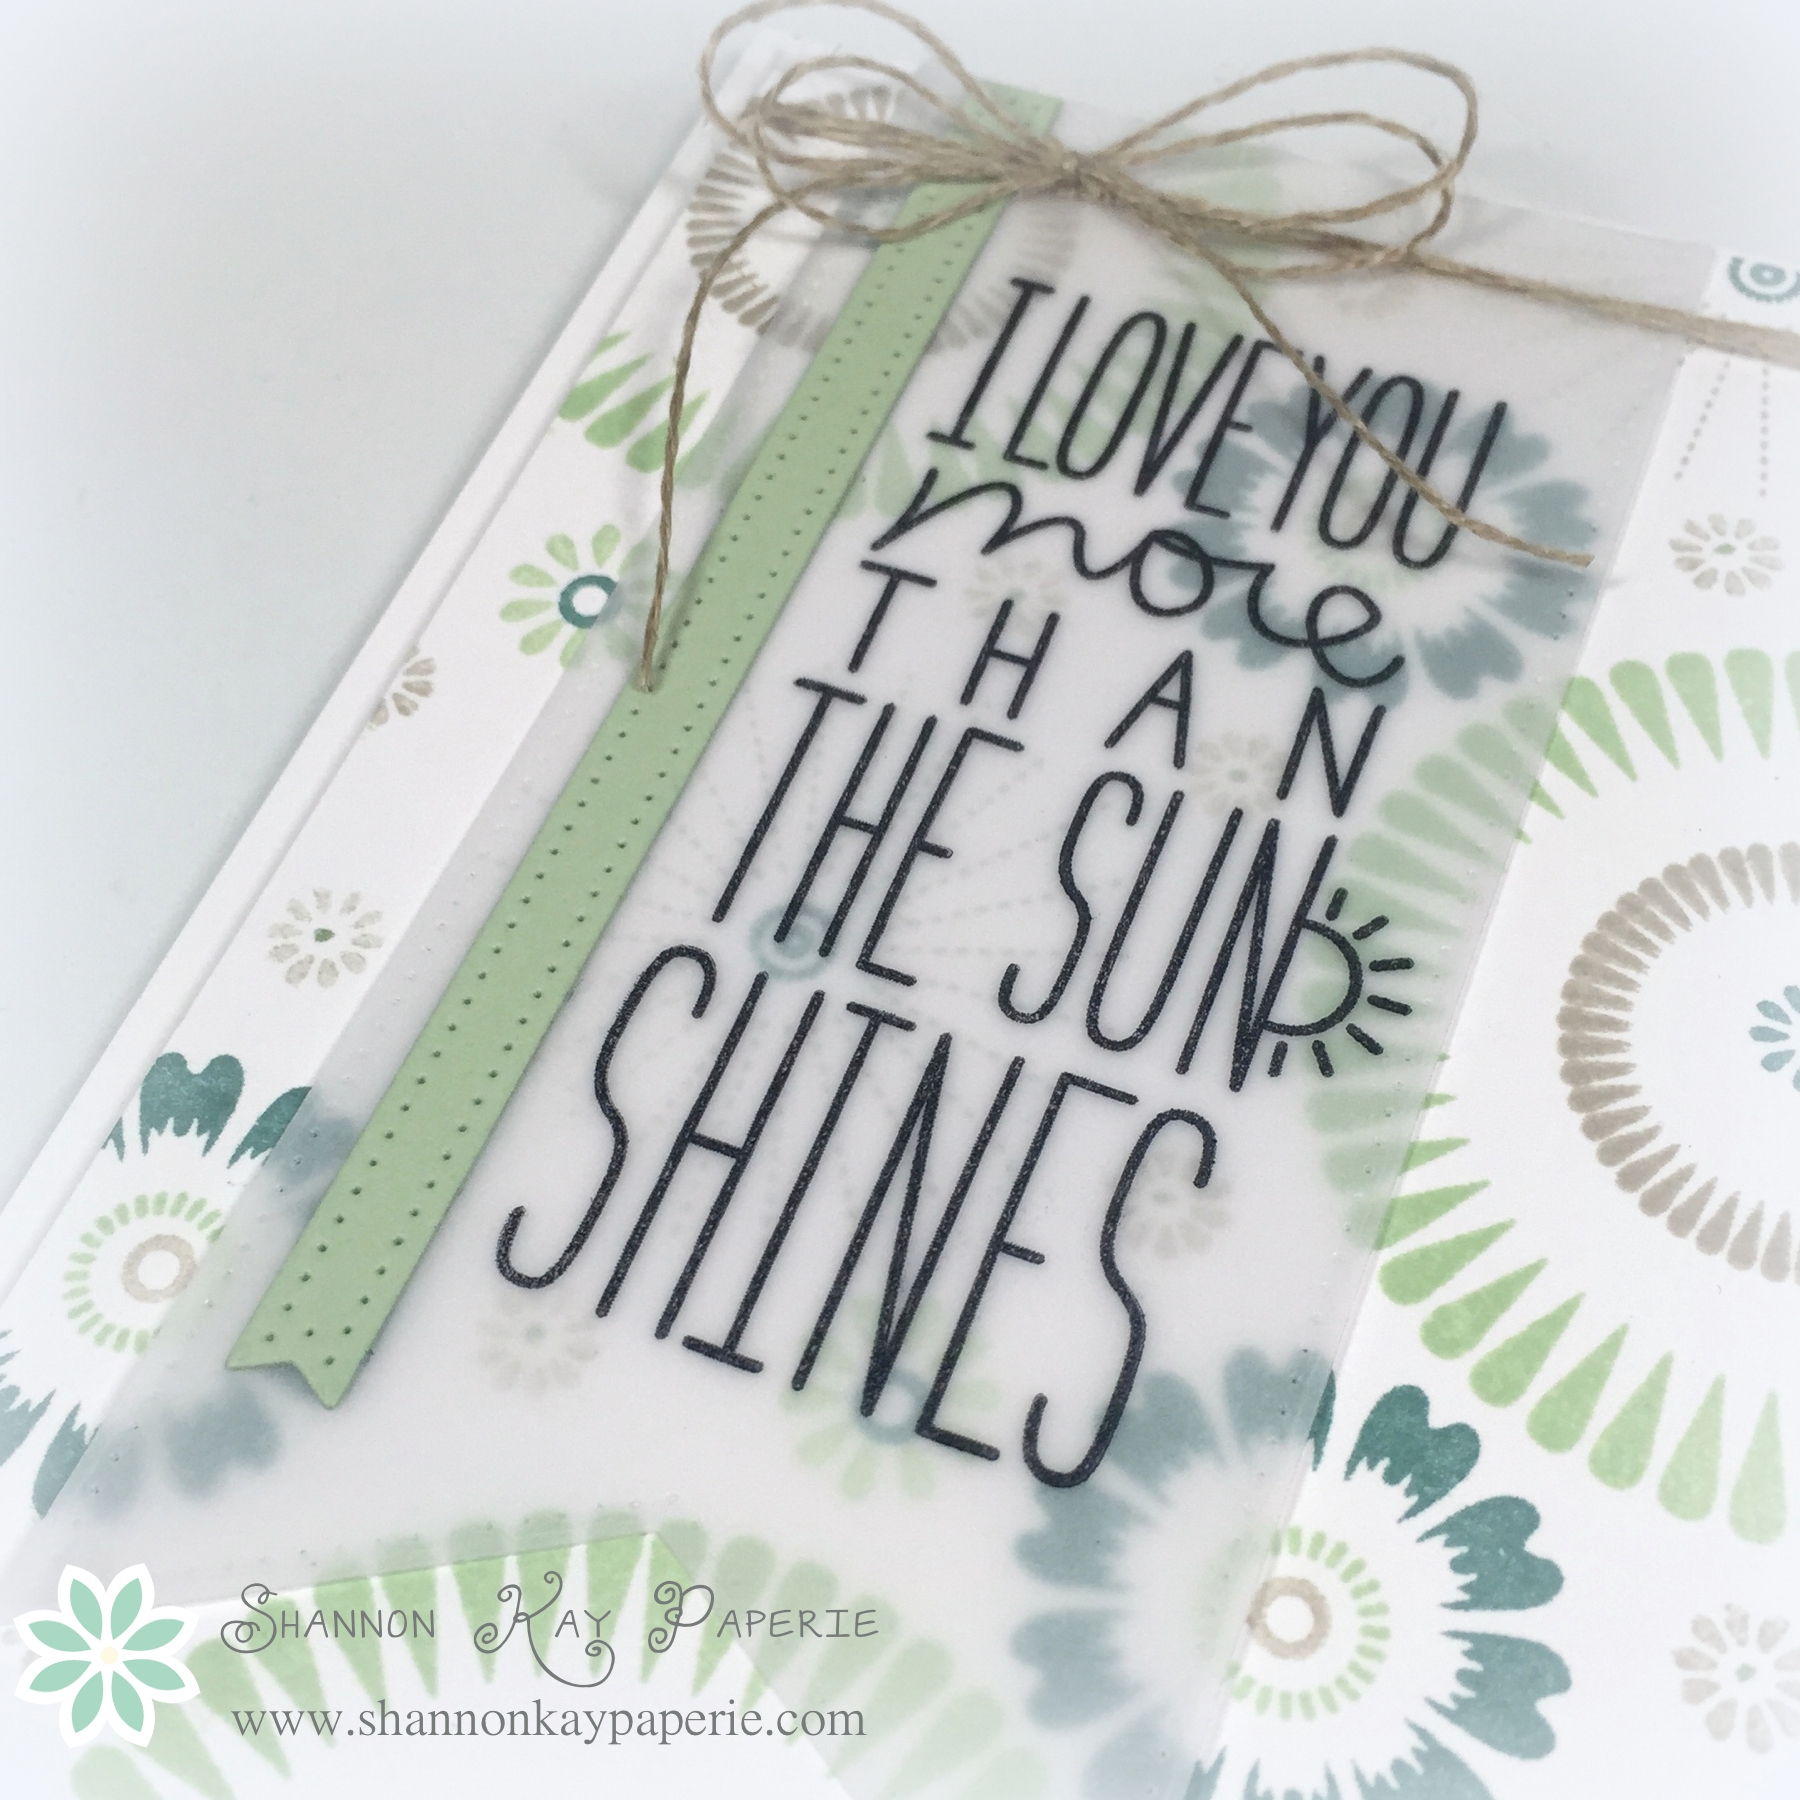
It’s hard to see the paper piercing on the vellum but it’s there and adds a delightful texture. A simple bow with linen thread adds just another bit of texture.

This is one of TWO posts today…and I have exciting news to share so please stay tuned for post #2!

Also, I hope you have a minute to see the projects from the other design team members and that you might leave them a little love!

The Paper Players Design Team

Wishing you joy and blessings!

Products Used:

Cardstock: Stamper’s Select White by Papertrey Ink

Pattern Paper: Neutrals DSP Paper Stack by Stampin’ Up!

Ink: Lost Lagoon, Pistachio Pudding and Sahara Sand by Stampin’ Up!; Black Staz-On

Stamps:   Sunburst by Clearly Besotted Stamps; I Love You More by MFT Stamps

Dies: Fishtail Flags: Pierced by MFT Stamps and Envelope Liner Die by Stampin’ Up!

Tools:  MISTI by My Sweet Petunia

Embellishments: Linen Thread by Stampin’ Up!

A Ride in the Park – Paper Players 243

Greetings, Friends! It’s Sunday and that means another fun challenge from the Paper Players:

pp243

Isn’t this a great idea for a challenge? Thanks, Sandy! This is the perfect opportunity to share another fun set from The Stamps of Life:

SKP Watermarked Photos3-078Isn’t it FUN??? The stamp set is called bicycle2stamp and has an additional set to coordinate with called morebicycle2stamp and there is also a coordinating die set!! It’s so fun to have options! Isn’t the basket fun? It’s a separate die and is designed so you can see inside the basket! So I loaded it up with flowers!

SKP Watermarked Photos3-079Here is a picture of the card base and how it works. The card is called a “stand up” card for obvious reasons and is made very quickly and easily using a die called the Square Stand Up Card. It is a standard A2 card size, it’s just designed so that one side can stand up. There is even a notch to help it can stand up securely.

So, I used the die to cut my card base, and then I laid a piece of darling pattern paper from the April Card Kit over one half of the die and ran it back through the Big Shot. I snipped off the sides that fold back and was left with a perfectly sized cover for my card stock. I then used another coordinating product called For You & Thank You, it has square dies that are sized to compliment the card base! I used those to make the back drop for my sentiment…which fits perfectly inside! I just love having lots of coordinating/complimenting products! Did you notice the pretty ribbon? Also from the April Card Kit and a dream to work with!

SKP Watermarked Photos3-080Can you see the notch that keeps the card standing up? So awesome!! And stamping the pink bike frame within the bicycle frame was a cinch using the MISTI tool. Of course I had to add Wink of Stella to make the pink sparkle! Who wouldn’t want a sparkly pink bike? And a basket of white blooms, all sparkly as well 🙂

I have the perfect person in mind to send this to, and hope that she displays it on her desk at work and that it brings a smile to her face each time she looks at it!

Please visit the other designers and their very inspiring work!

The Paper Players Design Team

Wishing you joy and blessings!

Products Used:

Cardstock: Kiwi by The Stamps of Life

Pattern Paper: Wishes Collection by The Stamps of Life

Ink: Memento Tuxedo Black and Raspberry Fizz by Papertrey Ink

Stamps:   bicycle2stamp and morebicycle2stamp by The Stamps of Life

Dies: Bicycle Club Die Set, For You & Thank You Framelits Dies, Card, Square Stand Up Die, all by The Stamps of Life

Tools:  MISTI by My Sweet Petunia

Embellishments: Basics Pearls by Stampin’ Up!; Wink of Stella

Plane Awesome – FMS183

SKP Watermarked Photos3-073

Hello Friends! Today’s card is very clean and simple, inspired by the Freshly Made Sketches design team:

FMS183

This card was completely inspired by the pattern paper, it’s from a set called Durable by Authentique and has some fabulous masculine colors and patterns. I felt that the stamp set would compliment it quite nicely, and I have the perfect person in mind to send it to!!

SKP Watermarked Photos3-075My card is pretty straightforward but I will say that the MISTI made stamping a breeze!!

I hope you are having a fabulous weekend!!

Wishing you joy and blessings!

Products Used:

Cardstock: Ocean Tides, Smokey Shadow and Stamper’s Select White by Papertrey Ink

Pattern Paper: Durable by Authentique

Ink:  Ocean Tides and Smokey Shadow by Papertrey Ink

Stamps:  Love You to Pieces and Rustic Wreath by Papertrey Ink

Dies: Pierced Rectangle STAX by My Favorite Things

Tools:  None

Embellishments: None

Spring Flowers – The Challenge #29

SKP Watermarked Photos3-051

Good Morning and Happy Hump Day to you!! Midway through the week, I hope yours is going well!! I’m a happy camper because I was able to stamp again last night. Woohoo!

Last week I promised another card using Rubbernecker Stamps and a technique that the owner/designer demonstrated for easy stamp alignment and the sketch this week over at The Challenge provided the perfect backdrop for my stamp!

New Banner-002

The stamp I chose for today’ project is the Layered Flower 2 stamp by Rubbernecker Stamps. It’s a three step stamp, and here’s how the owner demonstrated lining all three stamps up without the use of any extra tools:

Here’s what the stamp set looks like straight out of the package:

SKP Watermarked Photos3-046

The image on the packaging is a life size image of the stamp, so take the flower stamp with the larger petals and place it over the flower image on the packaging, like so:

SKP Watermarked Photos3-047

Then take your clear block and place it over the stamp, being careful to line the right and bottom edges up with the packaging, like so:

SKP Watermarked Photos3-048

Then, layout the panel you want to stamp on:

SKP Watermarked Photos3-049

Then, ink your stamp up with the lighter petal ink and stamp on your panel, being careful to once again line the clear block up with the right and bottom edges of your panel. Repeat this process with the smaller flower stamp and then finally with the outline stamp, and you will wind up with a wonderfully aligned image!

SKP Watermarked Photos3-050

And as I was reminded, the image is designed to NOT be perfect so don’t stress over it too much!

SKP Watermarked Photos3-053

I had a bit of fun with this stamp and some new papers. I wanted the flowers to really pop so I stamped the lighter image in Melon Berry ink by PTI and then the darker image in Calypso Coral ink by Stampin’ Up!. I used a fun sentiment in a new to me set called Sentiment Sampler by Paper Smooches. I think the sweet font of the sentiment goes well with the sweet paper.

SKP Watermarked Photos3-054

I received happy mail yesterday from Winnie & Walter and was so surprised when I found the stamps wrapped up with twine, a nice note, and a little bag of free sequins…how sweet is that! I posted a picture of it over on my Instagram account if you would like to see it. Even sweeter was the fact that some of the sequins were the perfect blue to add a bit of pizzazz to my card!

A generous coating of Wink of Stella was applied to the Calypso Coral part of the flowers as well as to the sentiment, they shimmer so prettily in person!

I thought the sentiment tag needed a little something so I fussed a bit with that, deciding finally on a tiny punched flower and a little bow tied with twine. Please let me know what you think, the jury’s still out on whether or not to leave the extra bits:)

In addition to playing along with The Challenge, I am also playing along with Just Us Girls, their challenge this week is Spring, as well as the Simon Says Stamp Wednesday Challenge which is Spring Flowers:

Screen Shot 2015-03-12 at 7_32_13 PM

wednesdayblog-logo

Thank you so much for stopping by! I appreciate your visit and love hearing from you!!

Wishing you joy and blessings!

Products Used:

Cardstock: Rustic Cream by Papertrey Ink

Pattern Paper: Simple Life by Echo Park

Ink: Melon Berry by Papertrey Ink; Calypso Coral and Soft Suede by Stampin’ Up!

Stamps:  Layered Flower 2 by Rubbernecker Stamps and Sentiment Sampler by Paper Smooches

Dies: Pierced Retangle STAX Dies by MFT Stamps and Envelope Liner Die by Stampin’ Up!

Tools:  MISTI by My Sweet Petunia (for the sentiment)

Embellishments: Sequins by Winnie & Walter


So Tweet – SSSC263

SKP Watermarked Photos3-041Hello stamping friends! Today’s project is a little something I whipped up for the Sweet Sunday Sketch Challenge, they have such a fun sketch this week!

263I thought the large panel would be the perfect spot to stamp with this adorable set from last month’s Clearly Besotted Stamps release, So Tweet. I altered the shape of the card from square to rectangular so as to better mimic with my tall skinny birdhouse.

The birdhouse and its’ roof are two separate stamps so, after consideration, I decided to die cut the birdhouse shape first, and then stamp on it. Once I had the birdhouse die cut, I adhered it to a rectangular piece of cardstock in order to place it into one of the corners of my MISTI. I then placed my stamp over the die cut shape and fiddled with it until I thought the placement was good, closed the MISTI lid to pick the stamp up, and then inked it up and stamped (and held my breath, lol). The stamped image was perfectly placed (whew) but needed a bit more ink coverage, so I inked it up again and re-stamped. I love that the MISTI allows me to stamp perfectly multiple times! It’s amazing!!

SKP Watermarked Photos3-044I even needed to stamp the birdhouse stick twice and managed to line it up perfectly!! What an amazing tool this is!!

I love the sweet font on the sentiment! And I don’t know if there are really birds out there that are yellow and blue, but those were the colors in my pattern paper that I was trying to draw out, so please give me some artistic latitude!!

I added a liberal coating of Wink of Stella to the heart, it’s so cute in real life!

SKP Watermarked Photos3-045Thank so much for visiting me today!! I appreciate your visits and love your comments! As always, please email me if I can answer any questions!!

Wishing you joy and blessings!

Products Used:

Cardstock: Rustic Cream by Papertrey Ink

Pattern Paper: Sunny by My Mind’s Eye

Ink: Beanstalk Green, Lipstick Red, Maliblue, Sparrow, Sunshine by Simon Says Stamp

Stamps:  So Tweet by Clearly Besotted Stamps

Dies: So Tweet by Clearly Besotted Stamps; Stitched Duo 2 by Pretty Posh Pink; Vertical Stitched Strips by MFT STamps; and Envelope Liner Die by Stampin’ Up!

Tools:  MISTI by My Sweet Petunia

Embellishments: Wink of Stella