Clean and Modern Country for Inspired by All the Little Things

I am thrilled to share some news with you that I’ve been keeping under my hat for a few weeks now. Nance Lempinen-Leedy, design team member for the challenge blog “Inspired by All the Little Things has invited me to be a guest designer for this week’s challenge!! I am SO honored and tickled to be considered and couldn’t say “yes” fast enough!

Doesn’t the name itself “Inspired by All the Little Things” just contour up lots of pleasant images in your head? It sure does for me and when I saw the inspiration photo, I just had to sigh in delight…

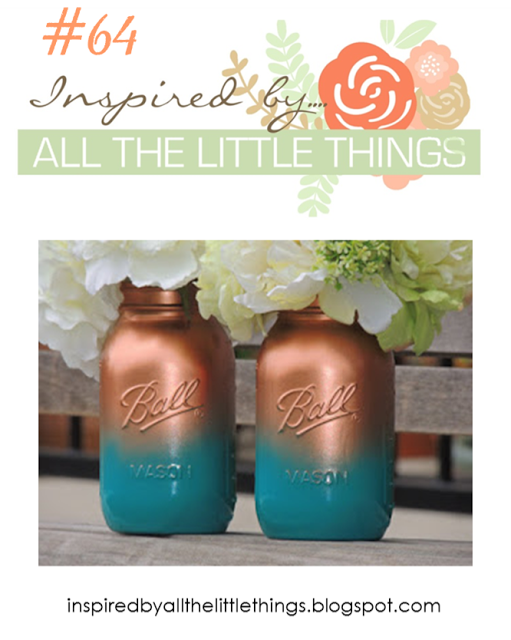
Isn’t the inspiration photo wonderful?? I focused first on the Mason jars, then the colors, then the flowers, and then finally saw the wood texture in the background. I took the photo quite literally at first but as I pondered it, my inspiration shifted from what I actually saw to the overall feeling the photo gave me, which was a fresh clean take on country. And not your grandma’s country either but rather, Joanna Gaines’ kinda country!! And this is where that inspiration led me…
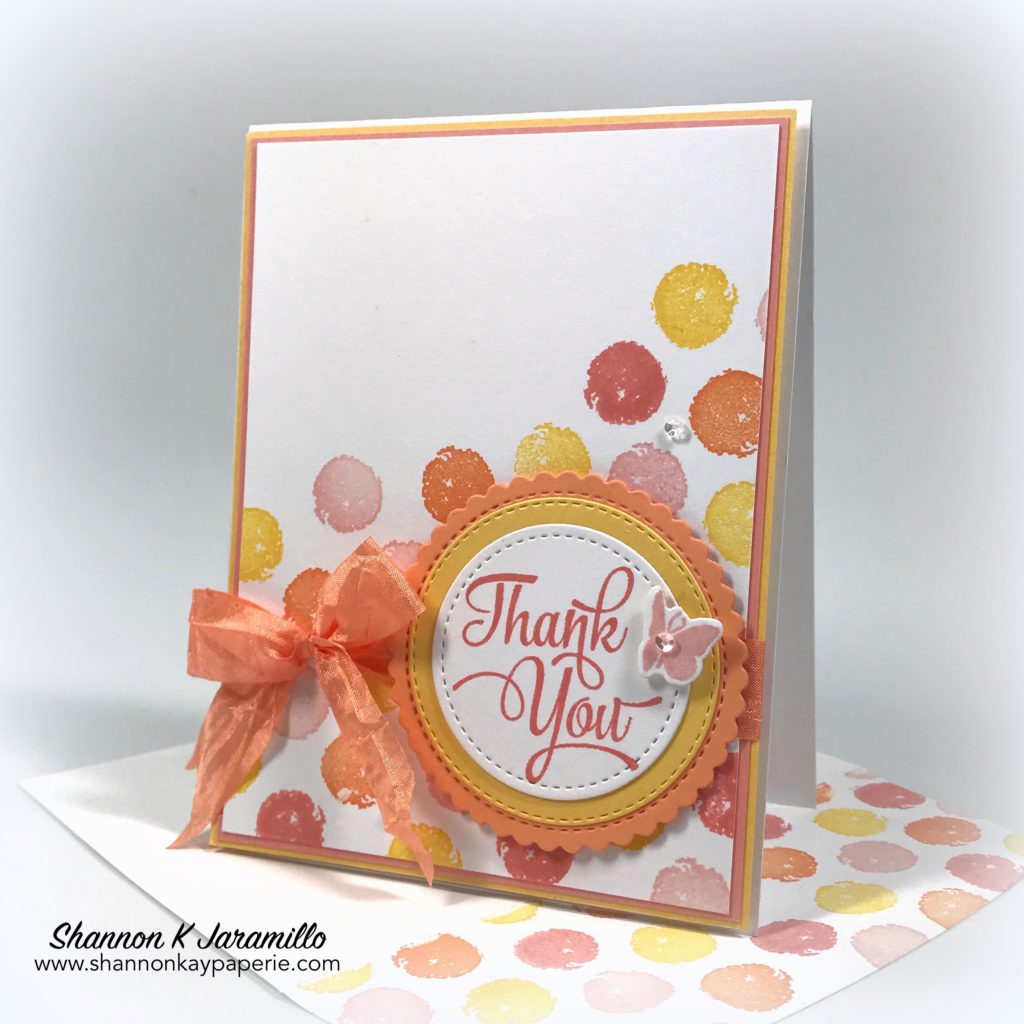
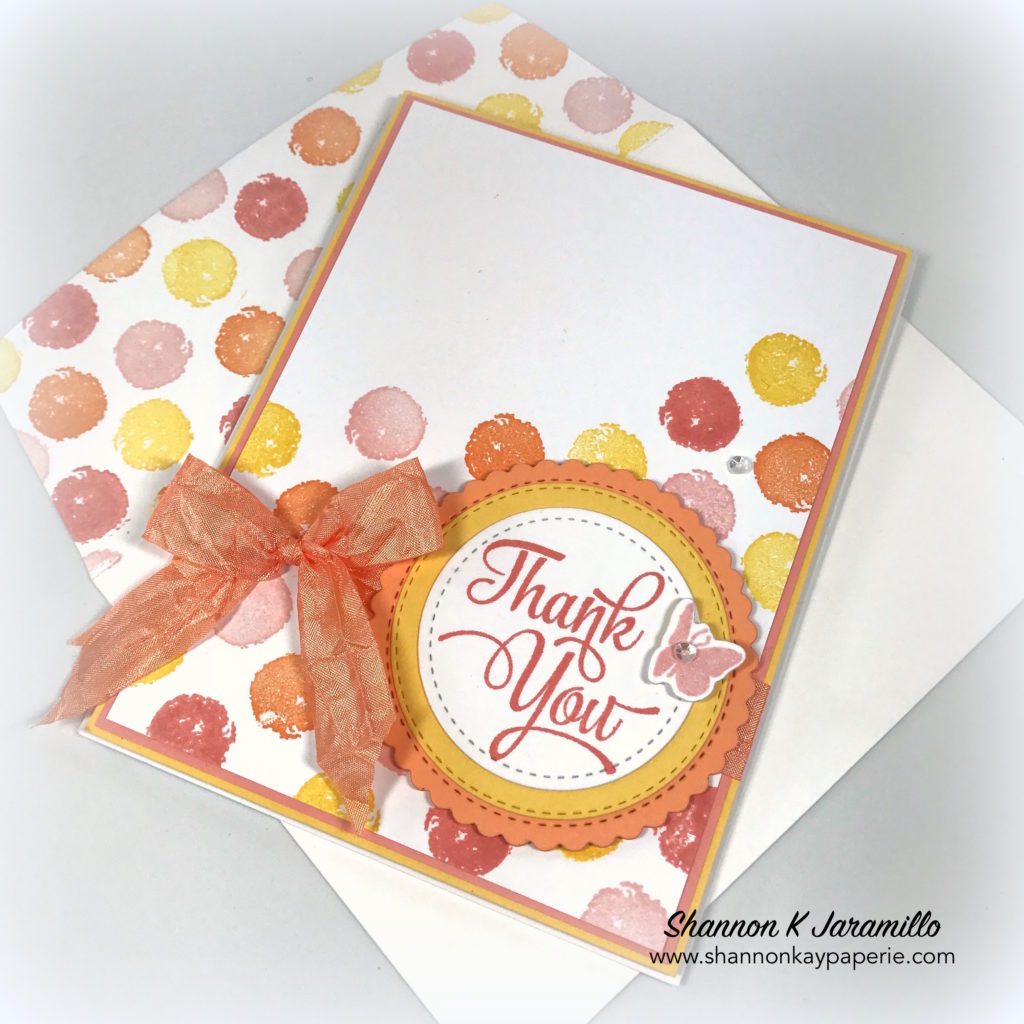
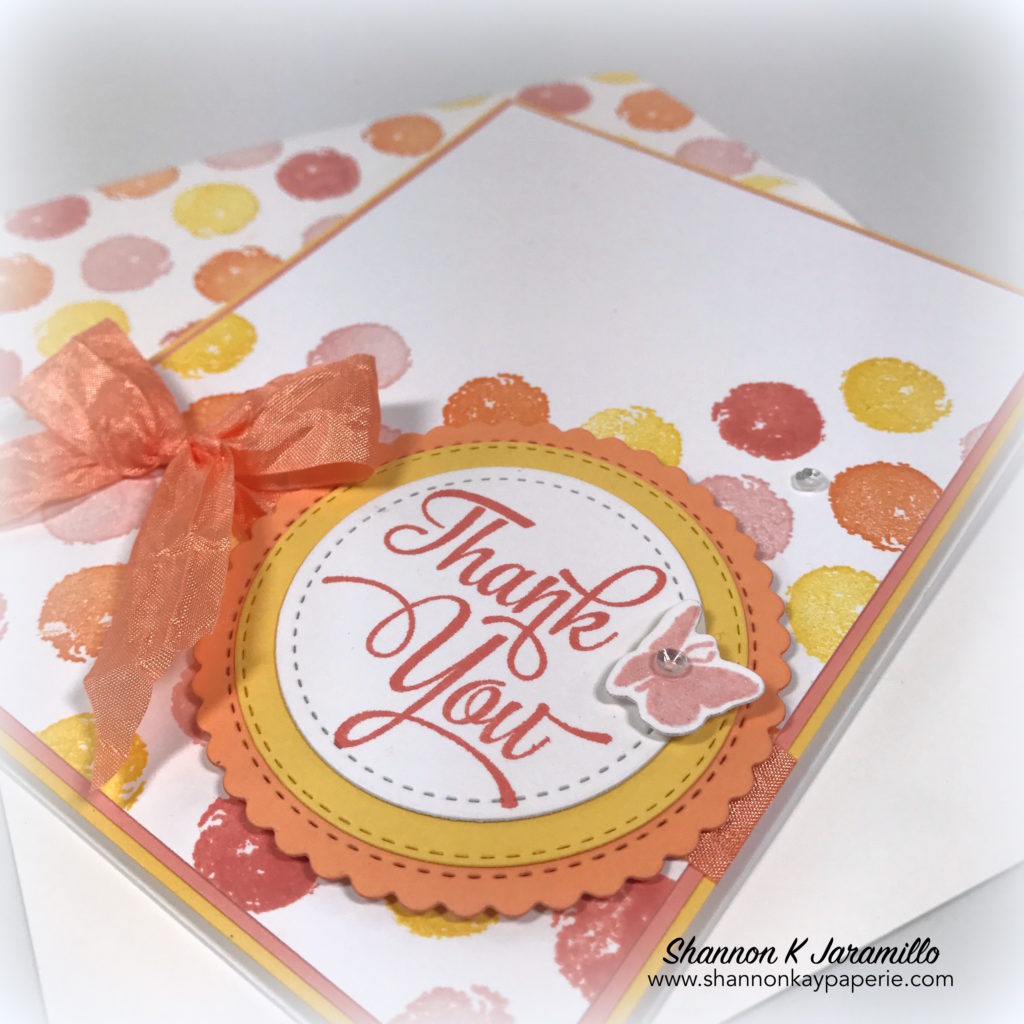
Stampin-Up-Daisy-Punch-Love-and-Friendship-Card-Idea-Shannon-Jaramillo-stampinup

Details:

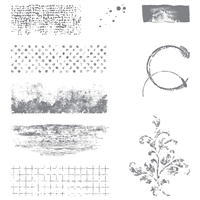
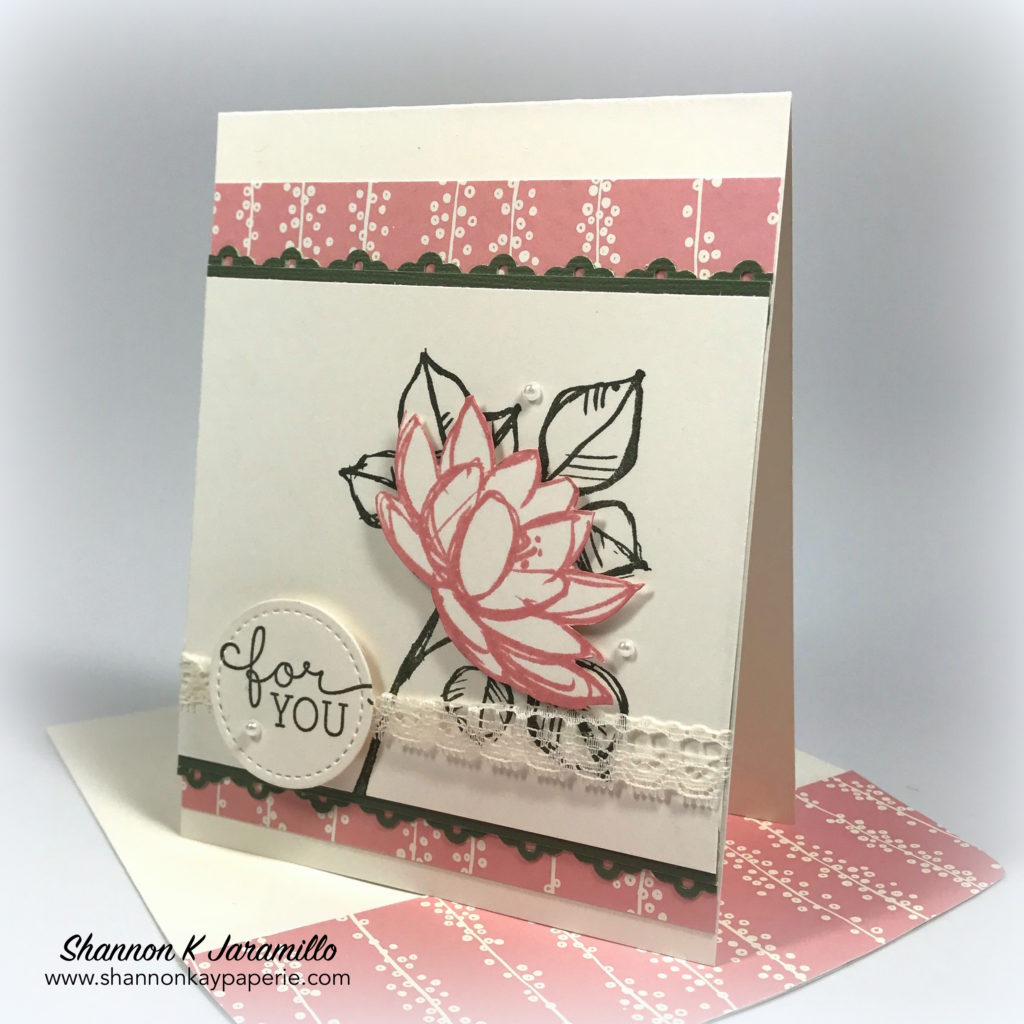
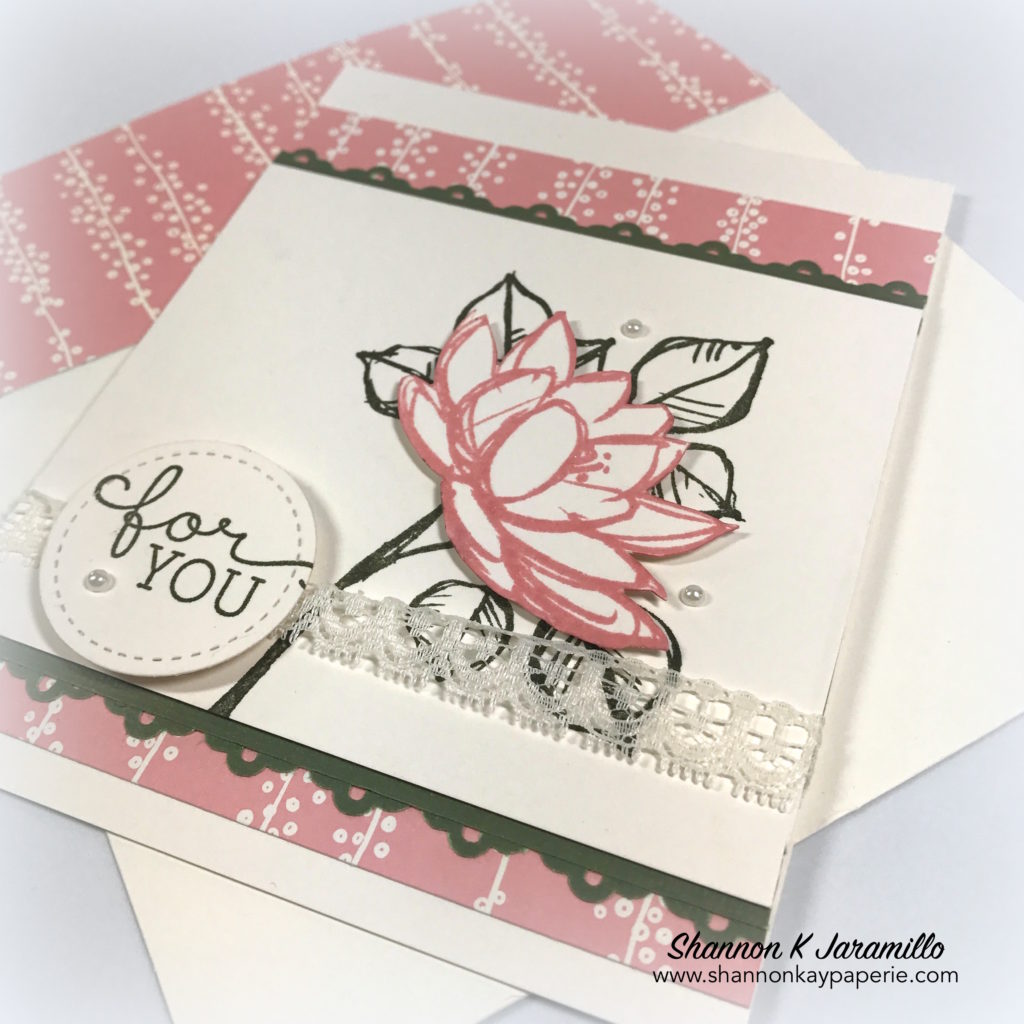
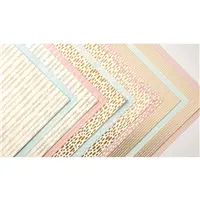
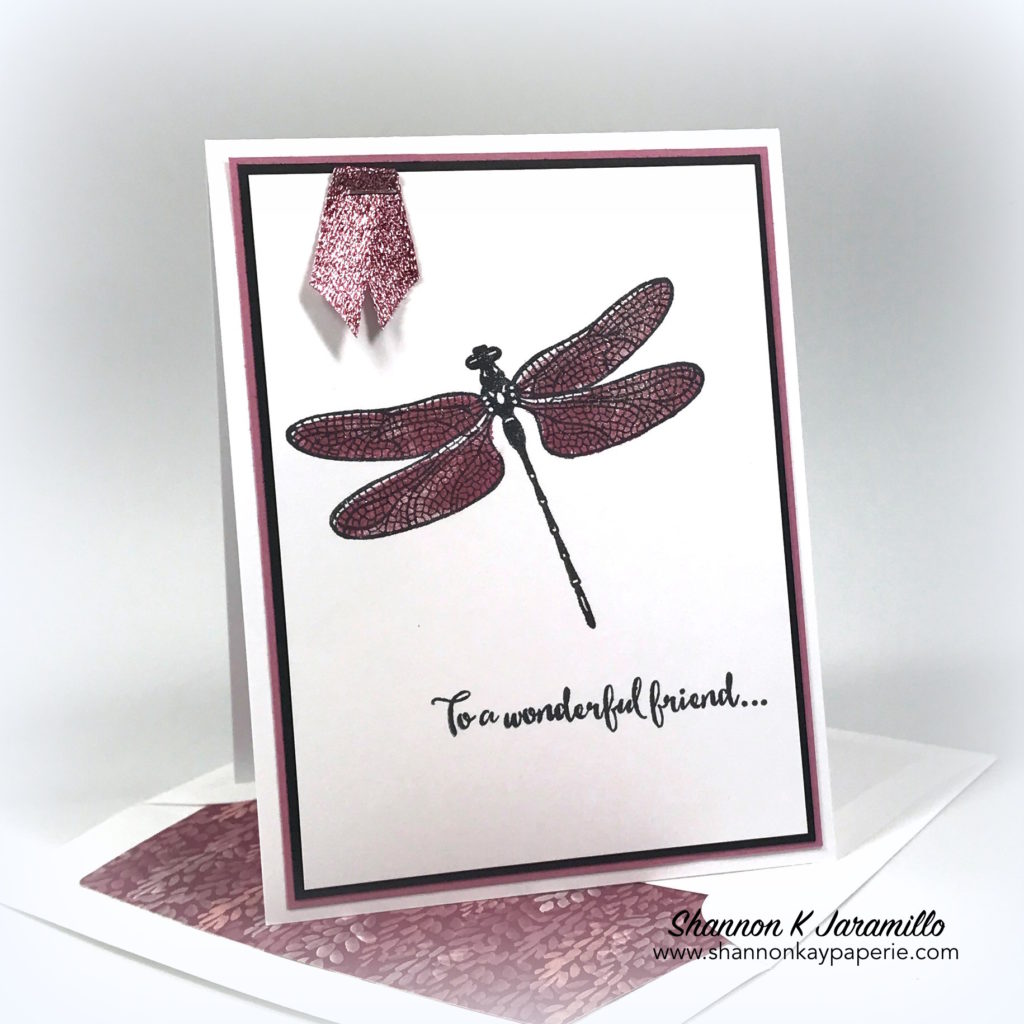
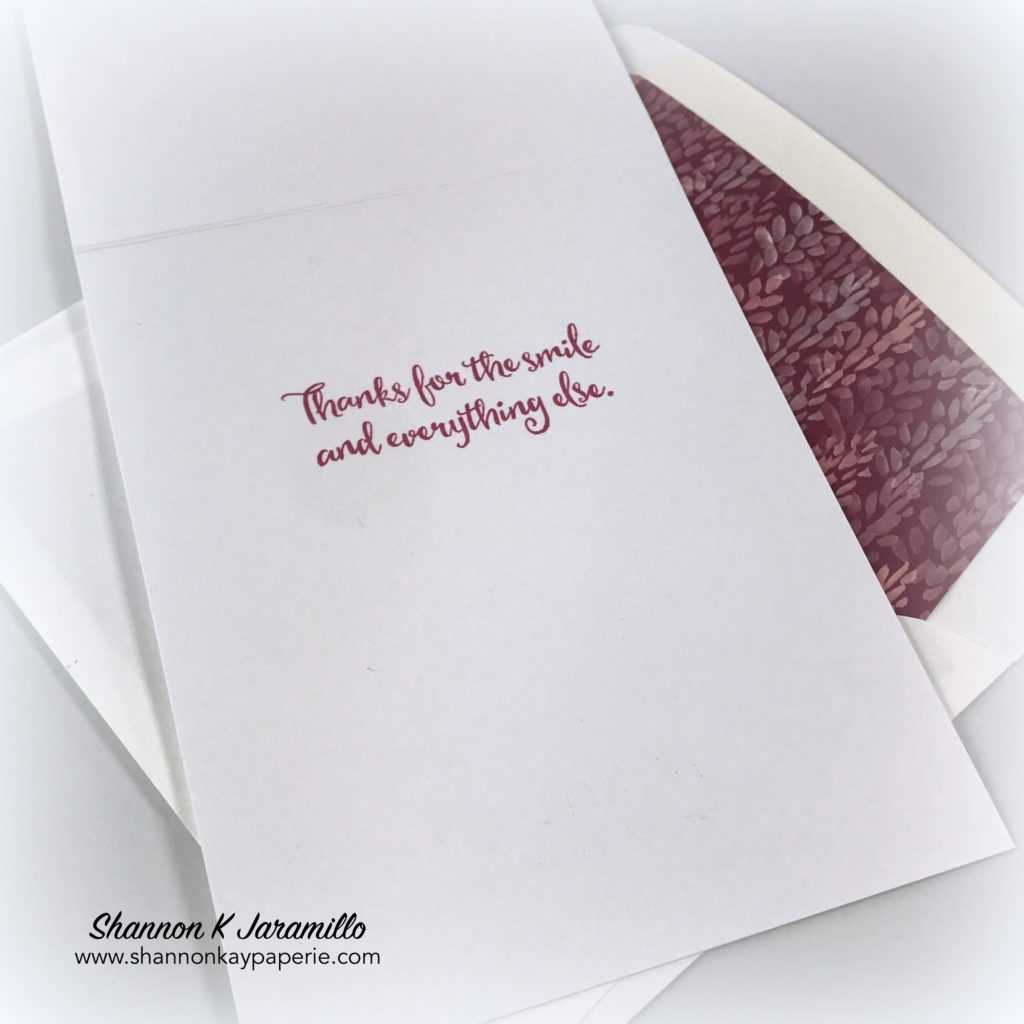
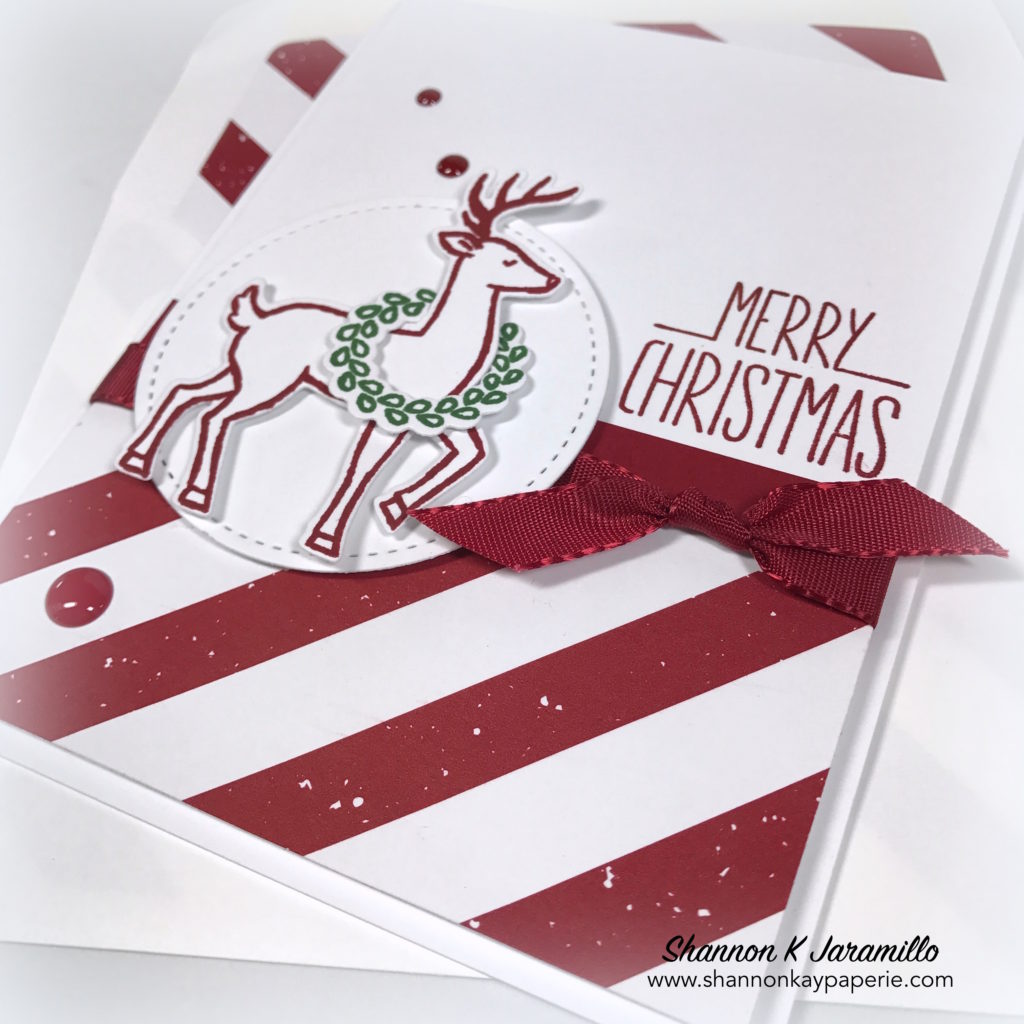
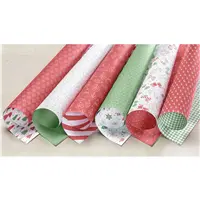
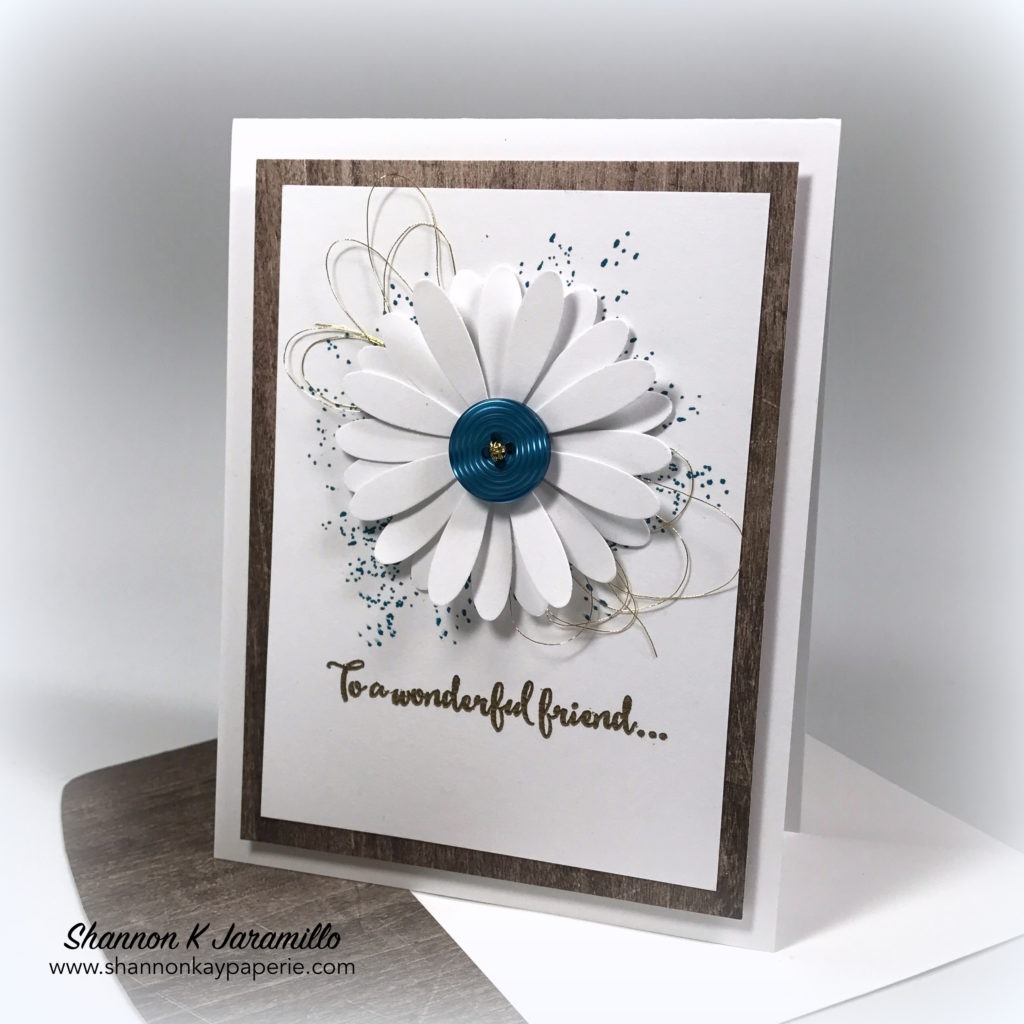
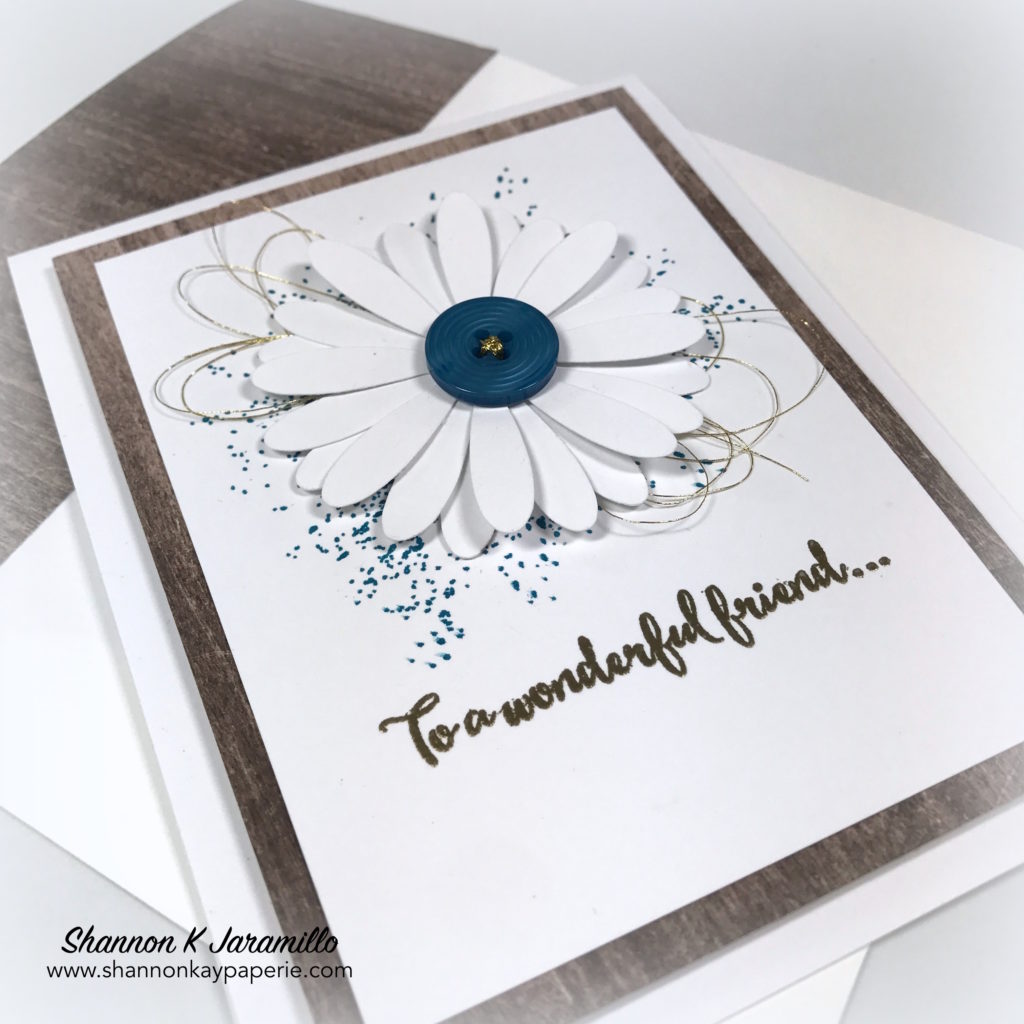
  • I picked up the wood texture with my background paper from the Wood Textures DSP Stack. I layered it on the card and also covered my envelope flap in it. It looks a lot darker in the photo than it is in real life.
  • I carried with the flowers theme with a tripled layered daisy using the new Daisy Punch. It’s very easy to create – just punch three daisies and adhere them together with glue dots! The large daisy was adhered to the card front with Stampin’ Dimensionals for added depth.

Stampin-Up-Daisy-Punch-Love-and-Friendship-Card-Ideas-Shannon-Jaramillo-stampinup

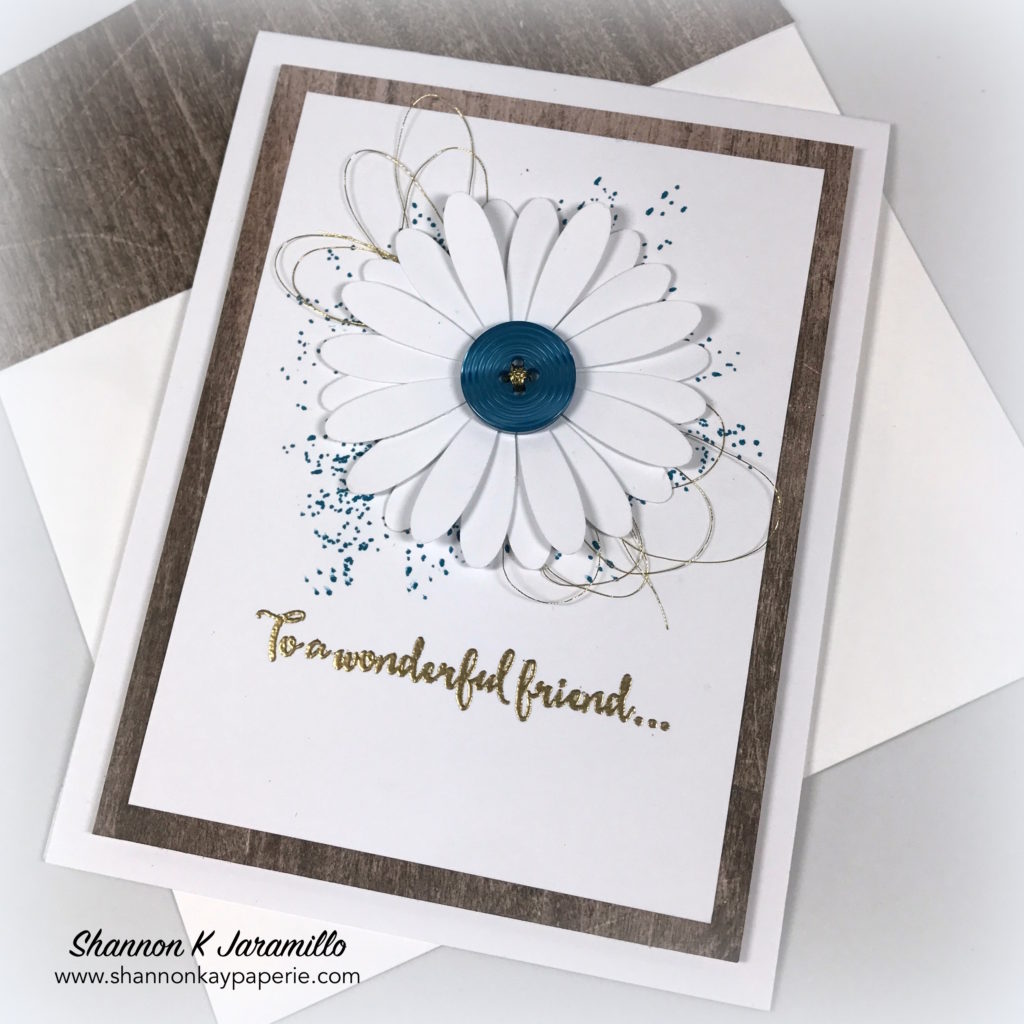
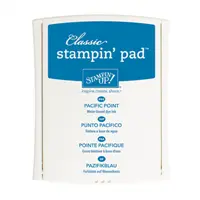
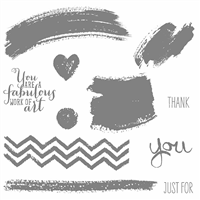
  • I loved the vivid blue in the inspiration photo so I chose Pacific Point as my blue. It’s a very vivid hue of blue so I used it sparingly – stamping splatters on the background using the Timeless Textures stamp set and one single retired Pacific Point button as my “wow” factor.
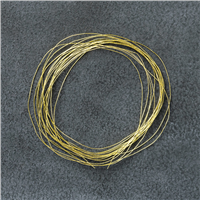
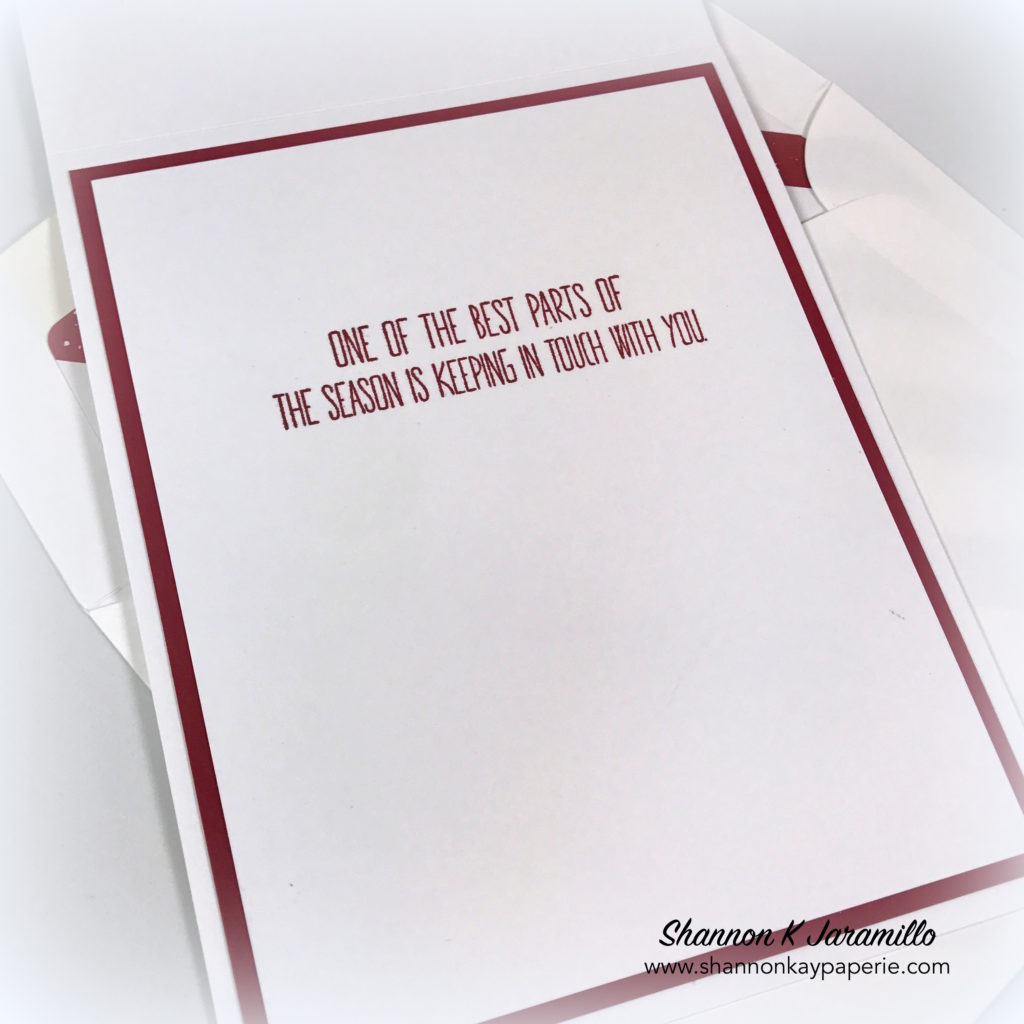
  • Gold on my cards can be tough for me so I again kept it simple with looped Gold Metallic Thread wrapped behind the daisy and a prettily embossed sentiment from the Dragonfly Dreams stamp set. And just the tiniest bit of shine from the gold metallic thread wrapped through the button hole!

Stampin-Up-Daisy-Punch-Love-and-Friendship-Cards-Idea-Shannon-Jaramillo-stampinup

And there you have it, my clean and modern take on a country inspiration. I can see this as the foundation for my dream kitchen…lots of light, bright white cabinets with the wood floors, a big white country table set for breakfast with a big white milk pitcher filled with white daisies…yes, all that from a card, lol.

And I can’t wait to see how the inspiration photo inspires you!!

I hope you are inspired to check out this amazing challenge blog “Inspired by All the Little Things” and visit each of the very talented designers and then I hope to see you in the gallery as well! There is also a short bio on me if you care to take a peek!

Blessings!

Supplies:

Remarkable You in Blushing Bride – Tic Tac Toe Challenge #13


It’s time for another fun challenge board from the Tic Tac Toe Challenge! I love, love, love to see your creations every week and am looking forward to seeing how you interpret this week’s board! It’s my turn to design the challenge board so I hope you are inspired by it and play along! I chose to use the middle row across: Circle, Flower, and Lace:

Remarkable-You-Love-and-Friendship-Card-Idea-Shannon-Jaramillo-stampinup

Details:

  • Pink was my starting point so I chose a sweet pattern from the Bundle of Love Specialty Designer Series Paper. It’s perfectly pretty with a clean design.
  • I tend to lean towards one focal image but as I couldn’t decide which image from the Remarkable You stamp set I wanted to use…(they are all so pretty!),  I decided to go bold and layer two of the images!
  • The leaf image was stamped in Always Artichoke on a Very Vanilla card base.
  • The bloom was stamped in Blushing Bride onto Very Vanilla card stock and then fussy cut and layered on top of the leaf image with Stampin’ Dimensionals. This image was very easy to fussy cut!

Remarkable-You-Love-and-Friendship-Cards-Idea-Shannon-Jaramillo-stampinup

  • This Very Vanilla 1/2″ Lace Trim is delightful to work with…so pliable and soft! I wrapped it around the card stock and tied it off. I covered the knot with a sweet sentiment from the Birthday Blooms stamp set, stamped in Always Artichoke and die cut using the Stitched Shapes Framelits and popped up on Stampin’ Dimensionals.
  • I added a thin layer of Always Artichoke card stock between the Very Vanilla layer and the DSP but it felt a little bare so I pulled out the Decorative Ribbon Border Punch, which is new in this year’s catalog. I love the pretty design of  the punch but decided this card just needed a little of the design peeking out. This punch is so versatile as the look of it completely changes depending on how much you choose to show – and the other side of the design is a small pretty scallop!
  • Instead of sequins, which would have given me the top row as well (pink, pattern paper and sequin), I chose to use Pearl Basic Jewels. They always add such an elegant feel to any project!

Remarkable-You-Love-and-Friendship-Card-Ideas-Shannon-Jaramillo-stampinup

So there you have it! A sweet all occasion card that is easy to create! Before you go, please take a few minutes to pop over and see the other Tic Tac Toe Challenge design team members projects…they are super inspirational!

Supplies:

Price: $110.00

One Stamp Wonder – Tic Tac Toe Challenge #9

Hello my stamping friends! Wow, I can’t believe it has been TWO WEEKS since my last post! I have been enjoying the last of summer with my hubby…school starts for him next week. I’m already counting the days until NEXT summer!! lol ANYWAYS…that’s not why you are here! You are here for a NEW Tic Tac Toe Challenge! Woot Woot! And without further delay…here is the newest challenge board!

I was immediately drawn to the top row of ‘thank you, sequins, and all things round’. But funny story about that last category…all things round? I tend to be quite literal so I pondered that for awhile and then I even posed that question on my FB page to get my friends to sound off on their ideas for ‘all things round’. I LOVED their suggestions and looked through every stamp set I own before finding ONE LITTLE STAMP in a Stampin’ Up! stamp set called Work of Art that sealed the deal for me. Remember how I said I tend to be quite literal???  Take a look at this!!

Stampin-Up-Work-Of-Art-Thank-You-Card-Idea-Shannon-Jaramillo-stampinup

Ha! Can’t get much rounder than that!! TeeHee!! Okay, maybe a circle shaped card but I’m not a fan of odd shapes so that was out… Okay, on to the dets:

Details:

  • The variety of choices in Stampin’ Up!’s Work of Art stamp set gives you as an artist an infinite range of possibliliities. Unless you are me, then you will only see the obvious:) But the obvious can be fun too!

  • I used the tiny circle stamp, rotating it each time I stamped it so that the tiny clear spot in it would be more random looking. I based my color palette on the ribbon I wanted to use, the 5/8″ Crinkled Seam Binding ribbon in Peekaboo Peach. I added Daffodil Delight, Powder Pink and the retired Crisp Cantaloupe. And now I’m craving Sherbet ice cream!!
  • I started stamping in the bottom right hand corner and changed colors with each circle I stamped to get some consistent spacing between the dots. It wasn’t a lot of work, I just had to remember to clean the stamp each time so I didn’t stamp Peekaboo Peach into my Daffodil Delight ink pad! Yikes!

Stampin-Up-Work-Of-Art-Thank-You-Card-Ideas-Shannon-Jaramillo-stampinup

  • I love this thank you sentiment from the One Big Meaning stamp set, it’s perfect for circle die-cutting.
  • The rest of my layers were a bit more tricky. I discovered that I didn’t have any circles in my Stampin’ Up! stash to do three graduated layers like this, I’m not sure why, but I couldn’t. So the white layer is the Stampin’ Up! Stitches Shapes Framelits, the Daffodil Delight layer uses a circle die from The Stamps of Life and the darling stitched scallop layer in Peekaboo Peach is made by MFT Stamps.
  • This Crinkled Seam Binding ribbon is a MUST for your stash. It is seriously great to work with. I truly hope they come out with it in more colors. I will buy a full roll of each color, it’s THAT amazing!

Stampin-Up-Work-Of-Art-Thank-You-Cards-Ideas-Shannon-Jaramillo-stampinup

  • When I stood back and looked at my card, I decided it needed a little bit “more” so I pulled out this super darling itty-bitty butterfly stamp and die from the most recent Catherine Pooler Stamps of Approval box. I added some Wink of Stella to it and of course a sequin!
  • My last sequin is covered up by ribbon in this photo but be assured, there are three sequins…because odd numbers always look better!
  • I layered everything on to Crisp Cantaloupe and Daffodil Delight card stock and then added circles to the envelope flap…they are so stinkin’ cute!!

I hope you’ve enjoyed my interpretation of ‘thank you, sequins, and all things round’. Please pop on over to the Tic Tac Toe Challenge and see what the rest of the design team has for you this week! They are amazing!! We would love to see your art in the gallery!!

Supplies:

Price: $110.00

Clean and Simple Dragonfly Dreams

Stampin-Up-Dragonfly-Dreams-Love-Friendship-Card-Idea-Shannon-Jaramillo-stampinup

This weekend I wanted to show a friend how the MISTI (Most Incredible Stamping Tool Invented) works. I just grabbed a stamp set and started stamping – NOT how I usually work. That saying “Hold on while I overthink it” fits me to a T!! Somewhere along the way I fell in love with what I had created and realized that it can be fun to just sit down and play!

Details:

  • This is literally the first time I have inked this set up! I stamped the outline of the dragonfly in Tuxedo Black Memento ink and demonstrated how, if the first stamp isn’t sharp enough, you can re-stamp it easily! Then I added the wings detail stamp in Sweet Sugarplum (randomly picked from my inks), demonstrating how easy it is to line layered stamps up and make sure you get it right! Wink of Stella adds a pretty sparkle to the wings and body of the dragonfly.
  • Next came the sentiment. The grid lines on the MISTI make it simple to get the sentiment stamped straight and without the dreaded “shadow” that can happen with a wood stamp or acrylic block.
  • A simple snippet of sparkly (retired) ribbon stapled to the card with the retired Stampin’ Up! stapler and a few layers of card stock and BOOM! done! Super pretty and super fast – I think it took me less than 10 minutes from start to finish!
  • The envelope is lined with retired DSP, the perfect shades for this card!

Stampin-Up-Dragonfly-Dreams-Love-Friendship-Cards-Idea-Shannon-Jaramillo-stampinup

  • I kept the inside simple with no layers this time…just a pretty sentiment!

Thanks for stopping by today! I hope you will check back in soon for more inspiration!

Supplies:

Christmas in July – Freshly Made Sketches 295

Stampin-Up-Santa's-Sleigh-Christmas-Card-Idea-Shannon-Jaramillo-stampinup

I know…you’re thinking “whhaaaattttt????” But it IS July and despite the fact that it was 106 degrees yesterday, we cannot hide from the fact that Christmas is only 170 days away! Time to start thinking about those beautiful handmade cards we promise ourselves we are going to create and send out every year…let’s make THIS the year we actually DO it!!

Details:

  • When I think of Christmas cards, I think of sending everyone a beautifully detailed, intricate one-of-a-kind Christmas card…and then I wake up and realize that the only way I will EVER get done is to mass produce! So…I make cards that can easily be recreated and for me that means simple and BOLD.
  • I absolutely adore this particular pattern from the Be Merry Designer Series Paper pack, it is SO striking! I originally had the entire background as this pattern paper but in the end relented, if only to follow the challenge sketch…so I added it as an envelope liner instead 🙂

Stampin-Up-Santa's-Sleigh-Christmas-Card-Ideas-Shannon-Jaramillo-stampinup

  • Are you wondering if those white splatters are a mistake?? Nope! The paper comes that way and I LOVE it! It adds such a fun texture to the design!
  • Simple stamps and their coordinating dies, both called Santa’s Sleigh, make an eye-catching focal point without a lot of fuss – always a plus in my book! Santa’s Sleigh is a carryover from last year’s holiday catalog and I am delighted to have another year to play with it!!
  • I have been pondering this Merry Christmas sentiment from the Better Together stamp set for a long time, trying to figure out what to use it with so it would look good…I think it works perfectly in this design, very graphic and clean!
  • The simple wreath, stamped in Garden Green, around the reindeer’s neck added a sweet pop of color to an otherwise monochromatic card. I stamped it, die cut it, and made a snip at the top so I could wrap it around the reindeer’s neck.
  • I added a small strip of Cherry Cobbler card stock at the top of the pattern paper. I thought it was a nice detail to have it popping out above the ribbon. The ribbon is retired, probably from last year, but I didn’t have any current ribbon in Cherry Cobbler and this ribbon is so soft and flexible, it makes a great looking knot!
  • The large enamel dot is retired product as well but I used it in conjunction with two other sizes of Cherry Cobbler Enamel Shapes for a fun detail that also goes along with the sketch. So cute!

Stampin-Up-Santa's-Sleigh-Christmas-Cards-Idea-Shannon-Jaramillo-stampinup

  • I used the coordinating stamp from the Better Together stamp set to stamp the inside of my holiday card. You could easily stamp directly onto the inside of the card without adding the Cherry Cobbler card stock frame…I just like layers 🙂

This sketch from Narelle of the Freshly Made Sketches design team was my jumping off point for my first Christmas card of the year:

A big THANK YOU to Narelle and the whole team for their inspiration week in and week out…you guys keep me stamping!!

I’m so glad you popped by today. I would love to hear if you have started your cards yet or when you plan on getting started!

Supplies:

Price: $110.00