Stampin’ Up! Bonus Days and Exclusive Bundle!

Stampin up bonus days

Bonus Days July 7 – 31. Earn in July. Redeem in August!

  • For every $50 (on a single order, price before shipping and tax) you spend, you’ll earn a $5.00 Bonus Days coupon that you can redeem between August 2 – 31, 2016.
  • An email address is required to participate in this promotion; Bonus Days coupon codes can only be delivered via email.
  • IMPORTANT!  Save both the email containing your Bonus Days coupon codes AND write down the coupon codes in a safe place. Codes cannot be re-sent if the email is lost, and lost codes cannot be recovered.
    • Bonus Days coupon codes can be redeemed for any product, excluding Starter Kits and Paper Pumpkin subscriptions. New prepaid Paper Pumpkin codes can be redeemed.
    • There is no limit to the number of coupons you can receive per order or throughout the duration of the promotion. There is no limit on the number of coupons you can use on an order during redemption.

ThoughtfulBranches_Share-2_Jul0516_NA

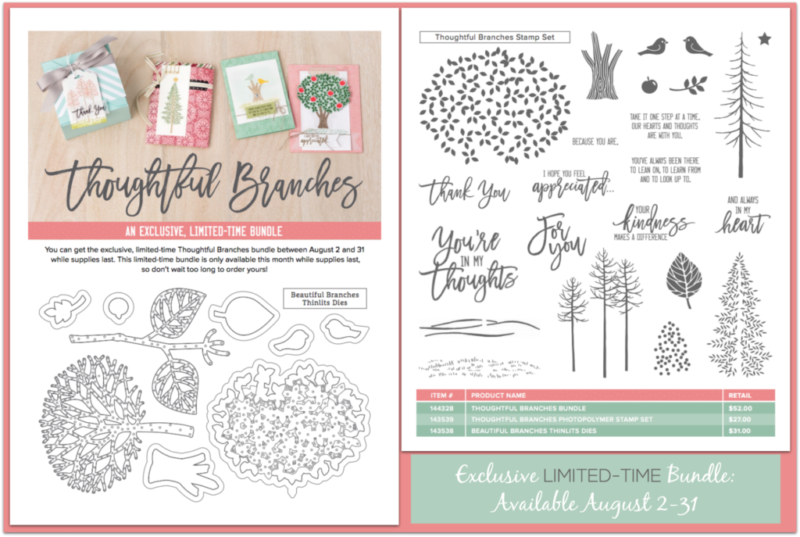
ORDER AN EXCLUSIVE, LIMITED-TIME BUNDLE!  AUGUST 2-31 ONLY!

  • You will be able to order the Thoughtful Branches exclusive, limited-time bundle between August 2 and 31 (while supplies last).
  • IMPORTANT!  All exclusive items associated with this promotion will be available until August 31 (or while supplies last).
    • See the Thoughtful Branches Bundle here!
    • You may use your Bonus Days coupons on the Thoughtful Branches Photopolymer stamp set, Beautiful Branches Thinlits Dies, Thoughtful Branches Bundle OR ANYStampin’ Up! products (excluding Starter Kits and Paper Pumpkin subscriptions – new prepaid Paper Pumpkin codes can be redeemed).

Thoughtful Branches

Stampin’ Up!’s Oh-So-Elegant Touches of Texture

I’m in LOVE with this simple bouquet of flowers!! They were created quickly and easily using Black Embossing Powder and the Touches of Texture Stamp Set.

143251G

The images in this set are so soft and romantic – I can envison SO many possibilities!

Stampin' Up!'s Oh-So-Elegant Touches of Texture

Tips & Tricks:

  • Love the stamps but don’t love to color? Versamark Ink, Black Embossing Powder and a Heat Tool to the rescue for quick, clean and sharp images!
  • Neutral backgrounds allow the colors and images shine! The graphic pattern in the Pop of Pink Specialty Designer Series paper contrasts well with the soft image.
  • Coordinating products make designing easy! This 3/8″ Stitched Satin Ribbon in Pool Party matches the card stock and ink perfectly and provides a great “WOW” factor!

Stampin' Up!'s Oh-So-Elegant Touches of Texture

  • In the “olden” days, the only way to achieve the soft background was to flick ink from your marker onto the card stock. It was a very “iffy” process, you never knew quite how it would come out! Now, one background stamp gives the same effect with perfect control! It adds visual weight to the flower image while stamping off once provides a very subtle “splash” of color.
  • Stampin’ Write Markers add beautiful detail within the embossed stamp outline. Wink of Stella provides a pretty sparkle as well, though I did not manage to capture it on film very well this time…it is beautiful in person!
  • Sequins are my go to bling factor. They add nice texture and adhere easily with Glue Dots.
  • I did not add a sentiment to my project today. I think this design would make a great gift set of all-occasion cards. The colors can be changed out so easily!!

Stampin' Up!'s Oh-So-Elegant Touches of Texture

What do you think of my new graphic?!? Do you find it helpful to quickly identify products? I would love to hear your thoughts on the card, the product, the graphic, as well as any other questions or comments you may have!

Thank you for stopping by! I SO appreciate your support!


Fiesta Like There’s No Mañana – The Paper Players 300

Fiesta Like There's No Mañana - The Paper Players 300

300 challenges certainly sounds like a GREAT reason to party! And that’s what the gang over at The Paper Players is celebrating this week…Three Hundred Challenges! I’m thrilled to play along with this great group of very talented designers. THANK YOU to all of you for providing such great inspiration over the past (quick calculation) 5.76923077 years!

What better way to celebrate than to fiesta like there’s no mañana! Isn’t that just the cutest?!?

In the interest of full disclosure, I DID NOT like this bundle when I first saw it. Or the second time. Or the…well, you get the point. Nope, nada, no way.

Then I saw some samples and my interest meter wiggled. Just a little wiggle. And then I saw another. I finally sighed, caved, and ordered the darn thing.

And now I LOVE it 🙂 Yep, I’m easy that way.

Fiesta Like There's No Mañana - The Paper Players 300

Now I can really see lots of potential in it and I had a BLAST making these banners. There seriously is nothing easier. I just placed the banner die (it’s already curved for you) on some Thick Whisper White card stock and ran it through the Big Shot three times for three banners. I even used scrap pieces of card stock! I (might) tend to be a bit obsessive about having things lined up perfectly so I did worry a little about how I was going to use the banners and the MISTI together. Then I threw caution to the wind and put the banner stamp on a clear block and just started stamping (gasp). And I have to giggle at myself because the images turned out great and were SO very easy to do and difficult to mess up. Super fun time making banners!

I love how they turned out and kept it true to the challenge (clean and simple). A few details to note:

  • I snipped off small strips of DSP to line the side of my focal panel with and then intentionally DID NOT adhere them all the way to the edges of the card front. I really like the look of the clean white edge peeking out.
  • I added Wink of Stella directly (and all over) the beautiful DSP. Now it really sparkles like a party should!

Fiesta Like There's No Mañana - The Paper Players 300

…And the inside! Truly a versatile and fun bundle! Yes, Stampin’ Up! really put a LOT of bundles together this year and I have enjoyed every one so far!!

Thank you for stopping by and pop over to The Paper Players for so much more birthday inspiration!


Price: $110.00

Blog Vacation

Hello my friends! Wow, it has been 41 days since my last post…amazing and a bit distressing.

Sometimes, life just gets overwhelming and when that happens to me, my creativity takes a vacation…resulting in a vacation from my blog!!

I had SO many ideas for projects and was really engrossed in the 30 day card challenge from my Stampin’ Up!’s up-line’s up-line. All of which resulted in complete overload.

I realize it’s April, but I’ve decided that my “word” for 2016 is going to BALANCE. I’m going to work for it and remind myself every single day that it’s all about balance!

I wandered into my craft room and wasn’t exactly sure where to start as there are unfinished projects everywhere…

So I grabbed a pile of cards and began. I don’t know if you are guilty of this as well, but when I’m in a creative flow, I can’t be bothered to EVER stamp the back of my cards and many times I will leave the inside blank as well. Thus, as soon as the cards have been blogged…they go into a pile and sit. The pile gets higher and higher so I start another pile…sigh.

Blog Vacation-Finishing Cards

But, for today at least, I can say with pride that ALL of my cards are complete inside and out and coordinating envelopes as well!! Can I get a woot-woot?? lol

I have made some cards in the recent past, mostly for my card classes. Here are a few:

Blog Vacation-Class Cards
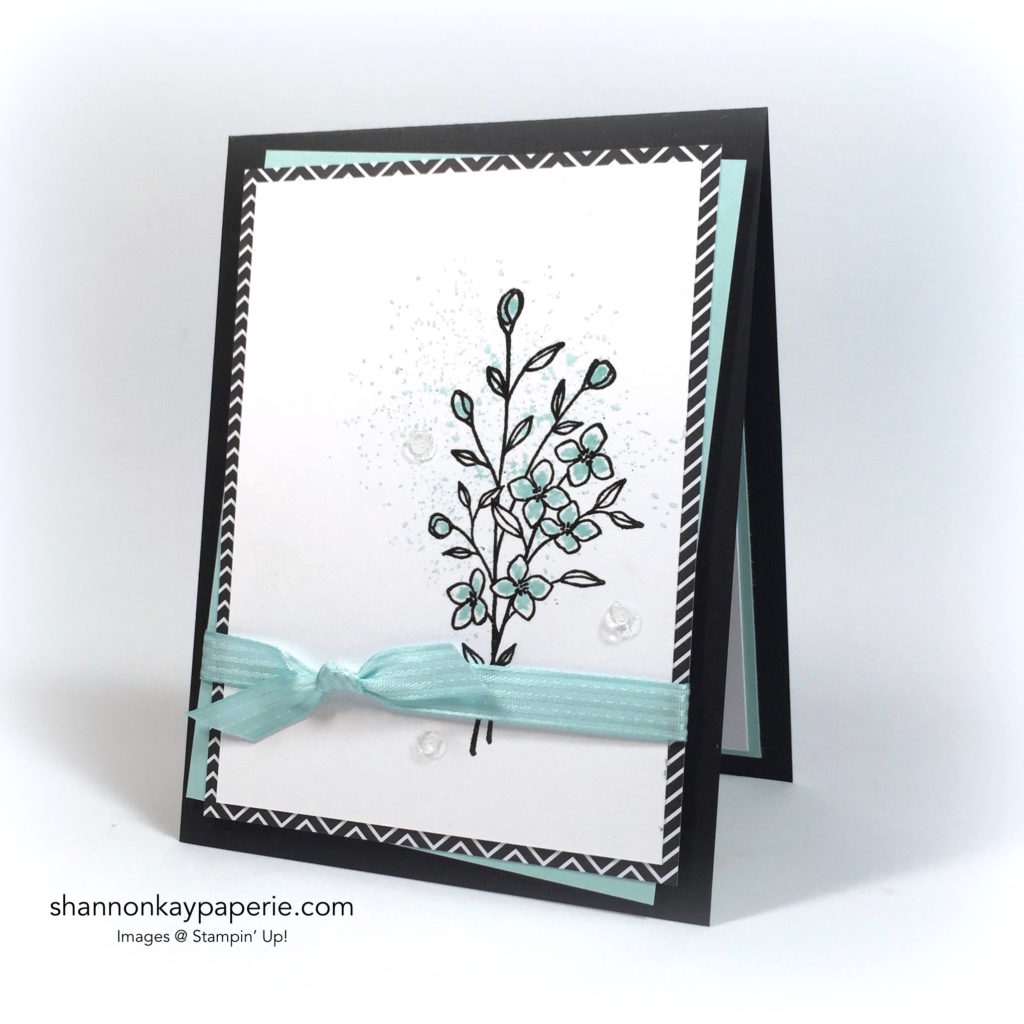
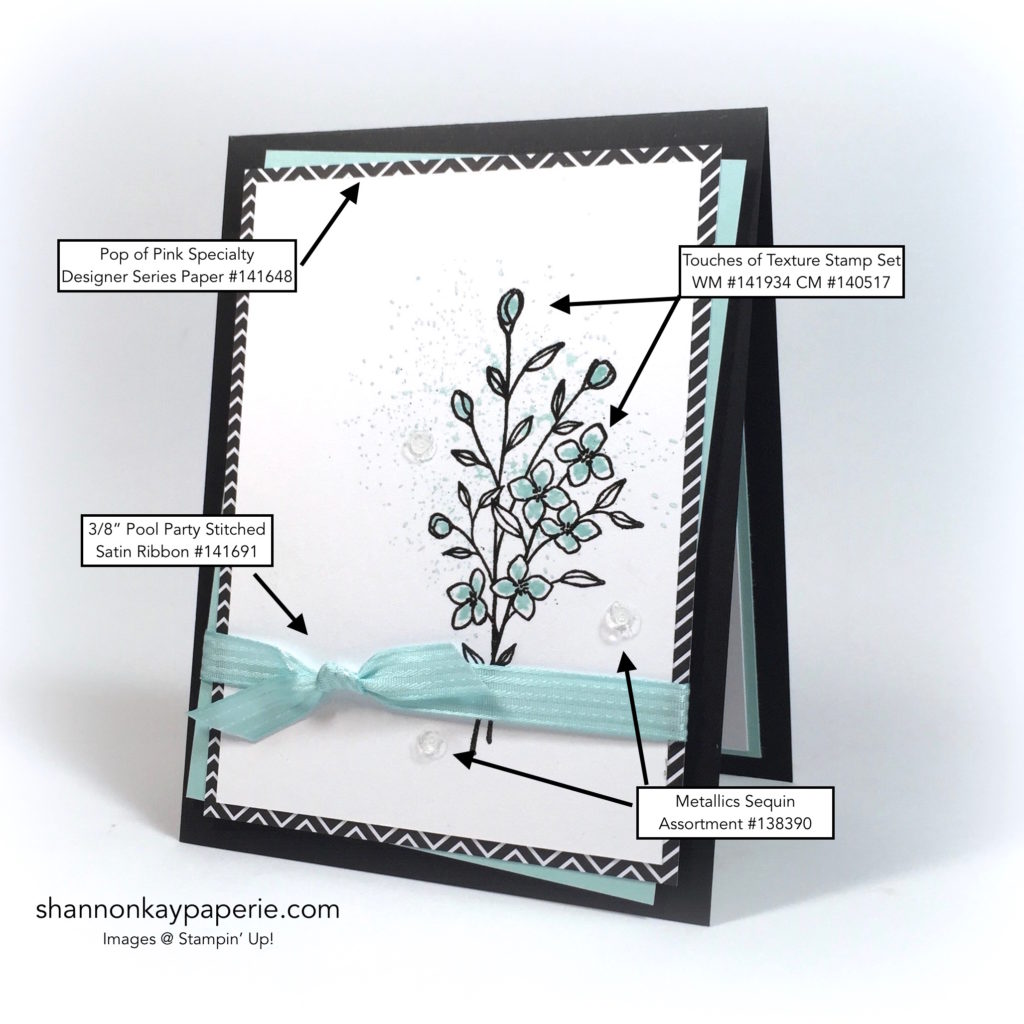
This card was inspired by
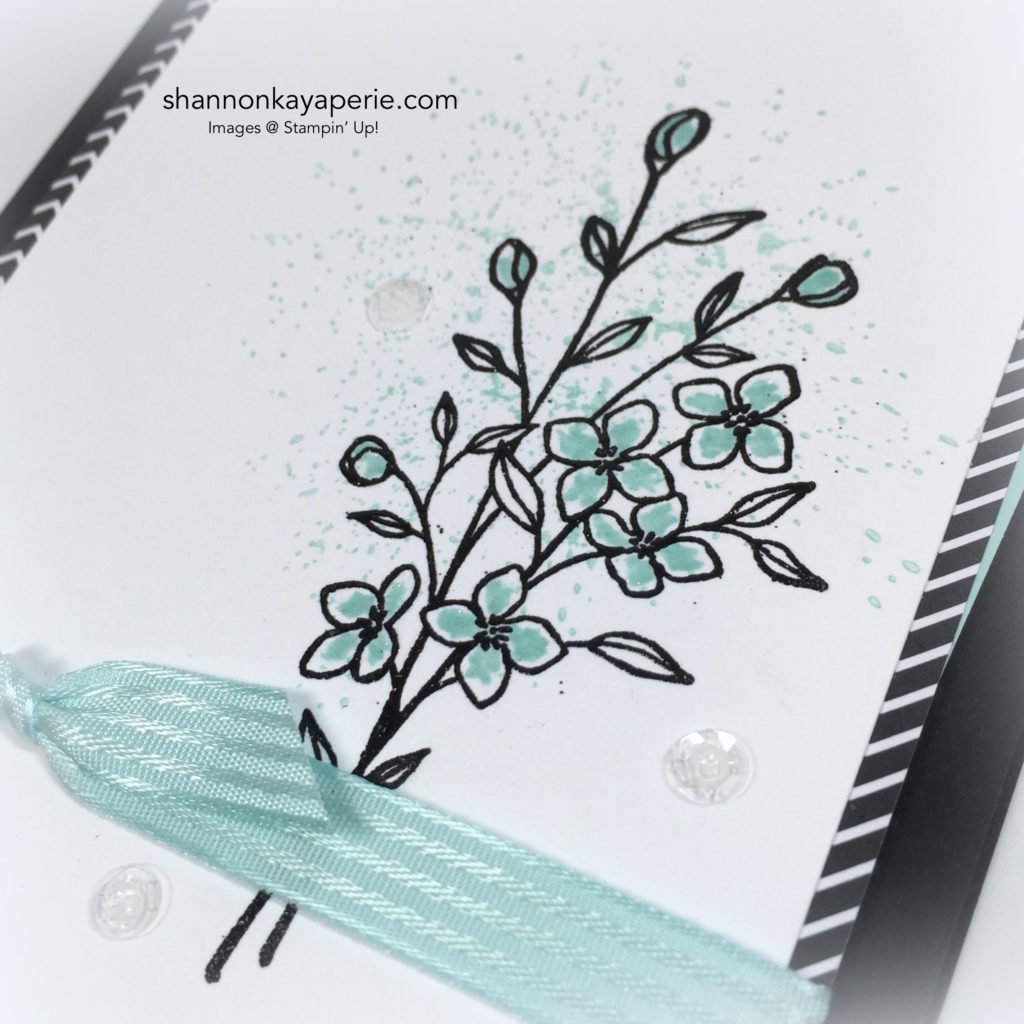
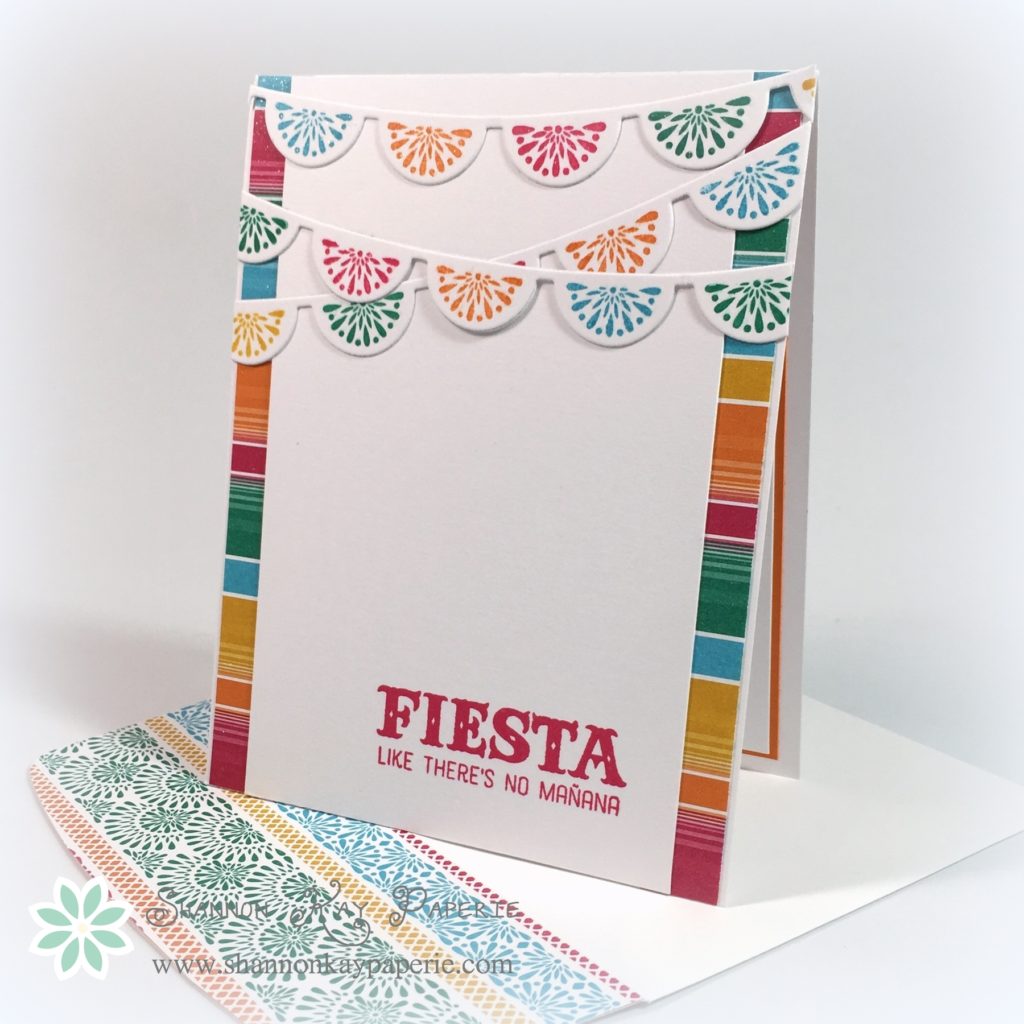
 this card by fellow Pal Windy Ellard.

Blog Vacation-Class Cards

I think this is mine and not a CASE, but if it is and I need to give credit, please let me know!

Blog Vacation-Class Cards

This is a sample based on a card in the Occasions Catalog, page 13.

Blog Vacation-Class Cards

This a swap card I received in Phoenix recently and I plan to CASE the daylights out of it 🙂

Blog Vacation-Class Cards

CASE’d from this card by Stampin’ Up!  Artisan Design Team Member Inge Groot

Blog Vacation-Class Cards

This is one of my most used and favorite basic layouts ever. I used paper that’s been in my stash for eons and used various products. I used a sentiment set from Clearly Besotted and let my ladies pick which ever one suited their fancy 🙂

Blog Vacation-Class Cards

I just whipped this one up for me. I got stuck because I realized that I used a masculine patterned paper and then added flowers…whoops! In the end I added pearls to make it more feminine. I’m sure someone will appreciate a very un-fru-fru birthday card!

I have more cards from that pile to share, but I’m gonna make you wait for it 🙂  lol.

I’ll be back with you more! I hope you are still out there and can understand my need to walk away from all the pressure that I created in my mind 🙂

Thank you so much for visiting me today!

Rose Wonder – 30 Day Card Challenge, Day 9

Rose Wonder - 30 Day Card Challenge, Day 9

Hello Friends! Were you wondering where I was this morning? I’ve been busy with a family event and missed a night of stamping! But technically, it’s still Saturday as I post this, so I’m still on track with the challenge! 🙂

Card Details:

  • Both the pattern paper on the card as well as the envelope liner are from the Have a Cuppa Designer Series Paper Stack…it’s not just for tea!!
  • I began with a case base of Thick Whisper White, added a panel of pattern paper and then another panel of Thick Whisper White card stock.
  • The sentiment I chose is from the Rose Wonder stamp set…this set has a wide variety of sentiments and a beautiful font.
  • The sentiment did not fit the way I wanted it to…so I cut it apart!! Gasp!! It’s really very easy to do and a great way to give yourself more options.
  • After stamping the sentiment, the panel was embossed with the Lovely Lace Embossing Folder. Embossing folders are a great way to add texture!

Rose Wonder - 30 Day Card Challenge, Day 9

  • I used the Rose Garden Thinlits Dies for my focal image. I die cut the image in Thick Whisper White, Basic Gray, and Bermuda Bay. I used the Fine Tip Pen to adhere the Basic Gray die to the Whisper White die and then carefully snipped the leaves off of the Bermuda Bay die and adhered it to the other dies, making it a triple thickness, which I think shows the beautiful die off in the best light 🙂
  • The best news is that the Rose Wonder stamp Set and Rose Garden Thinlits Dies can be purchased bundled together with a savings of 15%!
  • The Rose Garden Thinlits Dies are quite delicate and detailed so using the Precision Base Plate will give you very clean cuts.
  • Use the Big Shot Die Brush to quickly work all of the small pieces from your die cut. Just set the die cut on the foam pad and run the brush over it. The bristles quickly poke the small pieces out and the foam pad keeps all those little pieces contained!
  • And what to do if a little bit of glue ends up on the front of the die?? Why, just pull out your Wink of Stella and cover it right up with shimmer!!

So are you ready to order this bundle yet? It’s awesome!!

Thank you for coming along with me on my quest to make 30 unique cards in 30 days!!