Vibrant Vases in Highland Heather

Stampin-Up-Vibrant-Vases-All-Occasion-Card-Ideas-Shannon-Jaramillo-stampinup-SU

Hello Friends and Happy Hump Day to You!! I whipped up this little card last night after having let the color combination sit on my craft table for almost a week! When moving into a new house or redecorating a room, I like to tell my husband that I have to let the walls “talk” to me before I can hang anything up. Do you do that too? It’s the same with this color combination, it had to percolate a little!

Measurements:

  • Highland Heather Card Base 4 1/4″ x 11″ scored at 5 1/2″
  • Balmy Blue Stitched Layer 3 3/4″ x 5 1/8″
  • Gray Granite Stitched Layer 3 3/8″ x 4 3/4″
  • Gingham Gala Stitched Circle Layer 2 7/8″
  • Stamped White Card Stock 2 1/4″ x 3 1/2″

Details:

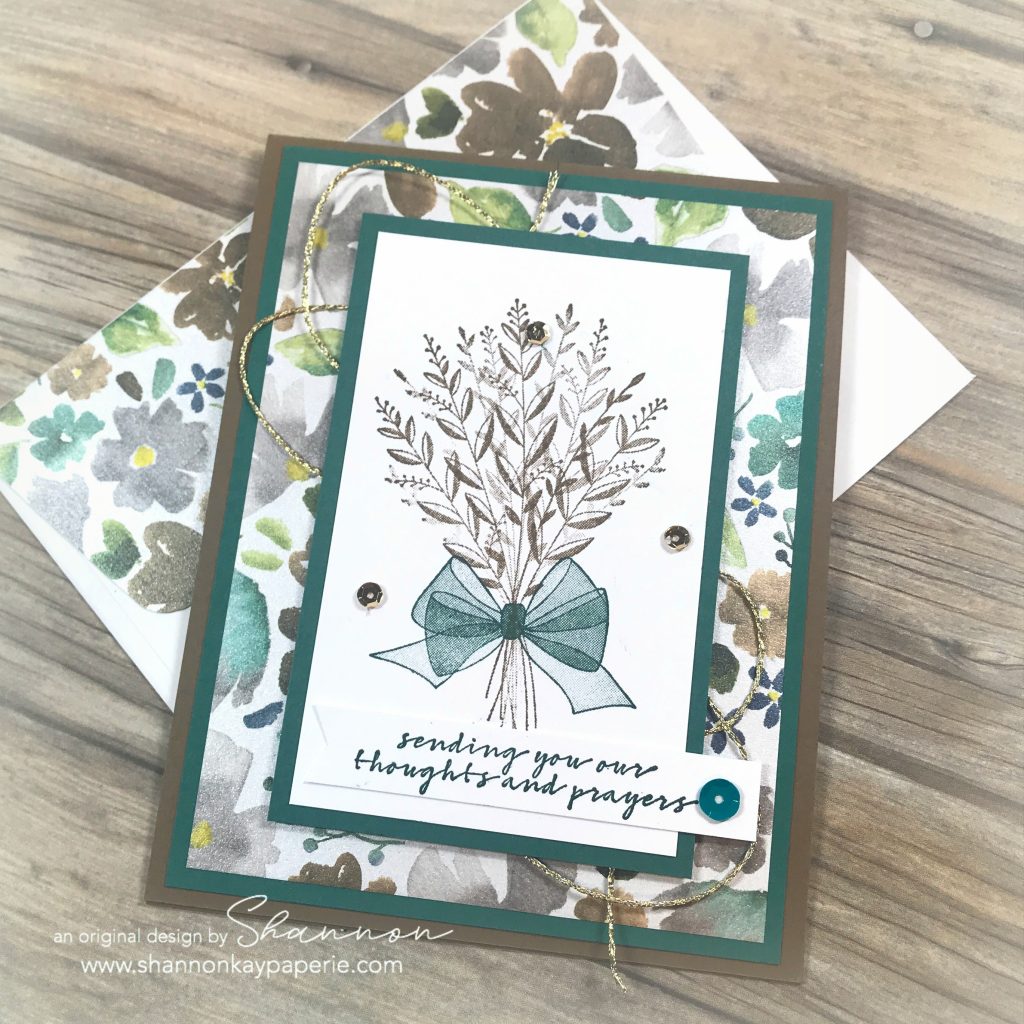
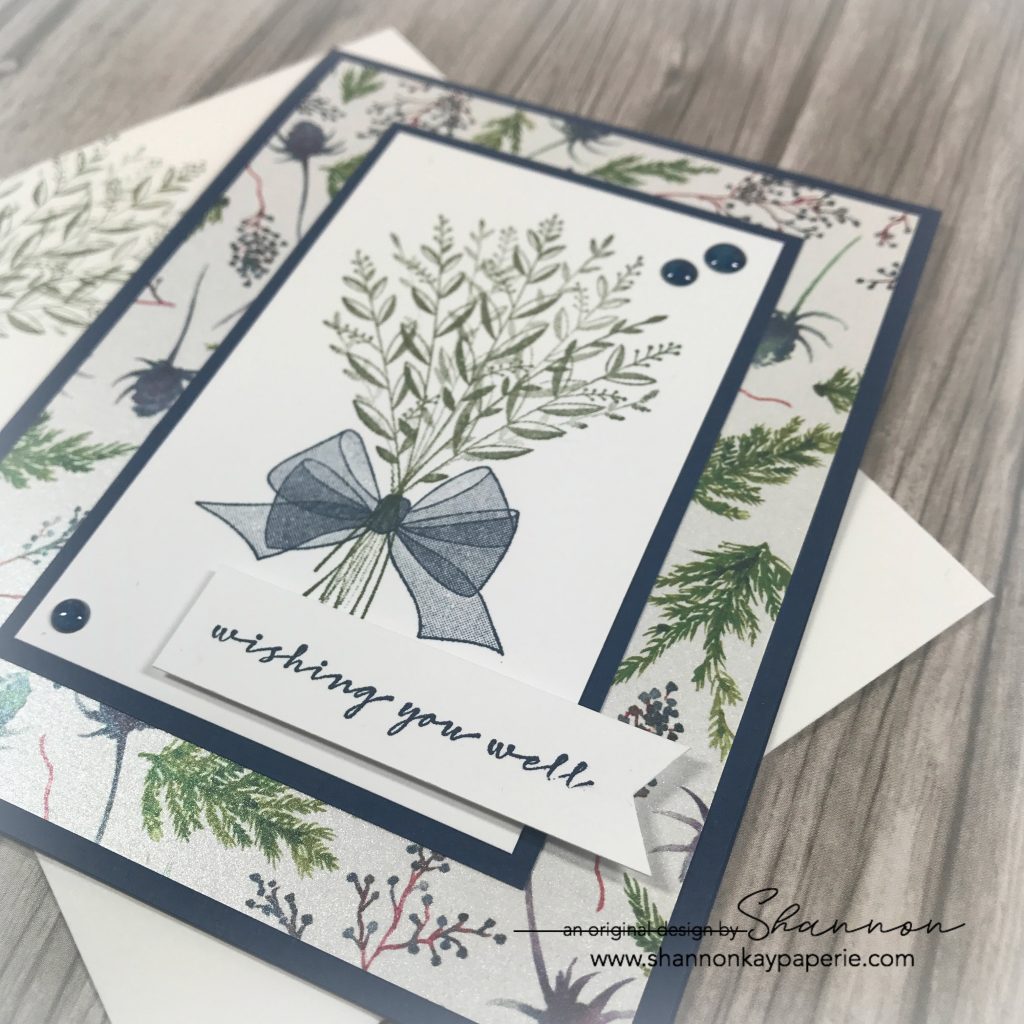
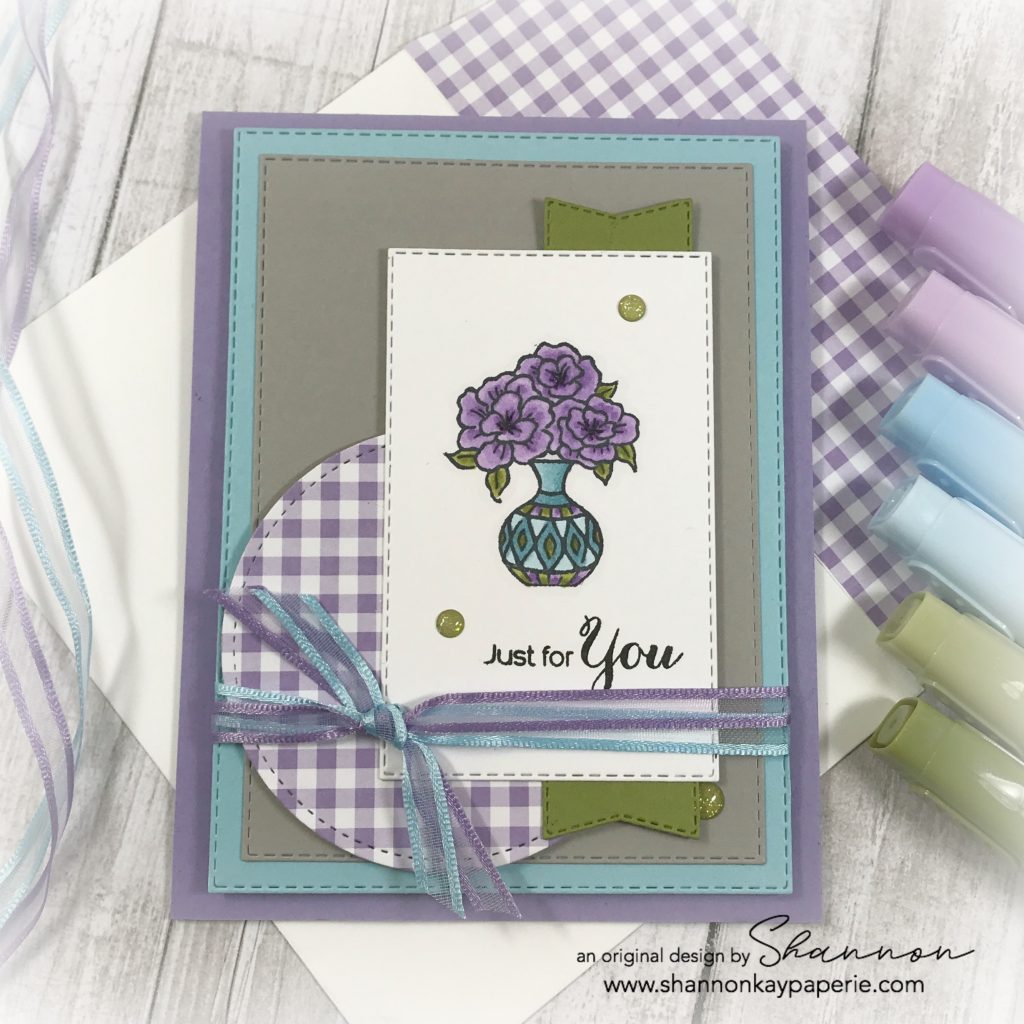
  • I knew when I sat down to create that I wanted to use the new Vibrant Vases stamp set and the Gingham Gala 6″ x 6″ DSP, both of which are in the new Occasions Catalog and are available now. And purple was a foregone conclusion as it is my favorite color. I don’t decorate with it or wear it, but when choosing plants or flowers, I always seem to pick purple!! Definitely a child of the 80’s and influenced by Prince, lol
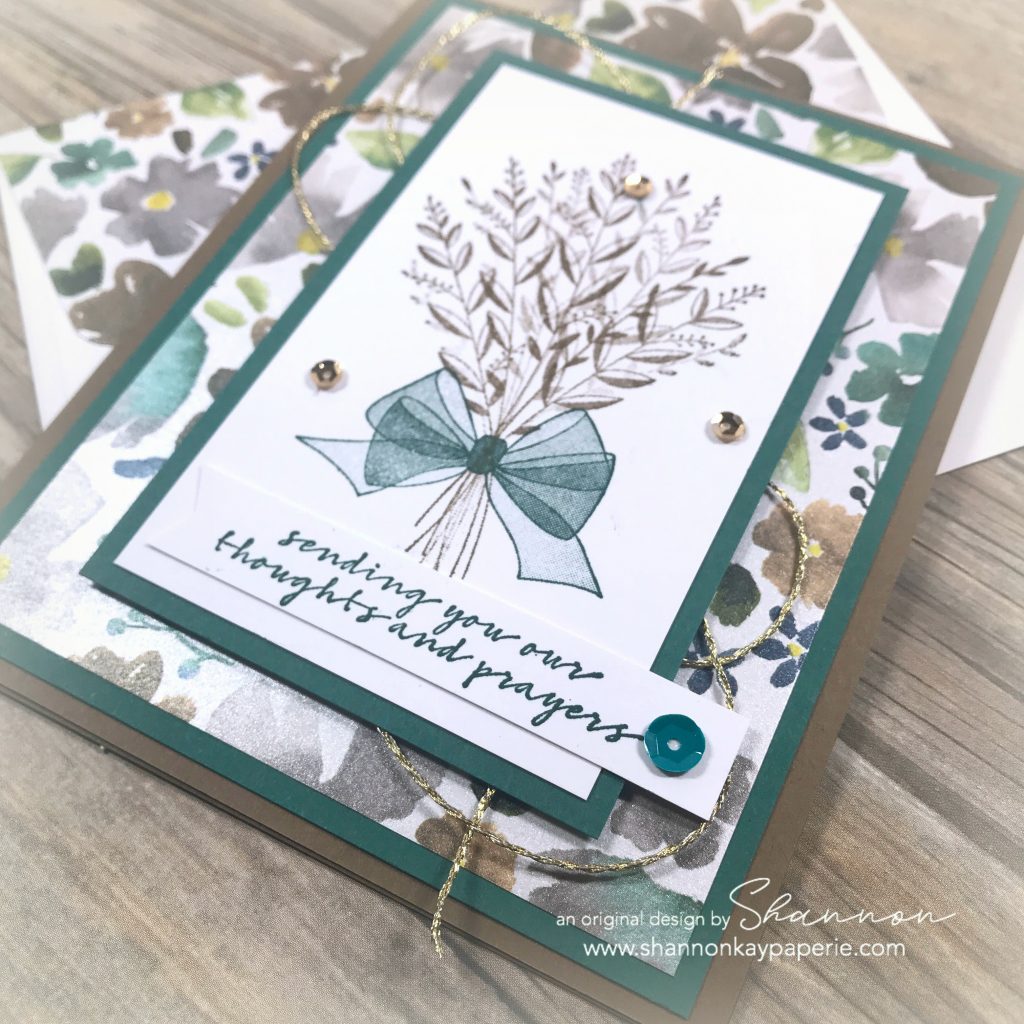
  • I stamped the vase and flower posy in Tuxedo Black Memento Ink because I knew I wanted to color it in with Stampin’ Blends. I used both Light and Dark Highland Heather to color and shade the flowers, then Light and Dark Old Olive for the leaves, and then I added Light and Dark Balmy Blue to the mix for the vase. Note: This set does have coordinated stamps to color the flower and vase outline, I just wanted to play with my markers 🙂

  • I used my Gorgeous Grape Stampin’ Write Marker to add a bit of detail to the flower centers, as well as a bit of Wink of Stella.
  • I’m really enjoying playing with all of Stampin’ Up’s stitched dies, they add such a nice touch, but this card can easily be made without them (I’ve provided the measurements above) and would still look beautiful.
  • I just played around with the colors and layers to come up with my layout and couldn’t decide if I should use Balmy Blue or Highland Heather ribbon, so…used both!! These adorable ribbons are available as a free gift with any $50 purchase. The Organdy Ribbon Combo Pack includes 5 spools of ribbon: Balmy Blue, Daffodil Delight, Grapefruit Grove, Highland Heather and Lemon Lime Twist.
  • Retired Old Olive Glittery Enamel Dots add a nice detail (love them) and after sleeping overnight, I came back in and added the Old Olive Banner die cut with a banner die from the just retired Farmhouse Framelits Dies. I trimmed the banner in half and then trimmed quite a bit off to leave just a bit peeking out.

Stampin-Up-Vibrant-Vases-All-Occasion-Cards-Idea-Shannon-Jaramillo-stampinup-SU

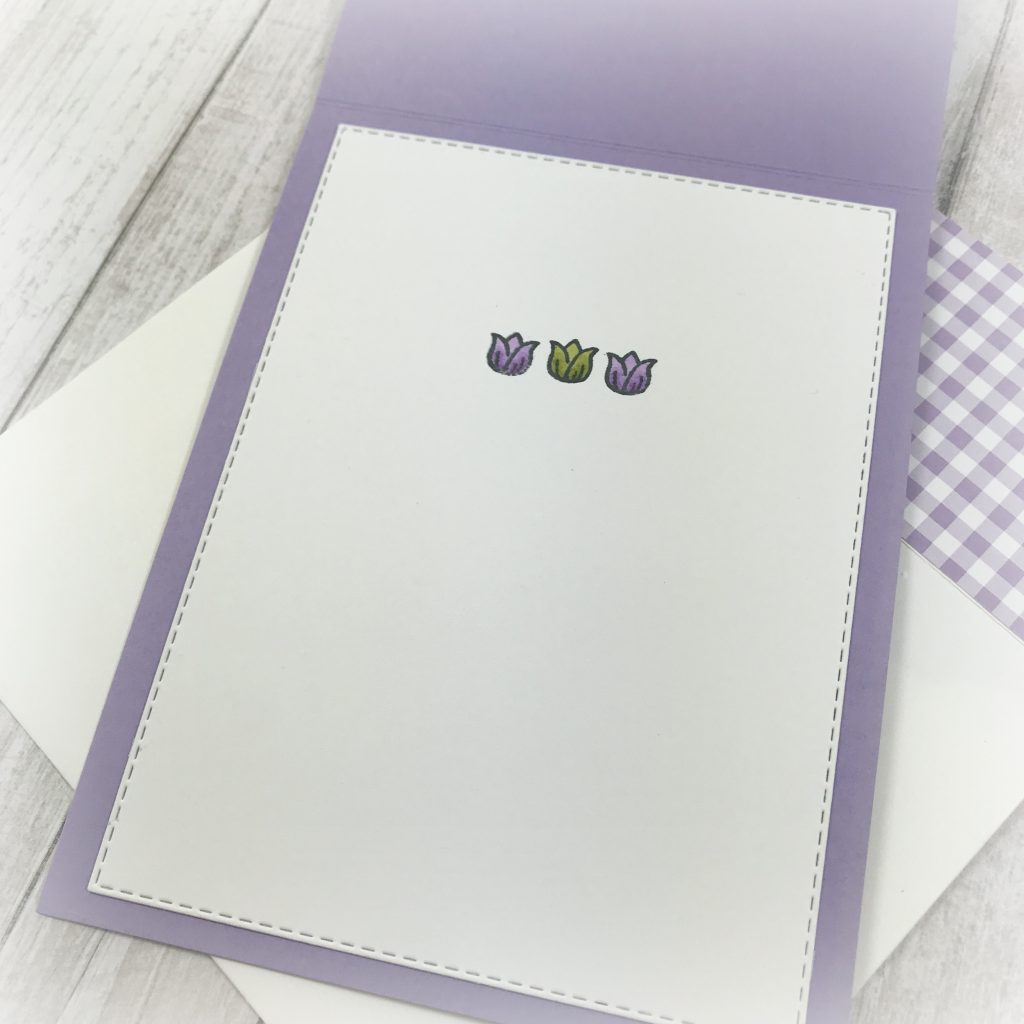
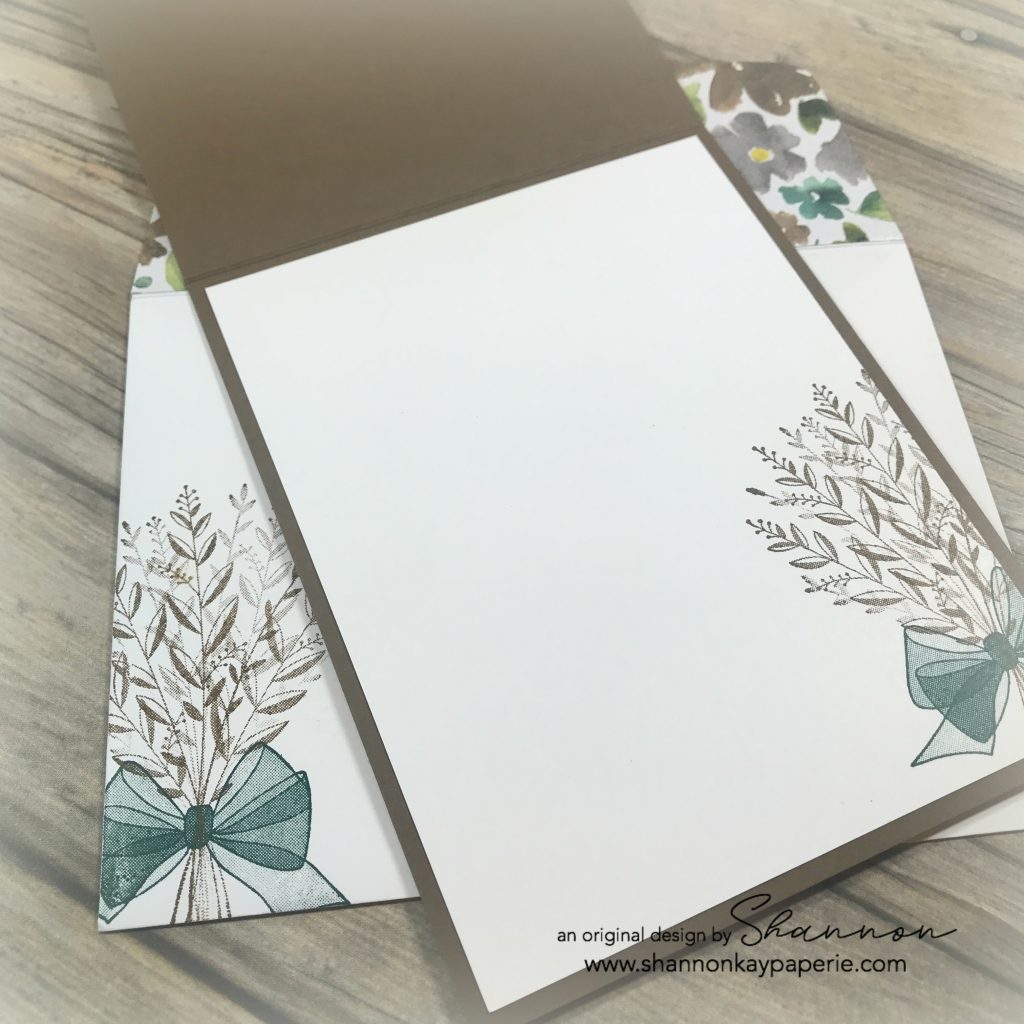
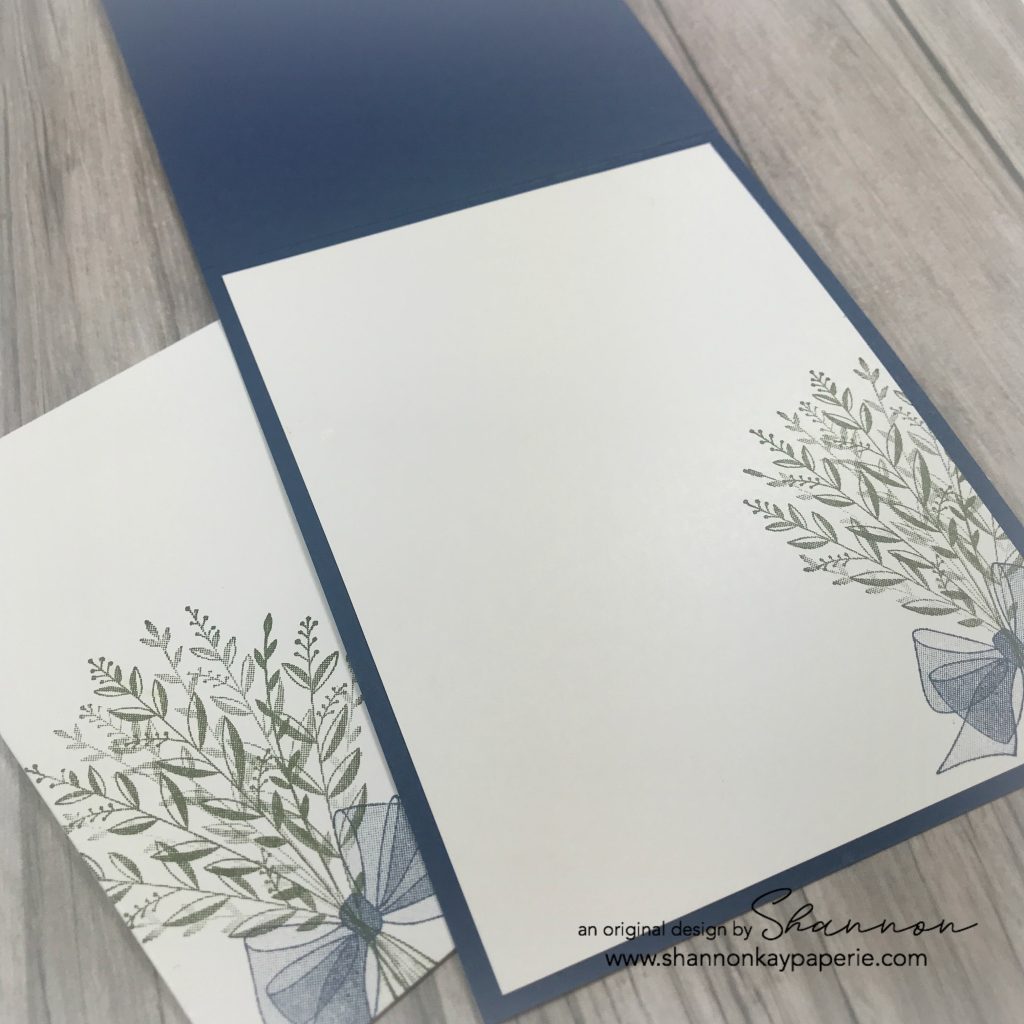
  • The interior is quite simple today, just a trio of Mary’s tulips to brighten it up!

For those who don’t “know” who “Mary” is, she is Mary Fish, my Stampin’ Up! up-line, mentor, and friend. For reaching the $1,000,000 sales goal, she was invited to participate and influence the creation of a stamp set, which is Varied Vases in the Annual Catalog.  It coordinates with the Vase Builder Punch as well as this new set from the Occasions Catalog, Vibrant Vases. The tulip is her signature logo so I can never see one without thinking of her 🙂

Thank you so much for stopping by, I hope you’ve enjoyed seeing a prelude to Spring with my card today!

Blessings to You!

Supplies (all Stampin’ Up! unless otherwise noted):

Card Stock: Balmy Blue, Gray Granite, Highland Heather and Old Olive; and Stamper’s Select White by Papertrey Ink

DSP: Gingham Gala 6″ x 6″

Ink: Tuxedo Black Memento

Stamps: Vibrant Vases

Dies: Stitched Shapes Framelits Dies, Rectangle Stitched Framelits Dies; Farmhouse Framelits Dies (retired)

Tools: Big Shot; Stampin’ Blends; Gorgeous Grape Stampin’ Write Marker

Embellishments: Organdy Ribbon Combo Pack (SAB Freebie); Glitter Enamel Dots (retired); Wink of Stella

Other: Whisper White Envelope

Thoughts and Prayers

Stampin-Up-Wish-You-Well-Sympathy-Card-Idea-Shannon-Jaramillo-stampinup-SU

“Inspiration is some mysterious blessing which happens when the wheels are turning smoothly” -Quentin Blake

Measurements:

  • Soft Suede Card Base 4 1/4″ x 11″ scored at 5 1/2″
  • Tranquil Tide Layer 4″ x 5/14″
  • DSP Layer 3 3/4″ x 5″
  • Smaller Tranquil Tide Layer 2 3/4″ x 4 1/4″
  • Stamped White Card Stock 2 1/2″ x 4″

Details:

  • I loved the card I shared yesterday and decided to  use the same concept on another card, this time with a bit of me in the design 🙂
  • I used Soft Suede and Tranquil Tide to compliment this GORGEOUS paper.
  • I added a layer of card stock underneath the DSP as I felt the two layers showcased the gorgeous DSP more fully. (There’s that word again :))

Stampin-Up-Wish-You-Well-Sympathy-Card-Ideas-Shannon-Jaramillo-stampinup-SU

  • I popped the stamped panel up on Stampin’ Dimensionals and added some sparkly gold twine.
  • I added gold sequins to the stamped panel and turned the banner around on the sentiment layer. I also found this darling sequin in my stash in the perfect color to add a bit of color and dimension!

Stampin-Up-Wish-You-Well-Sympathy-Cards-Idea-Shannon-Jaramillo-stampinup-SU

  • The inside of the card and the envelope have been stamped with the same gorgeous bouquet and bow. This color combination really makes me happy! (My mother says blue and brown don’t go together but I have always been a bit rebellious!)

Are you sold on this stamp set yet? You can still purchase it through today so don’t wait!!

I appreciate your visit to my little piece of the internet where I can share what makes me happy!

Blessings,

Supplies (all Stampin’ Up! unless otherwise noted):

Card Stock: Soft Suede, Tranquil Tide and Stamper’s Select White by Papertrey Ink

DSP: Frosted Floral Specialty

Ink: Soft Suede and Tranquil Tide

Stamps: Wishing You Well

Dies:  None

Tools: Stampin’ Trimmer

Embellishments: Gold Glimmer Twine and Gold Sequins, retired

Other: Whisper White Envelope


Wishing You Well in the New Year

Stampin-Up-Wishing-You-Well-Love-and-Friendship-Card-Idea-Shannon-Jaramillo-stampinup-SU

Hello and Happy New Year!! I hope the new year is everything you wish it to be!! As I’m sure you can relate to if you are reading this, I love shopping for craft supplies. I ALSO love organizing those crafting supplies (!), but I feel that last year I dedicated too much time to those other two pursuits and not enough time to the actual creation of projects snd certainly not enough time sending out handmade kindness so here’s to a new year and a new focus!!

Measurements:

  • Night of Navy Card Base 4 1/4″ x 11″ scored at 5 1/2″
  • DSP Layer 4″ x 5 1/4″
  • Smaller Night of Navy Layer 2 3/4″ x 4 1/8″
  • Stamped White Card Stock 2 5/8″ x 4″

Details:

  • Today’s project is a direct CASE of a card designed by a UK demonstrator, Sam Hammond. I thought this card was drop dead gorgeous and had to sit down and re-create it immediately.
  • In Sam’s photo, the card stock looked to me to be the new Blueberry Bushel, but, is in fact Night of Navy, picking up on the colors from the also drop dead gorgeous Frosted Floral Designer DSP. I LOVE that she used a holiday design for a non-holiday card!

Stampin-Up-Wishing-You-Well-Love-and-Friendship-Card-Ideas-Shannon-Jaramillo-stampinup-SU

  • This delightful bouquet and bow are from the Wishing You Well stamp set in the 2018 Holiday catalog. You can still purchase it through tomorrow January 2, 2019, so if you haven’t snapped this one up, you still have time!! It’s a fabulous year round stamp set! And that bow!!!!! It is not a two-step stamp, it stamps JUST like that on the first try!
  • The shimmery dots are actually from my retired Enamel Dots collection. They started out as a different color (pale yellow I believe) and I colored them with my Night of Navy Stampin’ Blends! How cool is that!!

Stampin-Up-Wishing-You-Well-Love-and-Friendship-Cards-Idea-Shannon-Jaramillo-stampinup-SU

  • A peek at the inside and the envelope – quick, easy and gorgeous!! (I’ve used that word a lot today with this card, lol) What a great card to have on hand!!

The benefits of CASEing other designer’s work are three-fold for me. One, I get to make a card without any design work just because it’s gorgeous and it gives me a mental break. Two, I try things that I wouldn’t normally do and that helps to increase my skill level as a card maker. And three, because often times, CASEing someone else’s work sparks my own creativity! That is what happened with this card and I will share what it inspired with my next post.

Until then, stay warm, happy and healthy in this squeaky new year!

Blessings,

Supplies (all Stampin’ Up! unless otherwise noted):

Card Stock: Night of Navy and Stamper’s Select White by Papertrey Ink

DSP: Frosted Floral Specialty

Ink: Night of Navy and Mossy Meadow

Stamps: Wishing You Well

Dies:  None

Tools: Stampin’ Trimmer

Embellishments: Glitter Enamel Dots, retired

Other: Whisper White Envelope

Wrapping Up Christmas Part IV – Quilted Watercolor Christmas

Stampin-Up-Watercolor-Christmas-Card-Idea-Shannon-Jaramillo-stampinup-SU

My last Christmas share for the year is this little darling! The story on this card is that I had a whole package of these quilted embellishments from last  year’s Christmas catalog. After doing a big organization of supplies I had NO idea where to store these guys. The bag was bulky and didn’t fit in my system so it’s been camped out on my craft table for MONTHS! It’s not the only orphan, I still have a small pile left, but I have been working on that pile for awhile and finally decided that I’d had enough, it was time for them to either be used or sold! And I couldn’t bear to sell them because a card created by Brian King had enabled me to purchase them in the first place, and I hadn’t CASE’d that card yet! And that is how I arrived at the design for today’s card…inspiration can be funny!

Measurements:

  • Real Red Card Base 4 1/4″ x 11″ scored at 5 1/2″
  • Gray Granite Card Stock Layer 3 7/8″ x 5 1/8″
  • DSP Layer 3 3/4″ x 4 7/8″
  • Smaller Gray Granite Layer 3 1/4″ x 3 1/2″
  • Stamped White Card Stock 3 1/8″ x 3 3/8″

Details:

  • I pulled out the retired Quilted Christmas 6″ x 6″ DSP pack to use for this project. I had 15 embellishments to work with: 5 stars, 5 Christmas trees, and 5 holly berry/leaves so once I had the measurements figured out, I started mixing and matching.
  • This design pictured today was one of my favorites…I love the combination of Real Red with Gray Granite!

Stampin-Up-Watercolor-Christmas-Card-Ideas-Shannon-Jaramillo-stampinup-SU

  • Again, this is a fun layout that can be turned into any kind of card, but I think it looks especially lovely with this sentiment from the retired stamp set Watercolor Christmas, with which I will never part 🙂
  • And just in case you have these embellishments too, glue dots DO NOT work with these quilted embellishments!! I used my favorite liquid glue, Ranger Multi Medium Matte. Sorry everyone, this glue dries clear with NO residue. This is important to me because I am liquid glue challenged! No matter what I do, I make a mess!! This way at least it dries clear!! lol

Stampin-Up-Watercolor-Christmas-Cards-Ideas-Shannon-Jaramillo-stampinup-SU

  • A quick peek at the inside of the card with a sentiment from the same stamp set.

I originally made these 15 cards just to use the embellishments up, but I ended up going in to my stash of these cards this Christmas and ended up using 12 of the 15! (Which is why I don’t have photos of the others!) I am SO glad I had them!!

I hope you have enjoyed these days between Christmas and New Year’s! See you next year!!

Wishing you joy and blessings!

Supplies (all Stampin’ Up! unless otherwise noted):

Card Stock: Real Red, Gray Granite, Whisper White

DSP: Quilted Christmas (retired)

Ink: Versafine Onyx Black

Stamps: Watercolor Christmas (retired)

Dies:  None

Tools: Stampin’ Trimmer

Embellishments: Stitched Felt Embellishments (retired)

Other: Whisper White Envelope

Wrapping Up Christmas Part I

Stampin-Up-Season's-Greetings-Holiday-Card-Idea-Christmas-Shannon-Jaramillo-stampinup-SU

Hello everyone! I hope that the past few days have found you happy and surrounded by love! I created a few last minute cards and want to share with you even though the season is past. The layout and design could easily be converted into whatever type card you might want to make…including getting started on next year’s holiday cards!!

Measurements:

  • Crumb Cake Card Base 4 1/4″ x 11″ scored at 5 1/2″
  • Everything else is a die cut!!

Details:

  • CASE (copy and share everything). We’ve talked about this recently, it’s perfect for inspiration because, if you are like me, the moment there is any pressure on me, my creativity flies right out of the window! So I save photos of cards I like for future reference and today’s project is based on one of those saved photos!

  • I intended to copy this lovely card exactly, but when reading the details of the card’s creation, realized that although the embossed cardstock behind the deer appears to be a soft green (which is what caught my eye), it is actually Very Vanilla. I prefer to create with other neutral colors so I switched gears and just used her lovely card as a jumping off point for mine!
  • I used the upcoming rectangles dies to create all of my layers again! I LOVE having rectangle dies! (and ones that are so different from anything else out there on the market)

Stampin-Up-Season's-Greetings-Holiday-Cards-Idea-Christmas-Shannon-Jaramillo-stampinup-SU

  • Here’s a close up of the large die used for the DSP, the smaller size for the vellum, and the long and skinny one used for the sentiment. They look lovely layered together!
  • I inked up a sentiment from the Bring on the Presents stamp set with Versamark Ink and added gold embossing powder and then heat set it with my Heat Tool. Such a classic font!

Stampin-Up-Season's-Greetings-Holiday-Card-Ideas-Christmas-Shannon-Jaramillo-stampinup-SU

  • I’m enjoying working with patterns that I initially find overwhelmingly busy such as this pattern from the All is Bright DSP pack. I loved how my inspiration card exposed just a bit of it, adding layers really tones it down. I chose to use vellum rather than cover the pattern up completely. I think that all of the gold accents really showcase the beauty of the design.
  • A few strategically placed Artisan Pearls and some gorgeous gold metallic twine finish it off perfectly.
  • Note: I adhered the vellum to the DSP using glue dots placed underneath the deer so they wouldn’t been seen. I trimmed Stampin’ Dimensionals down and placed them behind the die cut deer to adhere him to the vellum as well as trimmed down Stampin’ Dimensionals behind the greeting to adhere that die cut to the card.

No photo of the inside of the card today as I used simple undecorated white card stock and chose to include a personal message rather than a stamped sentiment.

Thank you for stopping by today! I would love to hear from you and how you celebrated (or not) the holidays!

Blessings!

Supplies (all Stampin’ Up! unless otherwise noted):

Card Stock: Crumb Cake and Vellum

DSP: All is Bright

Ink: Versamark

Stamps: Bring on the Presents

Dies:  Rectangle Stitched Framelits Dies, Detailed Deer Thinlits Dies

Tools: Embossing Buddy, Heat Tool Big Shot

Embellishments: Artisan Pearls & retired gold metallic twine

Other: Whisper White Envelope