An Oldie but a Goodie – The Paper Players 363

Stampin-Up-Halloween-Smiles-Halloween-Card-Idea-Shannon-Jaramillo-stampinup

There are so many wonderful new stamps out there but when I saw someone letting go of this beauty from 2003, I couldn’t pass it up. New is great but I encourage you to look through your stash and pull out a stamp that hasn’t seen ink in awhile and see if it doesn’t make you happy that you kept it all these years!

Measurements:

  • Card Base 4 1/2″ x 11″, scored at 5 1/2″
  • Next Layer 4″ x 5 1/4″
  • DSP Layer 3 3/4″ x 5″
  • Larger Block Base 2 3/4″ x 4 1/2″
  • Larger Block DSP 2 1/2″ x 4 1/4″
  • Smaller Block Base 2 1/4″ x 3 1/4″
  • Smaller Block Image Layer 2″ x 3″

Details:

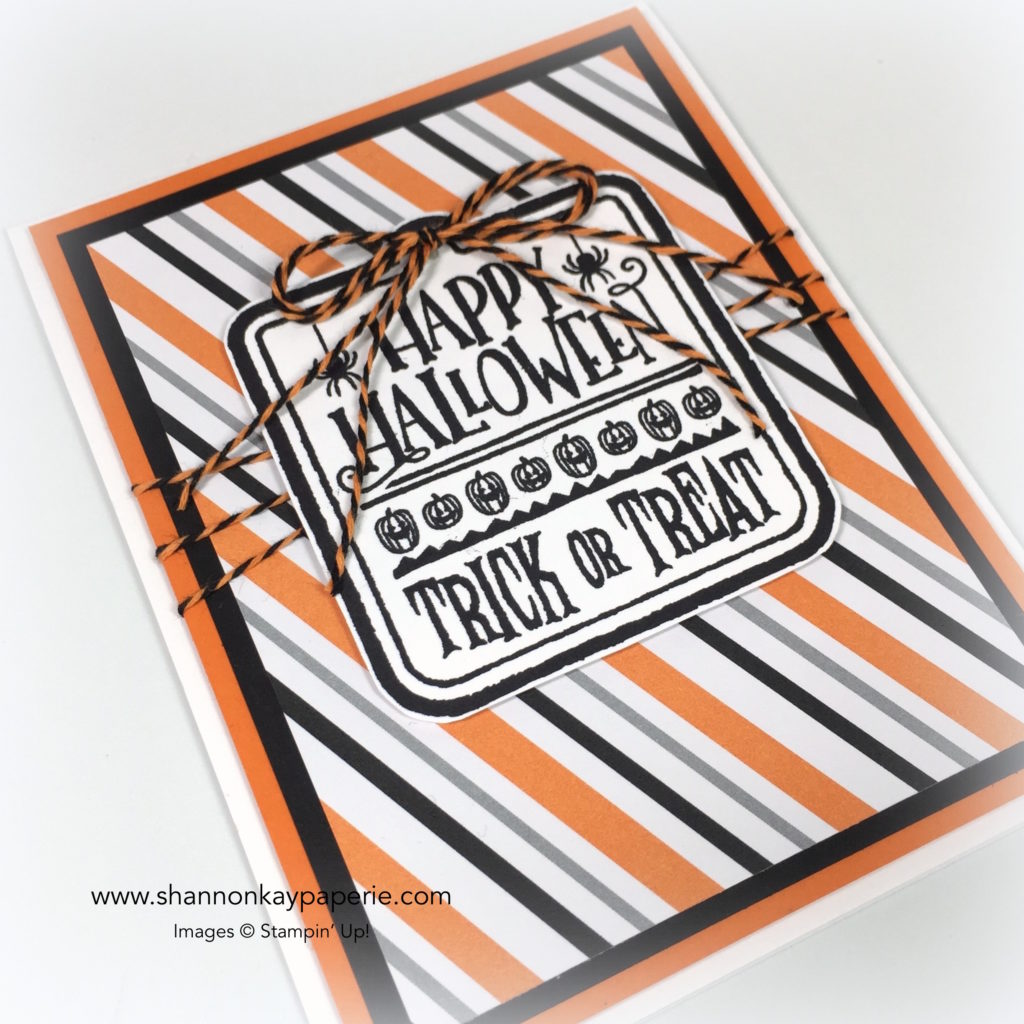
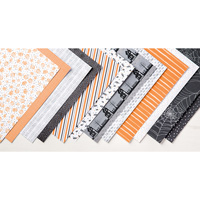
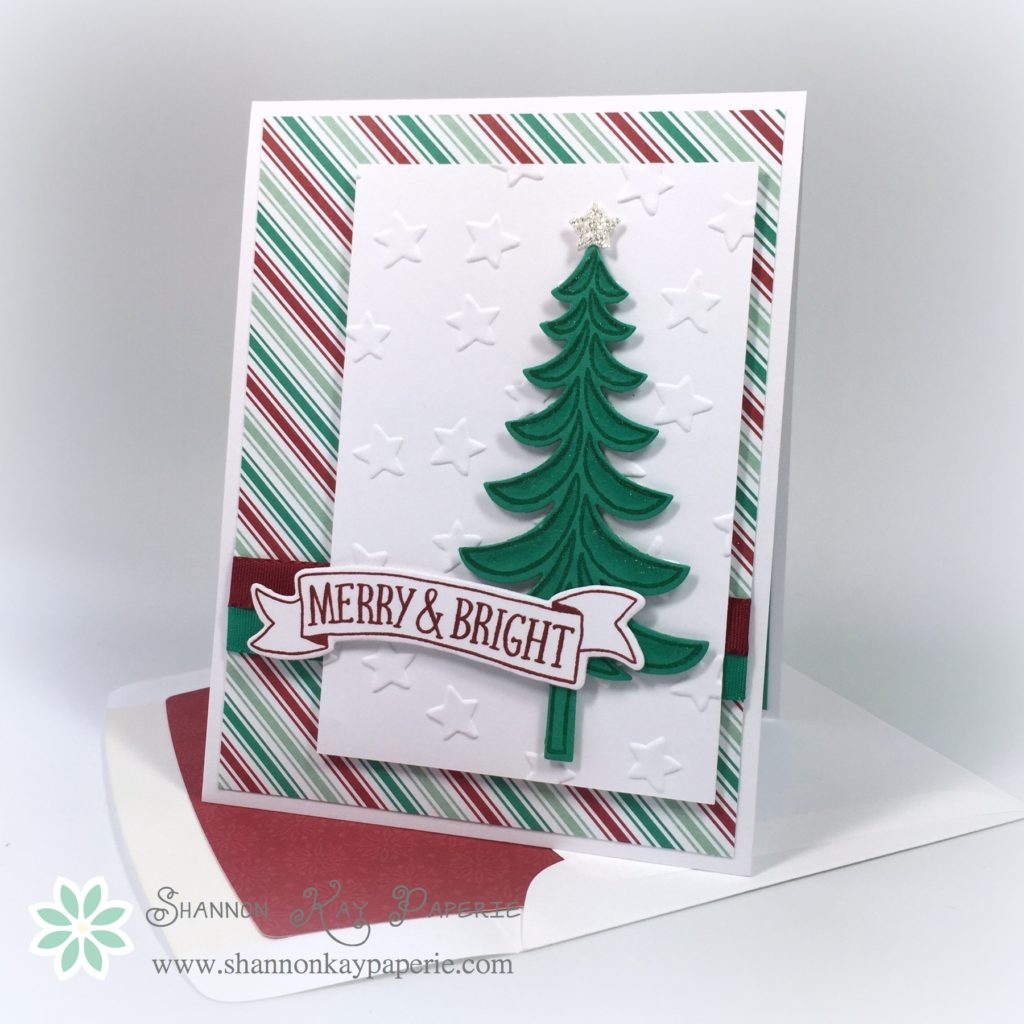
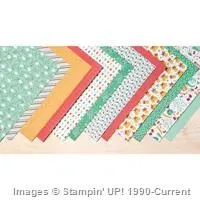
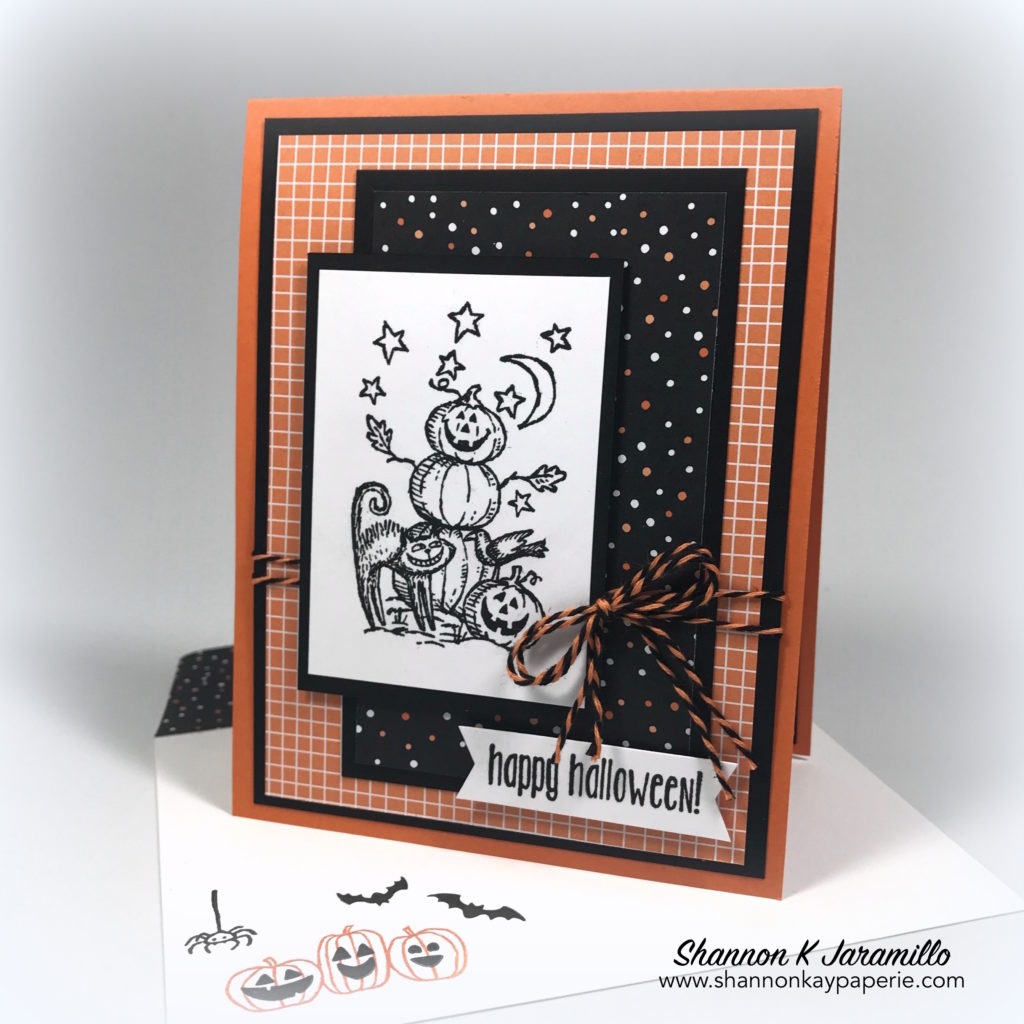
  • I made some Halloween purchases from Stampin’ Up! last year and then never made any cards so this year I just pulled out last year’s Halloween Night DSP. I love the combinations of patterns, colors and images in this DSP pack. Don’t the Pumpkin Pie and Basic Black just pop?
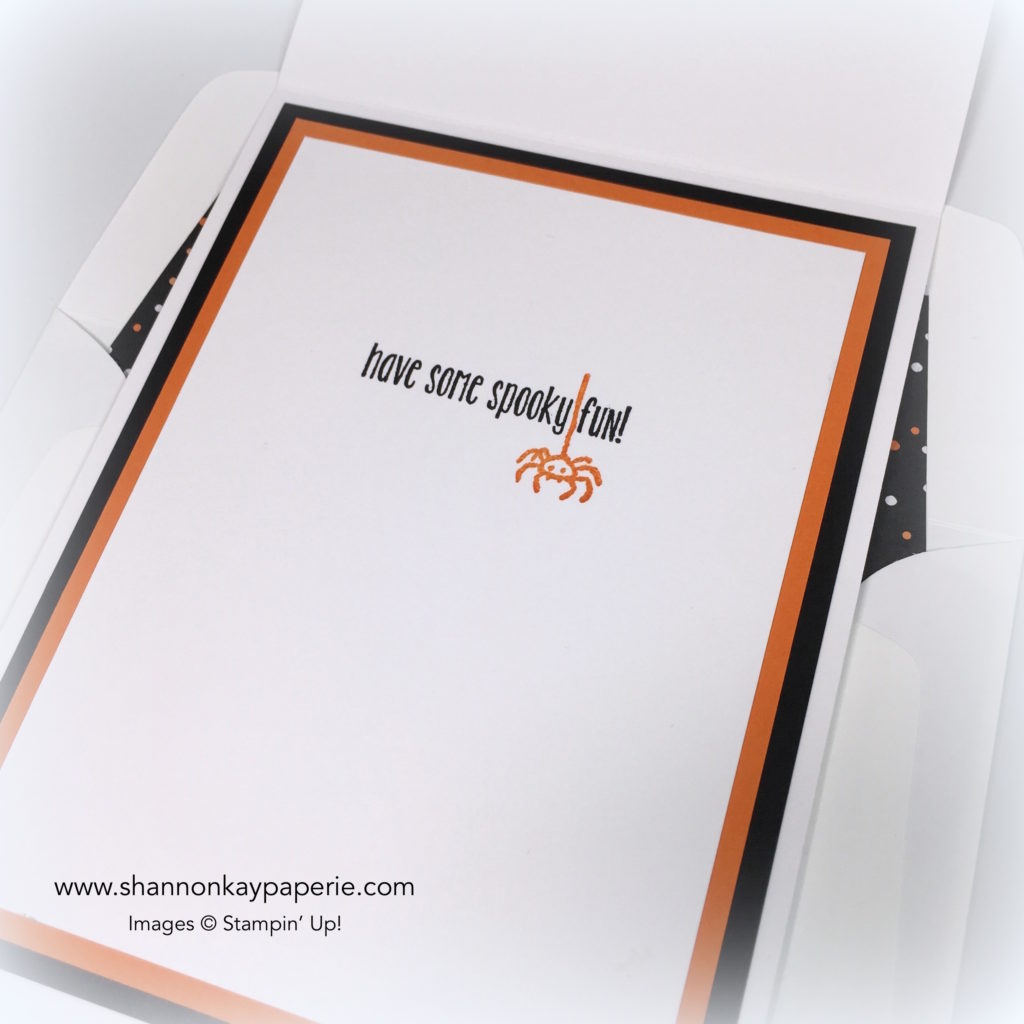
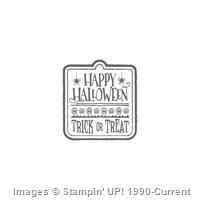
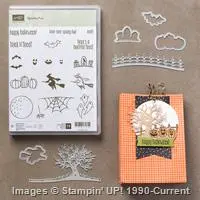
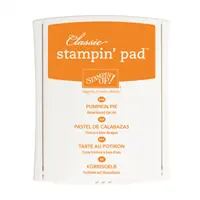
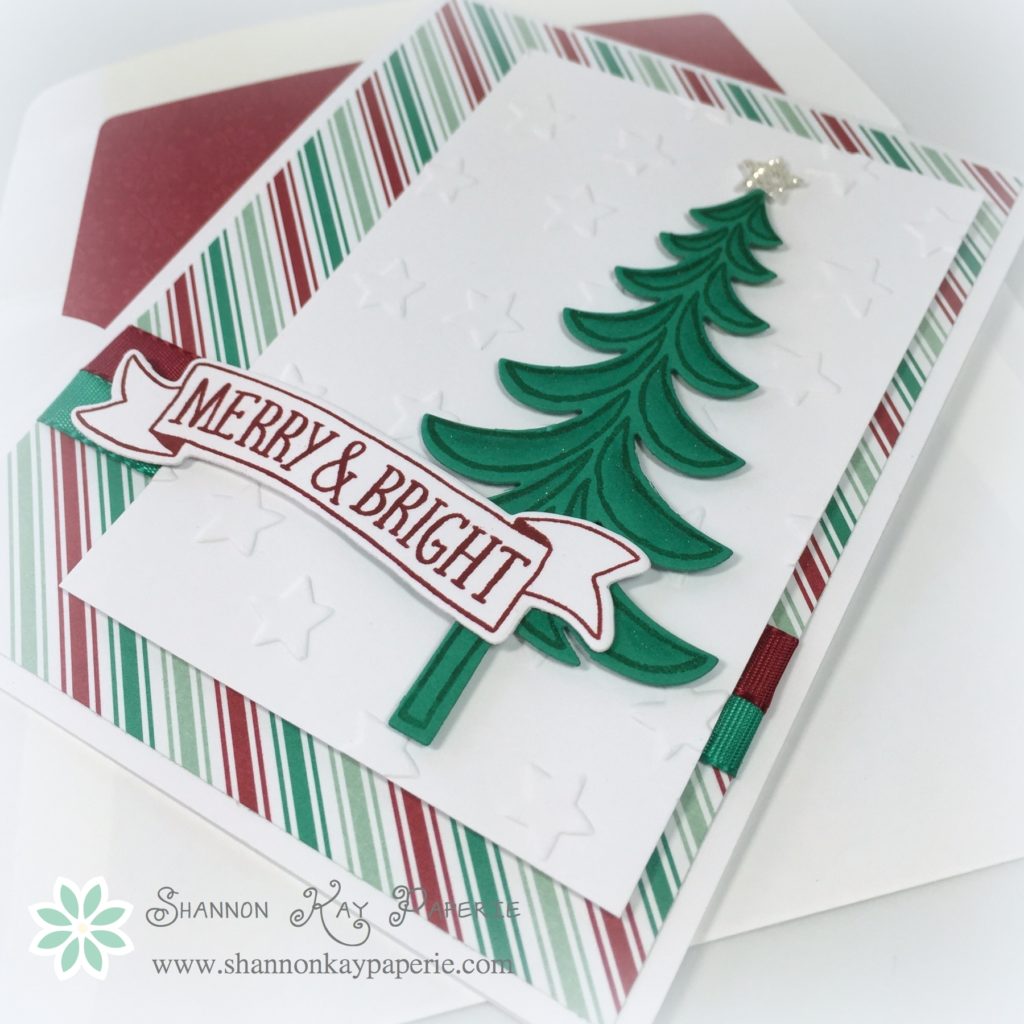
  • I stamped my sweet image from the Halloween Smiles stamp set, circa 2003, in Versafine Onyx Black ink. I had been told years ago that it was a favorite ink of stampers but was too stubborn to try it out. Well, ladies and gentlemen, this ink is DIVINE!! It stamped all my images, even brand new never-inked-up photopolymer stamps, perfectly. See the bats, spider and pumpkin faces on my envelope? No MISTI used. Just brand new photopolymer stamps on blocks and they stamped the complete image perfectly, as well as perfectly crisp and bright. I have a new favorite!

Stampin-Up-Halloween-Smiles-Halloween-Card-Ideas-Shannon-Jaramillo-stampinup

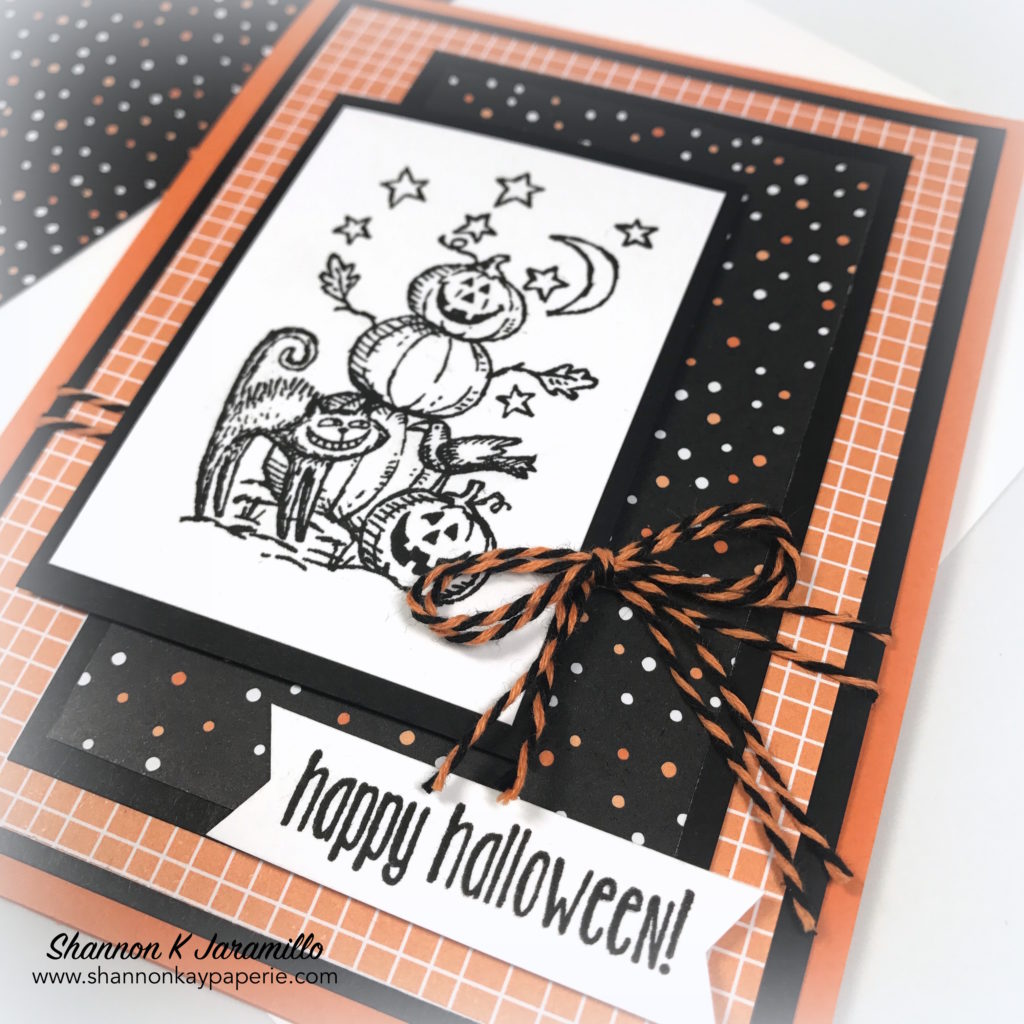
  • Again, the crispness of the images! I so amazed!! And sorry I was a doubting Thomas for so long!
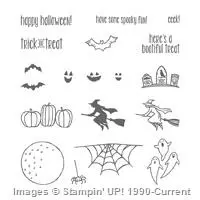
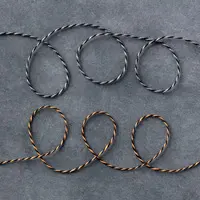
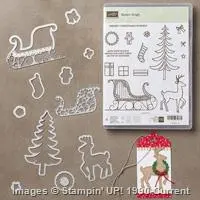
  • This adorable Pumpkin Pie and Basic Black Baker’s Twine is also from last year’s Stampin’ Up! holiday catalog, as is the ‘happy halloween’ sentiment and all of the images stamped on the envelope. They are all from the retired Spooky Fun stamp set. It’s a set with classic halloween images so I know I will keep it and use it…hopefully someday for grand babies!

Stampin-Up-Halloween-Smiles-Halloween-Cards-Idea-Shannon-Jaramillo-stampinup

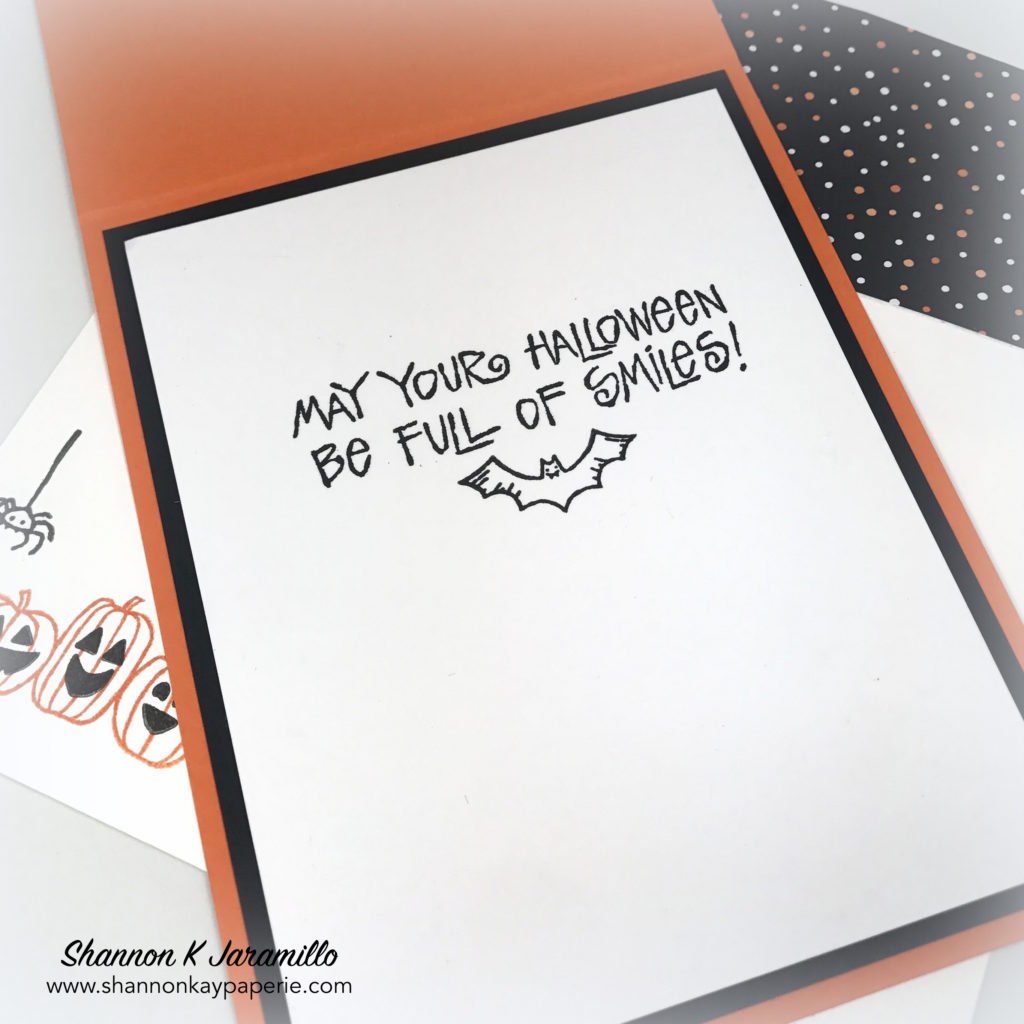
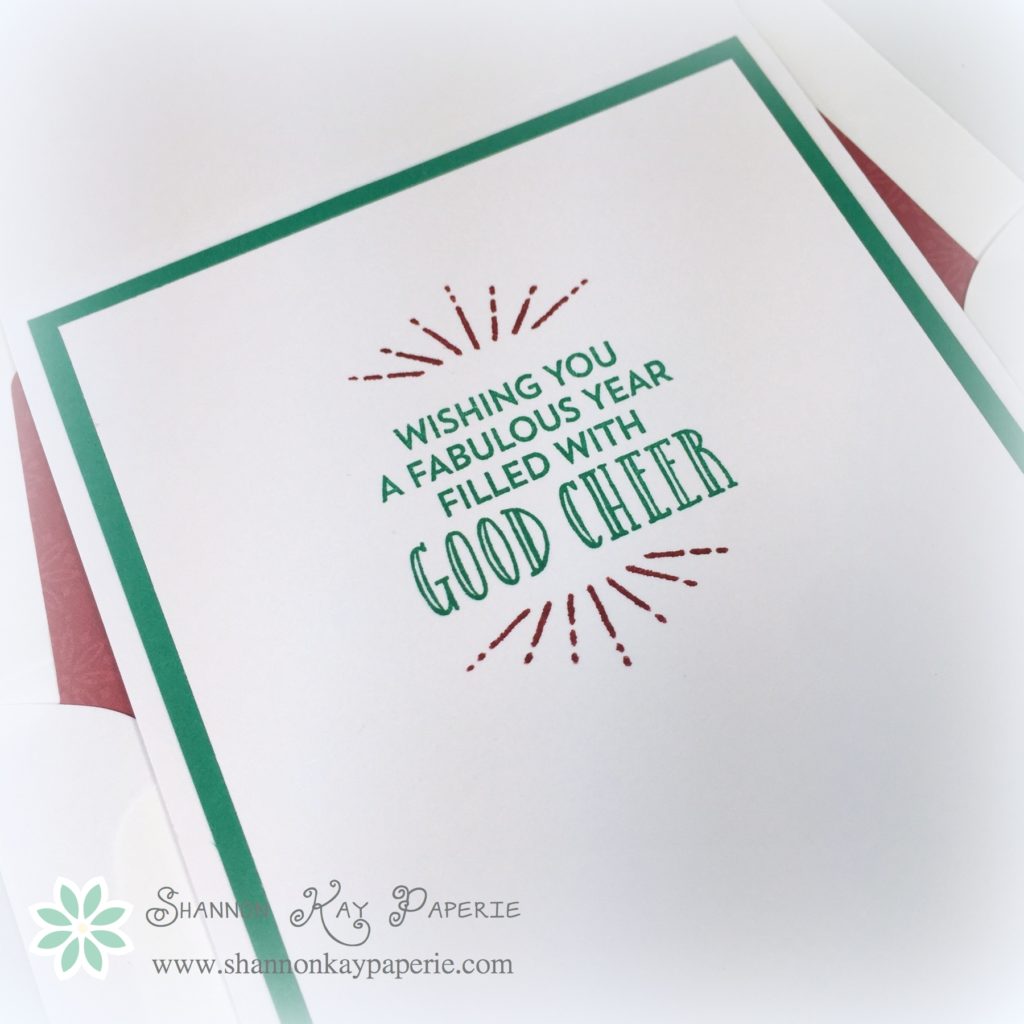
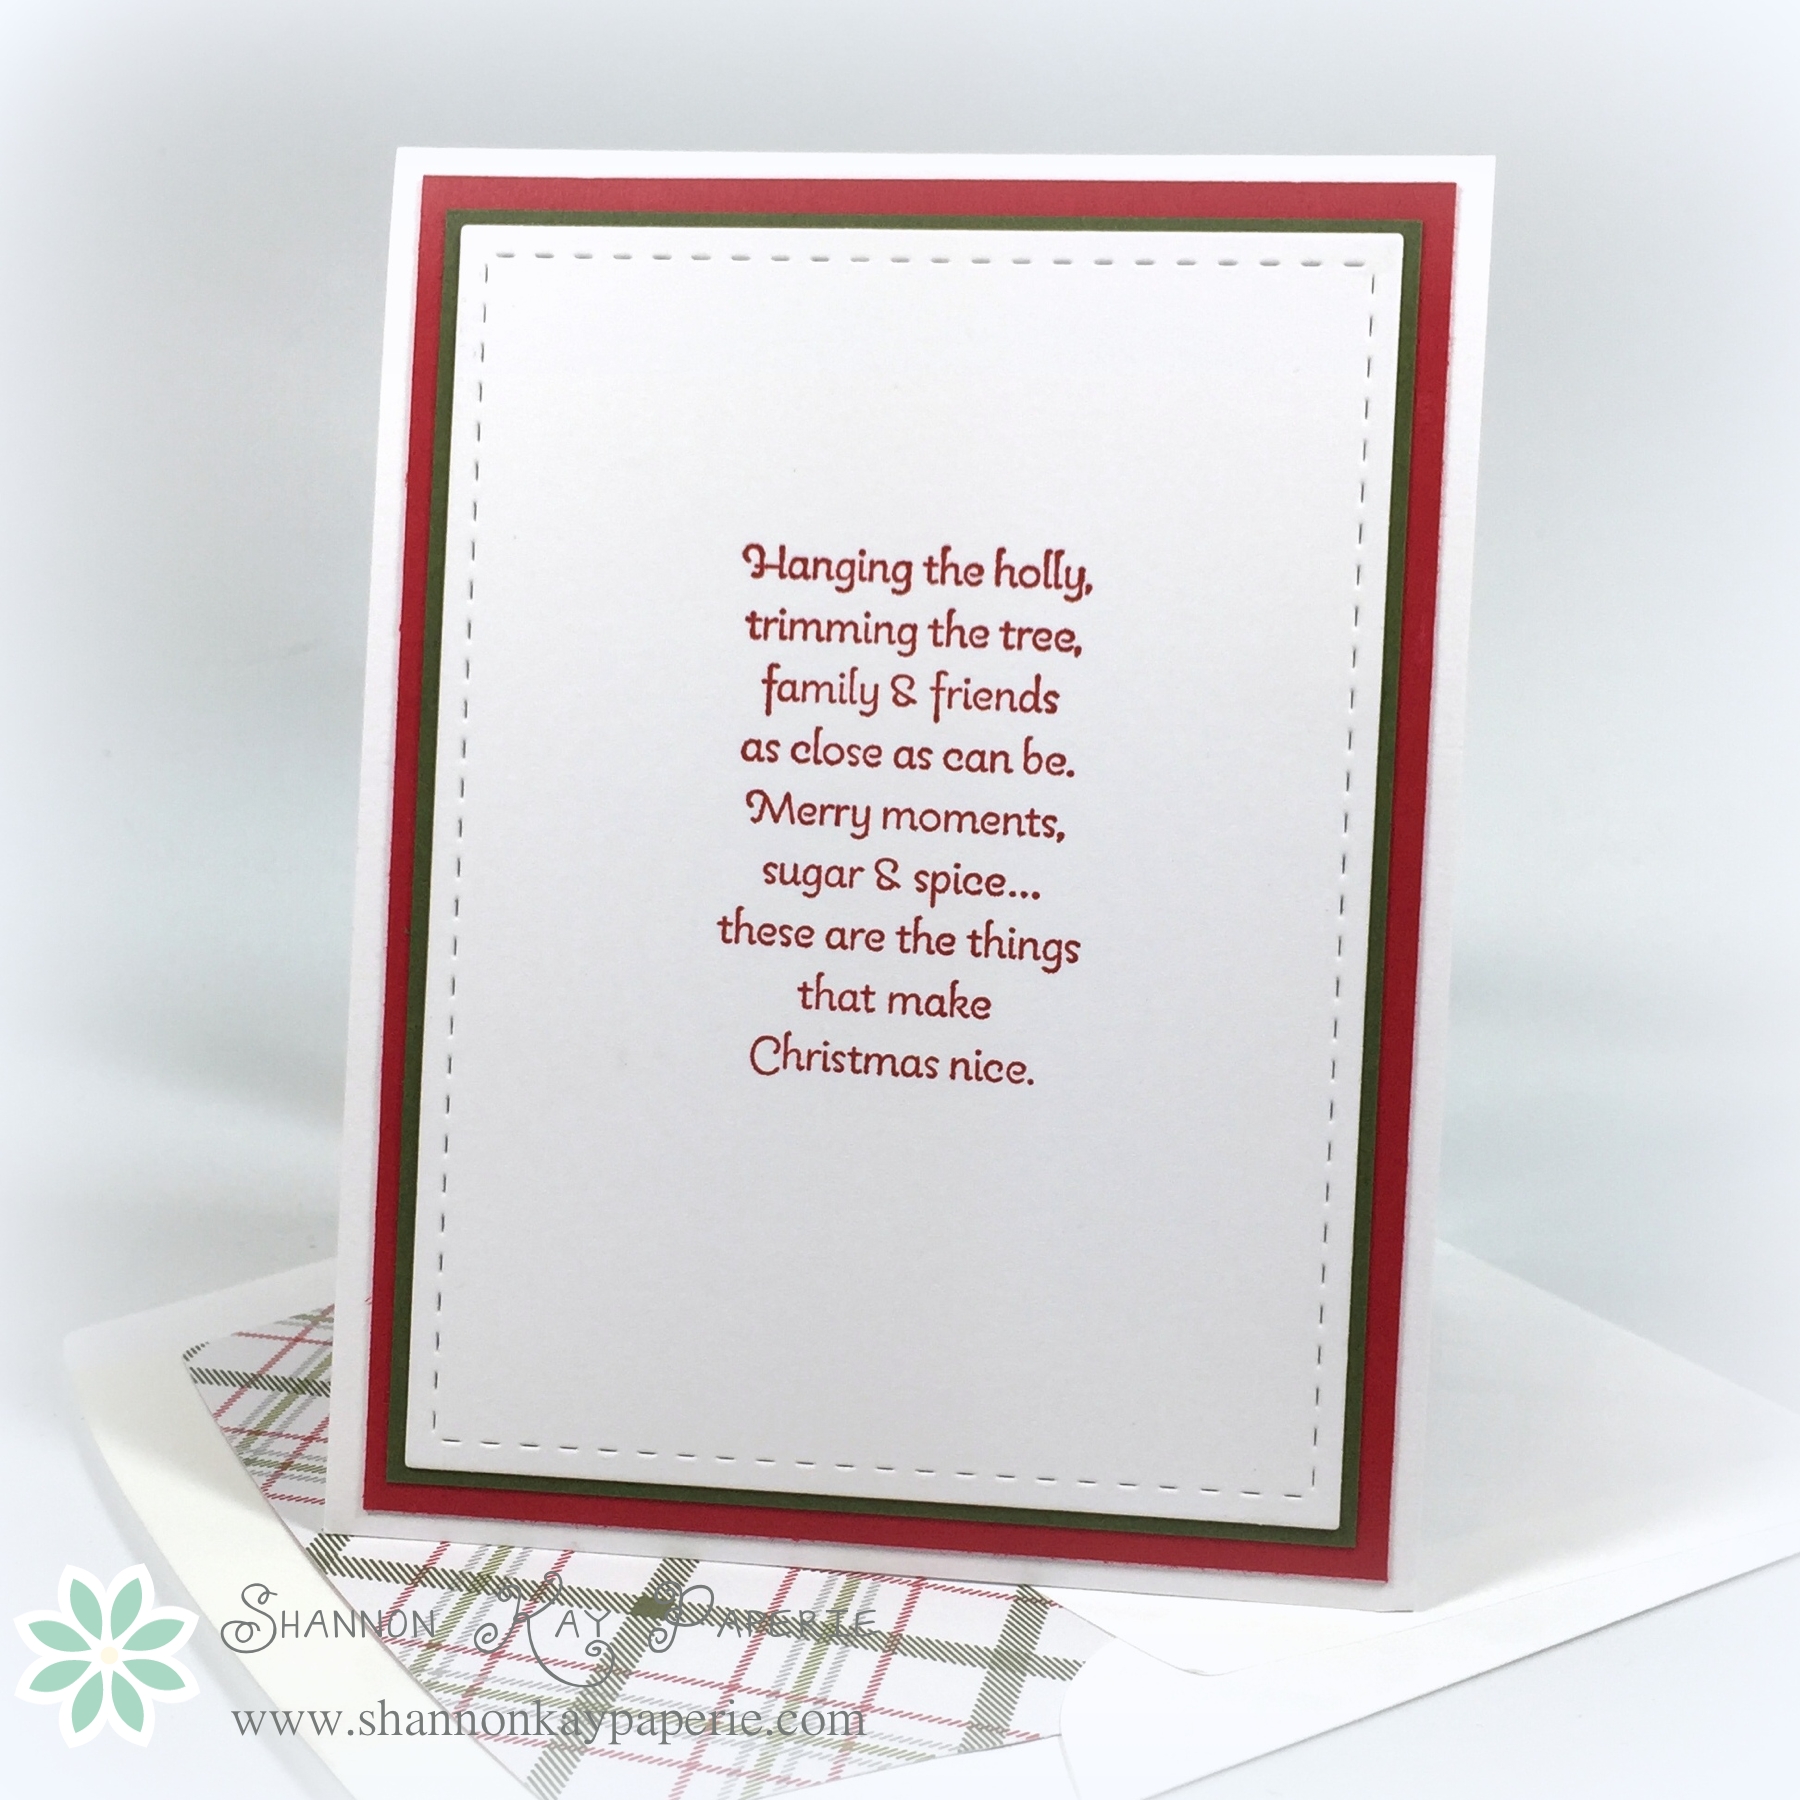
  • How sweet is this sentiment from the Halloween Smiles stamp set? And it pairs perfectly with this smiling bat from the Spooky Fun stamp set. It’s not often you see a smiling bat! 🙂

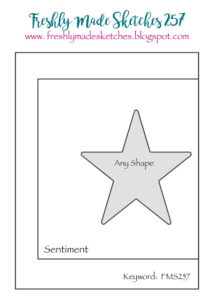
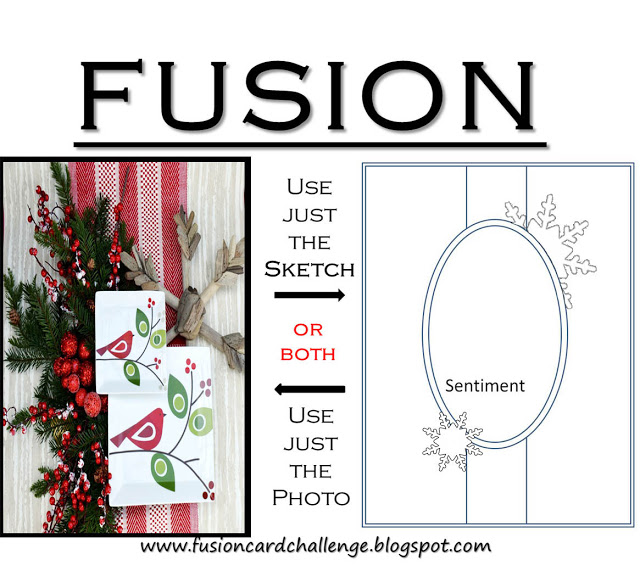
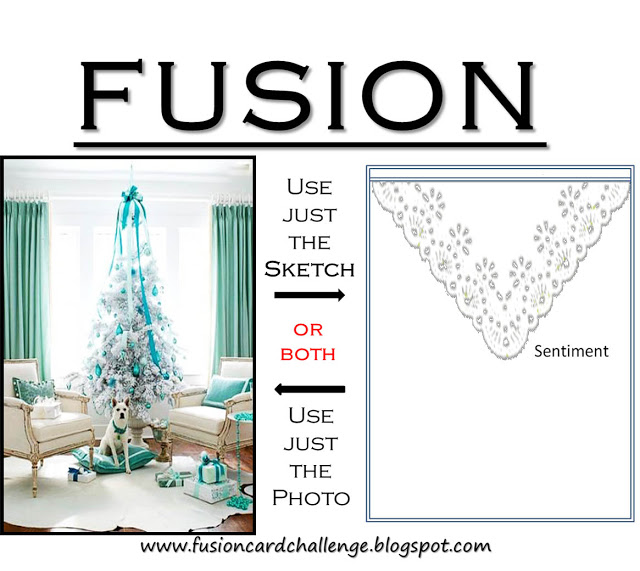
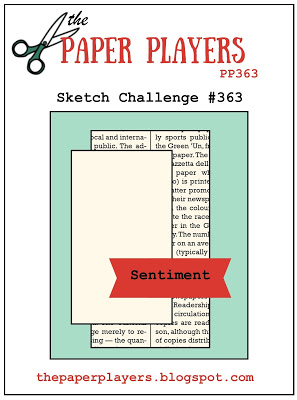
Today’s layout is courtesy of Nance of The Paper Players design team. Such a fun clean sketch…thanks Nance!

If you are in the US, I hope you are enjoying your first days of Fall! Fall here in Southern California means windy and hot, and today did not disappoint! I was determined to leave the window open in spite of the wind, and spent more time than I should have chasing elements around my desk and whisking them off the floor! lol

Blessings!

Supplies:

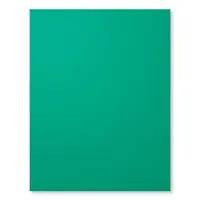
Card Stock: Basic Black and Pumpkin Pie by Stampin’ Up!; Stamper’s Select White by Papertrey Ink

Pattern Paper: Halloween Night (retired) by Stampin’ Up!

Ink: Versafine Onyx Black

Stamps:  Halloween Smiles (retired) and Spooky Fun (retired) by Stampin’ Up!

Dies:  Envelope Liner Die (retired) by Stampin’ Up!

Tools: MISTI by My Sweet Petunia (for the sentiment)

Embellishments: Basic Black/Pumpkin Pie (retired) Baker’s Twine by Stampin’ Up!

Other: Medium Whisper White Envelope by Stampin’ Up!

Stampin’ Up!’s Spooky fun Halloween Treat – 30 Day Card Challenge, Day 16


Stampin Up Spooky Fun Halloween Card Ideas - Shannon Jaramillo Stampinup

Halloween has always been one of my favorite holidays; however, I am finding the older I get, the less scary and more fun Halloween needs to be!

I think this card fits that bill perfectly!

The Details:

  • Card Layers:
    • Whisper White Base cut to 4 1/4″ x 11″, scored at 5 1/2″
    • Pumpkin Pie card stock cut to 4″ x 5 1/4″ (popped up with Stampin’ Dimensionals)
    • Basic Black card stock cut to 3 3/4″ x 5″
    • Halloween Night Specialty Designer Series Paper cut to 3 1/2″ x 4 3/4″

Stampin Up Spooky Fun Halloween Card Idea - Shannon Jaramillo Stampinup


  • I LOVE these bold stripes!! So fun, cheerful, and absolutely NOT scary! I layered card stock underneath it to mimic the colors and used a quarter inch spacing between the layers to really play up the bold colors.
  • The Halloween Treat stamp set is a single set, PERFECT for treat bags and tags. Since that is the obvious use for it, I wanted to add it to a card instead. I stamped it, fussy cut it out, and popped it up onto Stampin’ Dimensionals.
  • The peeks of Halloween Night Baker’s Twine behind the sentiment are darling and really set off the double bow, attached to the project with a rolled up mini glue dot.

Stampin Up Spooky Fun Halloween Cards Ideas - Shannon Jaramillo Stampinup


  • I mimicked the colors again on the inside of the card and then used the Spooky Fun Stamp Set to add a fun (not scary) sentiment. I must say, I prefer orange spiders to black ones! Not scary at all!!
  • What do you think of the envelope liner?? Such beautiful patterns in this pack of paper!!

There you have it! Have a wonderful rest of your weekend and thank you so much for stopping by! Please let me know what you think, I SO love hearing from you!!

Supplies

Merry & Bright Wishes – Freshly Made Sketches 257

Stampin Up Merry & Bright Wishes Card Idea - Shannon Jaramillo Stampinup

Hello my stamping friends!

You may have been wondering where I’ve gotten to, I know I’ve been gone for awhile. I’ve been dealing with some ongoing health issues which have left me struggling to find the time and energy to stamp amidst the demands of everyday life. So I stepped away from my stamping for a bit. The time away has really made me aware of how much I enjoy this hobby and enjoy sharing what I love with you, my kindred spirits 🙂

So, I have returned to my stamp room with renewed enthusiam and am looking forward to playing with paper and ink again! I may disappear from time to time as health issues and life in general dictate, but I hope for your understanding and patience when I have to do so.

And so…I’ve decided to play along with a challenge to create a card a day for 30 days…I may only do a project every other day, but I intend to give it my best shot!

I chose the Freshly Made Sketches challenge to jump back in with. They were so very gracious to me when I bowed out as a guest designer due to my health concerns, and are truly a wonderful group of ladies. Jen M. has a fun and flexible sketch this week:

fms-final-257-001

I have a TON of Christmas product just begging to be used so I’m starting with the Presents & Pinecones Designer Series Paper:

Stampin Up Merry & Bright Wishes Card Ideas - Shannon Jaramillo Stampinup

I’ll be honest, I was not a fan of Emerald Envy when I saw it, but, as often happens, my mind was changed completely when I saw this paper. Isn’t it yummy???? Cherry Cobbler, Emerald Envy and Mint Macaroon, YUM!! Okay, so it’s probably the Mint Macaroon that won me over, but seriously, SO CUTE!! And darling ribbon to match?? Who can resist??

The Details:

  • Thick Whisper White Card Base, 4 1/4′ x 11′, scored at 5 1/2″
  • Presents & Pinecones DSP, cut to 5 1/4″ x 4″
  • Thick Whisper White card stock trimmed to 3″ x 4 1/2″and embossed with the Lucky Stars Embossing Folder
  • The Tree from the Santa’s Sleigh stamped in Emerald Envy on emerald Envy card stock and die cut with the coordinating die in the Santa’s Sleigh Thinlits Dies set, and coated liberally with Wink of Stella
  • The banner from the Stitched with Cheer stamp set is stamped in Cherry Cobbler and die cut with the coordinating die from the Bunch of Banners Framelits Dies set
  • The ribbon is from the 3/8″ Silky Taffeta Ribbon Combo Pack and coordinates perfectly in Cherry Cobbler and Emerald Envy.Stampin Up Merry and Bright Wishes Card Idea - Shannon Jaramillo Stampinup
  • The sentiment panel is Thick Whisper White, cut to 3 3/4″ x 5″, and stamped with more sentiments from the Stitched with Cheer Stamp Set in Emerald Envy and Cherry Cobbler and is backed with an Emerald Envy card stock layer, cut to 4″ x 5 1/4″
  • I die cut an envelope liner with the retired Envelope Liners Framelits and another pattern from the Presents & Pinecones DSP

That’s it! Quick and easy! I would love to hear what you think and am always happy to answer any questions you may have.
Supplies Used:


Price: $110.00

Season’s Greetings Fusion Card Challenge

Greetings!! It’s time for the last Fusion Card Challenge of 2015!! And as we ramp up for Christmas, here are some wonderful inspirations to get your inky fingers going!

FusionSketch-12_10_15I was immediately drawn to the bright reds of the holly berries and the lush greens of the evergreens in the inspiration photo. I thought I was going to go in a rustic Christmas direction, but as often happens, my card ideas turned on me as I went along!

Season's Greetings Fusion Card ChallengeThis is one of my favorite cards this holiday season! The stamp set is Peaceful Wreath by Stampin’ Up! I love that it utilizes the Wonderful Wreath Framelits from last year’s holiday catalog, giving me more designing bang for my buck 🙂

I stamped the wreath image in Soft Suede ink and then used Old Olive, Real Red, and Soft Suede to color it in. You may notice that some of the green leaves are slightly darker than the others, I felt the wreath was too monotone once I was done coloring, so I went back and added another layer of Old Olive ink to some of the leaves. Here’s a close up of the wreath, hopefully you can see the shimmer that I added to the holly berries with Wink of Stella, it is so beautiful in person!

Season's Greetings Fusion Card ChallengeI die cut the bow twice in white cardstock and then once with DSP, layered the three together to create a dimensional bow. I also stamped the bow image on top of the die cut, it’s a subtle detail but adds to the overall design of the card.

Design Tip: Stampin’ Up! has always recommended die cutting the center of the wreath first, then stamping the wreath next, with the idea that you will be able to align the image perfectly. I can align the image fairly well, but the indentation left from the die cut makes the image stamp poorly. Well, I discovered a way around all of that!! First, I stamped and colored my wreath. Next I took a piece of tissue paper and die cut the center out of it using the Big Shot. I then laid the tissue paper over my stamped wreath, lined the die cut opening up perfectly with my stamped image and then used small bits of micropore tape to tack the tissue paper down. I laid the center die cut over tissue paper (it aligns easily because of the cut in the tissue paper) and ran the whole thing through the Big Shot! Voila!! Perfect alignment!! The outside edge of the wreath is much easier to line up because it’s an open die. Try this tip for a perfectly due cut wreath!

Season's Greetings Fusion Card ChallengeI used greetings from the retired stamp set More Merry Messages by Stampin’ Up! It’s always nice to have lots of options when designing a card! And as you can tell, the Merry Moments DSP is hands down my favorite paper this year, and really of all time!

Thank you so much for visiting today! I hope you have a moment to check out what the other Fusion Card Challenge design team members have dreamed up for your inspirational pleasure!

Wishing you a wonderful holiday season and we will see you in 2016 with a very special anniversary challenge!!

Products Used:

Cardstock: Thick Whisper White, Mossy Meadow, Real Red by Stampin’ Up!

Pattern Paper: Merry Moments Designer Series Paper Pack

Ink: Real Red & Soft Suede by Stampin’ Up!; Old Olive, Real Red & Soft Suede Stampin’ Markers by Stampin’ Up!

Stamps:  Peaceful Wreath and More Merry Messages (retired) by Stampin’ Up!

Dies: Wonderful Wreath and Envelope Liner Die by Stampin’ Up!; Stitched Mats: Rectangles by Lil ‘Inker.

Tools:  MISTI

Embellishments: Wink of Stella

Season's Greetings Fusion Card Challenge

Blue Christmas Fusion Card Challenge

Welcome Fusion Card Challenge fans! We have another fun challenge for you!

FusionSketch-11_26_15Oh my goodness, I just LOVE the blue and sparkle! When I first saw the inspiration photo, I thought of Simon Says Stamp Audrey Blue ink and gold foil paper. Well, then I came across this pattern paper and went in a completely different direction!

Blue Christmas Fusion Card ChallengeI am SO pleased with how this card turned out! I love the combination of the blue and brown (which my mother says never goes together), with the shimmery die cut.

Blue Christmas Fusion Card ChallengeThe die is by Papertrey Ink and is A-M-A-Z-I-N-G, particularly when die cut with Dazzling Diamonds Glimmer Paper by Stampin’ Up!. The white ribbon and the white paper of the sentiment balance each other well, while the blue of the sentiment and the paper is Sea Glass by Simon Says Stamp and is so soft and pretty! A few moonstone sequins and even more sparkle! A shout out to the very talented Michelle Short for showing me the trick of having a sequin peek out from behind a sentiment…so fun!

Design Tip: Sizzix Adhesive Sheets and the Precision Base Plate make cutting and layering intricate designs a snap! Just trim the size of adhesive sheet you need, add it to the top AND the bottom of the paper you are using and run through the Big Shot using the Precision Base Plate. The intricate die will cut perfectly, then just peel the adhesive backing and stick the layers together! If you use a gentle hand, you have some adjustment time with the adhesive to align the layers precisely.

And let’s not forget the inside of the card:

Blue Christmas Fusion Card ChallengeSimple and sweet. I’m really loving the trick of adding a background stamp to a sentiment, I think it adds a ton of interest 🙂

I am also playing along with The Challenge:

New Banner-015As well as the Global Design Project where the challenge is to CASE (Copy and Share Everything) my sweet friend Brian King‘s Christmas card!

GDP012 Case the DesignerI hope all of you in the US have a wonderful holiday, spending it however you choose, hopefully with people you love 🙂

Thank you for stopping by and, as always, I love to hear your thoughts!

Won’t you check out what the other Fusion Card Challenge design team members have created for you this week?

Products Used:

Cardstock: Stamper’s Select White by Papertrey Ink; Sea Glass by Simon Says Stamp

Pattern Paper: Cozy by Authentique

Specialty Paper: Dazzling Diamonds Glimmer Paper by Stampin’ Up!

Ink: Sea Glass by Simon Says Stamp; Crumb Cake by Stampin’ Up!

Stamps:  Christmas Cheer, Deck the Halls by Papertrey Ink;  Beautiful Blizzard by Newton’s Nook

Dies: Christmas Cheer by Papertrey Ink; Stitched Borders 2 by Pretty Pink Posh; Stitched Mats: Rectangles by Lil ‘Inker; and Envelope Liner Die by Stampin’ Up!

Tools:  MISTI

Embellishments: Moonstone Sequins by Simon Says Stamp; Retired Whisper White Ribbon by Stampin’ Up!