Toil & Trouble – Freshly Made Sketches 357

Stampin-Up-Halloween-Card-Idea-Shannon-Jaramillo-stampinup

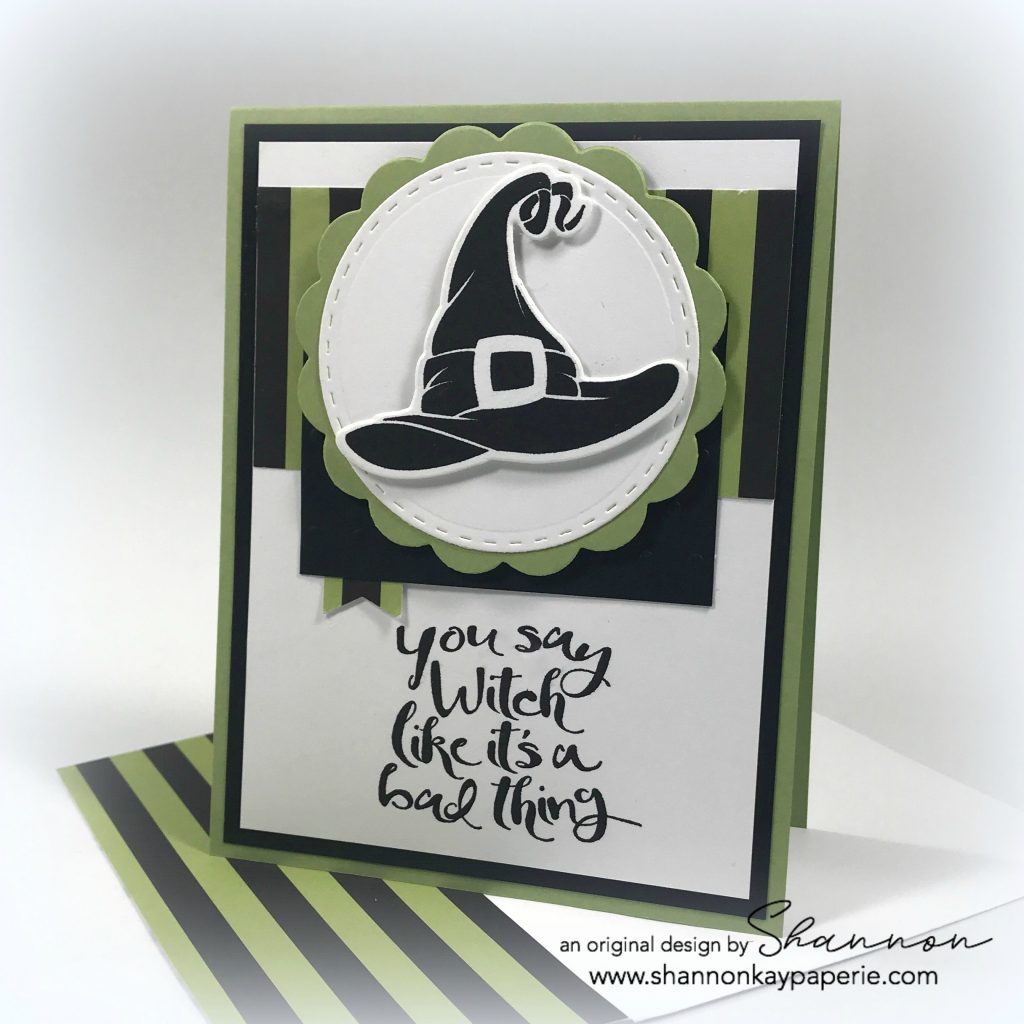
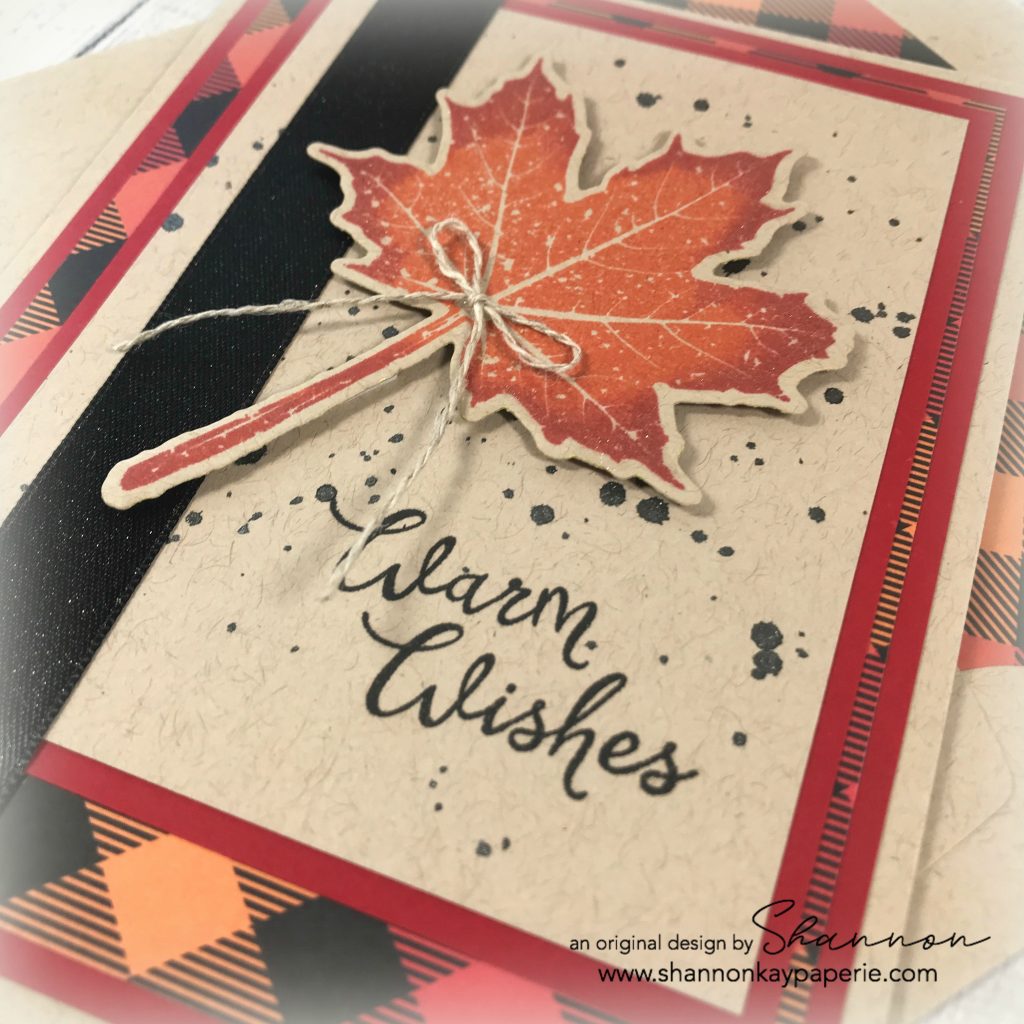
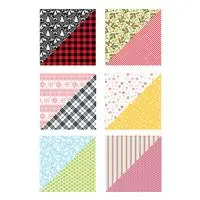
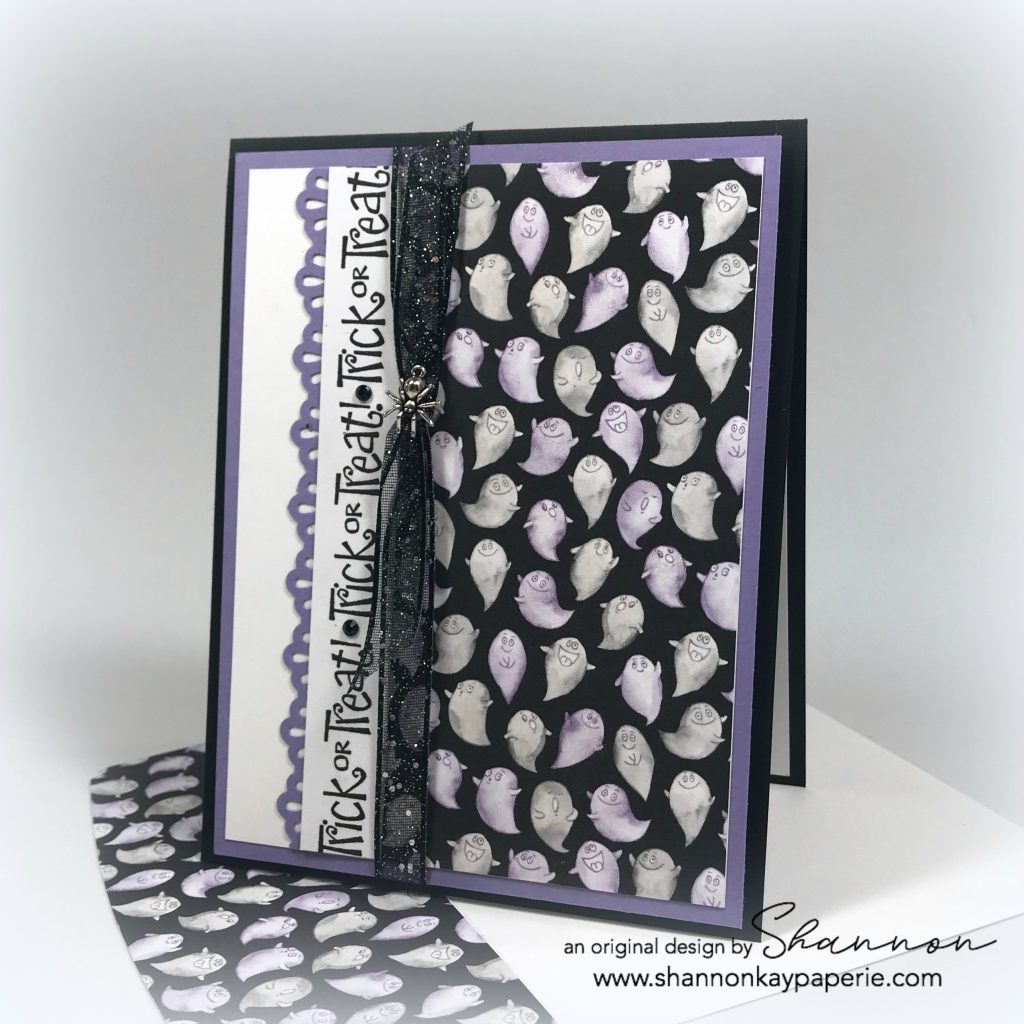
Are you a fan of Halloween? I used to love everything scary. Now…not so much. I lean towards cute and cuddly Halloween these days and I thought this super cute DSP fit the bill nicely.

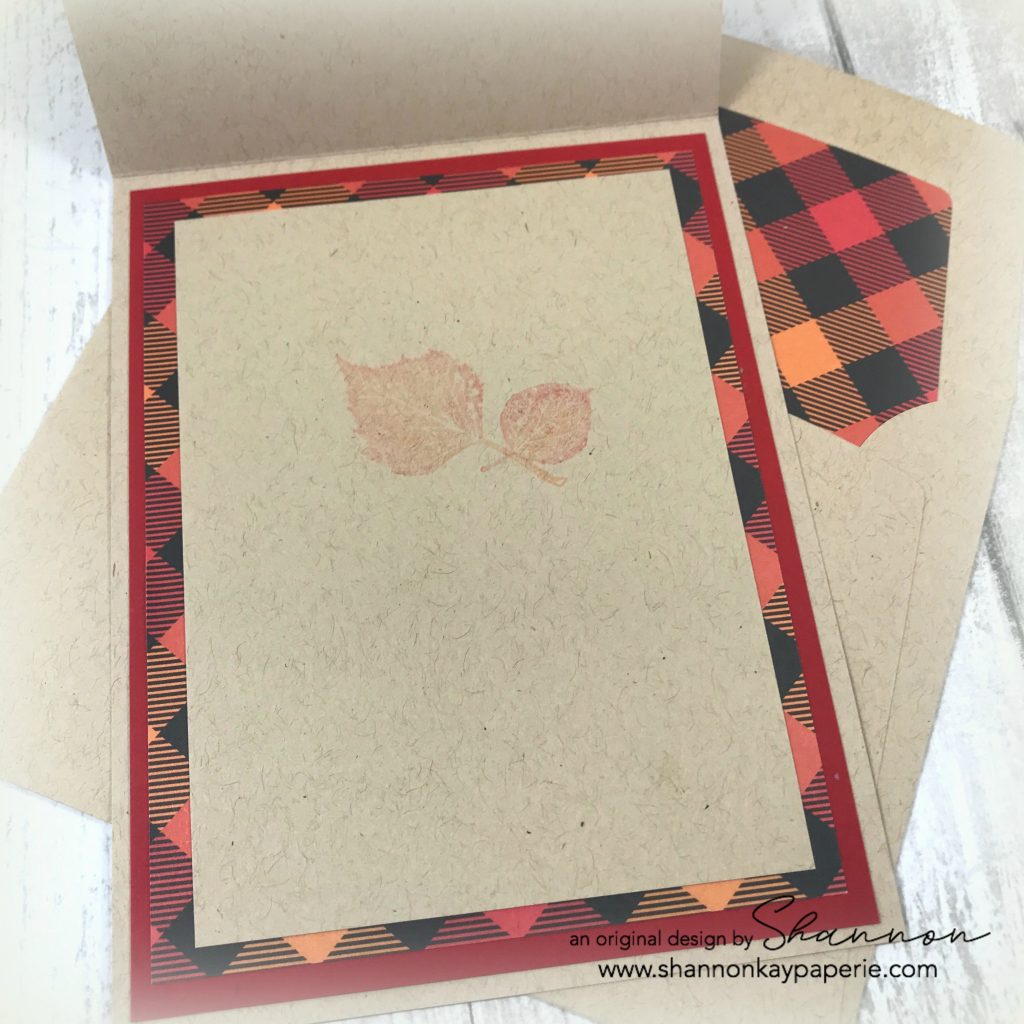
Measurements (bottom to top):

  • Basic Black Card Base 4 1/4″ x 11″ scored at 5 1/2″
  • Highland Heather Card Stock Layer 4″ x 5 1/4″
  • Whisper White Card Stock Layer 3 3/4″ x 5″
  • Pattern Paper Layer 3″ x 5″

Details:

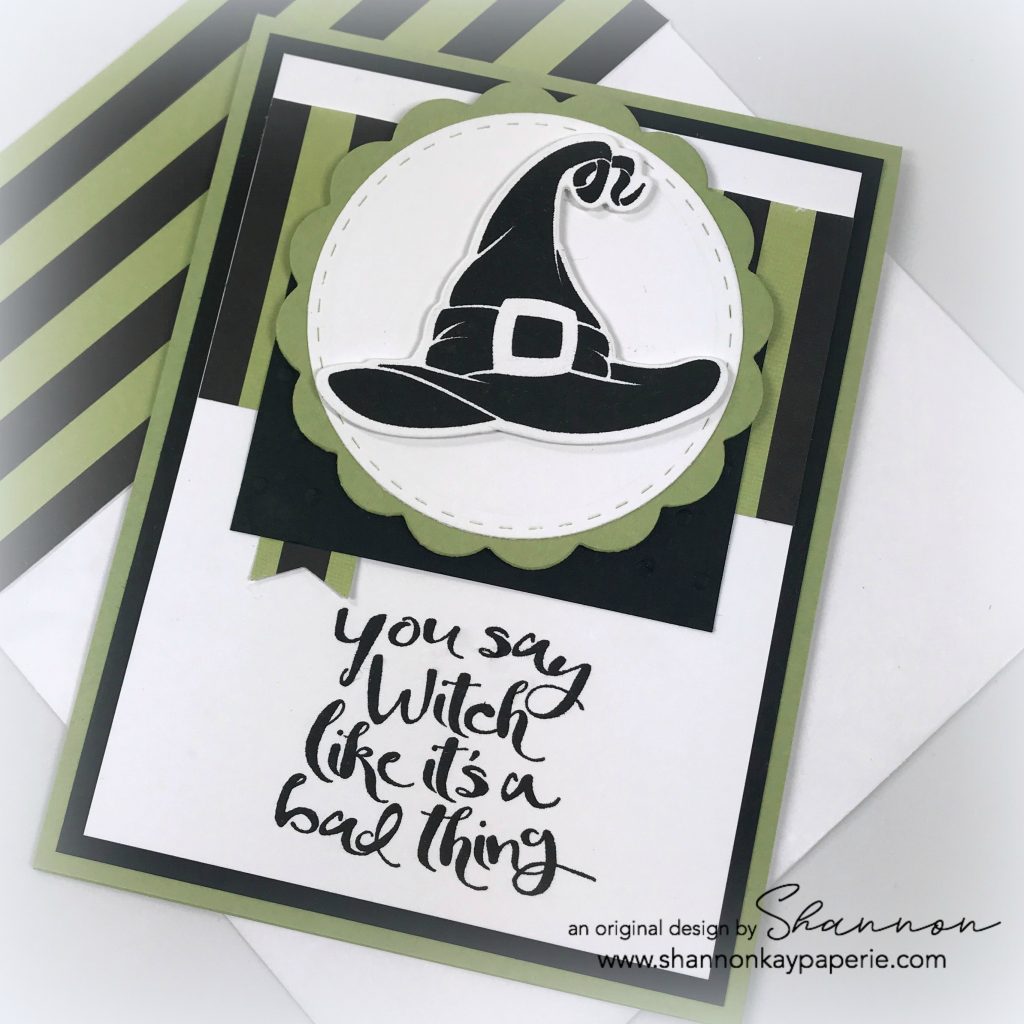
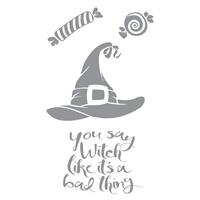
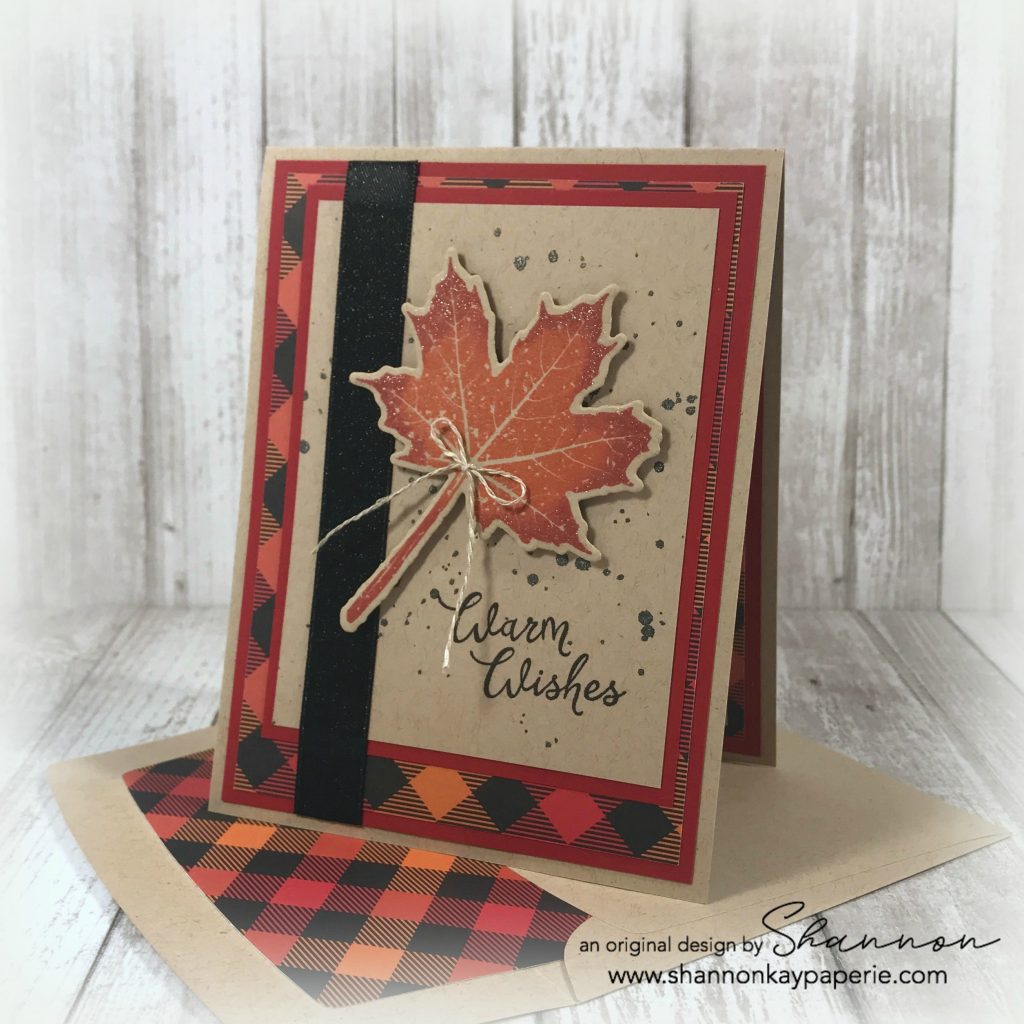
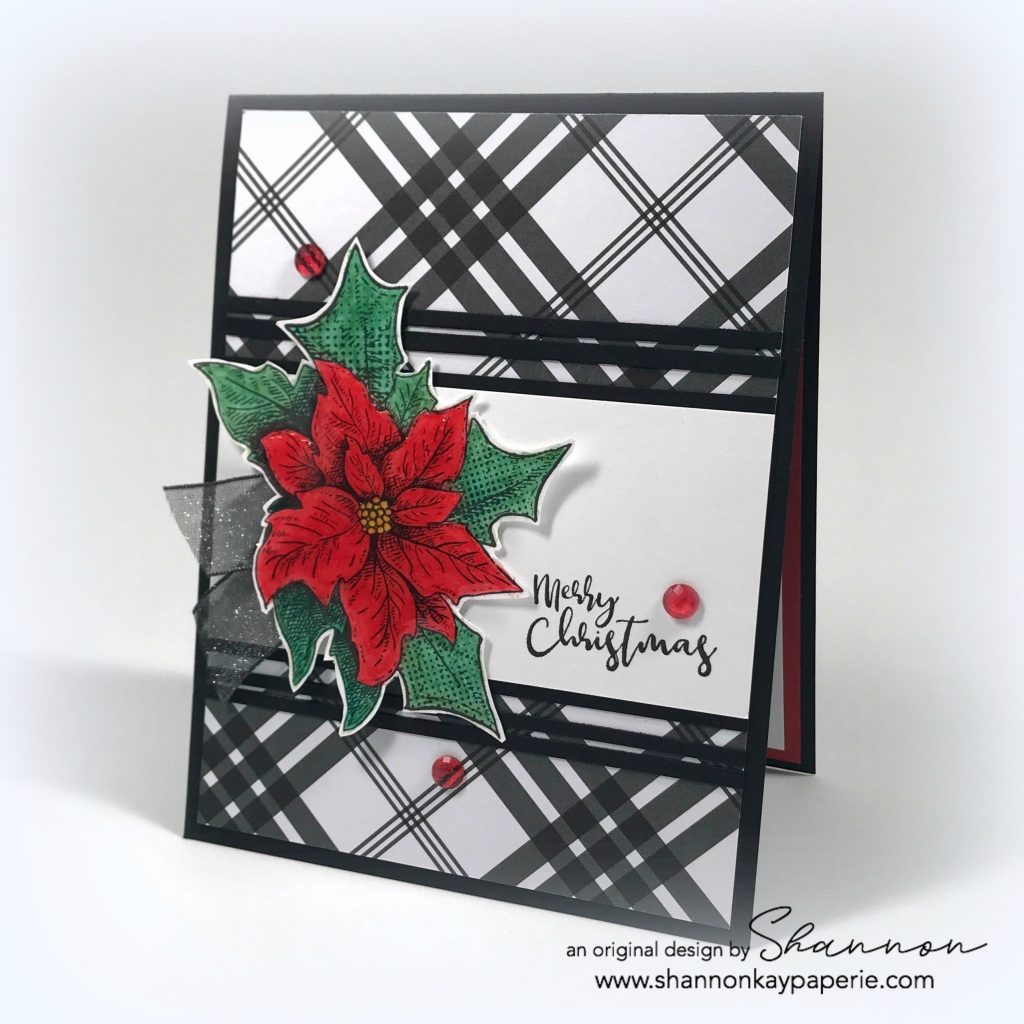
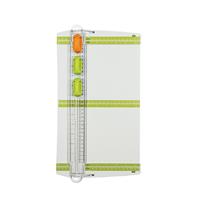
  • This card is really easy to assemble.  I laid the DSP piece onto the 3 3/4″ x 5″ Whisper White layer, aligning it all the way to the right side. Next I stamped the sentiment 3 times onto a scrap piece of white card stock, using my stamping platform to  align the words perfectly. Next, I cut a 2″ x 6″ piece of Highland Heather card stock and used the Decorative Ribbon Border Punch to punch the pretty border. I then layered my sentiment strip onto the punched border and then laid the whole piece next to the edge of the DSP.

Stampin-Up-Halloween-Cards-Ideas-Shannon-Jaramillo-stampinup-su

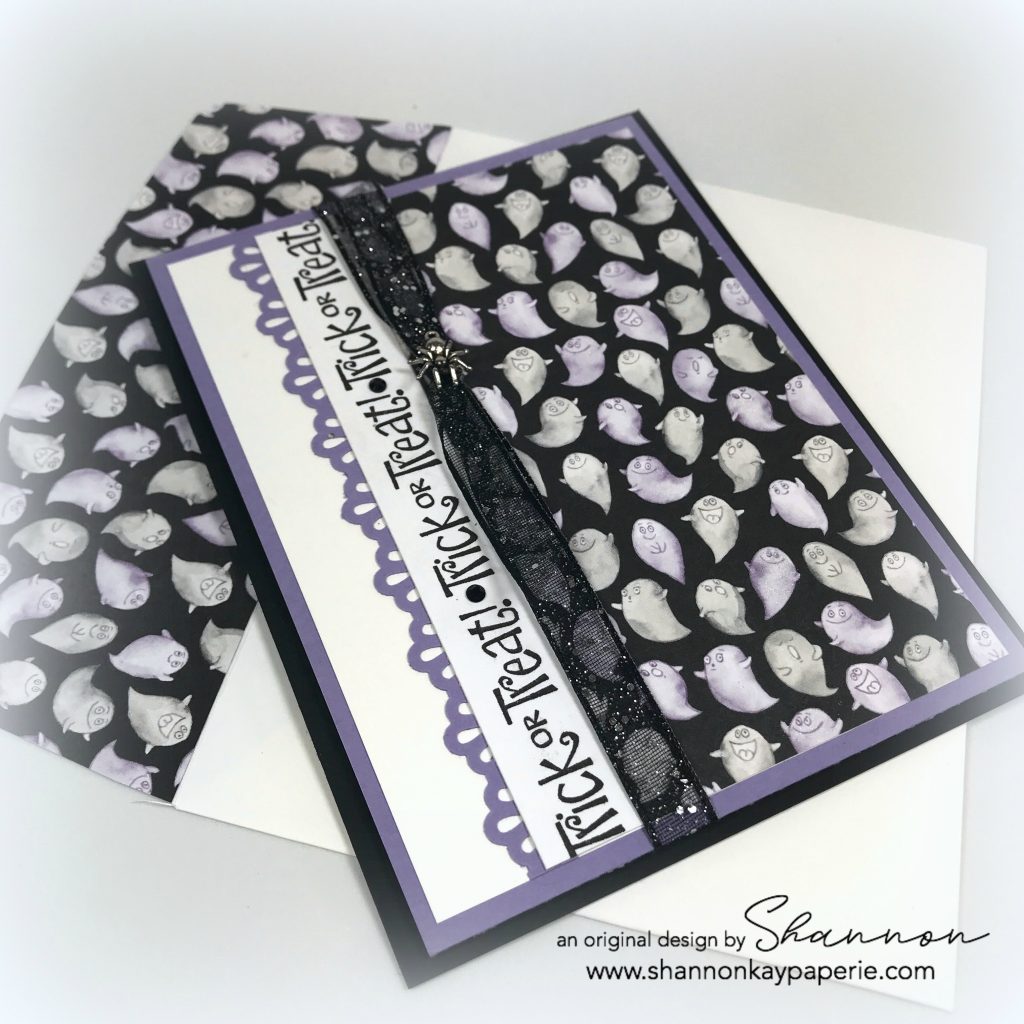
  • I pulled out SU’s Black 3/8″ Glittered Organdy ribbon and tied a knot around the layers, popped the whole panel up onto Stampin’ Dimensionals and adhered it to the card base. That’s it! This would be a fun card to mass produce!
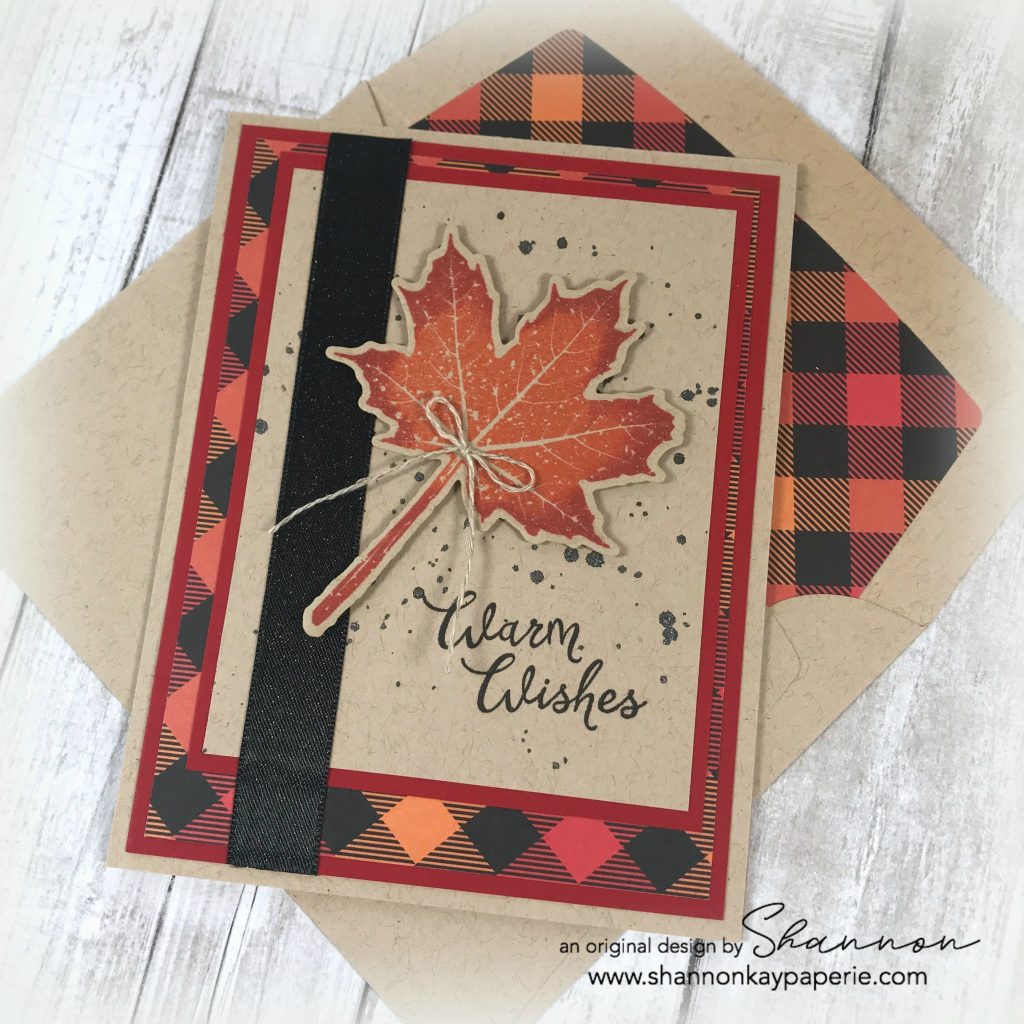
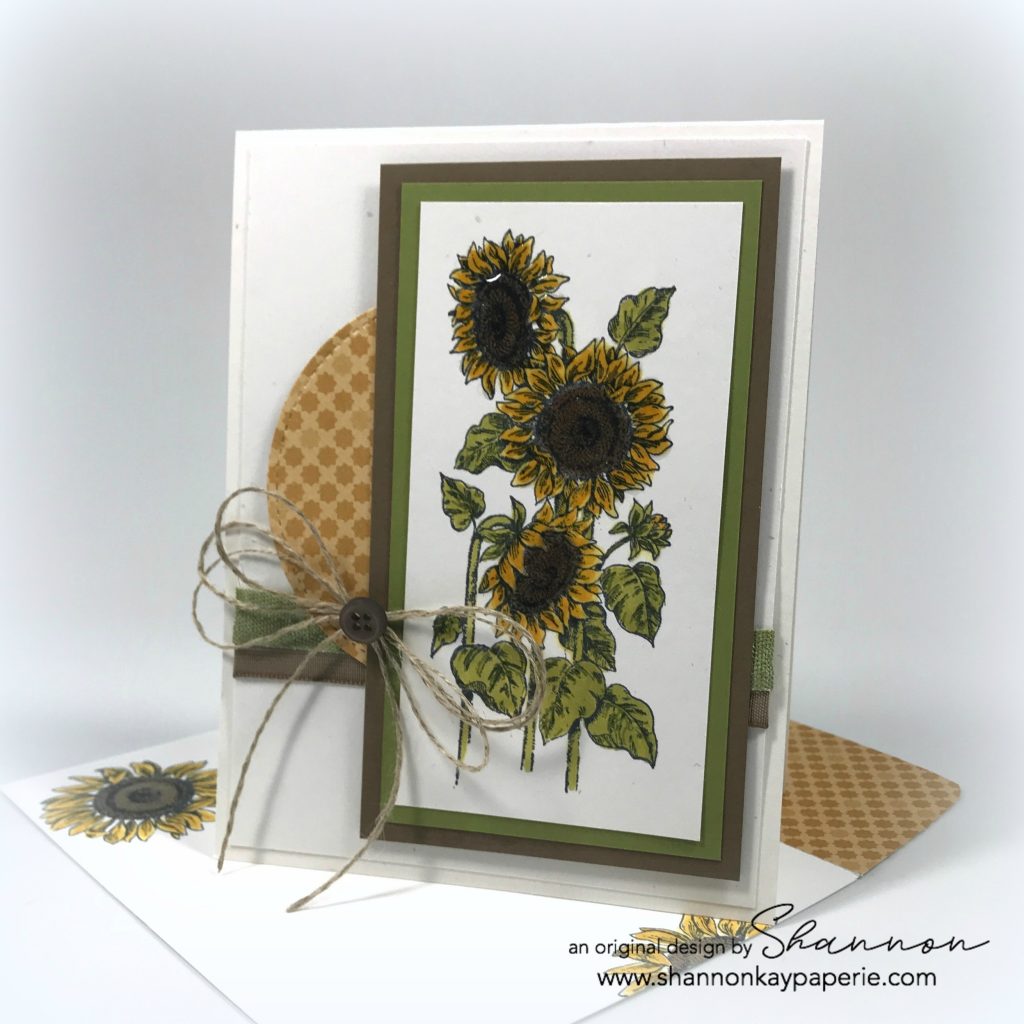
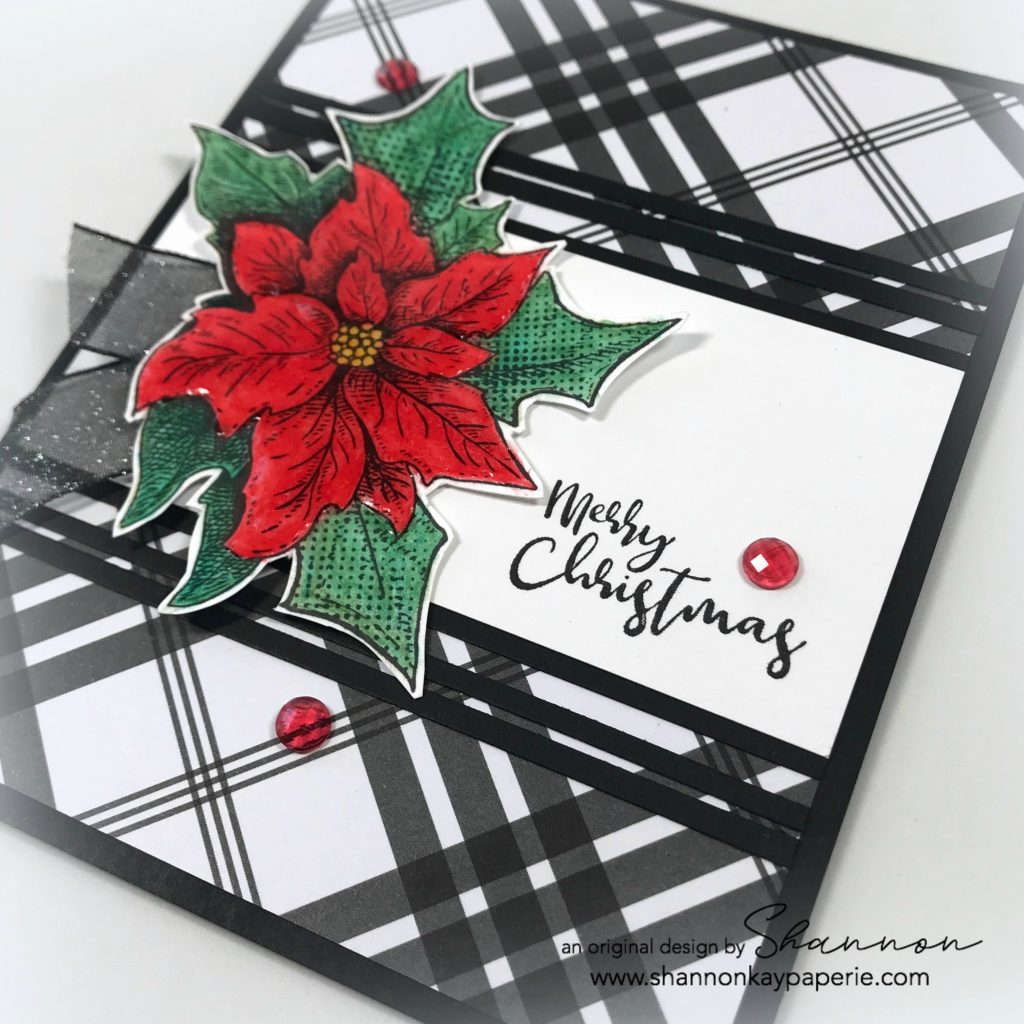
  • While we are on this picture I wanted to point out a boo boo. Normally I wouldn’t but I have a reason. Look at white card stock that the sentiment strip is stamped on. It’s a scrap of Papertrey Ink’s Stamper’s Select White card stock. Then look at the white cardstock to the left of that. That is Stampin’ Up’s Whisper White card stock. Can you see how crisp the PTI white is? It makes the SU white look yellow. Once I discovered that I have always used PTI Stamper’s Select White. It’s truly the brightest white I’ve ever come across.
  • Now I said I like cute and cuddly Halloween but I purchased a “share” of SU’s DSP and embellishments from the Holiday Catalog and included in that were some little tiny charms. That totally creeped me out. Really. But when I looked at the knot in this gorgeous ribbon, I knew the charm would be PERFECT there. Are you ready???

Stampin-Up-Halloween-Cards-Ideas-Shannon-Jaramillo-stampinup

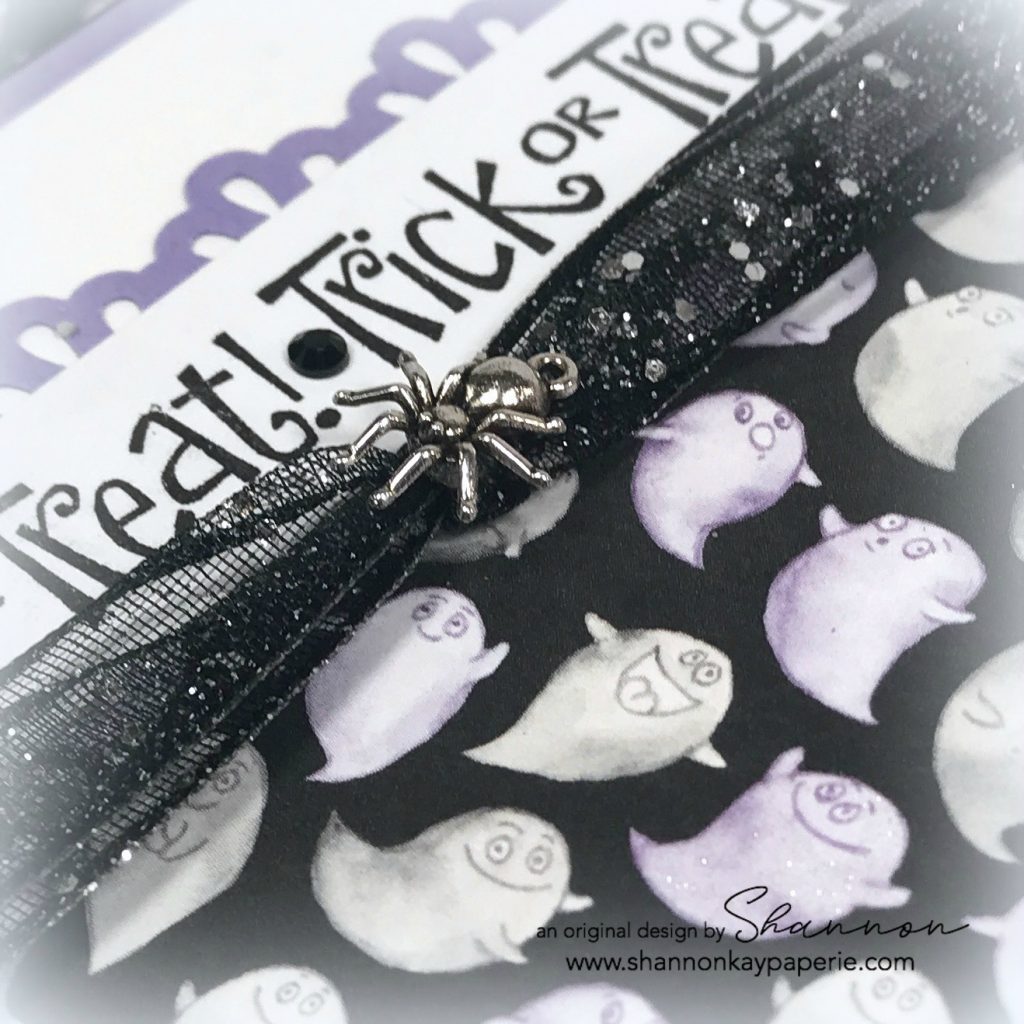
  • Seriously! Eek!!!! Have you ever seen something so cute but also so creepy at the same time??? I only have one more charm left so I’ll have to use it up. Don’t want to go digging through embellishments and see that! I might pee my pants!!
  • I added some retired Black Rhinestone Jewels in between the repetition on the sentiment and I also randomly colored the purple ghosts with Wink of Stella – you can just make it out on the one above my water mark 🙂

So there you go. My super easy and mass producible Halloween card. Look through your stash and use up what you have to CASE this card! I’d love to see what you make!!

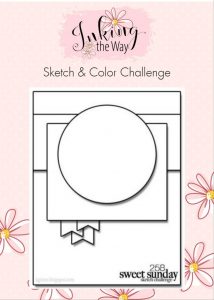
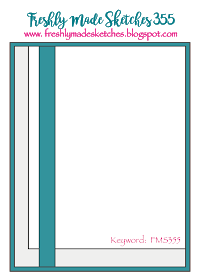
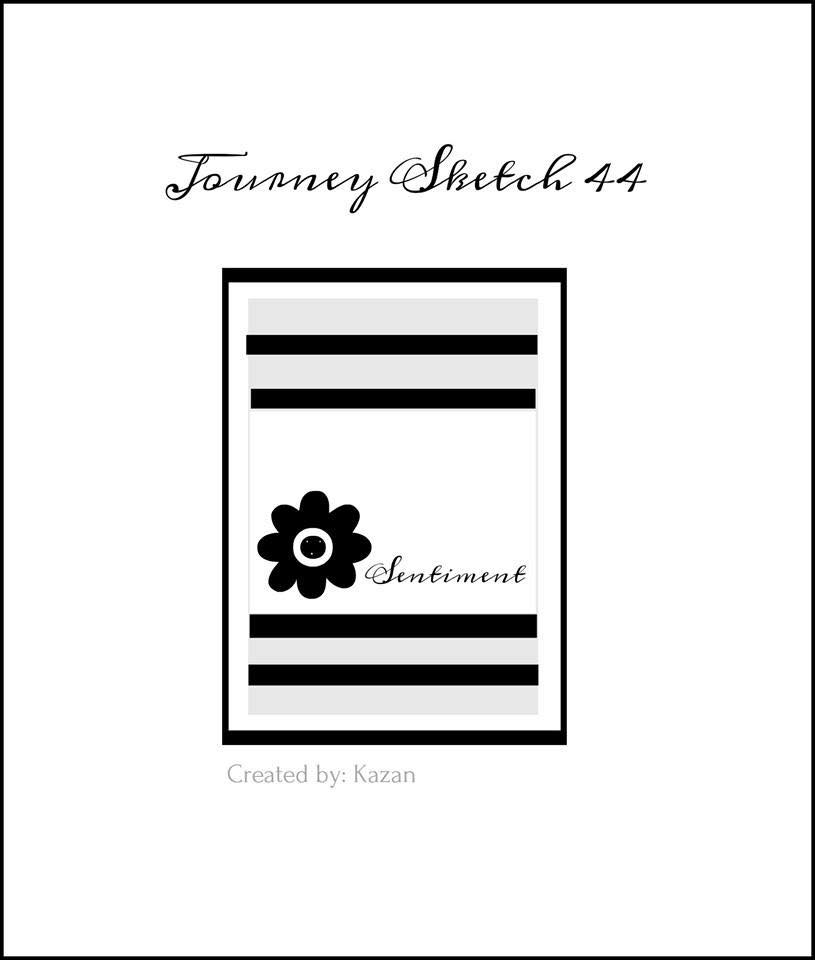
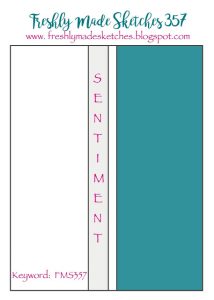
I apologize for the second blog post in one day but my Sunday post was done after the 8am deadline so it won’t hit until Monday and this one will hit on Monday as well, but I wanted to make the Freshly Made Sketches deadline and I’m sneaking in just under the wire 🙂

Thank you so much for visiting me and allowing me to share my art with you! XX

Supplies:

Card Stock: Basic Black, Highland Heather and Whisper White by Stampin’ Up!

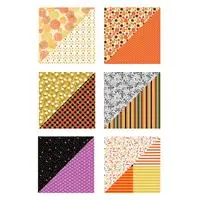
DSP: Toil & Trouble by Stampin’ Up!

Ink: Versafine Onyx Black

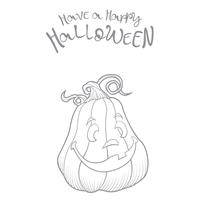
Stamps: Best of Halloween by Stampin’ Up! (retired) and Happy Pumpkin by FSJ Stamps

Dies:  None

Tools: Decorative Ribbon Border Punch

Embellishments: Black 3/8 Glittered Organdy Ribbon; Spider Trinkets and Black Rhinestone Basic Jewels – All by Stampin’ Up!

Other: Whisper White Envelope by Stampin’ Up!

World Card Making Day

Hello there! In honor of world card making day, I spent a few hours in my studio playing with paper and ink 🙂

Fun-Stampers-Journey-Halloween-Card-Idea-Shannon-Jaramillo-funstampersjourney-FSJ

I chose a Halloween theme as it is the season for it and this witch’s hat makes me think of my favorite halloween movie – Hocus Pocus!

Measurements:

  • Lemongrass Card Base 4 1/4″ x 11″ scored at 5 1/2″
  • Black Licorice Layer 4″ x 5 1/4″
  • Whip Cream Layer 3 3/4″ x 5″
  • Pattern Paper Layer 3 3/4″ x 2″
  • Black Licorice Layer 3″ x 2″

Details:

  • Do you just LOVE this striped pattern paper? It just screams witchy-poo! This darling pattern is just one of many in the Fall-O-Ween Pattern Paper Pack from Fun Stampers Journey. I am so thrilled with their brilliant idea to combine Halloween and Fall into ONE paper pack – genius, right? I used another pattern on my last post…click here to see!
  • I ran a 3″ x 2″ piece of Black Licorice card stock through the die cutting machine together with the Tiny Dots embossing folder (which you can get for FREE with any $75 purchase!) and mounted it on to the pattern paper.
  • Next up is a Lemongrass scalloped circle which was cut using the Journey Scallops dies and a Whip Cream stitched circle, die cut using the Circle Around dies. A fun fact: The Circle Around dies have one die to add the stitching and another to cut the circle – how cool is that? You can stitch a circle right onto your card without cutting it out! (love button!)

Fun-Stampers-Journey-Halloween-Card-Ideas-Shannon-Jaramillo-funstampersjourney-FSJ

  • The darling witch hat and sentiment are from the Bad Witch ATS set and happens to have coordinating dies which (which witch? lol) you can purchase separately or in a bundle to save 10%. The best part of ATS sets is that they are small and specific so you don’t need to spend a fortune on stamps you will use just once a year – $17.00 will get you both stamps and dies!!
  • I added a little banner from the striped paper to keep to the sketch I am using for this card. My FSJ team FB page has a weekly challenge with the chance to win a free stamp set – wish me luck!

  • Last but not least, the inside of the card 🙂 I used the sentiment from another ATS set called Happy Pumpkin. It’s just toooo cute!

Fun-Stampers-Journey-Halloween-Cards-Ideas-Shannon-Jaramillo-funstampersjourney-FSJ

Thank you for visiting!


Hello Fall! – Freshly Made Sketches #355

Fun-Stampers-Journey-Fall-Card-Idea-Shannon-Jaramillo-funstampersjourney-fsj-autumn

Hello! I received a box of yummy fall goodies this week and had to jump right in and put them to work. I’m loving the rich fall colors in this pattern paper – isn’t the black a fun addition to the fall color palette?! Love!!

Measurements:

  • Oatmeal Cookie Card Base 4 1/4″ x 11″ scored at 5 1/2″
  • Cranberry Bliss Layer 4″ x 5 1/4″
  • Pattern Paper Layer 3 3/4″ x 5″
  • Cranberry Bliss Layer 3 1/2″ x 4 1/2″
  • Oatmeal Cooke Stamped Layer 3 1/4″ x 4 1/4″

Details:

  • The stamp set I used for this project is called “Hello Fall” and is a classic set of fall leaves. Kind of like your little black dress, it never goes out of style 🙂
  • This bold plaid pattern paper grabbed my eye immediately with it’s bright distinctive colors. A bold pattern can easily overwhelm a project so I used it around the edges of my design and then added a popped up main element. The pattern and color grab the eyes’ attention and bring it in to the lovely die cut leaf.

Fun-Stampers-Journey-Fall-Card-Ideas-Shannon-Jaramillo-funstampersjourney-fsj-autumn

  • I stamped the leaf in Tangerine Fusion three times to make sure I had a bright saturated image, cleaned the stamp off and then used the rock and roll technique to add Cranberry Bliss just around the edges of the leaf. The rock and roll technique is very simple. Rather than inking the entire image, run the stamp pad just around the edges and then stamp. That’s it! Easy peasy, right?
  • The MISTI stamping platform made it so easy to stamp the pretty sentiment and then I flicked Black Licorice Silk over the Oatmeal Cookie main panel. It’s SO sparkly!! A great invention and I believe that every color available will be a staple in my craft room! We can never have to much sparkle…right?1?

Fun-Stampers-Journey-Fall-Cards-Idea-Shannon-Jaramillo-funstampersjourney-fsj-autumn

  • Can you see the sparkly black licorice ribbon? YUM!! Sparkle without any glitter mess is the best!!
  • I used Journey Foam Squares to pop up the pretty maple leaf and finished it off with a teeny bow made from Journey Natural Twine. Hint: I unwound the twine and pulled one of the three fibers out to get a softer look for the bow.

Fun-Stampers-Journey-Fall-Cards-Ideas-Shannon-Jaramillo-funstampersjourney-fsj-autumn

  • I used the same papers to decorate the inside of the card, as well as adding two stamped leaves as an accent. I stamped off before stamping onto the Oatmeal Cookie panel so that while it looks pretty, it’s still light enough to easily write a personal note.

My layout inspiration for today’s project was provided by the ever-so-talented Freshly Made sketches design team. They do a great job week after week of providing inspiration and help keep me stamping!

Thank you for stopping by today! I hope you are inspired to create something yourself!

Turning My Thoughts Toward Fall…

Yesterday was the 1st of September and seeing all of the “Fall” photos in my FB and Instagram feeds inspired me to give some of my fall themed stamps some love. We don’t really get “Fall” here in Southern California. We get hot, we get windy, and we get fires, but actual “Autumn” things, not so much. So we create our fall with fake decorations! I will be pulling mine out this next week but in the meantime, here’s a taste of fall:

Stampin-Up-Sunflower-Serenade-Love-&-Friendship-Card-Idea-Shannon-Jaramillo-stampinup

What do you think? I think it’s yummy and is inspiring me to go with a sunflower fall motif this year!

Measurements:

  • PTI Rustic White Card Base 4 1/4″ x 11″ scored at 5 1/2″
  • PTI Rustic White Layer 4″ x 5 1/4″
  • Soft Suede Layer 2 3/4″ x 5″
  • Old Olive Layer 2 1/2″ x 4 3/4″
  • PTI Rustic White Stamped Layer 2 1/4″ x 4 1/2″

Details:

  • I came across this Stampin’ Up! stamp set a few months ago on one of the FB resale groups I belong to and I was SO HAPPY to be able to claim it! The set is called “Sunflower Serenade” and it’s SU circa 2001. It’s 17 years old but the design is timeless!
  • I first stamped the image with Tuxedo Black Memento Ink and then used the Stampin’ Blends to color everything in. I like to layer color so I won’t lie to you, I colored this image probably five times, making mistakes along the way. But I didn’t worry about it too much as I’m learning the in’s and out’s of the Stampin’ Blends.
  • After all of my redos, I settled on using the Light Daffodil Delight Stampin’ Blends Marker and then followed it up with a layer of Dark Daffodil Delight. I learned to apply the light color and then wait for it to dry before applying the darker color, AND to not get too close to the edge! I kept having the ink bleed out because there was too much and the Color Lifter couldn’t push it back in because everything was still wet. It is important to note that I am NOT using Whisper White card stock. I’m sure I would not have had so many issues if I had used the proper paper, but Whisper White is too yellow of a white for me. So Papertrey Stampers’ Select or Papertrey Rustic White are my go to’s.

Stampin-Up-Sunflower-Serenade-Love-&-Friendship-Card-Ideas-Shannon-Jaramillo-stampinup

  • Something else that I tried and was very pleased with was that I colored all of the flowers, stems, and leaves with the Light Daffodil Delight color and then went over it with a coat of Light Old Olive. I love how the color turned out, the yellow and green work so well together!
  • I also used my Old Olive Stampin’ Write marker to define the leaf details and used Light Crumb Cake, Dark Crumb Cake and the the Bronze Stampin’ Blends for the flower centers. Probably overkill, but I think they look pretty 🙂
  • Did you see all of the shine on the flowers? I used Journey Glaze on them, just like I used on my last card, and I adore how it turned out! They REALLY pop!

Stampin-Up-Sunflower-Serenade-Love-&-Friendship-Cards-Ideas-Shannon-Jaramillo-stampinup

  • I have a tendency to keep adding “things” until I get the balance right. For this card I added Soft Suede ribbon (probably long retired) and Old Olive ribbon which was current as of last year. Then I went through my paper stash to find this adorable pattern in the “Moroccan” DSP pack from a few years back and die cut a stitched circle out of it to layer behind my stamped panel.
  • It still wasn’t enough so I pulled out my trusty Linen Thread, made a pretty bow and then topped it off with a long retired Soft Suede button. Yum!!

Stampin-Up-Sunflower-Serenade-Love-&-Friendship-Card-Idea-Shannon-Jaramillo-stampinup

  • As you can see, I had trouble stopping so I continued on and stamped and colored the envelope too. I should mention that I did add two of my “oops” pieces of cardstock in the envelope to protect the back side of the envelope from bleed thru from the markers. And of course, a pretty envelope flap!
  • But what about the inside? Yep, I decorated it as well but kept it simple:

Stampin-Up-Sunflower-Serenade-Love-and-Friendship-Card-Idea-Shannon-Jaramillo-stampinup

  • The little bumblebee is from the same stamp set but the sentiment is from a different set. It’s a very old set as well, I just don’t know the name of it at the moment. I think the bumblebee steals the show 🙂

So there you have it. I truly enjoyed creating this little card, I hope you’ve enjoyed seeing it.

Here is a look at the entire stamp set:

Stampin-Up-Sunflower-Serenade-Love-and-Friendship-Card-Ideas-Shannon-Jaramillo-stampinup

And if you are wondering, I’ve realized that I value the freedom of not worrying about which company something came from and just create what my heart thinks is pretty. I just want to enjoy the process and I love hearing your comments, they really encourage me so thank you for taking the time to comment when you do, I appreciate you!

Thank you,

Christmas Wishes

Fun-Stampers-Journey-Christmas-Wishes-Christmas-Card-Idea-Shannon-Jaramillo-funstampersjourney

Hello there, my crafty peeps! It’s still a bit hot (okay, a lot hot) outside to think about Christmas, but it always sneaks up on me! I would like to send out unique Christmas cards to everyone on my list so I’d better get busy!!

I actually haven’t done much crafting this month, lots of new FSJ supplies meant that my room was overflowing and my storage system not working nearly well enough. I am making progress on it and finally found some mojo when I saw this sketch by fellow FSJ Coach Kazan Clark in the FB group ‘Journey Sketches‘ so I decided I wanted to play along!

Measurements:

  • Black Licorice Card Base 4 1/4″ x 11″ scored at 5 1/2″
  • Cozy Winters Pattern Paper 4″ x 5 1/4″
  • Whip Cream Layer 4″ x 2 1/4″

Details:

  • I started the creative process by looking through my pattern paper for inspiration. This bold black plaid pattern grabbed me and my mind went immediately to the delightful ATS image ‘Christmas Sprig’. I just love these sweet little stamp sets…they feature many different designs and styles and are at such a low price point, I find myself wondering who wouldn’t want all of them!?! Oh, and you can earn them for FREE too!

Fun-Stampers-Journey-Christmas-Wishes-Christmas-Card-Ideas-Shannon-Jaramillo-funstampersjourney

  • I recently acquired the Journey Color Splash Watercolor Pencils and decided to just dive in to them. To begin, I stamped the lovely poinsettia image in Black Licorice. And I don’t have to worry about choosing the right black ink, these hybrid ink pads can be used for everything without fear of bleeding 🙂
  • Once I had my image stamped, I colored the flower in with Candy Apple, the flower center with Lemon Drop, and the leaves with Fresh Forest. Then I dipped my Journey Blending Brush in water and carefully added just a touch of water to smooth my coloring out and to activate the color! So Pretty!! Once I was done adding color, I fussy cut the image out and then carefully added Journey glaze to the flower:

Fun-Stampers-Journey-Christmas-Wishes-Christmas-Cards-Ideas-Shannon-Jaramillo-funstampersjourney

  • Oh my goodness! The Journey Glaze dried quite quickly and REALLY makes the red flower pop right off of the card!!
  • I quickly stamped the sentiment, snipped out a few scraps of card stock to create the lines in the sketch, and added some Rainbow Drops!
  • I wanted just a bit ‘more’ on the left side of the poinsettia so I quickly snipped a few pieces of Special Day Organza Ribbon, daubed it with Black Licorice ink and brush on a bit of Sparkle Silk – yum!!

One Christmas card done!! I’m not going to really think about how many more I will make…I’m just going to savor this small accomplishment 🙂

Thank you SO much for visiting with me today, I appreciate you and love to hear from you!!

Supplies: