Sending Shamrocks – Freshly Made Sketches 426

Fun-Stampers-Journey-Storybook-Creations-Thinking-of-You-Card-Ideas-Shannon-Jaramillo-stampinup-SU

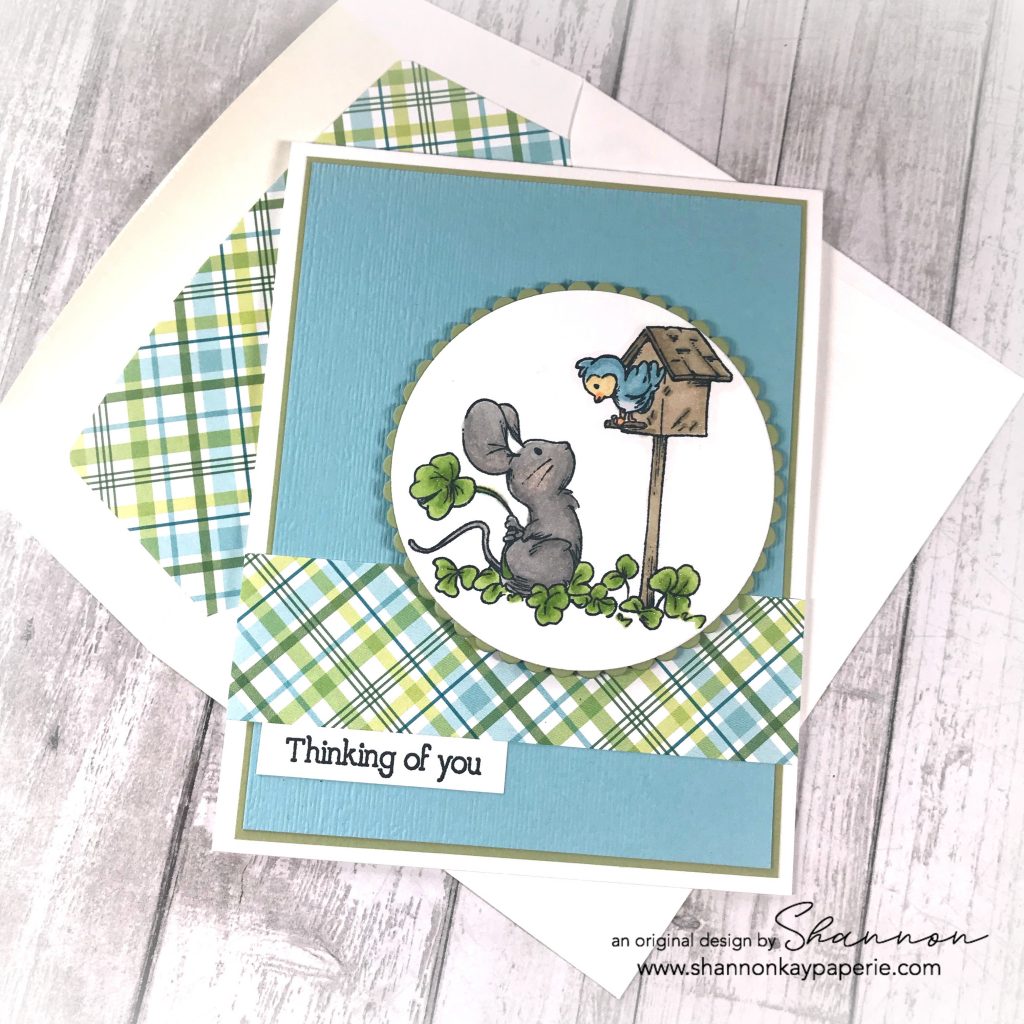
I have realized that St. Patrick’s Day is almost here so I dove into my very small but very sweet stash of stamps for aforesaid occasion and put them to work!!

Measurements:

  • White Card Base 4 1/4″ x 11″ scored at 5 1/2″
  • Layer of Pear Pizzazz Card Stock  4″ x 5 1/4″
  • Layer of  Balmy Blue Cardstock3 7/8″ x 5 1/8″
  • Strip of DSP 1 1/4″ x 4 1/4″

Details:

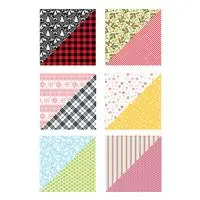
  • I must confess that the traditional shade of green used for St. Patrick’s Day is probably my least favorite shade of all greens. {shudder} so I found a delightful combination of greens and blues in this pretty paper Plaid Patterns – Merry & Bright by MFT Stamps. Christmas paper of all things!!
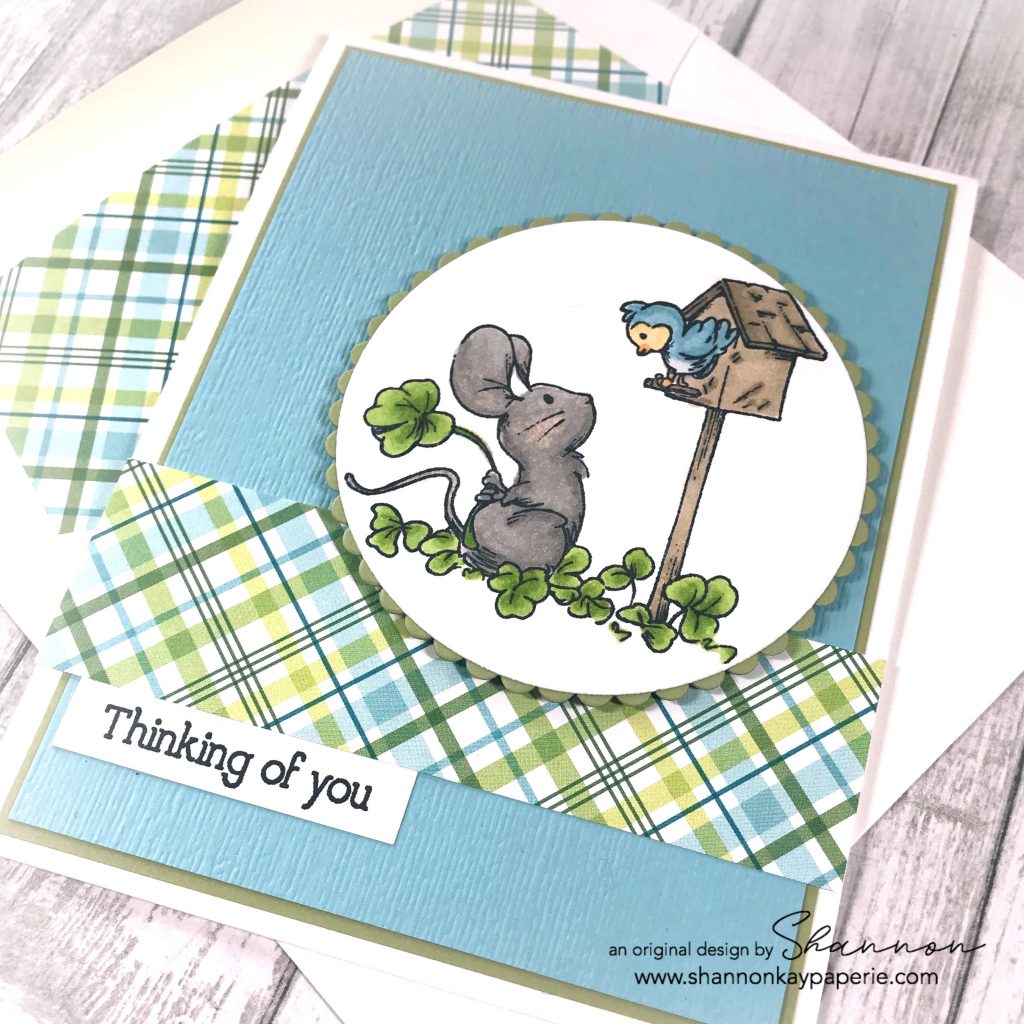
  • I took my lead from the colors in the paper and used Granny Apple Green and Balmy Blue Stampin’ Blends to color this darling image by Fun stampers Journey.
  • I layered a piece of Balmy Blue card stock embossed with the Subtle embossing folder over a slightly larger piece of Pear Pizzazz card stock and then set the whole thing on top of a white card base.
  • A simple sentiment from the same stamp set and a bit of Wink of Stella complete this simple but sweet card. I LOVE the hint of St. Patrick’s Day in it!
Fun-Stampers-Journey-Storybook-Creations-Thinking-of-You-Cards-Ideas-Shannon-Jaramillo-stampinup-SU

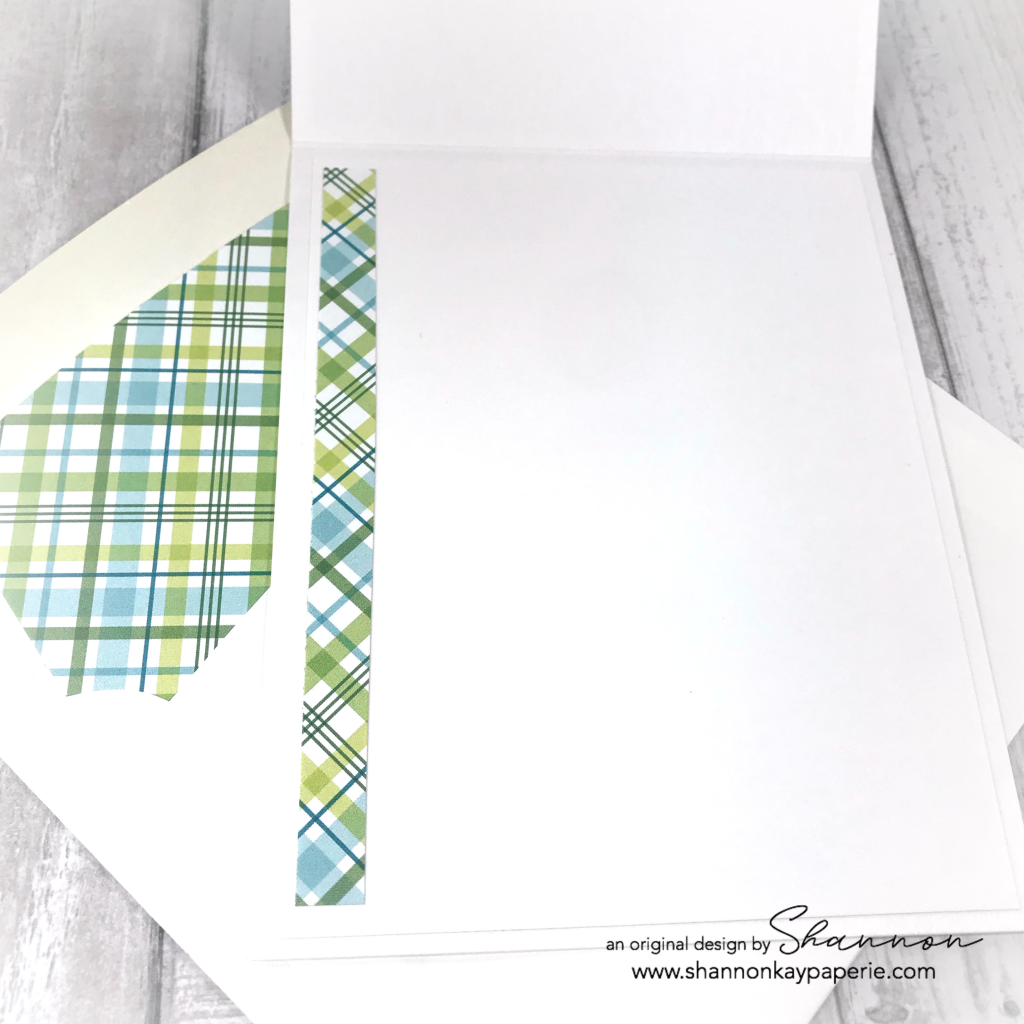
  • The inside is very simple as well, leaving me a large space to write my message. I’m going to pop this in the mail to my mom!

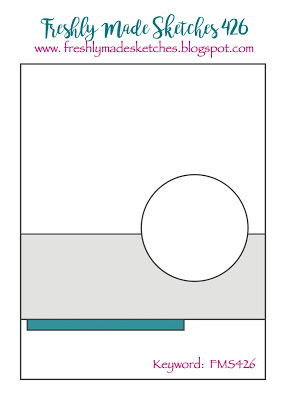
Huge thanks to the Freshly Made Sketches design team, and to Karren for this week’s LOVELY sketch! XX

Have a wonderful, socially distant day and I will see you soon!!

Blessings!!

Supplies (all Stampin’ Up! unless otherwise noted):

Card Stock: Pear Pizzazz and Balmy Blue;  Neenah Solar White Classic Crest 80#

DSP: Plaid Patterns – Merry & Bright by MFT Stamps

Specialty Paper: None

Ink: Memento Tuxedo Black

Stamps: Storybook Creations (retired) by Fun Stampers Journey

Alcohol Markers: Light & Dark Gray Granite & Light Petal Pink (mouse), Light & Dark Granny Apple Green (shamrocks), Light & Dark Crumb Cake & Light Petal Pink (birdhouse), Light & Dark Balmy Blue, Light So Saffron, Light Pumpkin Pie (bird)

Dies: Layering Circle Dies

Tools: Big Shot, Stampin’ Trimmer (both retired)

Embellishments: Wink of Stella 

Other: Whisper White Envelope

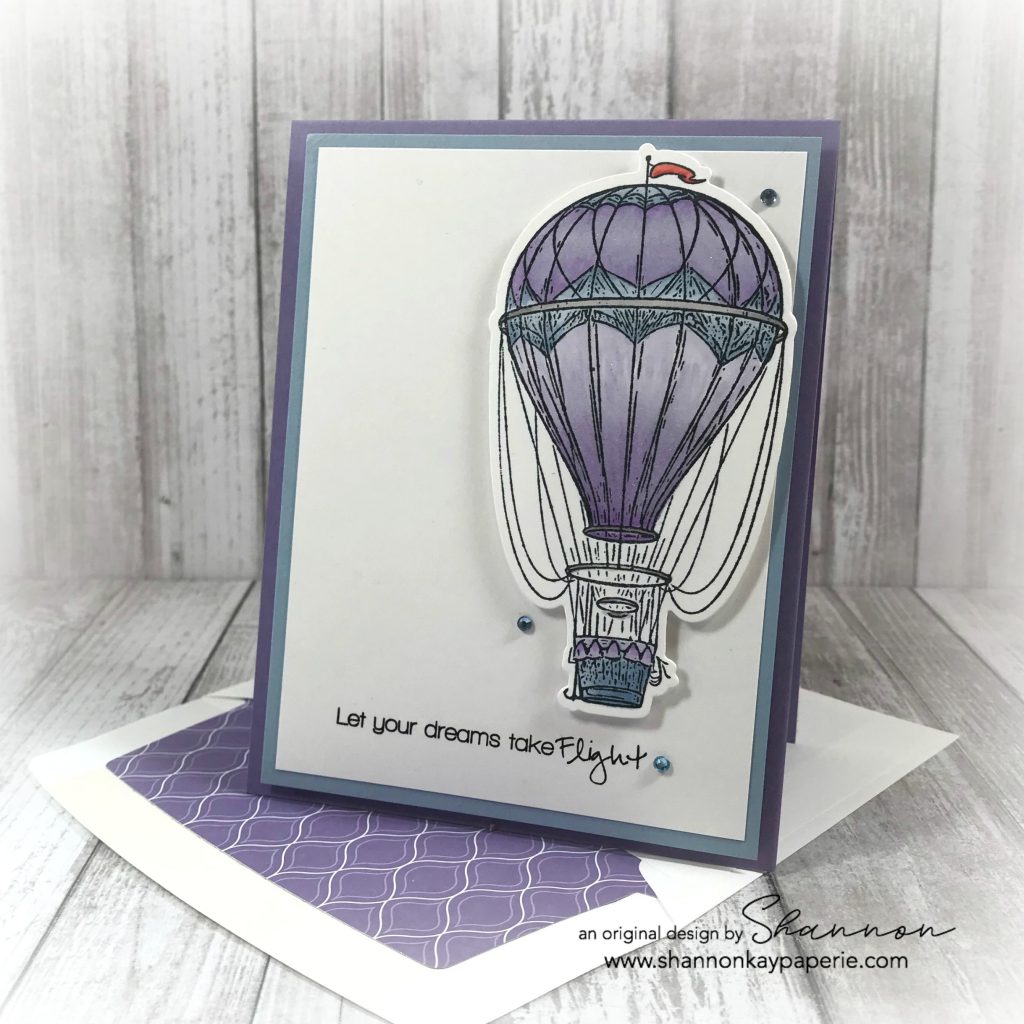
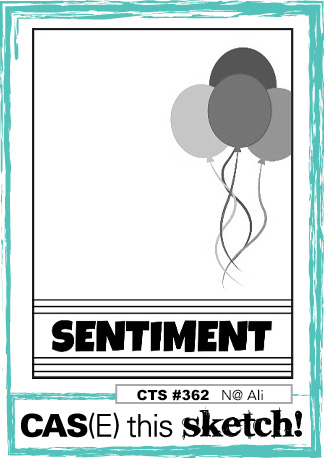
Let Your Dreams Take Flight – CAS(E) This Sketch #362

Fun-Stampers-Journey-Blue-Skies-Congratulation-Card-Idea-Shannon-Jaramillo-Shannon-Kay-Paperie

What?!? Purple AGAIN?? Absolutely!! I am over the moon for the combination of Highland Heather and Seaside Spray! Isn’t it delightful? It’s raining today in Southern California and I think the rain outside has affected my color choices 🙂

Measurements:

  • Highland Heather Card Base 4 1/4″ x 11″ scored at 5 1/2″
  • Seaside Spray Card Stock 4″ x 5 1/4″
  • White Card Stock 3 3/4″ x 5″

Details:

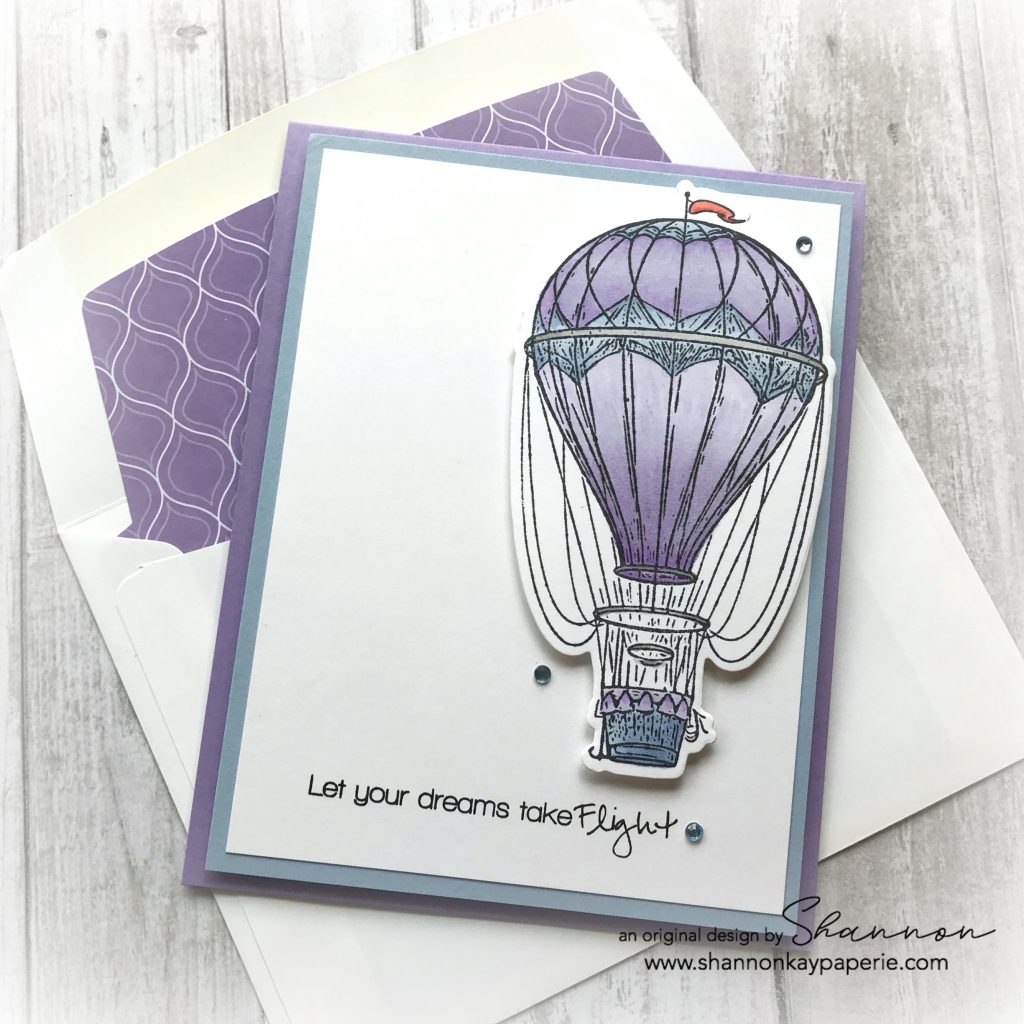
  • Super simple design today for the CAS(E) This Sketch challenge today! I came across this darling hot air balloon and KNEW it was THE one! I have used it before here and I really wanted to color it again, this time with alcohol markers. It was SO quick and easy to color!!

Fun-Stampers-Journey-Blue-Skies-Congratulation-Card-Ideas-Shannon-Jaramillo-Shannon-Kay-Paperie

  • Honestly, I went through every.single.stamp. I own to find the right sentiment for the sketch! But I’m very happy with the one I finally decided on. It’s from a very old set (I think) that I purchased secondhand, in a jumble of sets actually, by a company I have never heard of, but it was hot air balloons so I kept it and I’m so glad I did!
  • Once again, I have used gems from Honeybee Stamps. They really have a fantastic selection of colors!!

Fun-Stampers-Journey-Blue-Skies-Congratulation-Cards-Idea-Shannon-Jaramillo-Shannon-Kay-Paperie

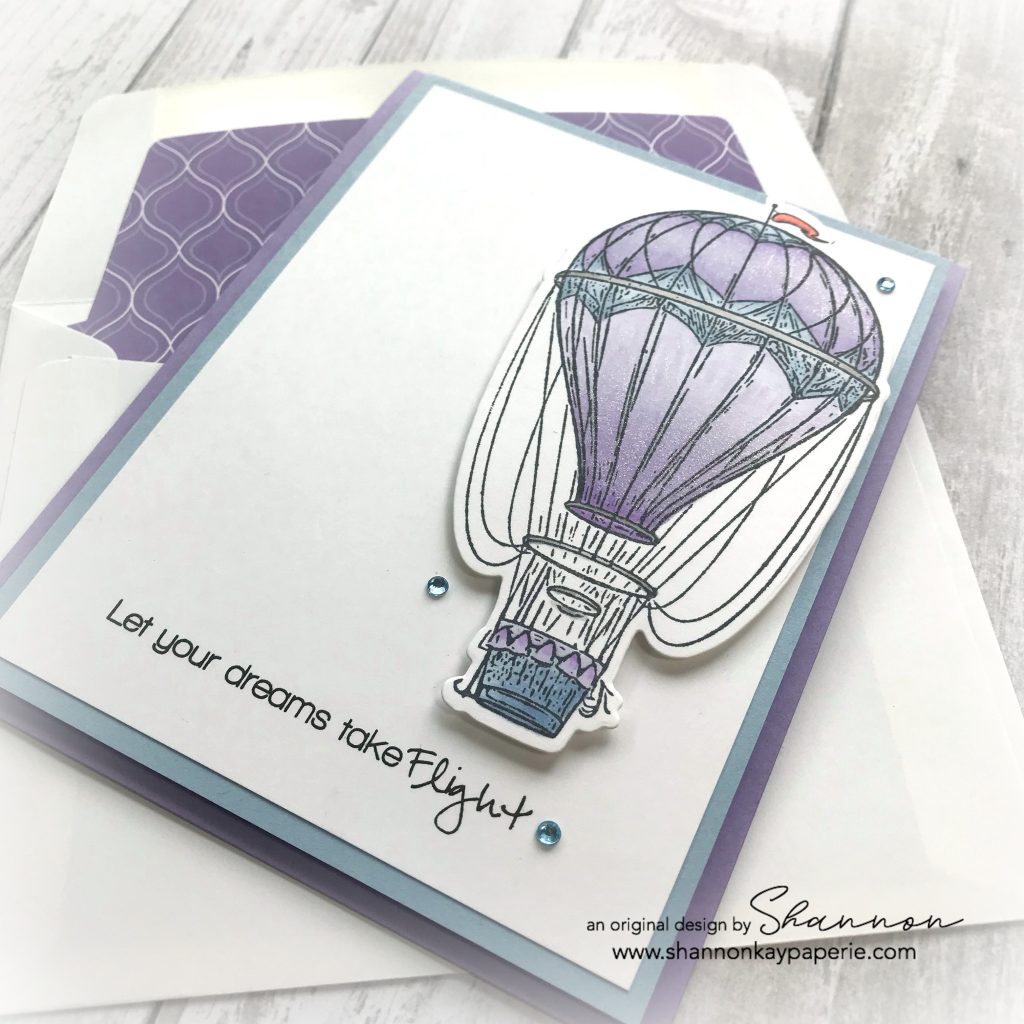
  • Mmmm, I added Wink of Stella to the base and top of the balloon for a soft shimmer (which you can only just barely see, but it’s there!). And an itty Bitty Calypso Coral banner up top!

Fun-Stampers-Journey-Blue-Skies-Congratulation-Cards-Ideas-Shannon-Jaramillo-Shannon-Kay-Paperie

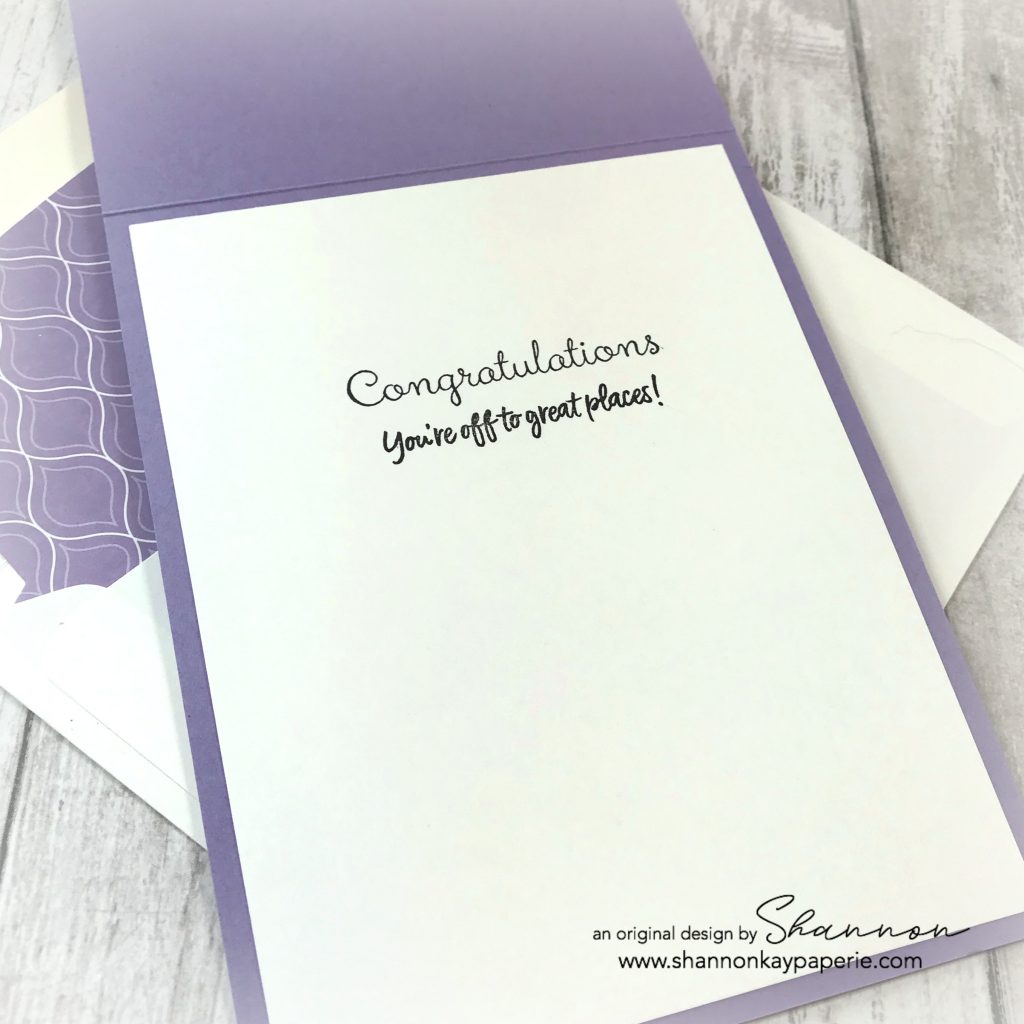
  • A quick peek at the inside sentiments, which I think would work wonderfully for a graduation, a job change, or even a move to a new city!

Thank you to the CAS(E) This Sketch design team for their wonderful inspiration this week! It’s been a bit since I played – so glad I jumped in this week!!

Blessings to you!!

Supplies (all Stampin’ Up! unless otherwise noted):

Card Stock: Highland Heather, Seaside Spray;  Neenah Solar White Classic Crest Cover 80#

DSP: All Occasions in Highland Heather

Specialty Paper: None

Ink: Versamark Onyx Black

Stamps: Blue Skies by Fun Stampers Journey; Love in the Air by Our Craft Lounge (front sentiment); Special Celebrations & Above the Clouds by SU (inside sentiments)

Dies: Blue Skies by Fun Stampers Journey and Envelope Die (retired)

Markers: P145 Pale Lavender – Shin Han Twin Touch; Stampin’ Blends – Light & Dark Seaside Spray, Light Highland Heather, Light & Dark Gray Granite and Light & Dark Calypso Coral

Tools: Big Shot, Stampin’ Trimmer (both retired)

Embellishments: Wink of Stella; Ocean Breeze Gem Stickers by Honeybee Stamps

Other: Whisper White Envelope
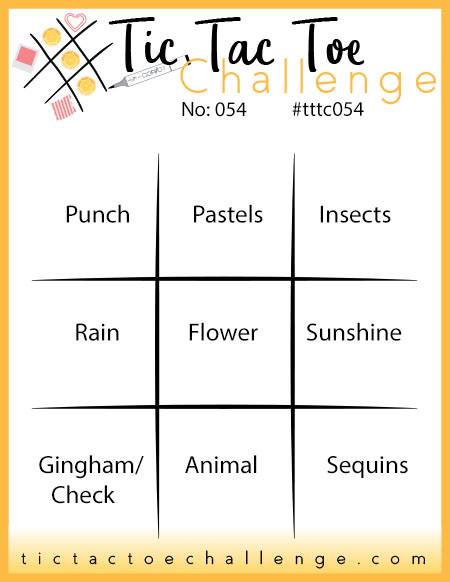
Cute Boots – Tic Tac Toe Challenge #54

I love this week’s Tic Tac Toe Challenge board – thank you Joanne for such a fun one! My starting point for this challenge turned out to be “Rain” so I chose to use the Left Column this week – Punch, Rain, Gingham/Check. I am SO very much looking forward to what YOU choose to use!

Fun-Stampers-Journey-Cute-Boots-Love-and-Encouragement-Card-Idea-Shannon-Jaramillo-stampinup-SU

Measurements:

  • Rococo Rose Card Base 4 1/4″ x 11″ scored at 5 1/2″
  • Granny Apple Green Card Stock  4″ x 5 1/4″
  • Mango Melody DSP 3 3/4″ x 5″

Details:

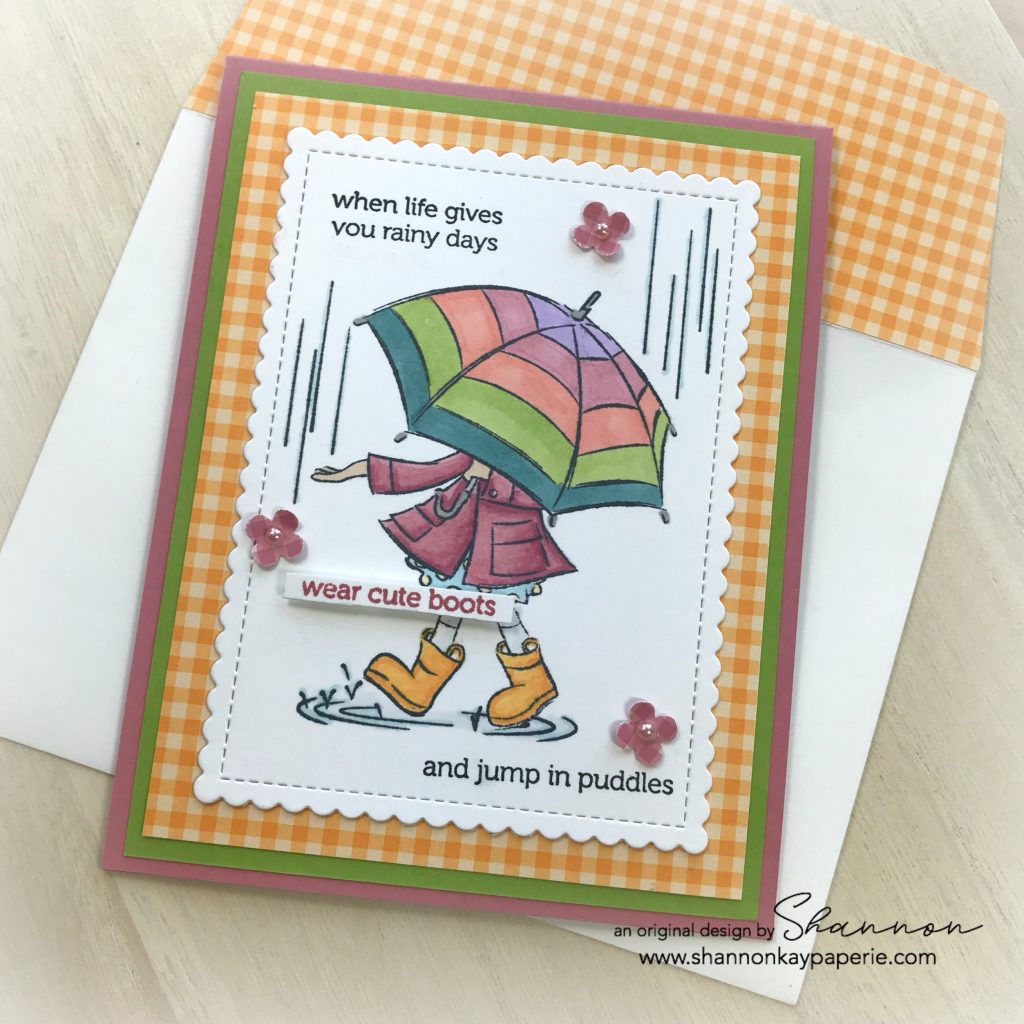
  • Oh my goodness, look at those colors! This girl is apparently ready for Spring! lol. I began this challenge by going through my stamps. I have quite a few spring/Easter related and I want to make sure they see ink this year. The first set I came to was Cute Boots by Fun Stampers Journey. I purchased it last year because of this little cutie!
  • I admit to googling this stamp set for ideas on how to color the image. I pretty much followed Laura Looloo’s lead, she’s got SUCH a knack for bright colors! I colored with Stampin’ Blends and kept it pretty simple with blending only on the rain boots and rain jacket.

Fun-Stampers-Journey-Cute-Boots-Love-and-Encouragement-Card-Ideas-Shannon-Jaramillo-stampinup-SU

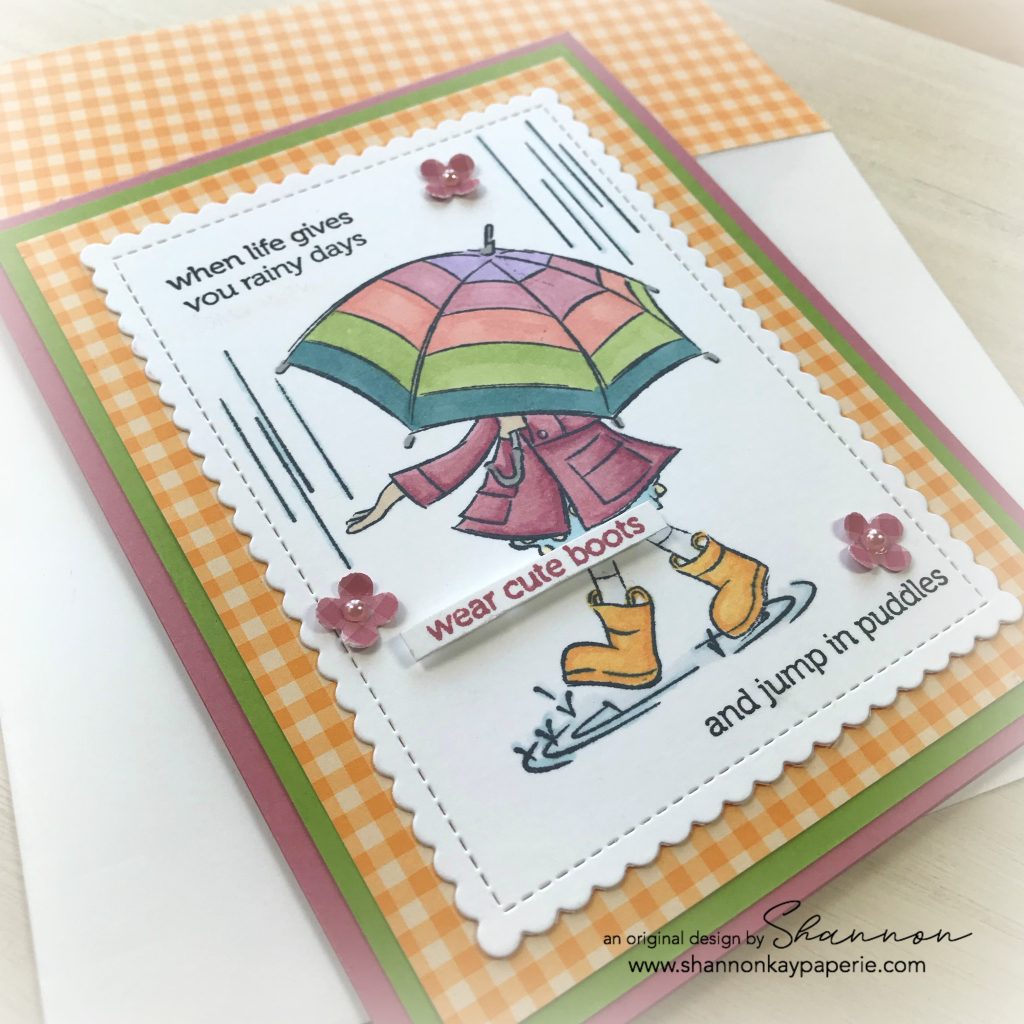
  • There’s a lot going on here with the scollops, gingham, and flowers so I kept everything else very simple, only popping up one line of the sentiment. I think we should ALL wear cute boots. 🙂
  • I pulled out a very retired punch for today’s project – I have always loved the cute punched flowers it creates! I scrunched the sides up around a single Artisan Pearl.

Fun-Stampers-Journey-Cute-Boots-Love-and-Encouragement-Cards-Idea-Shannon-Jaramillo-stampinup-SU

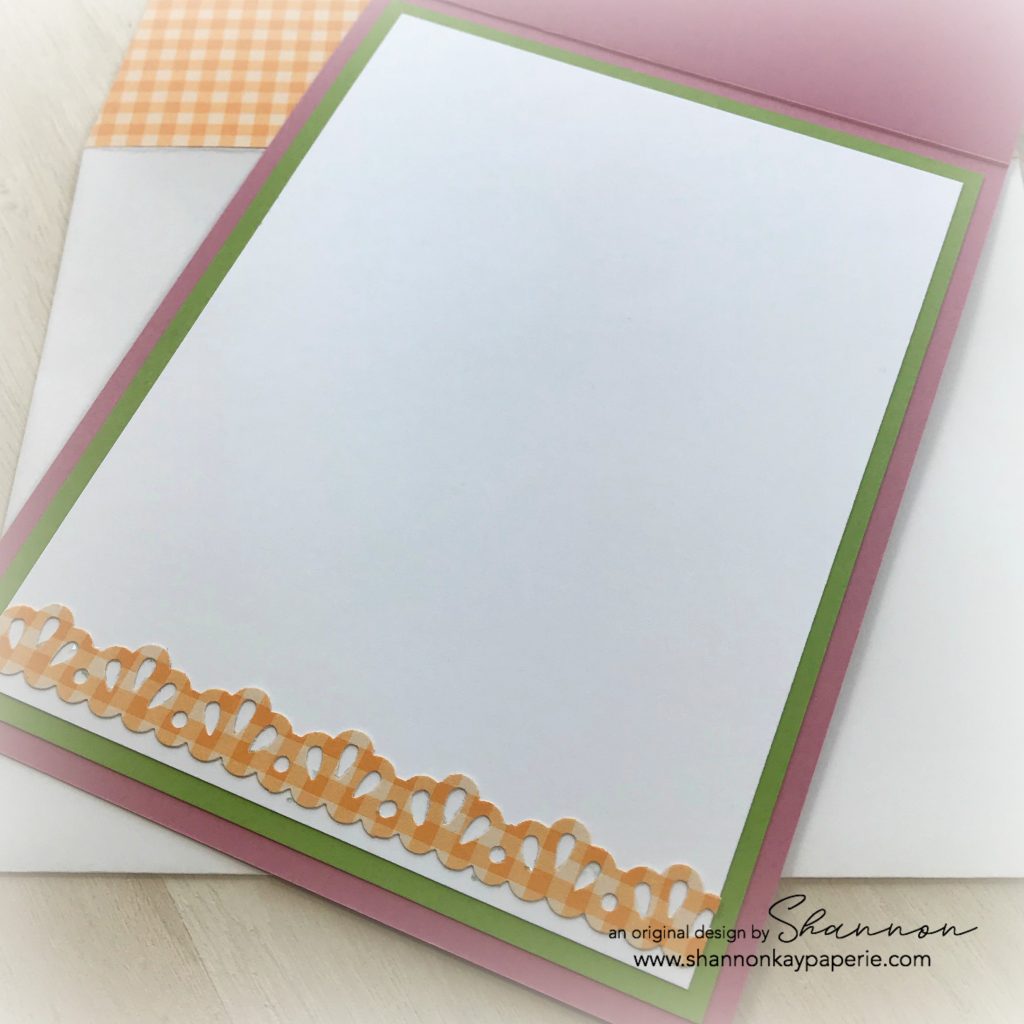
I kept the inside simple as well, repeating the colors on the front and adding a bit of fun detail to the gingham DSP with the Decorative Ribbon Border Punch.

I hope you have enjoyed today’s project, be sure to visit the Tic Tac Toe Challenge blog to see more yummy inspiration from our design team! Can’t wait to see you over in the challenge!

Blessings!

Supplies (all Stampin’ Up! unless otherwise noted):

Card Stock: Rococo Rose and Granny Apple Green; Neenah Classic Crest Cover Solar White (80 lb)

DSP: All Occasion DSP Stack (Mango Melody)

Ink: Memento Tuxedo Black and Versamark Onyx Black

Stamps: Cute Boots by Fun Stampers Journey

Coloring Tools: Stampin’ Blends – Mango Melody Light & Dark (rain boots); Rococo Rose Light & Dark (rain jacket); Balmy Blue Light & So Saffron Light (dress); Balmy Blue Light (puddle & rain); Highland Heather, Rococo Rose, Calypso Coral, Granny Apple Green – all light (umbrella); Light & Dark Granite Gray (umbrella handle & top); Ivory (skin)

Dies: Stitched Mini Scalloped Retangles Dies by MFT Stamps 

Tools: Big Shot; Itty Bitty Shapes Flower Punch (retired); Decorative Ribbon Border Punch

Embellishments: Petal Pink Artisan Pearls

Other: Whisper White Envelope
 

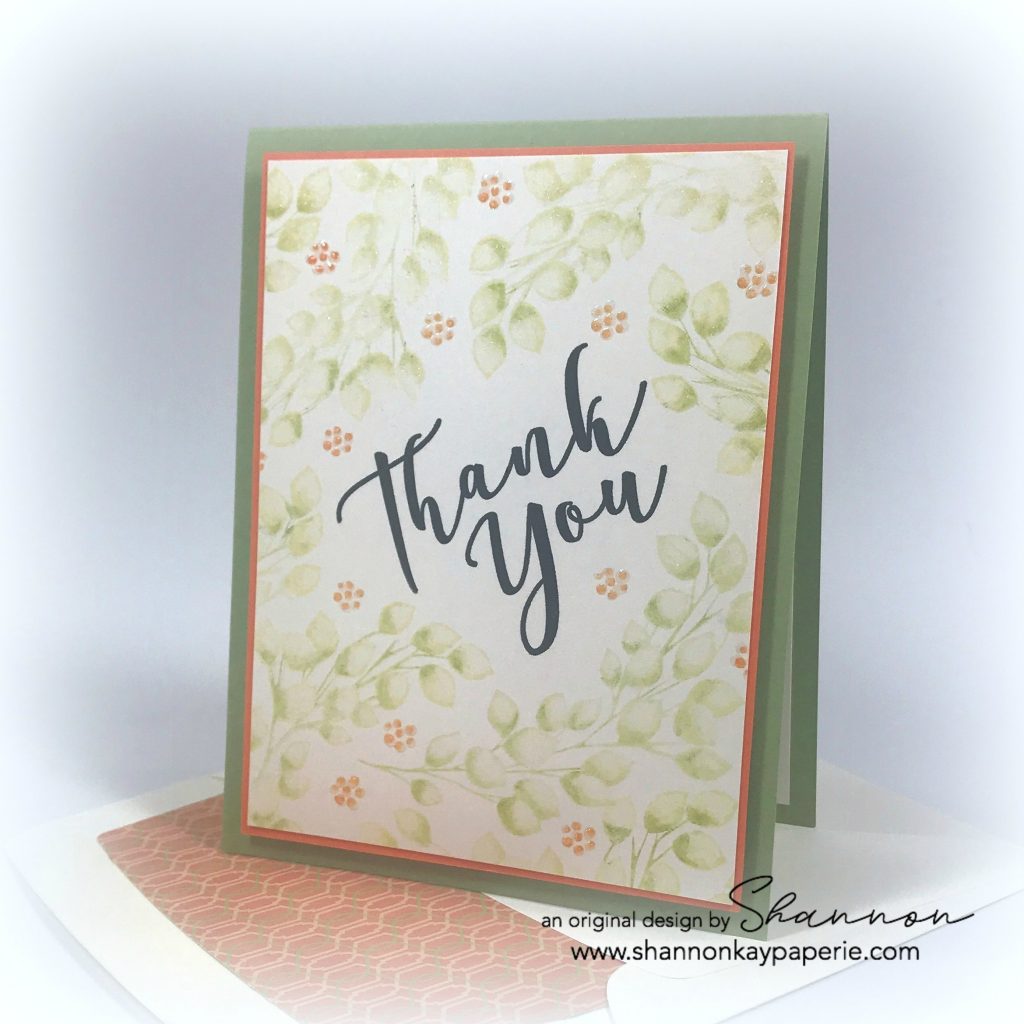
Fresh Foliage Thank You – The Paper Players 413

Fun-Stampers-Journey-Thank-You-Card-Idea-Shannon-Jaramillo-funstampersjourney-FSJ

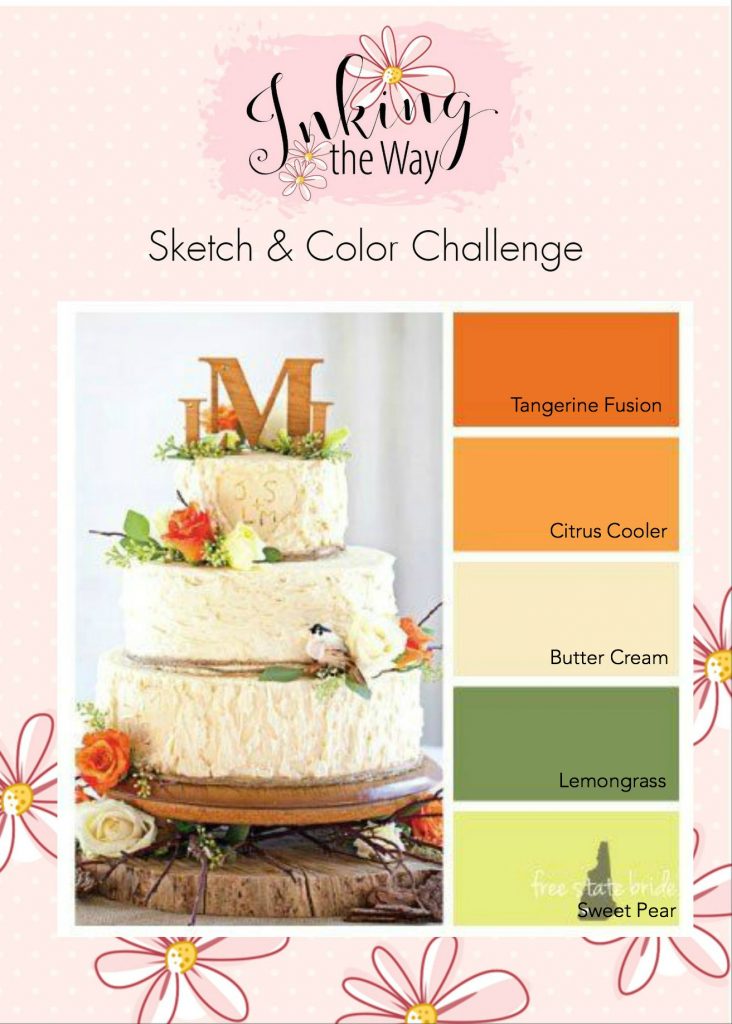
Hello my stampin’ friends! I hope your week is going well! Today I wanted to incorporate two challenges into one card: The Paper Players theme challenge of trees or leaves and my FSJ team color challenge.
Measurements:

  • Lemongrass Card Base 4 1/4″ x 11″ scored at 5 1/2″
  • Citrus Cooler Layer 3 7/8″ x 5 1/8″
  • Butter Cream Layer 3 3/4″ x 5″

Details:

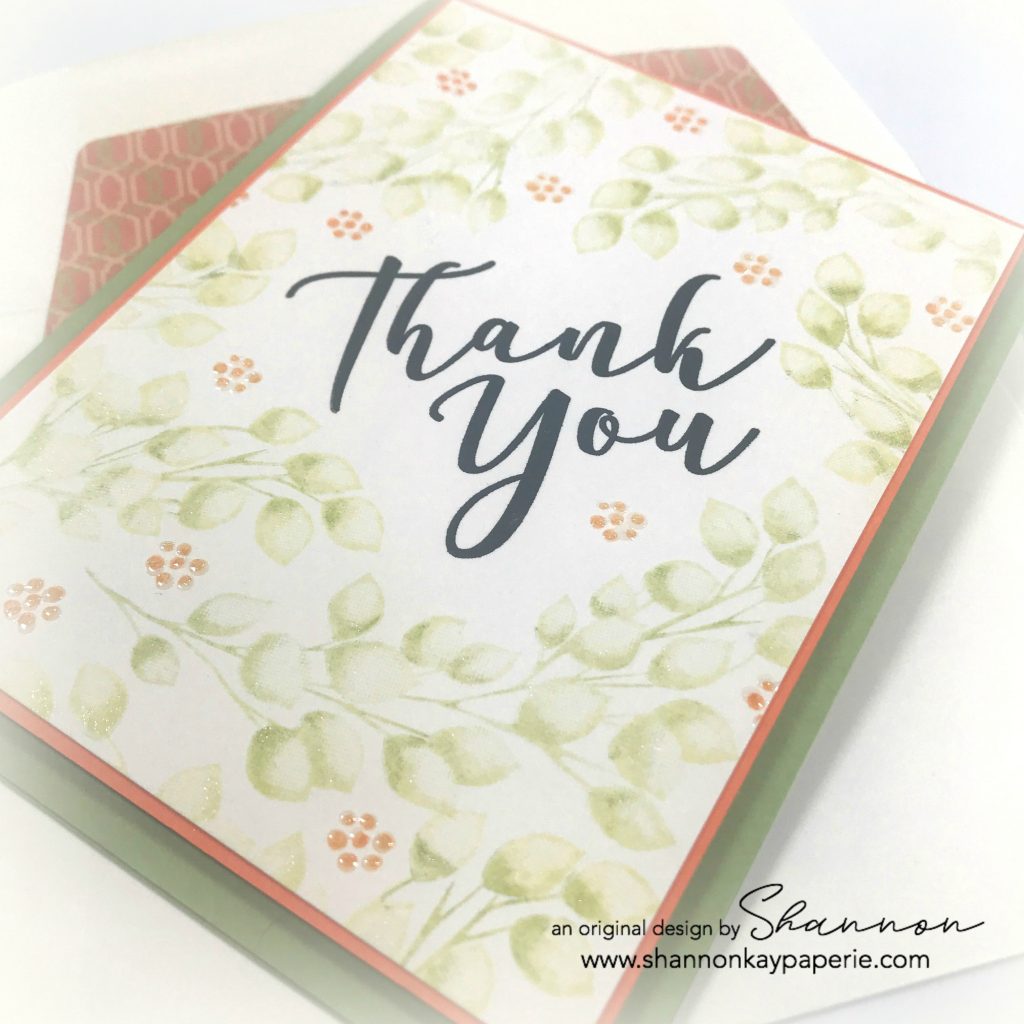
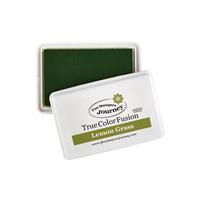
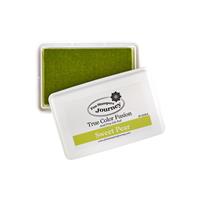
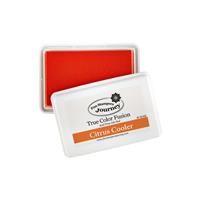
  • The color challenge was to use 3 of 5 colors and I used 4 of the 5: Butter Cream, Citrus Cooler, Sweet Pear (my fav color) and Lemongrass.

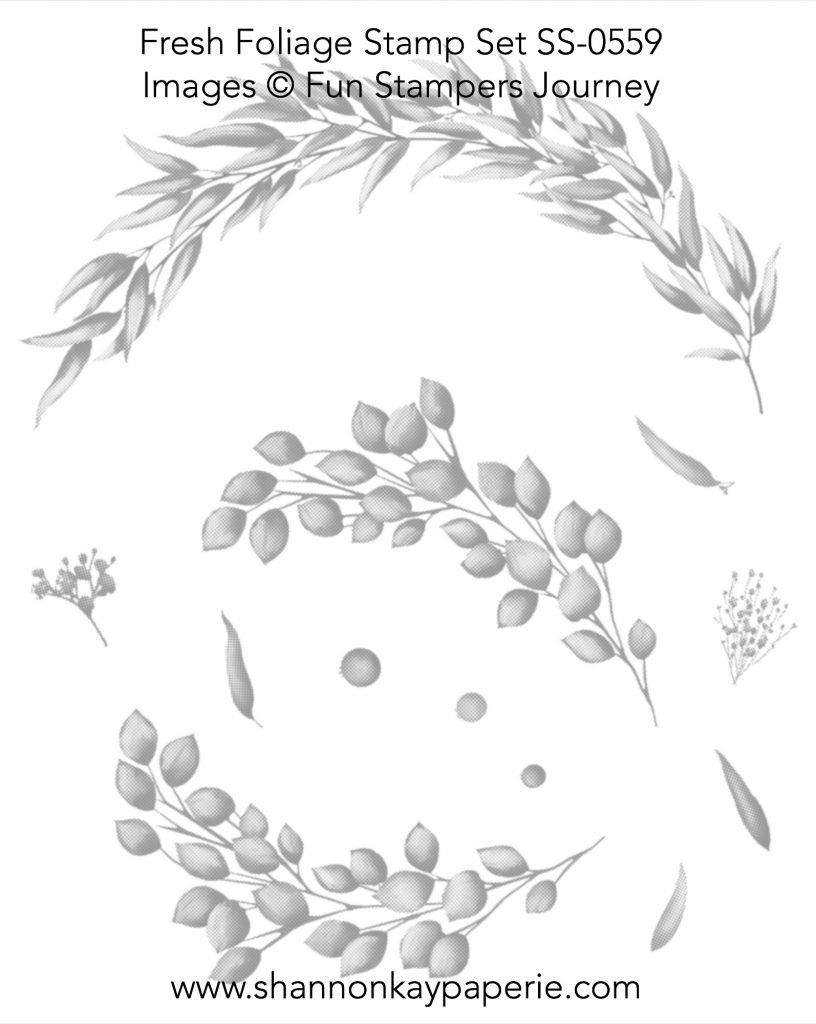
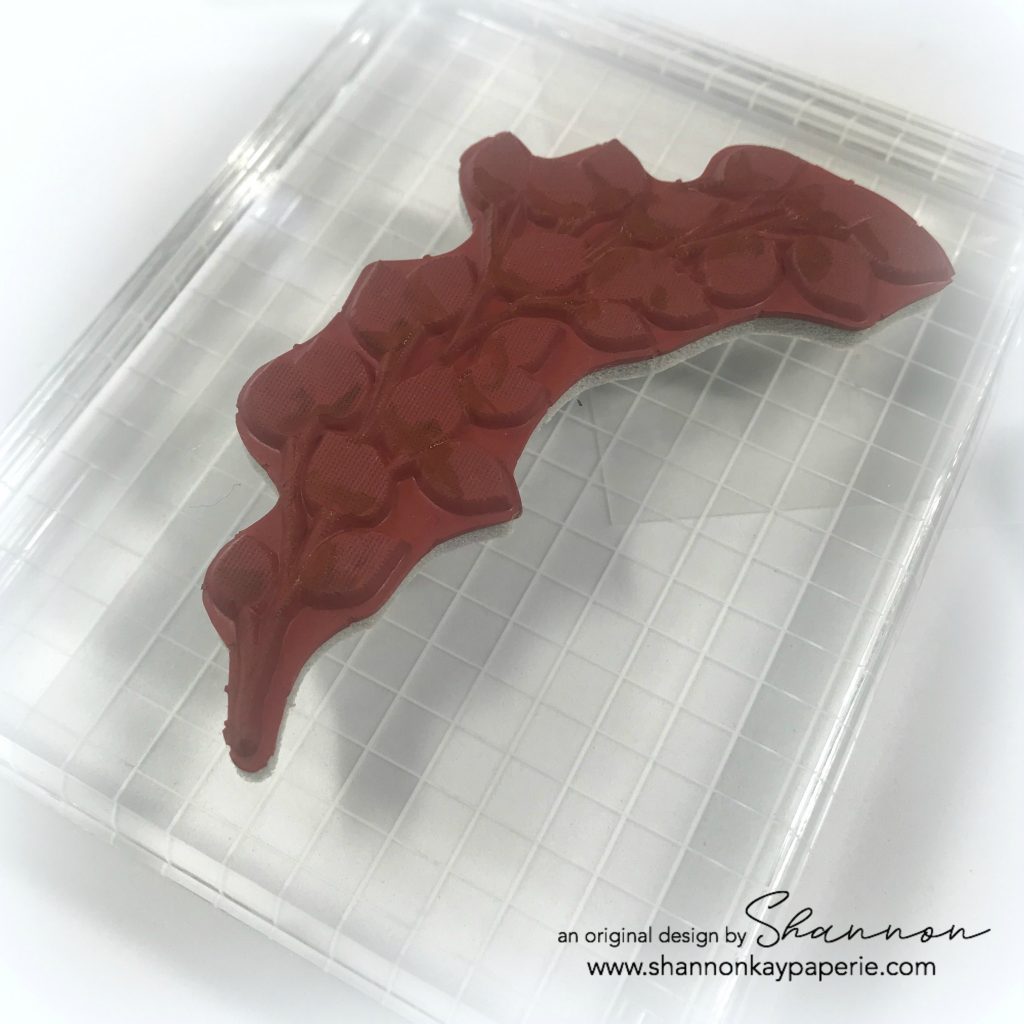
  • I was quite literal with the leaves or tree challenge and chose to use FSJ’s Fresh Foliage stamp set. Coordinating dies are available but today I just used the stamps. Isn’t the way they have built the shading into the stamp set amazing?

Fun-Stampers-Journey-Thank-You-Card-Ideas-Shannon-Jaramillo-funstampersjourney-FSJ

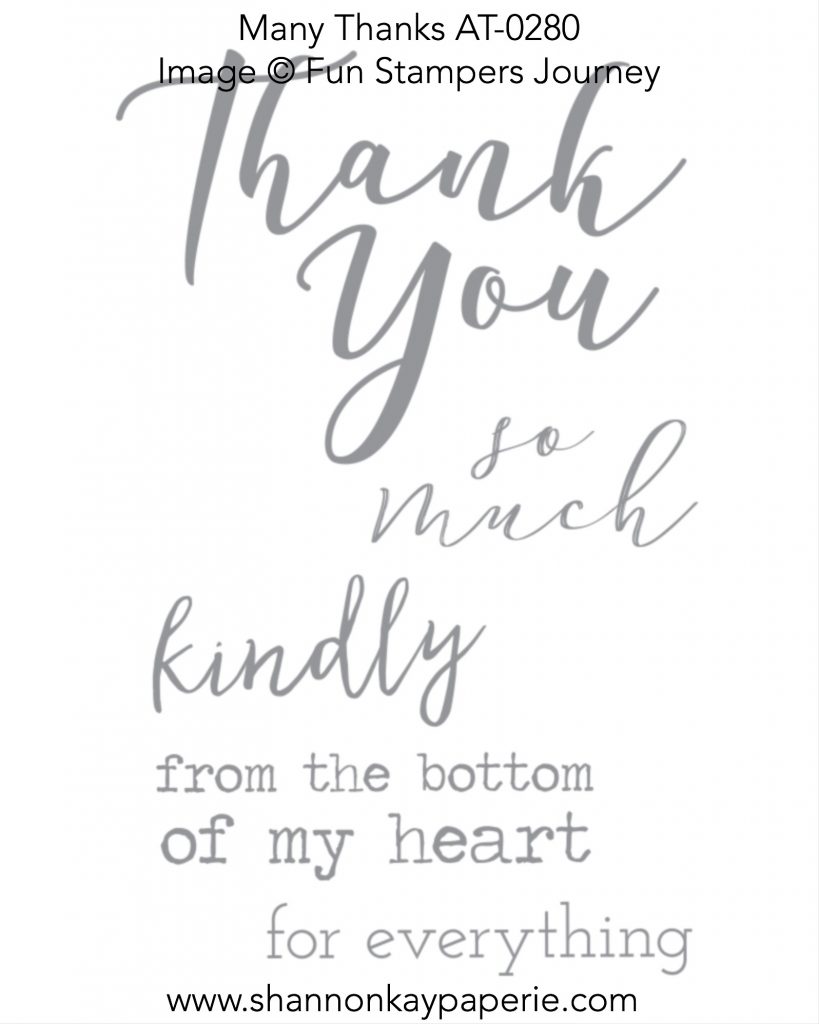
  • The first image stamped was this gorgeous thank you sentiment from the ATS set ‘Many Thanks’ on to Butter Cream card stock. Such a gorgeous font!

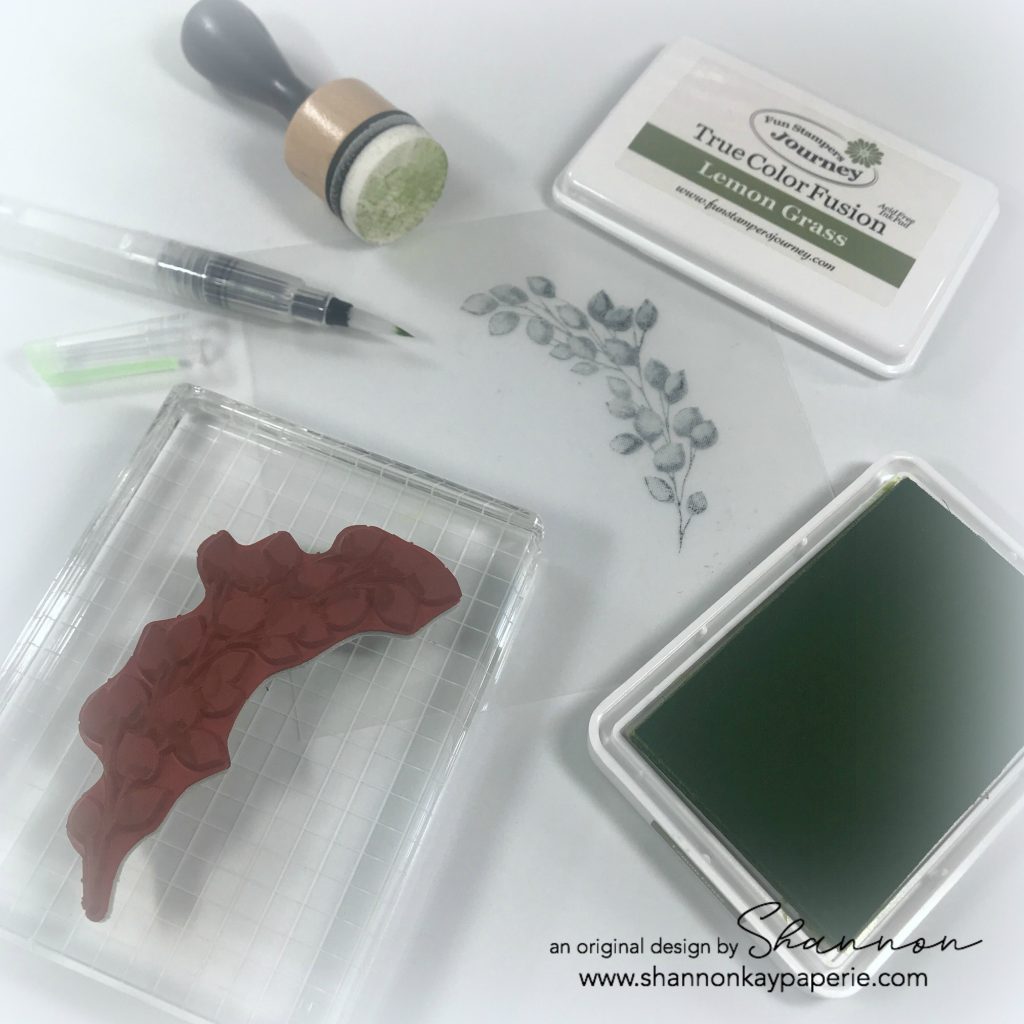
  • I inked up two mirror image stamps in Sweet Pear and stamped them around the sentiment, using my Stamp-A-Ma-Jig as my placement guide.
  • I then pulled out my Lemongrass ink pad and a blender pen. I used the blender pen to pick up the ink directly from the ink pad and then colored each leaf on the stamp, staying toward the bottom of each leaf. I also inked up all of the stems. Then I used a dauber to pounce on the inked stamp, pulling some of the color back up. I then stamped directly over my Sweet Pear stamped images, creating soft shading of the leaves and stems.

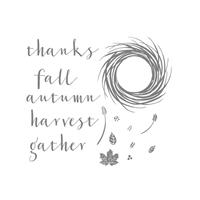
  • I needed to add Citrus Cooler to my design but wasn’t satisfied with the options I had in the ‘Fresh Foliage’ stamp set so I pulled out ‘Harvest Wreath’ and found this itty bitty dotted stamp. I played around with full color stamping and then stamping off once, but first the color was too dark, and then it was too light (Goldilocks here) but then I found a combination that was JUST right. lol. I inked up the little stamp in Citrus Cooler and then stamped it into the dauber sponge before stamping on to my card front. Perfect!!

Fun-Stampers-Journey-Thank-You-Cards-Idea-Shannon-Jaramillo-funstampersjourney-FSJ

  • I layered the card front onto Citrus Cooler card stock, added a 3 1/2″ x 4 3/4″ piece of white craft foam to pop it up, and adhered the card front to the Lemongrass card base.
  • I wanted to add more to my design but every embellishment I chose overwhelmed the design. I finally added Wink of Stella to the Citrus Cooler dot images and then went over that with Journey Glaze. It is SUCH good stuff…I can’t believe I stamped for eight years without it!!
  • I left the card to dry overnight and came back but it still wasn’t enough so I colored all of the Lemongrass parts of the leaves with Wink of Stella. THAT was the perfect finishing touch. I can see just a bit of the shine in the photo but in person, the whole card sparkles. So happy!

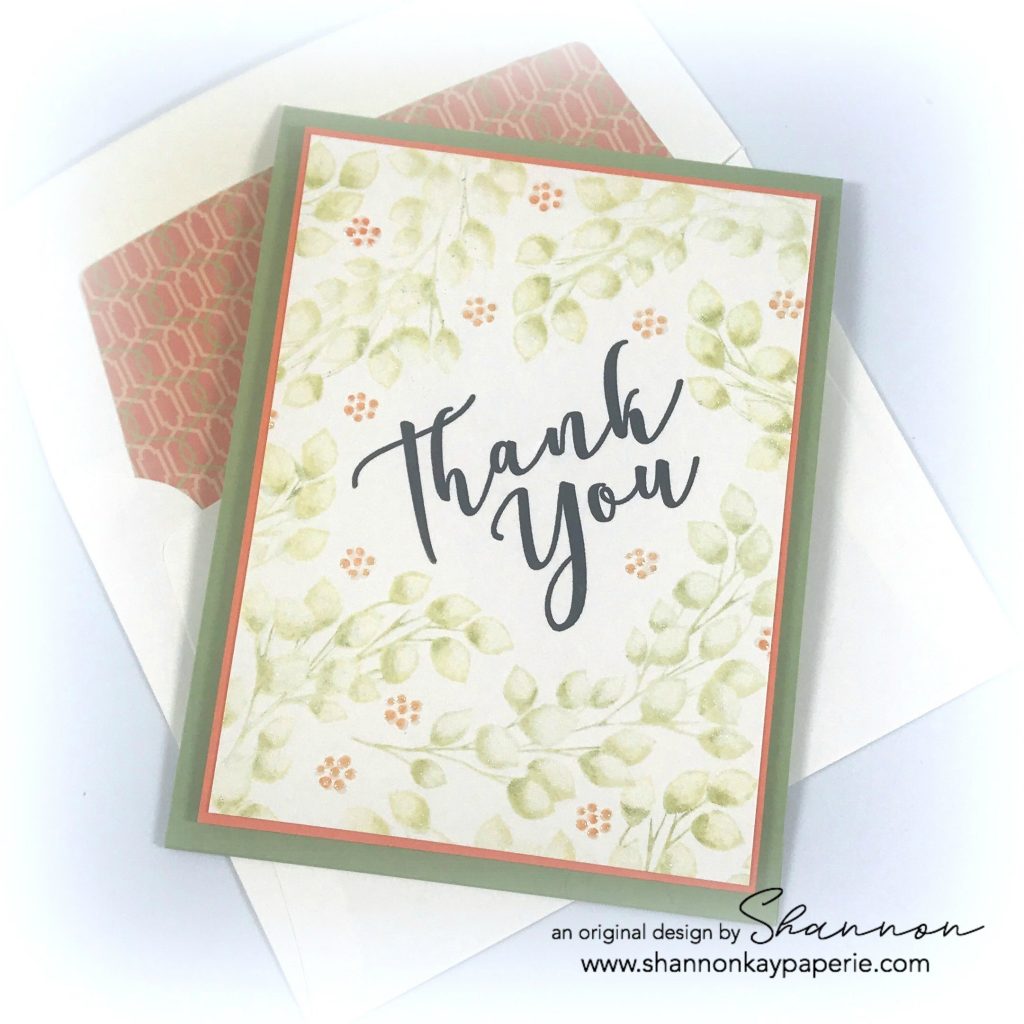
Fun-Stampers-Journey-Thank-You-Cards-Ideas-Shannon-Jaramillo-funstampersjourney-FSJ

  • I stamped another stamp from the ‘Many Thanks’ ATS set on the inside and called it good.
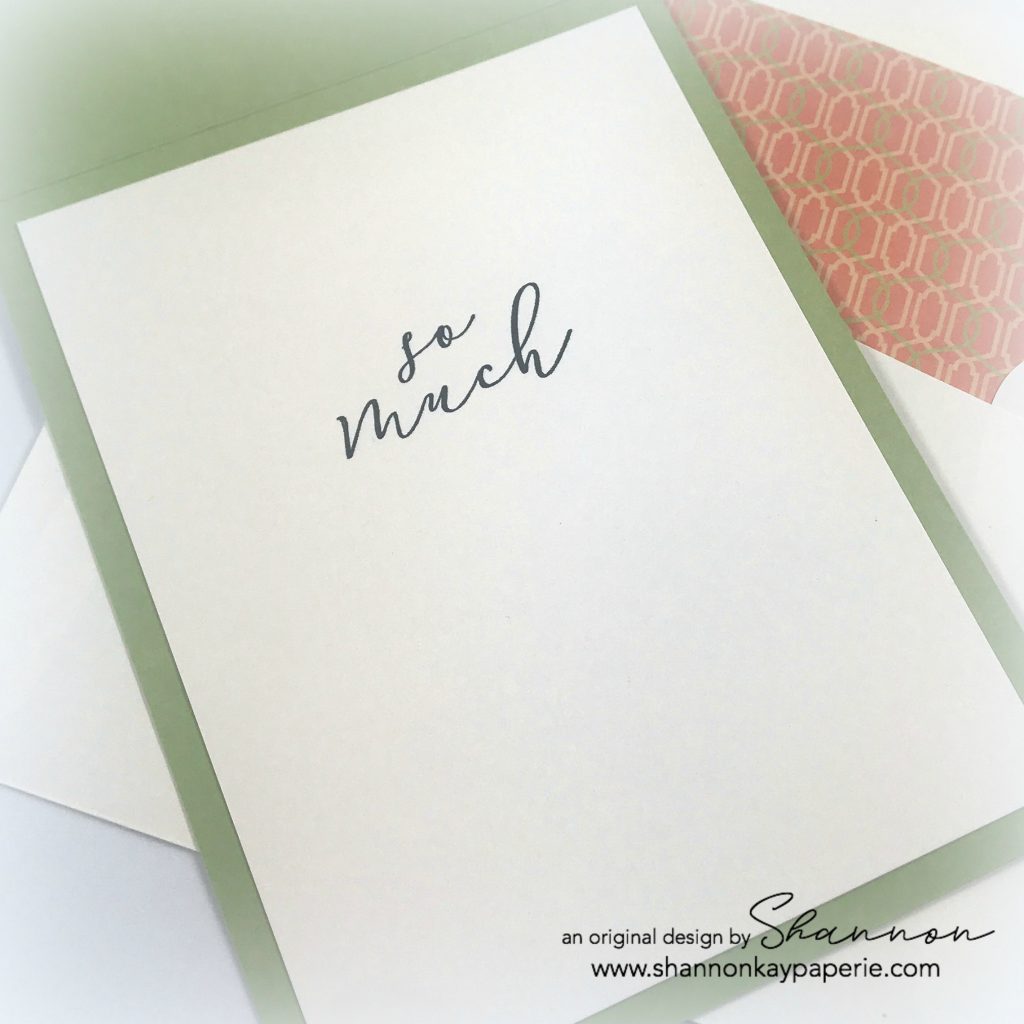
  • Since I didn’t have any FSJ pattern paper that used these colors, I just went through my pattern paper stash until I found one that matches amazing well and used that to line the envelope.

This was such fun to create and I thank The Paper Players design team for giving me the inspiration!

Have a great day! I hope you get to do something crafty today! P.S. I love to hear from you so please leave a comment if you can! Thanks so much for stopping by!!


Christmas Wishes

Fun-Stampers-Journey-Christmas-Wishes-Christmas-Card-Idea-Shannon-Jaramillo-funstampersjourney

Hello there, my crafty peeps! It’s still a bit hot (okay, a lot hot) outside to think about Christmas, but it always sneaks up on me! I would like to send out unique Christmas cards to everyone on my list so I’d better get busy!!

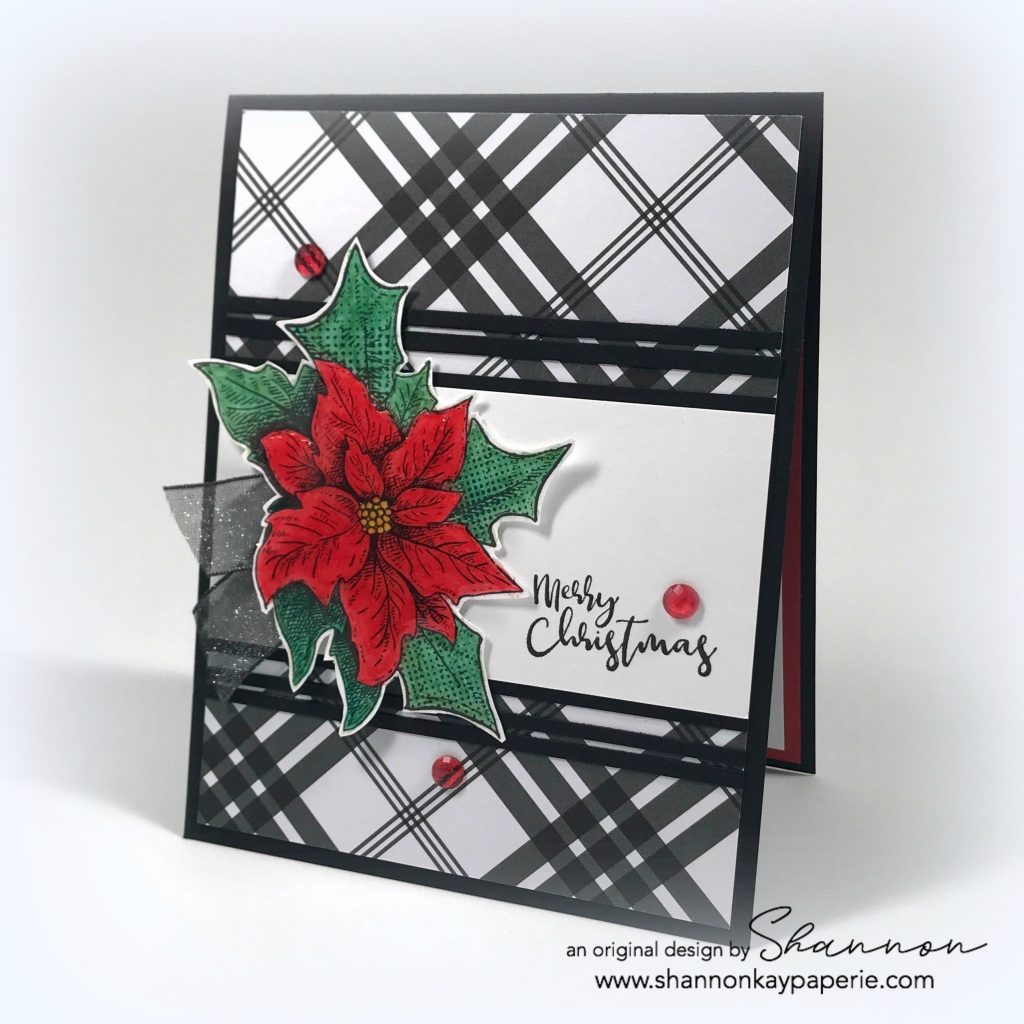
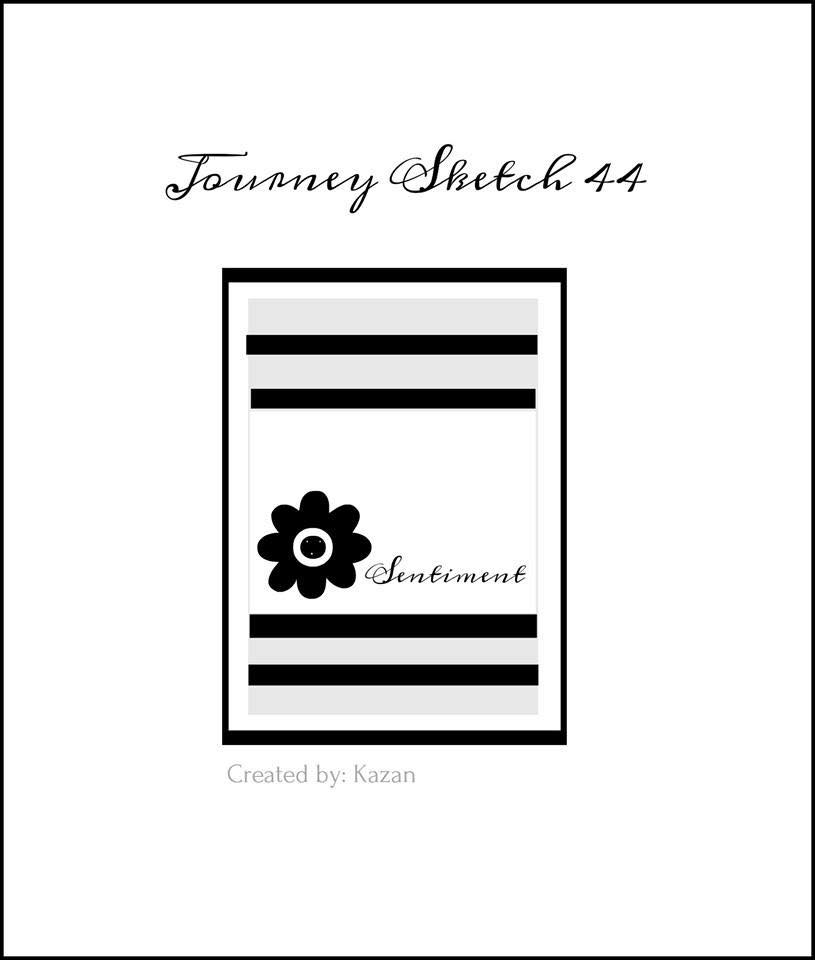
I actually haven’t done much crafting this month, lots of new FSJ supplies meant that my room was overflowing and my storage system not working nearly well enough. I am making progress on it and finally found some mojo when I saw this sketch by fellow FSJ Coach Kazan Clark in the FB group ‘Journey Sketches‘ so I decided I wanted to play along!

Measurements:

  • Black Licorice Card Base 4 1/4″ x 11″ scored at 5 1/2″
  • Cozy Winters Pattern Paper 4″ x 5 1/4″
  • Whip Cream Layer 4″ x 2 1/4″

Details:

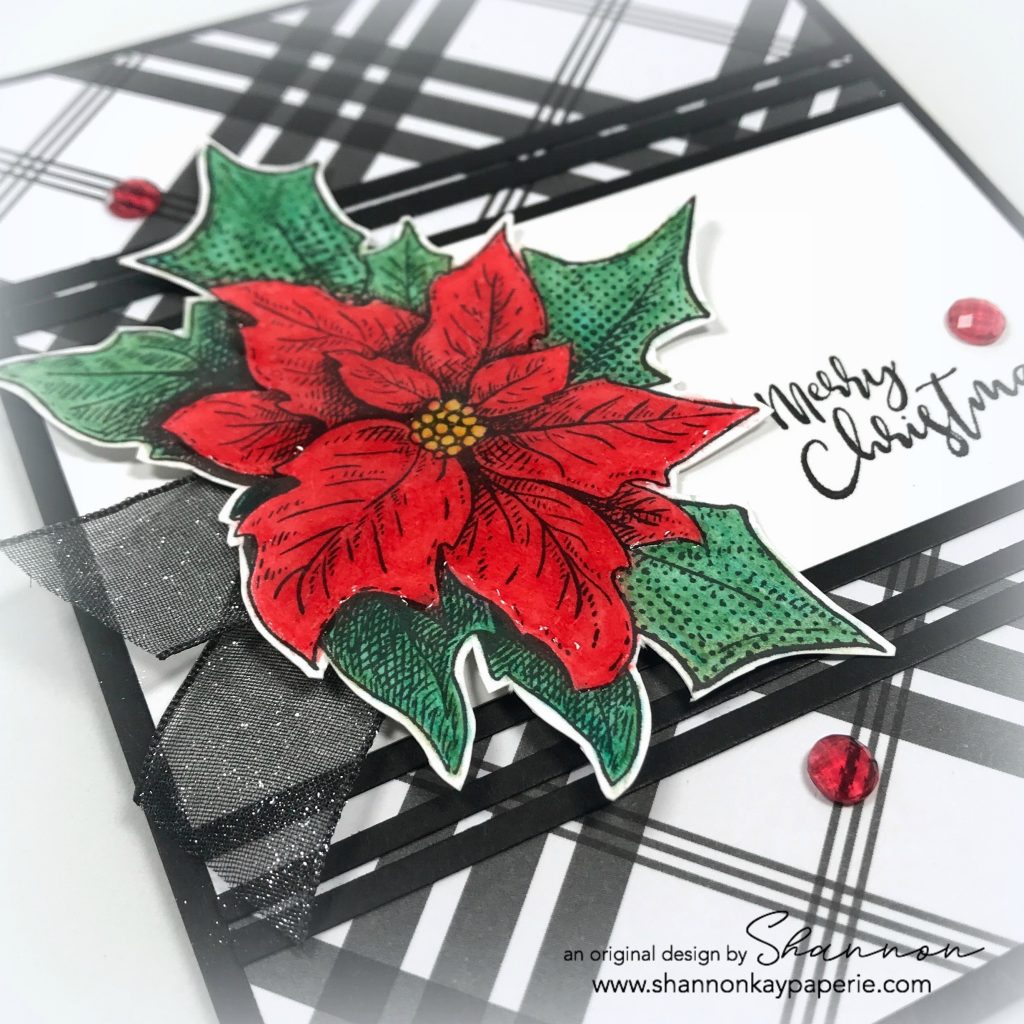
  • I started the creative process by looking through my pattern paper for inspiration. This bold black plaid pattern grabbed me and my mind went immediately to the delightful ATS image ‘Christmas Sprig’. I just love these sweet little stamp sets…they feature many different designs and styles and are at such a low price point, I find myself wondering who wouldn’t want all of them!?! Oh, and you can earn them for FREE too!

Fun-Stampers-Journey-Christmas-Wishes-Christmas-Card-Ideas-Shannon-Jaramillo-funstampersjourney

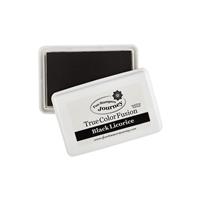
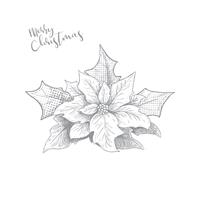
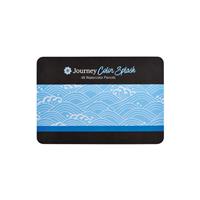
  • I recently acquired the Journey Color Splash Watercolor Pencils and decided to just dive in to them. To begin, I stamped the lovely poinsettia image in Black Licorice. And I don’t have to worry about choosing the right black ink, these hybrid ink pads can be used for everything without fear of bleeding 🙂
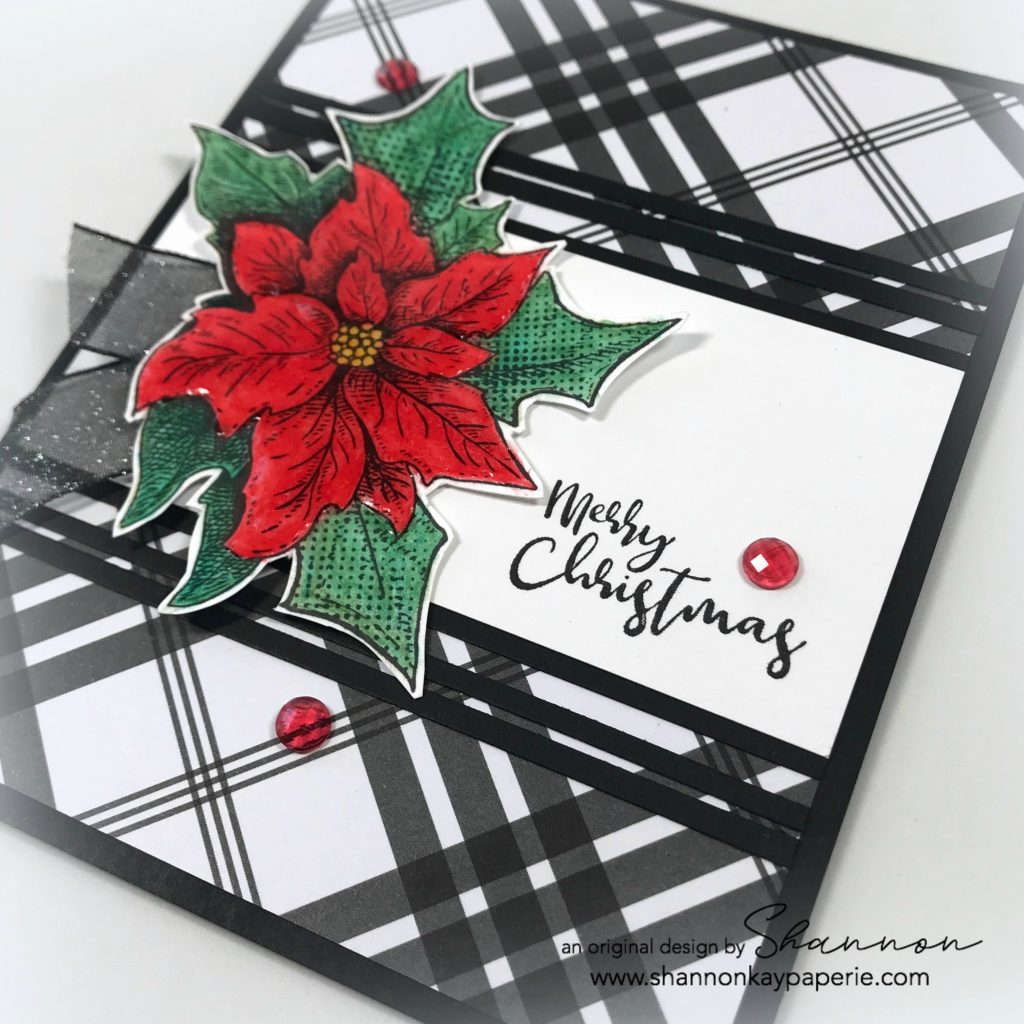
  • Once I had my image stamped, I colored the flower in with Candy Apple, the flower center with Lemon Drop, and the leaves with Fresh Forest. Then I dipped my Journey Blending Brush in water and carefully added just a touch of water to smooth my coloring out and to activate the color! So Pretty!! Once I was done adding color, I fussy cut the image out and then carefully added Journey glaze to the flower:

Fun-Stampers-Journey-Christmas-Wishes-Christmas-Cards-Ideas-Shannon-Jaramillo-funstampersjourney

  • Oh my goodness! The Journey Glaze dried quite quickly and REALLY makes the red flower pop right off of the card!!
  • I quickly stamped the sentiment, snipped out a few scraps of card stock to create the lines in the sketch, and added some Rainbow Drops!
  • I wanted just a bit ‘more’ on the left side of the poinsettia so I quickly snipped a few pieces of Special Day Organza Ribbon, daubed it with Black Licorice ink and brush on a bit of Sparkle Silk – yum!!

One Christmas card done!! I’m not going to really think about how many more I will make…I’m just going to savor this small accomplishment 🙂

Thank you SO much for visiting with me today, I appreciate you and love to hear from you!!

Supplies: