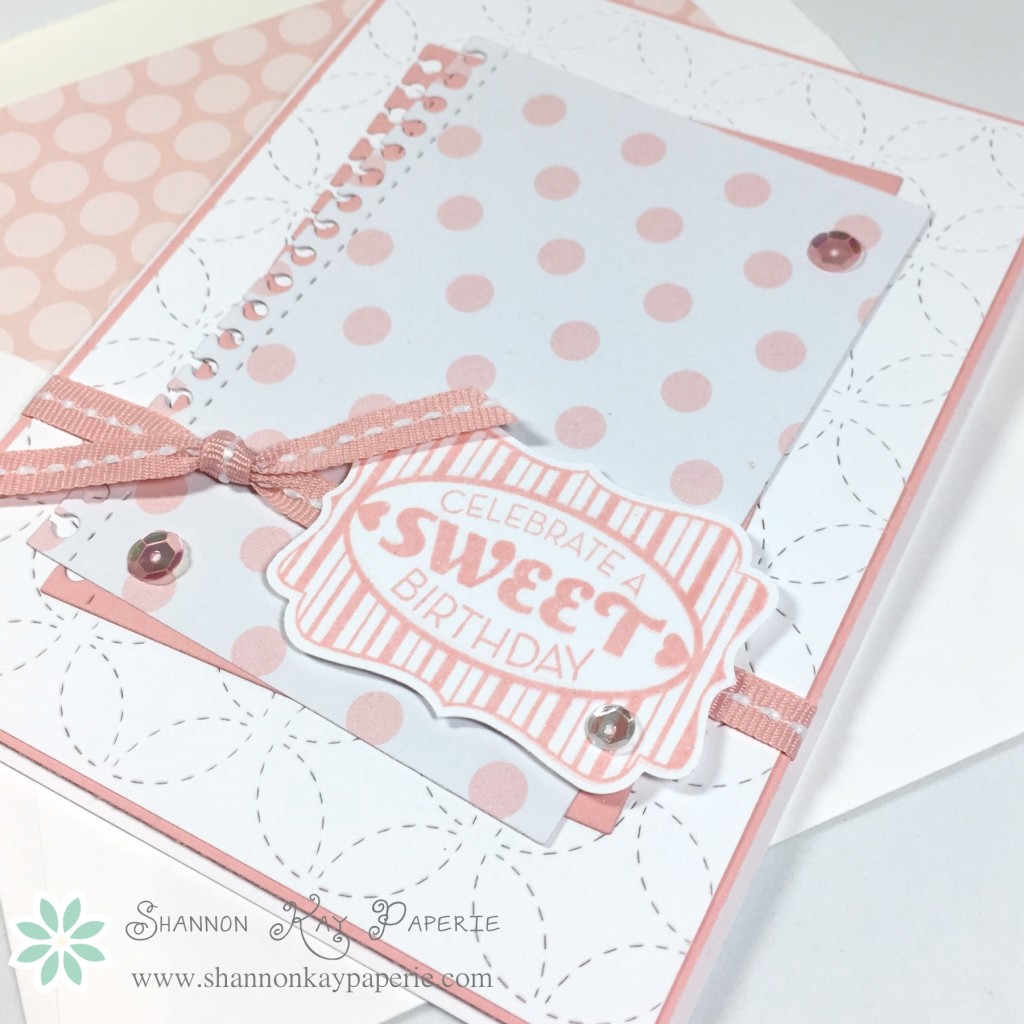
Celebrate a Sweet Birthday

I have been slowly but surely working my way through the piles of things that accumulate in a craft room, those things that you think “Oh, I know what to use this for…someday“. I know you know what I’m talking about!! Well, I have actually whittled it down to just the bare minimum of things that I have really been putting off either doing something with or finding a home for. The last stack is a small collection of random pattern paper from a Stampin’ Up! Paper Pumpkin Kit from probably, oh, maybe two years ago? The kit was a 5″ x 5″ scrapbook with pressed cardboard covers and lots of fun papers to decorate the inside with. The kit sat forever and then I finally did something or another with most of it, only keeping a select few pattern papers because they were cute. But I couldn’t store them with all my other papers because they were a different size and my orderly mind just COULDN’T put two sizes together 🙂 Yes, I know you are shaking your head, but it’s the truth. I know that was a long story but that’s how these random pieces of paper have come to be sitting on my desk for months while I worked on everything around them.

And then tonight, I flipped one of them over and discovered the most ADORABLE pink polka dot paper ever, and that was it. I HAD to use it on a card, right there, right then. So I did! (Never argue with inspiration!)
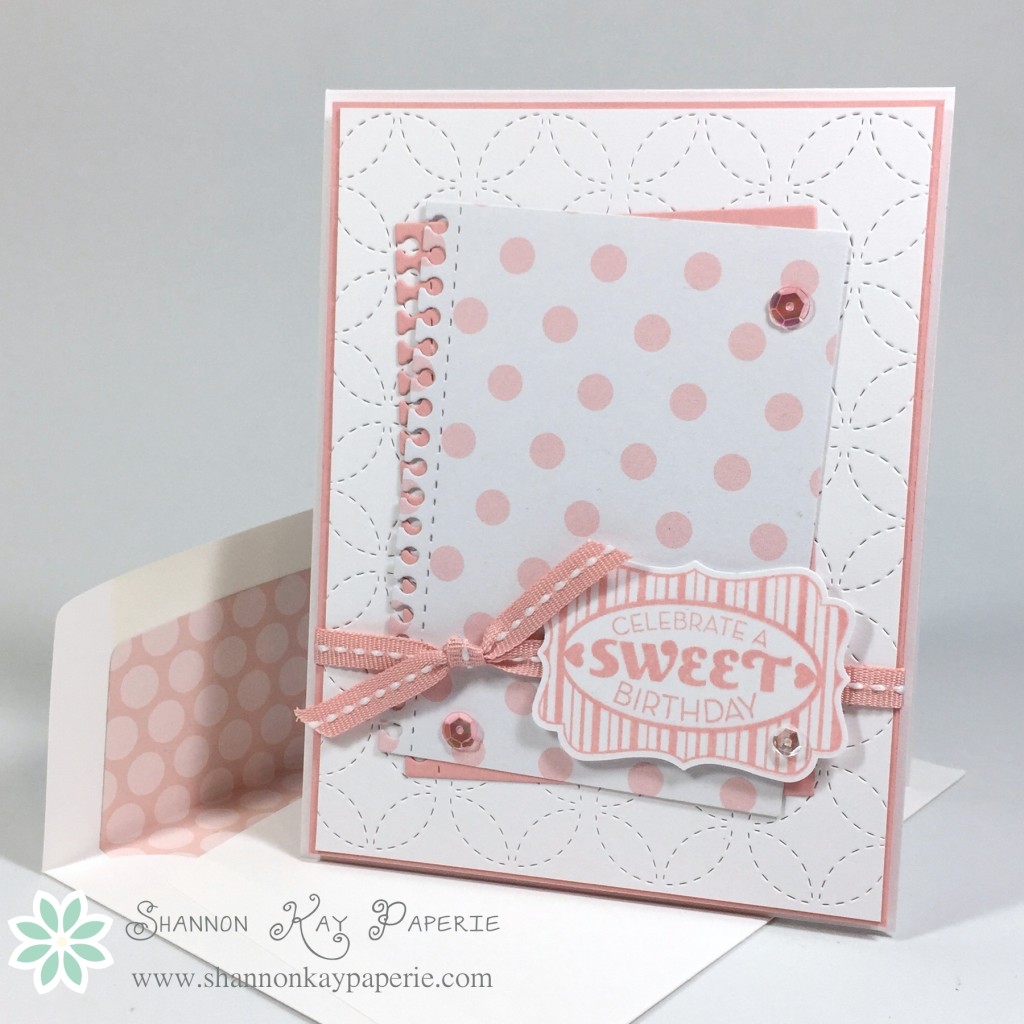
SKP Watermarked Photos3-005What do you think? Was I right about the paper?? A-D-O-R-A-B-L-E!!!

I also had this white background die cut laying around, cut for a card a few weeks ago and then discarded. So, I had my base, which I layered onto a piece of Blushing Bride card stock and then I used the PTI Monthly Moments: Spiral Notebook Die on my pink pattern paper as well as a piece of Blushing Bride card stock. Just layer them up!

SKP Watermarked Photos3-008

Then I pulled out this Stampin’ Up! stamp set, Cycle Celebration, and stamped it in Blushing Bride ink and punched it out with the coordinating punch. I wrapped it all up with a bit of retired ribbon and even lined my envelope with retired paper! I was on a ROLL!! I added LOTS of Wink of Stella to my sentiment, it just sparkles!
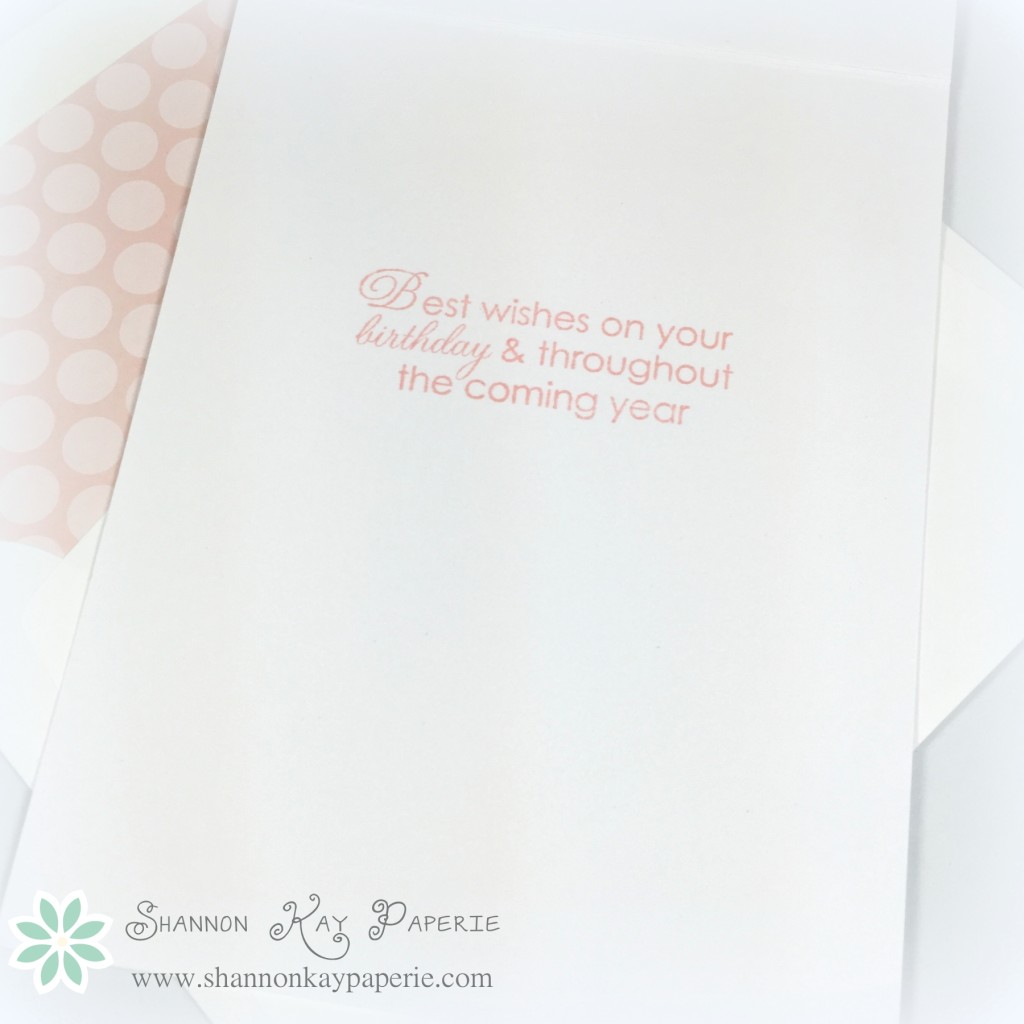
SKP Watermarked Photos3-007And then the inside. I just want to say that the Papertrey Ink series of Inside & Out stamps has been a great investment. So many wonderful sentiments and fonts to choose from!

So what do you think? Pretty good for just scraps?? I think so, and had a ball putting it together. I made a second one, I will share that later in the week.

Now, I challenge you to look at your own pile of bits and pieces and see if you can’t create something lovely! (AND get it off your table, an added bonus!)

I would love to hear/see what you were inspired to create! Sometimes I feel like I’m talking to myself, I would really love to hear from you!!

Wishing you joy and blessings!

Products Used:

Cardstock: Stamper’s Select White by Papertrey Ink, Blushing Bride by Stampin’ Up!

Pattern Paper: My Paper Pumpkin by Stampin’ Up!

Ink:  Blushing Bride by Stampin’ Up!

Stamps:  Cycle Celebration by Stampin’ Up!

Dies: Monthly Moments: Spiral Notebook Die by Papertrey Ink and Envelope Liner Die by Stampin’ Up!

Punches: Decorative Label Punch by Stampin’ Up!

Tools:  MISTI by My Sweet Petunia

Embellishments: Misc Sequins and Wink of Stella

Ladybug Hugs – Retro Sketches #154

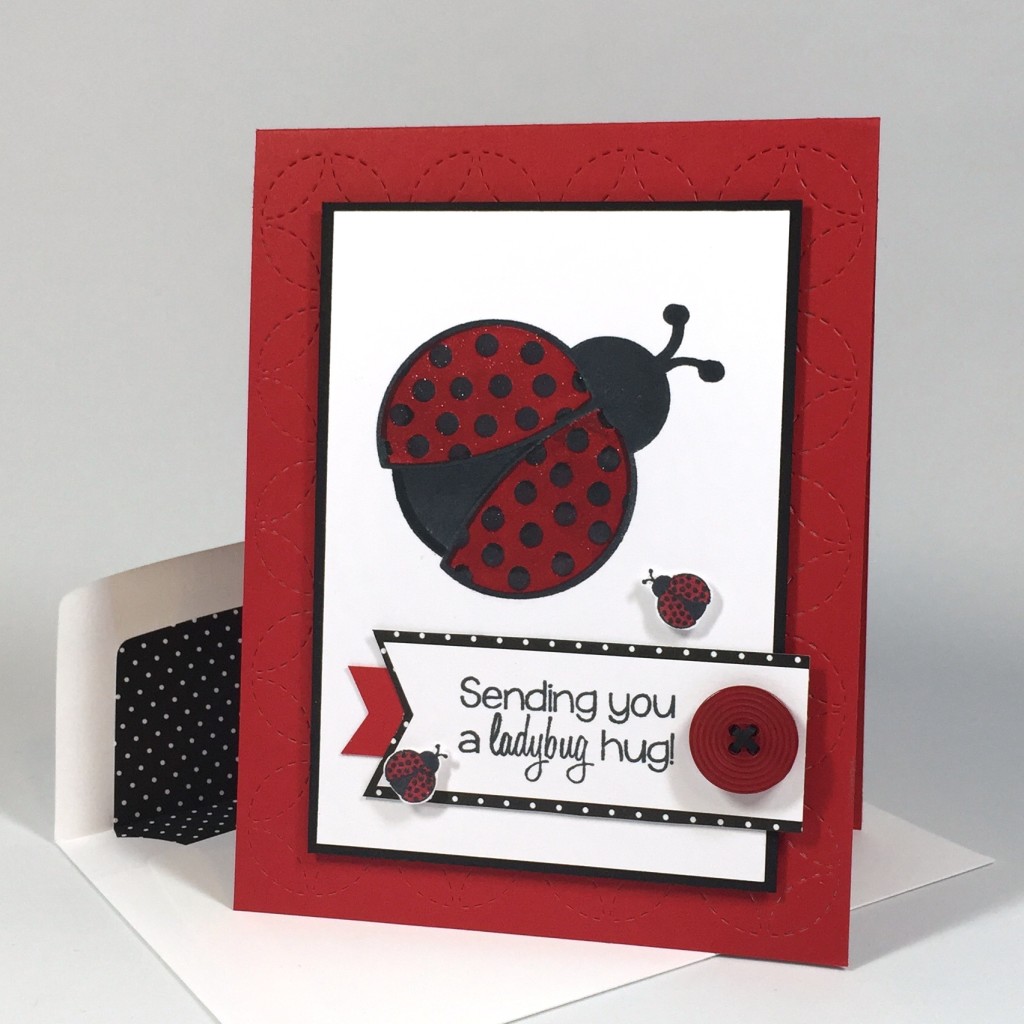
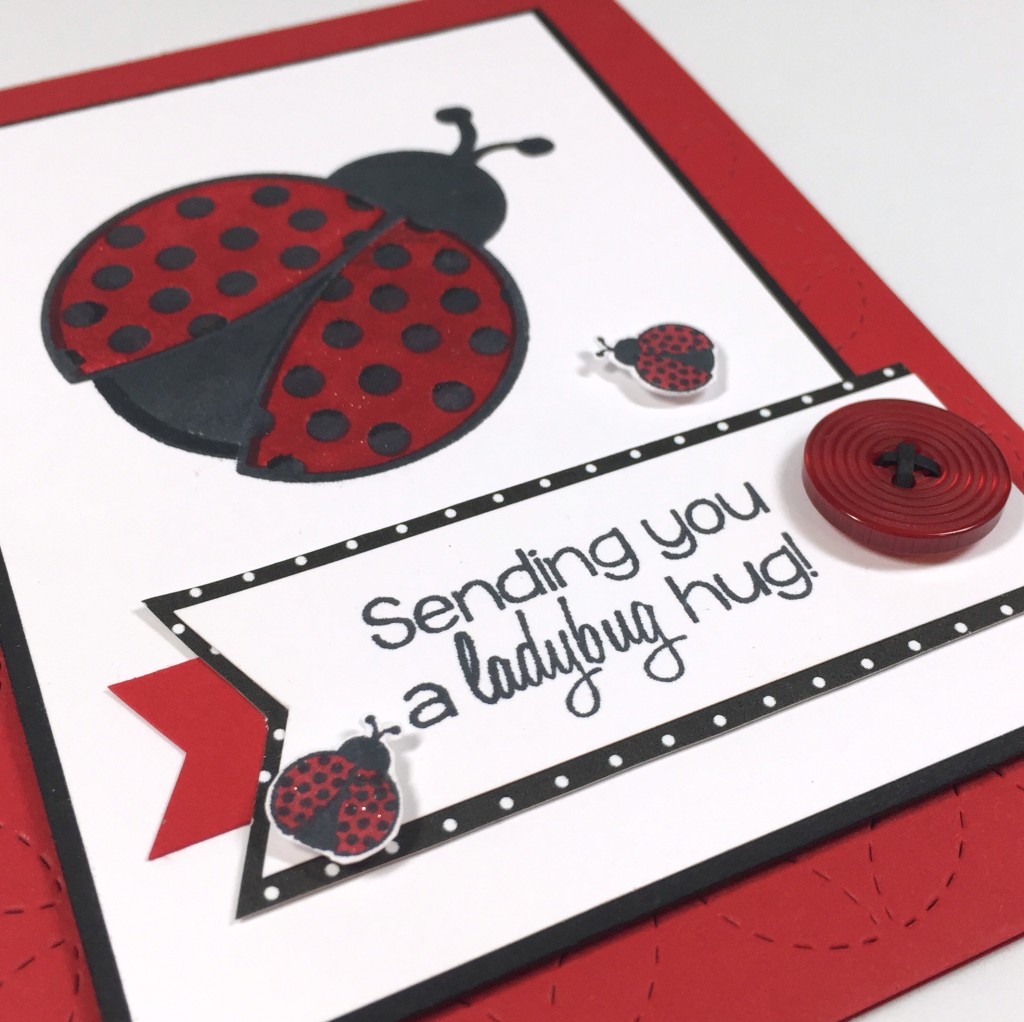
01-IMG_7694Happy Monday Friends!! Since it’s Monday, I decided to send you all a ladybug hug, guaranteed to bring a smile 🙂

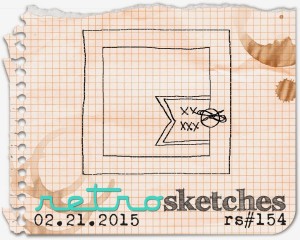
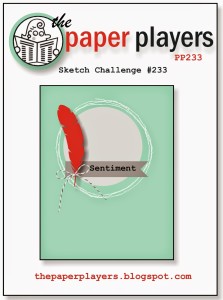
This fun little card was inspired by the sketch over at Retro Sketches this week:

rs154I wanted to use some more stamps from The Stamps of Life and thought this little bug from the stamp set ladybugs2love would be perfect for the sketch.

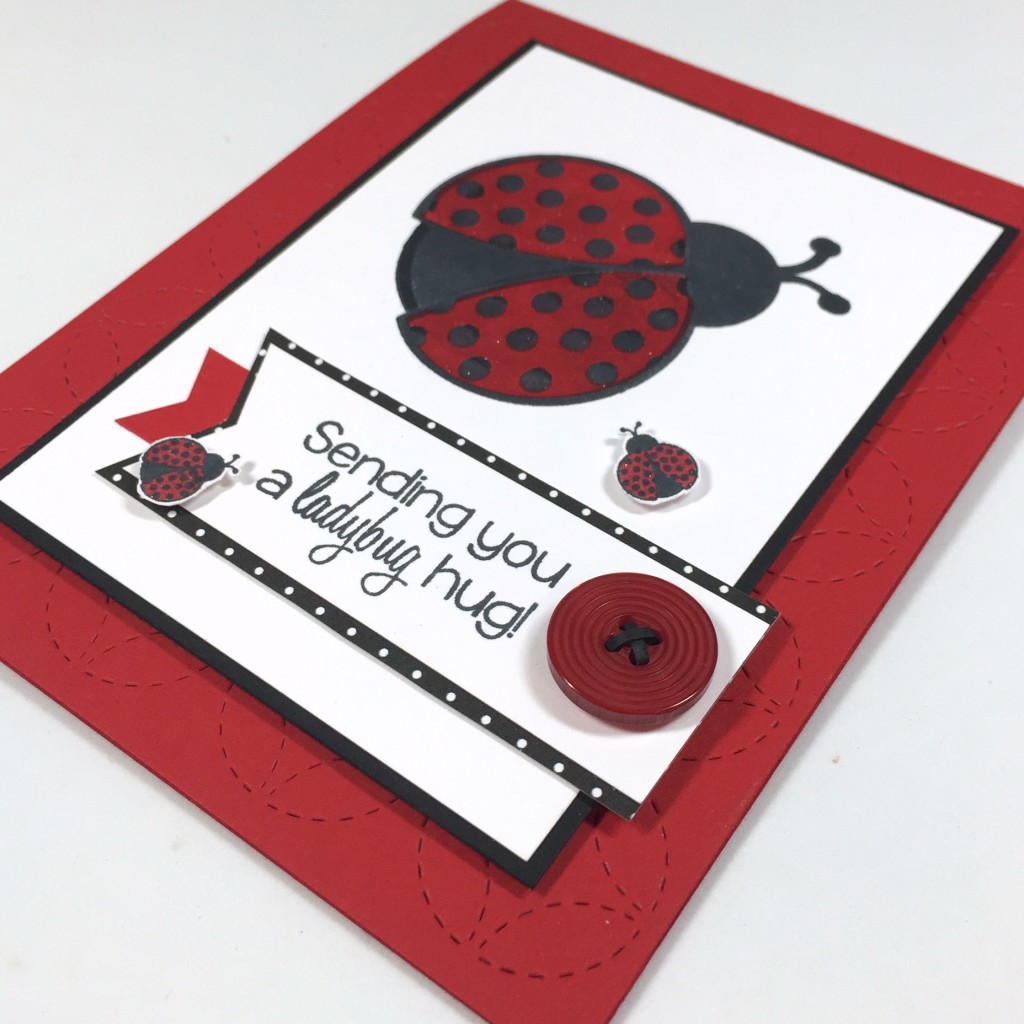
05-IMG_7699I had a lot of fun with this one, starting with trying out a this stitched pattern die from from Lil ‘Inker called Circles & Diamonds. It is really beautiful! The ladybug was fun to stamp as it is a builder set. I stamped the bug, then the red on her wings, then the black spots, and finally her behind. I realized when I was done I could have skipped the red stamping on her wings and just colored them with my Blendabilities…next time!

06-IMG_7700After I had the ladybug, sentiment, banner and button all in place I thought she just needed a bit more. I found a teeny tiny ladybug stamp so I stamped, colored and fussy it cut two of them out to add to the card. Love!! But then I decided that if I were a lady bug, I would like to be sparkly so I used Wink of Stella to color all of their wings. Ca-yoot!!
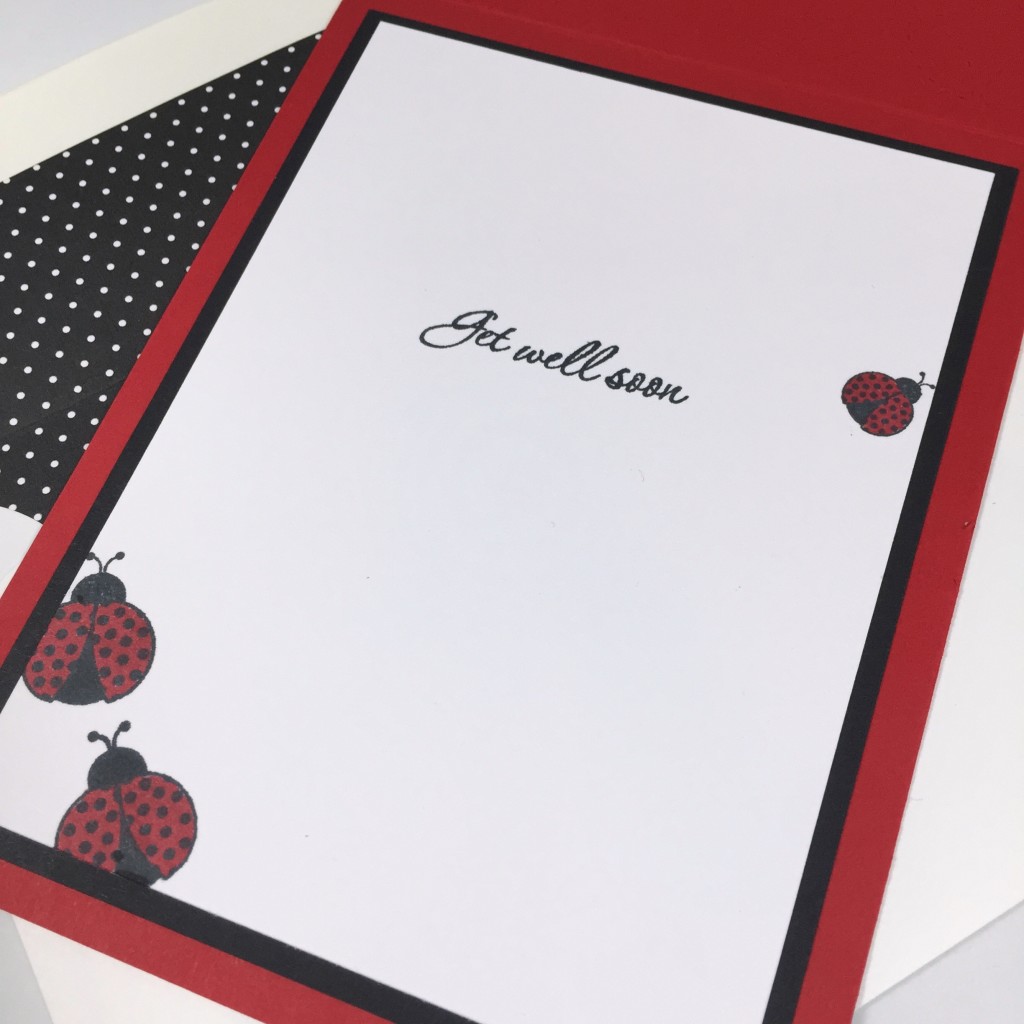
04-IMG_7698I decided that since it’s such a fun card, sure to get a smile, that it should be a get well card. With some more lady bugs of course!!

My card also fits within the challenge of “Anything Goes” over at Can You Case It, so I think I’ll link up with them as well!

CYCI58-232x300

Thanks to the design team at Retro Sketches for inspiring me today!!

Wishing you joy and blessings!

Products Used:

Cardstock: Pure Poppy, True Black and Stamper’s Select White by Papertrey

Pattern Paper: The Story of Us by Simple Stories

Ink:  Tuxedo Back by Memento; Cherry Cobbler by Stampin’ Up!

Stamps:  ladybugs2love by The Stamps of Life; Inside & Out: Healing Touch by Papertrey Ink

Dies: Stitched Pattern Die – Circles & Diamonds by Lil ‘Inker and Envelope Liner Die by Stampin’ Up!

Tools:  MISTI by My Sweet Petunia

Embellishments: Regal Collection Buttons by Stampin’ Up!

Balloon Builders Birthday – The Paper Players #233

Welcome friends! I hope you have had a wonderful week (and stayed reasonably warm if you are on the East Coast)! I truly LOVED seeing all your creations last week using feathery friends! This week, The Paper Players has a sketch challenge from the very talented Sandy…I had so much fun working with this sketch and I’m sure you will too!

pp233Isn’t is fun?? My first inclination was to go with a the sketch and use a feather, but I discovered I just wasn’t in a feather-y mood, I wanted something bright. I pulled out a new-to-me set and got right to work creating a bright and fun card…

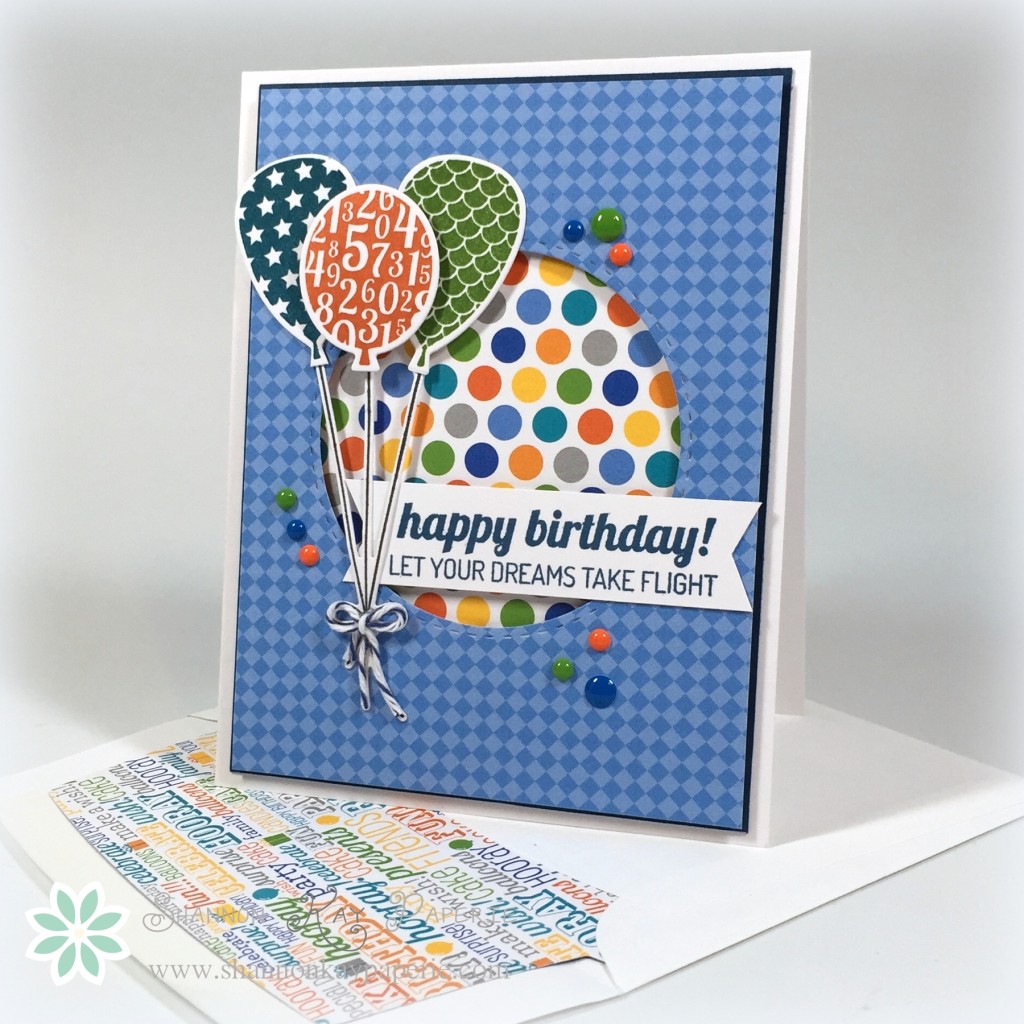
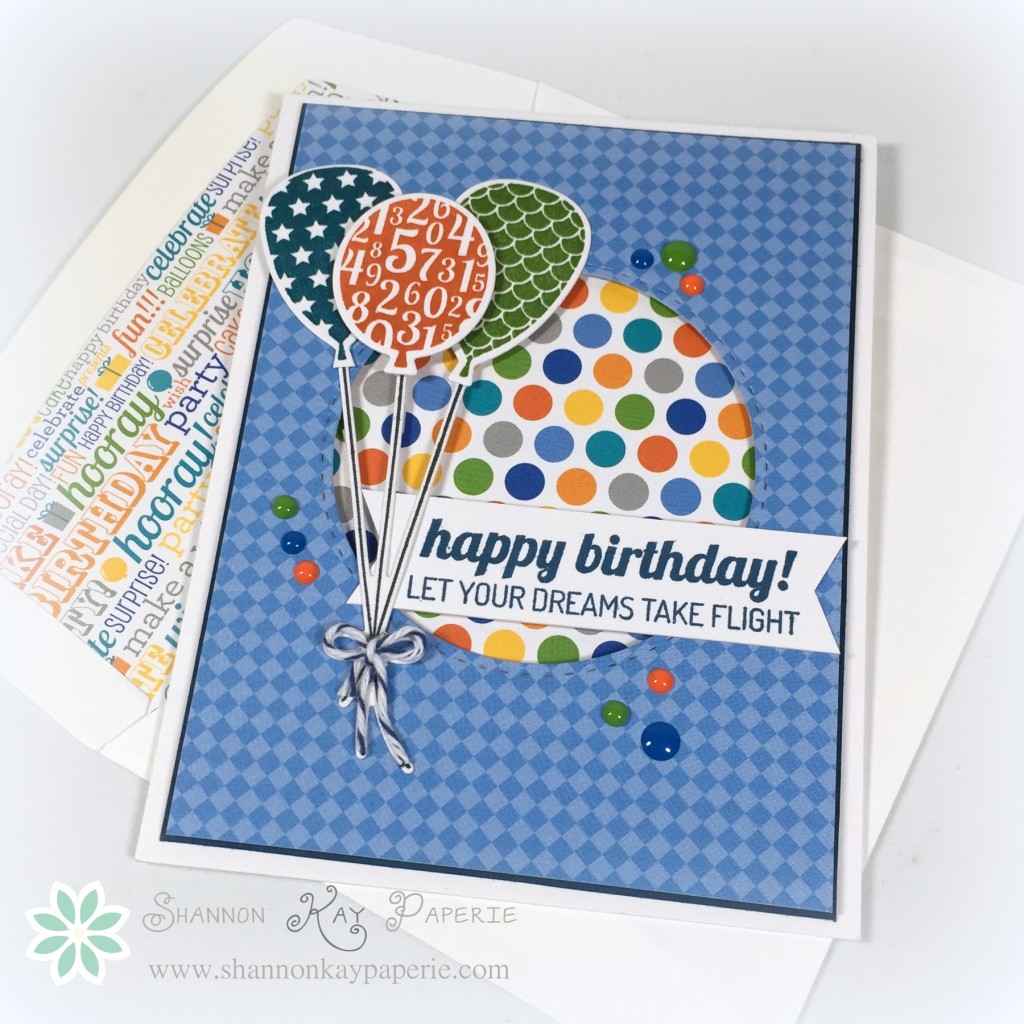
SKP Watermarked Photos2-079What do you think?? Is it bright enough?? lol. That’s one thing I love about Doodlebug Designs papers, they do bright very well! When picking my papers, I knew that I wanted the circle cut out to feature a bright and fun pattern. I felt that plain card stock would be a bit boring so I paired up my feature polka dot paper with a more subdued pattern. It’s a nice bright small pattern so as to add visual interest but not compete with either the balloons or the feature paper. I decided to add in a layer of Enchanted Evening card stock to help define the pattern paper a bit more.

SKP Watermarked Photos2-080I fell in love with this coordinating stamp and die set from Lil ‘Inkers called Balloon Builders. The die cut balloon strings was the clincher for me. No more trying to attach baker’s twine to make my balloon strings, thank you very much! I pulled the colors for my balloon from my polka dot paper and decided to go more masculine with the colors, ending up using Island Indigo, Gumball Green, and Tangelo Twist for my balloons.

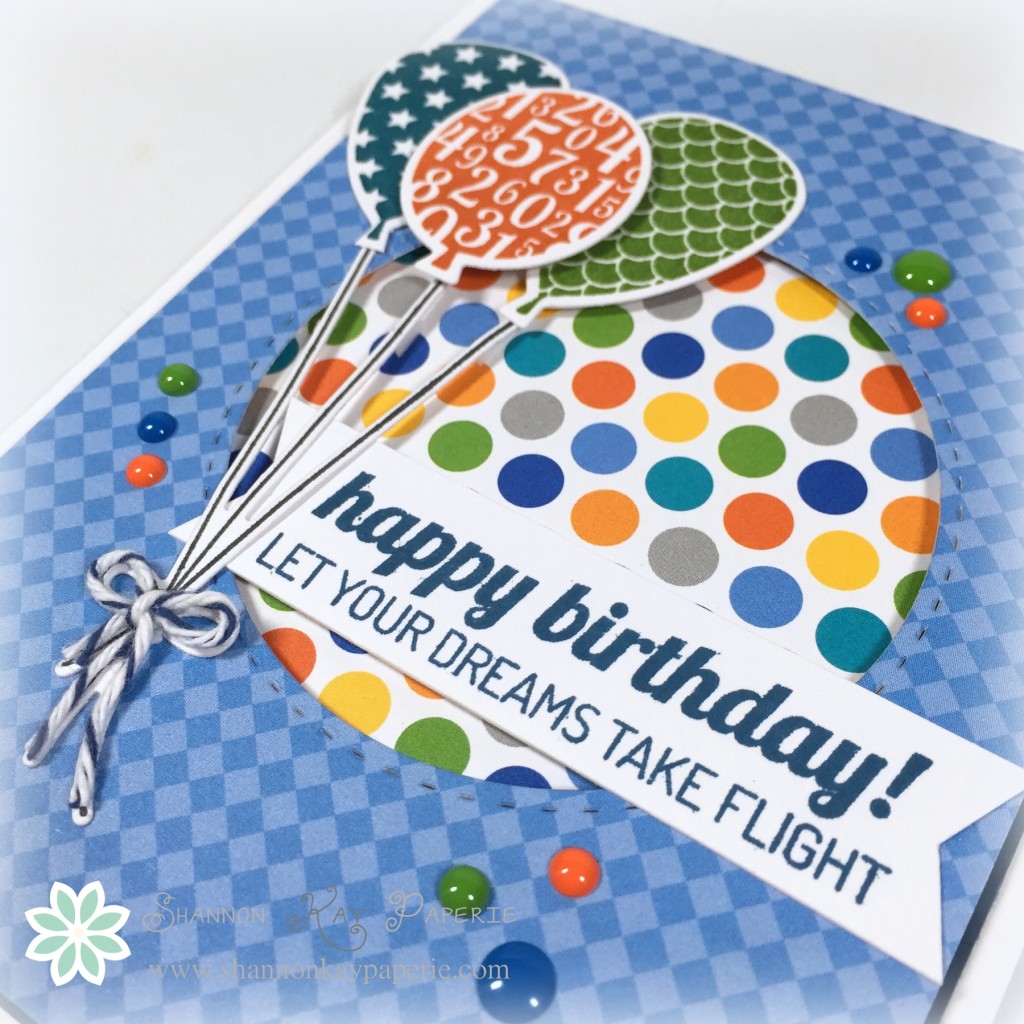
SKP Watermarked Photos2-081In the end, I decided I wanted to add a bow to my balloons and copied the shape of the die cut, using glue to tack down the ends of the baker’s twine. I think it’s a fun detail!

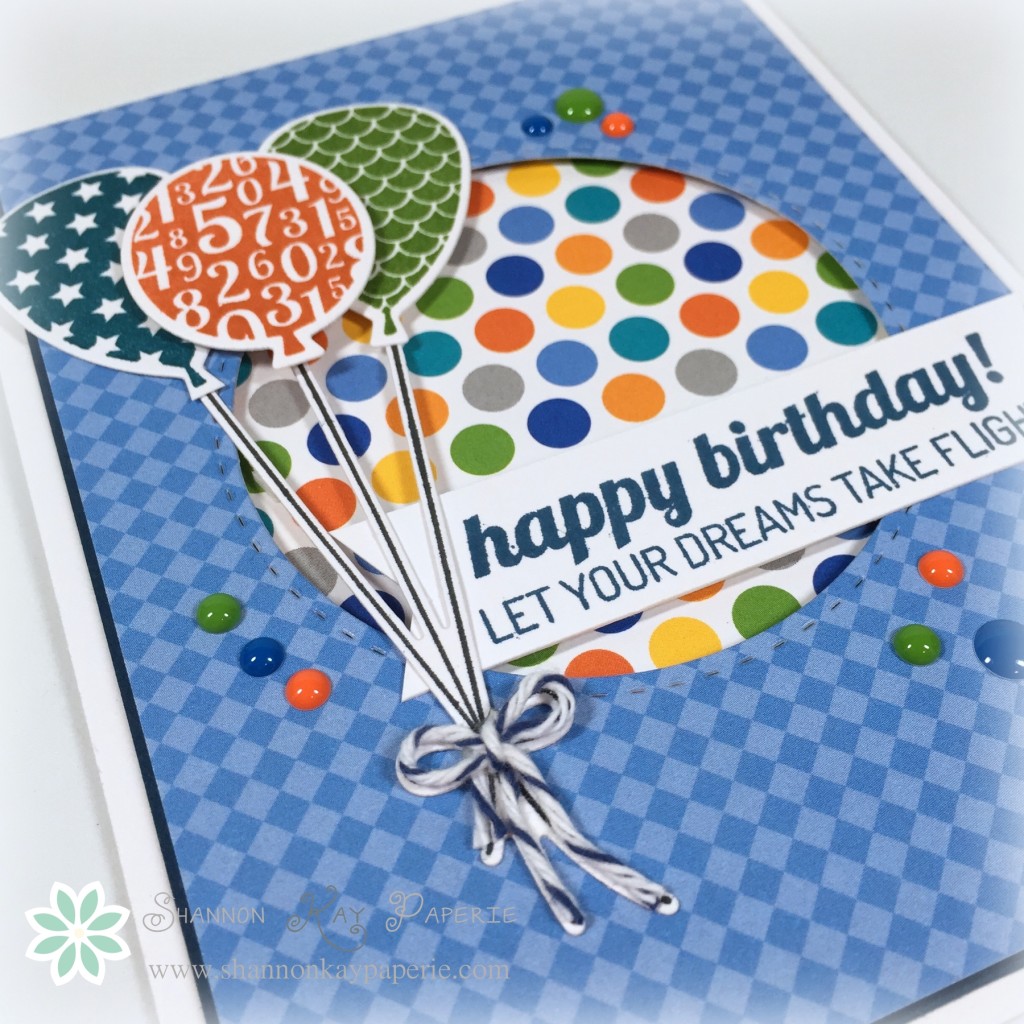
SKP Watermarked Photos2-082Perhaps I went a bit wild with my sprinkles, but they are just so cute that I couldn’t help myself! And, that’s what they are for, to use…or so I keep telling my other side who is screaming that they won’t last!! If I run out, I know where I can get more! (wink)

So, I hope you will visit the rest of the team and be inspired by their amazing artwork and then settle down to have a go at the sketch! I can’t wait to see your creations!!!

The Paper Players Design Team

Wishing you joy and blessings!

Products Used:

Cardstock:

 Stamper’s Select White and Enchanted Evening by Papertrey Ink

Pattern Paper: Hip Hip Hooray by Doodlebug

Ink:  Gumball Green (retired), Island Indigo and Tangelo Twist by Stampin’ Up!; Enchanted Evening by Papertrey Ink

Stamps:  Balloon Builders by Lil ‘Inker

Tools: MISTI

Dies: Balloon Builders by Lil ‘Inker; Stitched Mats: Circles by Lil ‘Inker, and Envelope Liner Die by Stampin’ Up!

Embellishments: Blue Jean, Limeade and Tangerine Sprinkles by Doodlebug Designs

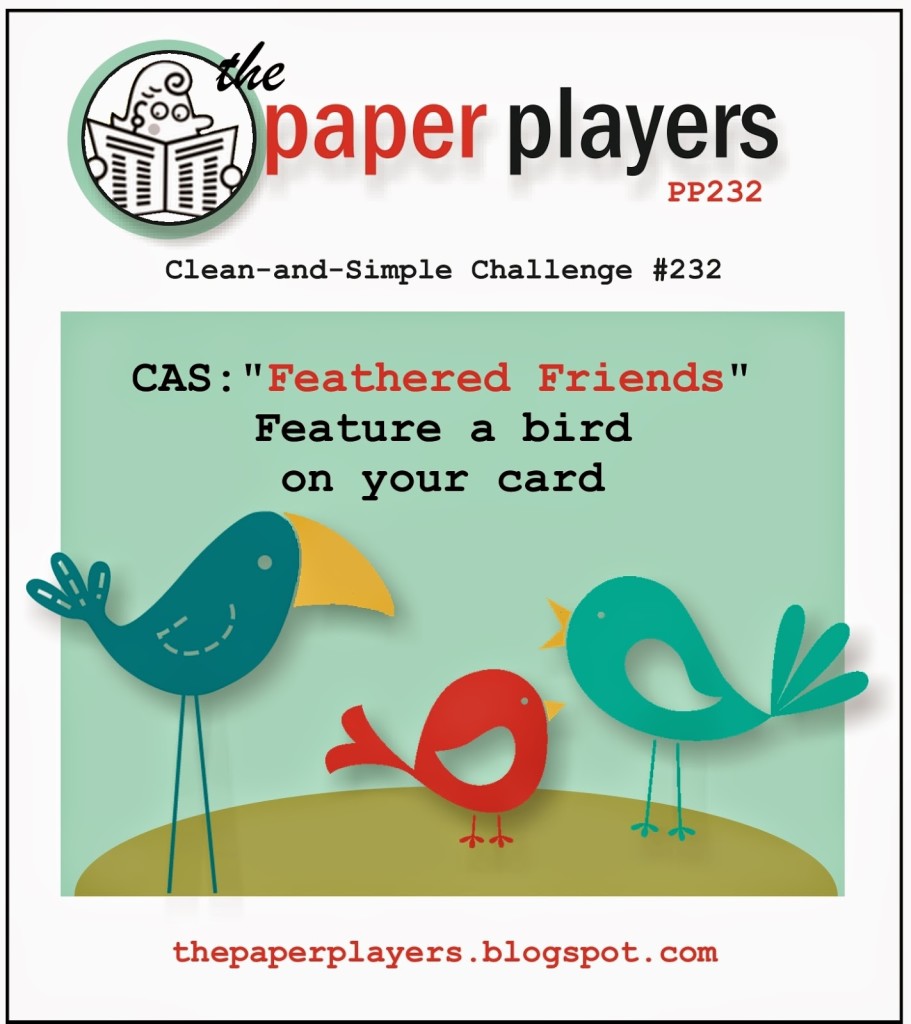
You Are Tweet! – The Paper Players #232

Welcome Friends! Whew, this week has just flown by! I spent some of it not feeling well, and the remaining time trying to keep up with all the life still going on around me! I LOVED your creations last week, you all rocked the color combination! Though I think you are going to have TONS of fun with this week’s challenge from Joanne:

pp232Doesn’t that sound FUN!!! And the challenge graphic is so ca-yoot, how could you not want to join in on the fun?

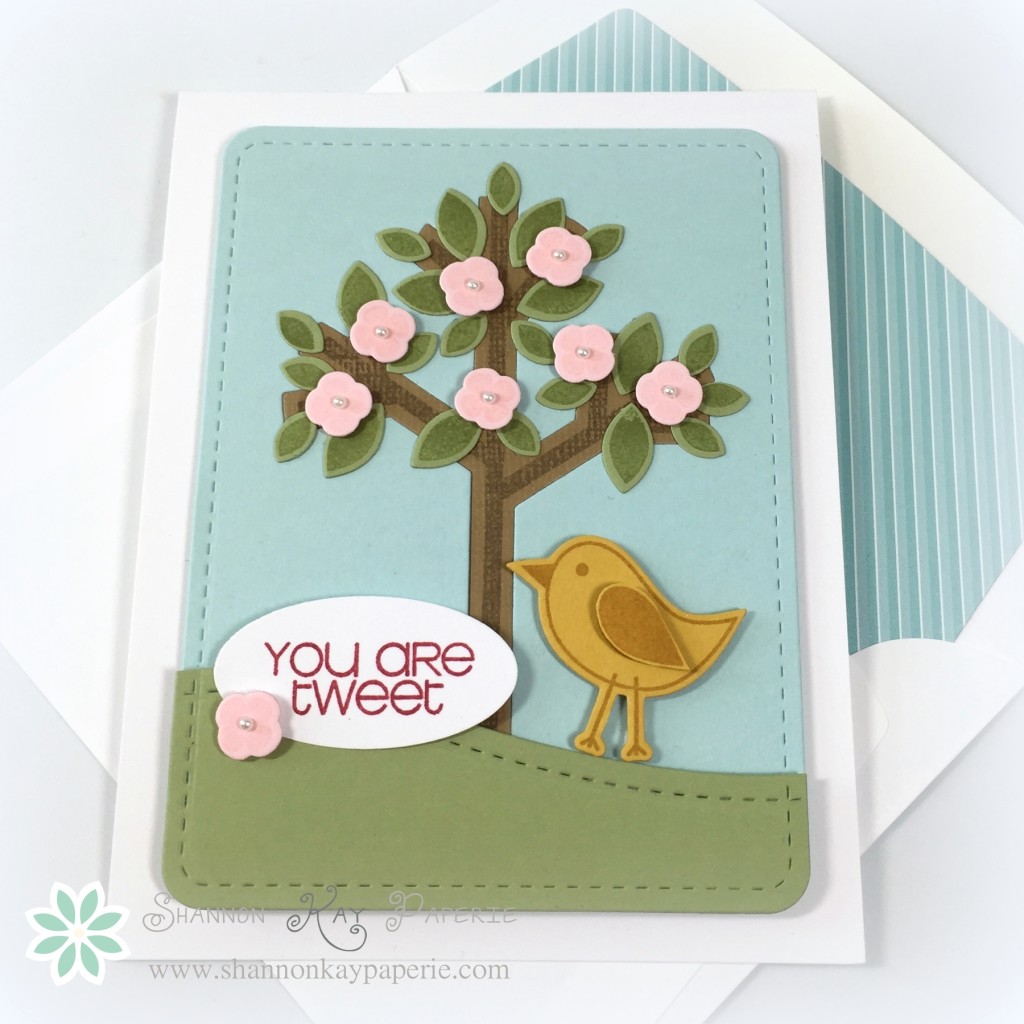
As soon as I read the challenge, I had a stamp set in mind. It’s another stamp and die set that were a MUST HAVE and then sat and collected dust while I stared at them, wondering what on earth I would DO with them! Have you had moments like that? Honestly, it’s ridiculous. I must stop!

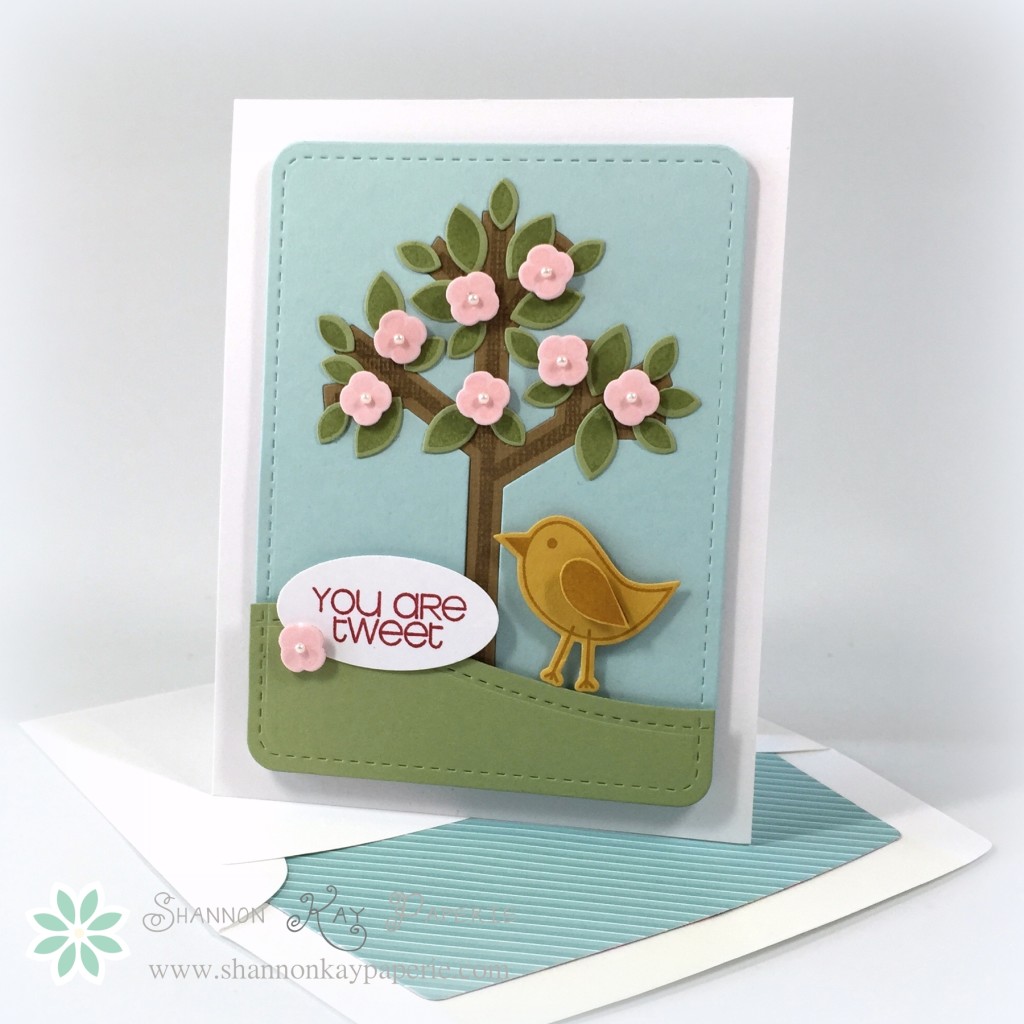
SKP Watermarked Photos2-066Can you see why this set came to my mind when I read the challenge to feature a bird? Isn’t this set adorable? I’m SO glad I broke it out! I found a wonderful booth at the Scrapbook Expo in 2013 (cough) called The Stamps of Life. It’s a smaller stamp line designed by Stephanie Bernard, who is also a designer for Sizzix and was a major contributor in the development of the Big Shot Magnetic Platform. Anyway, it turns out she’s local to me (Southern California) and periodically does classes and sells from her warehouse location. I purchased a ton of her product at the Scrapbook Expo and then attended one of her classes as well. This stamp and die set is called Birds & Tree. 

SKP Watermarked Photos2-068I’ve never created a ‘scene’ before but thought this set called for one so I pulled out my Stitched Mats: Rounded Rectangles from Lil ‘Inker and created a sky panel using Soft Sky card stock. I then aligned my tree die onto it and ran it through the Big Shot again. Next I used the stitched mats again on a scrap of Pear Pizzazz cardstock and then ran THAT through the Big Shot again using the Border Builders Die from Lil ‘Inker to create the wavy hill for my grass.

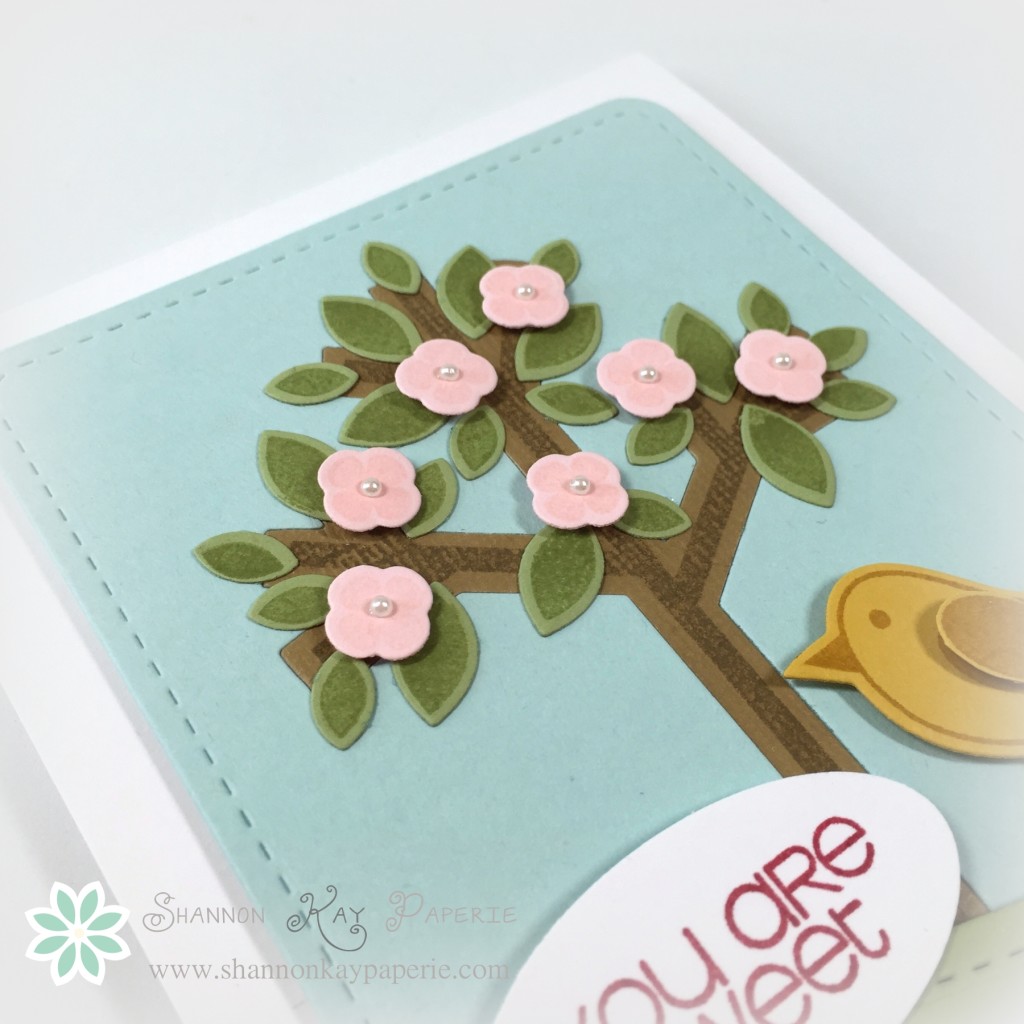
SKP Watermarked Photos2-069I then die cut my tree from Baked Brown Sugar card stock and inked it up in the same color with the matching stamp, using my MISTI to align everything perfectly. I attached a scrap piece of white card stock to the back of my Soft Sky panel and then inset my tree die cut. I LOVE the look!

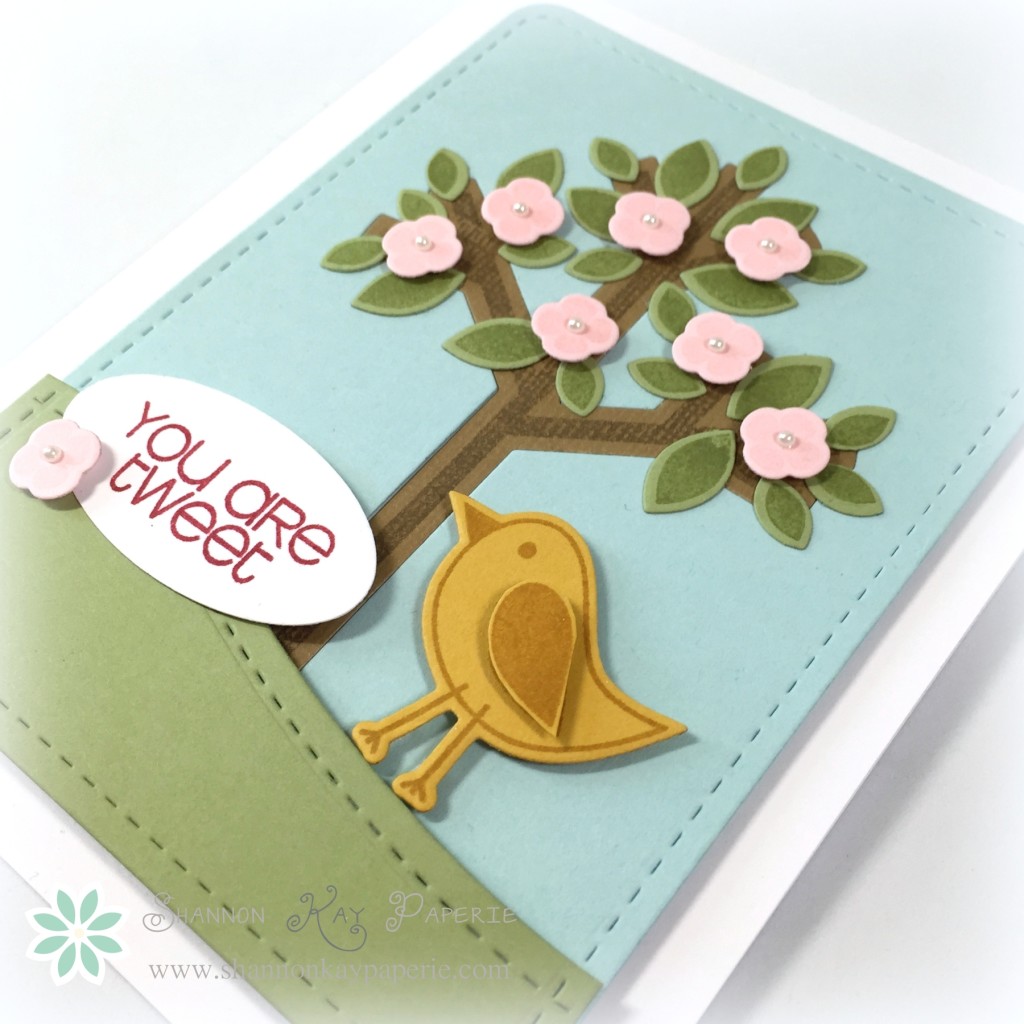
Next, I die cut lots of leaves in two different sizes, as well as flowers and my adorable little bird. I used Pear Pizzazz for the leaves, Pink Pirouette for the flowers, and Hello Honey for the bird. After that, I inked up all my pieces with their coordinating stamps. Yes, this took a bit of time but was so fun and definitely worth it!

SKP Watermarked Photos2-067I used a sentiment from the same set but opted for a simple small oval punch from Stampin’ Up! to frame it, rather than using the speech bubble die included in the set. To make my life easier, I laid out all of my punched pieces and snapped a picture of it on my phone and then used the photo as a guide to glue everything down. The flowers are popped up on Stampin’ Dimensionals, as is the grass panel as well as my birdie and his wing. The pearls were an afterthought but they turned out to be one of my favorite elements!

I hope you have enjoyed today’s project, created in one of my ‘better’ periods this week:) I am planning to post a follow up to my Blog Hop project tomorrow, including more photos of the individual cards as well as photos and dimensions for the card gift box. I hope to see you then!

Thank you so much for popping in today, won’t you take a moment to pop over and see the darling projects created by the rest of the design team? I ‘peeked’ at them while posting my project to the blog and I can tell you for sure that there are some beautiful inspiration to be seen!

The Paper Players Design Team
Wishing you joy and blessings!

Products Used:

Cardstock: Stamper’s Select White by Papertrey Ink; Baked Brown Sugar, Hello Honey, Pear Pizzazz,  Pink Pirouette and Soft Sky by Stampin’ Up!

Pattern Paper: Sugar Shoppe by Doodlebug

Ink:  Baked Brown Sugar, Hello Honey, Pear Pizzazz,  Pink Pirouette and Rose Red by Stampin’ Up!

Stamps:  Birds & Tree by The Stamps of Life

Tools: MISTI

Dies: Birds & Tree by The Stamps of Life; Border Builders and Stitched Mats: Rounded Rectangles by Lil ‘Inker, and Envelope Liner Die by Stampin’ Up!

Embellishments: Basics Pearls by Stampin’ Up!

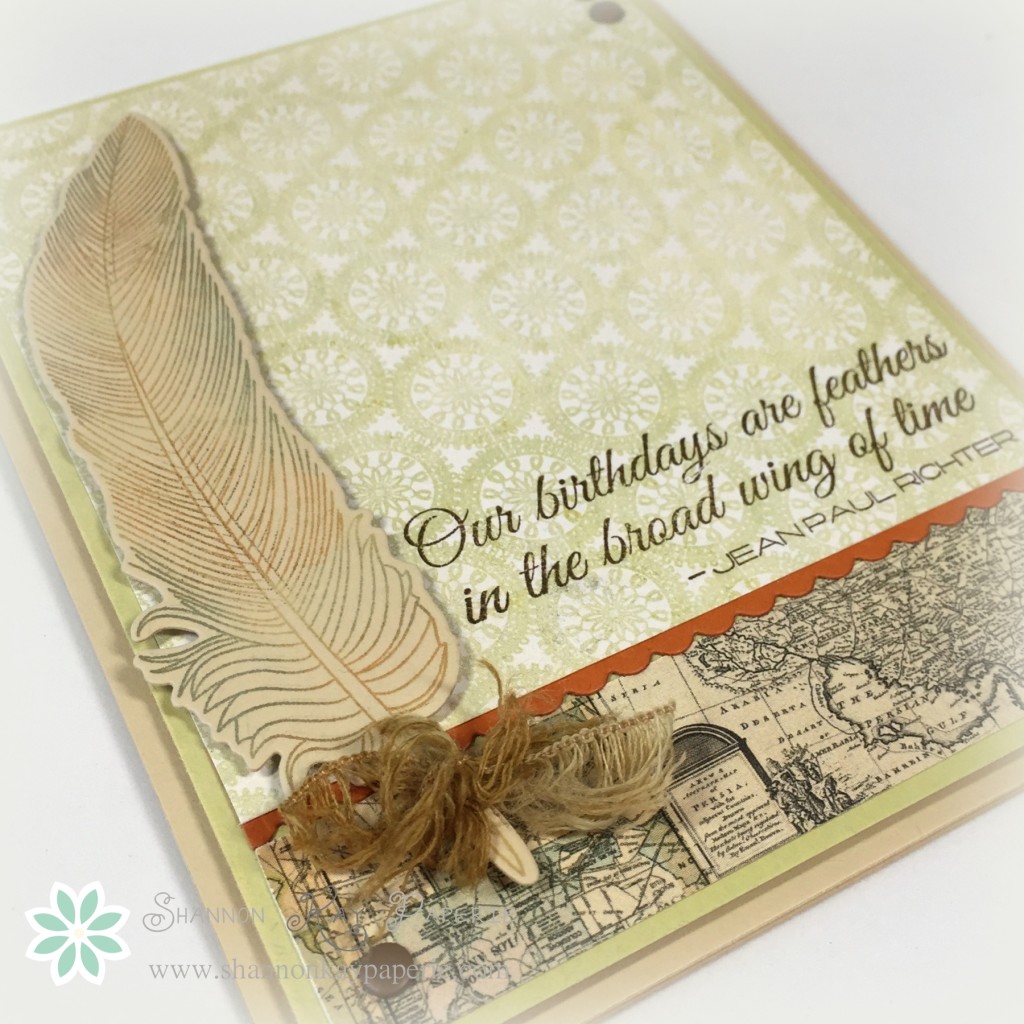
Birthdays Are Feathers – The Paper Players #229

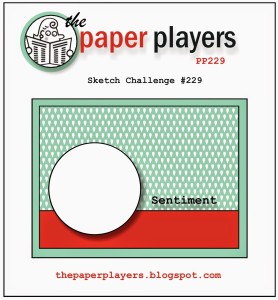
pp229Welcome friends to another Sunday and another challenge from The Paper Players. Can I just say, last week’s challenge was A-M-A-Z-I-N-G!! Over 100 participants and soooo many beautiful and inspiring creations!! I was overwhelmed by all the talent!!

This week, Jaydee has a darling sketch for us. It’s a fun and simple sketch, with lots of room for interpretation…which is good because I got a bit carried away during the creative process. After I completed and photographed my project I had a moment of panic as to whether or not I had strayed from the sketch…!! Sometimes I get so caught up in the creation of the card that I forget what I am “supposed” to be doing!

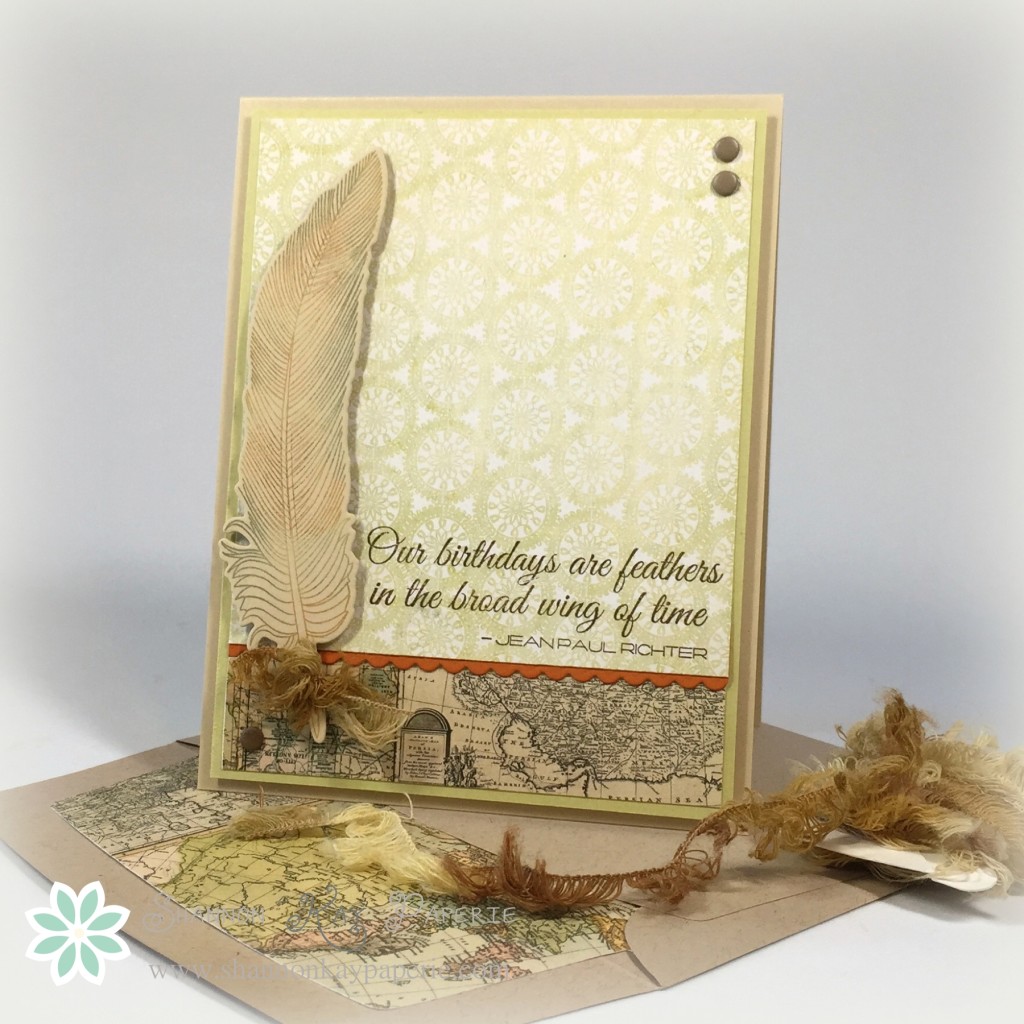
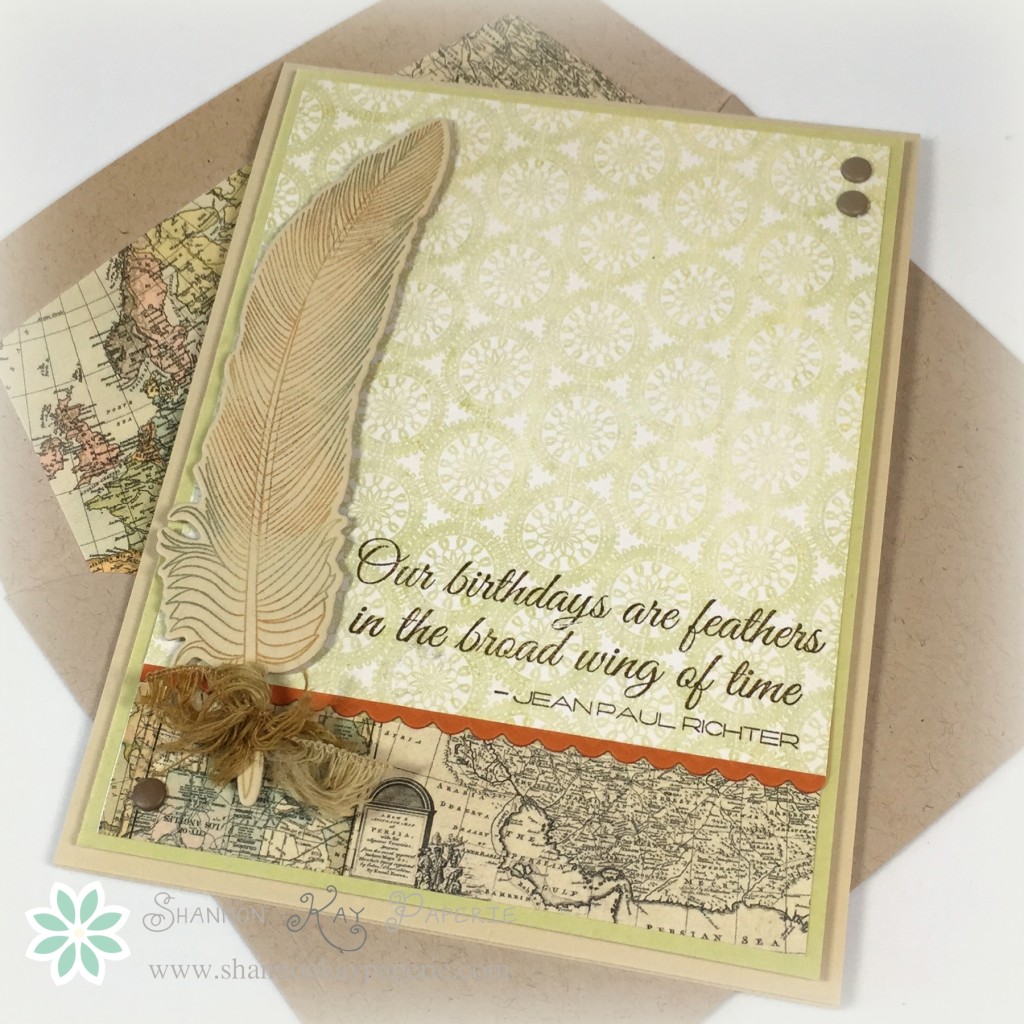
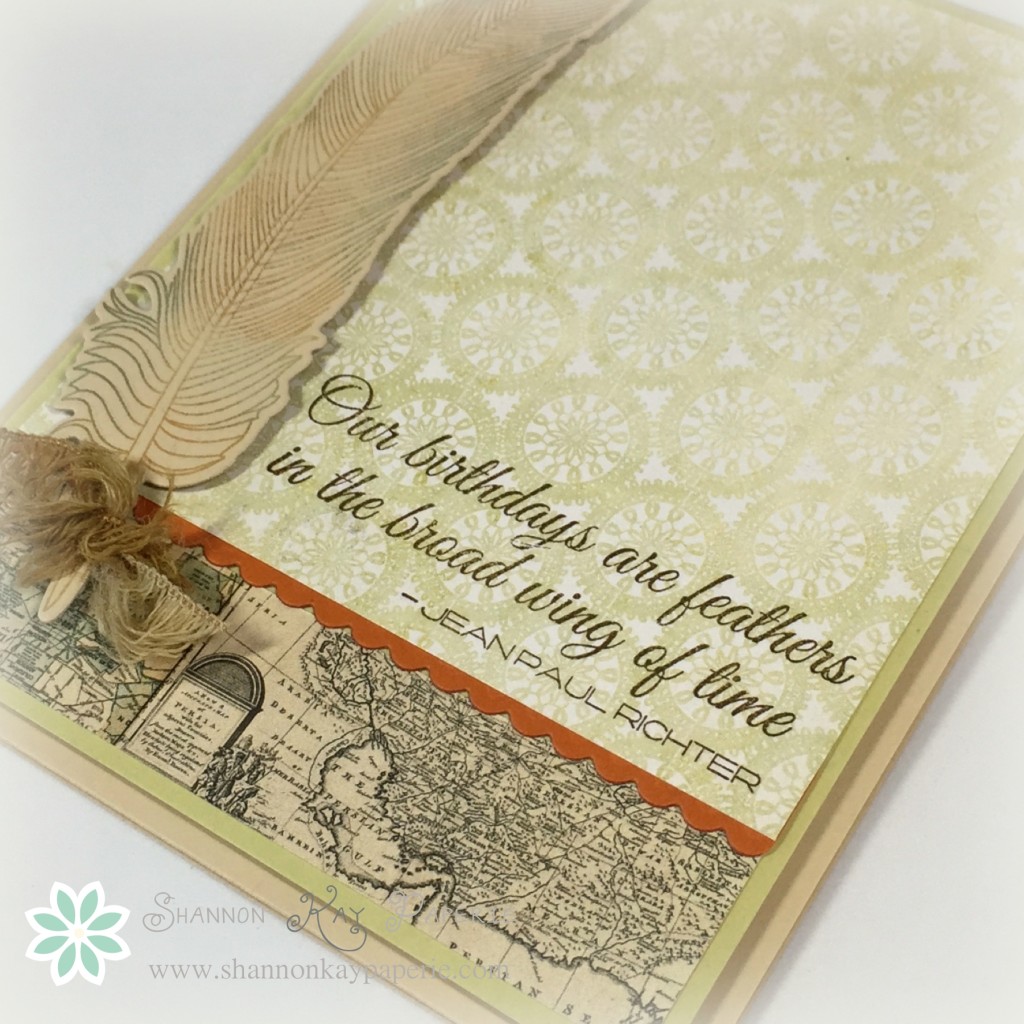
SKP Watermarked Photos2-022I went looking through my stamps for inspiration for the circle element and found the beautiful Fancy Feathers stamp set by Clearly Besotted Stamps (one of my favorite designers). From there I added in patterned paper. I admit I was a bit stumped by the sketch as it called for patterned paper on top, as well as a sentiment, but no layer for a sentiment…this means I need to stamp on the pattern paper! Not usually a problem for me, but I prefer to have a bold pattern on top and a more neutral pattern on the bottom so this was upside down for me! I solved my quandary by making the bottom layer smaller.

SKP Watermarked Photos2-024 Did you notice that the bottom layer of the card is the same pattern paper as the envelope? It turns out that these two patterns are on flip sides of each other, so to make this card I have to use BOTH 6×6 squares of paper up AT THE SAME TIME!! That’s a bit hard on my paper hoarding tendencies!

In this case I had to be careful with my cuts because I’m using both a 6×6 piece as well as a 4x 5 1/4 piece. No room for errors! So I simply cut my 4×5 1/4 piece and made a cut in it at the appropriate spot and flipped the paper over to show the other side. To cover my seam, I elected to insert a small piece of scalloped cardstock. it covers the seam as well as providing a nice clean break between the two patterns.

SKP Watermarked Photos2-026I inked my feather up with Spring Moss ink and, using my MISTI, stamped onto my cardstock. I then used a sponge dauber to ink the stamp up again with Canyon Clay, stamped, and then inked up again in Soft Suede and just a touch of Blueberry Sky. I love the resulting variegated colors. I had some fibers on my table that I had rejected from yesterday’s card, it turns out that it is a perfect tone for this card so I figured out how to work it in. What do you think of the texture? I love it!!

SKP Watermarked Photos2-025My sentiment is also from the Fancy Feathers stamp set and has been stamped in Soft Suede ink. What a lovely thought as well as beautiful font!

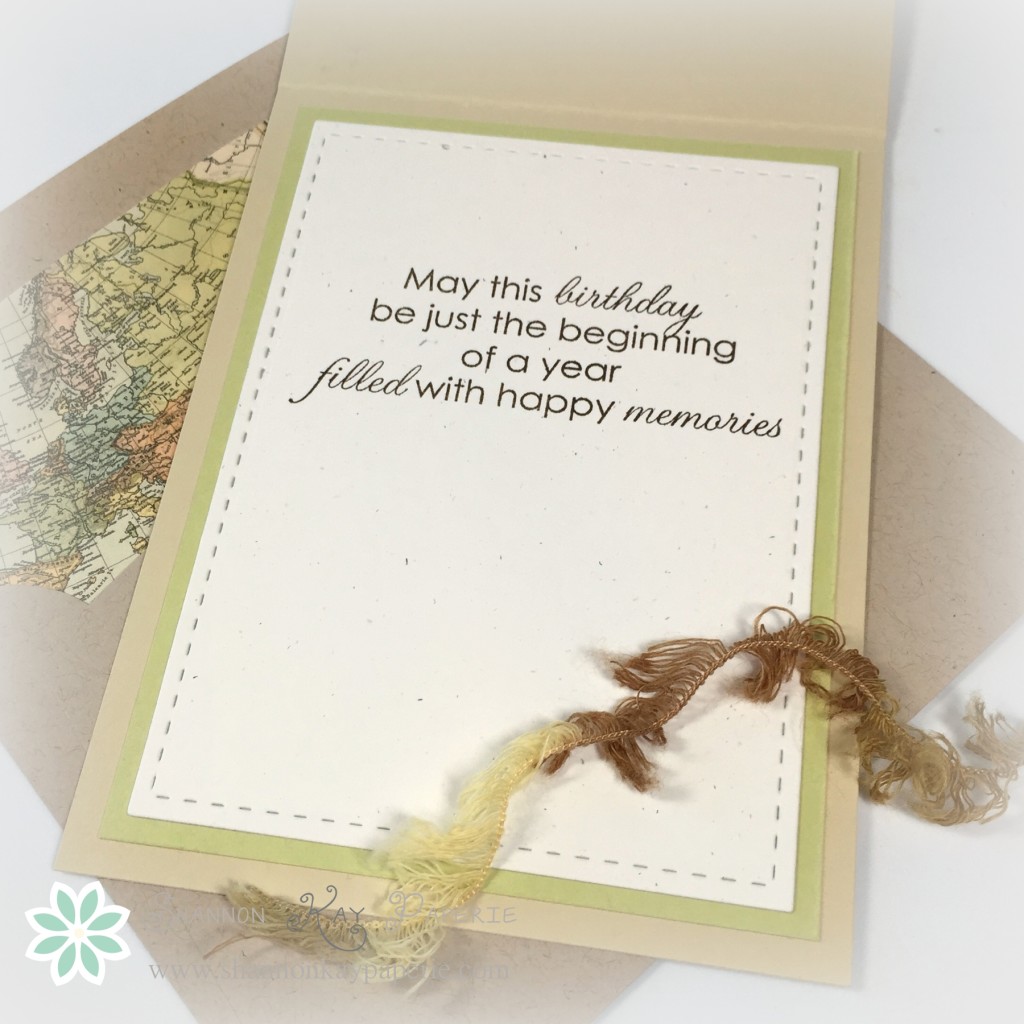
SKP Watermarked Photos2-027I found a sentiment from the Inside & Out: Birthday stamp set from Papertrey Ink. I think it works very well with the outer sentiment! A nice card, perhaps masculine? A card for an older gentleman? What do you think?

So are you ready to play along? Be sure to check out the amazing inspiration from the rest of the design team:

The Paper Players Design Team
Products Used:
Cardstock: Fine Linen, Canyon Clay, Spring Moss by Papertrey; Primitive Whte by My Favorite Things

Pattern Paper: Now & Then: Mildred by My Mind’s Eye

Ink:  Blueberry Sky, Canyon Clay, Spring Moss by Papertrey Ink; Soft Suede by Stampin’ Up!

Stamps:  Fancy Feathers by Clearly Besotted Stamps; Inside & Out: Birthday by Papertrey Ink

Dies: Fancy Feathers by Clearly Besotted Stamps; Femme Frames (for scallop) by Mama Elephant; Stitched Mats: Rectangles by Lil’ Inker; Envelope Liner Die by Stampin’ Up!

Tools:  MISTI by My Sweet Petunia

Embellishments: Retired Fiber from Making Memories; Candy Dots by Stampin’ Up!