Wrapping Up Christmas Part III – Snowflake Sentiments

Stampin-Up-Snowflake-Sentiments-Christmas-Holiday-Card-Idea-Shannon-Jaramillo-stampinup-SU

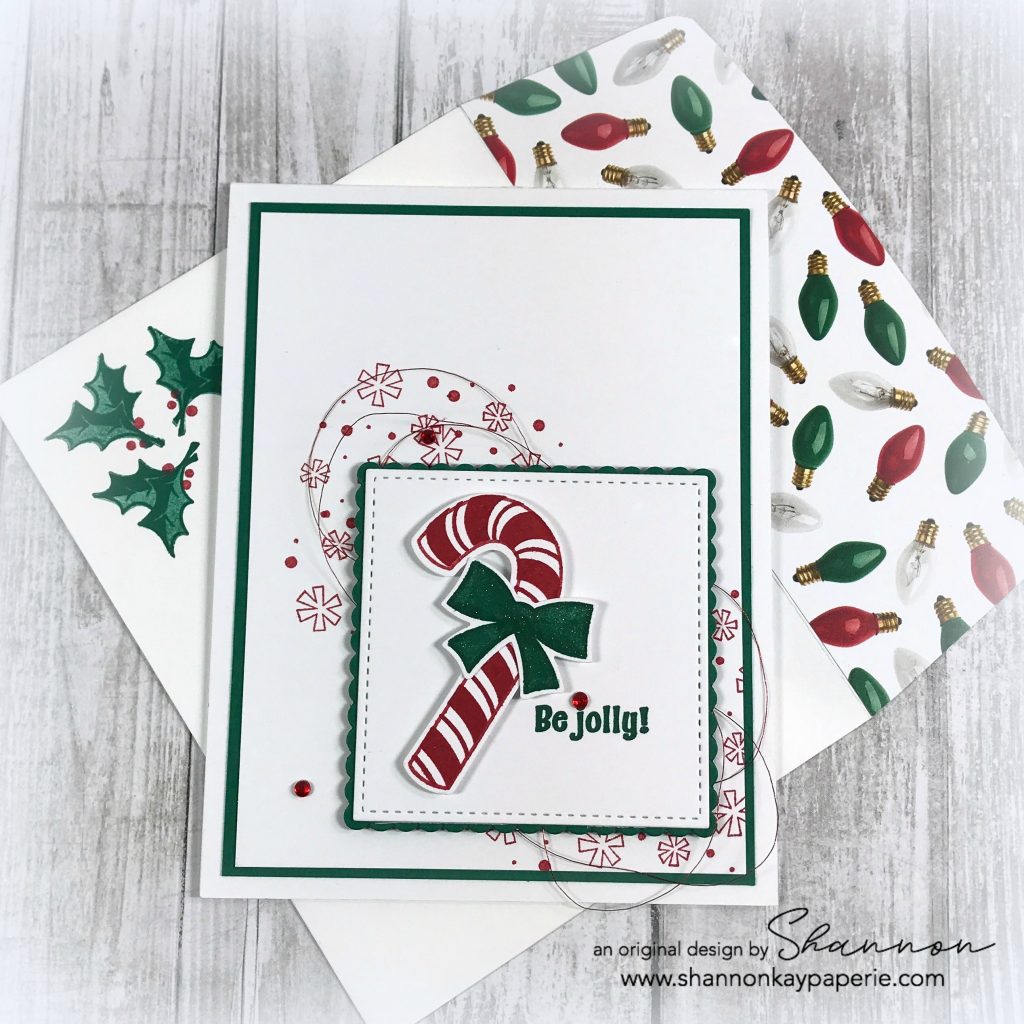
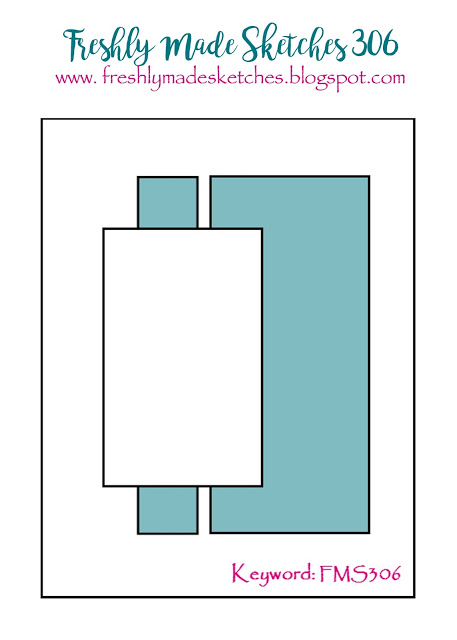
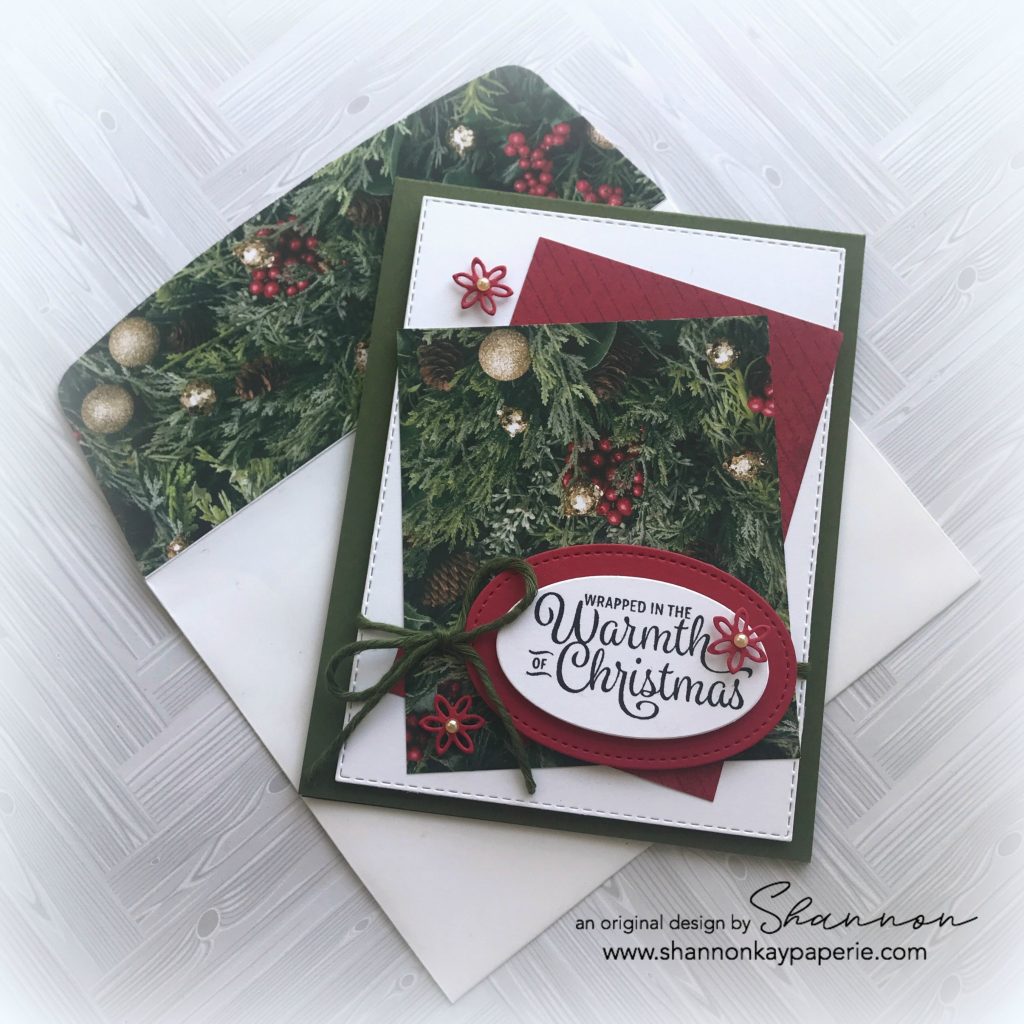
After working with the realistic ornament pattern paper (here), I thought I would tackle another pattern in the same DSP pack, All is Bright. I’m feeling a little more adventurous now, isn’t it pretty?!?

Measurements:

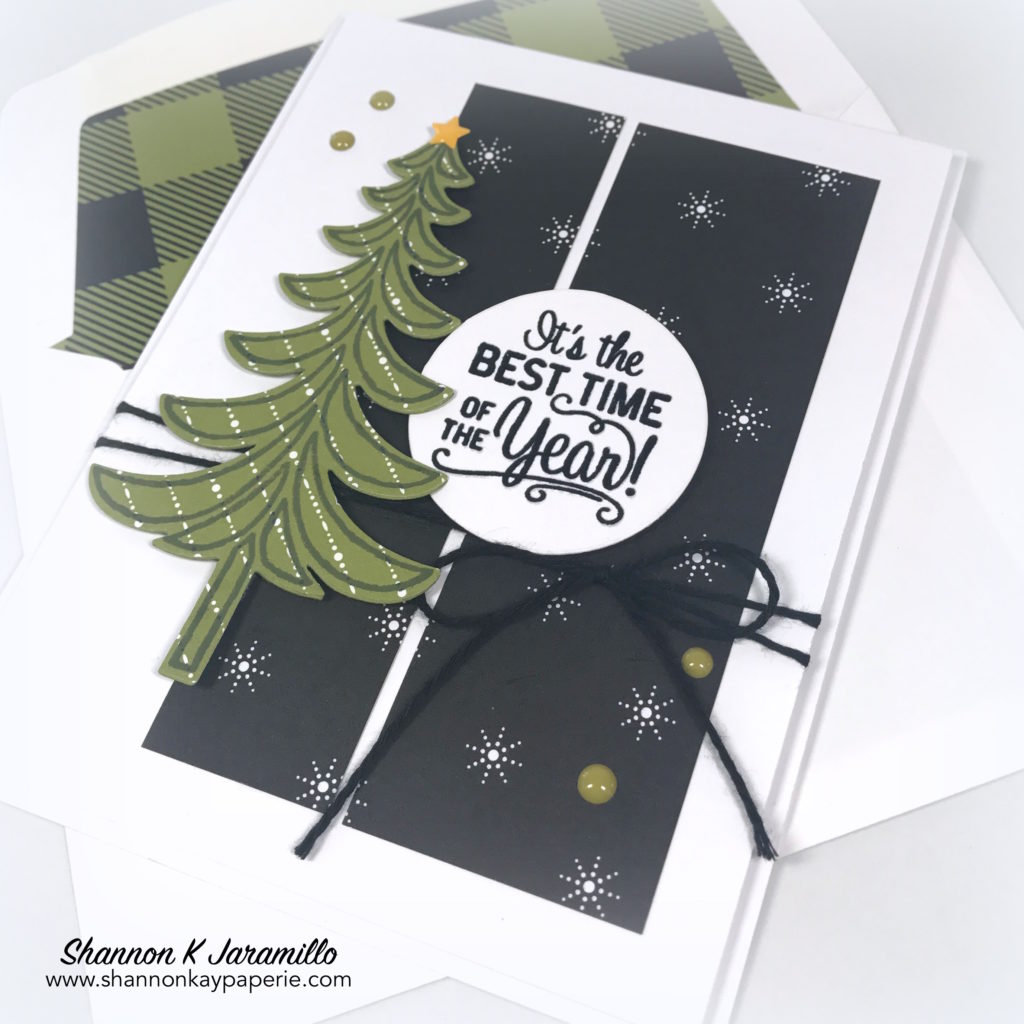
  • Mossy Meadow Card Base 4 1/4″ x 11″ scored at 5 1/2″
  • White layer is a die cut!!
  • DSP Layer #1 3 1/4″ x 3 3/4″
  • DSP Layer #2 2 3/4″ x 4 1/4″

Details:

  • This card came together VERY quickly! The biggest challenge was deciding on the size of the rectangles of DSP 🙂
  • The sentiment is from Snowflake Sentiments and is a favorite of mine, it looks so gorgeous when stamped!

Stampin-Up-Snowflake-Sentiments-Christmas-Holiday-Card-Ideas-Shannon-Jaramillo-stampinup-SU

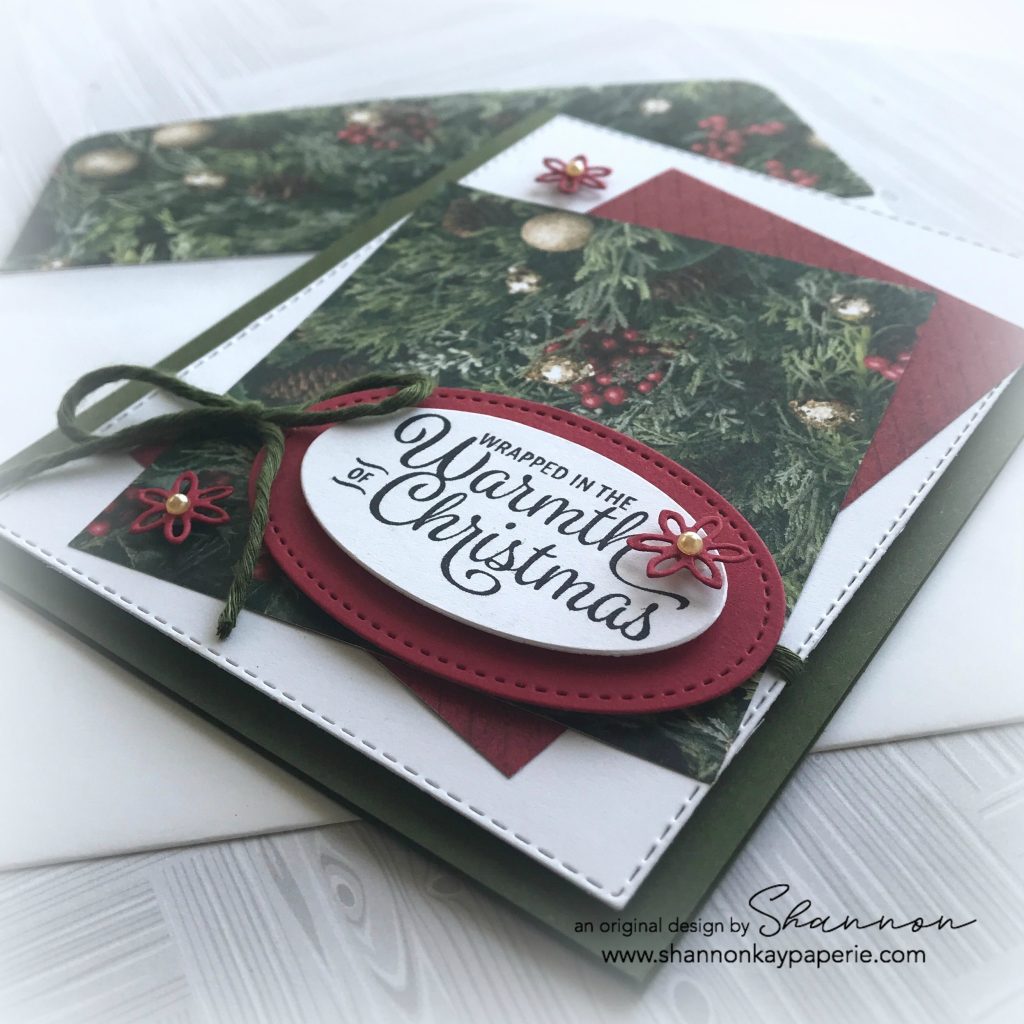
  • I die cut the sentiment with the Layering Ovals Framelits Dies and then popped it up on a Real Red base, using the Stitched Shapes Framelits Dies.  I feel like there should be a size of framelits between the two I used, but I wasn’t able to find one 🙁 It’s probably just user error!

Stampin-Up-Snowflake-Sentiments-Christmas-Holiday-Cards-Idea-Shannon-Jaramillo-stampinup-SU

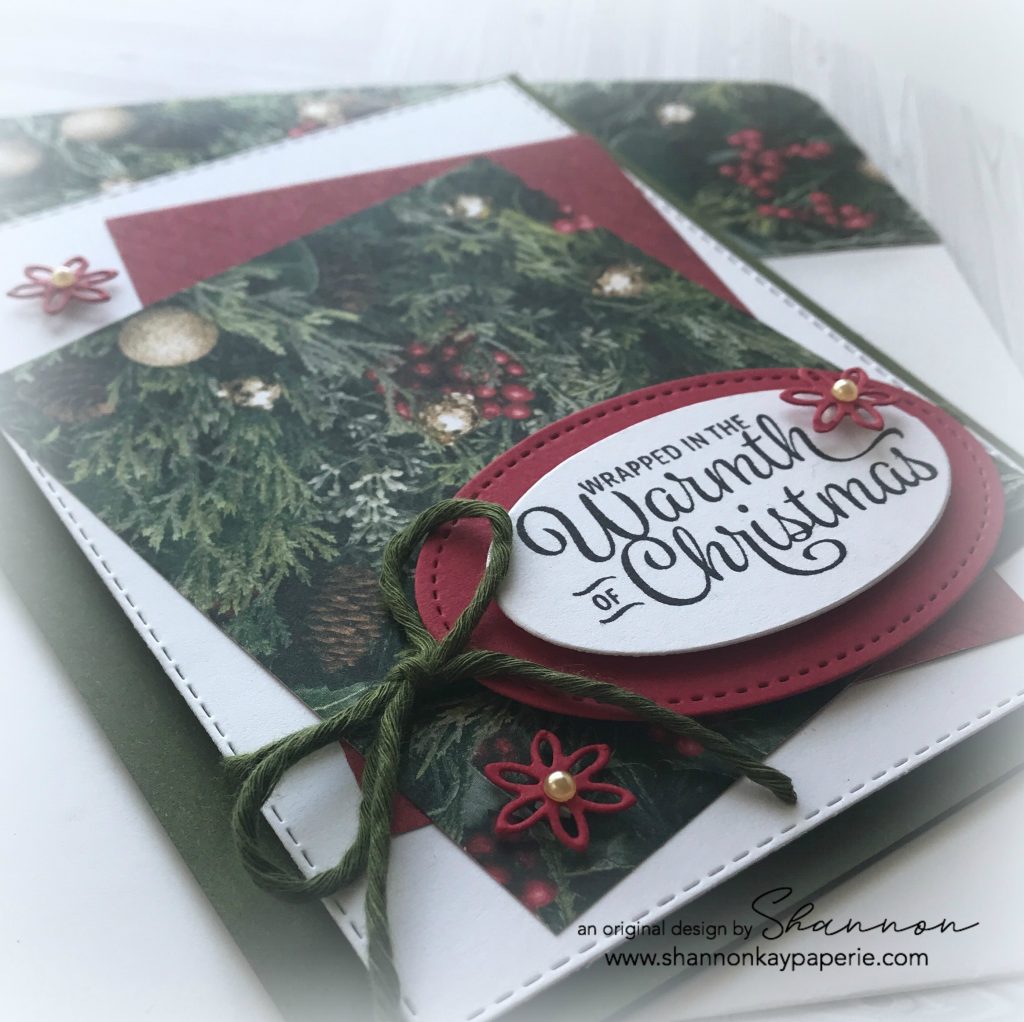
  • The darling poinsettias are from the Dashing Deer Thinlits Dies. I was originally looking for poinsettias to stamp and die cut (which are in this same set as well), but decided these little guys were too cute to pass up. I popped them up on itty bitty pieces of Stampin’ Dimensionals and then added some Artisan Pearls to the center. So cute!! Baker’s Twine in Mossy Meadow adds a touch of texture.

Stampin-Up-Snowflake-Sentiments-Christmas-Holiday-Cards-Ideas-Shannon-Jaramillo-stampinup-SU

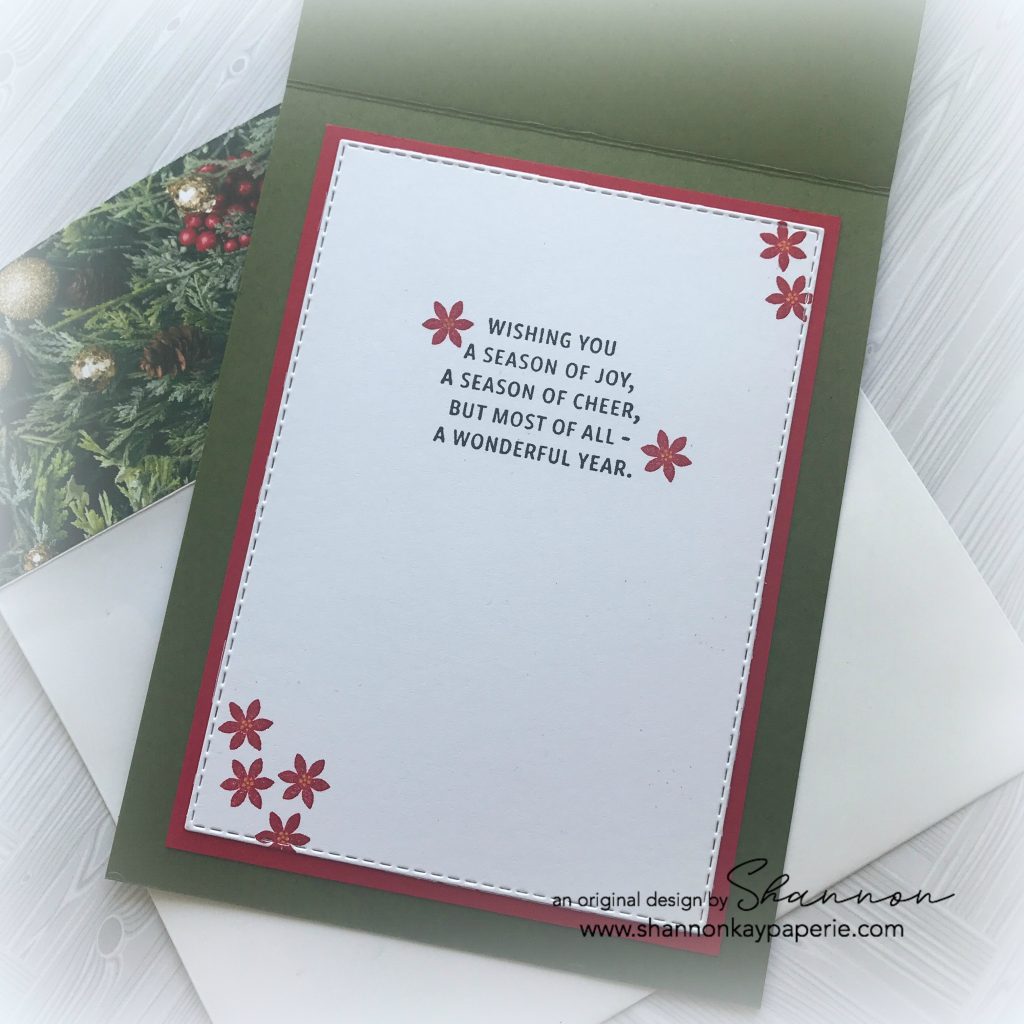
  • I die cut the sentiment panel for the inside, trimmed it out with some Real Red card stock and stamped a few of the poinsettias that I mentioned above. I added a bit of yellow to the centers with Stampin’ Blends in Daffodil Delight.

Only one more holiday card to share (tomorrow)! I’m a bit sad to put Christmas away, I will for now but not TOO far away as we only have 363 days until Christmas rolls around again! I am determined to be prepared!! lol

Blessings to you!

Supplies (all Stampin’ Up! unless otherwise noted):

Card Stock: Mossy Meadow and Real Red; Stamper’s Select White by Papertrey Ink

DSP: All is Bright

Ink: Versafine Onyx Black

Stamps: Snowflake Sentiments, Dashing Deer

Dies: Stitched Shapes Framelits Dies, Layering Oval Framelits Dies, Rectangle Stitched Framelits Dies, Detailed Deer Thinlits Dies

Tools: Big Shot, Stampin’ Trimmer

Embellishments: Artisan Pearls & Festive Farmhouse Cotton Twine in Mossy Meadow

Other: Whisper White Envelope

Candy Cane Season – CASEing Christmas

Stampin-Up-Candy-Cane-Season-Holiday-Christmas-Card-Idea-Shannon-Jaramillo-stampinup-SU

What exactly is ‘CASEing’? It’s an acronym that stands for ‘Copy and Share Everything’. If you struggle to come up with card layouts – stop! Card making is supposed to be FUN so let’s make it fun! Google the name of the stop set you want to use and scroll through the images until you find one you like and copy it! There is no shame in it! Or, scroll through Pinterest until you find something interesting and copy it! Or use it as a jumping off point for whatever it triggers in your head! I tend to save a photo of cards that inspire me and then scroll back through the photos for inspiration. DO IT!! My only caveat is that if you put your card out onto the web, please be sure to credit the original designer. That’s just proper etiquette. So, go for it!

Measurements:

  • White Card Base 4 1/4″ x 11″ scored at 5 1/2″
  • Shaded Spruce Card Stock Layer 5 1/8″ x 3 7/8″
  • White Stamped Layer 5″ x 3 3/4″

Details:

  • I adore the crisp and clean look of Mary Fish’s card (shown below) using the Candy Cane Season stamp set and couldn’t wait to recreate it. It’s perfect! I did however, want to make it in the A2 size rather than a gift tag size

  • Because I knew that I would be adding layers, I went ahead and added a scalloped square behind the stitched layer to add definition.
  • The candy cane and bow were SOOO easy to stamp and then punch out with the coordinating punch!!

Stampin-Up-Candy-Cane-Season-Holiday-Christmas-Cards-Ideas-Shannon-Jaramillo-stampinup-SU

  • I then pulled out a darling retro snowflake stamp from the same stamp set (totally reminds me of Frosty the Snowman) and my retired Stamp-A-Ma-Jig (which BTW is currently on the clearance rack at Stampin’ Up’s online store if you want to pop over and grab one) and added some carefully placed snowflakes. And, in my world, snowflakes can be red 😉
  • I added more Shaded Spruce behind the white stamped panel for extra ‘pop’ and then attached some retired red thread to the stitched square and popped everything up with Stampin’ Dimensionals! I think it’s so fun!
  • I made a boo-boo when stamping my red snowflakes and overlapped some, but not to panic!, I just added another red rhinestone to that spot and the rhinestone takes all the attention away from the mistake! Of course I had to add another red rhinestone to create a visual triangle!

Stampin-Up-Candy-Cane-Season-Holiday-Christmas-Cards-Idea-Shannon-Jaramillo-stampinup-SU

  • A bit of decorating on the inside and the envelope and this one’s ready to go!

I think would be an easy card to mass produce and will probably do so to get ahead for next year (yeah, right, don’t we say that every year?!? haha)

My Christmas shopping is pretty easy now the my kids are grown and I don’t have grand babies yet so I’m just stamping away over here!!

Have a wonderful rest of your week with all that that entails at this time of the year and I am looking forward to sharing new products with you after the holiday!

Blessings!

Supplies (all Stampin’ Up! unless otherwise noted):

Card Stock: Shaded Spruce and Stamper’s Select White by Papertrey Ink

DSP: All is Bright

Ink: Shaded Spruce, Real Red and Versafine Onyx Black

Stamps: Candy Cane Season and Snowflake Sentiments (inside greeting)

Dies:  Stitched Shapes and Layering Squares Framelits; retired Envelope Liner Die

Tools: Candy Cane Builder Punch; Stampin’ Trimmer

Embellishments: Red Rhinestone Basic Jewels

Other: Whisper White Envelope

It’s the BEST Time of the Year – Freshly Made Sketches 306

Stampin-Up-Santa's-Sleigh-Christmas-Card-Idea-Shannon-Jaramillo-stampinup

I’ve been on a roll with fall cards and colors, and will go BACK to fall cards and colors, but I wanted to take a moment to remind us all that there are only 13 Fridays before Christmas! Eek! So if I only make one Christmas card a week from here on out, I will only have 13 made. That will NOT do at all…what is on YOUR to-do list? Anything yet?

Measurements:

  • Card Base 4 1/2″ x 11″, scored at 5 1/2″
  • Next layer 4″ x 5 1/4″
  • Top layer (DSP) 2 1/2″ (cut at 1 1/2″) x 4 1/2

Details:

  • I wasn’t sure about black as a Christmas card but have to say that after using this fabulous paper, I’m a convert! Basic Black and Old Olive look stunning together…very classy.

Stampin-Up-Santa's-Sleigh-Christmas-Card-Ideas-Shannon-Jaramillo-stampinup

  • I kept very close to the sketch with this card, simply changing out the rectangle on the left hand side for the Christmas Tree from Santa’s Sleigh. I stamped the tree in Tuxedo Black right onto a simple pattern from the Merry Little Christmas DSP pack, and then die cut the tree with the coordinating die.
  • The tree is popped up off of the simple black star pattern DSP, also from the Merry Little Christmas DSP pack, and next to it is a sweet sentiment from the Christmas in the Making stamp set. I stamped the sentiment in Tuxedo Black and then again in Versamark and then heat set clear embossing powder on it to make the sentiment really pop.

Stampin-Up-Santa's-Sleigh-Christmas-Cards-Idea-Shannon-Jaramillo-stampinup

  • Simple Black Baker’s Twine looped around the card and tied in a pretty bow give the card a nice balance of the three elements. Old Olive Enamel Dots are the perfect finishing touch!
  • I purposely kept all of the design elements clean, no layers or extras. This would be a good card to mass produce.
  • And isn’t the plaid pattern I used for the envelope liner fabulous?!? It’s so pretty, it’s hard to cut into!

Stampin-Up-Santa's-Sleigh-Christmas-Cards-Ideas-Shannon-Jaramillo-stampinup

  • I kept the inside simple as well with just a simple sentiment from the Snowflake Sentiments stamp set stamped in Tuxedo Black. The set also as this A-D-O-R-A-B-L-E little swirl which I stamped in Old Olive. I used my Stamp-A-Ma-Jig to get the placement I wanted.

Thank you to the Freshly Made Sketches design team for another outstanding and inspirational sketch! Without it this card would never have been born!

And remember, only THIRTEEN more Fridays until Christmas!!! 🙂

Supplies:

Card Stock: Stamper’s Select White by Papertrey Ink

Pattern Paper: Merry Little Christmas by Stampin’ Up!

Ink: Old Olive by Stampin’ Up! and Tuxedo Black by Memento

Stamps:  Santa’s Sleigh, Christmas in the Making and Snowflake Sentiments by Stampin’ Up!

Dies:  Santa’s Sleigh, Layering Circles and Envelope Liner Die (retired) by Stampin’ Up!

Tools: Big Shot, Heat Tool, Clear Embossing Powder, Embossing Buddy, Stamp-A-Ma-Jig by Stampin’ Up!; MISTI by My Sweet Petunia

Embellishments: Old Olive Enamel Dots and Basic Black Baker’s Twine by Stampin’ Up!

Other: Medium Whisper White Envelope by Stampin’ Up!