How Sweet It Is – Freshly Made Sketches 368

Stampin-Up-How-Sweet-It-Is-Holiday-Christmas-Card-Idea-Shannon-Jaramillo-stampinup-SU

Hello My Friends! Are you knee deep in holiday preparations and celebrations? Me too but when my Stampin’ Up! preorder of new goodies from the upcoming Occasions and Sale-A-Bration catalogs came in, I MADE time to play!

Measurements:

  • White Card Base 4 1/4″ x 11″ scored at 5 1/2″
  • Everything else is a die cut!!

Details:

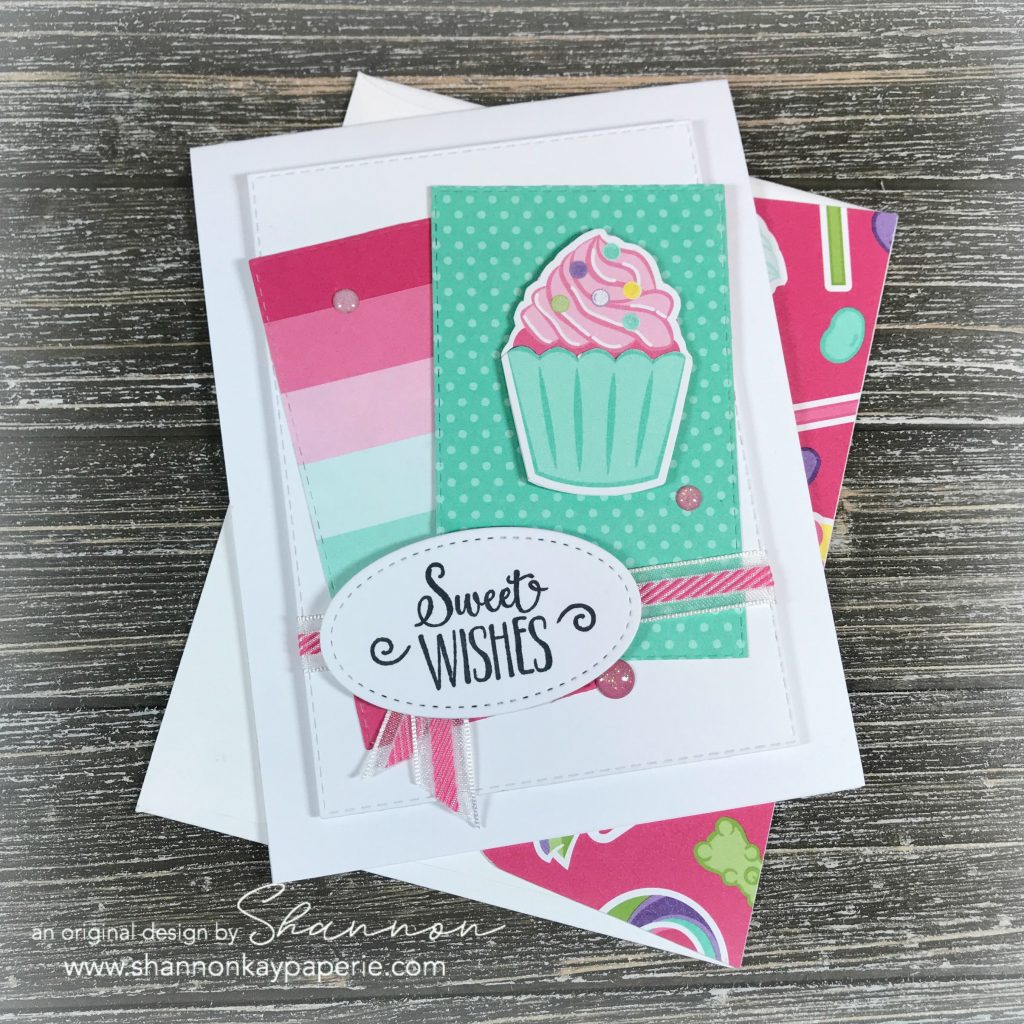
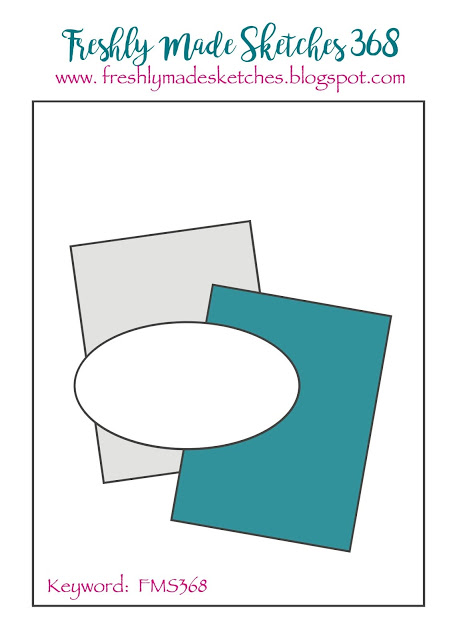
  • My jumping off point for today’s card was the latest Freshly Made Sketches challenge. I loved the design and the opportunity to break in my brand new Stampin’ Up! Stitched Rectangle Dies! Yes! January 3, 2019 is the day they will be available for purchase!
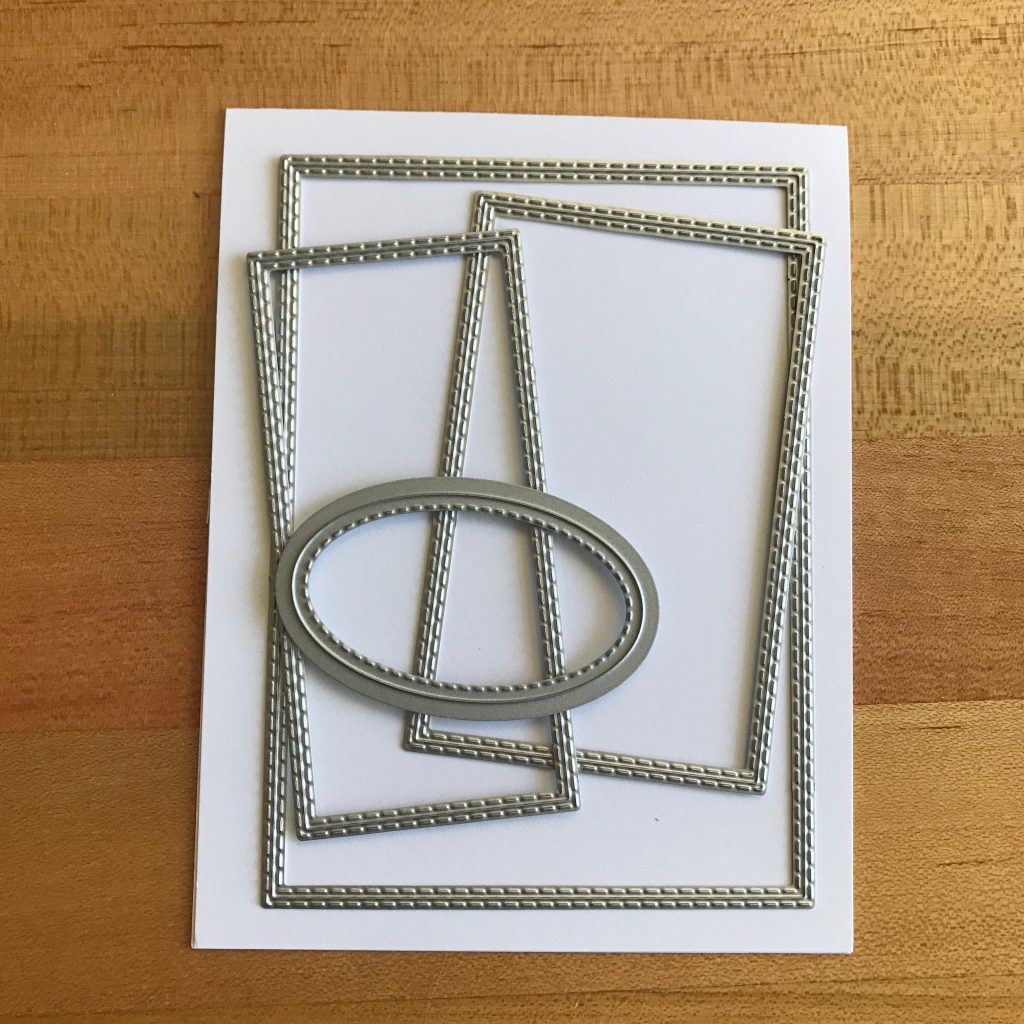
  • I thought I would share with you a few process photos today, this one shows how I arrived at my basic layout – all with dies! And can you see how the rectangle on the left is more narrow than the other two? They have given us choices! Love it!
  • It just took a few minutes to decide which patterns to use for my layout – the new ‘How Sweet It Is’ DSP in the Occasions catalog made it very easy – AND provided me with these darling cupcakes to use as a die cut! The two cupcakes below were each hand cut out of one the patterns of the DSP (I used this pattern for the envelope flap as well).
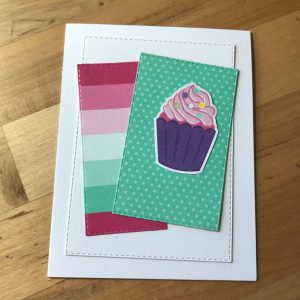
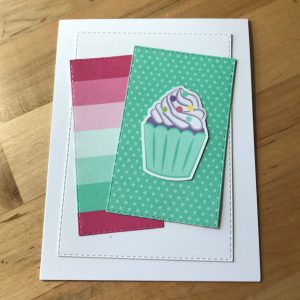
  • I couldn’t decide which cupcake to use! The top cupcake used the color Gorgeous Grape for the cupcake liner but I didn’t have Gorgeous Grape anywhere else on my card so I felt that the color actually took away from my overall design. And the Coastal Cabana cupcake liner with the white frosting in the bottom photo blended too easily with the patterned paper behind it. WHAT TO DO???
Stampin-Up-How-Sweet-It-Is-Holiday-Christmas-Card-Ideas-Shannon-Jaramillo-stampinup-SU

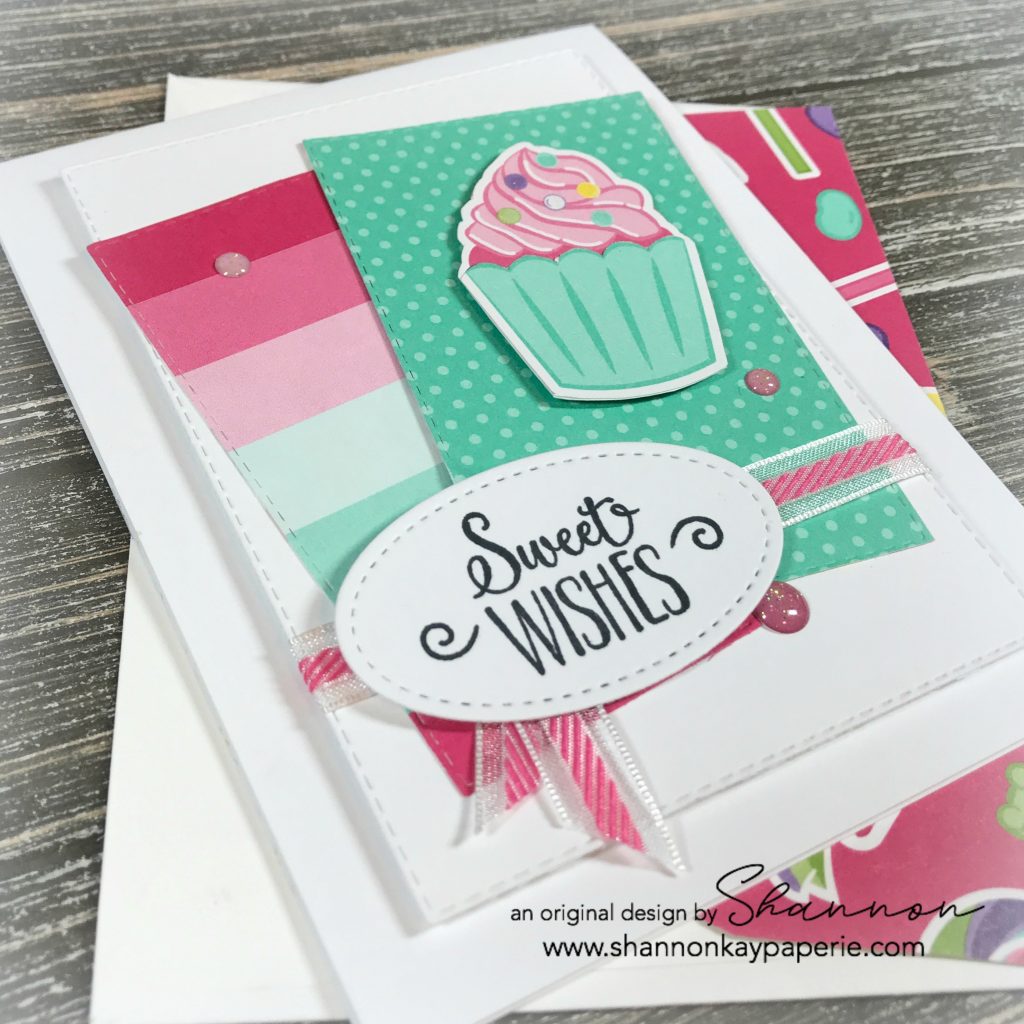
  • I fussy cut the Coastal Cabana cupcake liner and adhered it right on top of the Gorgeous Grape cupcake liner to create my own custom combination! There are four different cupcakes in the patterned paper to create SO many custom options! And I love that the images already come white the white outline…SO simple to cut out!
  • This darling sentiment (love the font!) is from the ‘Hello Cupcake’ photopolymer stamp set that you will be able to get free with your $50 purchase of any product! Super cute stamp set, I’ll be back with more samples soon!
  • The embellishments are all retired. The super sparkly and scrumptious enamel dots retired with the last annual catalog but you could easily use whatever you have on hand. The darling ribbon is VERY retired…like maybe 7 years ago? It also came in Old Olive and Marina Mist and was quite unlike any ribbon I had seen before so I kept it, and I’m thrilled to have the opportunity to use it!!
  • The large white rectangle is popped up using white craft foam and the cupcake and sentiment are both popped up with Stampin’ Dimensionals.
Stampin-Up-How-Sweet-It-Is-Holiday-Christmas-Cards-Ideas-Shannon-Jaramillo-stampinup-SU

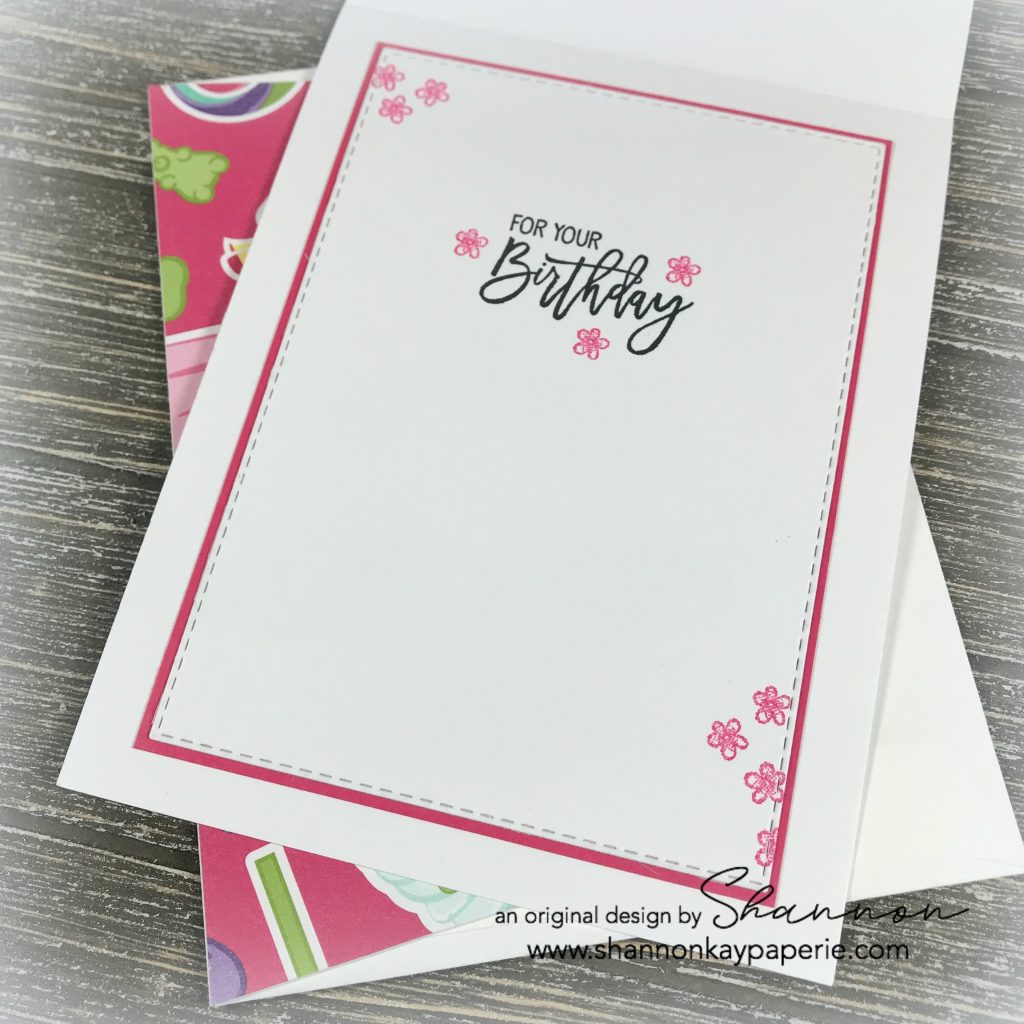
  • I die cut another rectangle for the inside the same size as the one on the outside and then trimmed it out with Melon Mambo card stock. These super sweet flowers are from the ‘Hello Cupcake’ stamp set again (they are just the perfect size for an accent!) and the sentiment is from a stamp set that you will be able to purchase from the Occasions catalog called ‘Birthday Cheer’. Super fun fonts in this set!!

Here is the sketch from the Freshly Made Sketches design team that inspired today’s project:
I had such a fun time using this sketch and all of the bright new products available Jan 3rd from the Occasions catalog – it’s always fun to play with brand new stuff!!

Thank you for taking the time to visit me today and I hope that you have a wonderful holiday! I will be back next week with new projects!

Blessing to you!

Supplies (all Stampin’ Up! unless otherwise noted):

Card Stock: Melon Mambo and Stamper’s Select White by Papertrey Ink

DSP: How Sweet It Is

Ink: Melon Mambo and Versafine Onyx Black

Stamps: Hello Cupcake (outside Greeting); Birthday Cheer (inside greeting)

Dies:  Rectangle Stitched and Stitched Shapes Framelits Dies; retired Envelope Liner Die

Tools: Candy Cane Builder Punch; Stampin’ Trimmer

Embellishments: Glitter Enamel Dots and 3/8″ Melon Mambo ribbon, both retired

Other: Whisper White Envelope

Candy Cane Season – CASEing Christmas

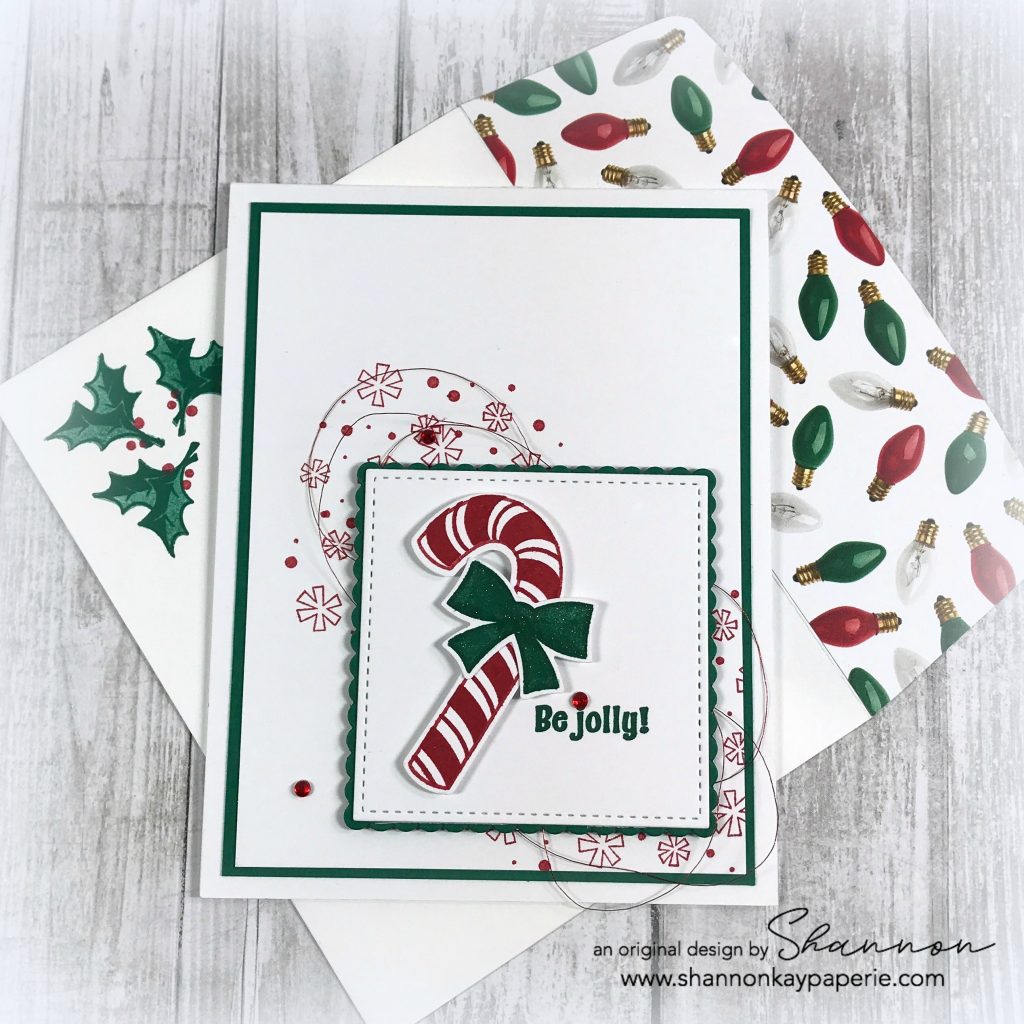
Stampin-Up-Candy-Cane-Season-Holiday-Christmas-Card-Idea-Shannon-Jaramillo-stampinup-SU

What exactly is ‘CASEing’? It’s an acronym that stands for ‘Copy and Share Everything’. If you struggle to come up with card layouts – stop! Card making is supposed to be FUN so let’s make it fun! Google the name of the stop set you want to use and scroll through the images until you find one you like and copy it! There is no shame in it! Or, scroll through Pinterest until you find something interesting and copy it! Or use it as a jumping off point for whatever it triggers in your head! I tend to save a photo of cards that inspire me and then scroll back through the photos for inspiration. DO IT!! My only caveat is that if you put your card out onto the web, please be sure to credit the original designer. That’s just proper etiquette. So, go for it!

Measurements:

  • White Card Base 4 1/4″ x 11″ scored at 5 1/2″
  • Shaded Spruce Card Stock Layer 5 1/8″ x 3 7/8″
  • White Stamped Layer 5″ x 3 3/4″

Details:

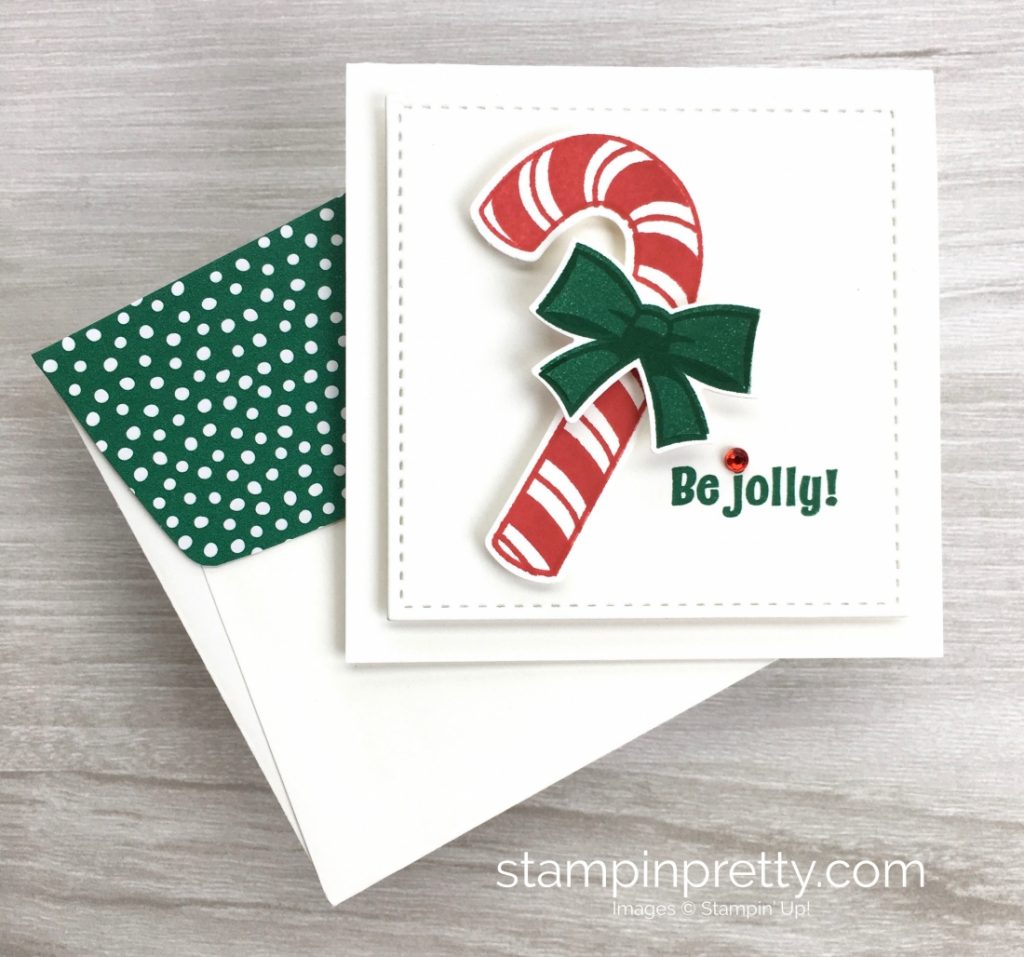
  • I adore the crisp and clean look of Mary Fish’s card (shown below) using the Candy Cane Season stamp set and couldn’t wait to recreate it. It’s perfect! I did however, want to make it in the A2 size rather than a gift tag size

  • Because I knew that I would be adding layers, I went ahead and added a scalloped square behind the stitched layer to add definition.
  • The candy cane and bow were SOOO easy to stamp and then punch out with the coordinating punch!!

Stampin-Up-Candy-Cane-Season-Holiday-Christmas-Cards-Ideas-Shannon-Jaramillo-stampinup-SU

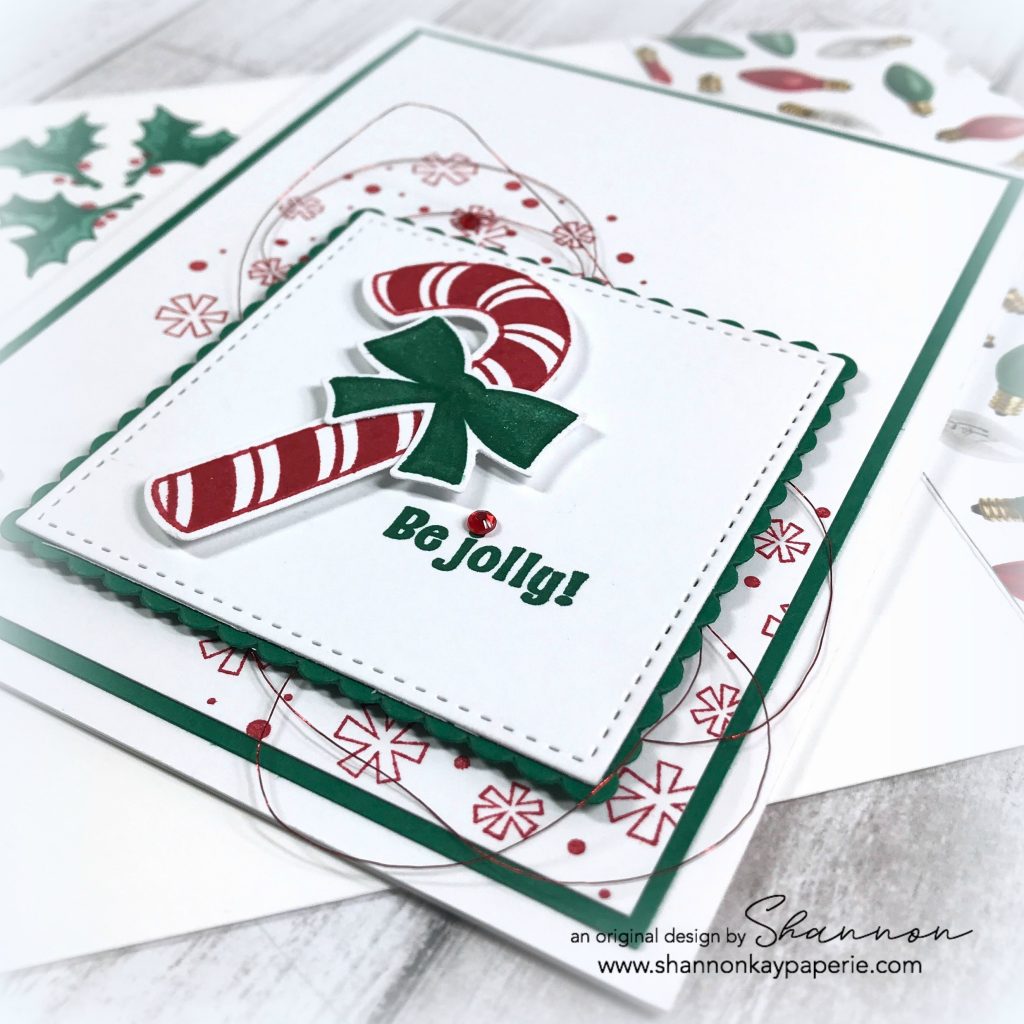
  • I then pulled out a darling retro snowflake stamp from the same stamp set (totally reminds me of Frosty the Snowman) and my retired Stamp-A-Ma-Jig (which BTW is currently on the clearance rack at Stampin’ Up’s online store if you want to pop over and grab one) and added some carefully placed snowflakes. And, in my world, snowflakes can be red 😉
  • I added more Shaded Spruce behind the white stamped panel for extra ‘pop’ and then attached some retired red thread to the stitched square and popped everything up with Stampin’ Dimensionals! I think it’s so fun!
  • I made a boo-boo when stamping my red snowflakes and overlapped some, but not to panic!, I just added another red rhinestone to that spot and the rhinestone takes all the attention away from the mistake! Of course I had to add another red rhinestone to create a visual triangle!

Stampin-Up-Candy-Cane-Season-Holiday-Christmas-Cards-Idea-Shannon-Jaramillo-stampinup-SU

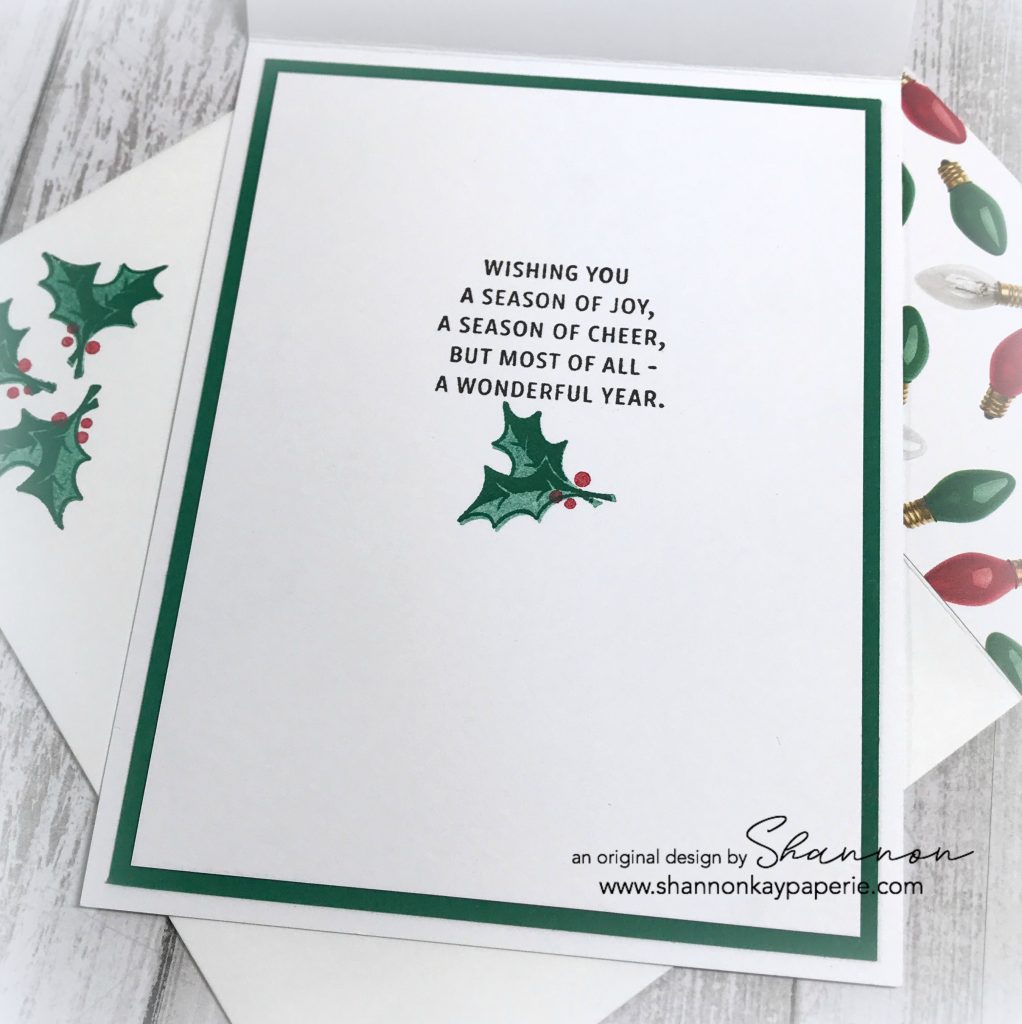
  • A bit of decorating on the inside and the envelope and this one’s ready to go!

I think would be an easy card to mass produce and will probably do so to get ahead for next year (yeah, right, don’t we say that every year?!? haha)

My Christmas shopping is pretty easy now the my kids are grown and I don’t have grand babies yet so I’m just stamping away over here!!

Have a wonderful rest of your week with all that that entails at this time of the year and I am looking forward to sharing new products with you after the holiday!

Blessings!

Supplies (all Stampin’ Up! unless otherwise noted):

Card Stock: Shaded Spruce and Stamper’s Select White by Papertrey Ink

DSP: All is Bright

Ink: Shaded Spruce, Real Red and Versafine Onyx Black

Stamps: Candy Cane Season and Snowflake Sentiments (inside greeting)

Dies:  Stitched Shapes and Layering Squares Framelits; retired Envelope Liner Die

Tools: Candy Cane Builder Punch; Stampin’ Trimmer

Embellishments: Red Rhinestone Basic Jewels

Other: Whisper White Envelope
I’ll Be Home for Christmas…

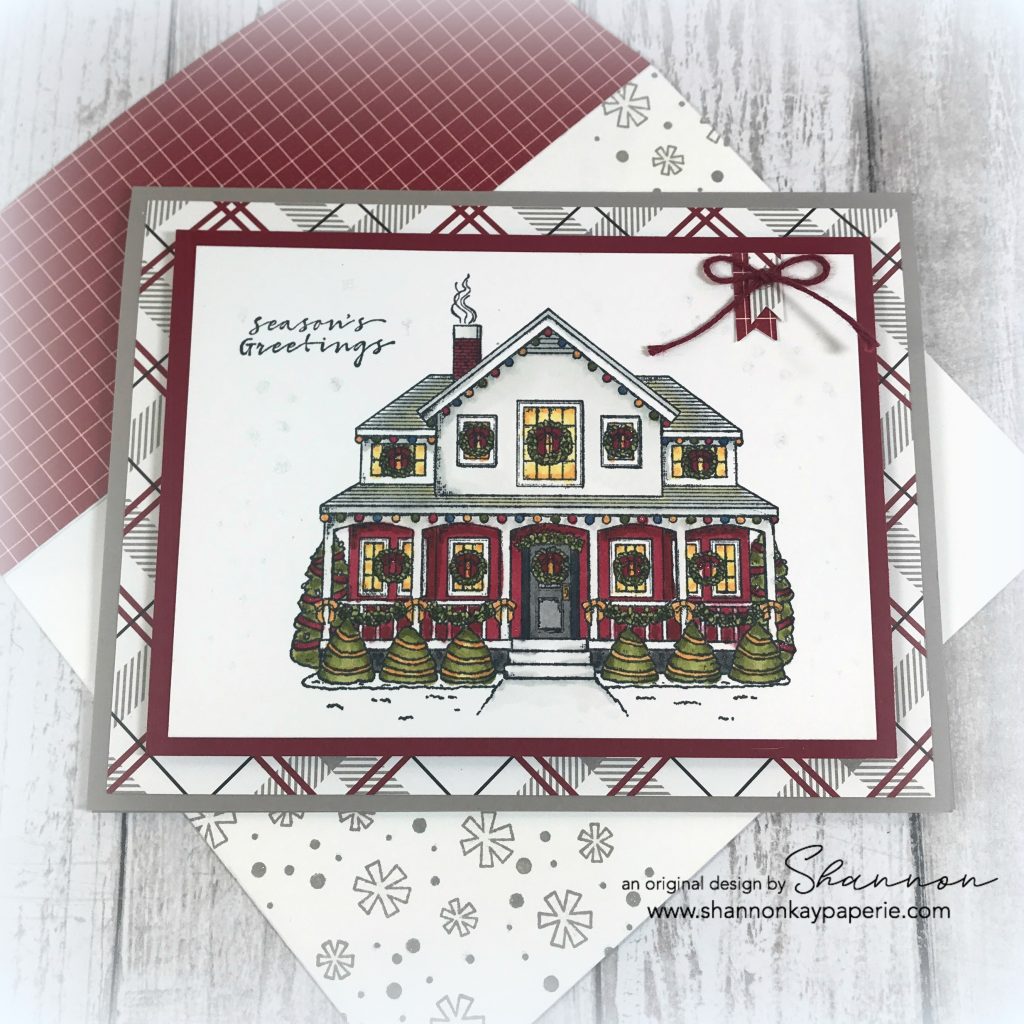
Stampin-Up-I'll-Be-Home-Holiday-Card-Idea-Shannon-Jaramillo-stampinup-SU

Isn’t this the quintessential “I’ll be Home for Christmas” house? I would LOVE to live there! Sadly, I live in Southern California so this is as close to this type of Christmas as I’ll get:)

Measurements:

  • Gray Granite Card Base 5 1/2″ x 8 1/2″ scored at 4 1/4″
  • DSP Layer 5 1/4″ x 4″
  • Cherry Cobbler Layer 4 3/4″ x 3 1/2″
  • Stamped Layer 4 1/2″ x 3 1/4″

Details:

  • I knew I wanted to color this image so I used Memento Tuxedo Black ink as that will not run when combined with alcohol markers
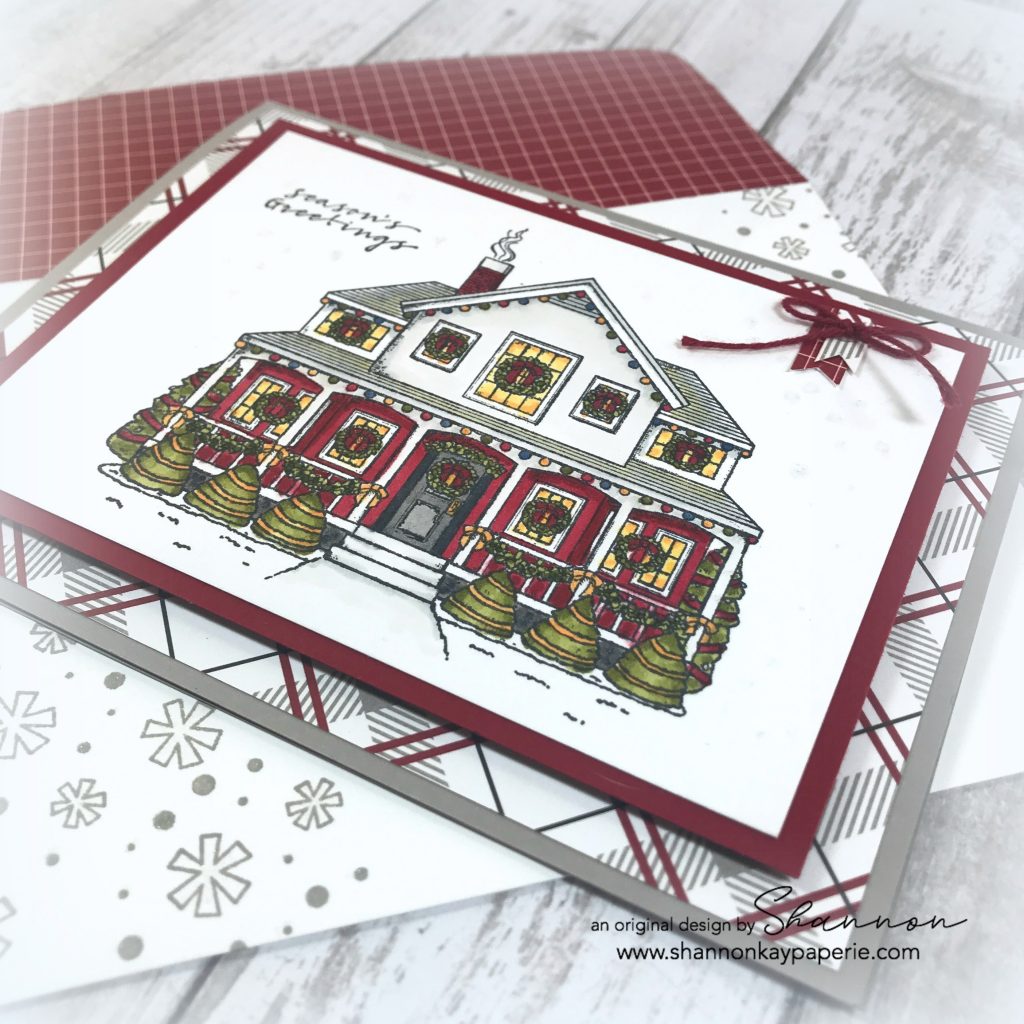
  • Then I jumped in, so excited to color this pretty image! But my coloring attempt was pitiful. Broke out new cardstock, stamped again and colored again. Still pitiful. At that point I knew I needed help so I googled this stamp set and found a colored image that really appealed to me so I stamped another clean image and tried again. This coloring attempt was MUCH better with all of the shadows included. I’m still learning how to add depth to my stamped images!

Stampin-Up-I'll-Be-Home-Holiday-Card-Ideas-Shannon-Jaramillo-stampinup-SU

  • I layered this lovely Christmas house image onto Cherry Cobbler card stock, added a layer of white fun foam to the back to add dimension, and then layered THAT on to a lovely pattern from the Festive Farmhouse DSP.  I think the card base in Gray Granite really ties everything together.
  • When stamping, I realized that I didn’t leave myself very much room for a sentiment (and the sentiment from this stamp set is AWESOME) so I dug through my stamp sets until I found this itty bitty sentiment in the Wishing You Well stamp set…perfect size!!
  • I stamped snowflakes from the retired White Christmas stamp set in Versamark ink to add just a bit of ‘snow’ to my image and then added Wink of Stella to the snowflakes but it’s very hard to see here.
  • I layered tiny banners and a Cherry Cobbler bakers twine bow to the right side of my card to add a bit of balance.

Stampin-Up-I'll-Be-Home-Holiday-Cards-Ideas-Shannon-Jaramillo-stampinup-SU

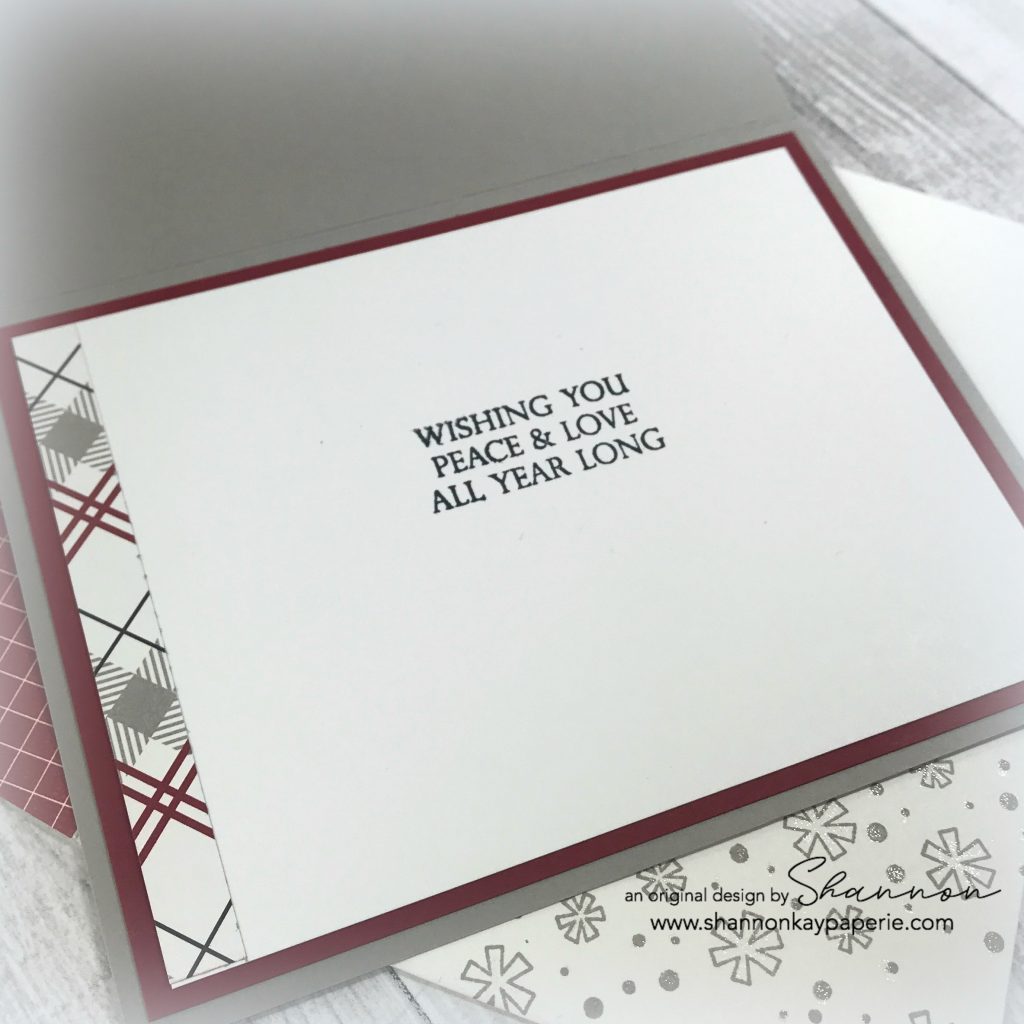
  • A sentiment from the Merry Christmas to All stamp set was used on the inside of my card and the snowflakes on the envelope are a stamp from the Candy Cane Season stamp set.

Are YOU ready for the holiday? I’m definitely NOT, but I will be very soon!!

Thank you for stopping by today, Blessings!

Supplies:

Card Stock: Gray Granite and Cherry Cobbler by Stampin’ Up! Stamper’s Select White by Papertrey Ink

DSP: Festive Farmhouse by Stampin’ Up!

Ink: Memento Tuxedo Black and Gray Granite

Stamps: I’ll Be Home, Wishing You Well, White Christmas (R), Merry Christmas to All, Candy Cane Season by Stampin’ Up!

Dies:  Envelope Liner Die (R) by Stampin’ Up!

Tools: Stampin’ Trimmer by Stampin’ Up!

Embellishments: Cherry Cobbler Twine from the Festive Farmhouse Cotton Twine bundle by Stampin’ Up!; Wink of Stella

Other: Whisper White Envelope by Stampin’ Up!
Dandelion Wishes – Freshly Made Sketches 367

Hello my friends! I’ve been MIA for several months now. Right after my last post, Fun Stampers Journey let all their coaches know that the company would be converting from a direct sales business model to a retail business model, and that they would be combining forces with Spellbinders. I had joined FSJ less than six months ago and invested heavily in product and business tools and had truly embraced their products and just like that – no more teams, up-lines, down-lines, conventions or catalogs. This news came completely out of left field and sent me reeling.

So. This girl has pulled up her big girl panties and chalked it up to ‘lesson learned’. The reality is, direct sales companies as a whole are struggling to be competitive and still stay afloat. I have been welcomed back to the Stampin’ Up! fold by Mary Fish and the Pals with open arms and I am truly grateful for all of them. Stamping is just more fun when it can be shared with your tribe! It’s my social outlet and I need my peeps! (of course, I met lots of new friends during my time with FSJ and I cherish each of them, and miss the daily interaction with all of them) The only thing constant is life is change and I have finally embraced it, however, I intend to be a hobby demo only. NO.MORE.DRAMA.

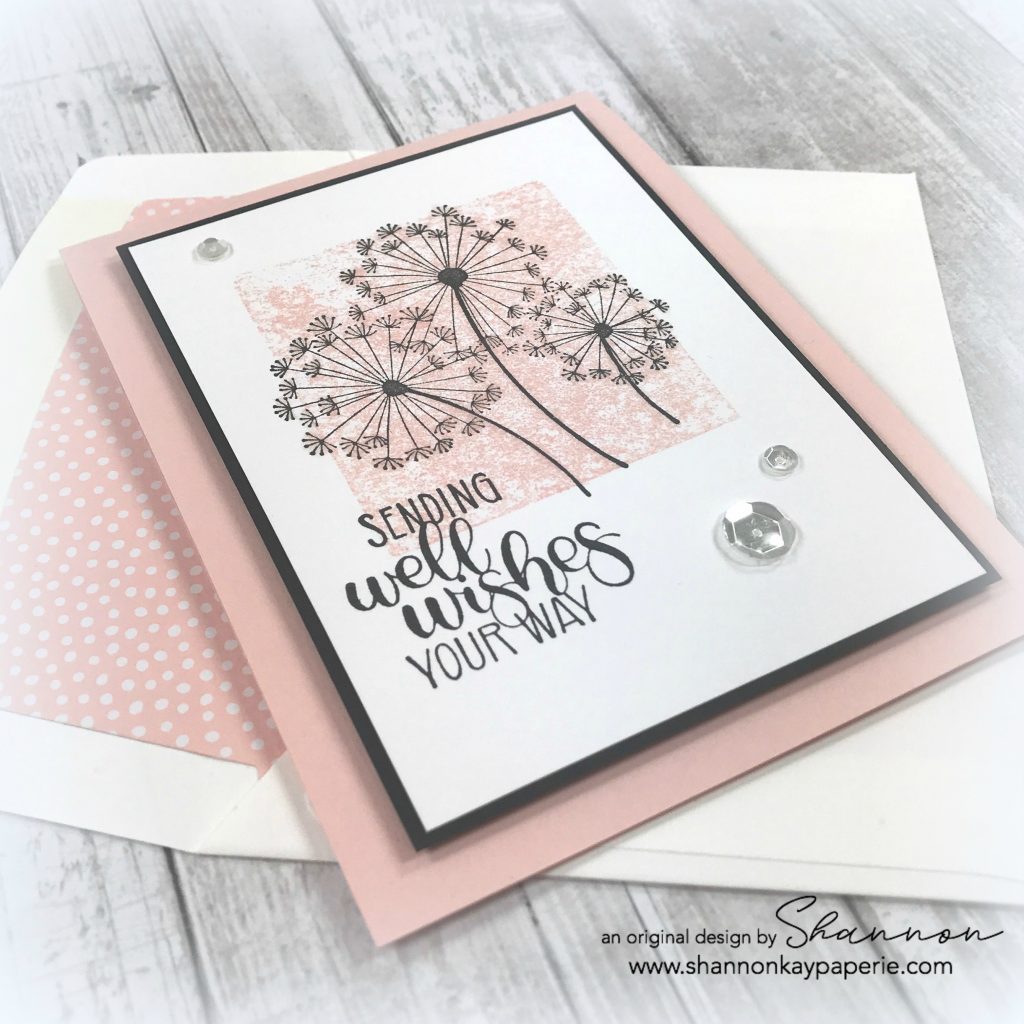
Stampin-Up-Dandelion-Wishes-Get-Well-Cards-Idea-Shannon-Jaramillo-stampinup-SU

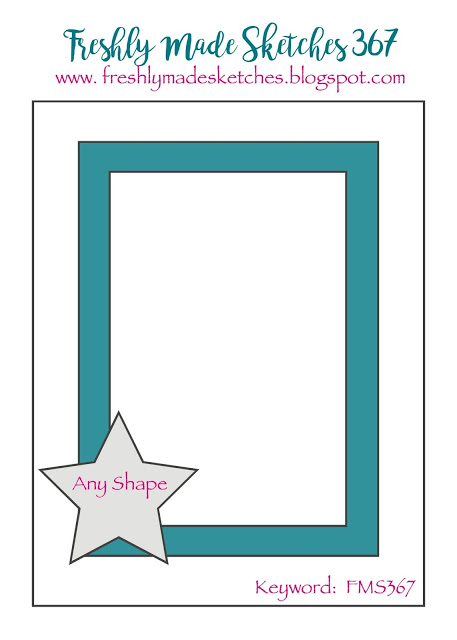
That resolved, my creative juices are flowing again and I couldn’t wait to play along with the latest Freshly Made Sketch’s challenge and their Design Team Call!

Measurements:

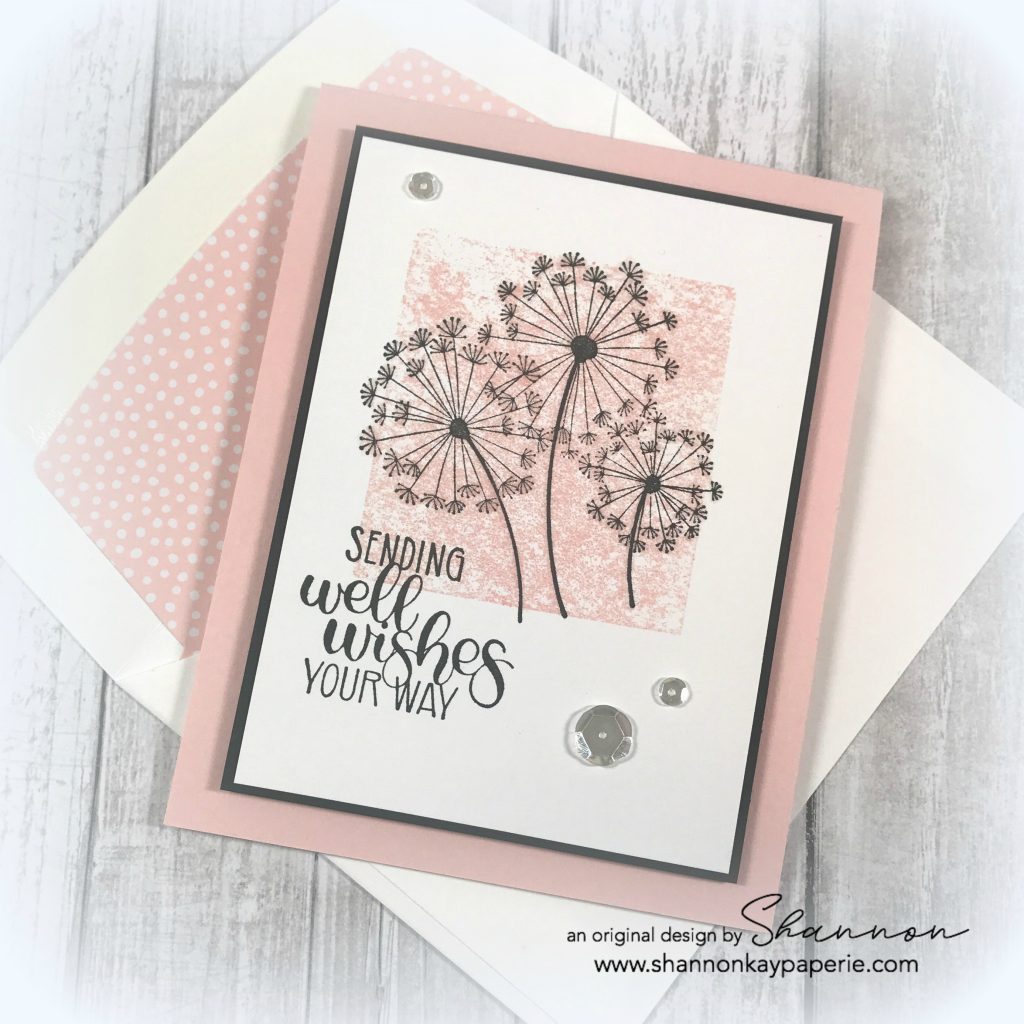
  • Powder Pink Card Base 4 1/4″ x 11″ scored at 5 1/2″
  • Basic Black Layer 3 5/8″ x 5 1/8″
  • White Layer 3 1/2″ x 5″

Details:

  • I chose super clean and simple for this project. This stamp set ‘Dandelion Wishes’ by Stampin’ Up! had my heart from the moment I first laid eyes on it! The dandelions are SO sweet and the font for the sentiments is adorable!
  • I chose to use Powder Pink to highlight this set. The background is just a stamp block, dipped directly into Powder Pink ink and then directly onto my white card stock. That’s it!
  • Then I just added the dandelions and the sentiment, mounted the panel onto black cardstock and then onto my Powder Pink card base.

Stampin-Up-Dandelion-Wishes-Get-Well-Card-Ideas-Shannon-Jaramillo-stampinup-SU


  • I used a piece of white fun foam to pop the stamped panel up and added a few moonstones for balance.
  • And of course, I was very liberal with my application of Wink of Stella to the dandelion ‘fluff’ and centers. So sparkly!
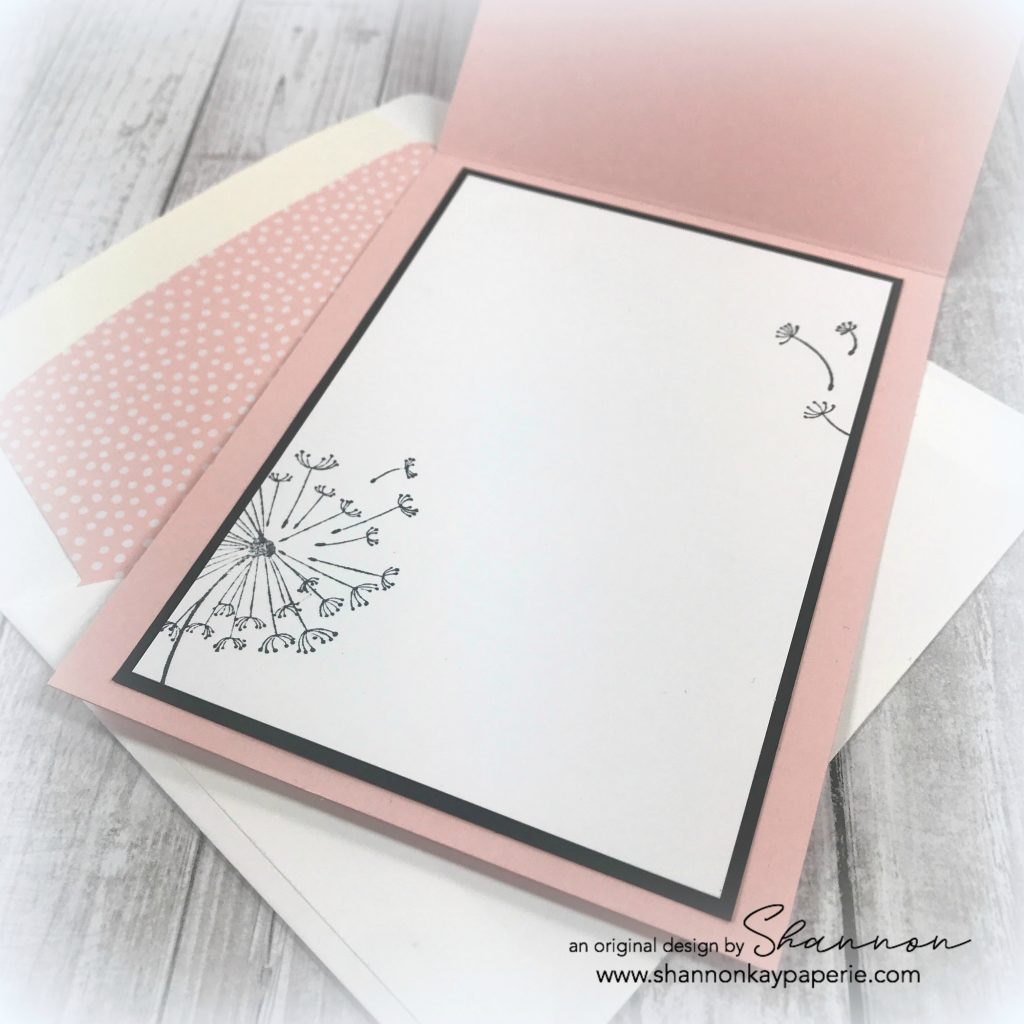
  • I used Stampin’ Up!’s new basic DSP (available in ALL of the colors-YUM!) to line my envelope.

Stampin-Up-Dandelion-Wishes-Get-Well-Card-Idea-Shannon-Jaramillo-stampinup-SU

  • A bit more stamping on the inside and this card is ready to pop in the mail!

Thank you to the Freshly Made Sketches team for their weekly inspiration, I look forward to each new sketch!

You all are part of my stamping family and I have missed you! Your kind comments keep me motivated and stamping so THANK YOU!!!

Blessings to you!!

Supplies:

Card Stock: Basic Black and Powder Pink by Stampin’ Up! Stamper’s Select White by Papertrey Ink

DSP: 2017-2019 In Color Basics by Stampin’ Up!

Ink: Versafine Onyx Black

Stamps: Dandelion Dreams by Stampin’ Up!

Dies:  None

Tools: Stampin’ Trimmer by Stampin’ Up!

Embellishments: Moonstones by Simon Says Stamp

Other: Whisper White Envelope by Stampin’ Up!
Fresh Foliage Thank You – The Paper Players 413

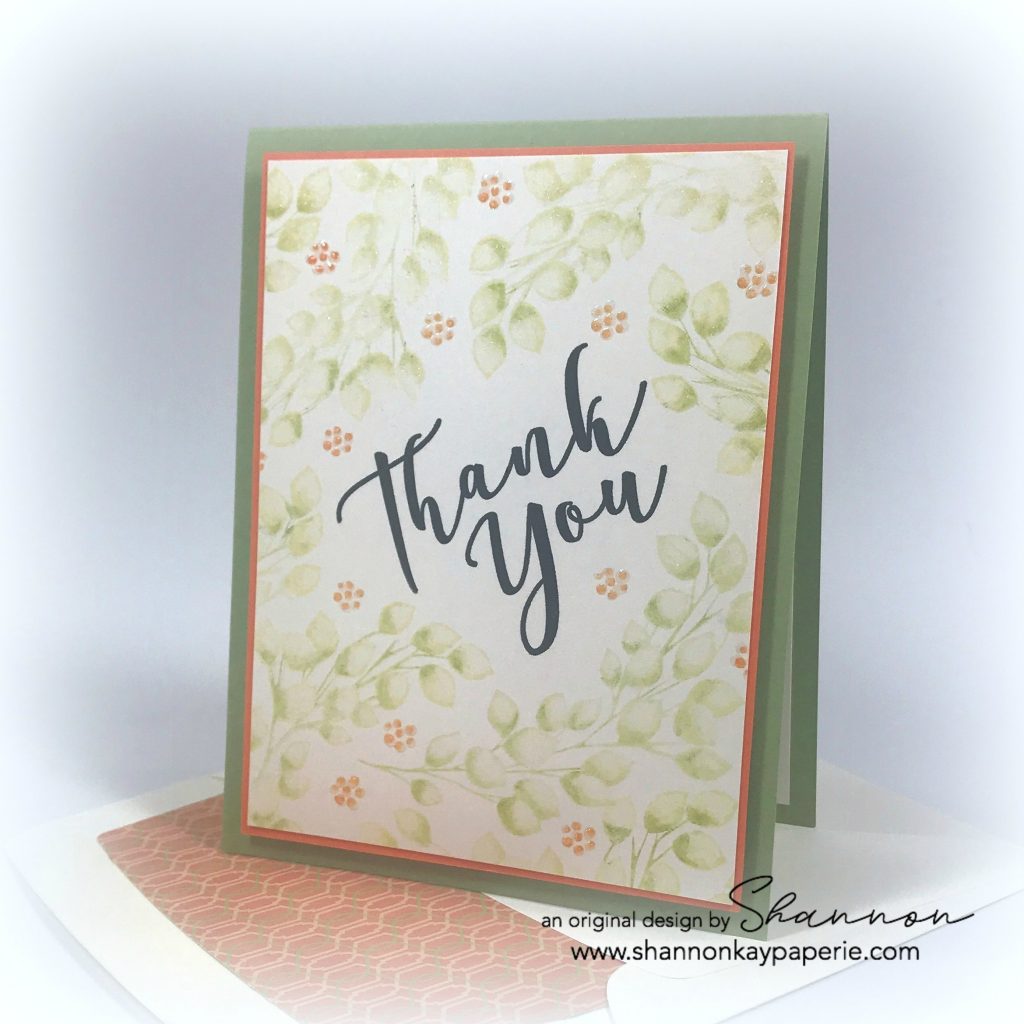
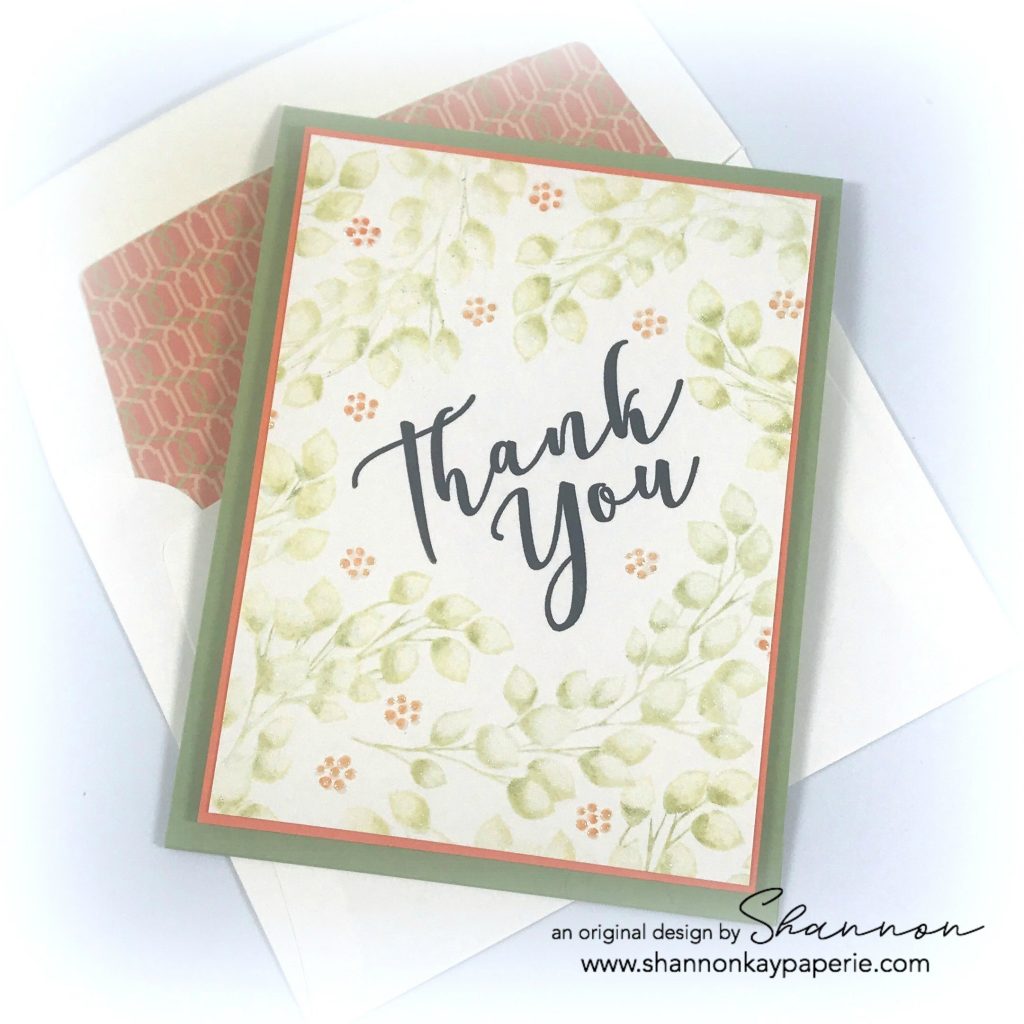
Fun-Stampers-Journey-Thank-You-Card-Idea-Shannon-Jaramillo-funstampersjourney-FSJ

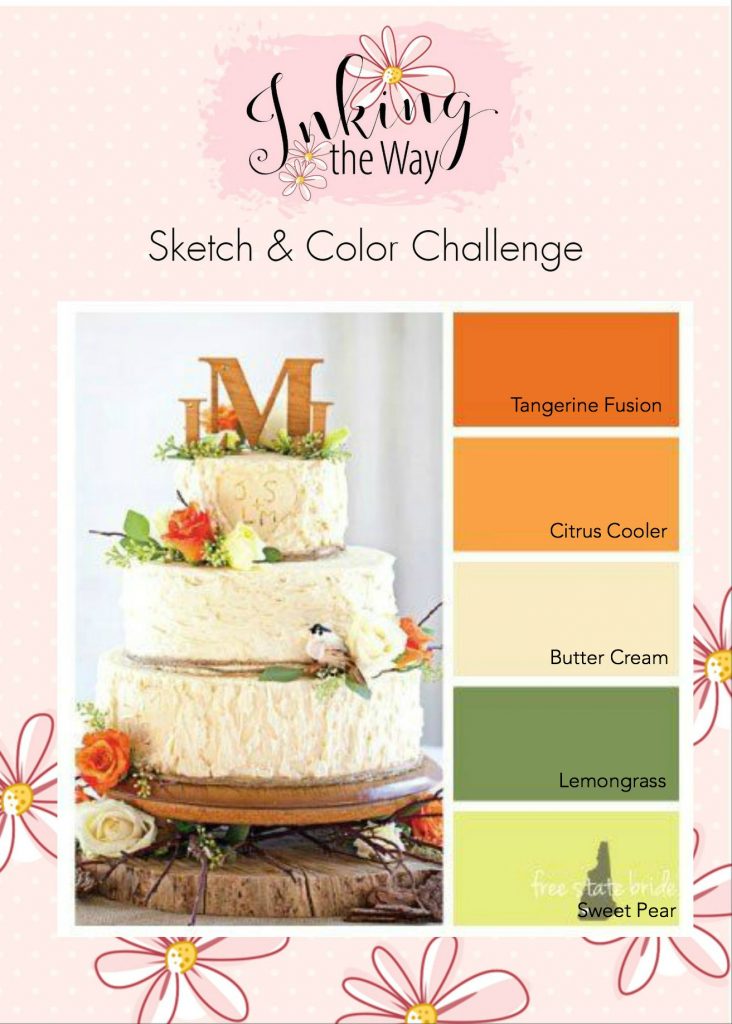
Hello my stampin’ friends! I hope your week is going well! Today I wanted to incorporate two challenges into one card: The Paper Players theme challenge of trees or leaves and my FSJ team color challenge.

Measurements:

  • Lemongrass Card Base 4 1/4″ x 11″ scored at 5 1/2″
  • Citrus Cooler Layer 3 7/8″ x 5 1/8″
  • Butter Cream Layer 3 3/4″ x 5″

Details:

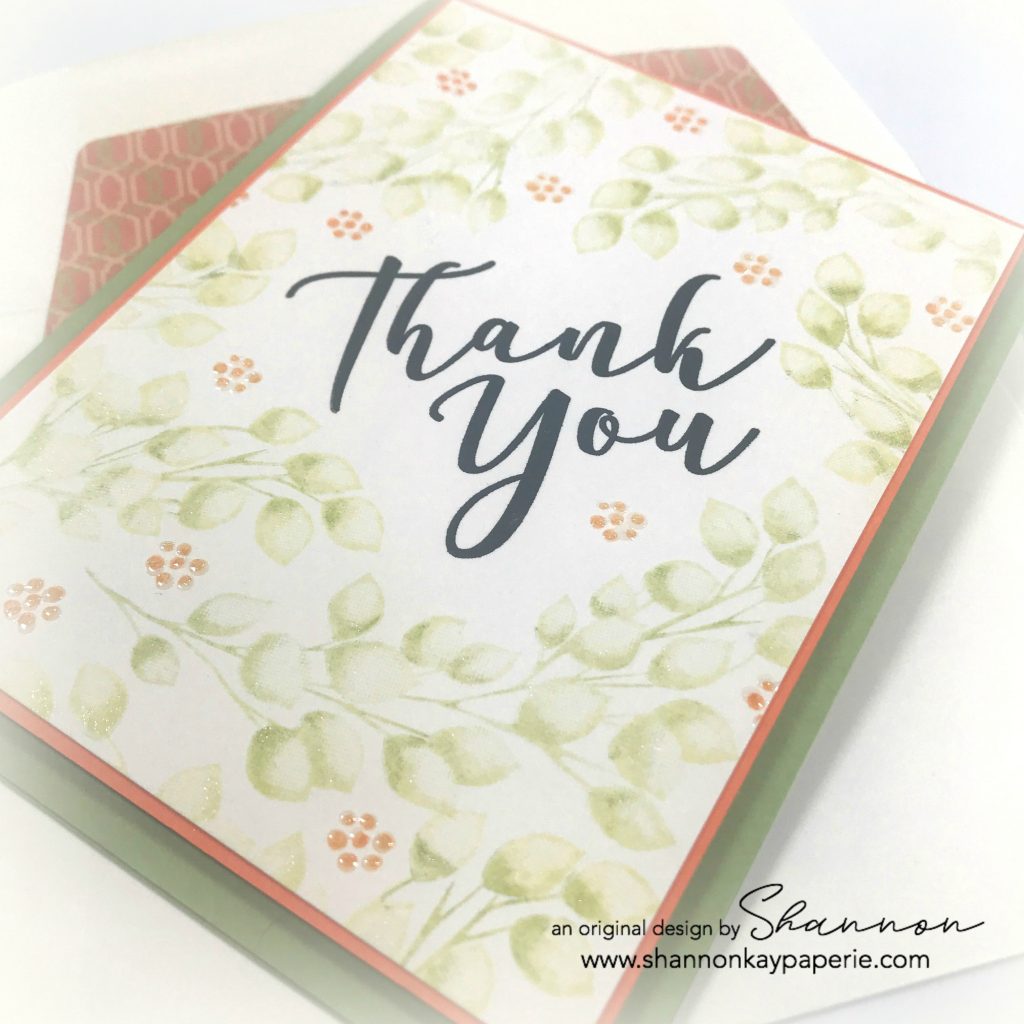
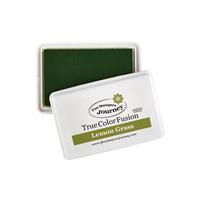
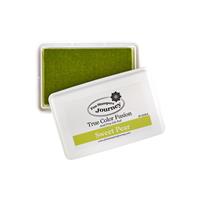
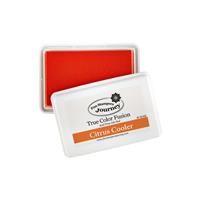
  • The color challenge was to use 3 of 5 colors and I used 4 of the 5: Butter Cream, Citrus Cooler, Sweet Pear (my fav color) and Lemongrass.

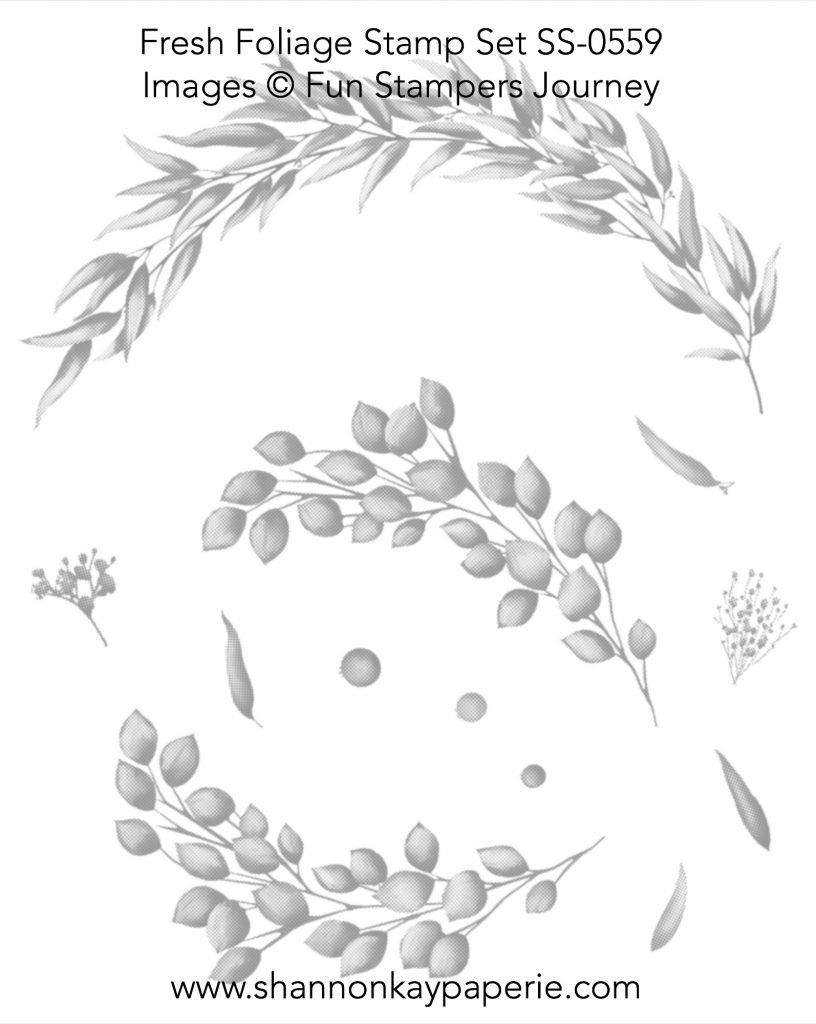
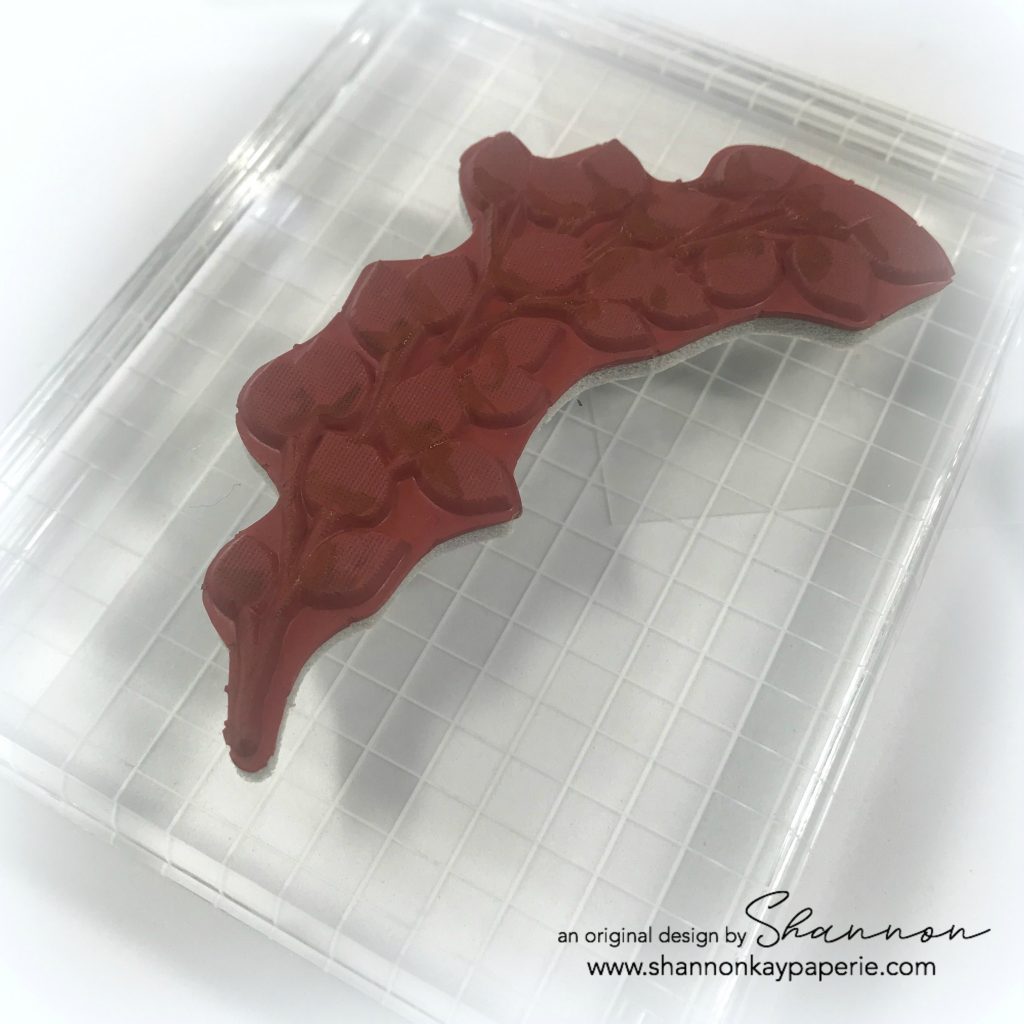
  • I was quite literal with the leaves or tree challenge and chose to use FSJ’s Fresh Foliage stamp set. Coordinating dies are available but today I just used the stamps. Isn’t the way they have built the shading into the stamp set amazing?

Fun-Stampers-Journey-Thank-You-Card-Ideas-Shannon-Jaramillo-funstampersjourney-FSJ

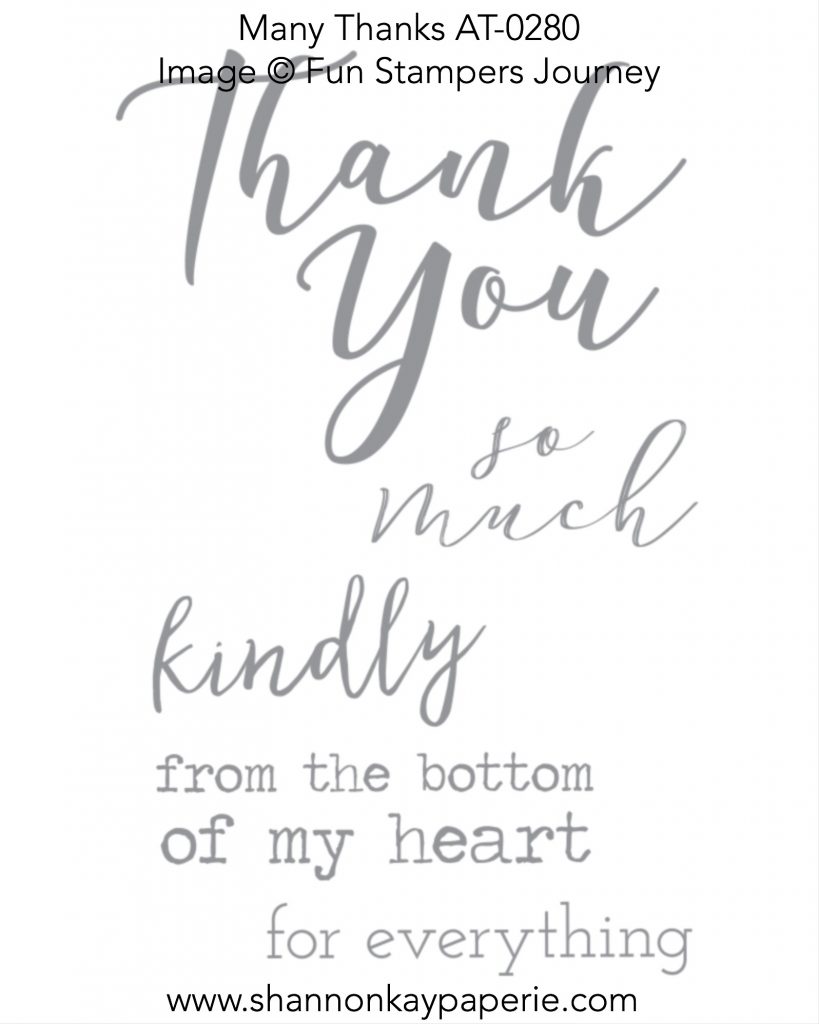
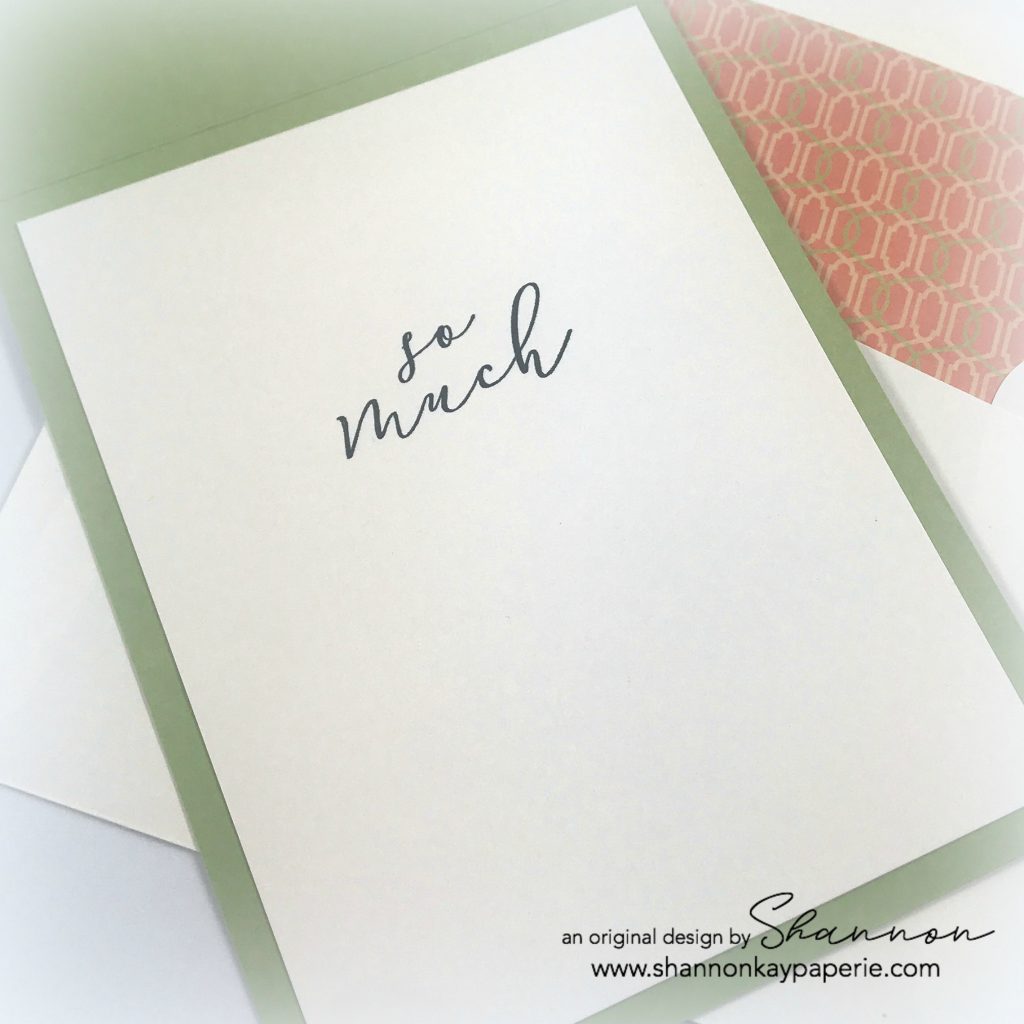
  • The first image stamped was this gorgeous thank you sentiment from the ATS set ‘Many Thanks’ on to Butter Cream card stock. Such a gorgeous font!

  • I inked up two mirror image stamps in Sweet Pear and stamped them around the sentiment, using my Stamp-A-Ma-Jig as my placement guide.
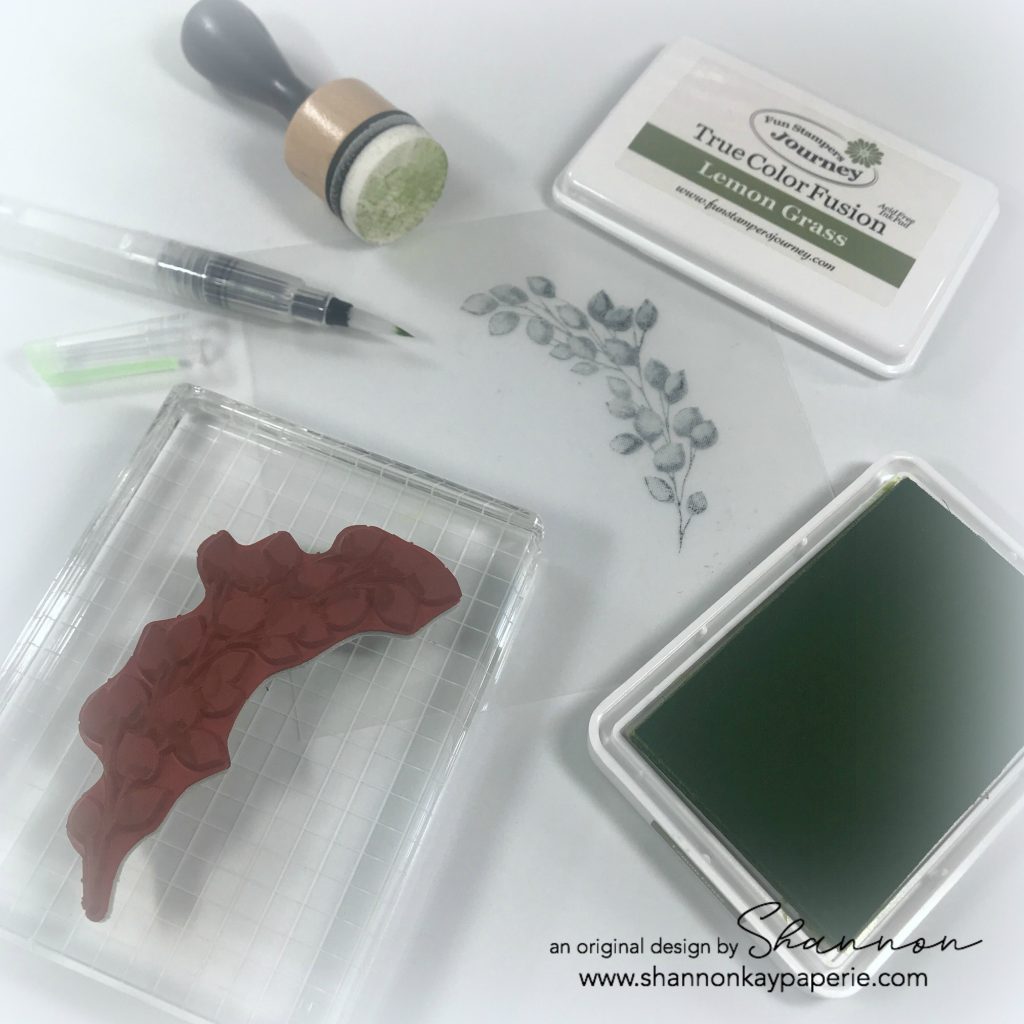
  • I then pulled out my Lemongrass ink pad and a blender pen. I used the blender pen to pick up the ink directly from the ink pad and then colored each leaf on the stamp, staying toward the bottom of each leaf. I also inked up all of the stems. Then I used a dauber to pounce on the inked stamp, pulling some of the color back up. I then stamped directly over my Sweet Pear stamped images, creating soft shading of the leaves and stems.

  • I needed to add Citrus Cooler to my design but wasn’t satisfied with the options I had in the ‘Fresh Foliage’ stamp set so I pulled out ‘Harvest Wreath’ and found this itty bitty dotted stamp. I played around with full color stamping and then stamping off once, but first the color was too dark, and then it was too light (Goldilocks here) but then I found a combination that was JUST right. lol. I inked up the little stamp in Citrus Cooler and then stamped it into the dauber sponge before stamping on to my card front. Perfect!!

Fun-Stampers-Journey-Thank-You-Cards-Idea-Shannon-Jaramillo-funstampersjourney-FSJ

  • I layered the card front onto Citrus Cooler card stock, added a 3 1/2″ x 4 3/4″ piece of white craft foam to pop it up, and adhered the card front to the Lemongrass card base.
  • I wanted to add more to my design but every embellishment I chose overwhelmed the design. I finally added Wink of Stella to the Citrus Cooler dot images and then went over that with Journey Glaze. It is SUCH good stuff…I can’t believe I stamped for eight years without it!!
  • I left the card to dry overnight and came back but it still wasn’t enough so I colored all of the Lemongrass parts of the leaves with Wink of Stella. THAT was the perfect finishing touch. I can see just a bit of the shine in the photo but in person, the whole card sparkles. So happy!

Fun-Stampers-Journey-Thank-You-Cards-Ideas-Shannon-Jaramillo-funstampersjourney-FSJ

  • I stamped another stamp from the ‘Many Thanks’ ATS set on the inside and called it good.
  • Since I didn’t have any FSJ pattern paper that used these colors, I just went through my pattern paper stash until I found one that matches amazing well and used that to line the envelope.

This was such fun to create and I thank The Paper Players design team for giving me the inspiration!

Have a great day! I hope you get to do something crafty today! P.S. I love to hear from you so please leave a comment if you can! Thanks so much for stopping by!!