One for the Boys – The Paper Players 248

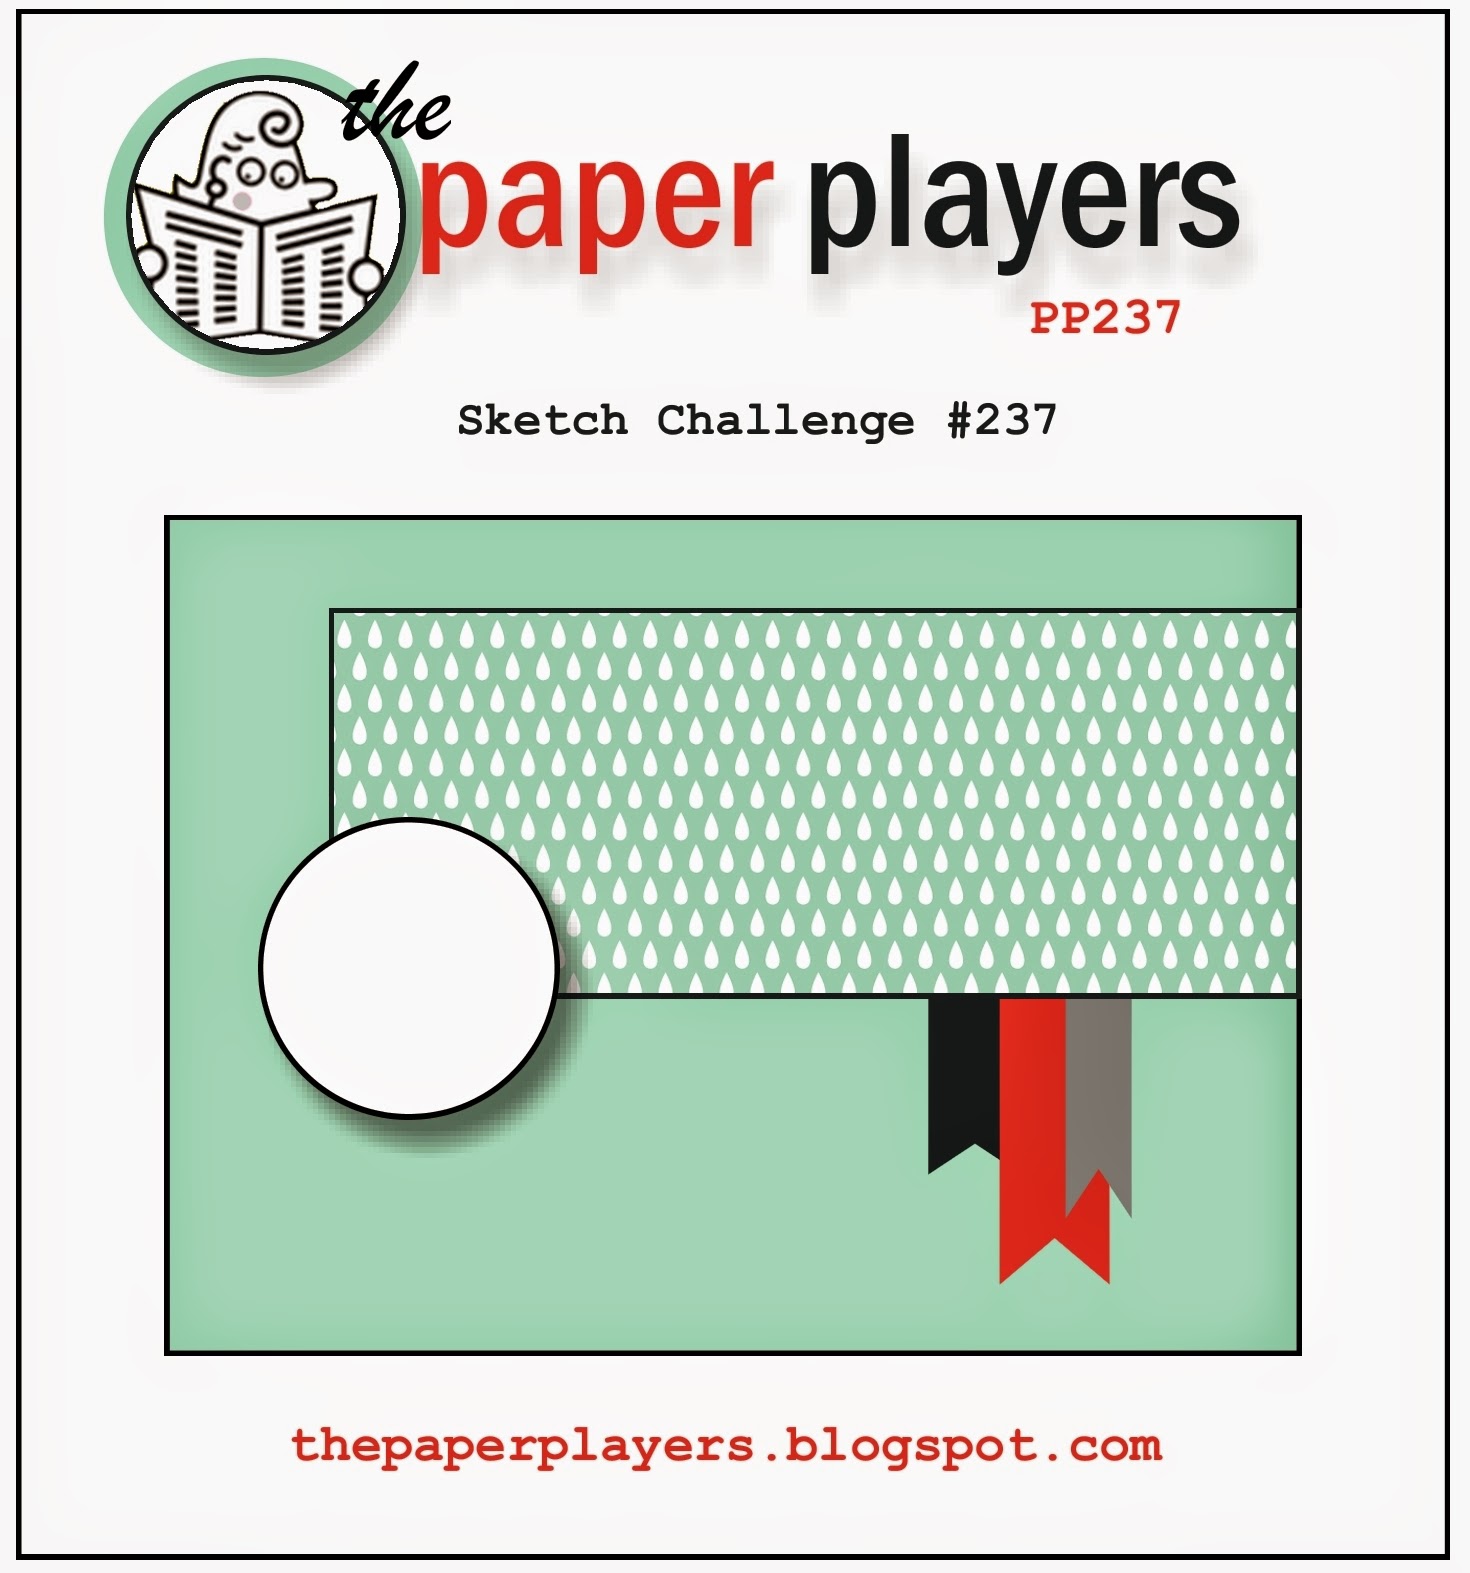
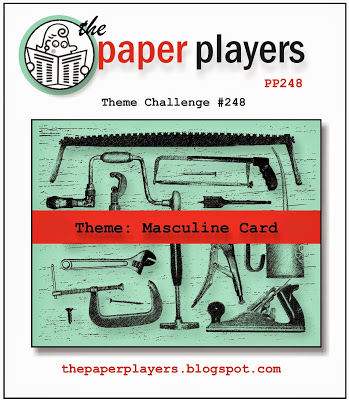
It’s Sunday and that means another fun challenge from The Paper Players! My stint as a guest designer is winding down, only three more after this (sniff), so I’m going to make them count!! This week’s challenge is a fun one, as well as very timely with Father’s Day just around the corner:

06:07pp248
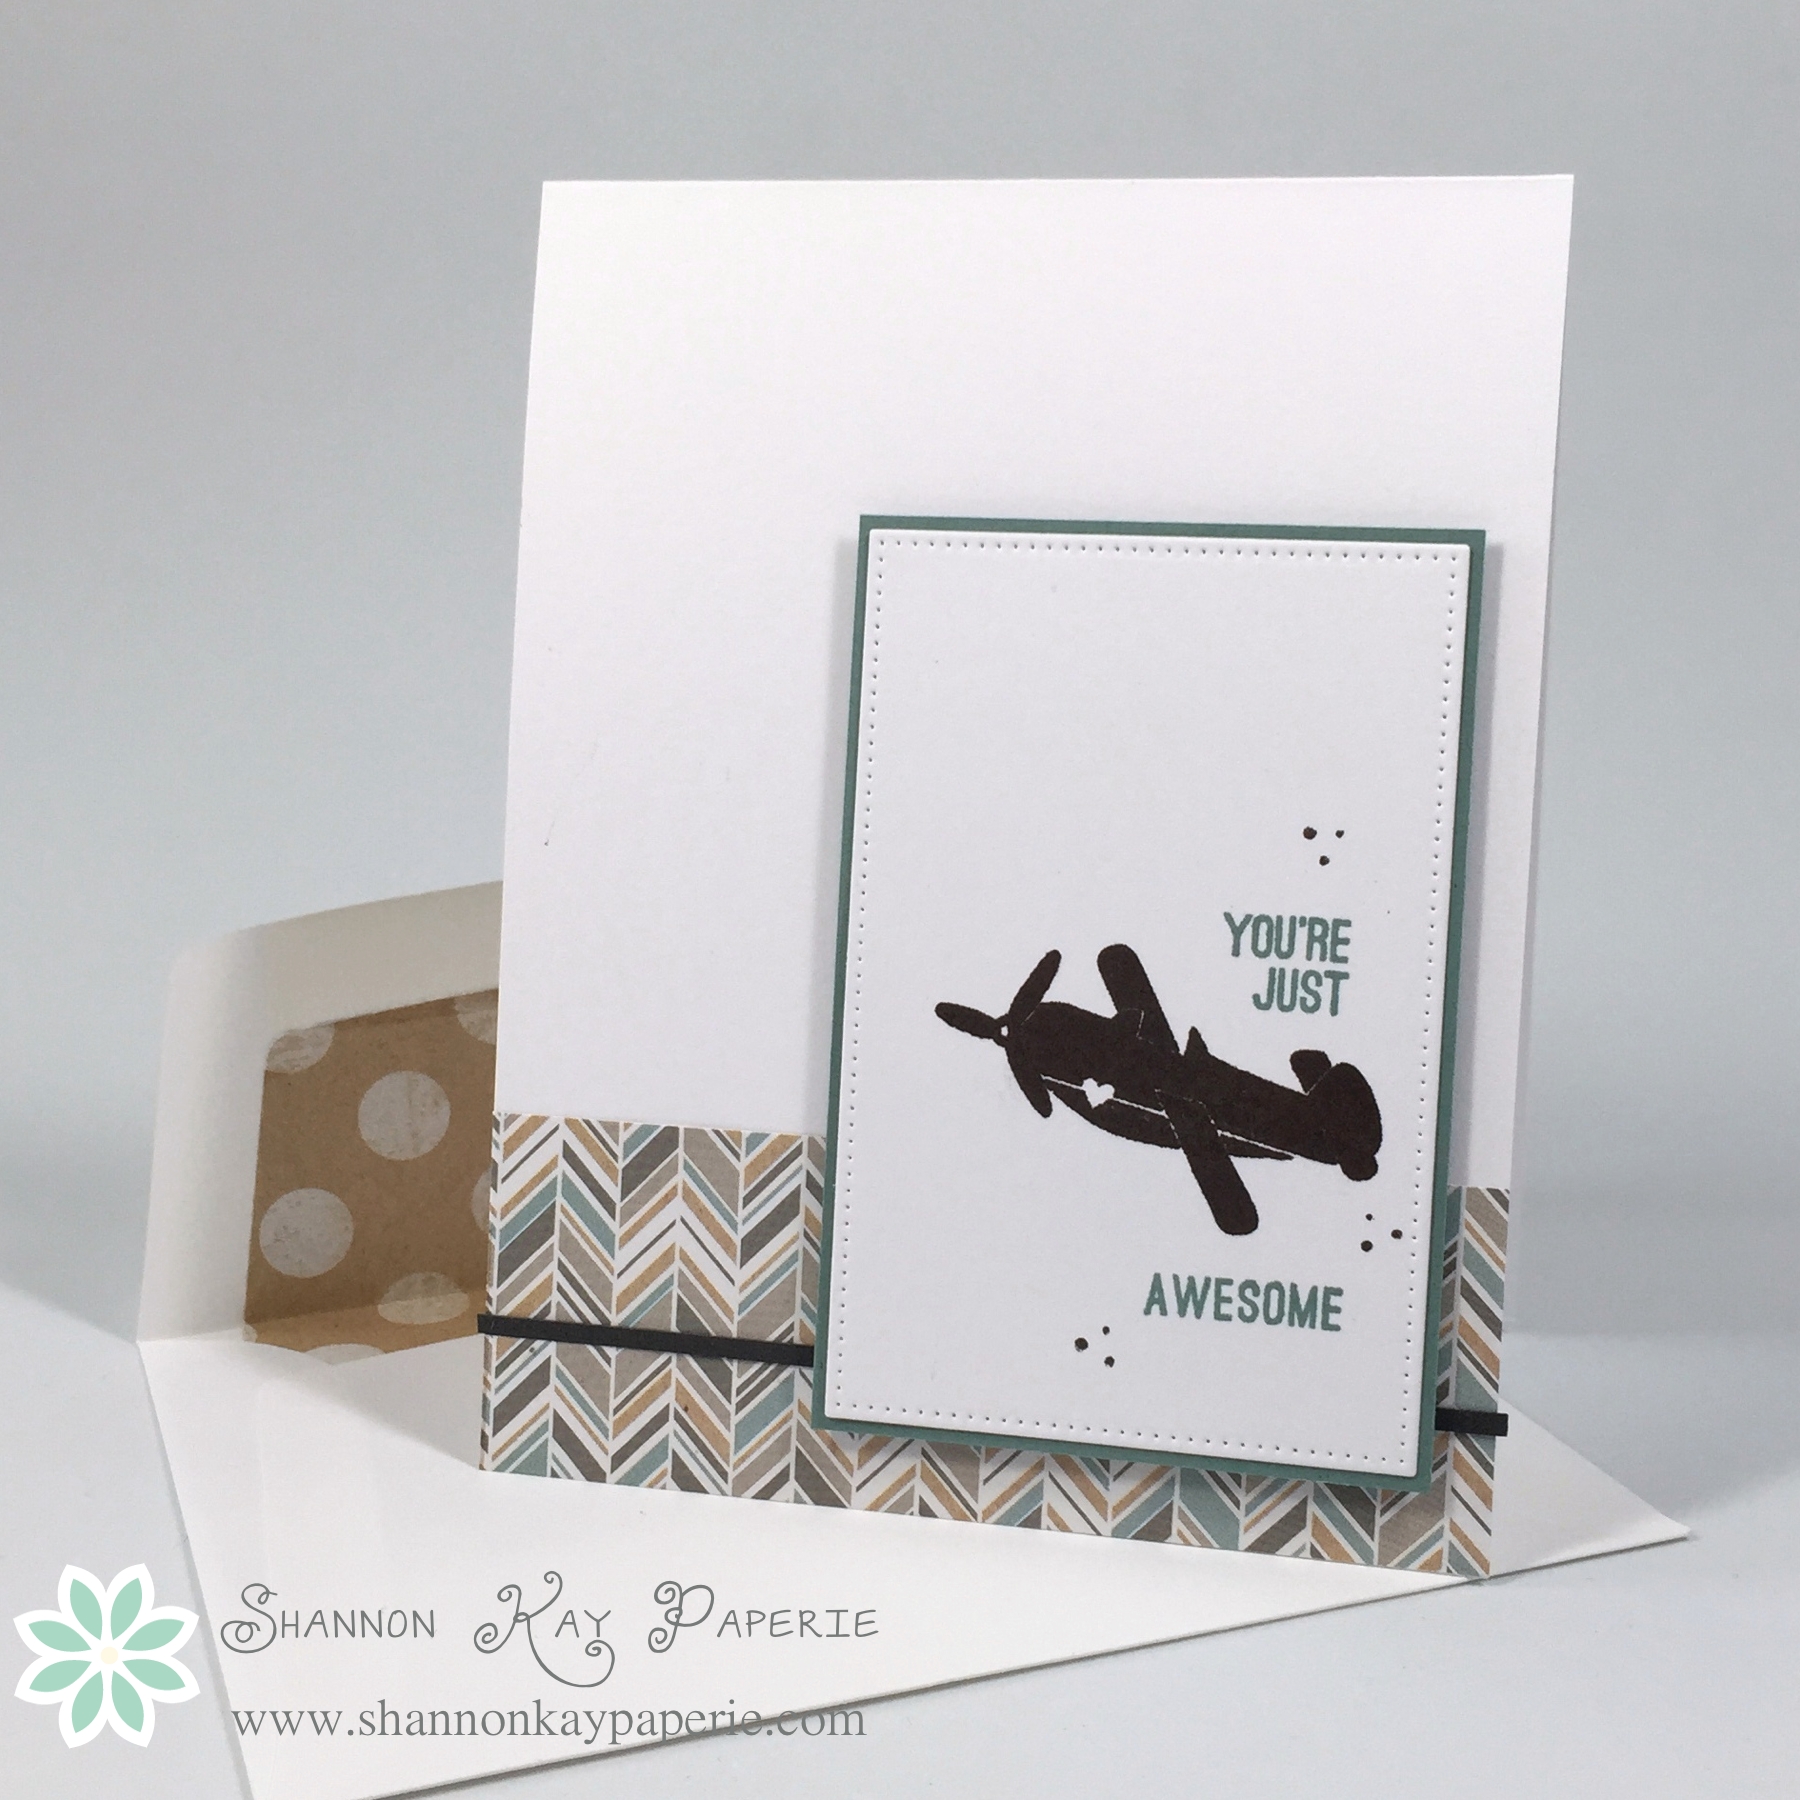
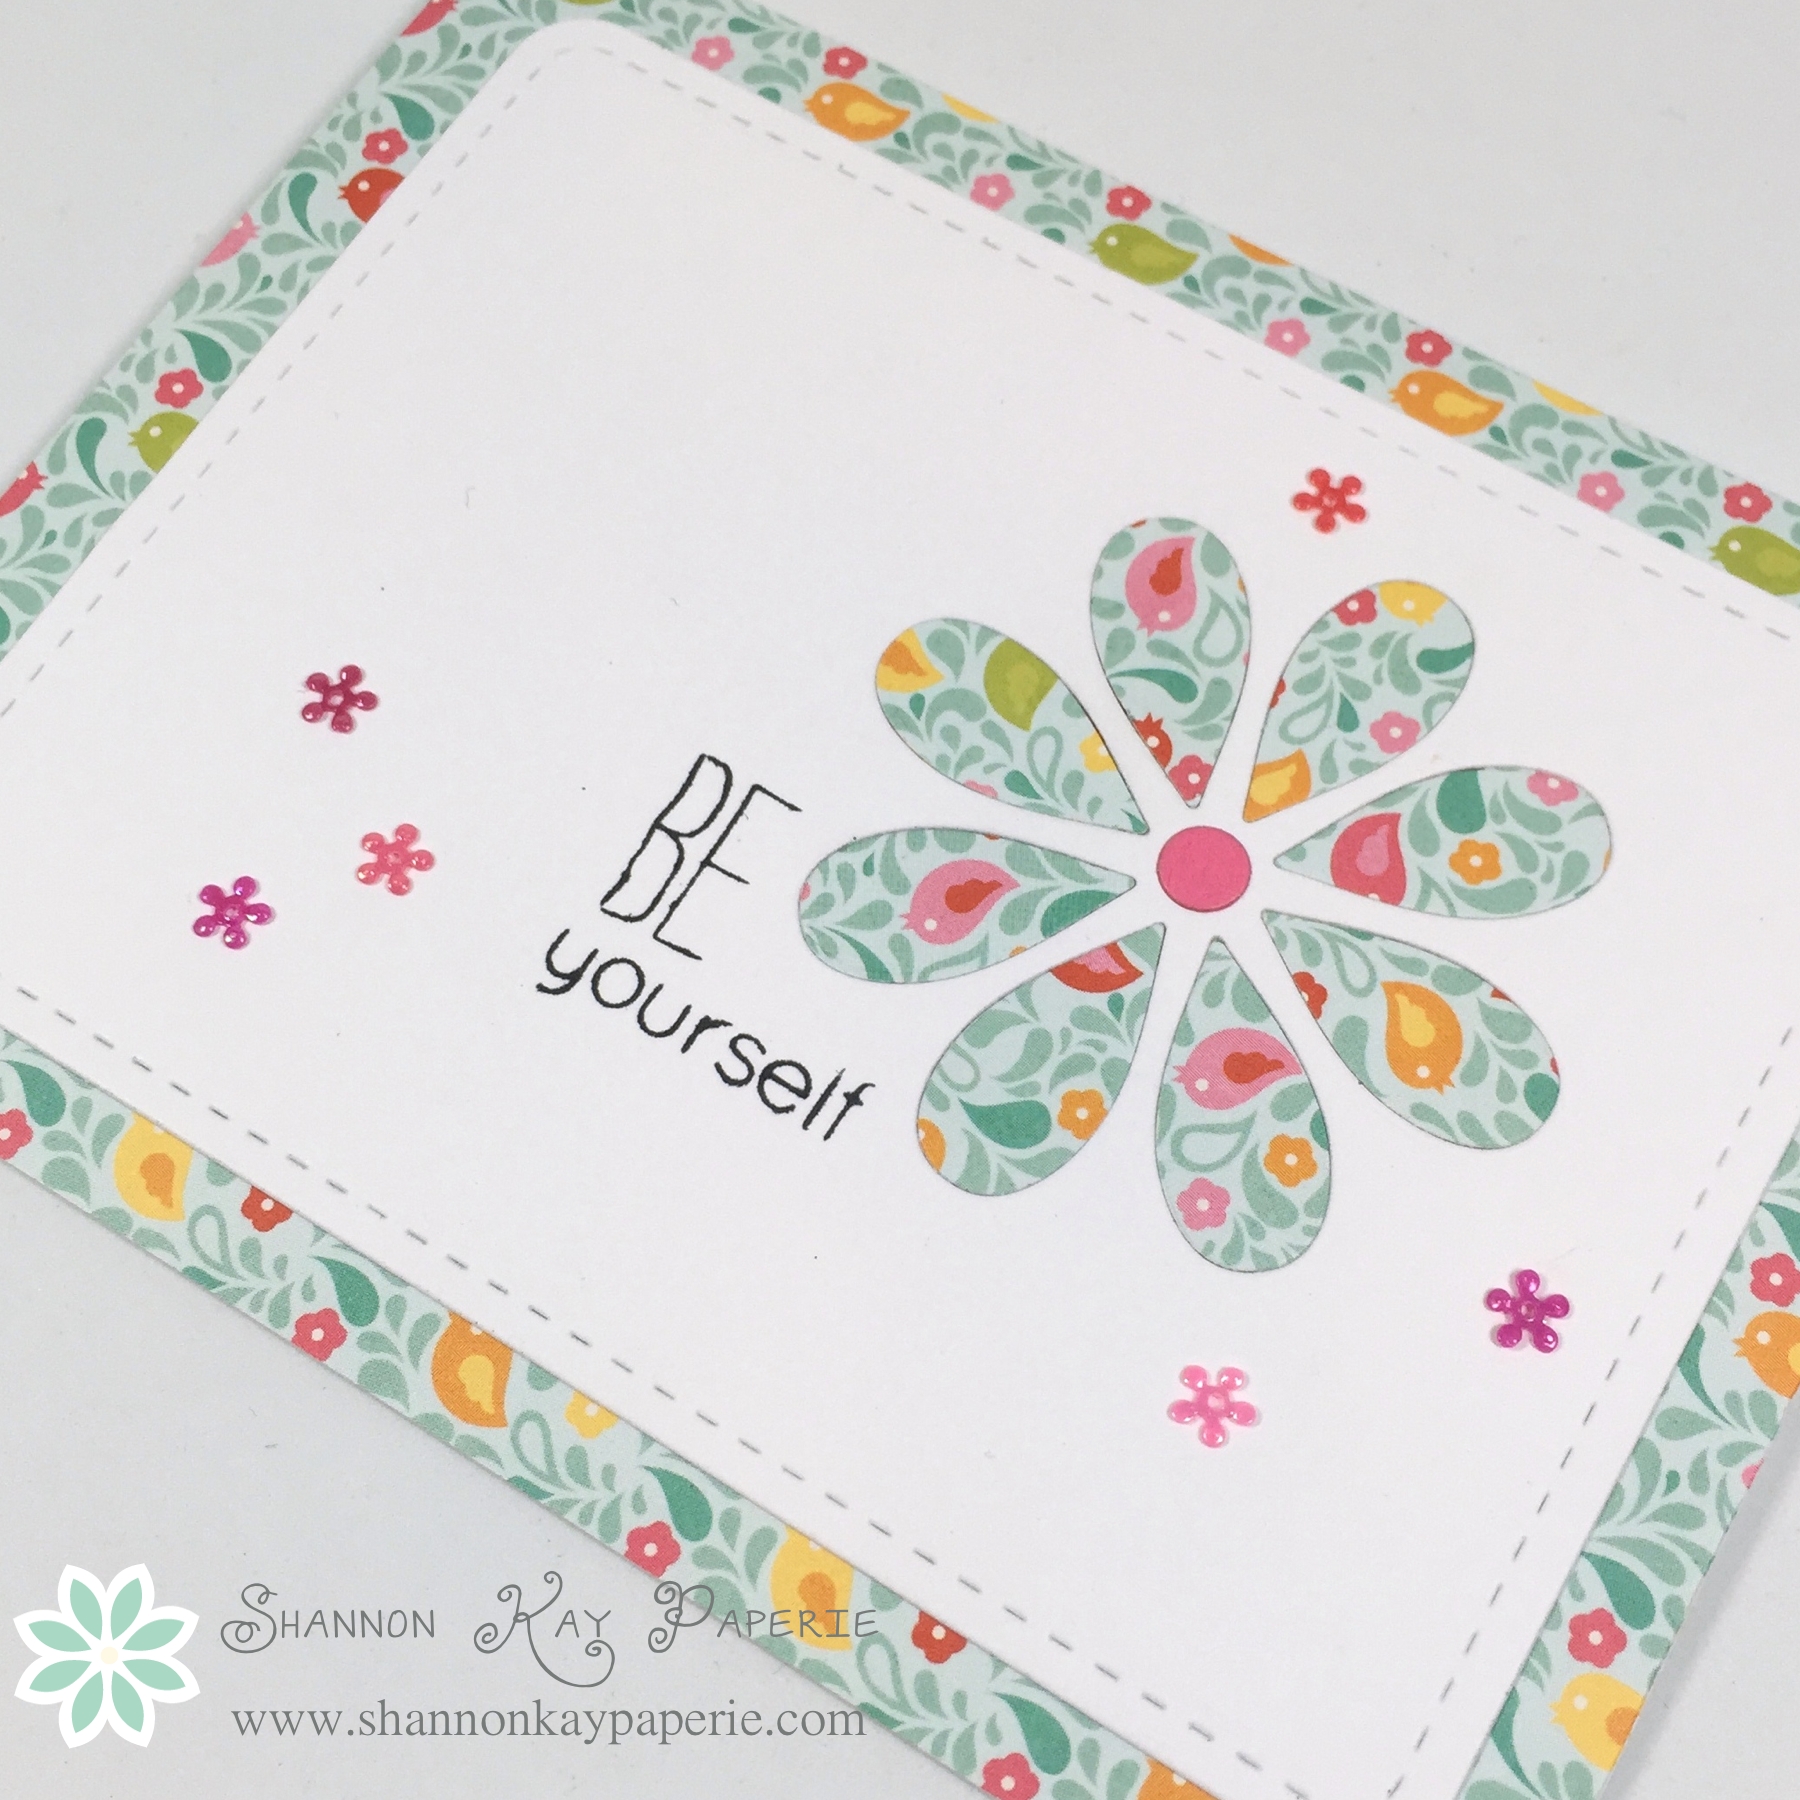
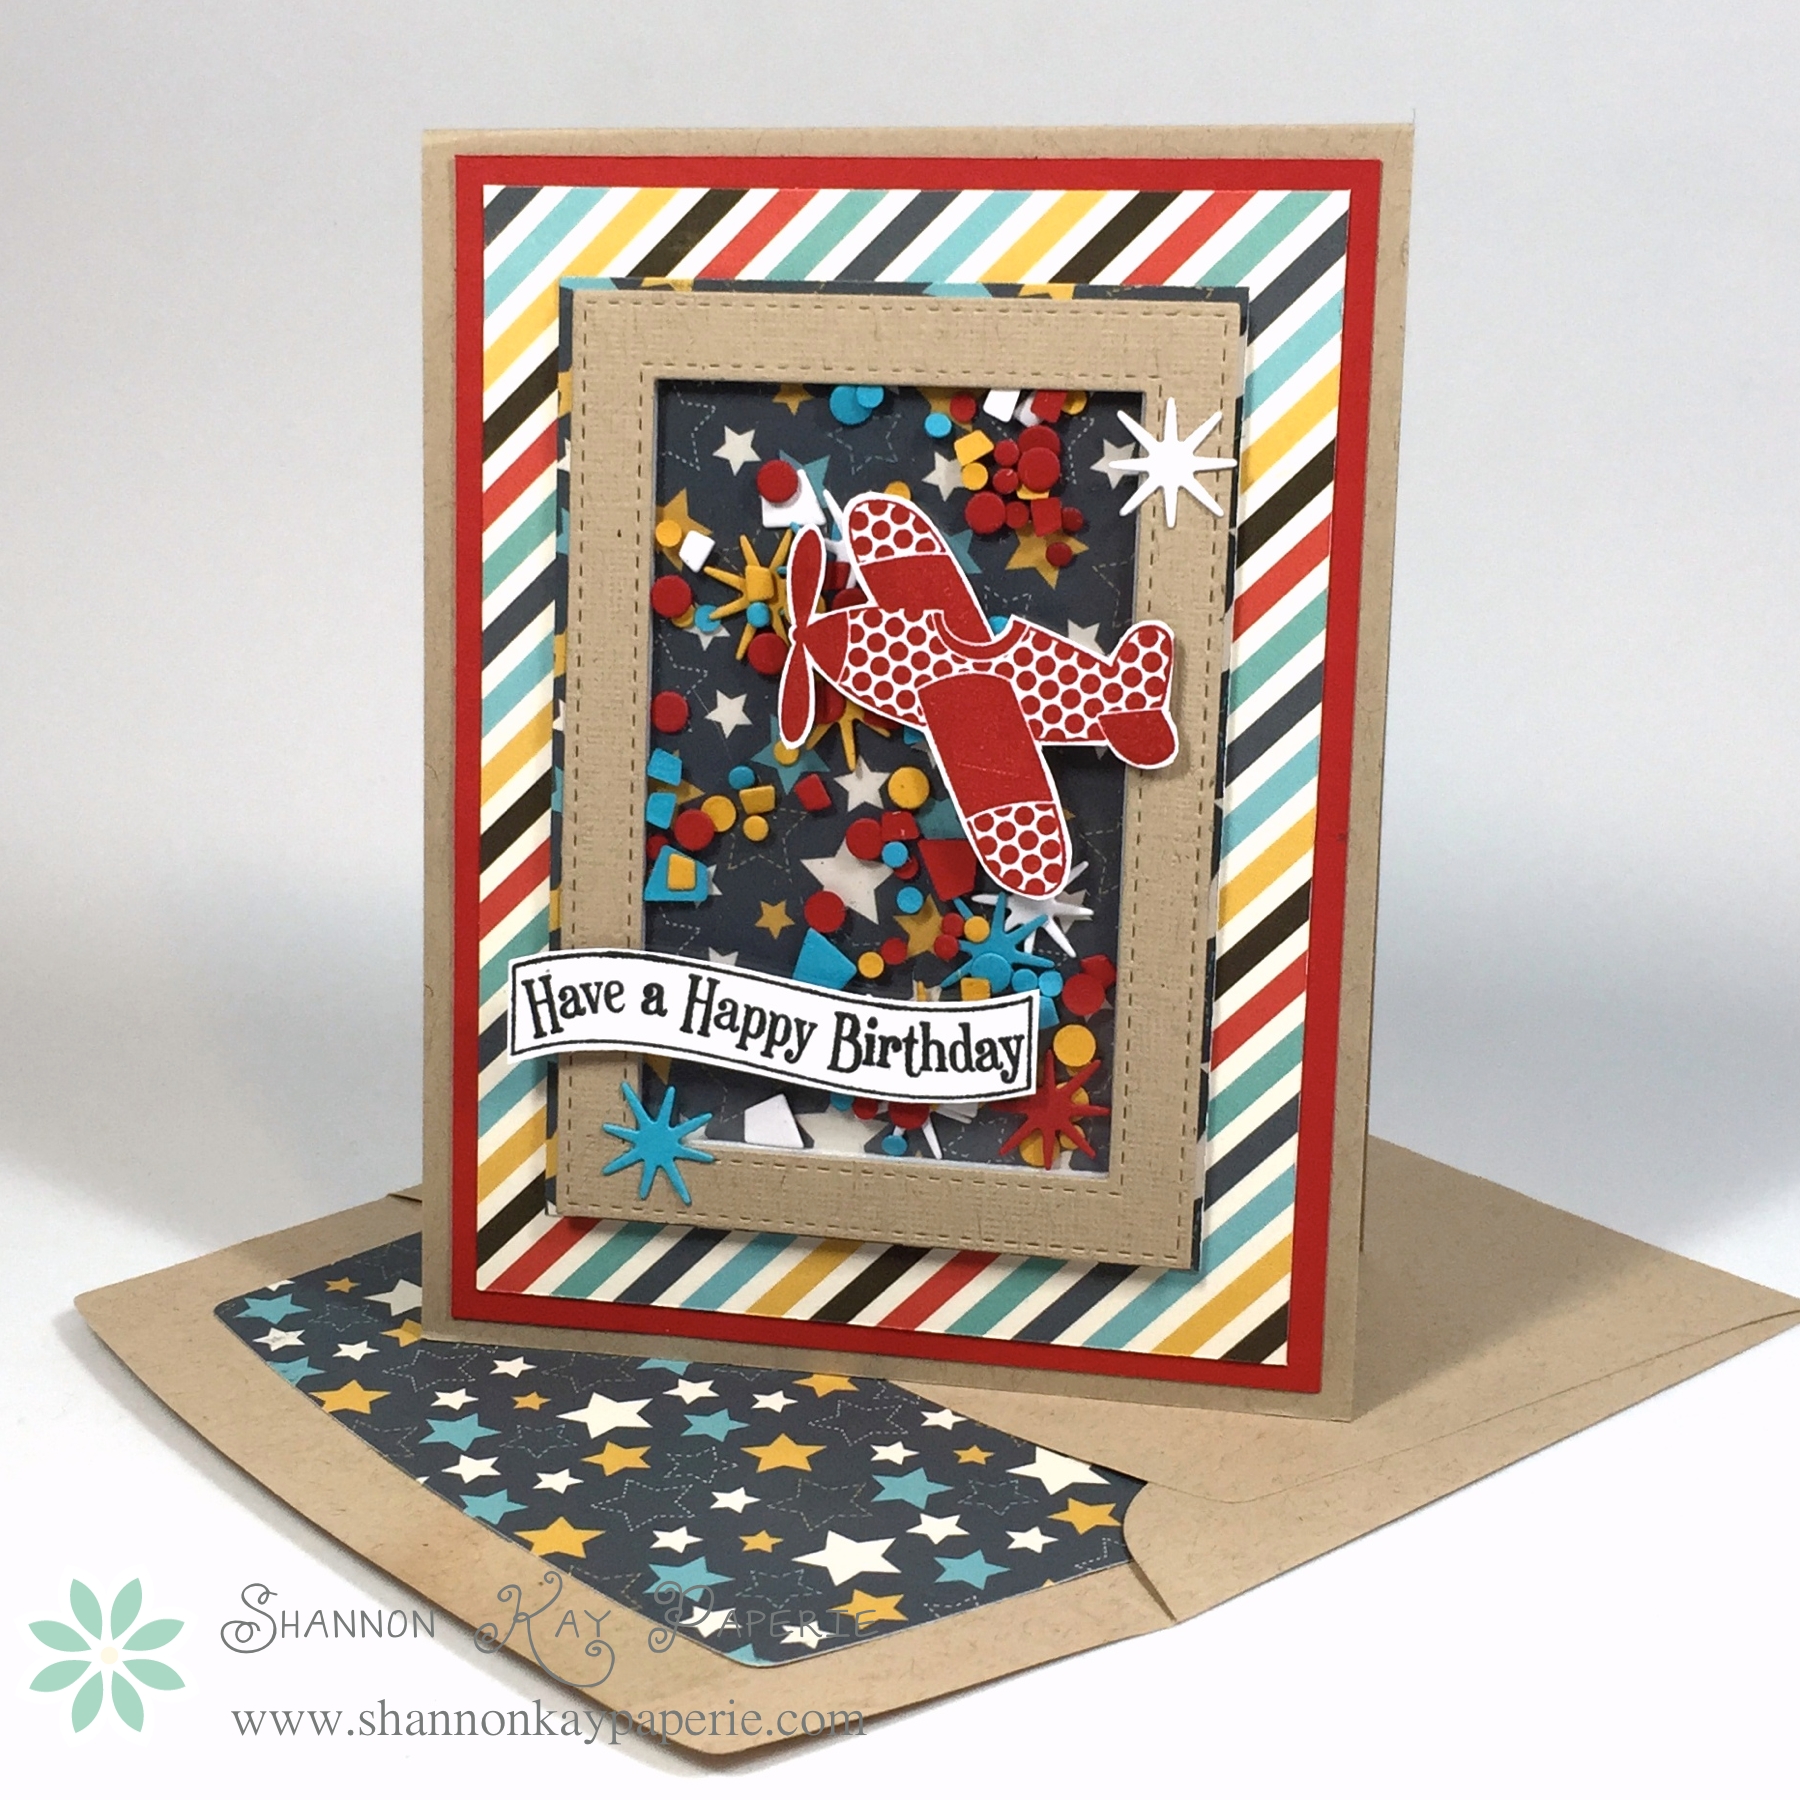
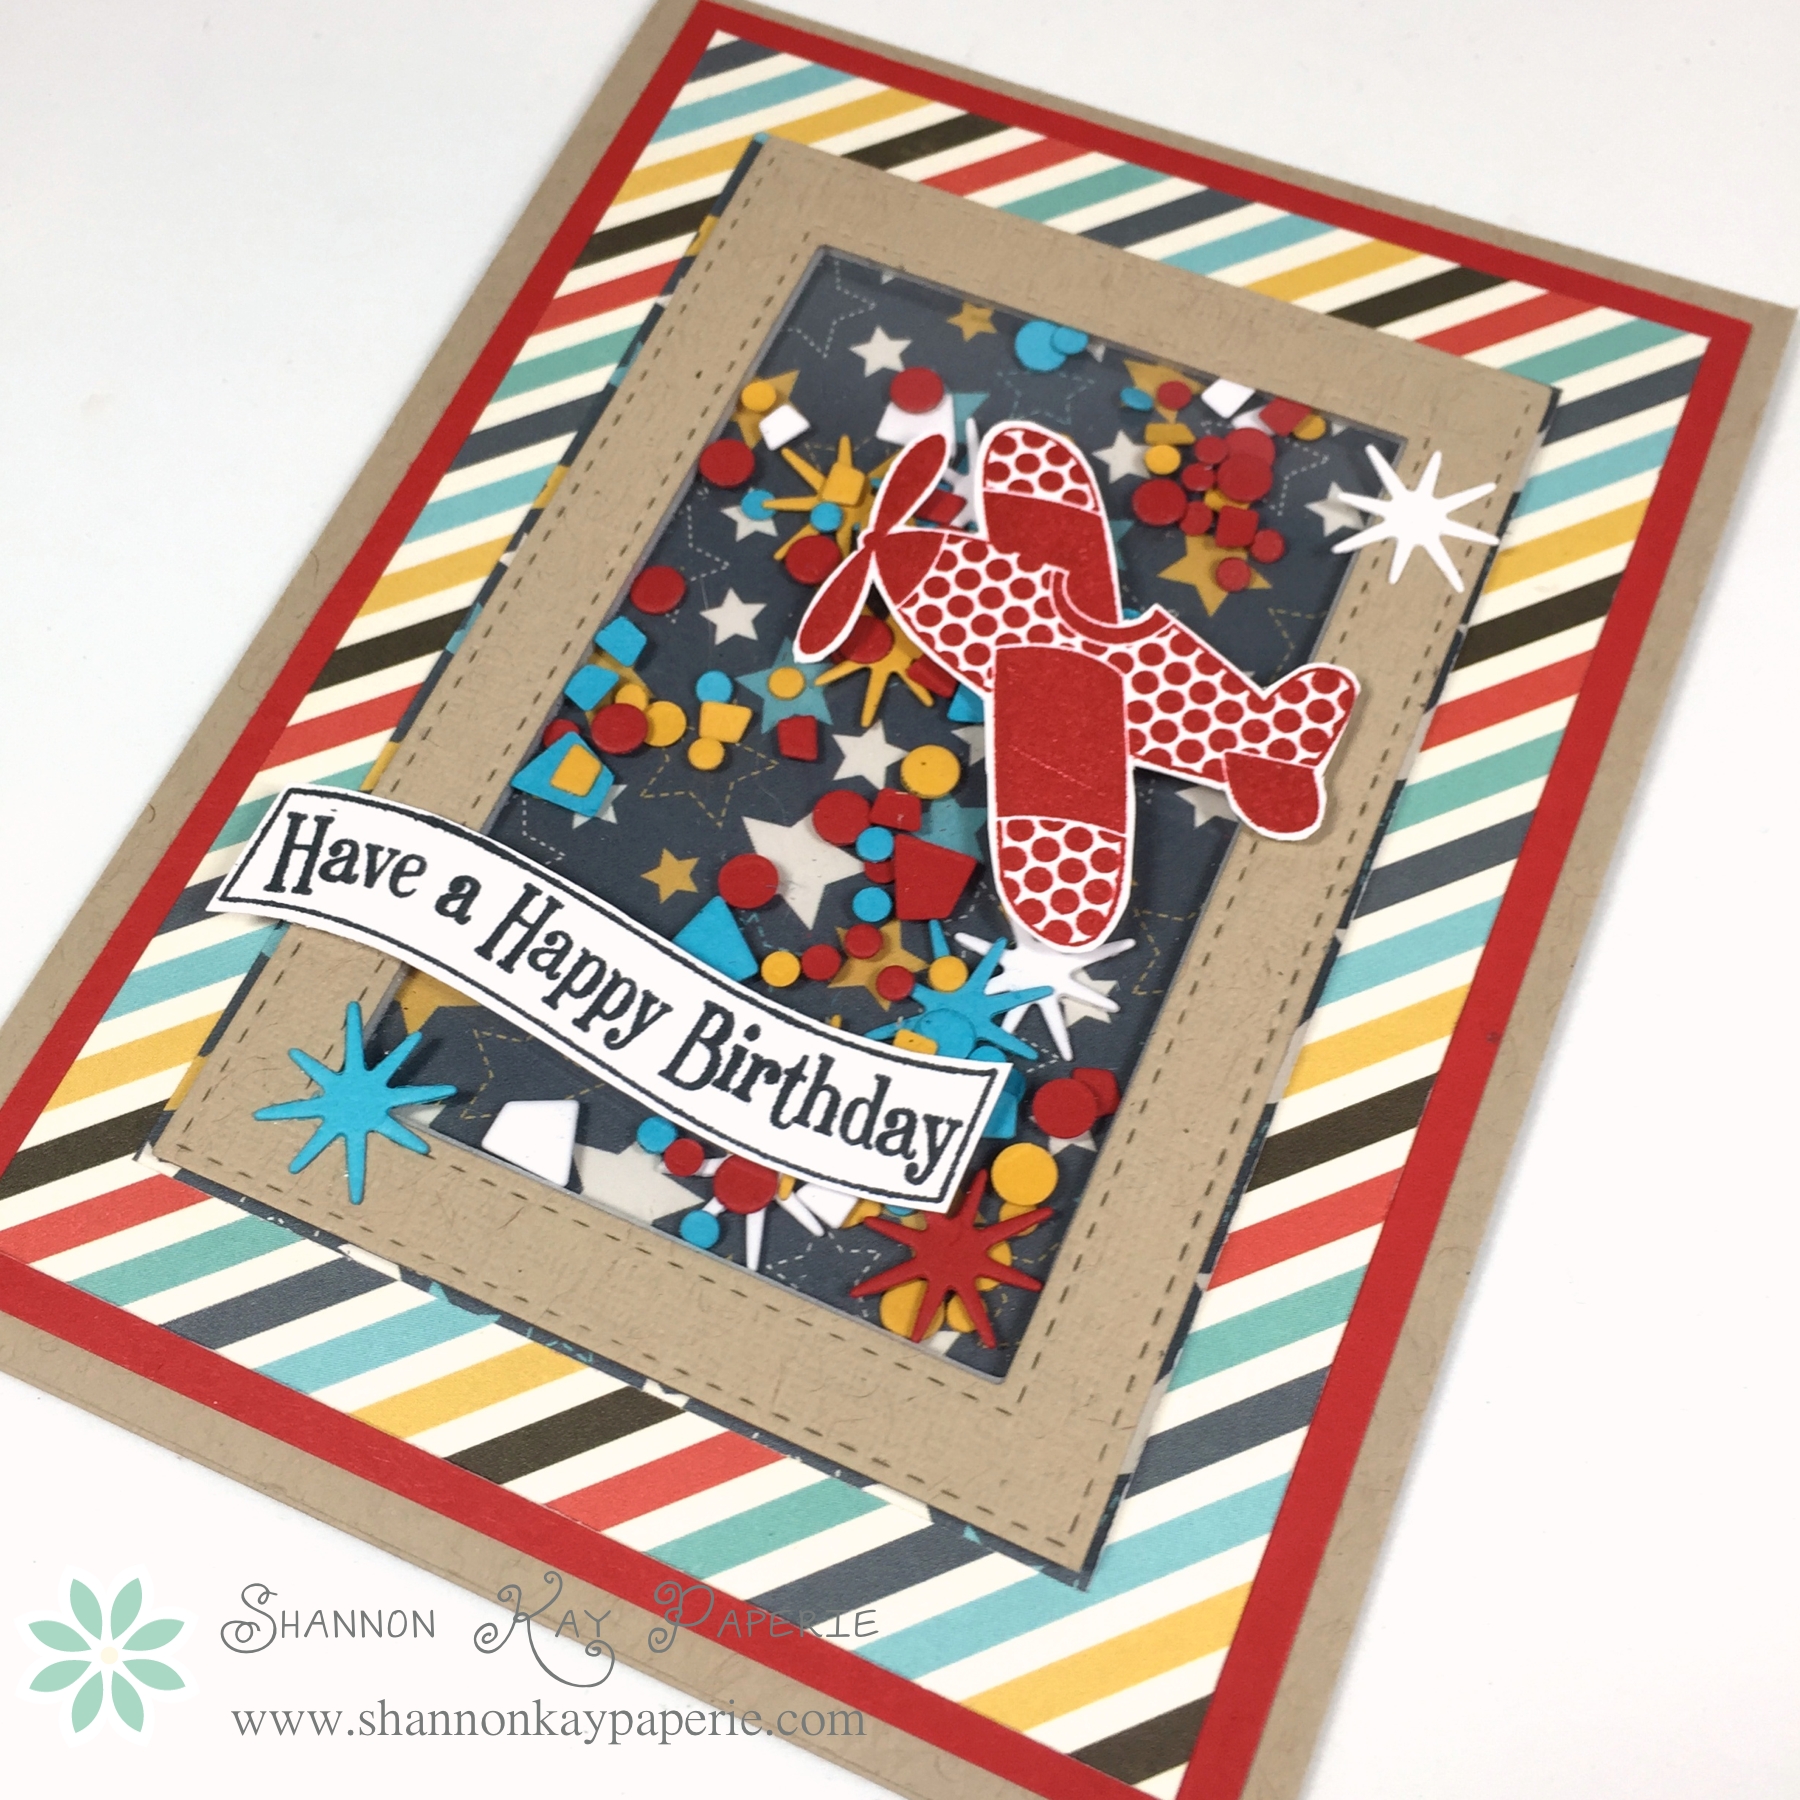
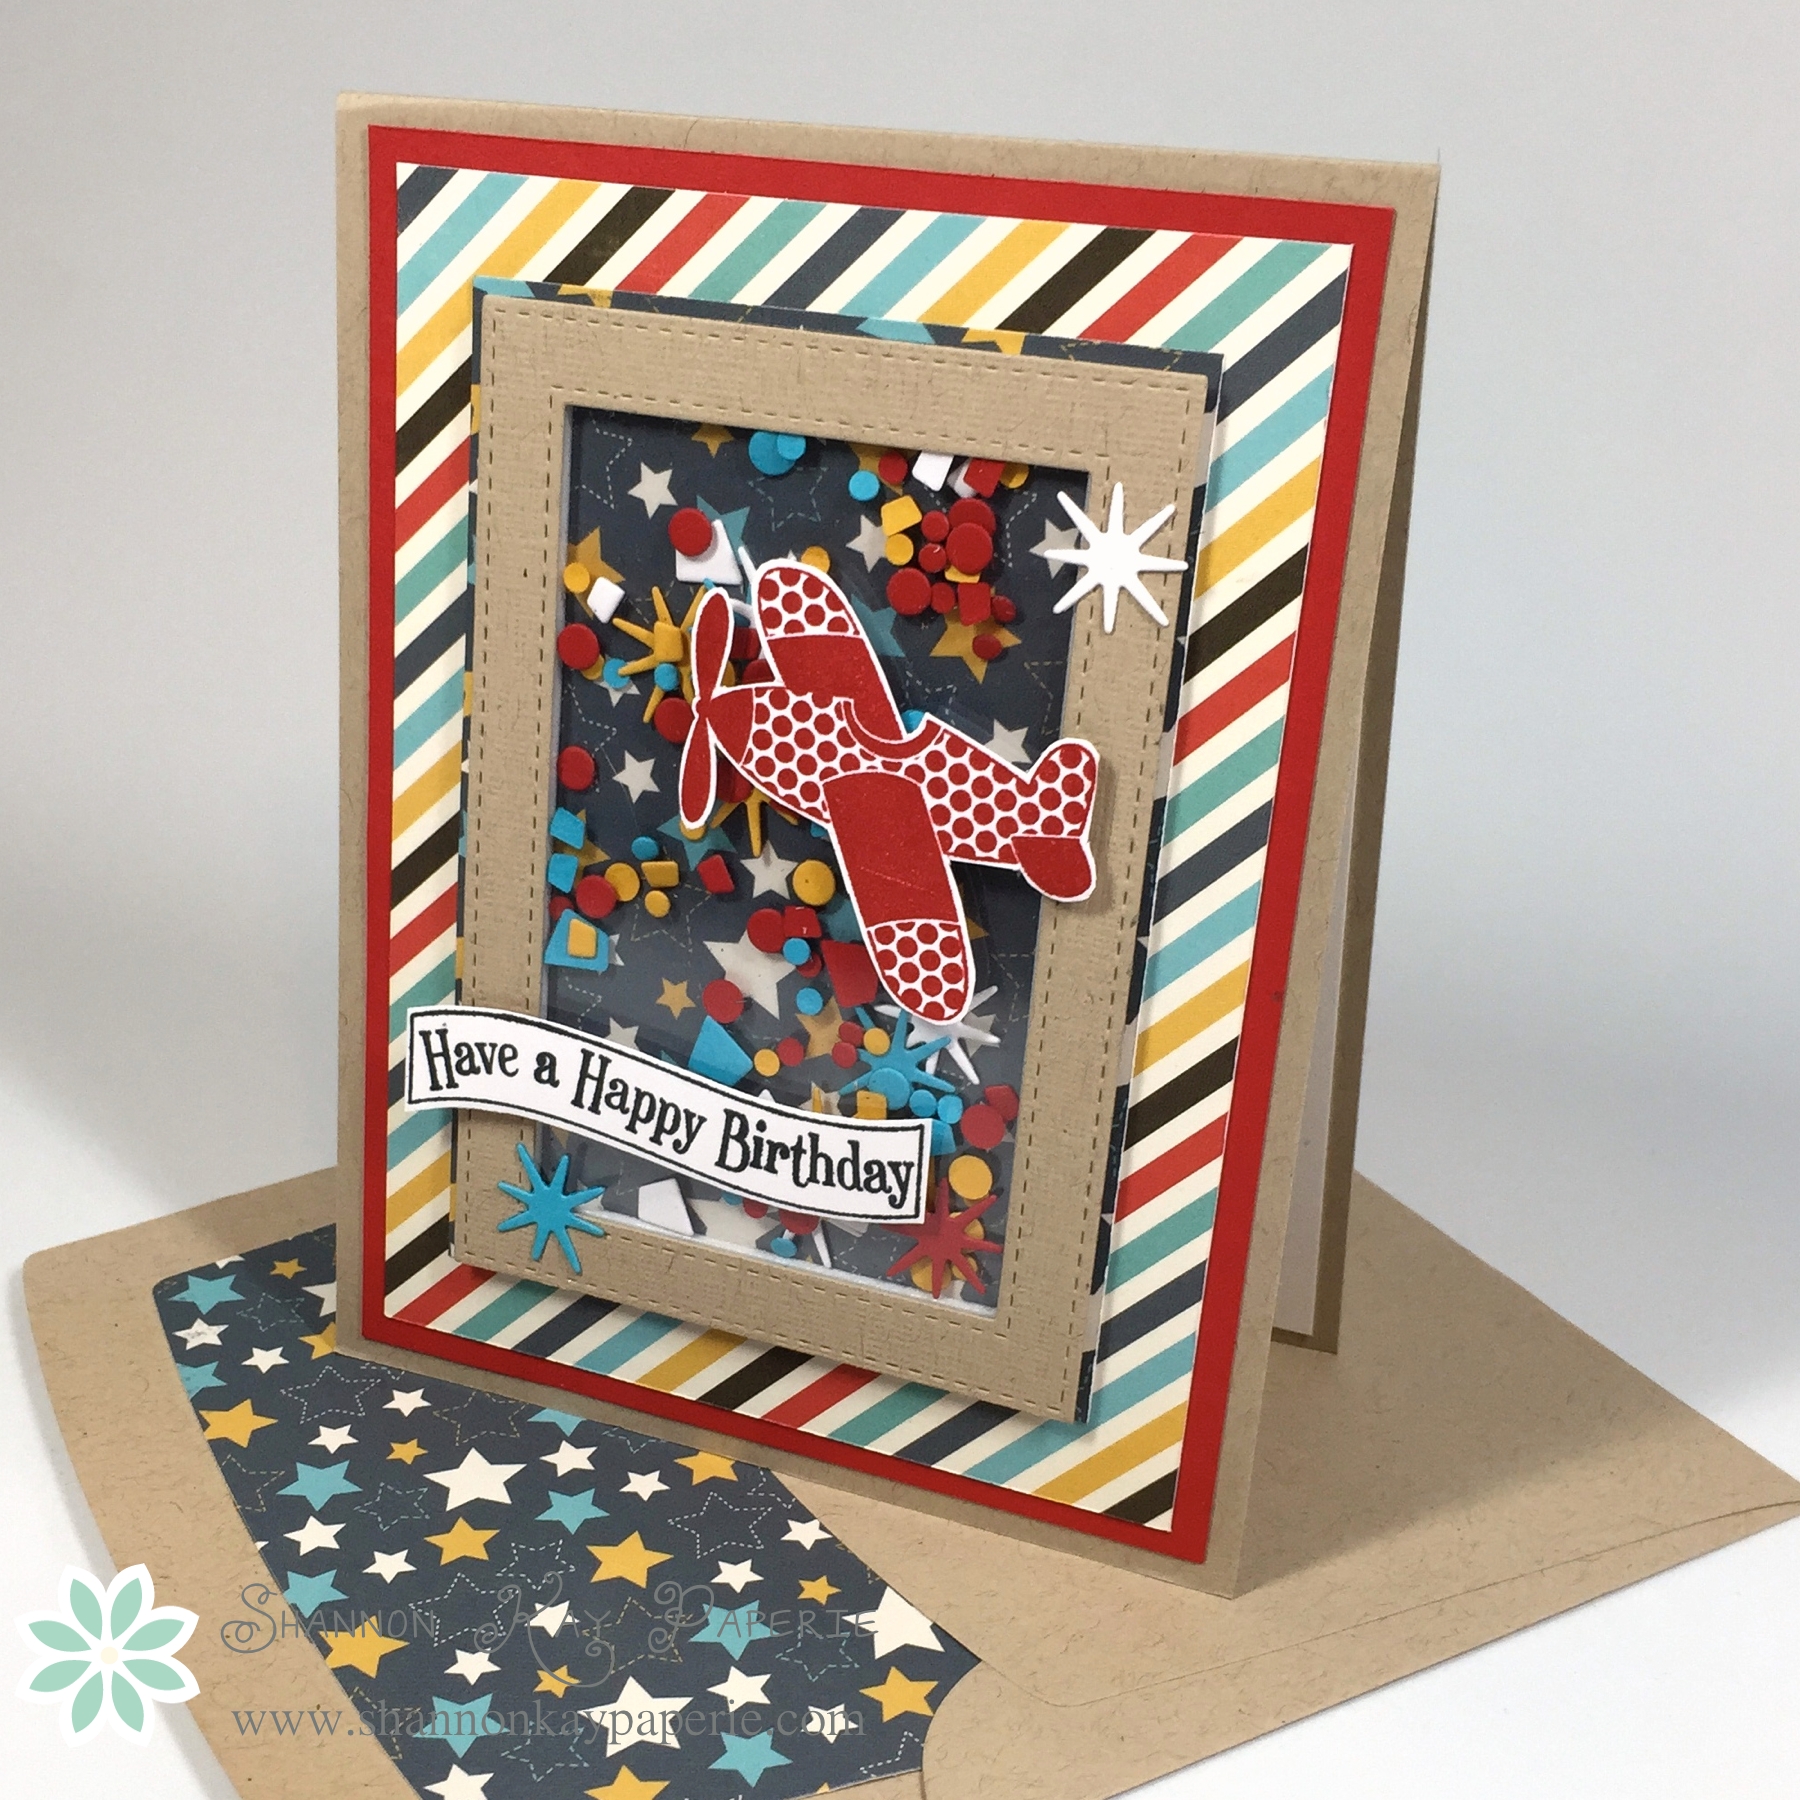
I found the BEST pack of 6×6 paper while at the Scrapbook Expo and have been itching to use it…it’s perfect for this challenge!! I may have gone overboard on all the patterns, but I couldn’t pick just one or two…

One for the Boys-The Paper Players 248
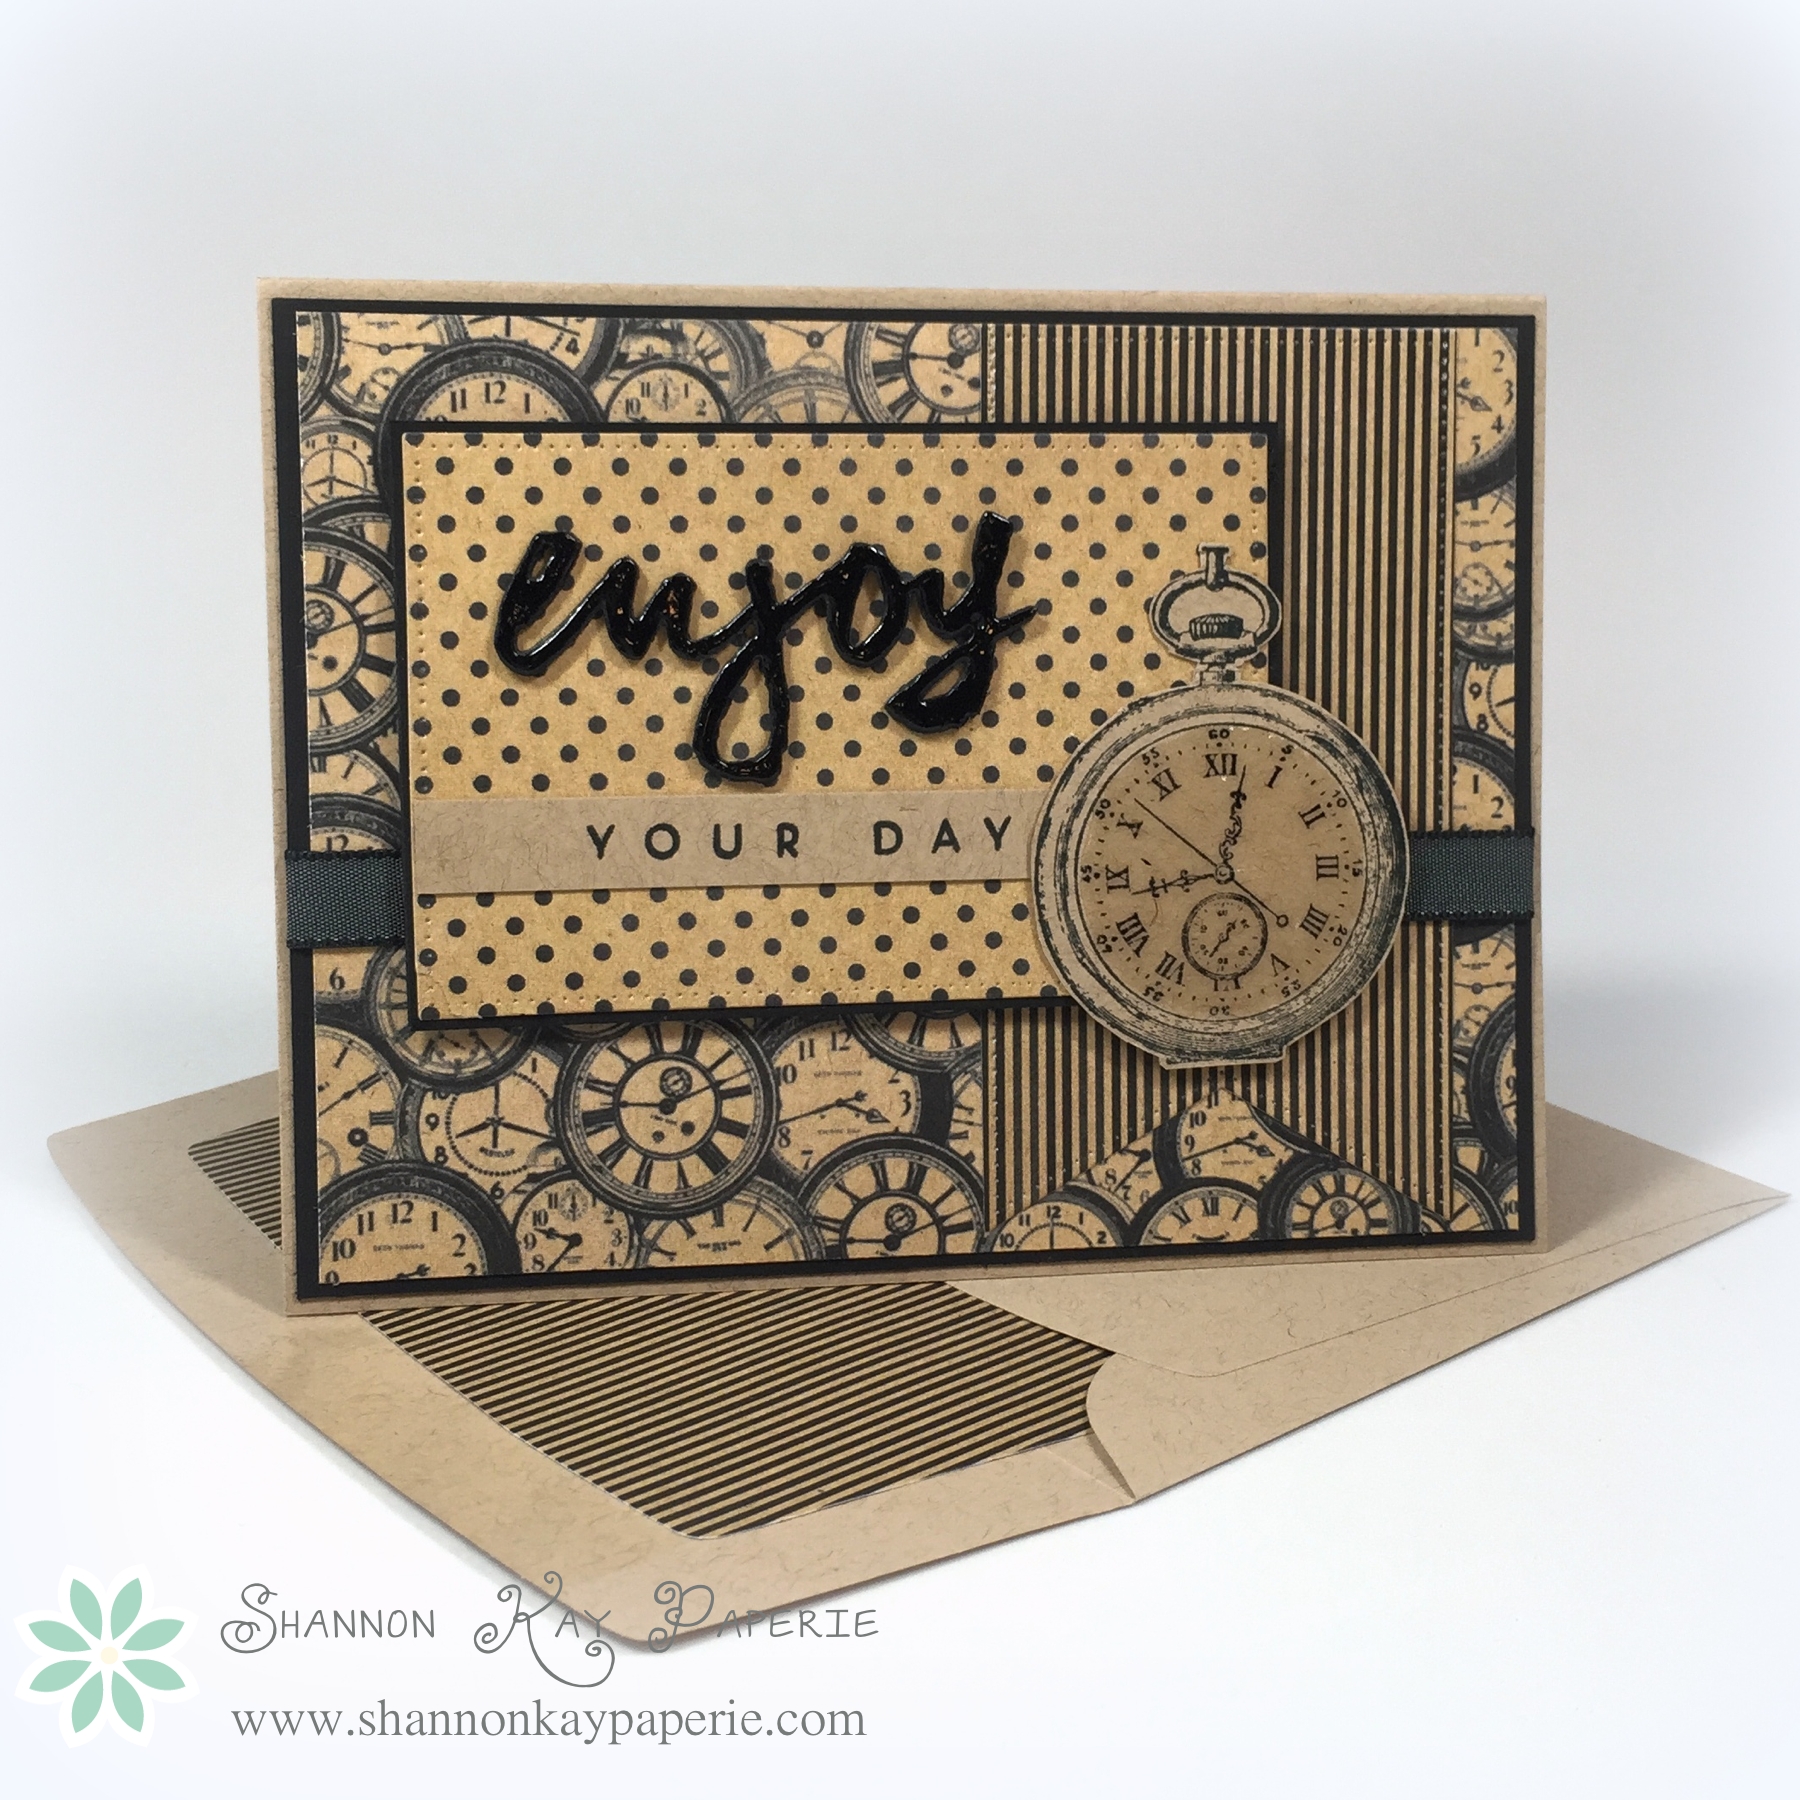
Aren’t they AWESOME!!!??? And I found a stamp set I purchased YEARS ago that had never seen ink (unfortunately), called Watch Set #3 by Rubbernecker Stamps that coordinates perfectly with the background paper!! I stamped and fussy cut one of the watches out and then added Crystal Effects to mimic the glass in the watch face.

SKP Watermarked Photos4-041
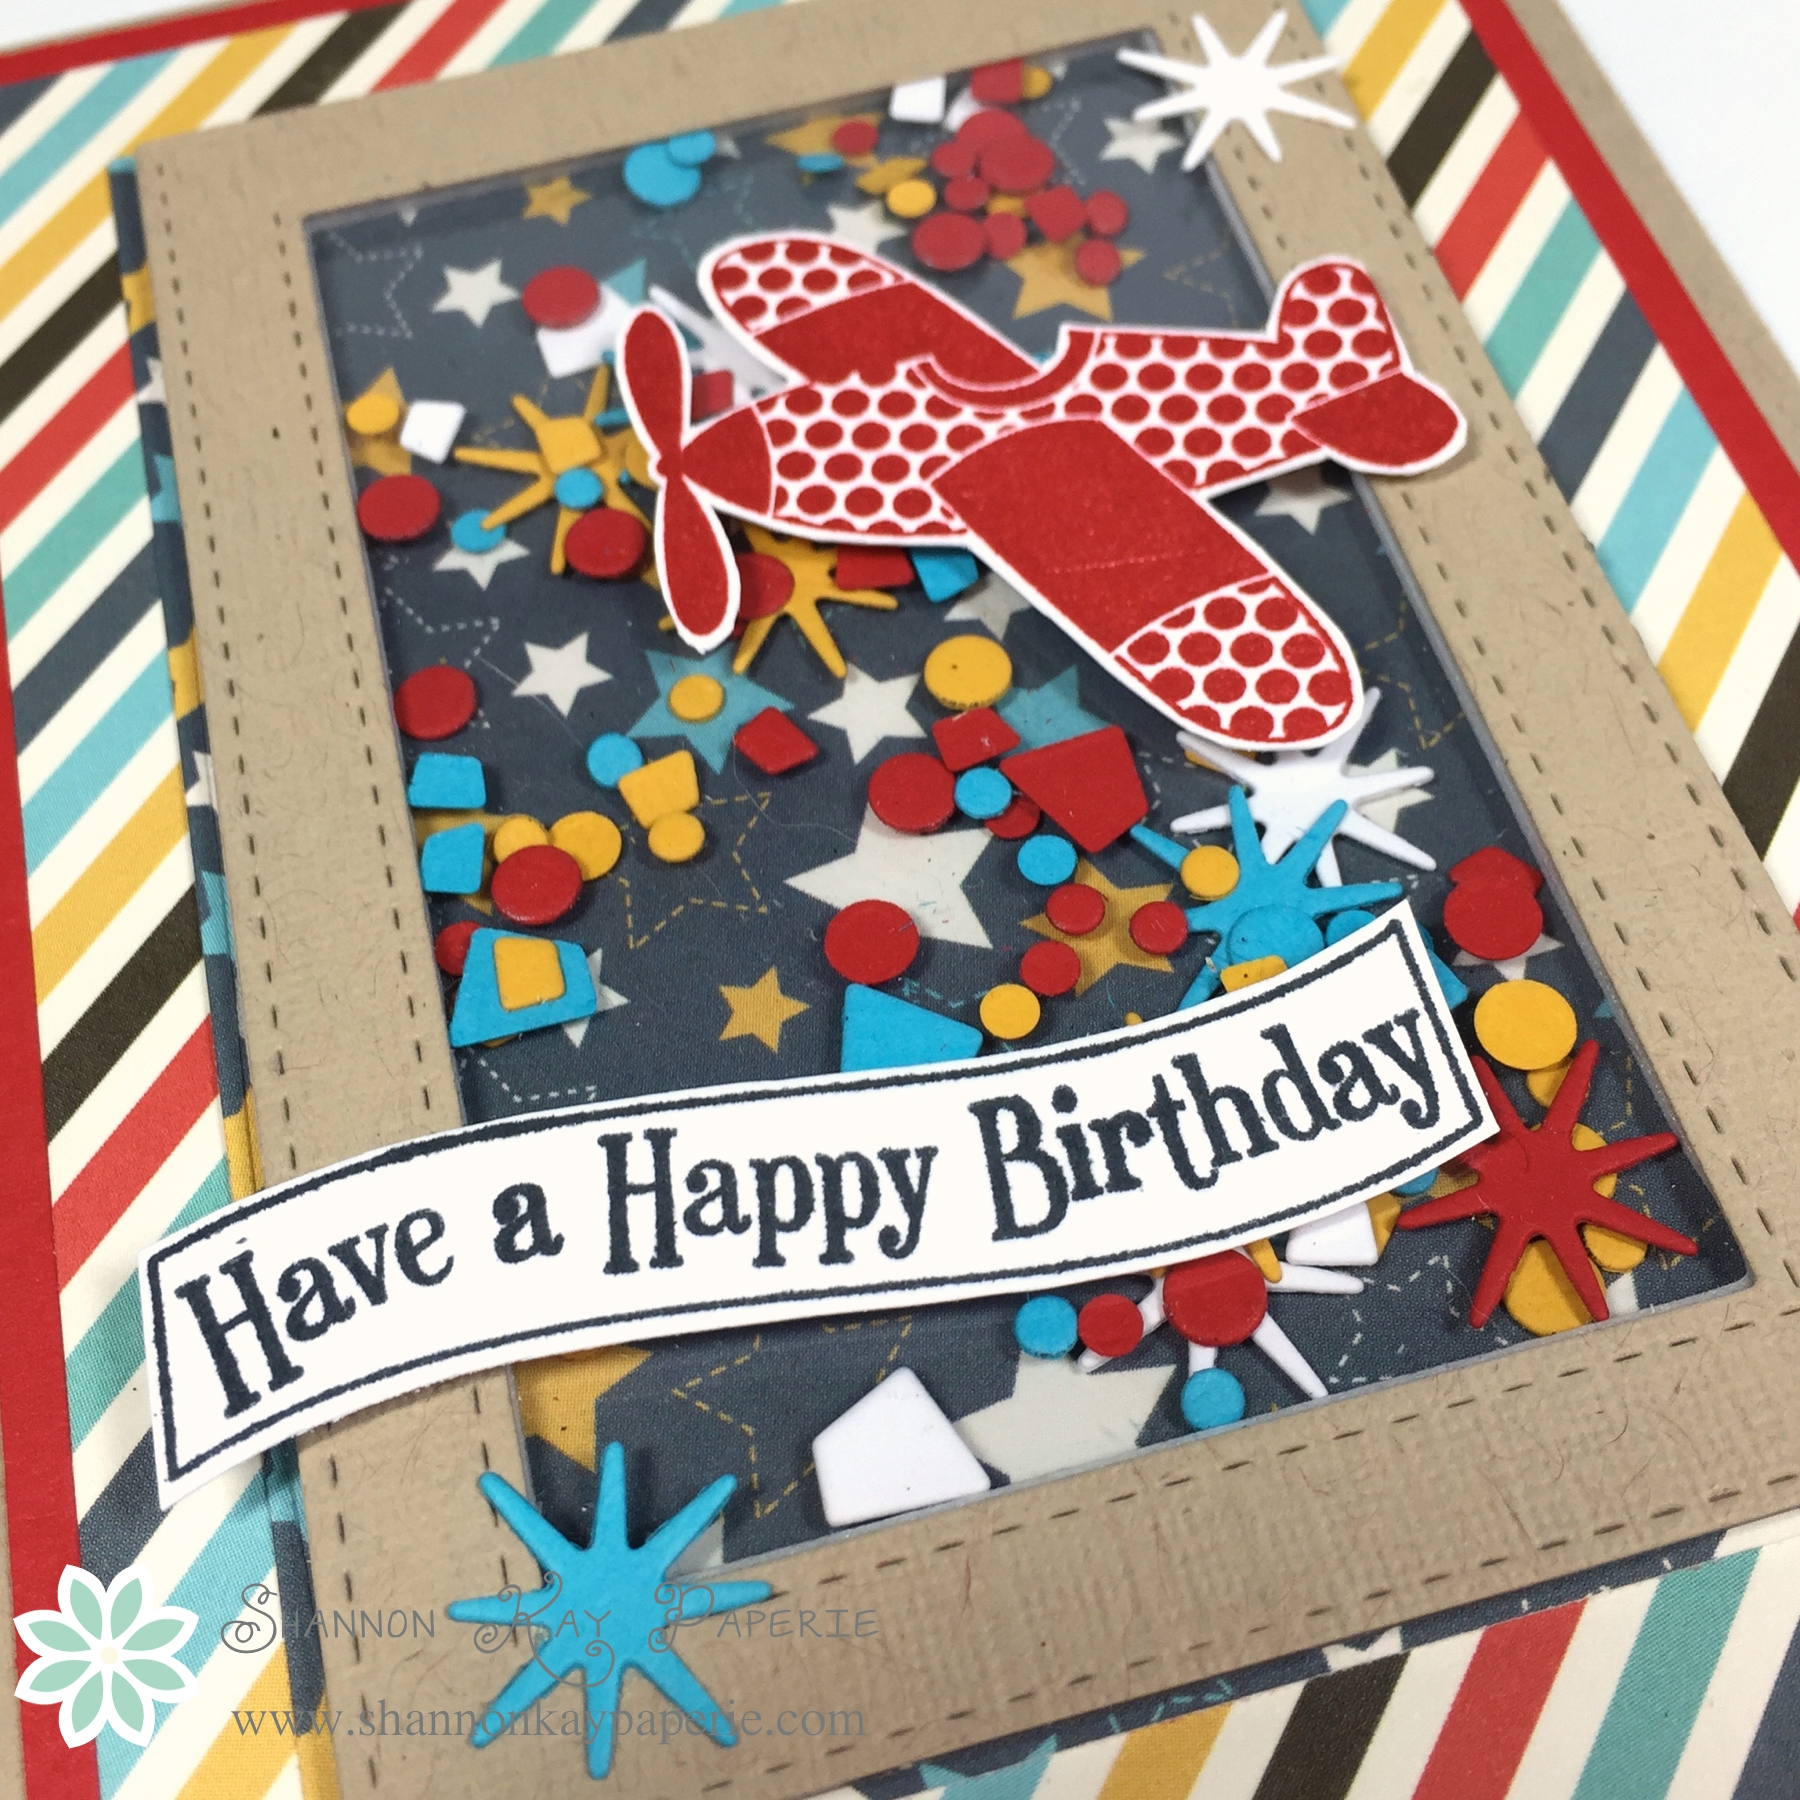
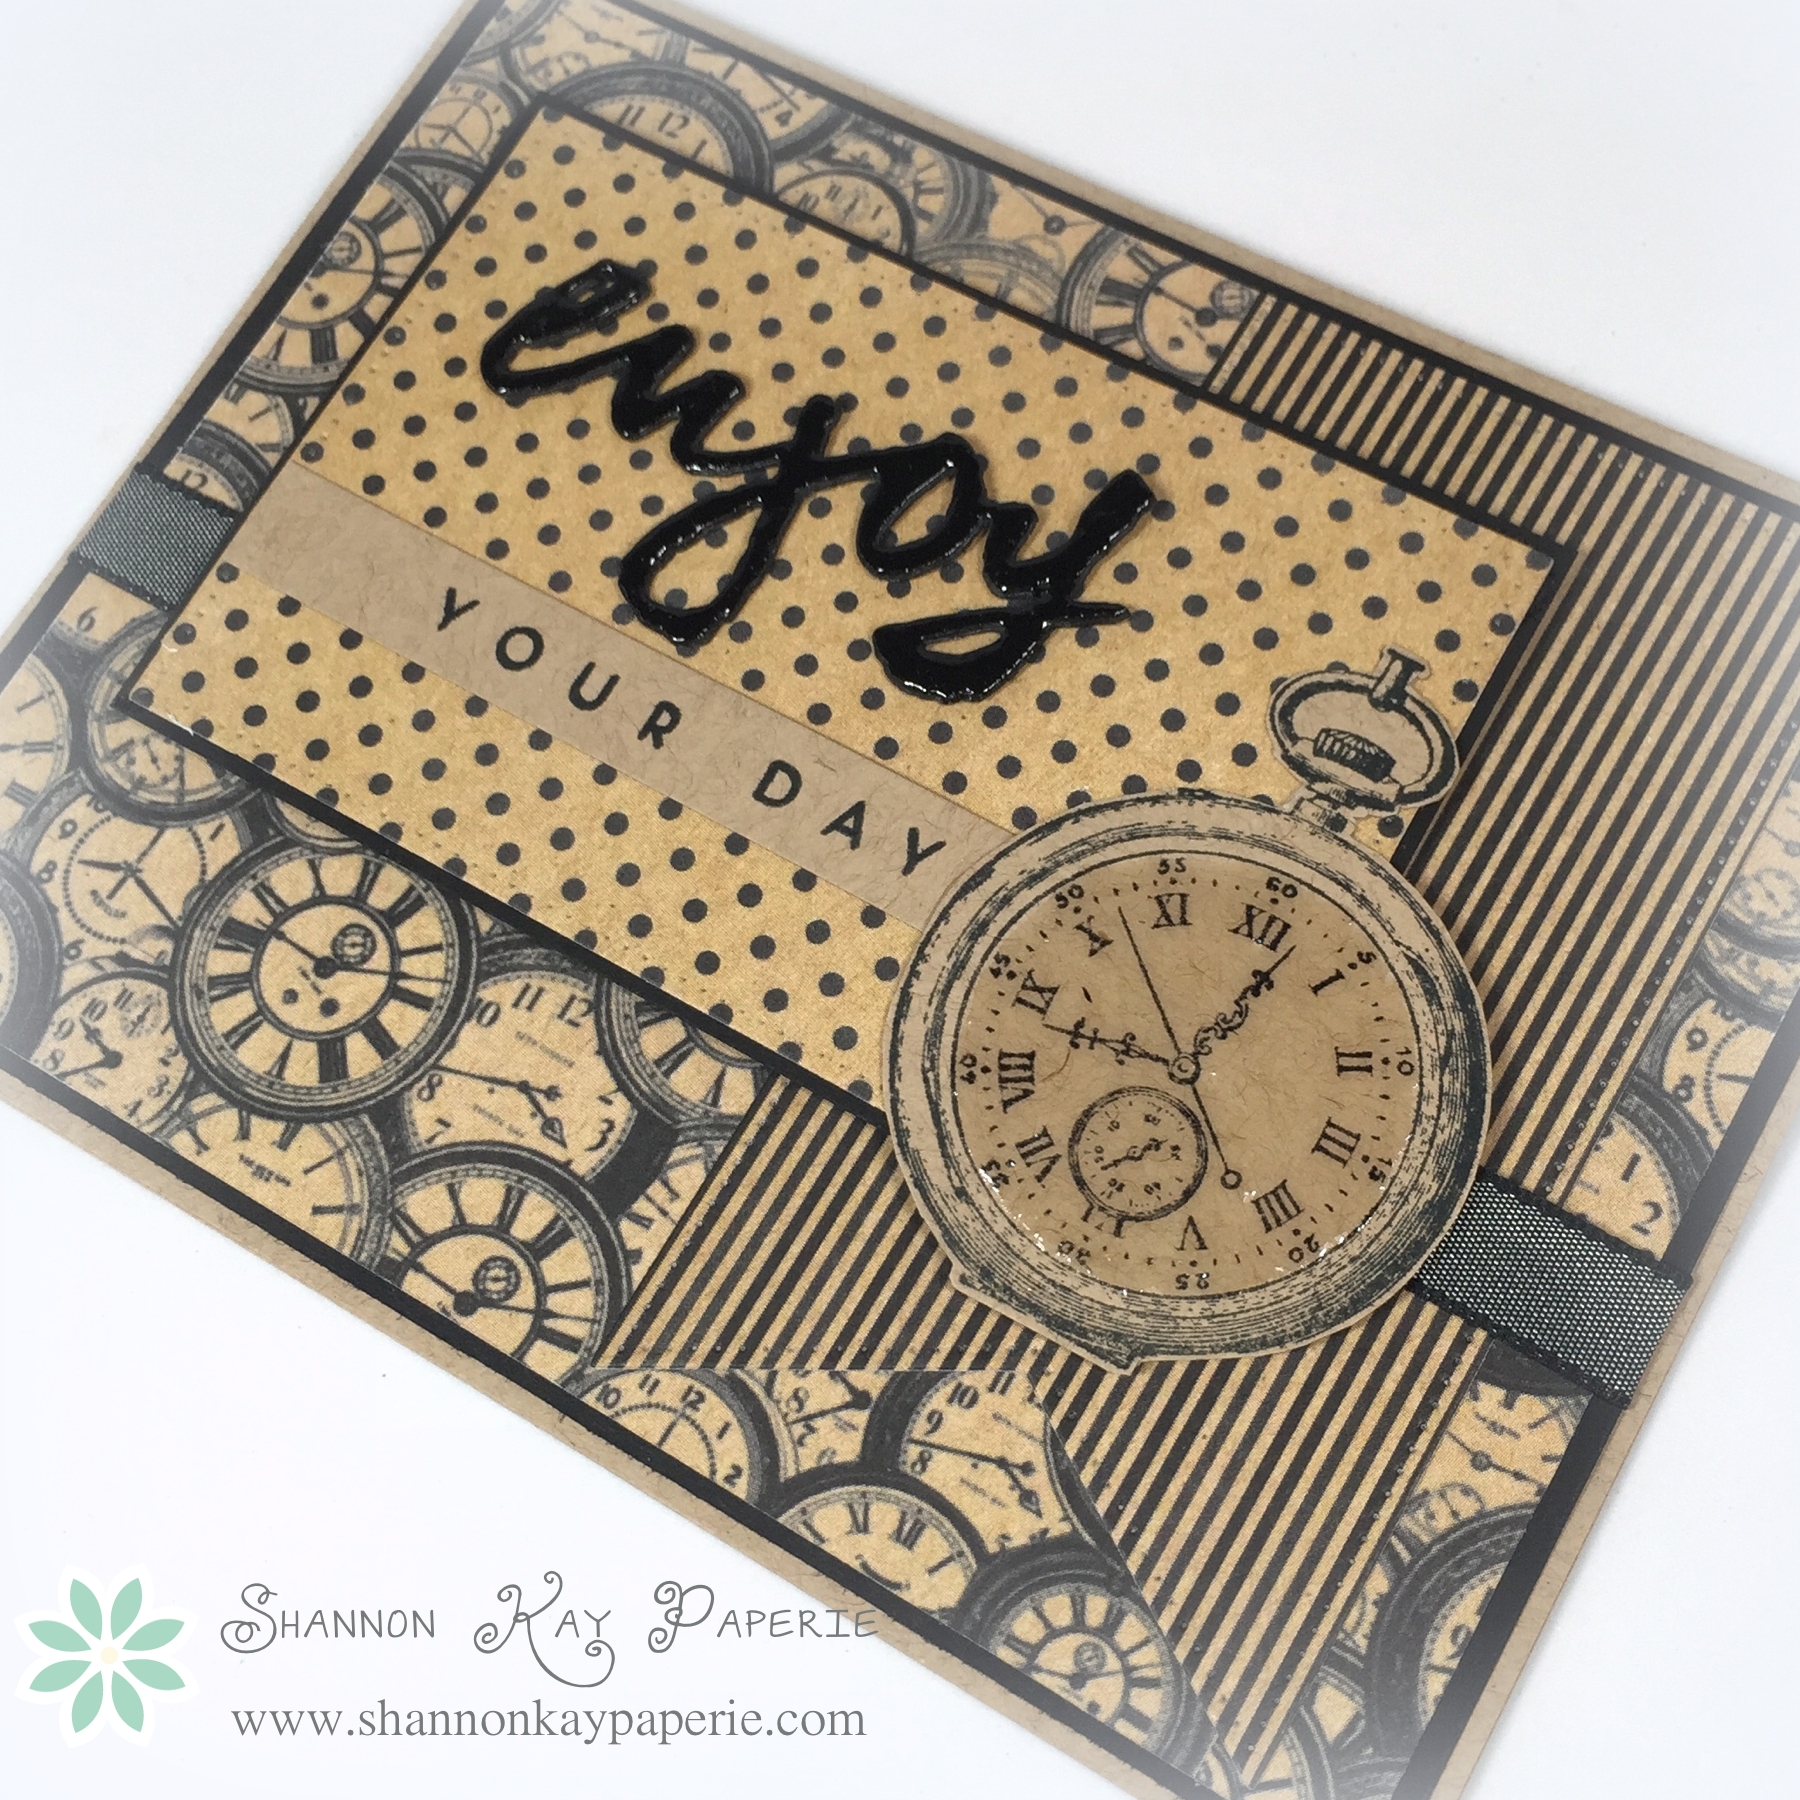
I die cut my sentiment out of black card stock three times and adhered the layers together to give it depth, but it still needed more to pop from all of that busy paper so I added Crystal Effects to it too.

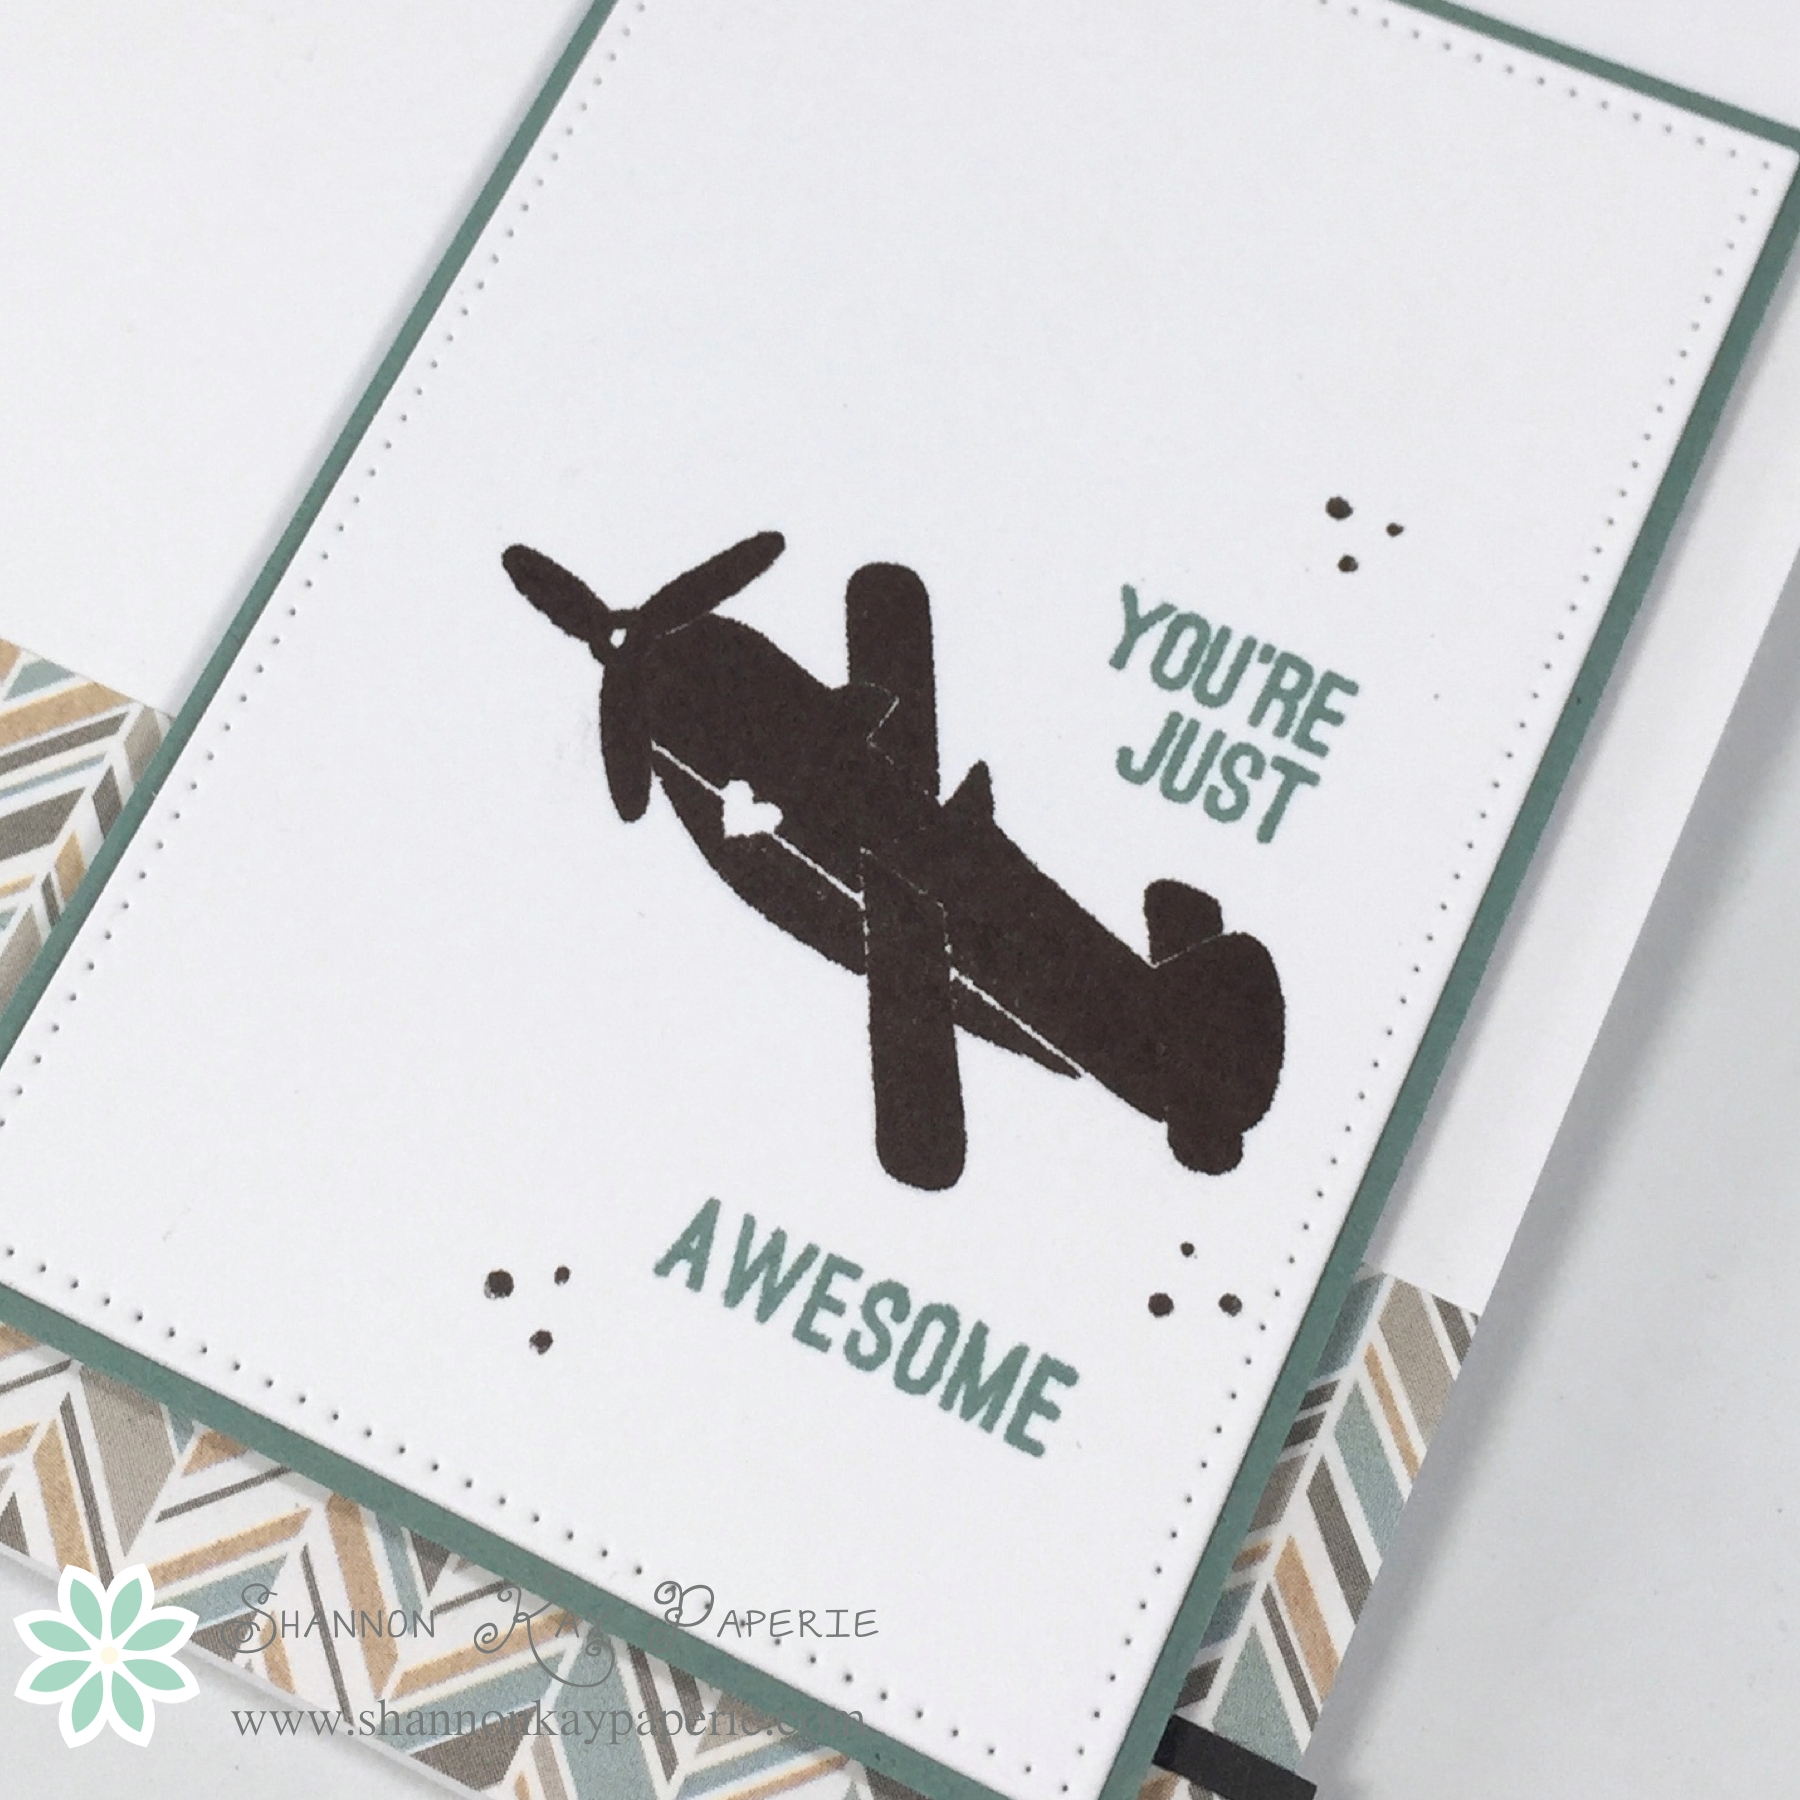
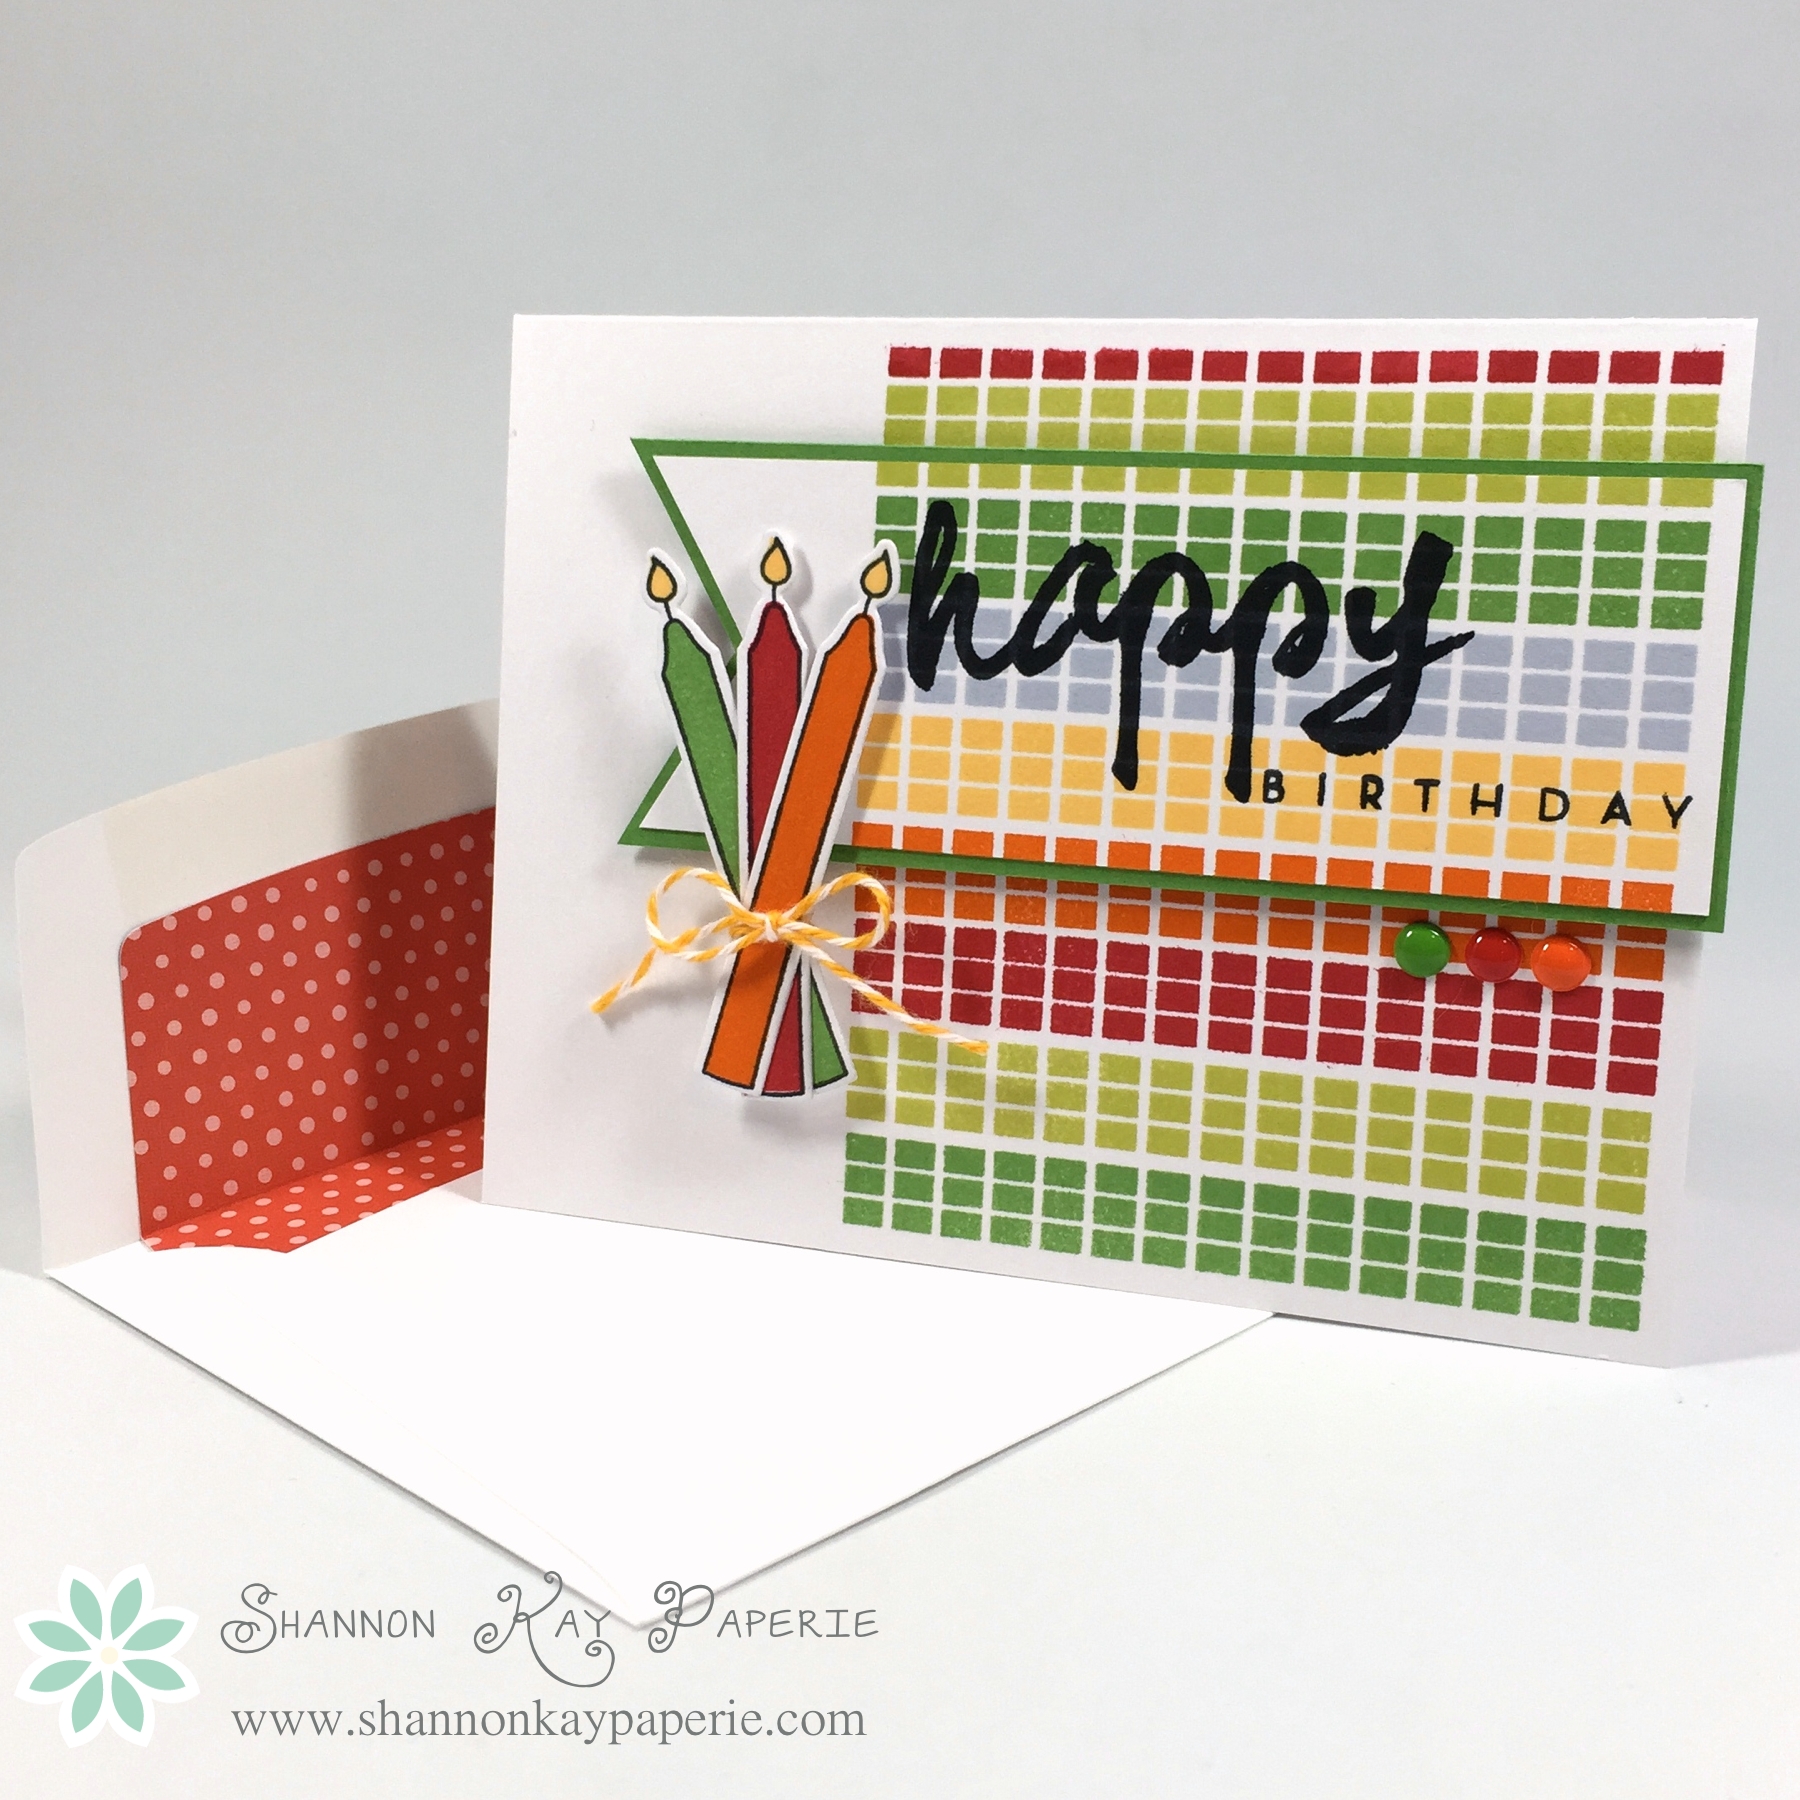
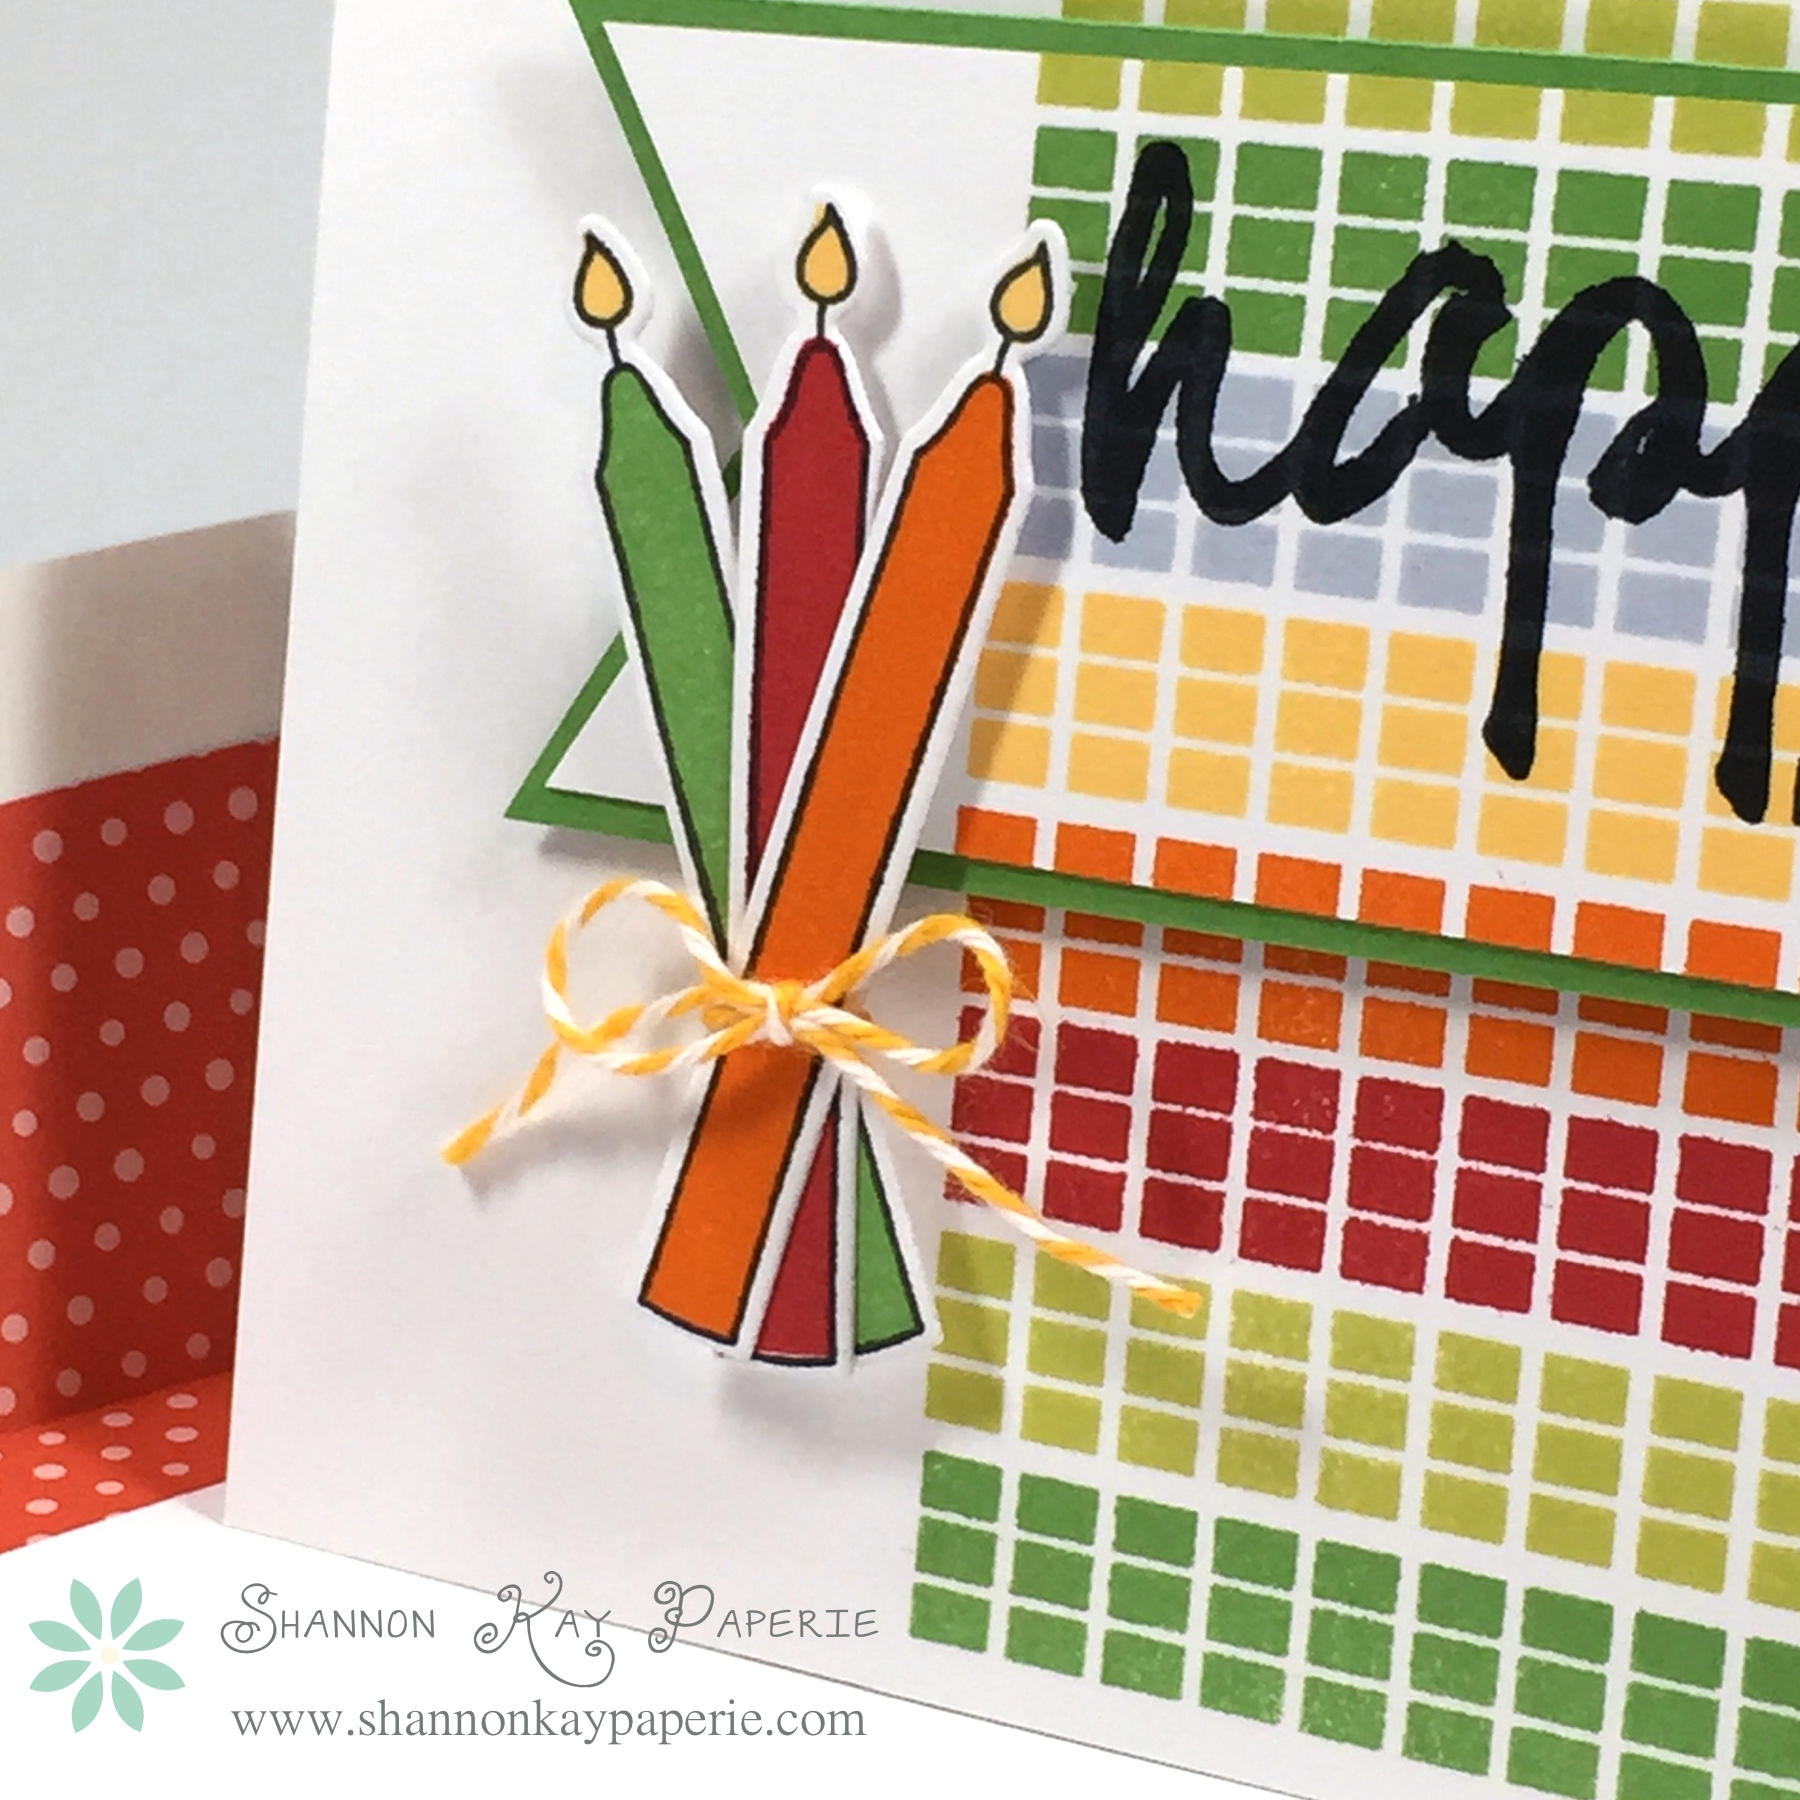
Isn’t it a fun die cut? I love all the coordinating sayings to pair with it. It’s Wet Paint by Papertrey Ink. I purchased it a long time ago, but didn’t realize that it had dies, and then the die set was sold out for forever, but I finally got it!! Yay!

I’m not much on patience so after applying all the Crystal Effects I forced myself to LEAVE the house and run an errand, just to make certain I left it alone long enough to set up! lol

SKP Watermarked Photos4-042
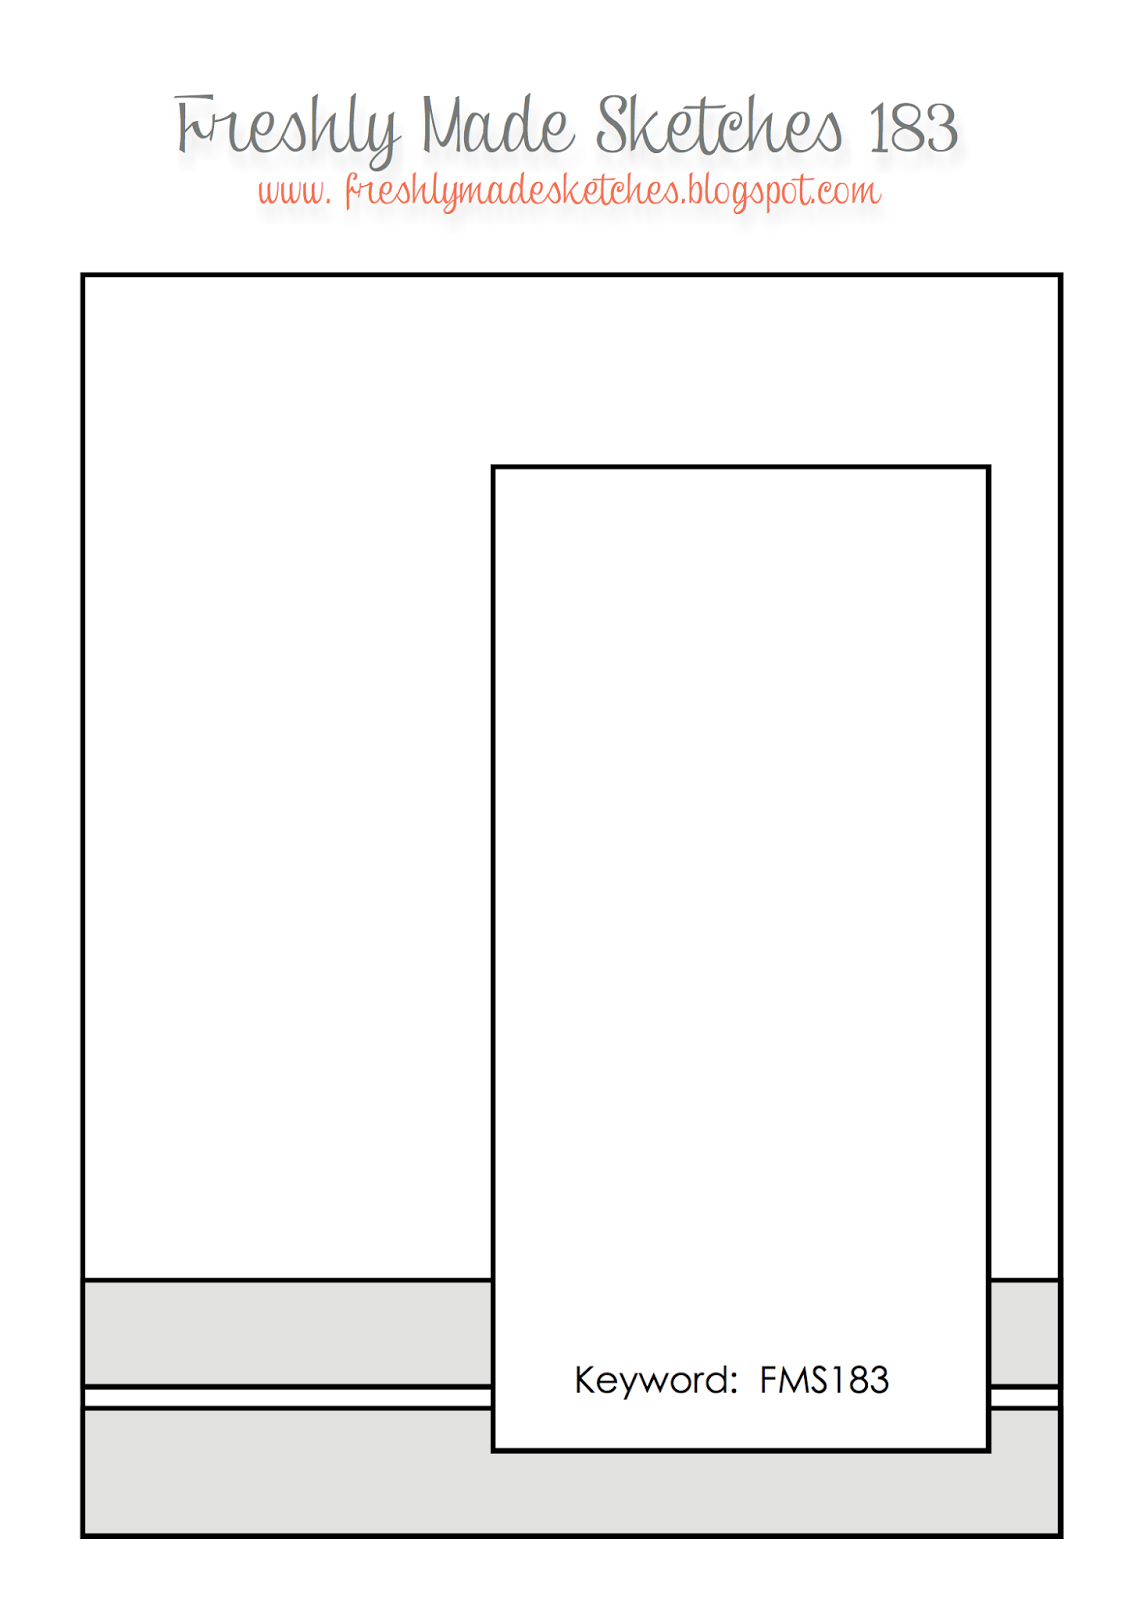
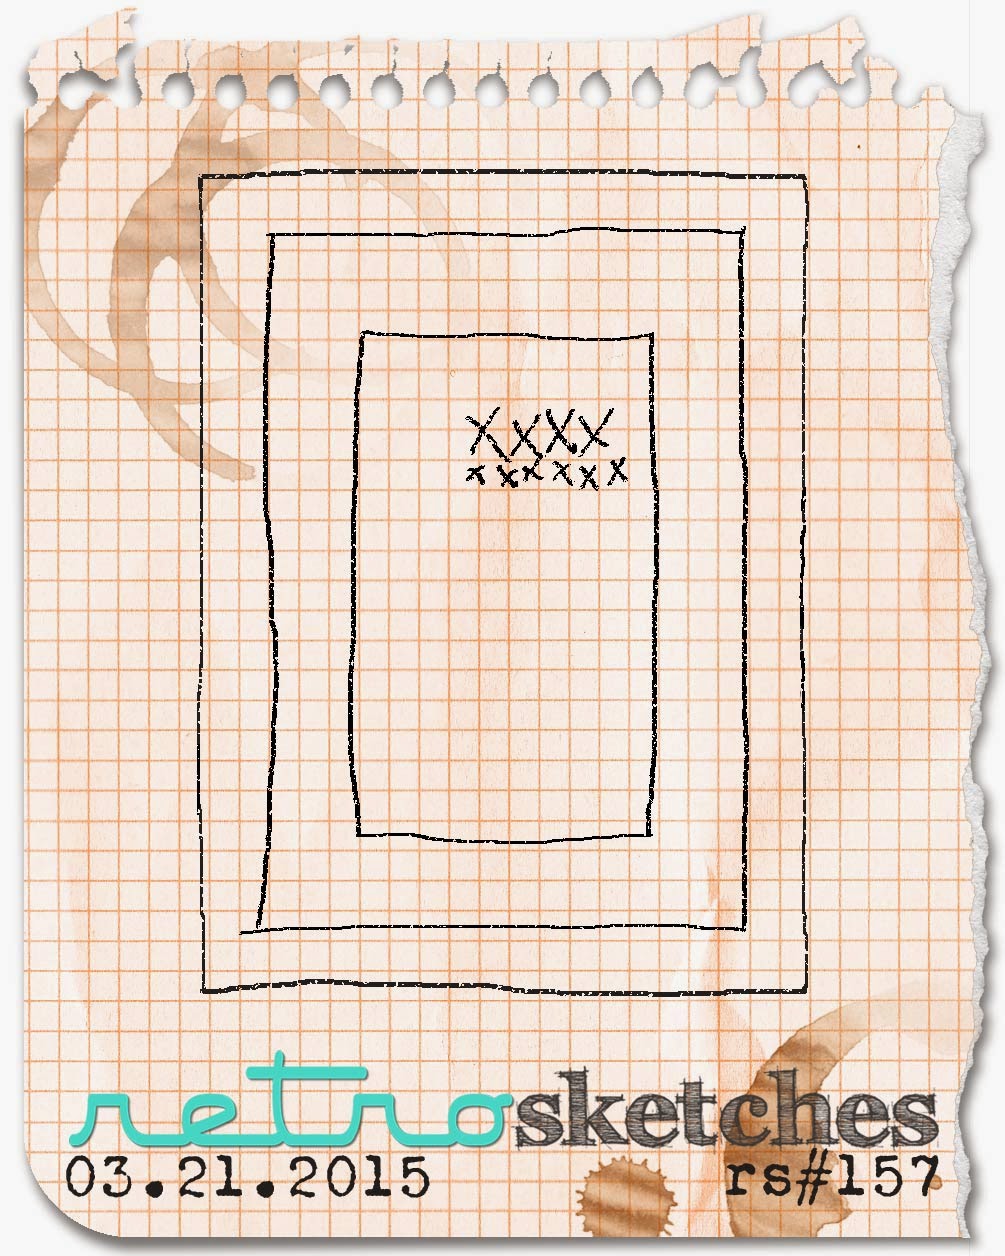
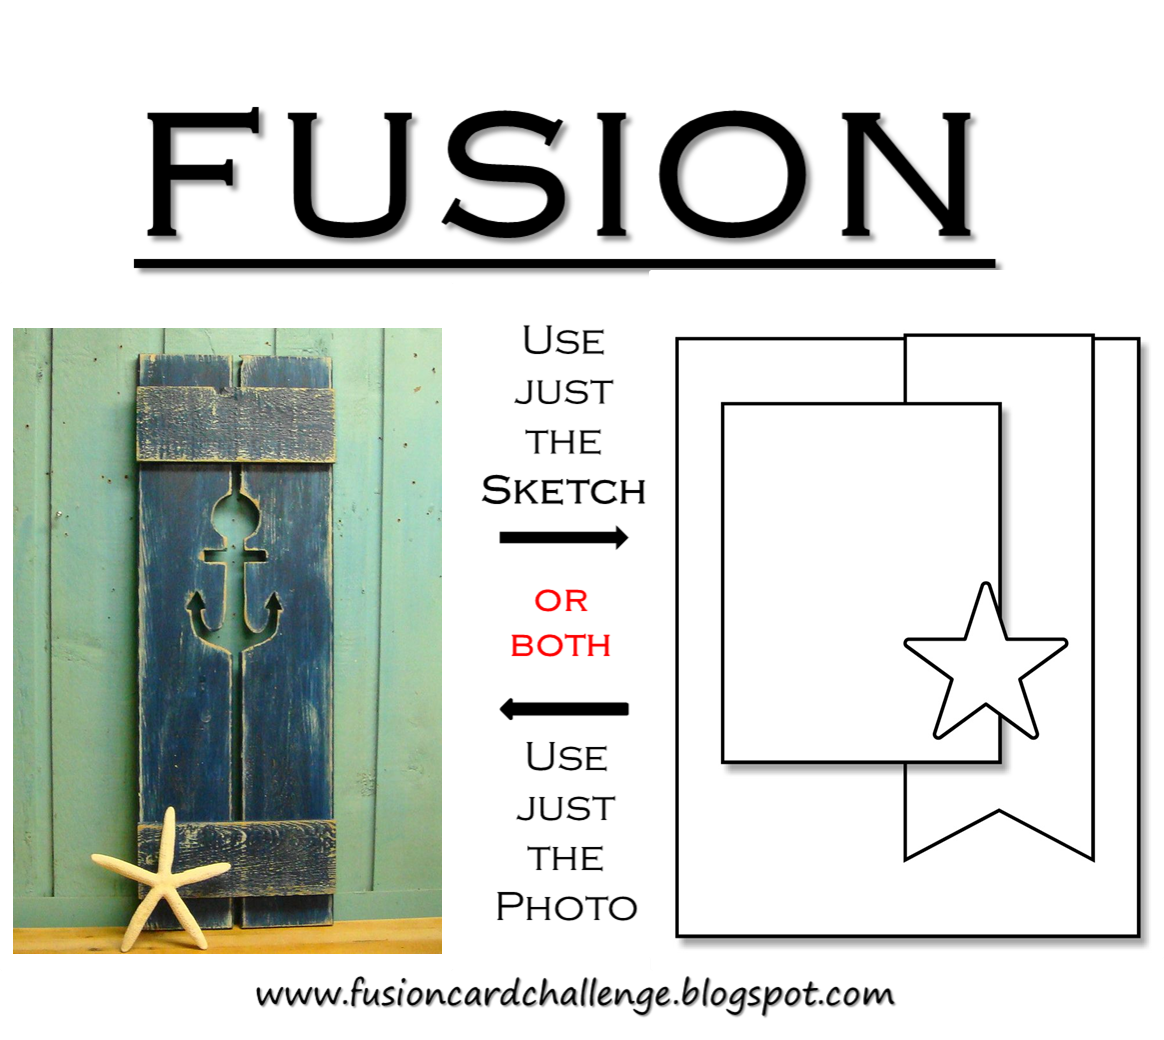
I need to give thanks to the design team over at the Fusion Card Challenge for the awesome sketch inspiration:

May 2015

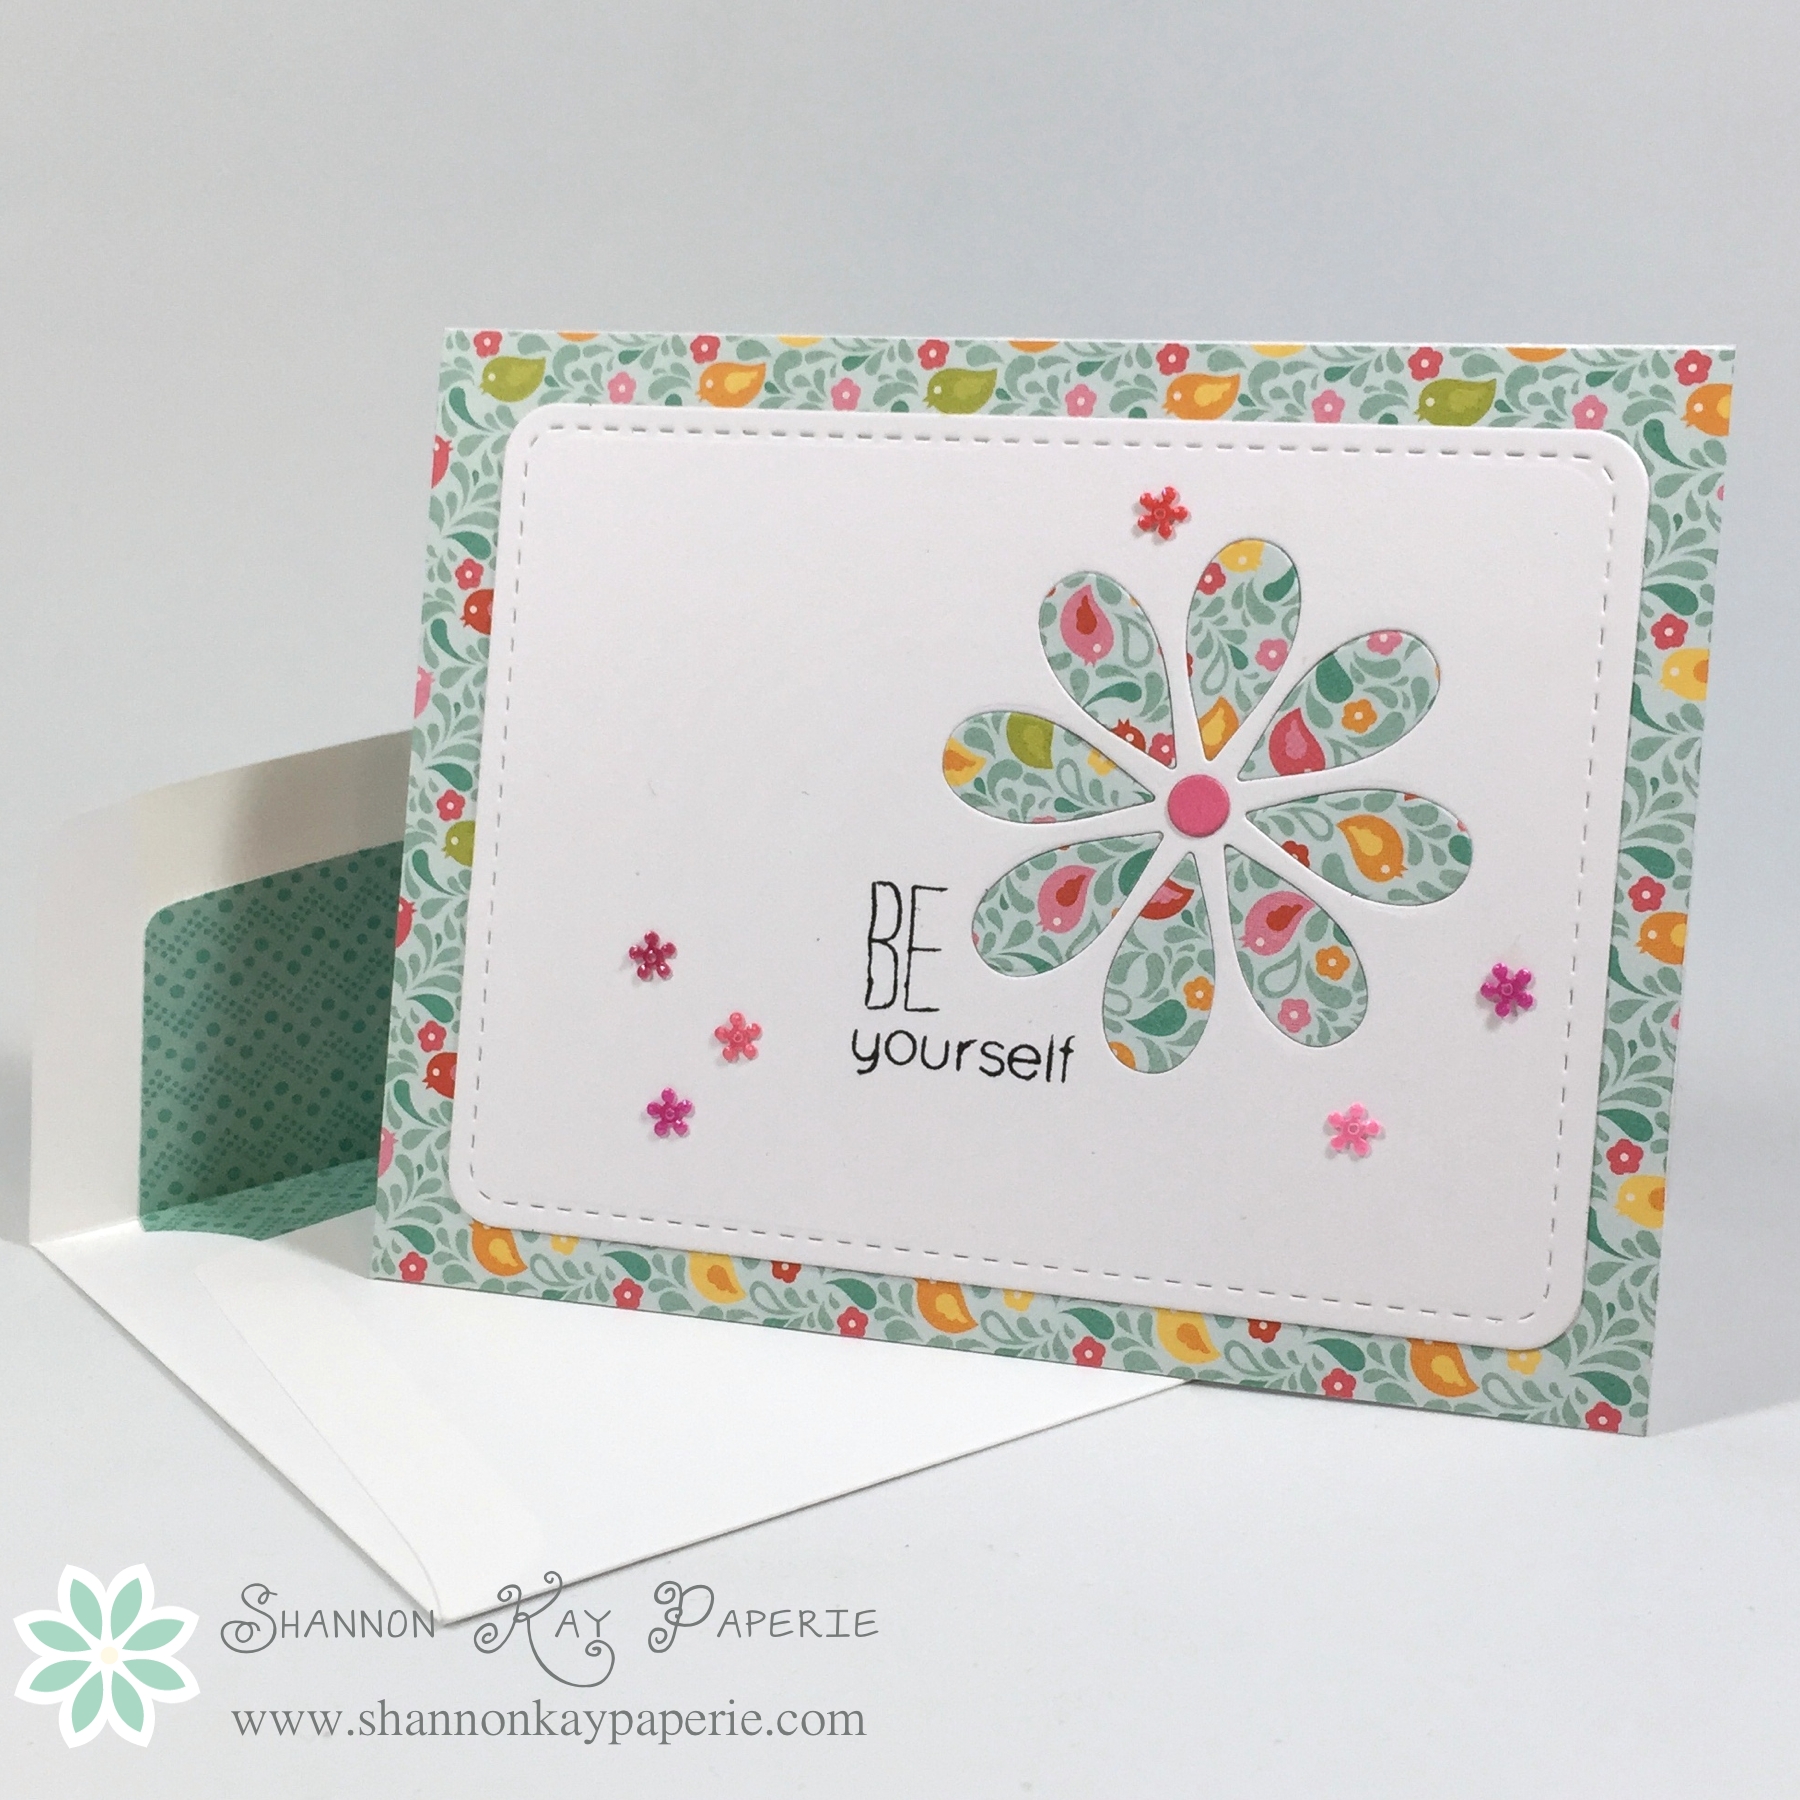
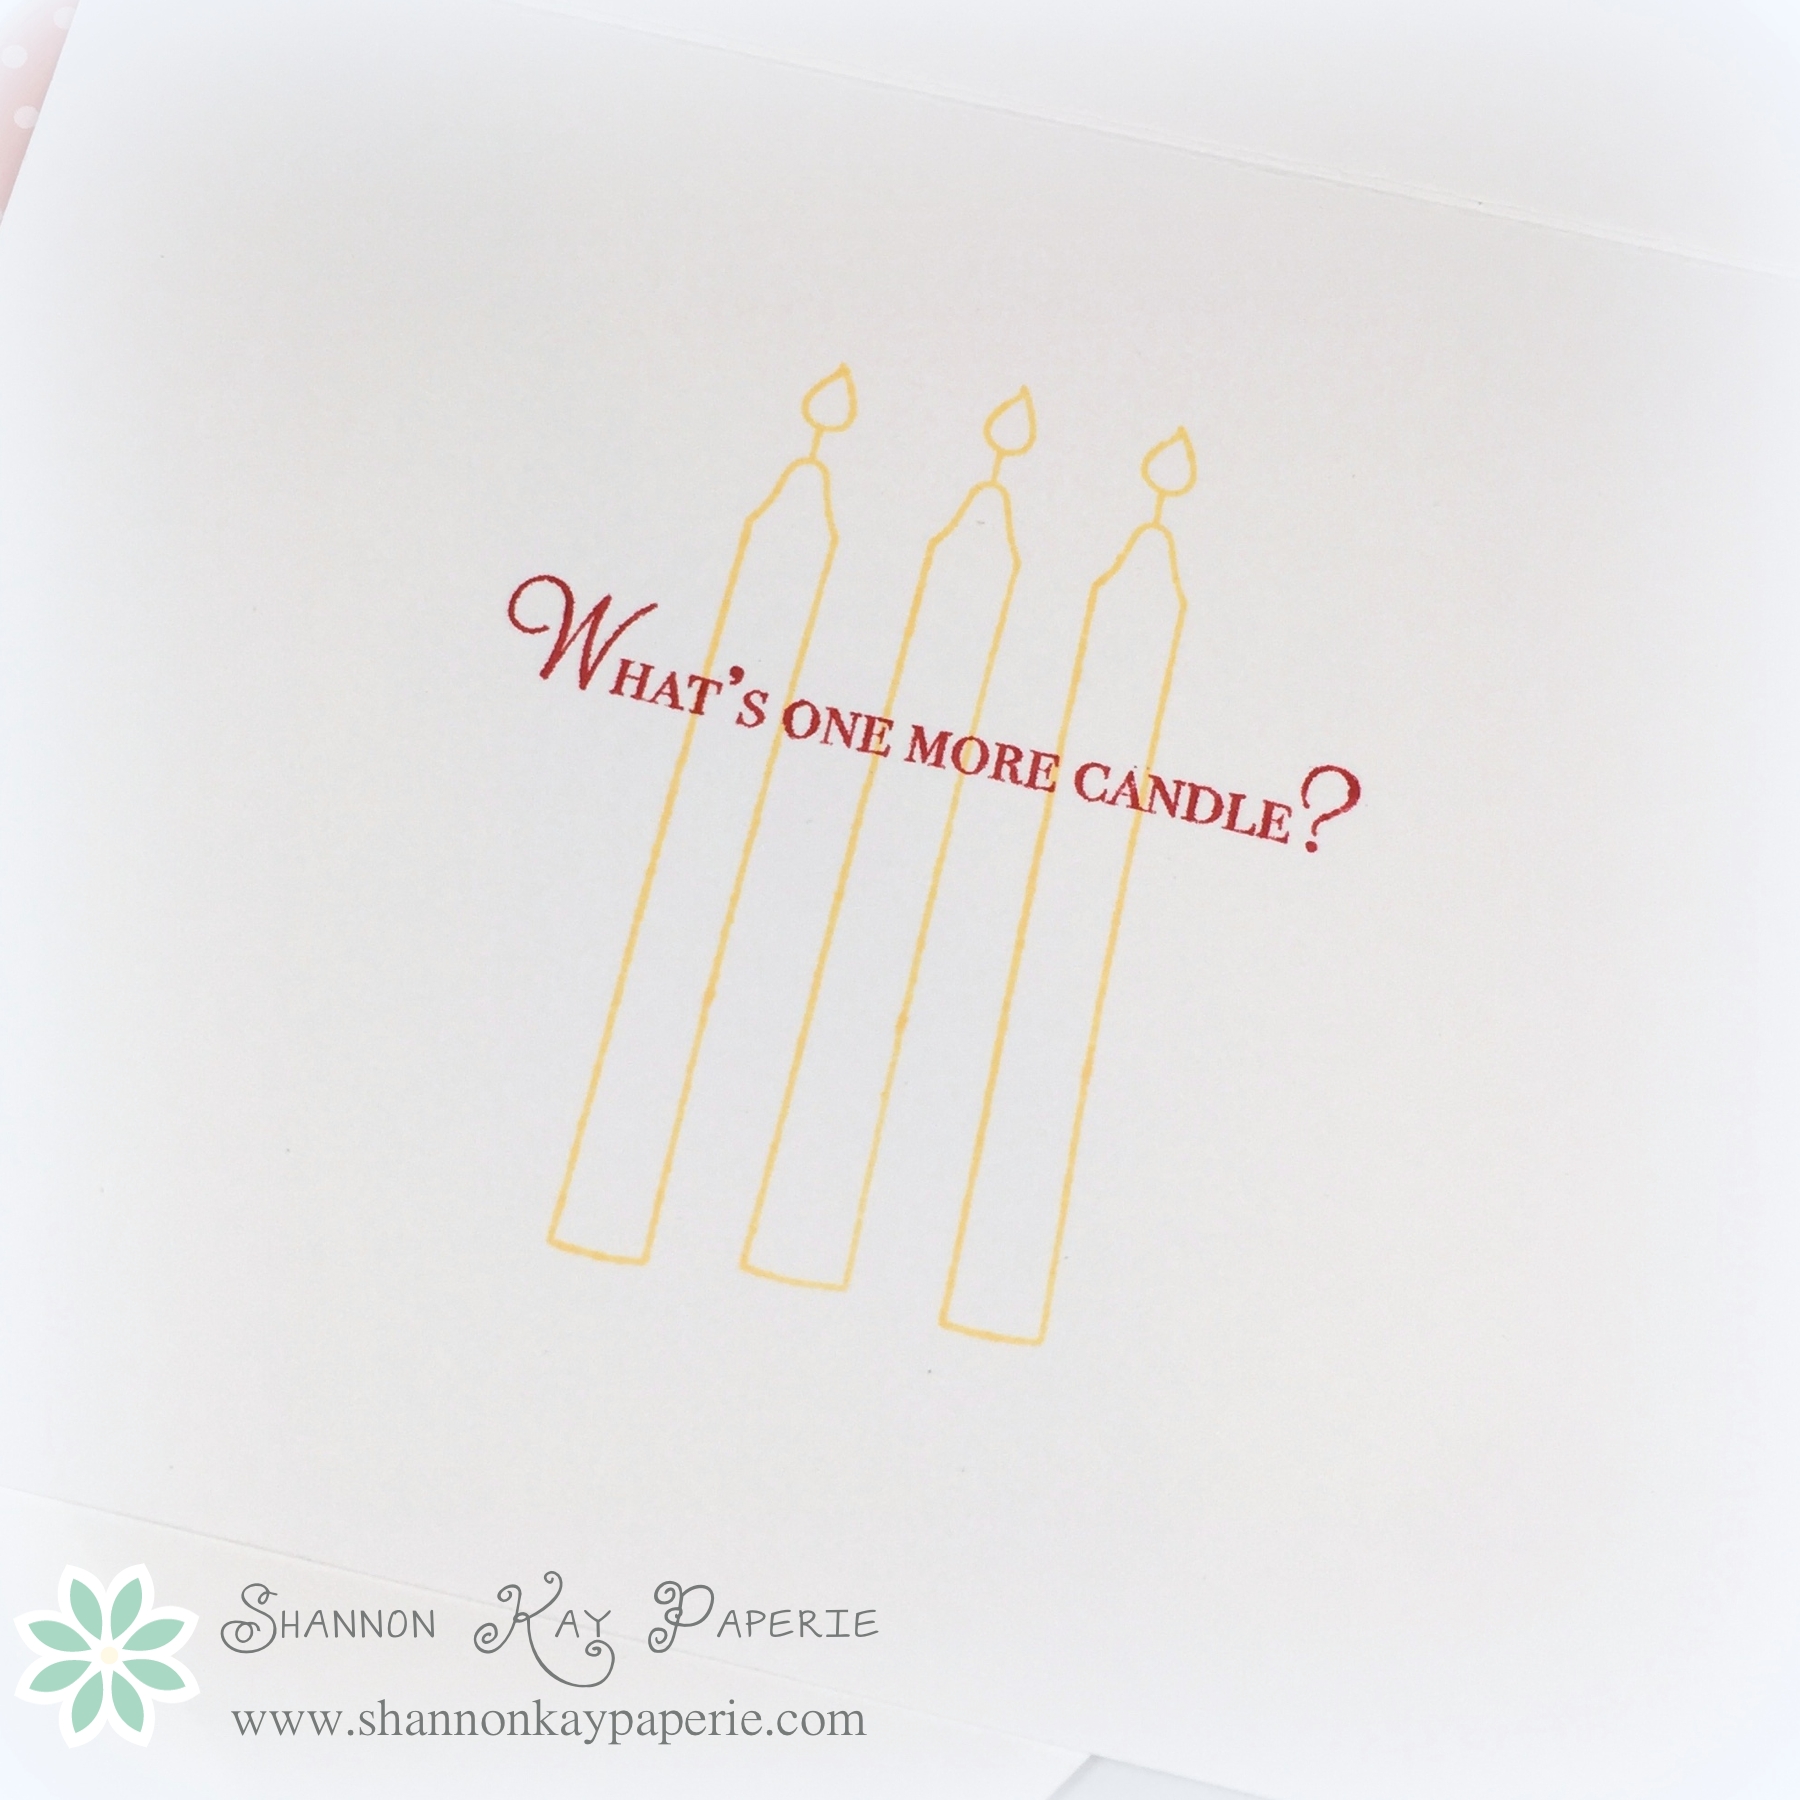
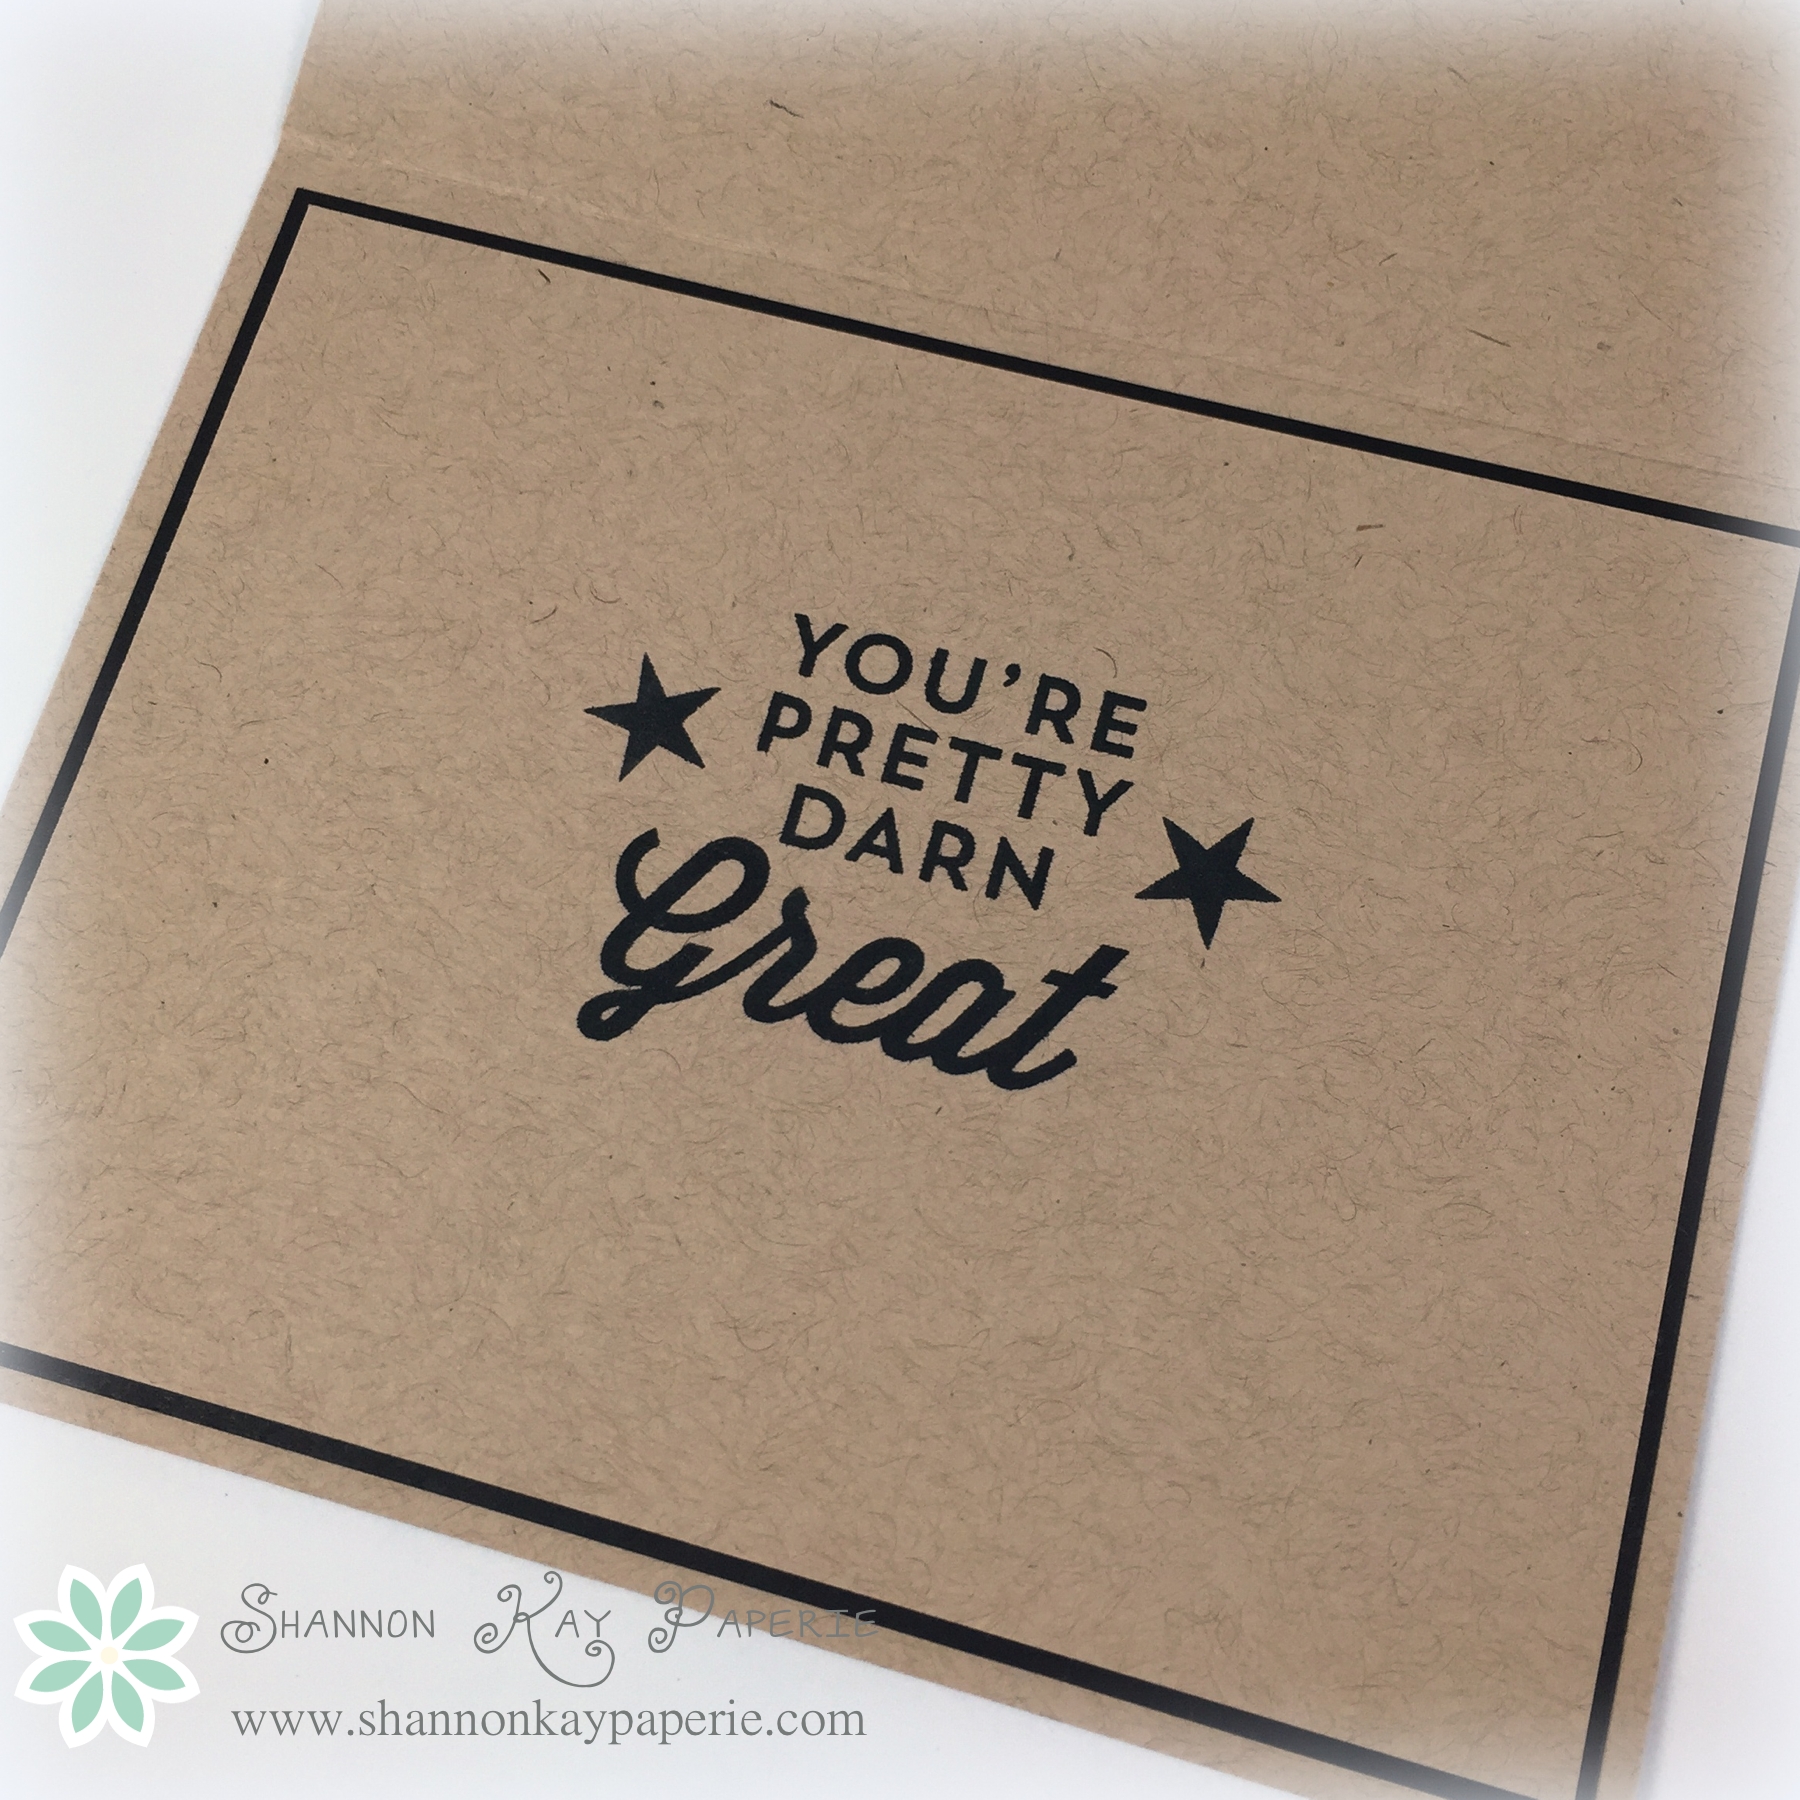
And a quick shot of the inside of the card:

One for the Boys - The Paper Players 248dI hope to see you playing along with us this week; before you start getting inky, please check out the awesome projects from the rest of the design team! There’s something for everyone!

The Paper Players Design Team

Wishing you joy and blessings!

Products Used:

Cardstock: Classic Kraft and True Black by Papertrey Ink

Pattern Paper: Accomplished by Authentique

Ink: Memento Tuxedo Black

Stamps:   Wet Paint by Papertrey Ink and Watch Set #3 by Rubbernecker Stamps

Dies: Wet Paint by Papertrey Ink; Fishtail Flags: Pierced and Pierced Rectangle STAX by MFT Stamps; Envelope Liner Die by Stampin’ Up!

Tools:  MISTI by My Sweet Petunia

Embellishments: Crystal Effects by Stampin’ Up!

Plane Awesome – FMS183

SKP Watermarked Photos3-073

Hello Friends! Today’s card is very clean and simple, inspired by the Freshly Made Sketches design team:

FMS183

This card was completely inspired by the pattern paper, it’s from a set called Durable by Authentique and has some fabulous masculine colors and patterns. I felt that the stamp set would compliment it quite nicely, and I have the perfect person in mind to send it to!!

SKP Watermarked Photos3-075My card is pretty straightforward but I will say that the MISTI made stamping a breeze!!

I hope you are having a fabulous weekend!!

Wishing you joy and blessings!

Products Used:

Cardstock: Ocean Tides, Smokey Shadow and Stamper’s Select White by Papertrey Ink

Pattern Paper: Durable by Authentique

Ink:  Ocean Tides and Smokey Shadow by Papertrey Ink

Stamps:  Love You to Pieces and Rustic Wreath by Papertrey Ink

Dies: Pierced Rectangle STAX by My Favorite Things

Tools:  None

Embellishments: None

Be Yourself – Sunday Stamps Challenge 98

SKP Watermarked Photos3-032Hello there, Friends!! It’s been a week and I FINALLY got a chance to stamp this evening! Getting some crafty time in always lifts my spirits, how about you?

I saw this darling sketch over at Sunday Stamps today and knew at once I wanted to play along:

ssc98fIsn’t the sketch darling?? I’m not sure if I’m more in love with the layout, or the flower they used for it, lol! Either way, I was inspired to play along!

The fine print says to keep it to a one layer card so that’s what I did. I had to inlay my flower to do it, but I did it!!

SKP Watermarked Photos3-033I layered my pattern paper over my card base, then die cut the white layer with both the stitched edge die and the daisy die. Once I adhered the white layer to my base, I simply ran a scrap of my pattern paper through the Big Shot with the Daisy die and inset the cut pieces into my white layer! Easy Peasy! I love the little die cut dot in the center…SO cute!!

It’s a lighthearted and fun card, I picture sending it to someone who needs just a bit of encouragement. We all need THAT from time to time!

I don’t recall exactly where I picked up the flower sequins but they sure are cute and a very fitting accent for my card today!

I’m also entering my card in The Challenge: They are having a fun ‘anything goes’ challenge…love those!

Anything Goes Challenge-March 30th

I’m also entering it over at CASology whose theme this week is Spring! I LOVE Spring colors!

Week 140 - Spring

Thanks for stopping by!

Wishing you joy and blessings!

Products Used:

Cardstock: Stamper’s Select White by Papertrey Ink

Pattern Paper: Summer Bliss by Echo Park

Ink: Tuxedo Black by Memento Ink

Stamps:  Be by Simon Says Stamp

Dies: Rounded Rectangle Stitched Mats by Lil ‘Inker; Oopsie Daisy by Papertrey Ink and Envelope Liner Die by Stampin’ Up!

Tools:  MISTI by My Sweet Petunia

Embellishments: Flower Sequins (source unknown)

Taking Flight for Your Birthday – Retro Sketches #157

SKP Watermarked Photos3-023Was this ever a fun card to make!! I was inspired by the sketch this week over at Retro Sketches:

rs157I pulled out some fun paper from Carta Bella and finally inked up a stamp set by Clearly Besotted Stamps called Take Flight.

SKP Watermarked Photos3-026I used a star pattern paper for the backing to my shaker and then filled it with confetti and circles from my Shakers & Sprinkles Collection from Papertrey Ink. Not a sequin or a bit of sparkle anywhere for THIS card!

SKP Watermarked Photos3-027I popped the sentiment and airplane up on Stampin’ Dimensionals and added two pieces of confetti on the outside of the shaker frame for a bit more pop. I was a bit unhappy when I had stamped my airplane and reached for the packet to grab the dies and there were none. Oops! I seem to do that ALL the time with my Clearly Besotted Stamps…I have NO idea why!! So I was reduced to fussy cutting the airplane and banner out. It took a bit longer but was definitely worth it!

If you have a chance, please pop over to Retro Sketches, they have lots of inspiration there with this awesome sketch!

Thank you so much for stopping by. I appreciate your visit so much!!

Wishing you joy and blessings!

Products Used:

Cardstock: Crumb Cake and Real Red by Stampin’ Up!; Stamper’s Select White by Papertrey Ink

Pattern Paper: Boy Oh Boy by Carta Bella

Ink:  Real Red by Stampin’ Up! and Tuxedo Black by Memento Ink

Stamps:  Take Flight by Clearly Besotted Stamps

Dies: Stitched Rectangle Frames by MFT Stamps; Shakers and Sprinkles by Papertrey Ink and Envelope Liner Die by Stampin’ Up!

Tools:  MISTI by My Sweet Petunia

Embellishments: None

SKP Watermarked Photos3-024

Wishes Come True – The Paper Players #237

Hello friends and welcome to another awesome challenge from The Paper Players! This week we have a sketch for you, created by the very talented LeAnne:

pp237

I must admit that this sketch had me stumped for a bit. I went through my stamps looking for inspiration and found just a glimmer of an idea and then worked it’s way to fruition:

SKP Watermarked Photos3-010

I started with the Ombre Builders stamp set from PTI and randomly chose ink colors I thought would be pleasing. I did try to stay pretty gender neutral with the colors. I used my MISTI to stamp the ombre stamp, adding a layer according to the sketch. This was a bit of a worrisome process because a goof up meant that I would have to start all over again, but hey, what’s life without a little excitement? lol

SKP Watermarked Photos3-013

The sentiment is from the stamp set Wet Paint, also by PTI. I thought it was perfect, big and graphic! I did have an idea where I wanted to stamp my sentiment so I chose the order of my background colors to ensure a few light shades where the sentiment should go. Can you see how I offset the right hand side of the banner just a bit? That was actually an accident because I hadn’t planned on adding a layer of cardstock under my stamped banner. So I ended up with three choices: chop the green off the right hand side; line the edge of the banner up with the edge of the card and have the stamping be offset; or Just have the right side hang off the edge of the card a bit. I like it. I think it adds interest to the card. Who knew??

SKP Watermarked Photos3-011

I LOVE these candles from the PTI stamp set Wishes Come True! Don’t they look like real candles?? I think the little twine bow finishes them off very nicely. Oh…and about those three banners in the sketch?? I forgot to add them before adhering my banner so I improvised and used sprinkles instead. Whoops!!

SKP Watermarked Photos3-012

I had a bit of fun with the inside but kept my stamping light colored so it can be written over.

SKP Watermarked Photos3-014

I wasn’t sure where I would end up when I started this card, sometimes that’s just how it goes, but I am really enjoying the end result!

Please make sure to pop over and see the wonderful inspiration from the rest of the design team…

The Paper Players Design Team
Wishing you joy and blessings!

Products Used:

Cardstock: Stamper’s Select White and New Leaf by Papertrey Ink

Pattern Paper: Hootenanny by My Mind’s Eye

Ink:  Spring Rain, Limeade Ice, Pure Poppy, Harvest Gold, New Leaf and Orange Zest by Papertrey Ink

Stamps:  Ombre Builders, Wet Paint, and Wishes Come True by Papertrey Ink

Dies: Wishes Come True by Papertrey Ink and Envelope Liner Die by Stampin’ Up!

Tools:  MISTI by My Sweet Petunia

Embellishments: Limeade, Love and Tangerine Sprinkles; Bright Assortment Twine by Doodlebug Designs